How to Remove Sticker Residue from Glass Windows 2026
Sticker residue is that thin gummy layer of pressure-sensitive adhesive that stays on glass after you peel the decal away, and washing will never shift it. To remove sticker residue from glass windows without scratching, peel what lifts by hand, warm the glass gently, then soak the residue with the mildest solvent that works and lift it with a plastic card held at a shallow angle.
Time: 20 to 45 minutes per window · Cost: one bottle of solvent that you will reuse · Difficulty: Easy DIY · Skill level: beginner
Contents
Most of the damage people do to windows in this job is self-inflicted. A razor blade dragged hard enough to catch the adhesive also catches the glass, and a stiff pad leaves micro-scratches that only show in daylight. The gentler route takes a few extra minutes and gives a better result.
Tools and Materials
Most households already have everything on the first list. The second list is what you add when the first pass does not finish the job.
- Microfiber cloths — 3 or 4 clean, lint-free squares (6 inch is a good size). One damp, one dry, one spare for solvent, one for the final buff.
- Cotton swabs or a soft paper towel — for corners, edges and the tight channel between glass and frame.
- Plastic scraper or an old credit card — a hard plastic card, stiff enough to push softened adhesive but flexible enough to avoid digging in.
- Dish soap — a teaspoon in a bowl of warm water for pre-cleaning.
- Spray bottle and a small bowl — for mixing warm soapy water and for catching drips under the sill.
- Paper towels or a drop cloth — to protect the sill and catch runs.
- Hairdryer — optional, only if you are working on glass that is already at room temperature.
- Safety glasses and nitrile gloves — gloves because solvents dry out skin, glasses because dried adhesive flakes come off in an unexpected direction.
- Isopropyl or rubbing alcohol — 70 percent or higher, the first real solvent to reach for.
- Food-grade oil — a light cooking oil, olive oil or coconut oil for fresh, sticky residue.
- White vinegar — mild, low fumes, useful when you want no alcohol smell in a closed room.
- Adhesive remover labelled safe for glass and coatings — the escalator for old, yellowed adhesive. Read the label, because some products are fine on glass and harsh on tinted film or factory coating.
- Plain glass cleaner and a soft dry pad — for the final buff, and for checking whether the window cleaner you already use is ammonia-based.
Metal tools are the one thing you skip. A plastic scraper on glass gives up before the glass does.
Before You Start
Identify the glass. Look at the edge of the pane and the stamp or label in the corner. Plain float glass has a faint green tint at the edge. A decal on the glass and a factory sticker on the glass are two different jobs, and the second one is permanent.
Find out whether the glass carries a coating. Low-E, reflective and coated units look slightly dark or mirror-like. Tinted film and ceramic-frit patterns sit on the surface. If the glass is tinted, reflective, low-E, laminated, or came with a factory coating, the manufacturer’s guidance beats anything in this article.
Spot test first. Pick the least visible corner of the pane, inside the frame line, and dampen a cotton swab with your chosen product. Wait the full dwell time, then wipe and dry. If the glass hazes, streaks, dulls, or the coating swells or lifts, stop and switch to a gentler method.
Protect what sits under the glass. Lay a drop cloth on the sill and tuck a folded paper towel under the bottom edge. Saturated adhesive drips, and it will land on the frame or the sill where it becomes a second, uglier problem.
Keep liquid out of the frame. A squirt bottle pressed hard into the sash floods the drainage channels. Most home window frames are vinyl or painted wood, and solvents and oils can swell, soften, or strip paint. Wipe the glass, not the frame, and keep the plastic card below the frame line.
Ventilate and protect yourself. Open a window, work in daylight, and put on gloves and glasses. If you use solvents indoors, run a fan.
Skip the job when it is not safe. Do not work on exterior glass you cannot reach from the ground without a ladder. Do not touch a pane that is hot from sun, or a cold pane straight after a heating cycle. Rapid temperature change is what cracks glass.
Step-by-Step Instructions
Start at the mildest method that will do the job and stop as soon as the residue comes away. The order runs from peeling and warmth, to oil, to alcohol, to a commercial adhesive remover. You will rarely need the last step.
Step 1: Remove the Sticker and Identify the Residue
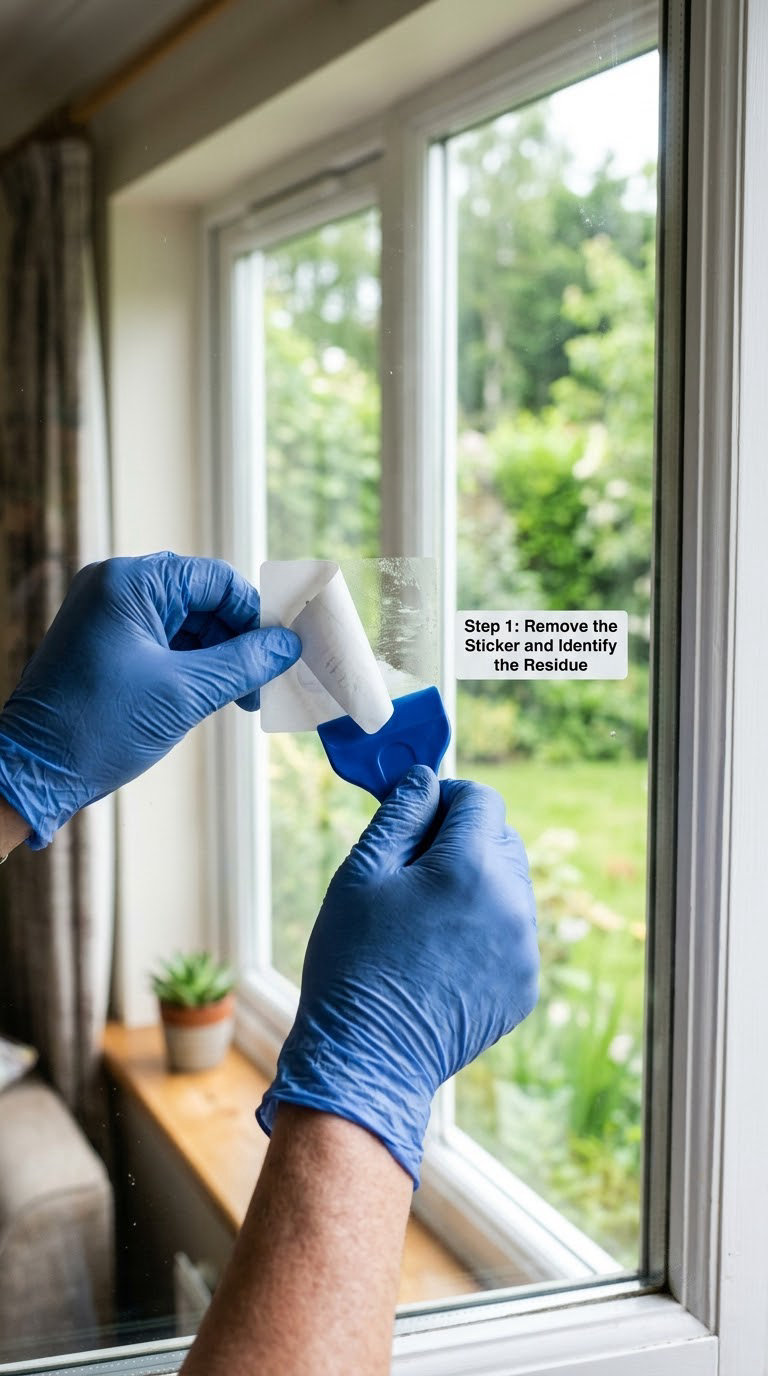
Start by peeling with your fingers. Work a corner up slowly at a low angle and keep pulling at the same shallow angle rather than straight back across the pane. Adhesive lifts far better in one steady pull than in short, greedy tugs.
Slip a plastic card under the edge where the sticker is being stubborn, and rock it. That usually breaks the bond and the whole label peels away in one piece.
Now look at what remains and name it, because the type changes the method. Dried label glue is thin and slightly cloudy. Vinyl adhesive from a decal or mounting pad is thick, rubbery and often yellowish. Tape residue is a narrow, greasy-looking stripe. Fresh adhesive lifts with warmth alone. Old, UV-brittle adhesive flakes, and it needs a solvent first.
Step 2: Warm the Residue Gently
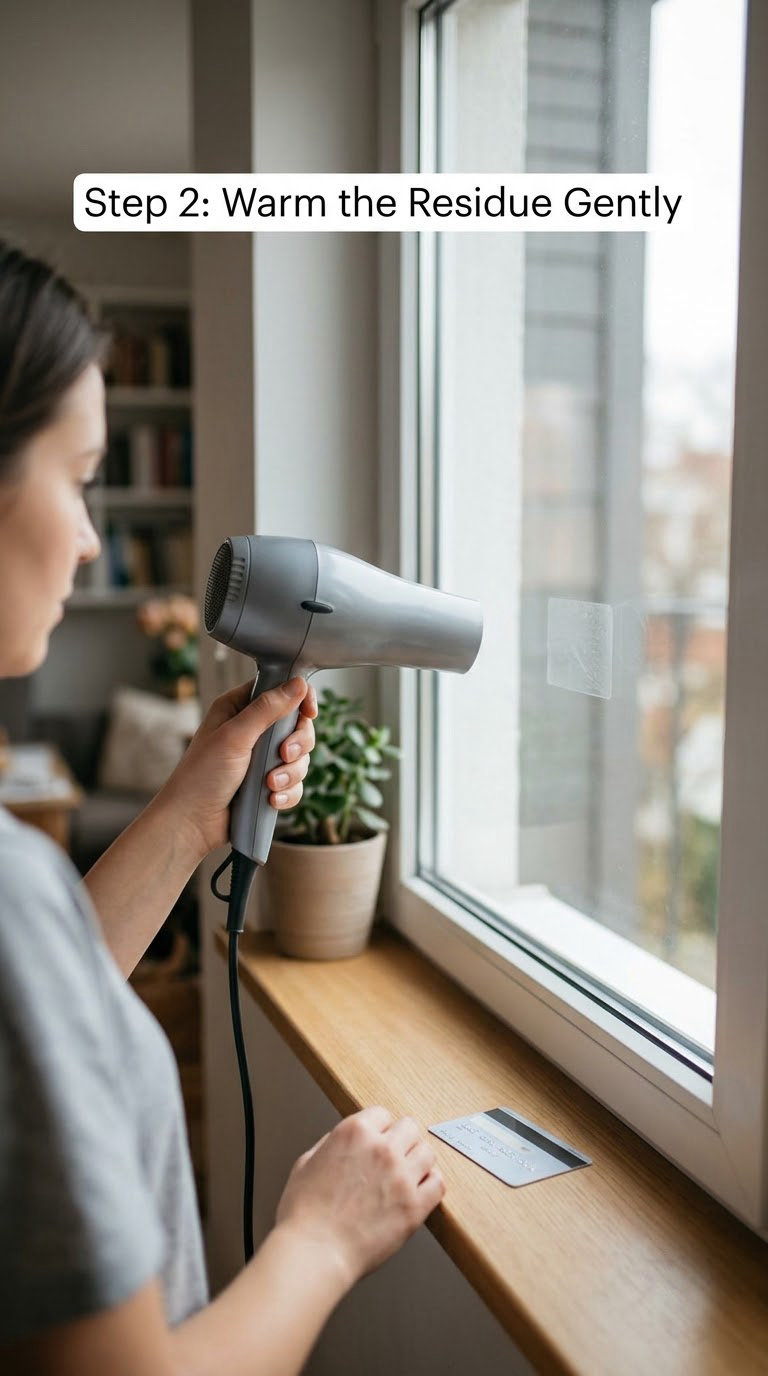
Warmth softens adhesive and, on a decal, makes the vinyl shrink so its edge lifts. Warm the glass with a hairdryer on medium heat, held about 6 inches away, moving constantly, in short bursts of 15 to 20 seconds. Pause and touch the glass with the back of your hand between bursts.
The warm-water method is gentler and slower. Wipe the residue with a cloth soaked in comfortably warm water and cover it with a second damp towel for a few minutes. The heat soaks through instead of blasting the surface.
Never use boiling water, a heating pad, an open flame, or a hair dryer on hot or chilled glass. Glass fails when one edge is much hotter or colder than the other, and a pane warmed in a thin strip right beside cold glass is exactly that situation.
Step 3: Test Solvents for How to Remove Sticker Residue from Glass Windows
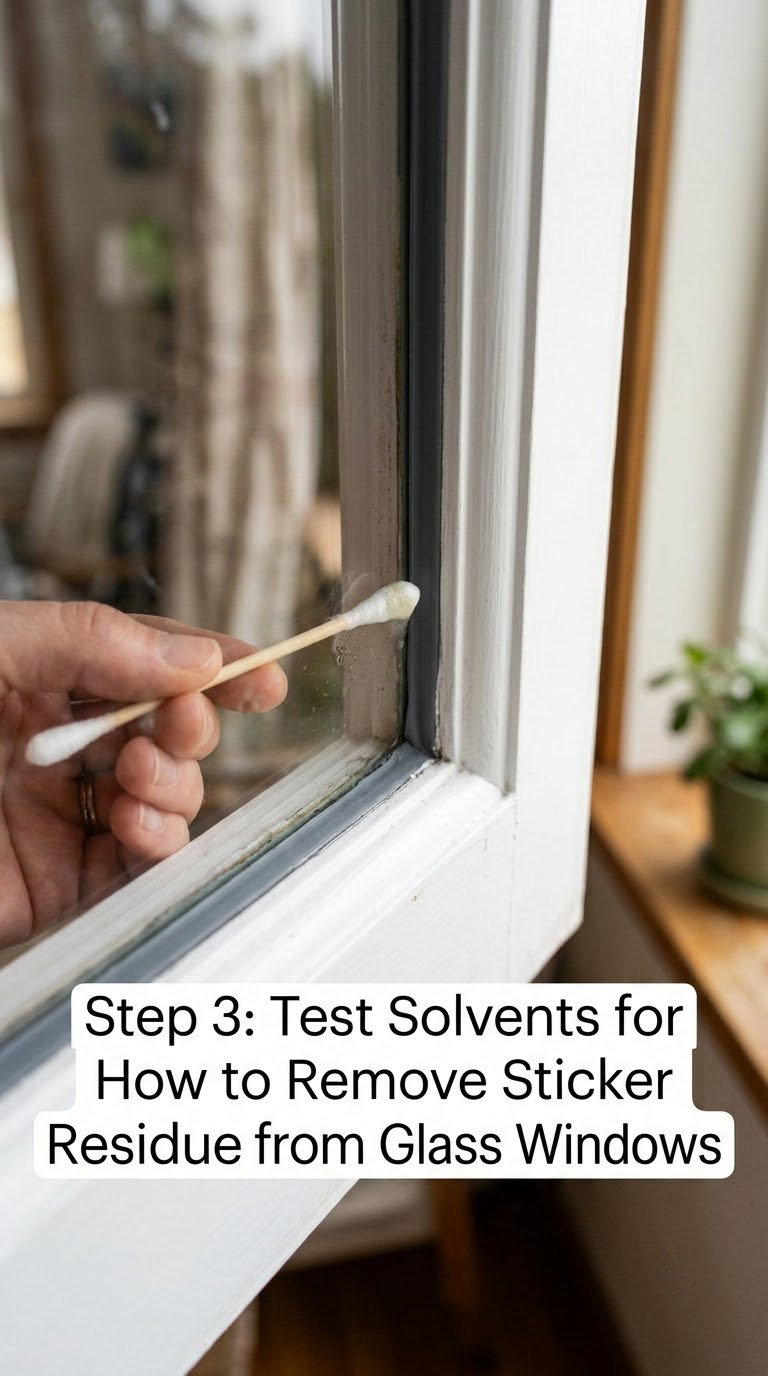
This is the step that decides whether the job goes well. Dampen a cotton swab or the corner of a microfiber cloth with one product only, and work it on the least visible corner of the pane, inside the frame line.
Wait the dwell time listed for that product, then wipe and dry with a clean cloth. Judge the result in daylight, not under a lamp. Healthy glass still throws a clear reflection and you can see straight through the test spot. Haze, a rainbow smear, a dull patch, or coating that lifts at the edge means that product is off the list.
Two things to remember about coated and tinted glass. Ammonia-based glass cleaners can haze some window films and reflective coatings, so read the bottle before you use one. And solvent that works fine on a small test spot can still be wrong for a full pane if the coating is old and brittle.
Step 4: Apply the Gentlest Effective Product
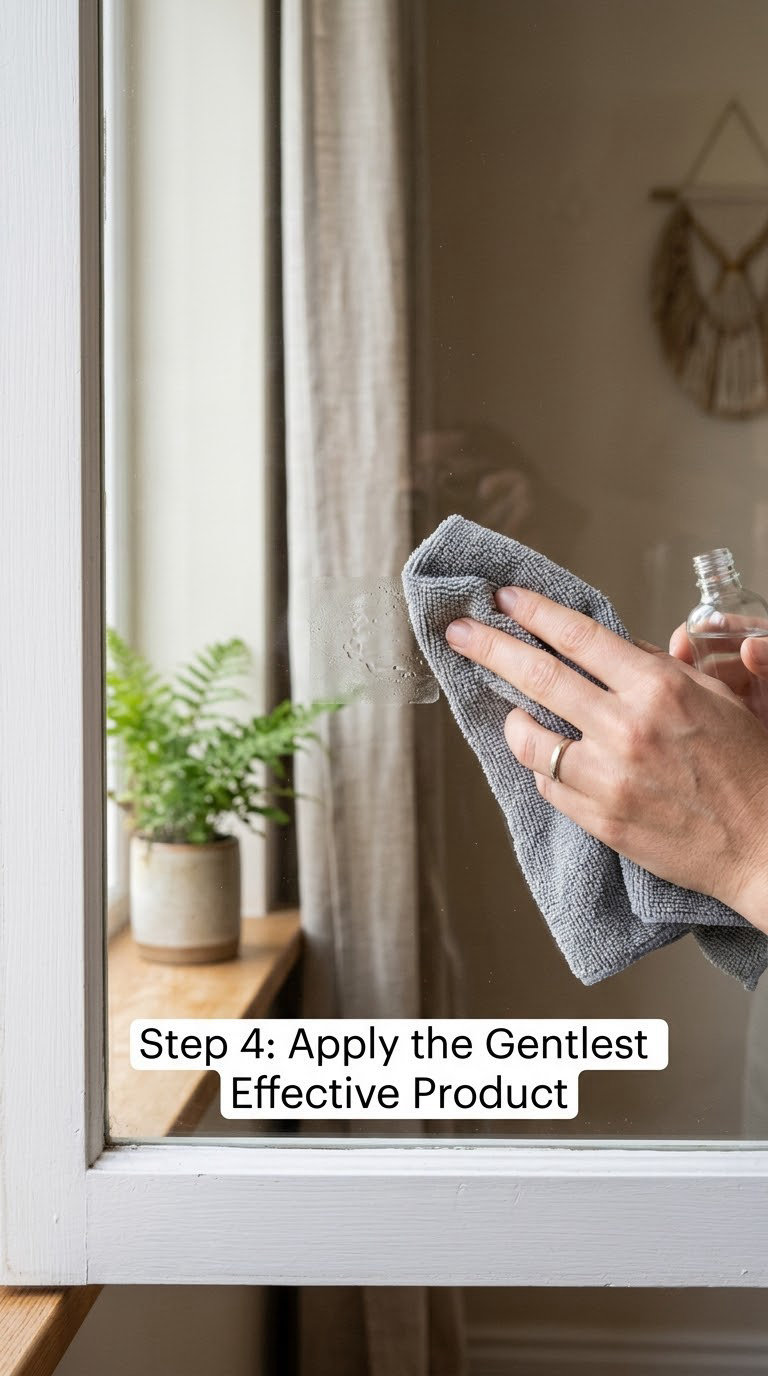
Work your way up this list and stop at the first product that works. Stronger solvents are rarely necessary on ordinary glass, and each step up costs you more cleanup.
- Warm soapy water and dish soap — best on fresh residue and on the greasy film that oils leave behind. Wipe it on, wait 5 to 10 minutes, then scrub gently with a damp cloth. No dwell beyond 15 minutes; longer just spreads the film.
- Food-grade oil — light cooking oil or coconut oil for a fresh, sticky patch. Dab it on with a cloth, leave 20 to 60 minutes, then wipe. Oils need long dwell because they dissolve rather than evaporate.
- White vinegar — good on label glue and on residue that has not hardened much. Apply full strength, wait 10 to 15 minutes, then wipe with a damp cloth. It smells sharp and it takes a while to air out of a closed room.
- Isopropyl alcohol, 70 percent or higher — the fastest all-rounder for dried adhesive. Soak a cotton swab or cloth so it does not drip, press it against the residue for 10 to 30 seconds, then wipe. Reapply rather than scrub harder when nothing lifts yet.
- Commercial adhesive remover — the last resort for yellowed, brittle adhesive several years old. Follow the label dwell time exactly, work a small section at a time, and expect to wash a film off afterwards.
Change your cloth section every few inches. A cloth that is saturated with old adhesive just moves the problem around and lays down a fresh oily film on clean glass.
Step 5: Lift the Adhesive Without Scratching
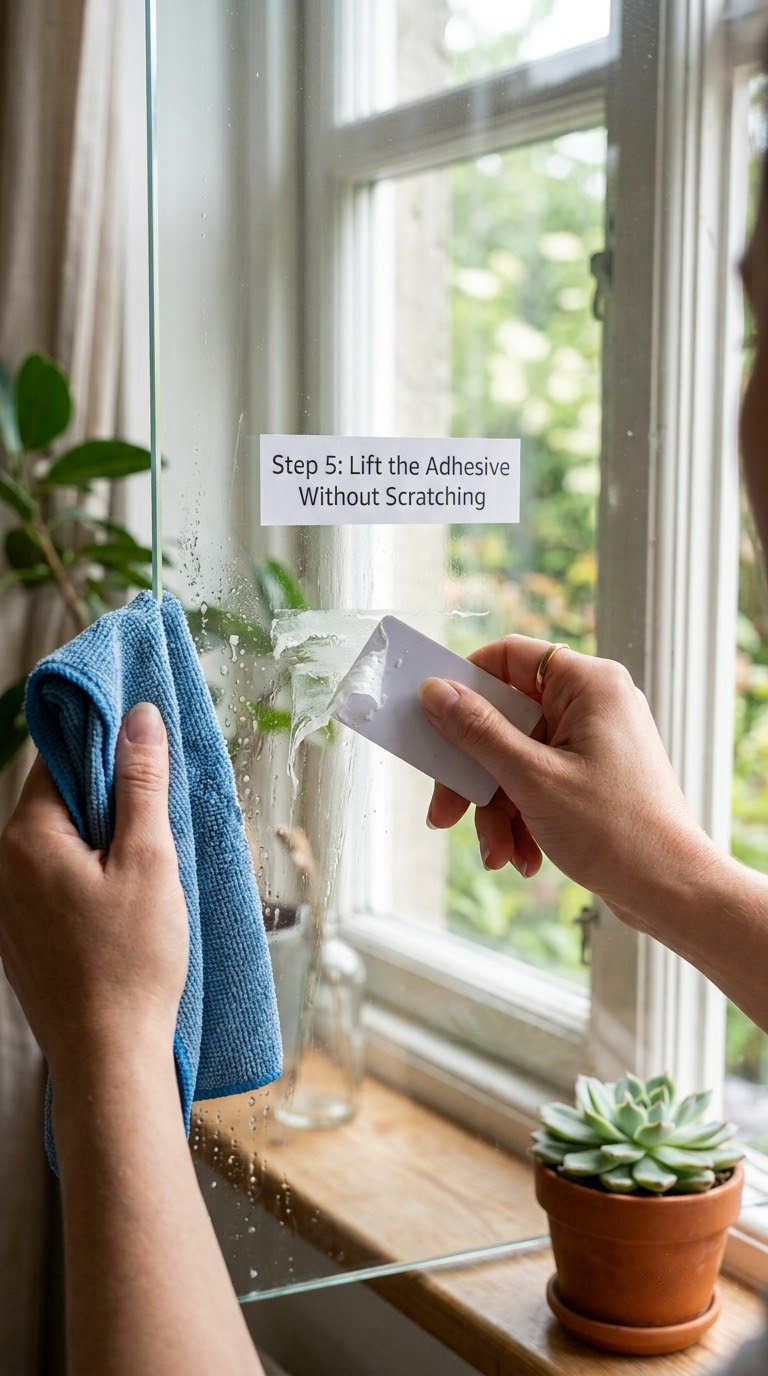
Hold the plastic card at about a 20 to 30 degree angle, leaning forward rather than upright, with one corner on the residue. Push in the direction the adhesive was applied, using the card’s flex. That angle is the whole technique: leaning forward means the card’s edge skims the surface instead of digging into it.
Work in short strokes and change direction often so you do not track the residue in a line. Lift as soon as the adhesive starts to move and let the card carry it away. If the card keeps skipping, the adhesive is not soft enough yet, so put more solvent on and wait longer.
Refresh the solvent rather than adding pressure. A card pressed hard enough to matter on hardened glue will score the glass, and those marks are permanent. Corners and the strip along the frame line usually need a cotton swab instead of a card.
Step 6: Remove Traces and Buff the Glass Dry
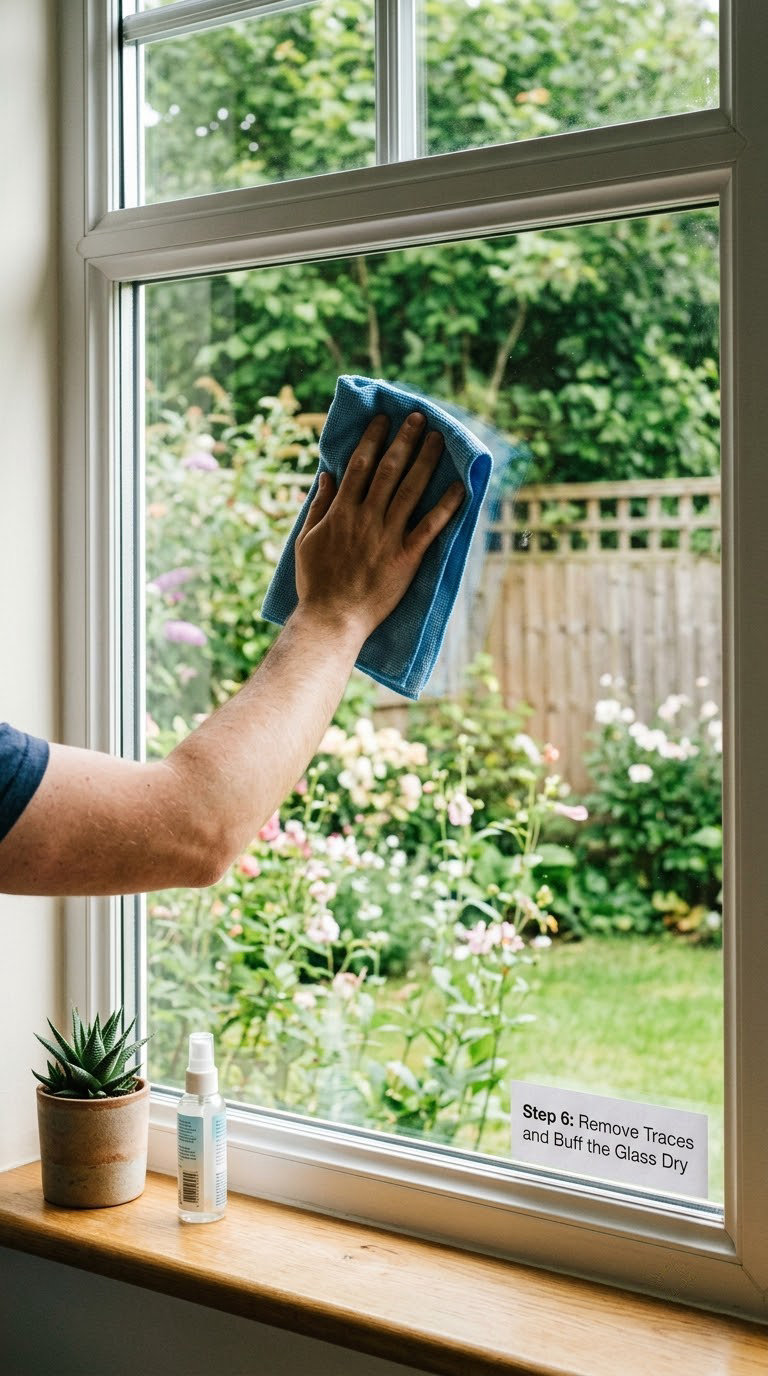
Every oily or solvent method ends with the same job. Wipe the pane with a cloth dampened with plain warm water and a drop of dish soap, which lifts the film that oils and commercial removers leave behind. Then wipe again with a second cloth dampened with clean water only.
Finish with a dry lint-free microfiber cloth, working in small circles from the middle of the pane out toward the frame. Change the dry cloth often; a dirty buff cloth is the reason a clean window still looks smudged.
Now check your work in daylight rather than under a lamp. Look for haze, a rainbow film, missed corners and the narrow strip along the frame line. If you see haze, stop. More scrubbing will not fix it, and only a clean water rinse and patience will.
One honest note from people who have done this repeatedly: oil-based methods usually look worse than they feel. The residue is gone after the wipe, but the pane needs a proper soapy-water wash before it looks clean.
Common Mistakes to Avoid
- Scraping with a razor blade or metal tool. A blade catches on glass edge imperfections and leaves scratches that daylight reveals for years. Use a plastic card, and reserve a new blade for sticky tape on truly flat glass only, held at a shallow angle.
- Reaching for steel wool or an abrasive pad. Both scratch permanently. For stubborn spots, another dwell cycle works better than more pressure.
- Using baking soda paste as a scrub. It is mildly abrasive and leaves a hazy film on glass. Save it for cooktops and porcelain, not panes.
- Mixing cleaners or pouring one over another. Solvents plus bleach or ammonia-based glass cleaner can produce dangerous fumes. Use one product at a time and rinse fully before switching.
- Leaving an undiluted solvent sitting for long periods. Long contact can haze plastic frames and dull coatings. Work in small sections and wipe off what does not lift.
- Heating glass too hard or too fast. A hair dryer held still, boiling water, or heat applied to a cold pane risks thermal shock. Keep the dryer moving, keep bursts short, and never heat glass that is already warm or chilled.
- Rubbing one small area over and over. Repeated friction on the same spot is how micro-scratch haze starts. Let the product do the work, then lift the residue in as few passes as you can.
- Assuming every coating is solvent-safe. Tinted film, low-E coatings, ceramic frit and mirror backing can haze, dull or peel under strong solvents. Spot test every time, and follow the window manufacturer’s instructions when you can find them.
- Letting solvent run onto the frame. Vinyl and painted wood can swell or lose paint. Keep the card and cloth below the frame line and protect the sill first.
When to Call a Pro
Window work stops being a weekend project when access, glass type or coating risk takes over. Professional window cleaners or glass restoration services handle these routinely.
- Exterior glass above ground level. Ladders add a fall risk that has nothing to do with glue. Ground-level, pole-fed, or water-fed systems remove the need to climb.
- Suspected tempered or insulated glass damage. Cracks, chips at the edge, bowing panes or a pane that sits loose in the frame should not be cleaned or scraped until a glazier has assessed it.
- Adhesive worked into the sash seals or weep channels. Cleaning it out properly means taking the sash apart or using a vacuum system designed for the cavity.
- Factory coatings, low-E units and reflective glass. If a spot test dulls the surface or lifts the coating, restoration work is the right call.
- Sunroom, skylight and conservatory glass. Angled glazing and factory-applied films make errors expensive.
- Adhesive under mounting hardware or sealant. Pulling hardware can crack the pane or tear the seal.
Maintenance
Most of the work in this article is avoidable. A few habits keep glass clean between jobs.
- Peel temporary labels and mounting pads while the adhesive is still fresh. Fresh adhesive lifts with warmth alone in under five minutes.
- Keep stickers off coated, tinted and mirror-backed glass entirely. Adhesive on those surfaces is a removal job you will have to pay for later.
- Clean the glass before a label is applied rather than after. Dust and grit under a decal are what turn a wipe into a scratch.
- Skip abrasive pads, scouring powders and dry wiping of grit. Use a damp cloth first, always.
- Check the frame seals and drainage weep holes once a year, and wipe solvent or oil off frames the moment it lands.
- Use a plastic card kept with your cleaning supplies rather than reaching for a knife when adhesive shows up.
Frequently Asked Questions
What is the safest way to remove sticker residue from glass windows?
Soften the adhesive first, then lift it. Warm the pane briefly with a hairdryer held about 6 inches away, dampen a microfiber cloth with isopropyl alcohol, press it against the residue for 10 to 30 seconds, and lift the softened glue with a plastic card held at a 20 to 30 degree angle. Work small sections, keep the cloth below the frame line, and finish with warm soapy water and a dry buff.
Can I use rubbing alcohol on tinted or coated windows?
Only after a spot test, and only if the test spot comes back clear. Alcohol is usually well behaved on tint and low-E coatings, but ammonia-based glass cleaners haze some films and old reflective coatings can dull under any strong solvent. Test in the least visible corner, wait the full dwell time, then check the area in daylight. If you see haze, a rainbow smear, or lifting at the edge, stop immediately and use warm soapy water only.
Does cooking oil remove sticker residue without leaving streaks?
It removes the residue well, and it does leave a film. Cooking oil dissolves adhesive slowly, so give it 20 to 60 minutes of dwell time, then wipe it off. The pane will look hazy and streaky until you wash it with warm water and a drop of dish soap, then buff dry with a clean microfiber cloth. That second wash is not optional, and it is why people give up on the oil method halfway through.
Is white vinegar safe for removing adhesive from glass?
White vinegar is one of the safer choices on plain glass. It works best on label glue and lightly aged residue rather than thick vinyl adhesive, and it needs 10 to 15 minutes of dwell time. Keep it off painted and vinyl frames, and note that the sharp smell lingers in a closed room for a while. On tinted or coated glass, spot test first and prefer warm soapy water if the test dulls the surface.
Can I use a razor blade to scrape sticker residue off a window?
A blade can scratch your window permanently, especially on coated or tinted glass where a dull blade is even more likely to catch. The plastic card technique works on nearly everything once the adhesive has been softened. Reserve a razor for narrow tape residue on flat, uncoated glass, held at about 30 degrees with a fresh blade and light pressure, and stop the moment you feel it catch. Never use a blade on a frame or on a pane with a coating.
Start with the gentlest method that will do the job: peel by hand, warm briefly, then use warm soapy water and move to isopropyl alcohol only if the residue stays. Test first, work small sections, and lift with a plastic card rather than a blade.
If haze, rainbow film or a dull patch shows up at any point, stop and rinse with clean water. More solvent or more pressure will not fix a surface that has already started to change.
Related cleaning jobs on the site: what causes black residue in a bathtub and how to remove stains from upholstery.