How to Remove Mildew from Bathroom Walls Without Bleach (2026)
Black spotting in the corner above the shower is the one job nobody wants and everybody eventually does. Learning how to remove mildew from bathroom walls is mostly about two things: killing what you can see, and stopping the damp that put it there. Get the second part wrong and the same spots return within a few weeks, no matter how hard you scrub.
The method below works without bleach by default. White vinegar and hydrogen peroxide handle most surface mildew on paint, grout, and caulk, and they will not bleach your paint while they work. Where bleach earns its place, I note it and say why. Either way, you finish the same job: dry wall, active solution, dwell time, gentle scrub, rinse, full dry, then fix the leak.
Contents
Time: 2 to 4 hours active work, plus 24 to 48 hours of drying before you repaint. Cost: A few dollars of supplies from a hardware store. Difficulty: Easy to moderate DIY. Skill level: Beginner, as long as you test first.
Tools and Materials
You do not need a special kit. Everything on this list is a normal cleaning supply, and a standard 5 by 7 foot bathroom wall needs modest amounts.
For cleaning:
- White vinegar, 5 percent acidity, 1 to 2 cups
- 3 percent hydrogen peroxide, about 1 cup
- Two spray bottles, 32 ounce
- Measuring cup or straightedge for accurate ratios
- Soft nylon brush or grout brush, 2 inch wide
- Non-abrasive sponge or scour pad
- Microfiber cloths, 3 or 4
- Plastic scraper for lifting loose growth
- Small tray to catch drips under the work area
For protection and repair:
- Rubber or nitrile waterproof gloves
- Safety goggles
- N95 respirator if the room is small or the growth is heavy
- Fan for airflow, plus an open window if the weather allows
- Drop cloth or old towel
- Mildew-resistant or mold-inhibiting primer, 1 quart
- Moisture-resistant bathroom paint for the topcoat
- 100 percent silicone kitchen and bath caulk for the tub and shower joint
- Grout sealer or premixed grout for repaired joints
- Digital hygrometer to check bathroom humidity
Before You Start
Five minutes of preparation saves an afternoon of damage. Work out what the wall is made of, because the cleaner you choose depends entirely on that.
Identify the finish. Look at a hidden edge. Glossy or satin paint, flat paint, wallpaper, ceramic tile, painted or raw drywall, and concrete each behave differently with acid and bleach. Bathroom walls are most often painted drywall, and drywall is the surface that causes the most trouble.
Test first. Pick a spot behind the toilet or in a corner that gets no light. Apply your solution, wait the full dwell time, then look. If the color lifts or the surface feels slick or etched, you have the wrong product for that finish. Vinegar dulls and etches some matte paint, and it is not for natural stone or sealed tile.
Ventilate before you open the bottle. Run the exhaust fan and open the window. A closed bathroom concentrates fumes and it is the fastest route to a headache and irritated eyes. Keep kids and pets out of the room until it has dried.
Move what you can. Take down the shower curtain, the towel bar items, and anything on the floor. Lay a drop cloth below the work area so runoff does not stain the floor or wick into the base of the wall.
Know the line. If the growth is soft, weeping, or smells strongly musty, or it covers more than about 10 square feet, stop and read the section on calling a pro below. A surface clean will not fix mold that is inside the wall cavity.
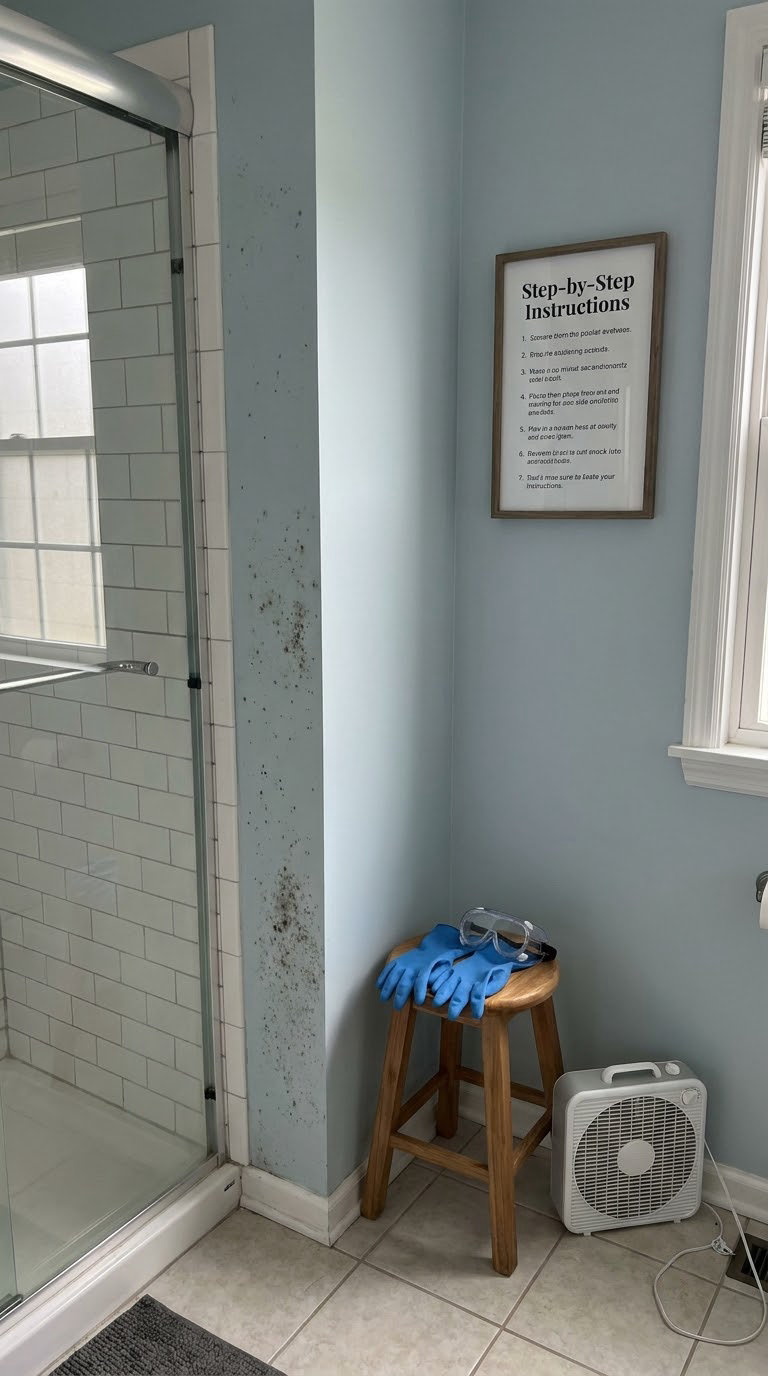
Step-by-Step Instructions
The order matters more than the product. Dry first, wet second, scrub third. Cleaning a damp wall is the most common reason the job fails.
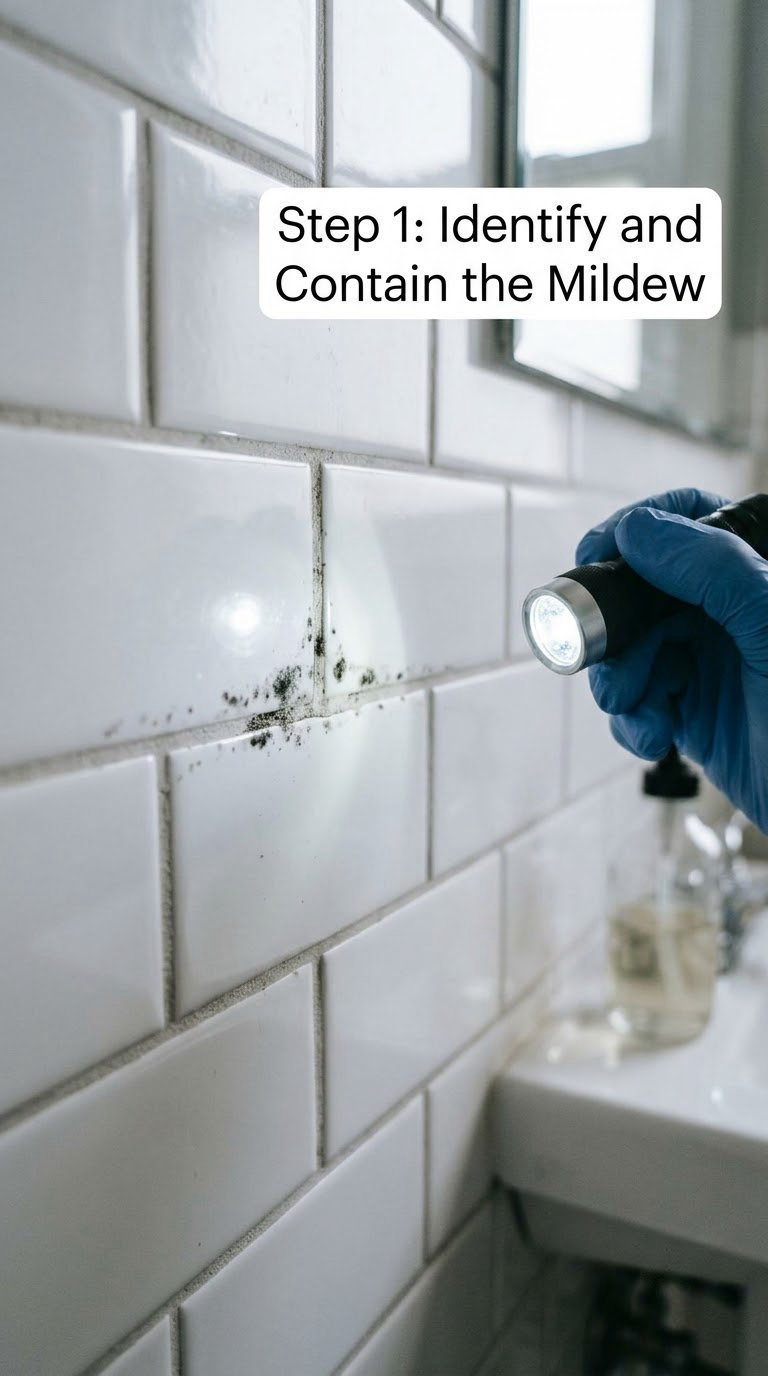
Step 1: Identify and Contain the Mildew
Surface mildew sits flat and powdery. It wipes or scrapes off and leaves a stain behind. Mold in a porous material like drywall grows into the board itself, feels soft or damp, and cannot be lifted off the surface.
Put on gloves and goggles. Open the fan, close the door, and give the room a few minutes of airflow before you touch anything. If you see loose growth, lift it gently with a damp paper towel and seal it in a bag straight out of the room. Loose spores are the part you can spread by accident.
Shine a flashlight along the wall at an angle. Flat black, gray, or green spots clustered in grout lines and caulk joints and around the shower are surface mildew. Soft patches, water staining that keeps growing, and dark areas that follow the stud lines rather than the surface point to something deeper.
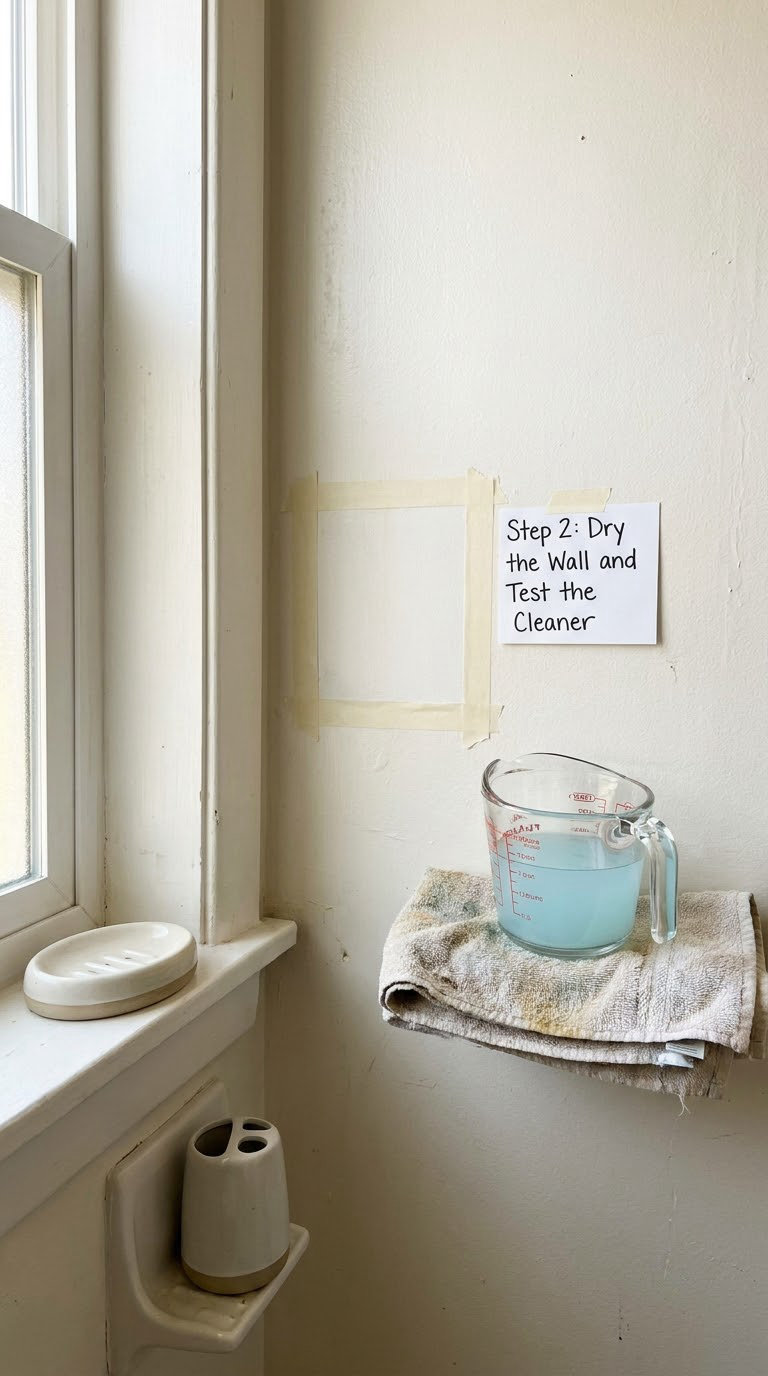
Step 2: Dry the Wall and Test the Cleaner
Run the exhaust fan and a dehumidifier, or at minimum open the window and leave the room closed up for several hours. The wall needs to be dry to the touch before any solution goes on. Water left on the surface dilutes the cleaner and keeps the pores of the drywall damp for days.
Make your test patch in a hidden corner. Two mixtures work well:
- Vinegar and peroxide: Mix equal parts white vinegar and 3 percent hydrogen peroxide in a spray bottle. It foams on contact, so spray it into the bottle or a tray, not into the air.
- Vinegar alone: Undiluted white vinegar from the bottle, used straight from a spray bottle.
Test on the spot. Leave it 10 to 20 minutes, rinse with a damp cloth, and compare. If the paint dulls or blisters, use vinegar alone on that wall and skip the peroxide. On freshly painted walls, wait at least 48 hours before any treatment, because new latex is still curing.
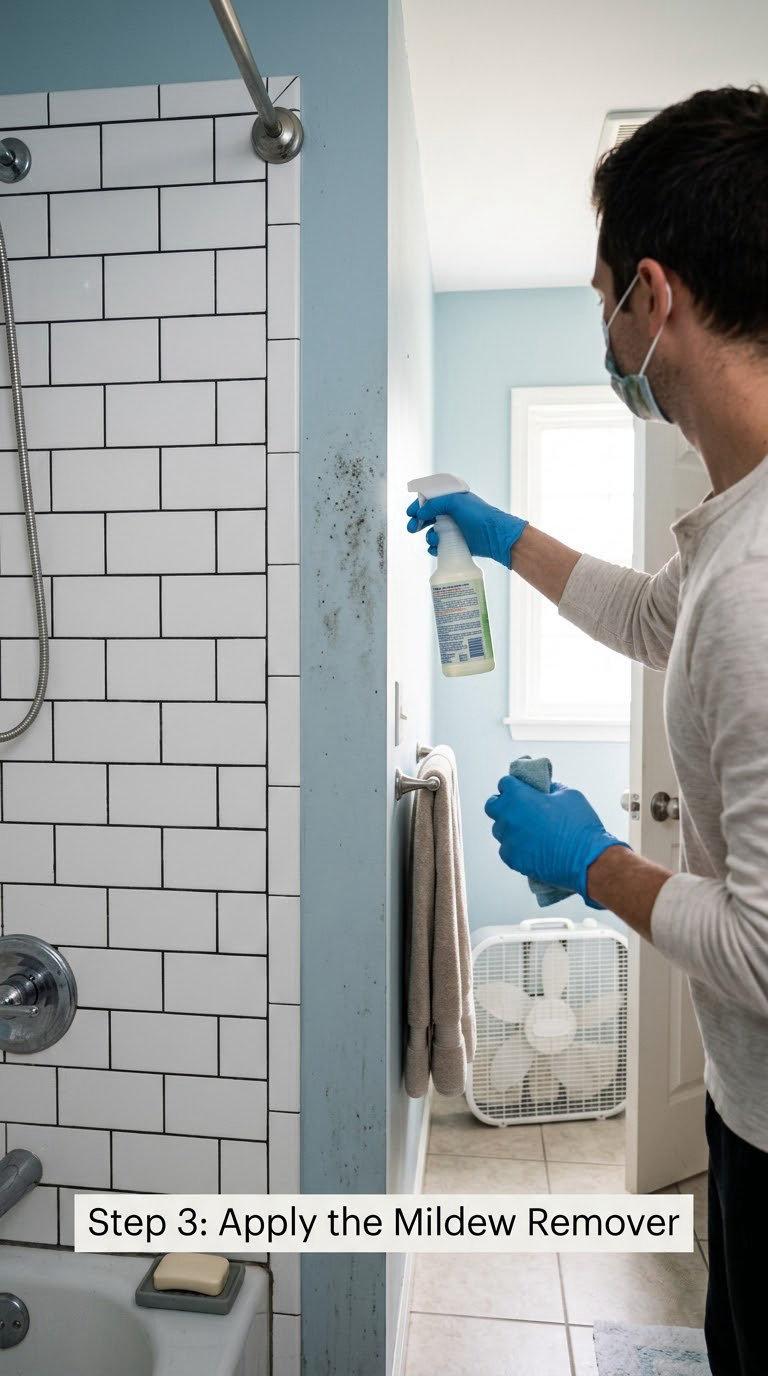
Step 3: Apply the Mildew Remover
Spray the solution onto the affected area until it is visibly wet, not dripping. A dry patch of wall keeps its spores alive and the whole job is wasted.
Work in sections about 2 feet wide so you can stay inside the dwell time. Then leave it alone. Ten minutes is the floor, 20 to 30 minutes is better on stubborn grout and caulk, and going past 45 minutes on painted drywall risks lifting the paint or dulling the finish. Set a timer rather than guessing.
Keep the room ventilated the whole time, and keep every product separate. Never mix bleach with vinegar, ammonia, or any other cleaner, and never pour bleach down a drain while another cleaner is in the bowl. Vinegar and hydrogen peroxide are safe to combine because they break down into water and a little salt and oxygen, but keep the mix in a bottle and away from your face.
If you do decide bleach is the right call, it is the fastest option on porous grout, and the tradeoff is real: it lifts stains but it also bleaches the surrounding paint and leaves a pale patch you will be repainting over anyway. Use 1 part household bleach to 10 parts water, keep the dwell under 10 minutes, and never let it dry on the wall.
Step 4: Scrub Without Damaging the Wall
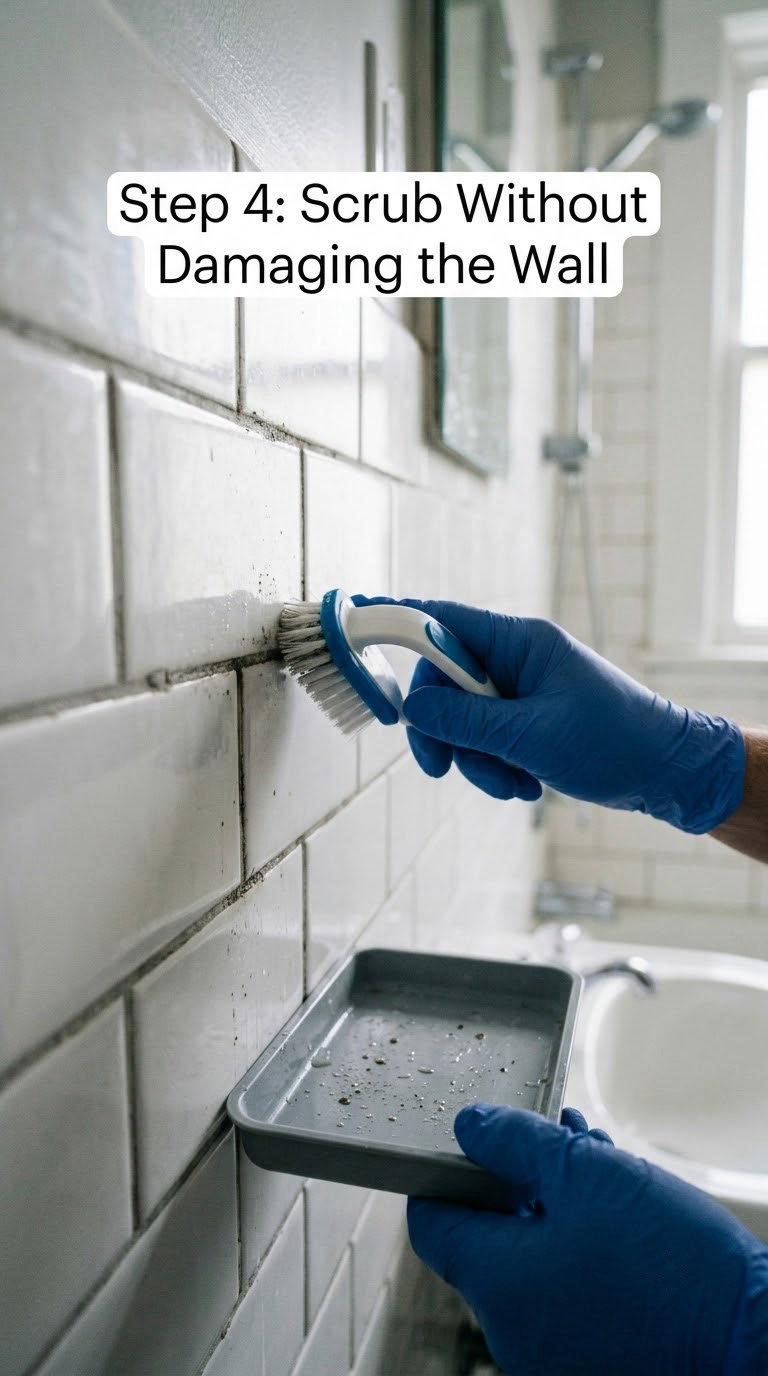
Chemicals kill what they touch. Scrubbing is what lifts the rest. Use a soft nylon brush on paint and a slightly stiffer grout brush on grout, working in small circles with light pressure.
On grout, the difference matters. A stiff grout brush is designed to get into the pores of the joint and will not scratch the tile. On a painted wall, a stiff metal brush or a scouring pad gouges the finish and takes the paint with it.
Signs you are being too rough: the paint turns shiny where you worked, the wall feels rough under your palm, or you see a pale scuff on the wet surface. Stop, change to a softer brush, and let the chemistry do more of the work with a longer dwell.
Caulk behaves differently again. Grime and mildew on silicone sit on the surface and scrub off. If the caulk itself has gone soft, crumbly, or permanently stained, no cleaner saves it. You are replacing that joint in step 6.
Step 5: Rinse, Dry, and Assess the Result
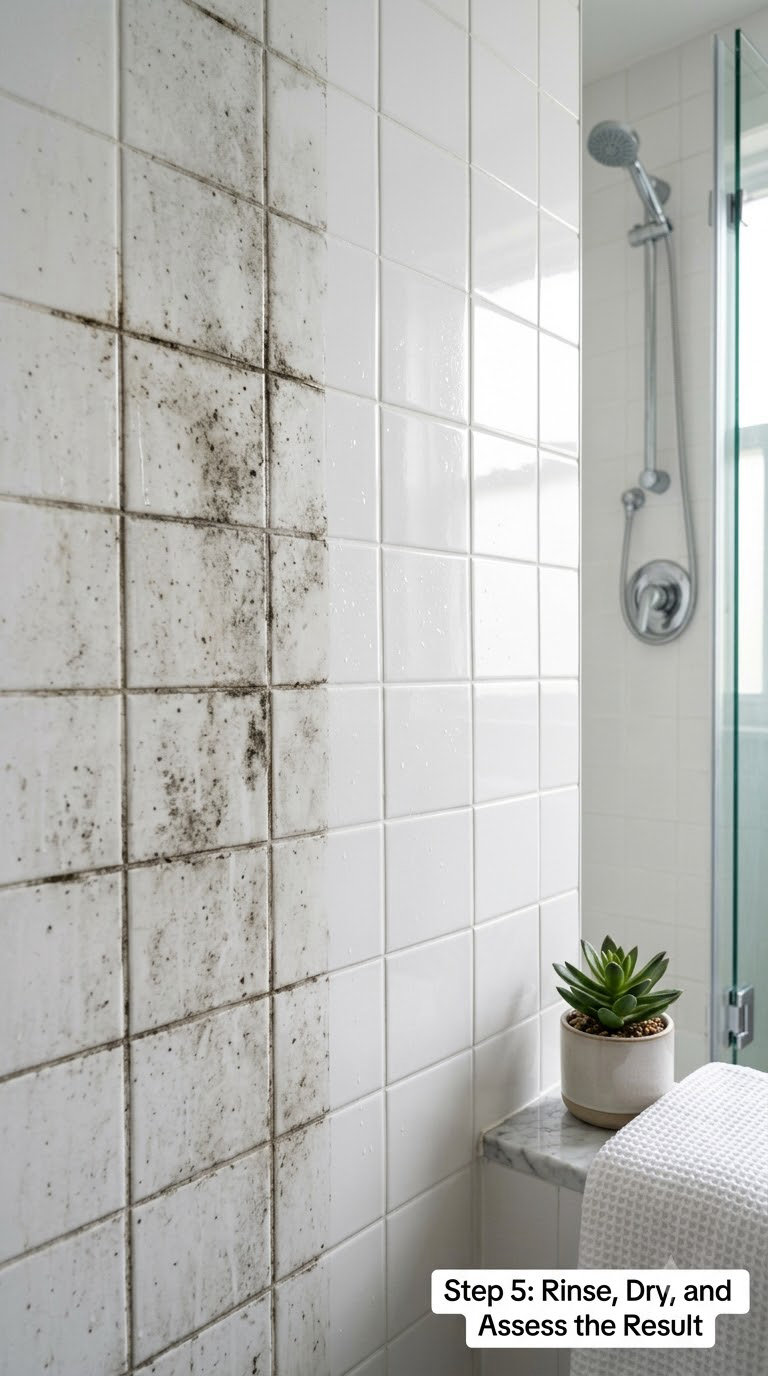
Wipe the section down with a clean damp microfiber cloth, then do a second pass with a dry cloth. Rinse the wall the way the product label directs; for diluted vinegar and peroxide, a damp cloth is enough. Any residue left behind will dull the paint and attract new dirt.
Give the wall the drying time your label specifies, then use a fan to speed the rest. Dry it, do not just let it sit damp. Any time you can, leave the exhaust fan running for another few hours after you finish.
Look at the result with the lights on and then with the flashlight at an angle. A faint shadow of the old spot is normal. Remaining dark speckles that smear under your finger mean another pass, and a second round with a full dwell time works better than a third pass done too early.
Now check the parts you cannot see. Peel the shower curtain back and look at the wall behind it, check behind the toilet and the vanity, and look at the top of the wall where it meets the ceiling. Growth hiding in an unventilated pocket will reappear in weeks and it needs the moisture fixed, not more scrubbing.
Step 6: Address Discoloration and the Moisture Source
Cleaning removes the growth. Only fixing the water stops it coming back, and that part is where most DIY jobs get left half done.
Replace what is porous and stained. Cut out silicone caulk along the tub and shower joint and lay a fresh 100 percent silicone bead, then let it cure per the label. Scrape out any soft or crumbling grout and refill it, then seal it. Grout and caulk are the two surfaces most likely to hold spores no matter how well you treat them.
Decide on paint. If the wall is bare drywall, or the finish is dull and blotchy, prime with a mildew-resistant primer and finish with moisture-resistant bathroom paint. Give the wall a full 24 to 48 hours of drying first, with the fan running, and check with a moisture meter if you have one. Painting over a damp wall traps moisture and guarantees a second stain. Rolling a large wall by hand takes most of a weekend, so our roundup of the [best paint sprayers for walls and ceilings](https://www.rosenberryrooms.com/best-paint-sprayers-for-walls-and-ceilings/) is worth a look if you are repainting the whole bathroom anyway.
Fix the source. Walk the room and look for the damp. A dripping shower head, a caulk joint that has failed, a toilet tank that sweats, a window with no exhaust, an exhaust fan that runs for ninety seconds and stops. Any of those keeps the humidity in the range mold needs.
Aim for the room to sit between 30 and 60 percent relative humidity. A cheap hygrometer on the shelf tells you in seconds whether the room is holding that range, and it is the fastest way to know whether your fix worked. If humidity is fine and the mildew still returns, look harder at the leak.
Common Mistakes to Avoid
Cleaning a damp wall. The wall has to be dry before you start. Damp drywall dilutes your solution and stays wet afterward, which helps the next bloom along.
Mixing cleaners. Bleach with ammonia, vinegar, or any other product can produce toxic gas. Keep every product on its own, and rinse the surface fully between them.
Scrubbing before the solution has worked. Scrubbing first spreads spores across the wall. Apply, wait out the dwell time, then scrub.
Letting the solution dry on the surface. Bleach and vinegar both need a wet contact time. If the wall is drying out, re-wet it rather than pushing the timer.
Leaving porous materials untreated. Drywall, grout, and caulk hold spores below the surface. A clean-looking wall over untreated grout will spot again within a month. Sealing or replacing them is part of the job.
Repainting before the wall is dry. Trapped moisture under fresh paint guarantees a repeat. Wait the full dry window.
Cleaning the stain and ignoring the leak. This is the big one. Without a change in ventilation or a repaired water source, you have bought a few weeks.
When to Call a Pro
Some jobs are outside what a bucket and a brush can fix. Call a licensed mold remediation contractor if any of these apply.
- The affected area is roughly 10 square feet or larger, a commonly cited threshold for calling a professional rather than cleaning it yourself.
- The wall is soft, hollow-sounding, or visibly bulging, which means the drywall is saturated or the framing behind it is wet.
- Growth returns in the same spot within a few weeks no matter what you do. That pattern means moisture is reaching the wall from inside the cavity.
- There is a musty odor in a room with no visible mold, or a musty odor that strengthens in the bathroom and fades elsewhere.
- You see dark staining along stud lines or around a nail, or the paint is blistering and peeling in sheets.
- Anyone in the household has asthma, a weakened immune system, or a condition that makes respiratory infections hard to shake.
Before the contractor arrives, stop running water near the area if a leak is suspected, keep the door closed, and avoid disturbing the growth further. Take dated photos. If you rent, tell the landlord in writing before you start work, and keep copies of everything.
Mildew smell that hangs in the house rather than the bathroom is a different problem. Our guide to removing mildew smell from an air conditioner covers the source most people miss, and if the odor is coming out of carpet rather than drywall, our picks for the best carpet cleaners for mold and mildew are the next step.
Maintenance
A monthly routine is enough to keep a dry bathroom dry.
- After every shower: Run the exhaust fan for 20 to 30 minutes. Squeegee the walls and glass while they are still wet, working from the top down.
- Weekly: Wipe the shower surround and check the grout lines for new dark specks while you are in there.
- Monthly: Look at the caulk joints. Cured silicone that is lifting, cracked, or black needs to come out and be redone before it holds water against the board.
- Monthly: Read the hygrometer. If it sits above 60 percent for days at a time, the room is running too damp for the fan you have.
- Seasonally: Check the fan duct run outdoors for a disconnected or blocked cap, especially before and after the wettest part of the year.
- Annually: Reseal grout, touch up the paint, and re-caulk any joint that has opened.
Two habits help more than any product. Hanging towels away from the wall lets them dry instead of holding damp against paint, and a bath mat that dries flat instead of staying soggy keeps a lot of moisture out of the room. We covered good picks in our roundup of bath mats that do not get mildew, and our guide to using shower cleaner to prevent mold and mildew covers the weekly wipe-down in more detail.
Frequently Asked Questions
Can I use bleach to remove mildew from a bathroom wall?
Yes, on grout and caulk it is fast and it kills surface growth quickly. Mix 1 part household bleach with 10 parts water, wet the area, and leave it under 10 minutes before scrubbing. It will bleach surrounding paint and leave a pale patch, so plan on repainting. Never mix bleach with ammonia, vinegar, or any other cleaner, and never let it dry on the wall.
Why does mildew keep coming back after I clean it?
Almost always moisture. Mildew feeds on the damp that your shower and your ventilation habits create, so if the exhaust fan is weak, the caulk has failed, or a joint is leaking, the growth returns within weeks. On porous surfaces like drywall and grout, spores also survive below the surface after a surface clean. Fix the water, reseal the porous materials, then clean.
What is the safest way to clean mildew off painted walls?
Equal parts white vinegar and 3 percent hydrogen peroxide, sprayed on and left 10 to 20 minutes, then scrubbed with a soft nylon brush. It handles surface mildew without bleaching the paint. Always work in gloves and goggles with the room ventilated, and test the mixture in a hidden corner first, since vinegar can dull some matte finishes.
Can baking soda remove mildew from grout and caulk?
Baking soda is mild and non-toxic, so it is a reasonable first pass on sealed grout and mild surface staining. Mix about a tablespoon into a cup of water, apply, wait 10 minutes, and scrub gently. It is not strong enough for heavy growth, and it cannot be left on porous drywall for long without drying it out.
How can I tell surface mildew from a serious mold problem?
Surface mildew is flat, powdery, and wipes or scrapes off, leaving a stain. Deeper mold in drywall feels soft, stays wet, stains along stud lines, and returns quickly after cleaning. Area matters too: if it is around 10 square feet or larger, the drywall is soft or bulging, or the smell is strong, stop and call a licensed remediation contractor.
Conclusion
Start by containing the area and clearing the loose growth, then identify what the wall is made of. Get the wall fully dry, test your cleaner in a hidden corner, and use the gentlest thing that works: vinegar and peroxide for most painted surfaces, bleach only on grout and only when you are repainting anyway.
After the clean, give the wall 24 to 48 hours to dry, reseal the porous materials, and fix the leak or the ventilation that put the damp there in the first place. If the same wall keeps spotting, that is a moisture problem, not a cleaning problem.