How to Remove Crayon from Painted Walls Without Harsh Fumes 2026
To get crayon off a painted wall without taking the paint with it, warm the wax with gentle indirect heat, lift the softened wax with a plastic scraper or cloth, then wash the oily residue away with mild soapy water. Crayon sits on top of the finish as wax and pigment, so it lifts instead of soaking in.
Most single marks take 10 to 20 minutes. A wall covered by a four-year-old is an afternoon, and doing it in one sitting matters more than doing it fast. Heat plus lifting plus a damp cloth removes nearly every mark I’ve seen, including red and dark blue, which are the stubborn ones.
Contents
Time: 15 to 30 minutes per mark, 2 to 3 hours for a full wall · Cost: usually nothing beyond what you already own, plus a small touch-up paint if a scuff appears · Difficulty: Easy to Moderate DIY · Skill level: Beginner
The single biggest variable is your paint sheen. Flat and matte finishes are porous and can look dulled or burnished once you scrub them, while eggshell, satin, semi-gloss and gloss have a tighter surface that shrugs most of this off. Identify the sheen first, then choose the gentlest method that works.
Tools and Materials
For testing, warming and lifting
- Hair dryer on the low or medium setting, or a warm iron with a clean cotton cloth
- Plastic scraper, putty knife or a gift card for lifting softened wax
- Melamine sponge (a Magic Eraser style pad) for satin, semi-gloss and gloss
- White cloths or microfiber towels, 3 or 4 of them, so a dirty one never goes back on the wall
- Cotton swabs and an old soft-bristled toothbrush for edges and corners
- Crayon, masking tape and a pencil for marking the patch borders
For dissolving and cleaning up
- Bowl of warm water
- Small amount of mild dish soap, a few drops is plenty
- Baking soda for a gentle paste
- White vinegar for a slightly stronger solution
- Isopropyl alcohol, only if the wall is semi-gloss or gloss
- Nitrile gloves, eye protection, and a drop cloth for the floor or furniture
- Paper towels for blotting melted wax off the wall
If you already have a cotton T-shirt, save it. A stretched cotton square picks up softened wax faster than a terry towel does.
Before You Start
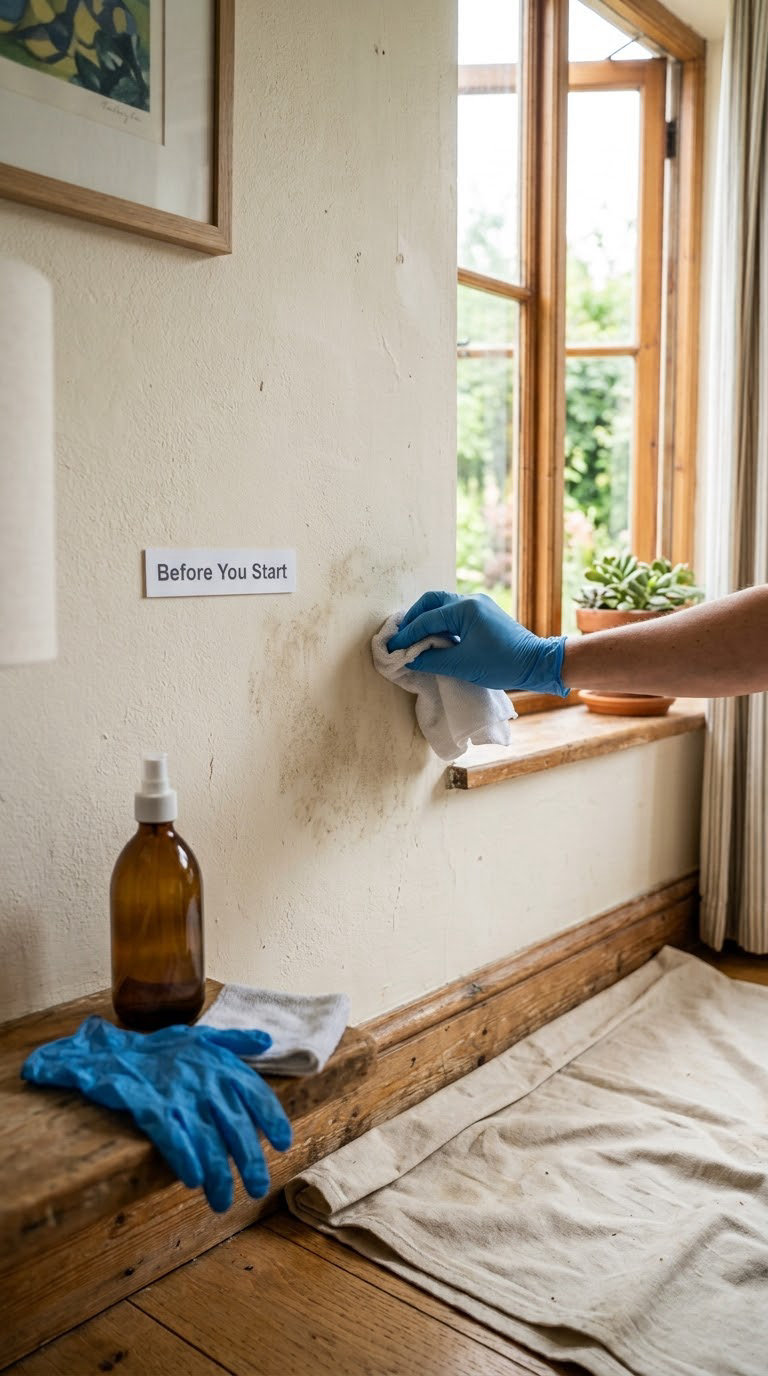
Know what you are cleaning
Feel the wall before you touch it. Smooth and cool is painted drywall or plaster. Textured and pebbled means the wax has settled into the texture, and it will take longer plus more passes. Wallpaper is a different job entirely, since moisture can lift the paper or its adhesive, and most of the steps below should be skipped for it.
Run your hand along the baseboard. A slick-feeling paint on a baseboard but a chalky-feeling wall is common, since repainting touch-ups happen one wall at a time. Paint sheen is easiest to identify on the trim: a soft glow means satin or higher, and no glow at all means flat or matte.
Mark the test area
Tape a 6 inch square in a spot nobody looks at daily, such as behind a door or beside the ceiling. Test there first and let it dry completely before you judge the result. Judge it after it dries, because a wet wall always looks shinier than it is.
Protect yourself and the room
Open a window or two before you start, and keep them open through the drying time. Any solvent you use is stronger than the soapy water option, so ventilation is the whole reason this method stays gentle on a room people live in.
Put on nitrile gloves and keep a drop cloth under your working area. Crayon pigment transfers to everything it touches, including carpet and upholstery, so keeping the wax moving onto a disposable cloth is easier to live with than chasing the transfer later.
Keep the hair dryer moving. Parked heat is what blisters paint, not the warmth itself. Do not use a heat gun for this, and never work on wallpaper with heat because the adhesive softens and the paper lifts.
One more thing worth deciding before you start: are you renters? If a security deposit is on the line, start with the water and soap steps only. If the wall is already scuffed somewhere, take a photo of it before you clean anything, so you are not asked about damage that was there before.
Step-by-Step Instructions
Step 1: Test the Wall Finish and Mark
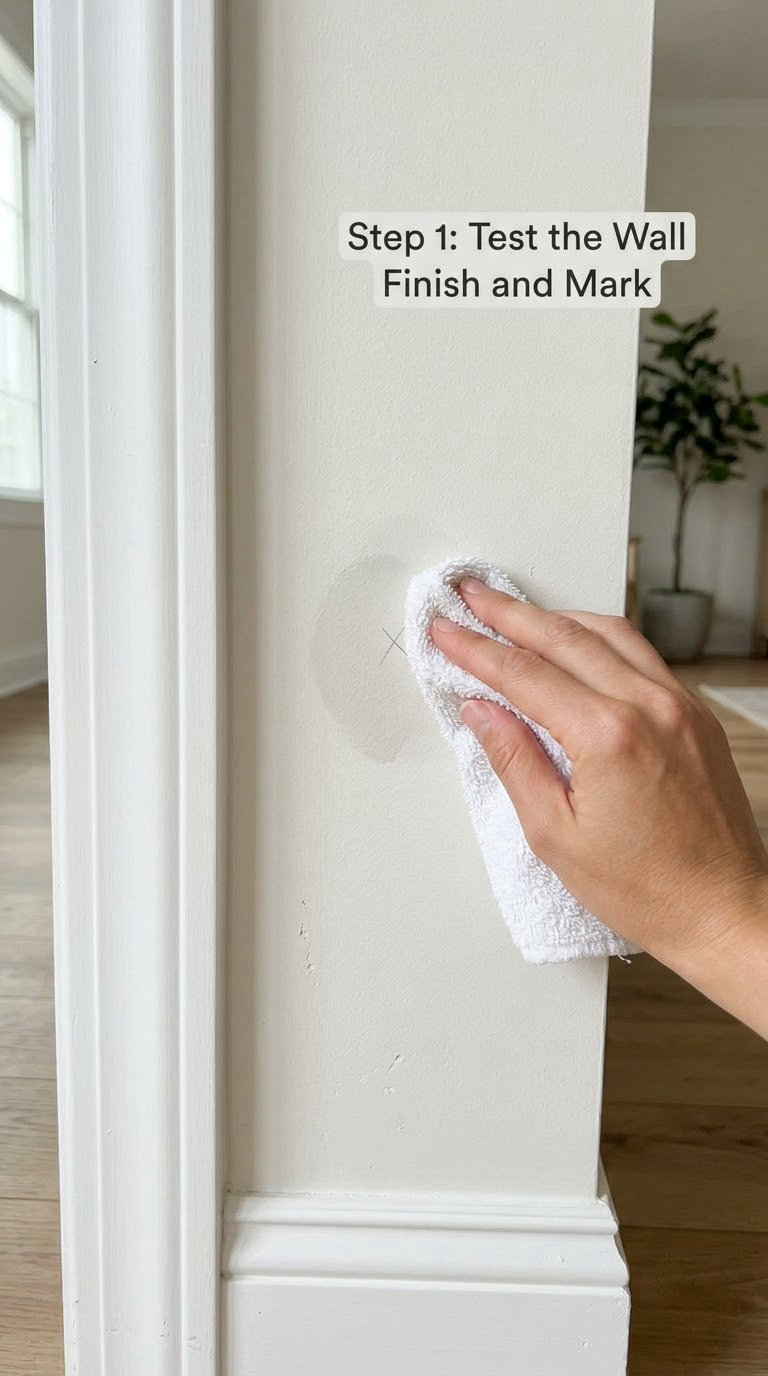
Mix a bowl of warm water with three drops of dish soap and stir it until the suds just break apart. Dip a white cloth in, wring it out until it is barely damp, and dab it on your test patch. A full ring of dish soap leaves a film that traps dust later, so err on the sparse side.
Dab, do not scrub. Scrubbing a crayon on a wall smears the pigment rather than lifting it, which is the mistake that turns a five-minute job into a repaint.
Wait an hour, look at the patch under the same light you will look at the mark under, and run a fingertip over it. If the paint feels smooth and matches the sheen around it, go ahead. If it feels rough, shiny, or a different colour, your cleaning method is too aggressive for this finish and you need to drop back a step.
Keep your phone out and time that hour. When you know the dry time, every later step gets a check attached to it.
Step 2: Gently Warm the Crayon
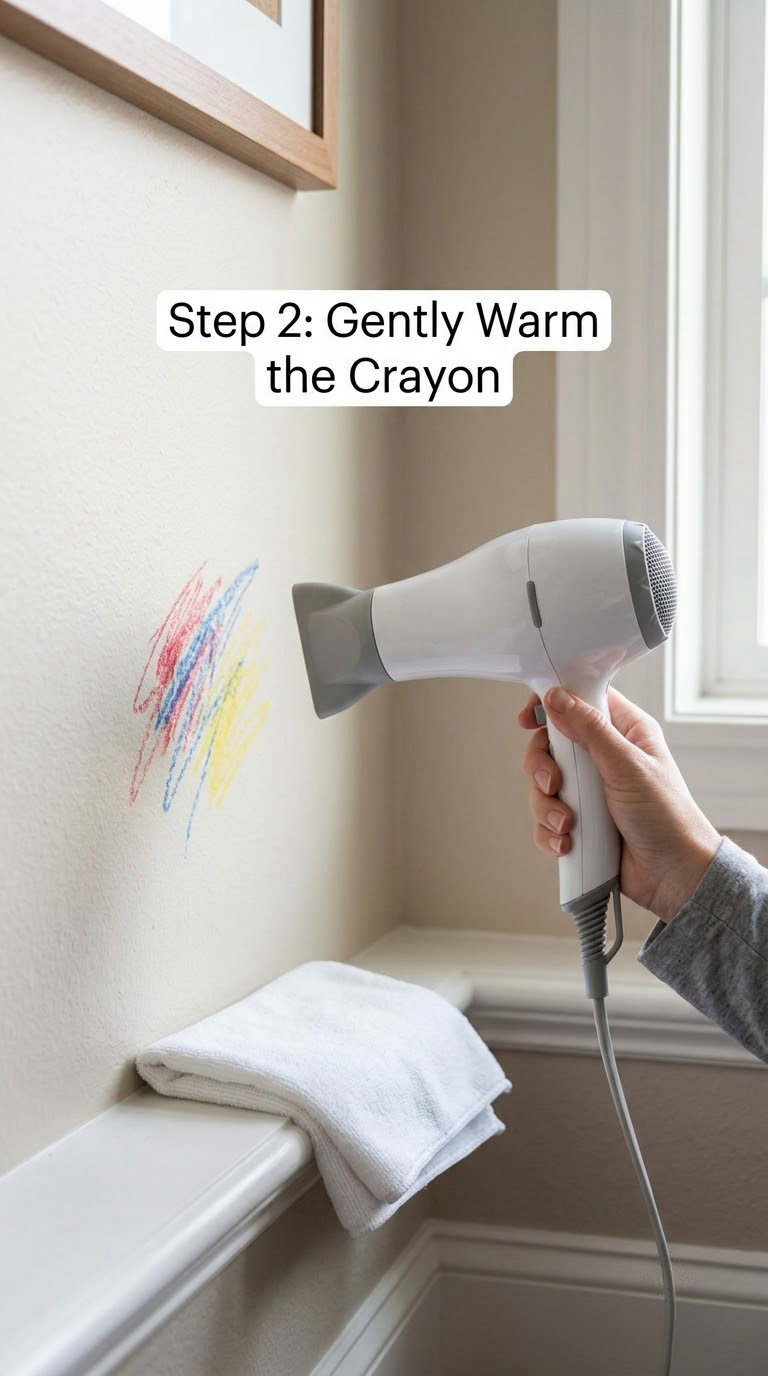
Hold the hair dryer on low or medium, 6 inches back from the wall, and sweep it slowly back and forth over the mark for 30 seconds at a time. Move on as soon as the wax looks shiny or slightly wet. Melted wax transfers to paper towel instantly, so lay one under the mark to catch drips before they reach the floor.
An iron set on low with a clean cotton cloth between it and the wall is faster and hotter, so work in five second bursts. Overheating bubbles paint, and a bubble does not flatten back out the way a crayon mark does. If you smell anything sharp or see the paint change texture, stop and let the wall cool for several minutes.
Step 3: Lift the Softened Crayon
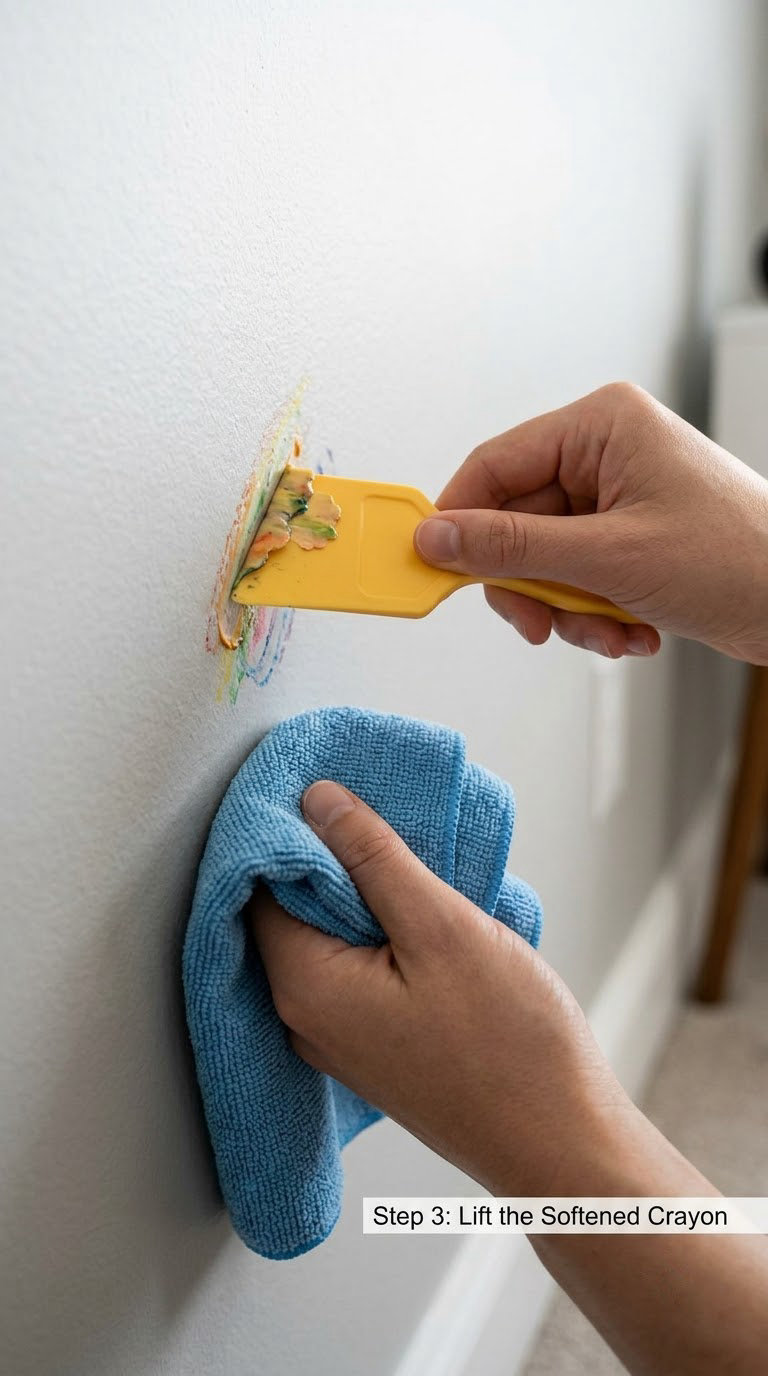
Hold the plastic scraper at a shallow angle, almost flat to the wall, and push it along the edge of the mark rather than across the middle. Start at an outside corner where the wax has the least grip and work inward, lightening your pressure as the material thins.
On semi-gloss and gloss, a melamine sponge does the lifting beautifully once the wax is soft. Dampen it, squeeze out nearly all the water, and stroke it in one direction. On flat or matte paint, stay with the plastic scraper, because the sponge buffs the texture and leaves a dull patch that is far more obvious than the crayon was.
A cotton swab works well inside a textured wall, but keep the tip moving and change it every few strokes.
Step 4: Remove Remaining Wax and Pigment
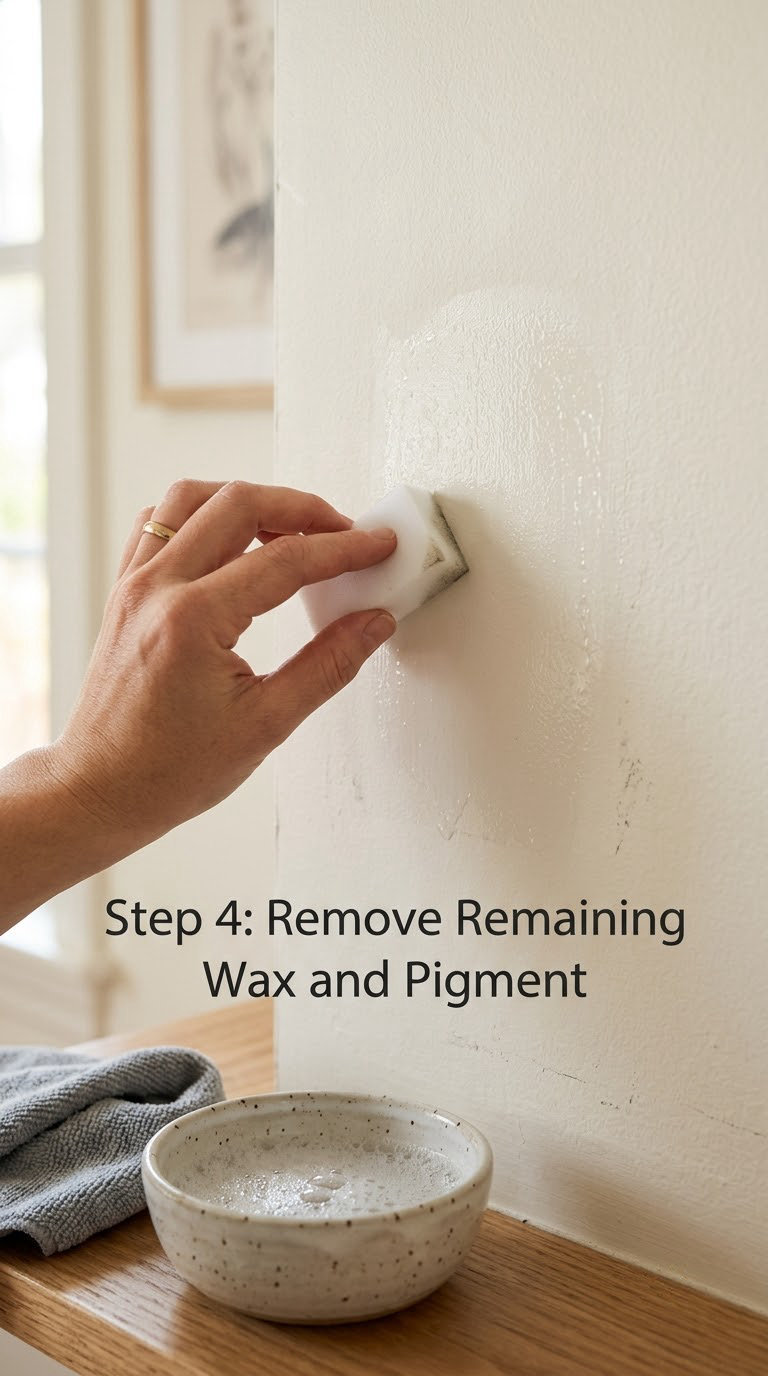
Most of the wax is gone by now, but a shadow often stays, which is pigment still hanging on. Wipe it with a cloth dipped in your soapy water, using a few light passes. Rinse the cloth, re-dip it, and repeat. Each pass uses clean water on the cloth side, and the pigment comes off faster than you expect.
If the shadow is stubborn on eggshell, satin or higher, mix one part white vinegar with four parts water and use it once, then wash the area with soapy water straight after so no acid sits on the finish. On flat paint, keep going with plain soapy water instead and give it two more passes, because the pigment is holding onto texture rather than sitting on a surface.
A baking soda paste, 3 tablespoons of baking soda to 1 tablespoon of water, adds a fine grit for stubborn pigment on hard-wearing finishes. Dab it on with a soft cloth rather than scrubbing, then rinse with clean water.
Isopropyl alcohol handles the last stubborn shadow on semi-gloss and gloss, and it leaves no oily film behind. It is not for flat paint and not for wallpaper.
If you are repainting this room soon, this is the moment to strip everything. Lift the wax as described, wash the whole wall down, and let it dry a full day before any primer goes on. Any wax you leave behind will bleed back through fresh paint and stain it later. Primer and sheen advice for the finished wall is worth checking while you are set up for it.
Step 5: Clean and Inspect the Area
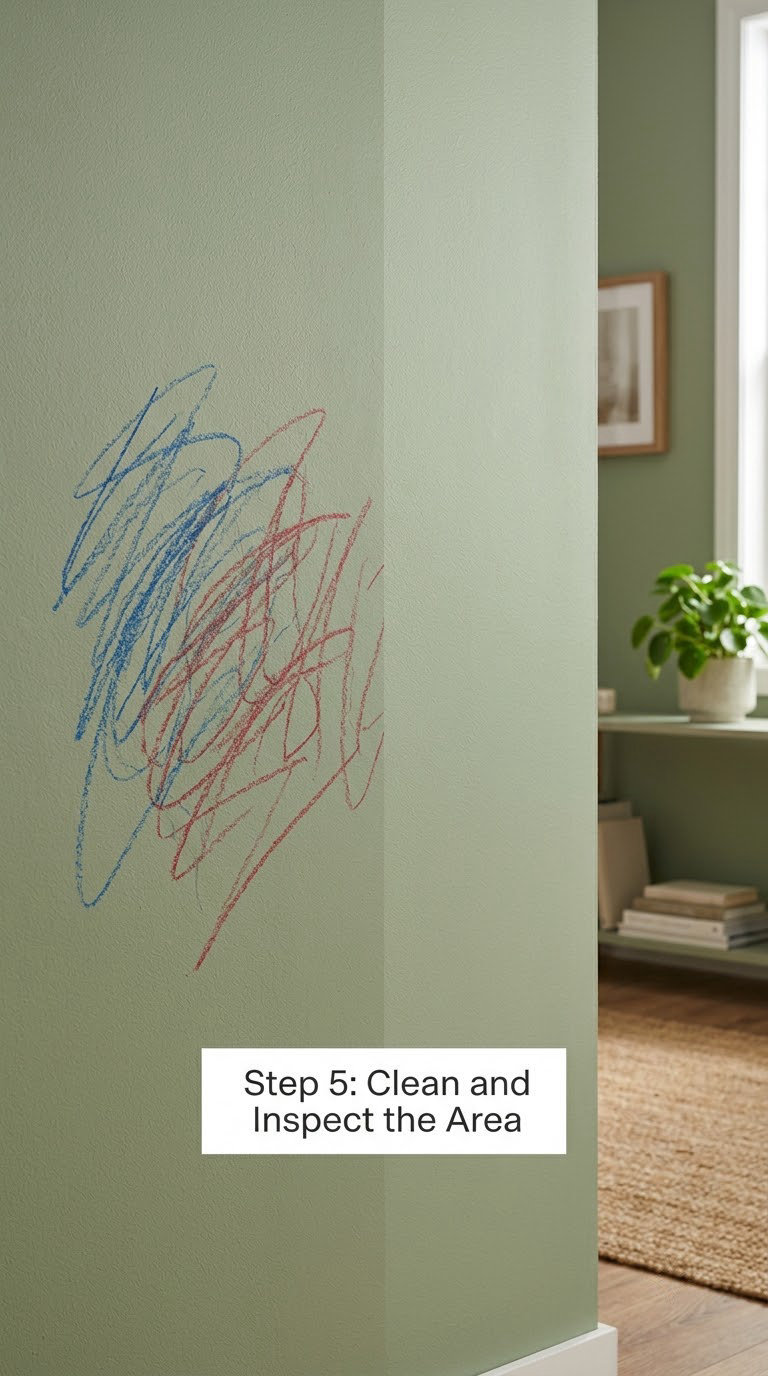
Use one clean cloth dampened with plain water to wipe away the soap. Then dry the area with a soft towel, working the same direction as the paint roller marks. Let the wall dry for an hour, then view it from an angle rather than straight on, since raking light shows residue that overhead light hides.
Look for two things: a dull or shiny patch where the finish was disturbed, and a faint pigment shadow. A shadow means one more gentle pass. A dull or shiny patch means the finish itself changed, and no amount of further cleaning fixes that.
Check your cloth after each pass. If the paint colour comes off on it, you are working too hard for the finish you have, and the next pass needs to be gentler rather than stronger.
Step 6: Touch Up Paint if Needed
For a matte wall with a faint rub mark, take a sample of the existing paint down to the closet first, then use a 1 inch angled brush for edges and a small roller sleeve for the centre of the patch. Feather the edges outward rather than stopping at the touch-up line, which is the step that makes a small repair obvious.
Match the sheen, not just the colour. Flat over eggshell is the most common mismatch, and it shows in daylight more than the colour difference does. Most interior touch-ups are dry to the touch in an hour and ready for furniture after four; check the label on your paint for the real cure time.
If you plan to cover a whole room rather than patch one mark, pick a washable satin or semi-gloss finish next time. It wipes clean and takes far less work to keep that way. The difference in how a room looks day to day is worth more than the small premium, and coatings worth comparing are covered in our guide to the best coat options for painted furniture.
Common Mistakes to Avoid When You Remove Crayon from Painted Walls
- Scrubbing instead of dabbing. It smears pigment across a wider area and dulls the finish. Blot, lift, and rinse the cloth constantly.
- Parking a hot tool on the wall. Keep a hair dryer moving, or the paint blisters. Overheat damage cannot be lifted back out.
- Using a melamine sponge on flat or matte paint. It works, then leaves a shiny worn oval that needs a repaint to hide.
- Reaching for acetone or nail polish remover. Acetone dissolves paint, not just wax. It strips colour to the primer in a single pass.
- Steel wool on paint. It belongs on bare plaster or wallpaper seams at most. On paint it removes the finish completely.
- Soaking the wall. Saturating drywall creates a stain that takes days to dry and can raise the paint off the surface.
- Skipping the spot test. This is the one habit that separates a clean wall from a stripped one.
- Leaving solvent film behind. WD-40 and similar products leave an oily shadow, so wash the area with soapy water afterwards even if the mark looks gone.
The same cleaning ladder works on other surfaces, with different rules. Getting pen marks out of leather needs a gentler approach, since dye sits on a different layer there.
When to Call a Pro
Stop and call a painter if the wall is historic plaster or lath, or if the paint predates 1978 and may contain lead. Lead testing has to come before any wet or abrasive method touches the surface, and disturbing lead paint is not a weekend project.
Hire someone else when the mark sits over a deep gouge or where the paint has already lifted, or when you took off more than a patch and now have bare drywall showing. Wallpapering, textured walls that need burnishing back to a uniform finish, and marks that have soaked wax into porous plaster also belong with a pro.
Any mark near a light switch, outlet or other electrical fixture means you need to know what is behind the wall before you work near the opening, and that is a job for someone who can check it properly. If a wax mark has been on the wall for years under a layer of sun-bleached paint, expect pigment shadow that no cleaner will fully lift.
Maintenance
The cheapest way to remove a crayon mark is to catch it early. Wipe it while it is still fresh, before the wax cools into the paint, and warm soapy water is usually enough.
Switch the room to washable crayons, which are formulated to rinse out of fabric and most hard surfaces, and set up a designated drawing spot that is not the wall. A roll of paper taped low on a wall, or a chalkboard surface leaning against it, absorbs most of what a toddler wants to make. If you like the crayon theme, our kids room decor ideas for Crayon Day keeps the art on display instead of on the drywall.
For a repaint, choose satin or semi-gloss in any room where art happens. Both wipe clean, and they leave less of a mark to fix than flat. Keep a cloth and a small bowl of soapy water in the utility drawer so the clean-up is a five minute job rather than a weekend one.
Once a year, walk each wall at eye level with a damp cloth. Most of what you find lifts before it ever needs a method, and nothing you find that way will ever need a pro.
Frequently Asked Questions
Does a Magic Eraser get crayon off a wall?
Yes, on eggshell, satin, semi-gloss and gloss, and it is usually the fastest method there. Dampen the sponge, squeeze out nearly all the water, and stroke the mark in one direction after a minute of gentle heat. On flat or matte paint the sponge dulls the texture and leaves a shiny patch, so use a plastic scraper instead.
Is crayon washable from walls?
Not in the ordinary sense. Crayon is paraffin wax with pigment added, and it sits on top of the finish rather than dissolving in water, so wiping with a wet cloth just spreads it. You have to lift it mechanically, melt it with heat, or dissolve the wax with oil or alcohol, then wash the oily residue off with soap and water.
Are crayon marks on walls permanent?
Almost never. Because the wax sits on the paint surface rather than soaking into it, heat plus a plastic scraper lifts nearly every mark. The exception is deep texture or very porous flat paint, where pigment can lodge in the grain and leave a faint shadow that never fully lifts without burnishing or repainting that patch.
Can you use WD-40 to get crayon off a wall?
It works, because the oil dissolves the wax binder, but it leaves an oily film you must wash off with soapy water afterwards or the wall will look dirty forever. Use it only on eggshell, satin or gloss after a spot test. On flat paint the residue is very likely to stay and attract dust.
How long does it take to remove crayon from a wall?
A single scribble takes 10 to 20 minutes including drying time. A wall covered from floor to chair rail is closer to two or three hours, because each patch needs a heat pass, a lift and a wipe. Work in sections of about 4 feet so you are not chasing dried wax while the rest of the room waits.
Will removing crayon damage the paint?
The paint stays intact if you spot test first, use the gentlest method that works, and dab rather than scrub. Damage shows up as a dull or shiny patch from over-scrubbing or a melamine sponge on flat paint, or as blistering from a heat tool held in one spot. Both are avoidable, and both are easier to fix now than later.
Start with the test patch, not the mark. Identify the sheen, dab warm soapy water on a hidden square and let it dry an hour, then warm the wax for 30 seconds and lift it with a plastic scraper at a shallow angle. Wash the residue with clean soapy water and check the wall from an angle once it dries. If you lifted paint instead of crayon, touch it up while the colour still matches.