How to Clean Grout Lines on Floor Tile: A Step-by-Step Guide 2026
The best way to handle dirty grout on a floor is a pH-neutral tile and grout cleaner, a stiff nylon brush worked along the joint, and a slightly damp microfiber mop to lift the loosened dirt. Most kitchens and bathrooms come back within an hour or two, and you need no power tools to get there.
Dirt in grout lines is not a failed floor. Cement-based grout is porous by nature, so the joints trap grit, cooking splatter and soap scum faster than the tile beside them ever does. The trick is working small sections, keeping water to a minimum, and letting the floor dry fully before you seal it.
Contents
Below is the process I use, whether the area is a 20-square-foot bathroom or a full entryway.
Time: 1 to 3 hours for a typical kitchen or bathroom, plus drying time · Cost: $15 to $45 in supplies · Difficulty: Easy to Moderate DIY · Skill level: Beginner, methodical
Tools and Materials
You can get a good result on a small bathroom floor with a brush, a sponge and a spray bottle. Larger rooms earn the specialty gear.
Hand cleaning basics
- Stiff nylon-bristle grout brush (one per bathroom, keep a spare, they wear down)
- Old toothbrush for corners and around toilet bases
- Microfiber cloths, 3 to 4 for a bathroom, 6 or more for a large floor
- Microfiber mop or sponge mop with a wringer
- Spray bottle for diluting cleaner
- Utility knife and painter’s tape for protecting baseboards
- Plastic sheeting or a drop cloth for adjacent wood and cabinets
- Nitrile gloves and eye protection
For larger areas or heavier soil (optional)
- Wet/dry vacuum or shop vac with a hose attachment — my picks for tile floors are in the best wet dry vacuums for tile floors
- Steam cleaner or steam mop for a chemical-free pass, covered in 8 ways people clean grout with steam
- Electric grout brush or narrow oscillating brush attachment
- Grout sealer applicator, small foam brush or sponge applicator
- Digital humidity meter, useful in basements and bathrooms with poor ventilation
- Grout rake or oscillating multi-tool for scraping hardened haze from the joint faces
Before You Start
Work out what you actually have before you mix anything. Cementitious grout (sanded or unsanded) is porous and takes cleaner. Epoxy grout is non-porous and mostly just needs soap and water, so it can handle harsher products without absorbing them.
Rub a damp white cloth firmly across a line of grout. If the cloth picks up color, the grout is unsealed or the sealer has worn through. If the cloth stays clean but the grout still looks dirty, you are probably dealing with a surface film rather than absorbed stain.
Always test your cleaner in a hidden area first, such as behind the toilet or in a closet corner, and leave it for the full dwell time the label specifies before you judge the result.
Set up the room before you open a bottle. Clear furniture, tape plastic sheeting over baseboards and unfinished wood trim, open a window or run the exhaust fan, and keep children and pets out until the floor is dry. Mop water that runs under an appliance can become a real problem, so block off doorways with towels or a folded sheet.
Never mix cleaning products. Bleach plus ammonia makes toxic gas, and mixing any two cleaners can do it. Drain cleaner, oven cleaner and acidic descalers have no business on a grout floor.
Routine cleaning needs no permit, no licensed trade and no special equipment certification. If you are dealing with plumbing, electrical or structural damage underneath the tile, that is a different job entirely.
Step-by-Step Instructions
Step 1: Clear Debris and Protect the Floor
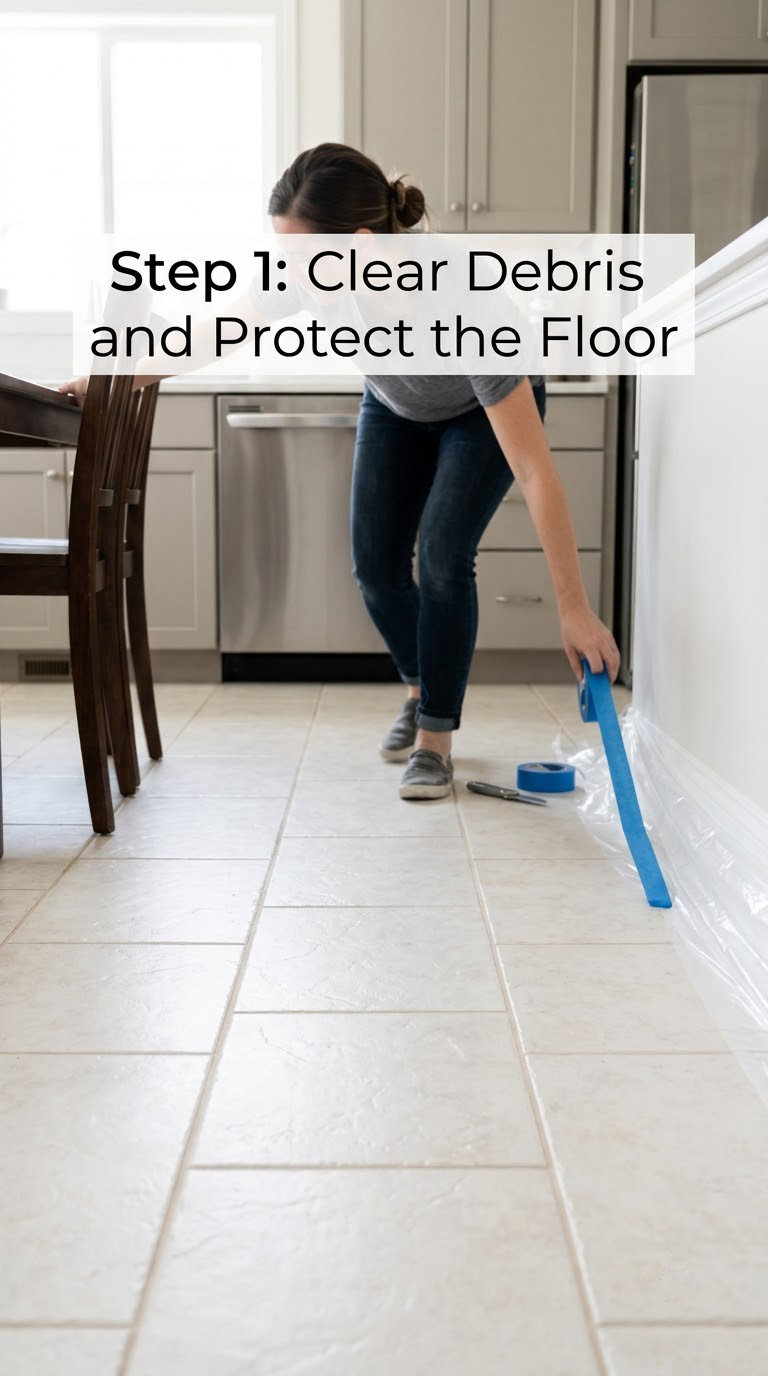
Start dry. Vacuum with a hard floor setting or sweep thoroughly, working along the joints rather than across them so grit lifts out instead of being pushed deeper. Pay attention to the perimeter, where grit collects under baseboards.
This is the step that decides how to clean grout lines on floor tile without grinding grit into the pores. Once you add water, everything loose on the tile becomes part of your slurry.
Step 2: Choose a Cleaner Safe for the Grout
For routine dirt, use a pH-neutral tile and grout cleaner. Neutral pH lifts everyday soil without etching cement or stripping sealer, and the bathroom shortlist is in the best cleaners for shower tile and grout.
For heavily soiled sealed grout, use a cleaner the sealer manufacturer approves for stripping, or an alkaline grout cleaner used at the label’s dilution. Alkaline products cut grease and soap scum well, but they can etch natural stone and discolor colored grout, so patch test first.
Stay away from bleach on colored or dark grout. It will lighten the joint unevenly and can weaken some cementitious grout over repeated use. Skip acidic drain cleaners and descalers entirely on a floor, and never use vinegar on natural stone such as travertine, limestone or marble.
Step 3: Apply the Cleaner and Let It Loosen Grime
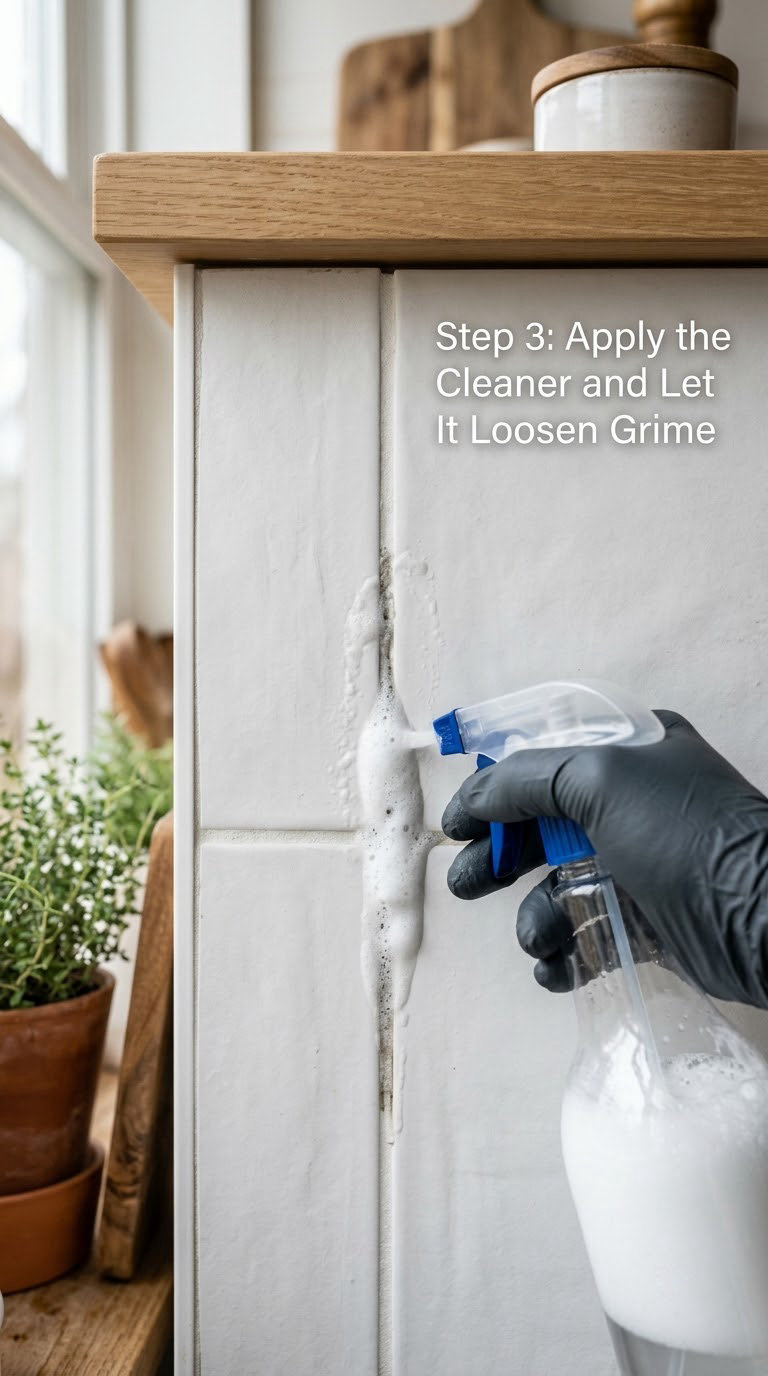
Dilute the product exactly as the label says, then apply it to the grout lines rather than soaking the whole floor. A 4 to 6 inch section is a comfortable work area for a bathroom; do 10 to 12 inch sections in a larger room.
Let it sit for the stated dwell time, usually 5 to 10 minutes. Do not go longer than the label allows on cementitious grout, because moisture sitting between adjacent tiles can wick under and stain them.
Step 4: Scrub the Grout Lines
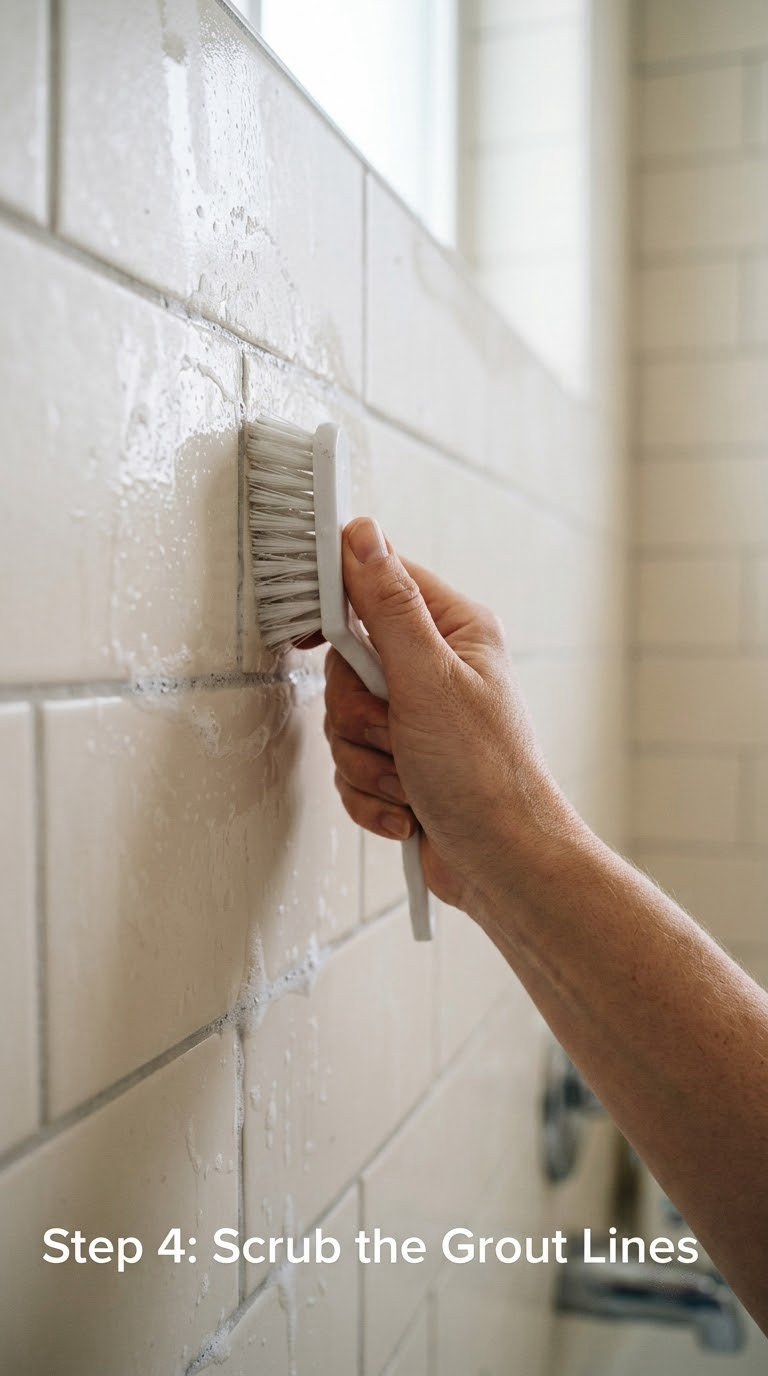
Hold the brush so the bristles sit along the joint rather than perpendicular to it, and use light pressure with short strokes in one direction. The joint should be uniformly damp, not flooded. If the bristles are splaying or bending sideways, you are pressing too hard.
On a large floor, an electric grout brush or a narrow oscillating brush saves a lot of arm time. Keep it moving and keep the same low angle. Pause and reapply cleaner to any section that starts to dry out.
Step 5: Rinse Without Spreading the Dirt
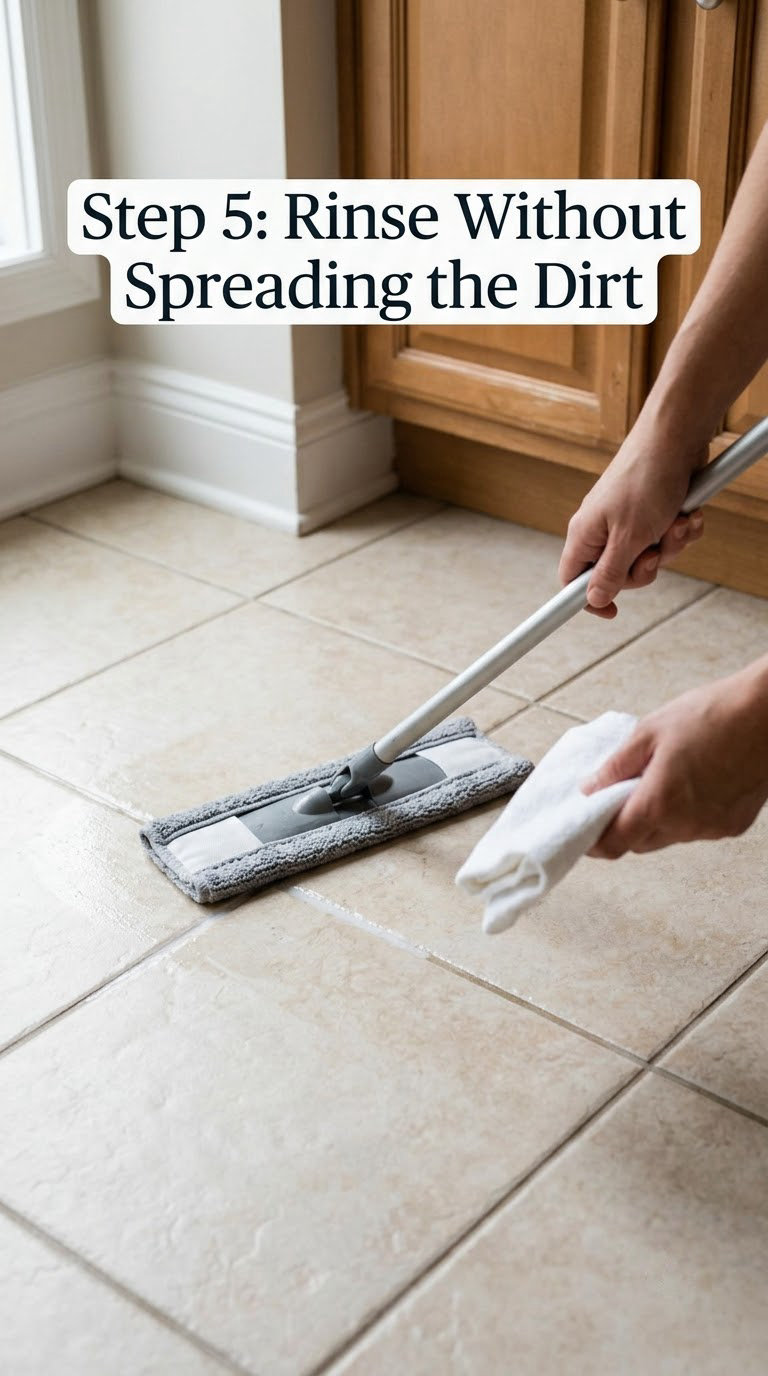
Loosen the residue with a lightly damp microfiber mop or sponge, working in straight passes along the joints. Two or three passes over each section is usually enough. The cloth should come away grey after the first pass and noticeably cleaner after the second. If it stays dirty on the third pass, you are moving grime rather than lifting it.
A wet/dry vacuum pulls the dirty water out of the joint instead of spreading it, which is why pros use it on large floors. On a small bathroom, a wringer and a dry cloth finish the job.
Stop the water before it reaches baseboards, transitions or the edge of an adjacent wood floor. Squeeze the mop out well between passes.
Step 6: Dry, Inspect, and Reseal if Needed
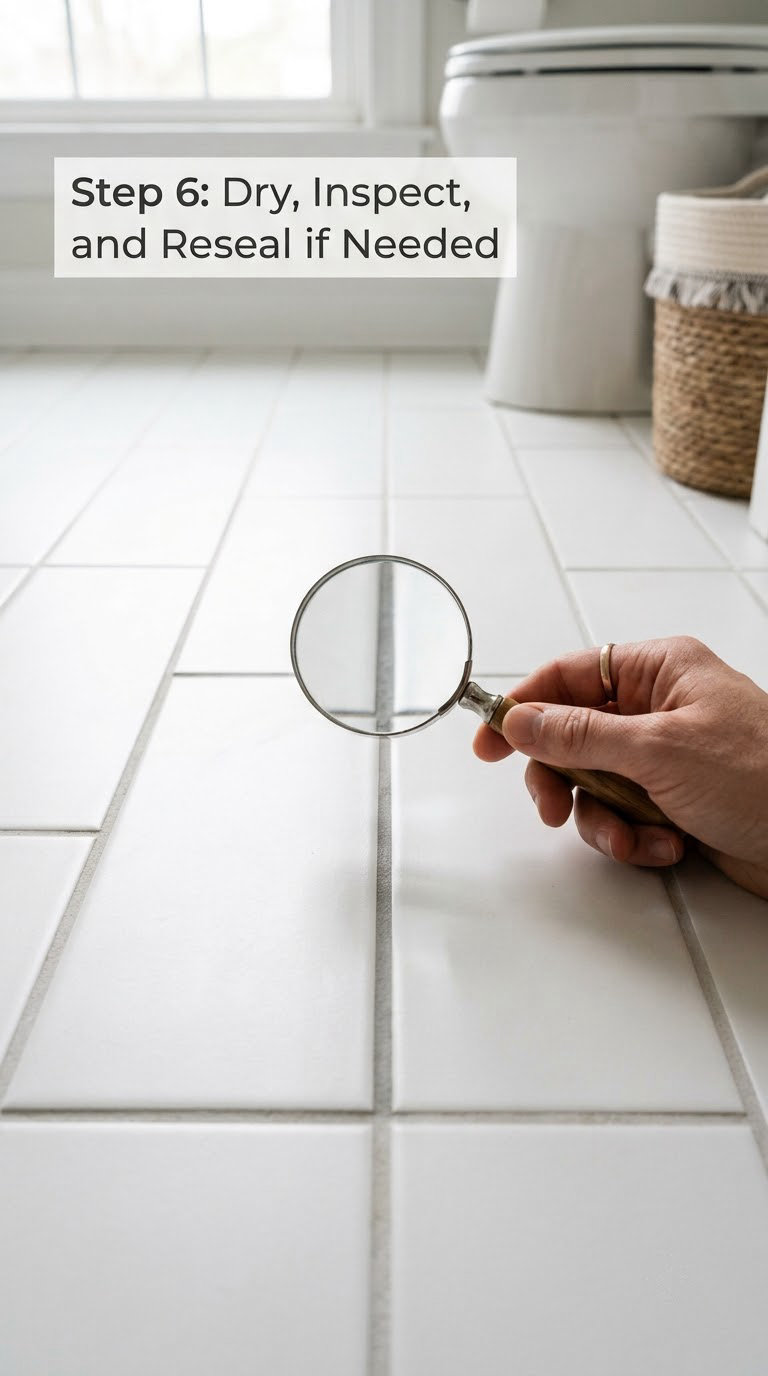
Let the floor dry completely before anyone walks on it. With good airflow, grout lines dry in 2 to 4 hours; in a humid bathroom or unheated room, allow 12 to 24 hours. A damp joint feels cool and slightly dark compared with a dry one, and it turns white when you rub it with a dry finger.
Walk the floor from several angles with light raking across it. For any joint you missed, spot-clean again only after the floor is dry, so you do not push moisture around.
If your damp-cloth test in the earlier step showed no color pickup, the sealer is still doing its job. Where it is worn, apply a compatible penetrating sealer after 24 to 48 hours of full dryness, following the product’s cure time before anyone walks on it. New sealer can turn slightly hazy, which normally fades over a day or two as it cures. Renter’s note: sealing is a permanent change, so get your landlord’s permission first.
Common Mistakes to Avoid
Flooding the floor. More water does not mean more clean. Work in small sections and keep the mop barely damp.
Scrubbing too hard. Hard pressure rounds the edges of the joint, and rounded edges trap dirt faster next time. Light pressure and consistent strokes do the work.
Assuming bleach is safe for every grout color. On dark and colored grout it lifts pigment unevenly. Use a pH-neutral cleaner instead.
Mixing products. Bleach and ammonia, or any two cleaners, can create dangerous gas. Open a bottle, use it, rinse, close it.
Cleaning the whole floor before testing. One patch test in a hidden corner takes two minutes and protects you from etching stone or discoloring grout.
Skipping the sealer. Clean cementitious grout that is never sealed drinks the next spill straight in. Seal worn joints once they are completely dry.
Walking on grout that is still damp. Footprints set into a soft joint are a common, avoidable annoyance.
When to Call a Pro
Cleaning is cosmetic. If the problem is structural, wiping the surface will not fix it.
- Mold that returns within days of a proper cleaning, or black grout with a musty smell and dampness under the tile
- Crumbly, soft or powdery grout that breaks when you press a screwdriver into it
- Cracked or lifted tiles, hollow-sounding areas when you tap the floor
- Water damage, a leak below the slab, or an unlevel floor that holds standing water
- Deep staining in porous sanded grout that has absorbed years of dye or grease
- Commercial kitchens, lobbies or pool areas larger than a few hundred square feet
In all of those cases, a pro should look at the moisture and installation first. Cleaning over a substrate problem wastes the money and the afternoon.
Maintenance
Keep a small brush in the house and use it. A five-minute scrub on the lines near the stove or shower every week prevents the heavy annual clean.
Daily: Wipe up spills as they land. A damp cloth within a few minutes means nothing sets into the joint.
Weekly: Vacuum or dry mop, then scrub high-traffic lines with a pH-neutral cleaner and the small brush.
Monthly: Damp mop the whole floor with a pH-neutral cleaner. Never add vinegar, ammonia or oil soap to the mop water.
Annually: Re-test the sealer with a damp white cloth, and reseal worn joints after the floor is completely dry.
Traffic matters more than the calendar. Entryways and kitchens in a busy house need weekly scrubs, while a low-traffic laundry floor can go a month between deep cleans. If a spot comes back within weeks of cleaning, the sealer has probably worn through.
If you are picking tools, the grout tool kits tile pros rely on are a decent way to stock up for a whole house.
Frequently Asked Questions
What is the safest way to clean dark grout without making it lighter?
Use a pH-neutral tile and grout cleaner with a stiff nylon brush, and skip bleach entirely, since it strips pigment unevenly from colored grout. Work in small sections, scrub along the joint with light pressure, and wipe with a barely damp microfiber cloth. If the grout lightens anyway, it is usually surface film rather than dye, and a second gentle pass with a clean cloth solves it.
Is bleach safe for cleaning grout lines on every floor tile?
No. Bleach works on some white cementitious grout, but it can lighten dark and colored grout unevenly and may weaken some cement-based joints over repeated use. It is also unkind to metal trim and epoxy grout. A pH-neutral cleaner gives you the same lift on routine dirt without the bleaching risk. If you do use it, always patch test first.
Should grout be sealed after cleaning, and how long should it dry first?
Seal worn cementitious grout after cleaning, because a porous joint drinks the next spill straight into the pores. Wait at least 24 hours, and up to 48 in a humid room, until the grout is completely dry to the touch. Use a penetrating sealer matched to your grout type, follow the product cure time before walking on it, and reseal roughly every year or two in high-traffic areas.
Can baking soda or vinegar remove grout discoloration?
Baking soda mixed with a little water makes a gentle paste that helps with light surface grime on ceramic and porcelain tile. Vinegar is an acid, so it can etch cement-based grout and it damages natural stone such as travertine, limestone and marble outright. On darker grout, a neutral cleaner works better than either. Deep dye stains usually need professional extraction or a grout rake and reseal.
How do I clean deeply stained grout when a brush and household cleaner do not work?
Escalate in stages. After a pH-neutral cleaner fails, try an alkaline grout cleaner made for cementitious grout, patched first and never on stone. If the stain has dyed deep into a porous joint, an oxygen-based cleaner such as hydrogen peroxide can lift color without chlorine. When that fails, the honest answer is regrouting or professional extraction, especially if the stain is oil-based.
Can I use a steam cleaner on ceramic tile and grout?
Yes, on ceramic and porcelain tile with cementitious grout, and steam is well suited to soap scum and kitchen grease because it needs no chemicals. It is not right for natural stone or epoxy grout, and it can push polymers from a topical sealer back to the surface. Work slowly, keep the nozzle moving, and dry the floor well afterward so moisture does not sit in the joint.
Start With One Foot
Pick the smallest section of the floor that bothers you, vacuum it, patch test a pH-neutral cleaner, and scrub one 6-inch stretch. That tells you in ten minutes whether the method works on your grout before you commit a whole afternoon to it.
Once you know the result, work outward in the same order every time: dry, clean, scrub, rinse, dry, reseal. Keep the brush in the house and the routine stops being a project.