How to Replace a Thermostat in a House (October 2026)
Replacing a thermostat in a house is a low-voltage job most homeowners can finish in under an hour: switch off the HVAC breaker, photograph and label every wire, mount the new base plate, reconnect each wire to its matching letter terminal, then restore power and test. The furnace and air conditioner themselves stay untouched.
Time: 45 to 90 minutes · Cost: the thermostat itself, plus a C-wire adapter if your wall has no common wire · Difficulty: Beginner · Skill level: None needed beyond reading a wiring diagram
Contents
Most of what makes this job stressful is guessing. People open the wall plate and find six wires with faded colors, no labels, and a breaker they are not sure they found. Get rid of the guessing in the first ten minutes and the rest is mechanical.
What follows is the order I would use, the mistakes I would skip, and a clear line between what you can safely do yourself and what belongs to a licensed electrician. If you would rather read about the cooling side first, our guide on how to install an air conditioner thermostat covers that wiring in more depth.
Tools and Materials
Gather everything before you open the wall plate. Scrambling for a screwdriver with a dead furnace running in January is how small jobs turn into expensive ones.
What you need:
- Screwdriver set — 1 Phillips and 1 flat blade, the flat one narrow enough to fit a thermostat terminal screw
- Multimeter or non-contact voltage tester rated for low-voltage control circuits, 1
- Wire stripper, 18 to 20 AWG
- Masking tape or printed wire labels, 1 roll or 1 sheet
- Phone or camera for reference photos of the existing wiring
- Pencil for marking wire positions on the wall
What to buy:
- The replacement thermostat itself, matched to your system type
- Wire nuts or lever connectors, 2 to 5 depending on wire count
- Drywall anchors and screws, 2, only if the new base plate lands on a stud gap
- Fire-rated foam or fiberglass insulation plug, 1, to close the cable hole in the wall
- AA or AAA batteries, if the new unit is battery powered
- Add-a-wire kit or 24V adapter, 1, only if the wall has no common wire
A cheap non-contact voltage tester is enough to confirm the circuit is dead. A multimeter gives you a number you can trust, which matters more when you are unsure which breaker feeds the furnace.
Before You Start
Most systems in homes are 24-volt low-voltage control circuits, which is why this job is so common among do-it-yourselfers. The thermostat does not power your house. It sends a small signal from a transformer on the furnace or air handler that tells the equipment to start, and a larger, dangerous system is a separate story covered under When to Call a Pro.
Identify your system before you buy anything. Look for a nameplate on the furnace or air handler: gas, electric, heat pump, or dual fuel. If the equipment is a heat pump, you will also need a reversing valve control wire, often labeled O or B, and a thermostat that supports heat pumps. The setup step where you tell the thermostat your system type matters more than people expect, because a heat pump configured as a straight air conditioner runs its backup heat constantly.
Confirm compatibility next. Match the number of wires you have at the old thermostat against what the new one expects, and check whether the new unit supports your equipment type. A basic programmable thermostat handles conventional gas and electric systems fine. Smart thermostats with screens, apps, and humidity sensors almost always require a common wire, or C-wire.
Photograph the existing wiring before you touch anything. Take one wide shot showing where the plate sits on the wall, and one close shot of the terminals. People who skip this step report being unable to reinstall the old unit.
Find the model and wiring diagram for your equipment while the power is still on. The manual for the furnace or air handler has the authoritative terminal layout, and it beats any color code you find online. Wire colors were never standardized, which is exactly why the letters on the terminal block matter more than the colors on the insulation.
Then shut the power off properly. Switch the HVAC system to Off at the thermostat, set the furnace or air handler to Fan Only, and flip the breaker marked HVAC, air handler, or furnace in the breaker panel. If your equipment has a physical power switch within sight of the unit, turn that off too.
Verify the power is off rather than assuming it. Set the old thermostat to call for heat or cool and confirm nothing happens. For a meter check, set the multimeter to the AC voltage setting and touch the probes to the wire terminals; the reading should stay near zero on a low-voltage system. Any reading well above that, any burned or brittle wiring, or any exposed copper means you stop and call an electrician.
Move pets and children out of the room, keep a flashlight nearby, and check whether your local rules require a permit for this work. Swapping a low-voltage control device in an occupied residence is usually not permit work, but anything that touches line-voltage wiring is.
Step-by-Step Instructions
These seven steps cover a standard 24-volt installation with a conventional base plate. Line-voltage thermostats, common on older baseboard and some radiant systems, are wired differently and are not part of this procedure.
Step 1: Confirm the Thermostat Is Compatible
Check before you remove anything, because compatibility decides whether the job takes an hour or a second trip to the hardware store.
- Count the wires at the existing thermostat and compare that count to the installation instructions in the box of the new unit.
- Match equipment type: conventional gas or electric, heat pump, or dual fuel, based on the nameplate on the furnace or air handler.
- Confirm a C-wire is present for most smart and programmable models with a display or app.
- Read the new unit’s wiring guide end to end before pulling a single wire off a terminal.
If the numbers do not line up, stop and read the compatibility chart in the manual rather than improvising. Wrong staging or a missing terminal produces a system that runs but never quite heats or cools right, which is harder to diagnose than an obvious failure.
Step 2: Turn Off Power and Check for Voltage
The switch is off at the breaker and the equipment itself is switched off at the unit, and you have confirmed with a tester that no voltage is present.
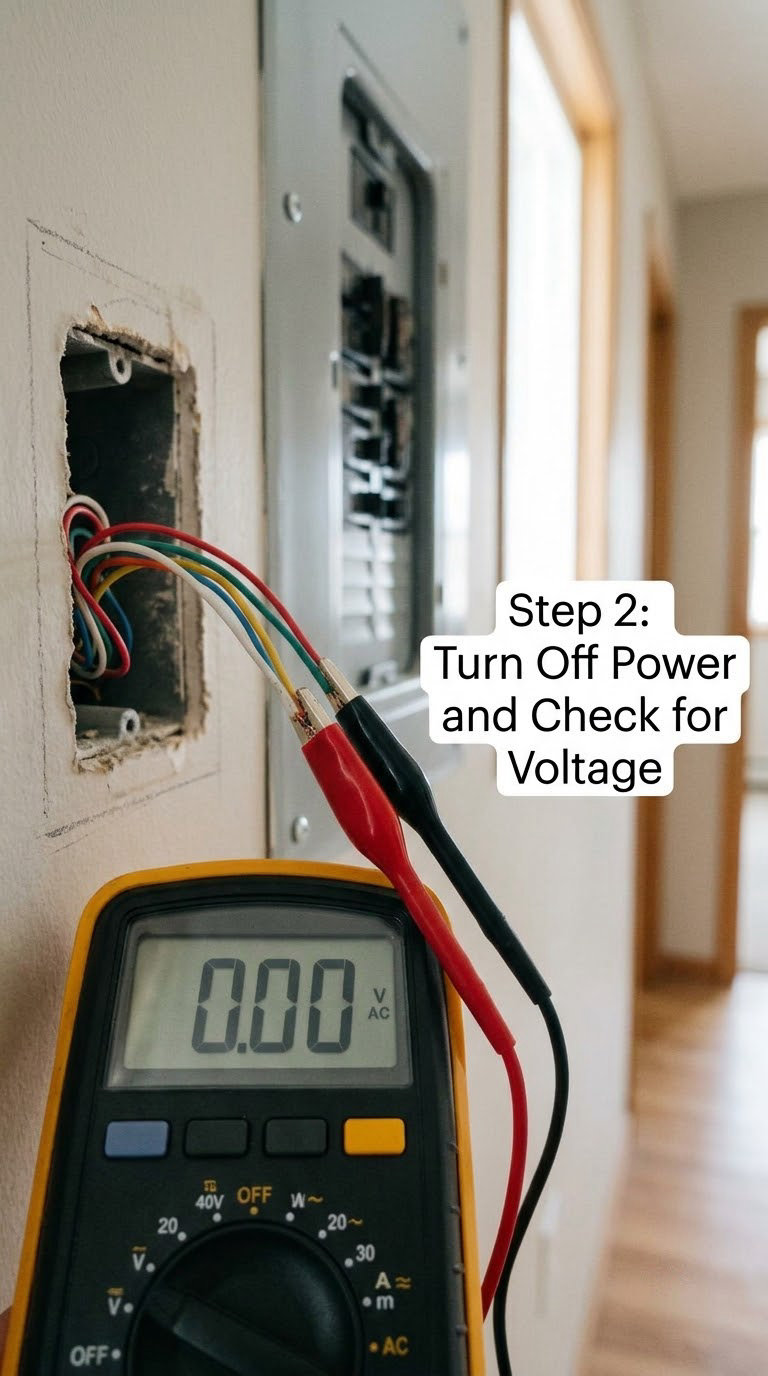
Some homes have the HVAC on a double-tap breaker or a subpanel, so look for labels, not just breaker position. If the label is missing, a non-contact tester will find the live breaker for you. Test at the thermostat wires after isolating the circuit, because power can reach the low-voltage wires through the equipment even when a breaker appears off.
Step 3: Remove the Old Thermostat and Label the Wires
The old faceplate is off the wall and every conductor carries a label that matches its terminal letter.
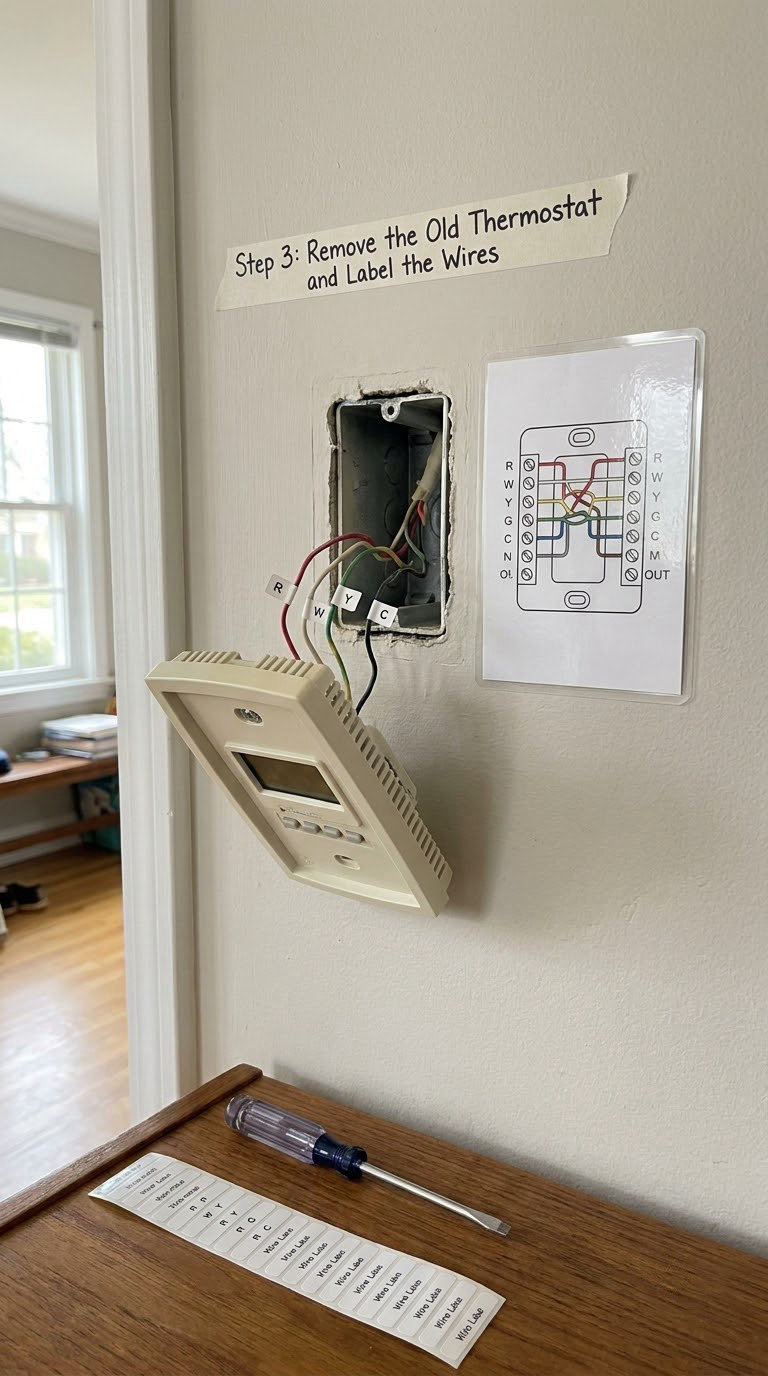
Pull the faceplate straight off the wall without tugging the wires behind it. Photograph the terminals, then work one wire at a time: note the letter it sits on, label it, and loosen only that terminal screw. Never yank a wire out from under a screw terminal without loosening the screw first, because the screw bites into the insulation and will nick the conductor.
Unscrew the mounting plate last. If the wires disappear into the wall in a bundle, note how they were tucked so you can push them back the same way.
Step 4: Inspect and Prepare the Wires
Each conductor is trimmed cleanly, stripped only as far as the terminal needs, and free of damaged insulation.
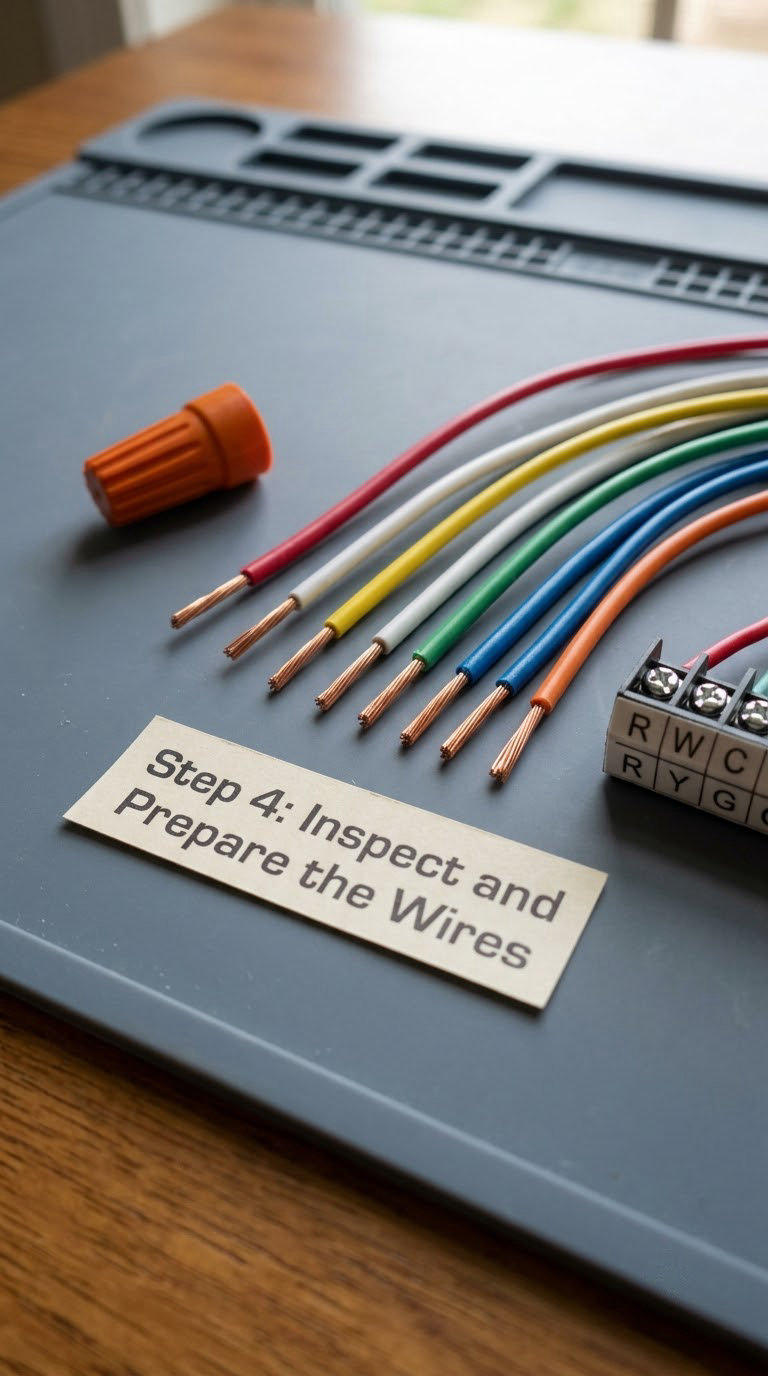
Pull each wire forward and look at it closely. You are checking for loose strands, greenish corrosion, brittle or cracked insulation, nicked conductors, and too much bare copper. Trim damaged wire back to clean copper and strip only about 1/4 inch of insulation, which is all a screw terminal needs.
If a conductor is badly frayed or the insulation is brittle all the way along, stop there. Pushing questionable wire onto a terminal is how a working furnace ends up needing a control board replacement, and that repair belongs to an HVAC technician.
Plug the wall opening with a fire-rated foam plug or a wad of fiberglass insulation before you push the wires back in. Gaps behind the thermostat let attic air and drafts skew the temperature reading.
Step 5: Connect the New Thermostat
Each labeled wire sits on the terminal letter printed on the new base, and the faceplate is fastened flat with no conductor pinched behind it.
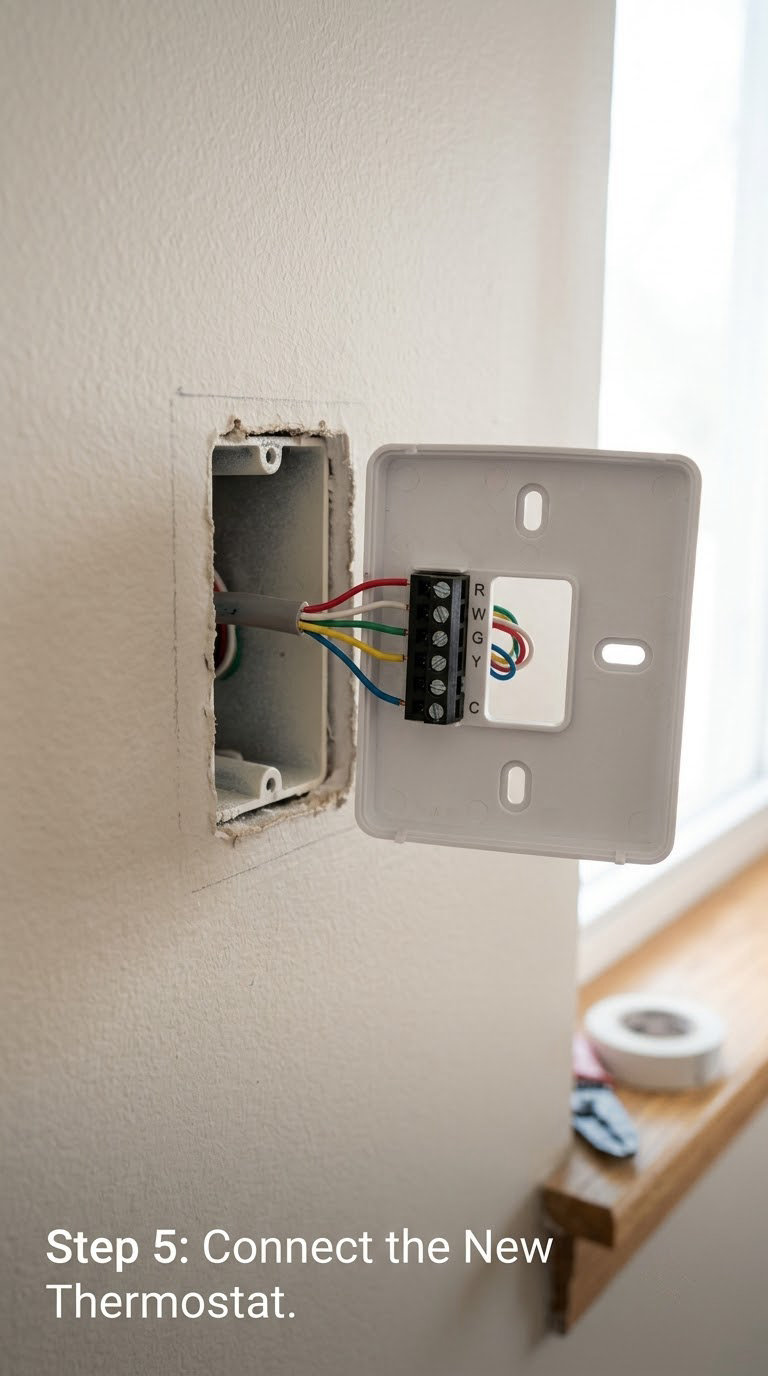
Mount the new base plate first. Use the existing screw holes when the old and new plates line up. When they do not, mark the new holes, drill into a stud wherever you can, and use drywall anchors for the rest. A plate that rocks under pressure will crack the terminals eventually.
Pull the wires through and connect them one at a time, following the diagram in the new unit’s manual and the terminal letters on the base. Most bases are printed with the letters, and any wire you do not have simply stays empty rather than being tied onto something.
Tighten each terminal screw firmly but not aggressively, then tug gently on each wire to confirm it is seated. Tuck the excess cable back into the wall cavity without pinching anything, seal the cable hole, and click or screw the faceplate onto the base until it sits flat against the wall.
Step 6: Restore Power and Test the System
The system is powered up again, the thermostat responds, and the equipment runs a full heat and cool cycle on demand.
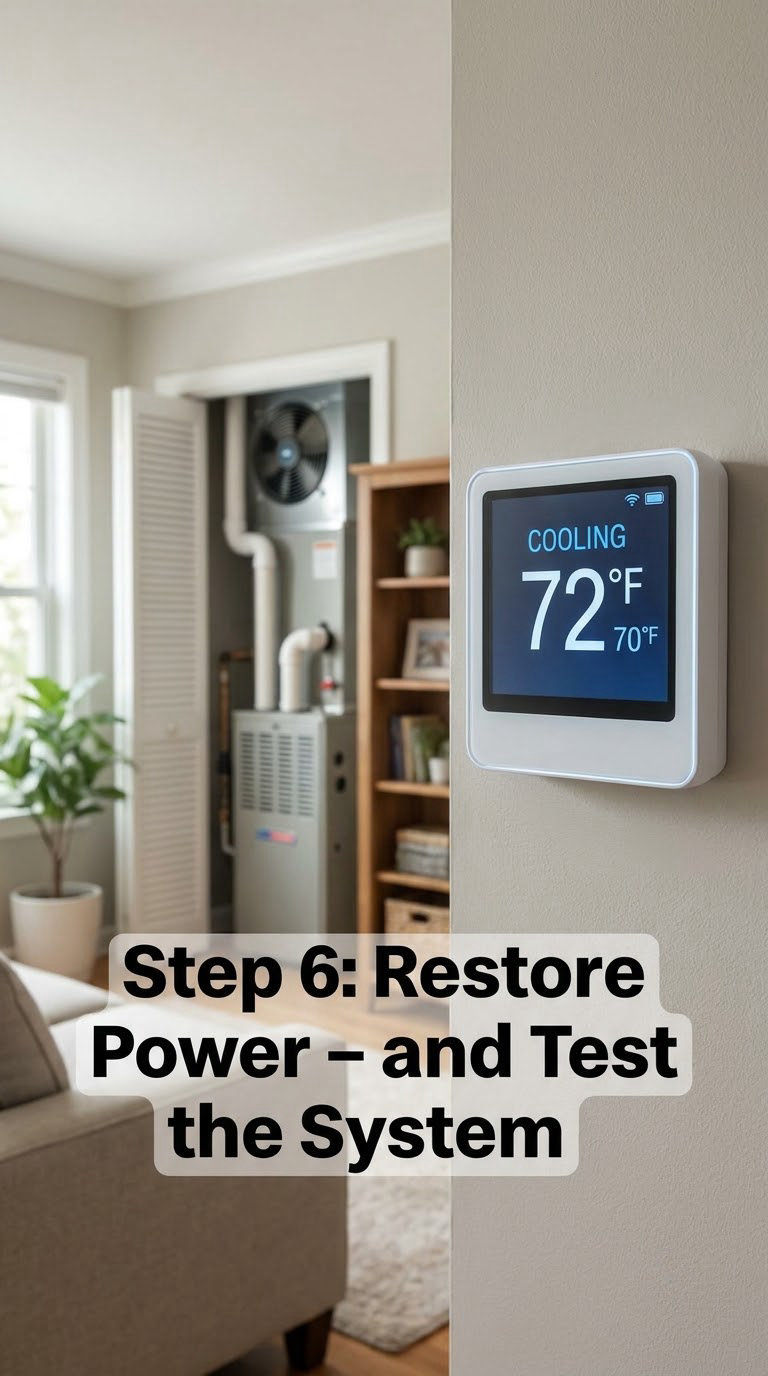
Turn the physical switch at the furnace or air handler back on, then restore the breaker. Most new thermostats show a setup screen on first power: set the date and time, choose your system type, and answer the equipment questions before you judge anything.
Test in stages rather than all at once. Run the fan first and confirm air moves. Then call for heat and let the cycle complete. Then call for cool and do the same. Watch for a delay of a few minutes between the call and the equipment starting, which is normal on many systems.
Our guide to setting a thermostat on an air conditioner goes deeper into the mode changes and fan settings worth checking while the system is running.
Step 7: Program the Thermostat and Check Comfort
The schedule is set, the setpoints are right, and the equipment completed at least one full cycle in each mode.
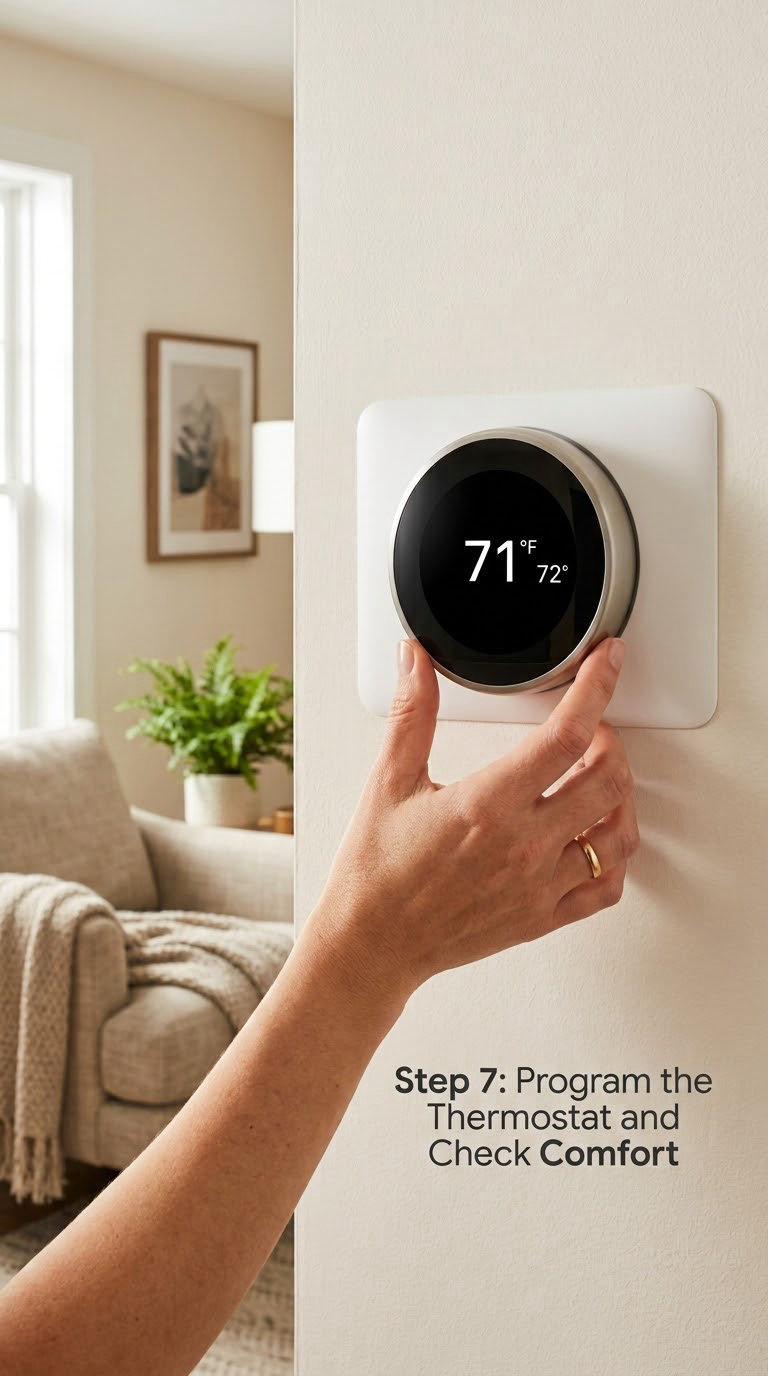
Set the heating setpoint a few degrees below the room temperature in the morning, and the cooling setpoint a few degrees above it, then let the schedule run a full day before you judge it. A 1 to 2 degree swing is comfortable and usually cheaper than chasing a tighter number.
Install batteries if the unit is battery powered and check the battery level indicator. Smart units need the app paired, the home and away routines configured, and Wi-Fi details entered, which usually takes a few minutes on your phone.
Give it a day or two before adjusting anything. A new thermostat often gets blamed for a problem the system already had.
Common Mistakes to Avoid
Treating wire colors as universal. Colors were never standardized, and the same red wire means different things in different houses. Label by the terminal letter printed on the old and new units, not by color.
Not labeling before disconnecting. This is the single step that prevents mistakes. Photograph, label, then disconnect one wire at a time.
Skipping the voltage test. A breaker label can be wrong or faded, and power can reach the thermostat from the equipment side. Test before you touch a terminal.
Stripping too much bare copper. Leaving 1/2 inch or more of bare conductor creates a chance for a stray strand to bridge two terminals. About 1/4 inch is enough.
Forcing a wire under a screw terminal without loosening it. The screw cuts into the insulation and can break the conductor. Loosen first, insert, then tighten.
Ignoring compatibility. A smart thermostat with a humidity sensor on a system with no common wire, or a heat pump thermostat on a straight air conditioner setup, will operate incorrectly from day one.
Leaving wires pinched behind the faceplate. A squeezed conductor causes an intermittent fault that can take weeks to trace. Tuck the slack into the cavity and check that the plate sits flat.
Programming nothing. A thermostat left on a single setpoint runs all day. Even a simple weekday and weekend schedule pays back quickly, and forgetting the setback is the most common reason a new system does not save anything.
Not testing after you finish. Run the fan, then heat, then cool, and stay with the system through one full cycle in each mode before you call it done.
When to Call a Pro
Stop and contact a licensed electrician or HVAC technician in any of these situations:
- The existing thermostat has more than two thick conductors, a sub-panel feed, or wiring that looks like line-voltage. Systems for baseboard heaters, radiant floor heat, and some mini-split and older hydronic setups run on line voltage and are not homeowner work.
- You read line voltage when you test, or the meter reading does not drop near zero after isolating the breaker.
- The wiring is aluminum, badly corroded, brittle, scorched, or was previously worked on without a proper connector.
- The breaker trips repeatedly, the equipment breaker has no label, or the panel work involved is more than flipping a switch.
- Your system is a dual fuel setup, a multi-stage or multi-zone system, or anything wired into a zone controller.
- Your local authority requires a permit or a licensed electrician for this class of work, or you are renting and the lease requires it.
Two more cases are equipment problems rather than thermostat problems: repeated short cycling, a furnace that will not fire at all, or a blower that runs with no heating or cooling. Changing the thermostat will not fix any of those, and parts can be expensive.
If you rent, ask your landlord or property manager first. In most places the wiring inside the unit belongs to the owner, so swapping the control device is not yours to authorize.
Maintenance
Once the new thermostat is working, a few minutes a month keeps it that way.
- Check the furnace or air handler filter monthly and replace it when it looks grey. A clogged filter makes a thermostat work harder than it needs to. Our walkthrough on how to replace an air conditioner filter covers the routine.
- Replace batteries every year, or sooner if the unit warns you. Most digital thermostats lose settings when batteries die.
- Dust the thermostat cover and the vents around it gently so air can read the room temperature accurately.
- Review the schedule every season as the weather turns, rather than leaving summer settings in place through winter.
- Note any warning symbols, error codes, or alerts about humidity and clean filters, and act on them.
- Have the heating and cooling equipment inspected and serviced annually by a professional, including refrigerant levels, coil cleaning, and control board checks.
If you replaced a round mercury-style thermostat, take the old unit to a household hazardous waste drop-off rather than the regular trash, since mercury content is regulated in many areas.
Frequently Asked Questions
Can I replace any thermostat myself?
You can replace a standard 24-volt wall thermostat yourself with basic hand tools. Turn off the HVAC breaker and the switch at the equipment, label every wire by its terminal letter, mount the new base, reconnect the wires, then restore power and test heat and cool. Do not attempt it if the wiring shows line voltage, aluminum conductors, or the equipment has a physical high-voltage disconnect.
Are thermostat wire colors universal?
No. Colors were never standardized, so the same red wire means heat in one house and cooling in another. Label each conductor by the letter printed on the terminal it was connected to, such as W for heat or Y for cooling, and write that letter on the wire before you disconnect it. The letters on the new base tell you where each one goes.
How do I know which thermostat is compatible with my HVAC system?
Find the nameplate on your furnace or air handler and note whether it is gas, electric, heat pump, or dual fuel, then count the wires at the existing thermostat. Match that count to the chart in the new unit’s manual. Most smart thermostats need a C-wire, and heat pump systems need a thermostat that handles the reversing valve and the backup heat mode.
Can I install a smart thermostat in place of a regular one?
Usually yes, if your system type is supported and a common wire is present in the wall. If there is no C-wire, you can run one from the furnace control board or use an add-a-wire kit or 24V adapter that plugs into the wall outlet. Without any of those options, a smart thermostat may show an error or lose power after a battery change.
What should I do if the heating or air conditioner does not turn on after replacement?
Check that the equipment switch and the HVAC breaker are both back on, then confirm the thermostat shows a call for heat or cool. Many systems wait a few minutes before responding. If the fan runs but there is no heating or cooling, a wire may be on the wrong terminal, so compare each connection against the manual. Still nothing, call an HVAC technician.
Does replacing a thermostat require an electrical permit?
Swapping a low-voltage 24-volt control device in an occupied home is usually not permit work, though rules vary by region and rental agreements may require the owner’s permission. Anything involving line voltage, new wiring, or a panel change is a different category and typically needs a permit and a licensed electrician. Check with your local building department if you are unsure.
Conclusion
Start with the compatibility check, before anything is disconnected. Then shut off power at both the breaker and the equipment switch, confirm with a tester that no voltage is present, photograph and label every wire by its terminal letter, and follow the diagram printed with the new thermostat rather than any color code you found online.
Restore power last, configure the system type, and run a full heat cycle and a full cool cycle before you call it finished. If anything about the circuit is not clearly low-voltage, stop and get a licensed electrician involved, because that is the one part of this job where the cost of being wrong is not just a replacement part.