How to Remove Old Caulk from a Tub (October 2026)
How to remove old caulk from a tub is mostly a cutting job, not a chemical one. Score both long edges of the bead with a sharp utility knife, lift the strip out with a plastic razor or flexible putty knife, scrub the residue with isopropyl alcohol, then let the joint dry completely before new caulk goes on. Solvents handle the last film, not the main bead.
The reason people get stuck is expectation. Cured silicone is a crosslinked rubber that no household solvent fully dissolves, so spraying something and waiting rarely frees the strip. What works is breaking the seal mechanically first, then using chemistry on what is left.
Contents
It is tedious work. For a standard tub with one bead of roughly 20 to 30 linear feet, budget two to three hours for removal alone, plus drying time before you can caulk. If someone before you piled on extra layers, add another hour.
Time: 2-3 hours removal, plus 24 to 48 hours of drying before resealing · Cost: low if you already own a knife and a scraper; a full toolkit and one tube of mildew-resistant silicone caulk are the two real outlays · Difficulty: Easy DIY, slow and fussy rather than hard · Skill level: Beginner, as long as you go slowly with the blade
Tools and Materials: How to Remove Old Caulk from a Tub
Gather everything before you cut anything. Halfway through a bead with no towel within reach is how tools end up in the tub.
For removing the bead:
- Sharp utility knife with fresh blades, plus 3-4 spare blades. The blade dulls fast on cured silicone.
- Plastic razor scraper, or a plastic razor blade in a holder. This is the only blade that touches the tub surface.
- Flexible putty knife, 1 inch wide. Faster than a razor on long runs, and the most useful single tool for the job.
- Caulk removal gel or solvent labelled for silicone, one small tube. A gel clings to a vertical joint better than a spray.
- Hook tool or plastic caulk removal tool for digging the bead out of inside corners.
- Optional: a polymer abrasive wheel on a low setting for a stubborn residue patch, plus a drill. Test it on a hidden spot first.
For cleaning and protecting:
- Isopropyl alcohol or mineral spirits for residue, plus a stiff nylon brush or scrubbing pad.
- Clean rags or microfiber cloths, at least four.
- Old towels or a drop cloth to cover the tub deck and floor.
- Painter’s tape to mask adjacent tile, the tub flange and any fixtures.
- Rubber gloves and safety glasses. Caulk remover fumes and flying fragments are both unpleasant.
- A vacuum or hand vacuum for debris, and a small brush for the joint.
- Replacement caulk for later: 100 percent silicone kitchen-and-bath grade with mildew resistance, or an acrylic latex tub-and-tile formula if the manufacturer approves it for your tub material.
Before You Start
Put on gloves and glasses before anything else, and open a window or run the exhaust fan. Solvent fumes in a closed bathroom get heavy fast, and a bead that lets go can throw fragments.
Turn the water off at the fixture if the spout or the overflow plate has to come off to reach the joint. If the spout is fused on, do not force it; our guide to removing a stuck tub spout covers that separately. You do not need water off for a simple seam, but do keep the tub dry and empty.
Empty the tub, pull back the curtain, and remove anything sitting on the deck. Lay towels over the tub rim and the floor below so fragments land on fabric.
Know your surface before you touch it. Acrylic and fiberglass scratch easily and show every metal mark, so a metal razor is off the table on those. Porcelain enamel over steel or cast iron is tougher but still marks if you bear down. If you are not sure what you have, a light mark test on a hidden corner of the deck, and our fiberglass tub care guide, will help you place it.
Test any solvent on a hidden area and wait the full dwell time before you commit to the whole seam. Isopropyl alcohol is mild on most tubs but will haze some plastics.
Now look at what the caulk is hiding. Stop and get help if you find any of these:
- Soft, dark or crumbly wood behind the flange, which means water has been getting in for a while.
- Black or green speckling on the backer board or drywall that does not wipe off, or a musty smell that gets stronger when the joint is wet.
- A tub that rocks, flexes or creaks, or a flange that feels soft under pressure.
Step-by-Step Instructions
Work in short sections of 2 to 3 feet rather than trying to free the whole run at once. Short sections keep the blade shallow, reduce the force you need, and stop a mistake from travelling the length of the tub.
Step 1: Dry and Protect the Tub Area
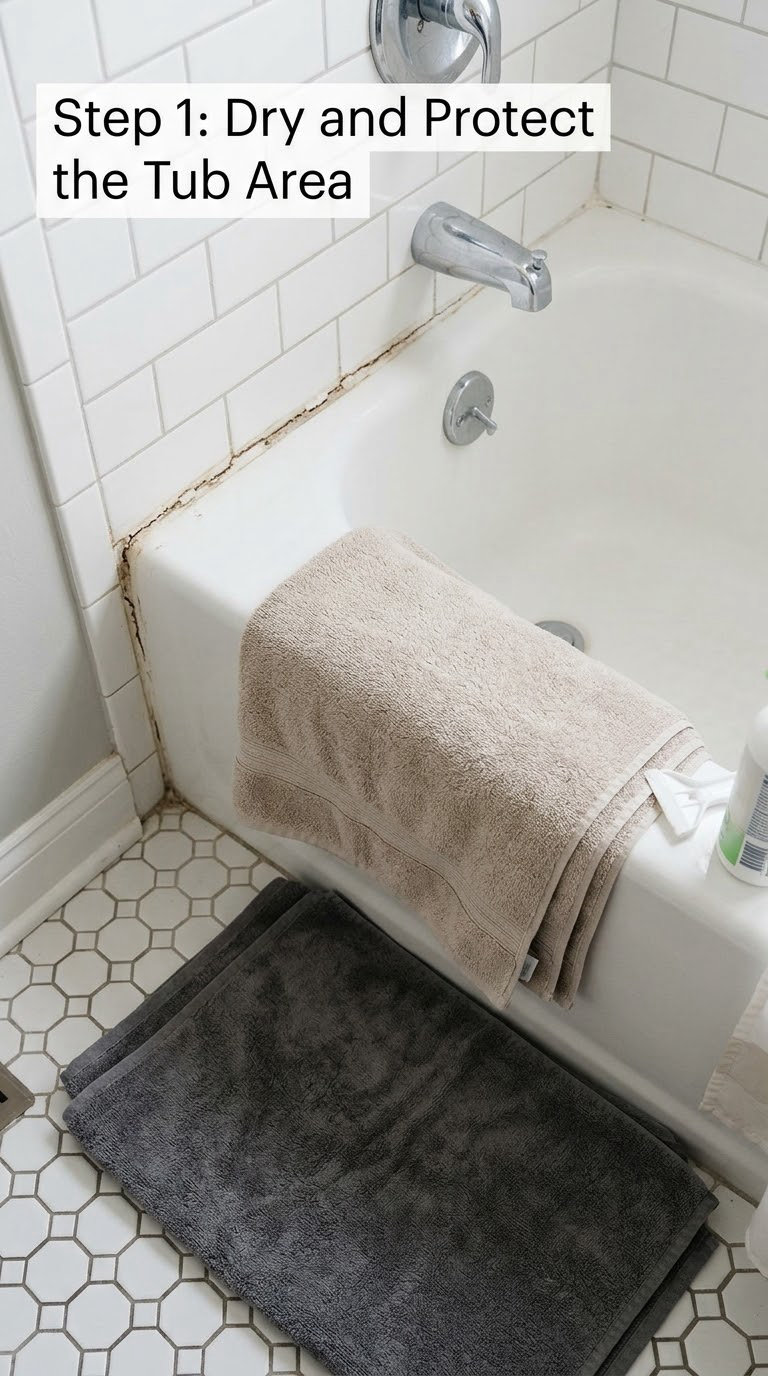
Dry is the requirement here, not tidy. A damp joint will not score cleanly, and any moisture trapped under the old bead follows you all the way through to the new caulk.
Wipe the joint down and let it sit. If there is standing water in the tub, run the tap hot for a few minutes to warm the surface and dry the joint faster, or aim a fan at it. Feel the seam with a dry finger. If it is cool or damp, keep waiting.
Drape towels over the deck and tape the tub rim if you are working on porcelain or steel, where a dropped razor leaves a chip. Mask the tile above the joint too, since new caulk tends to squirt upward when you smooth it.
Step 2: Score the Old Caulk Seam
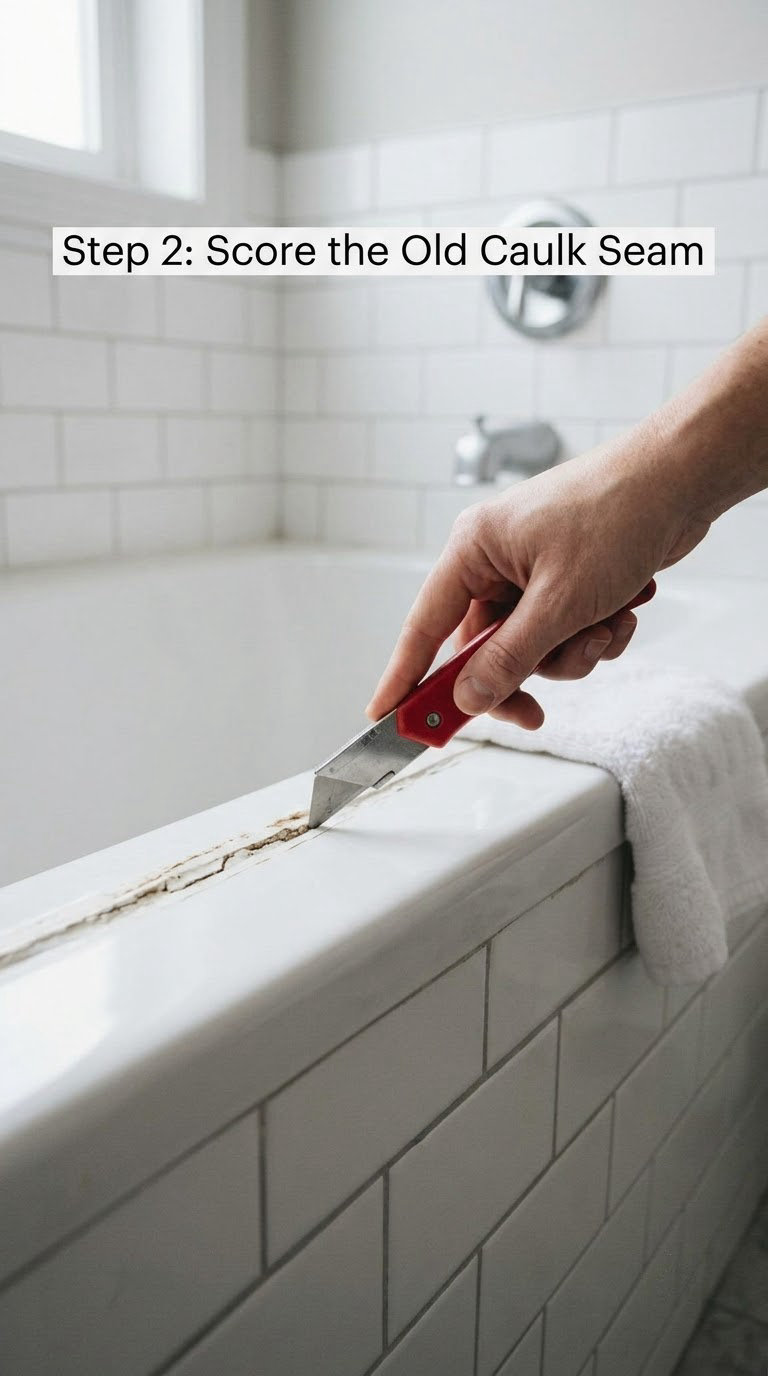
Cut the top edge and the tub-side edge of the bead, and the caulk comes out as a strip rather than a crumble.
Hold the knife at a shallow angle, roughly 20 to 30 degrees, with the cutting edge facing away from the tub. You are slicing the caulk, not digging into it. On an acrylic or fiberglass tub, rest the flat of the blade on the caulk itself so the tub surface never carries the load.
Start at a corner and run the blade in one continuous motion, about 12 to 18 inches at a time. Stop when you reach the tile edge, lift, reposition, and continue. Pulling the blade back toward you on the same line gouges.
Once both edges are cut, slide the putty knife under one end and twist slightly. If the blade is biting the tub, change the angle. If the caulk shatters into gravel instead of lifting, it is likely latex, which crumbles, or the bead is very old.
Step 3: Loosen the Caulk by Method
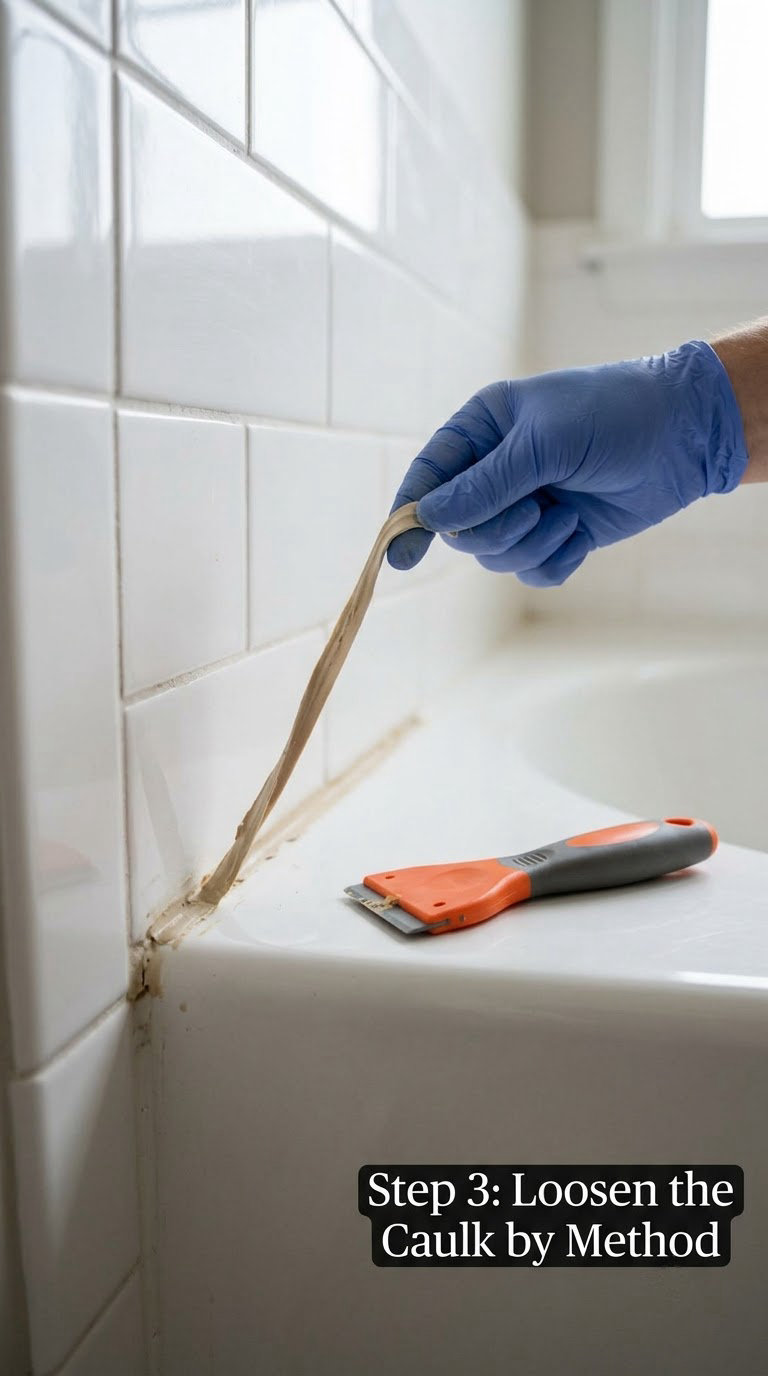
Move up this ladder only as far as you need. Most of the work is finished by the second rung.
- Peel it by hand. Once scored, a silicone strip often lifts in one long piece. Pull slowly along the seam rather than straight up, and keep fingers clear of the blade edge.
- Pull the rest with a plastic scraper. Work the 1 inch putty knife or plastic razor under the residue at a low angle, in short strokes toward you. This is the fastest method and the one most DIY regulars recommend.
- Add a silicone caulk remover. Apply the gel or liquid to the stubborn patch and follow the label dwell time, usually 30 to 60 seconds. A cotton swab is a precise way to apply a liquid remover in a tight corner. The remover loosens the adhesive and swells the surface; it does not melt the bead.
- Use controlled low heat last. A hair dryer on low, or a heat gun on the lowest setting held about 4 inches away and moving, softens the surface enough to lift. Keep it moving. Silicone gives off fumes when heated and acrylic can warp.
On the question everyone asks: do you have to remove every last bit? A thin, translucent film of residue left on clean, bare substrate is acceptable when the new bead is 100 percent silicone, because silicone will bond to a clean film. Loose, curled or lifting fragments are not acceptable. Anything the new caulk can grab will lift the new caulk with it, which is why a bead that peels off within months is nearly always caulk stuck to old caulk.
A polyester scrub pad and more remover handles the film. Skip acetone, which can craze or dull acrylic and finished surfaces, and be careful with WD-40, which softens surface residue slightly but leaves an oily film that stops new caulk adhering unless you wash it thoroughly.
Step 4: Scrape Off Remaining Beads
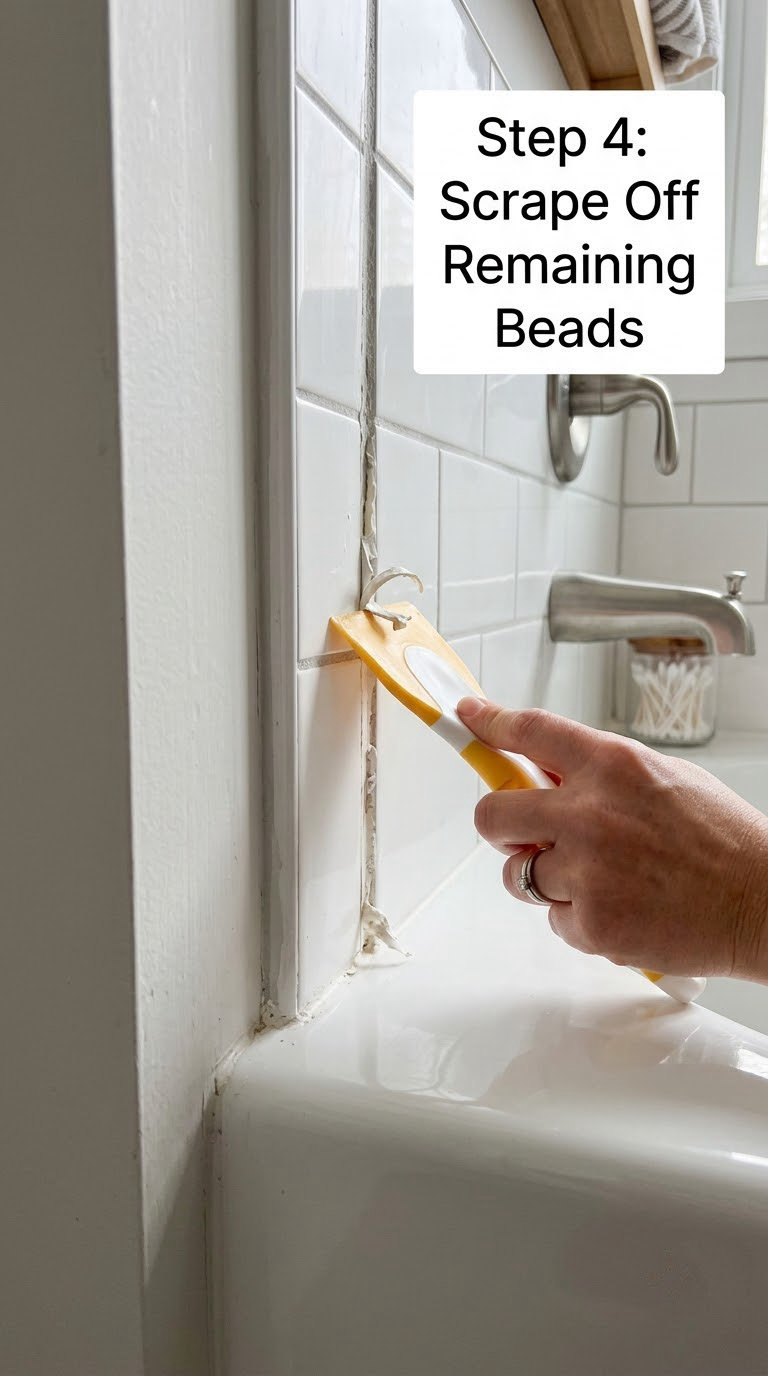
What is left after the strip comes out is usually a set of flat stubs and blobs along the joint, heaviest at the corners and at the ends.
Scrape the flat residue rather than digging for what is underneath. Shallow, repeated strokes at maybe 30 degrees remove material without gouging the flange or the tub. Never try to lever a chunk out with the knife tip; that is how tubs get sliced.
Use needle-nose pliers for small chunks the scraper cannot get a bite on, pulling along the seam instead of straight out. In tight inside corners where nothing fits, a stiff nylon brush with a little remover works better than any blade.
If a previous installer left an oversized smear, work the edge of it first until it thins, then take the middle in passes. Trying to lift a two-inch blob whole will rip the flange. On porcelain and cast iron you have a little more latitude with pressure, but on acrylic and fiberglass, plastic blades only and light hand pressure.
Step 5: Clean and Dry the Joint
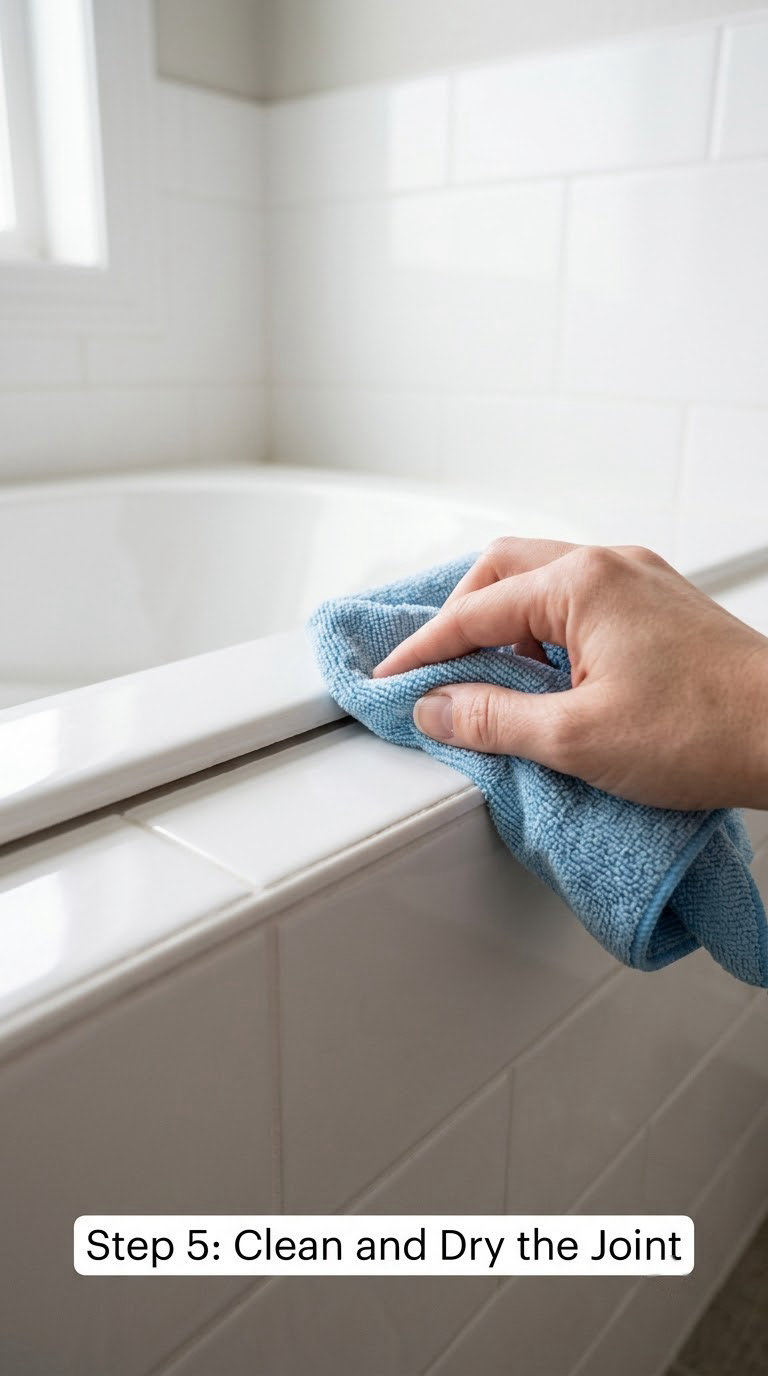
Scoop up the fragments, then treat the joint itself. New caulk fails early if it is laid over dust, cleaner film or damp backing.
Remove loose fragments with a vacuum or a stiff brush, then wash the seam with the remover or a tub-safe cleaner according to its label. Rinse with a damp cloth only where the manufacturer allows it, and change cloths often so you are not spreading residue back around.
Wipe with isopropyl alcohol on a clean cloth to lift the last film, and let the joint dry. A full 24 hours is the safe figure, and 48 hours in a cool or poorly ventilated room. A fan or a dehumidifier speeds it up.
If dampness will not clear, something underneath is holding water. That is a substrate problem, not a drying-time problem, and new caulk over a wet joint will peel or trap water against the flange.
Step 6: Check the Surface Before Resealing
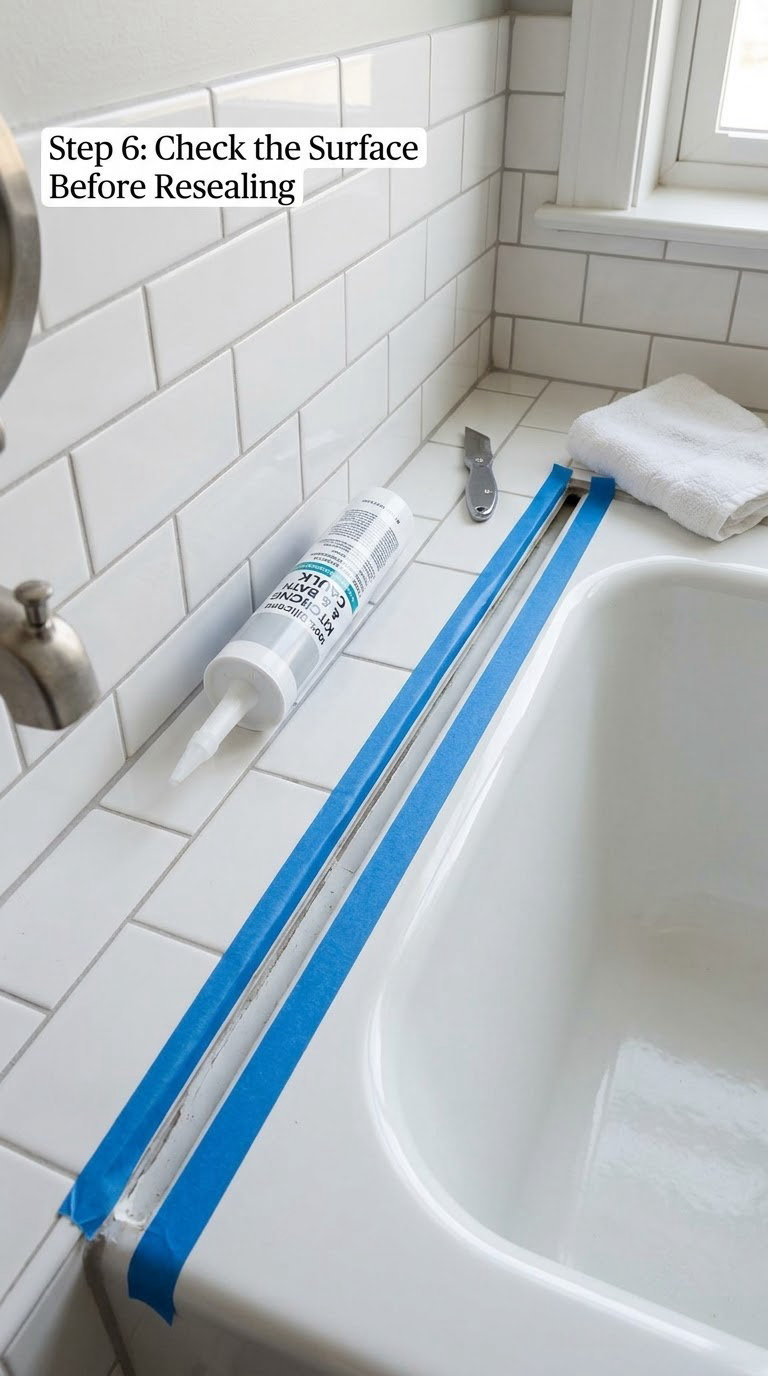
Run a clean finger along the joint. It should feel smooth and cool-dry, with no soft spots, no crumbs and no gaps wider than about 1/16 inch.
Small scratches in the tub or tile can be filled with the new caulk or a matching repair compound. A gap where the flange has pulled away from the wall is not a caulk problem, and filling it just hides movement.
If the seal is going to fail again, the cause is behind you: an active leak, a loose tub, or a wet substrate. Fix that first. Once the joint passes the finger check, a 45-degree nozzle cut, steady pressure while drawing the tube, and a smoothing pass with a wet finger will lay a bead that lasts.
For a primer on picking the right sealant for a wet-area joint, see what type of caulk to use at a toilet base. The same rules apply around a tub: kitchen and bath grade, mildew resistant, compatible with the surface.
Common Mistakes to Avoid
Slicing into the tub. A sharp knife held at a steep angle will carve a groove that holds water forever. Keep the blade shallow, angle it away from the surface, and switch to plastic for anything close.
Overheating the joint. A heat gun held still melts acrylic and drives fumes off cured silicone into the room. Lowest setting, moving constantly, 4 inches or more away, and only where the surface can take it.
Trying one long scrape. A single pull along 6 feet of seam is how people gouge the flange and tire out. Short sections, fresh blade every few feet, frequent regrips.
Damaging the flange. Levering chunks out with the knife tip chews the vertical face behind the tub lip. Use the putty knife, pliers and patience.
Caulking over loose caulk. New caulk needs a stable, clean surface. Anything curled, soft or lifting will take the new bead down with it, usually within months.
Skipping the final clean. Residue, dust and remover film all block adhesion. Alcohol on a cloth, then full drying, is not optional.
Starting before the joint is dry. Trapped moisture under the new bead is the most common cause of a seal that fails early. Wait the full 24 to 48 hours.
When to Call a Pro
Call a plumber or a bathroom remodeler rather than pushing further if any of these showed up when the caulk came off.
- The tub moves, rocks or flexes when you stand in it.
- Wood behind the flange is soft, dark or crumbly, or the subfloor gives underfoot near the tub.
- Drywall or backer board is moldy, or mold returned to the same corner within weeks.
- The flange has separated from the wall, or the tub has settled and opened a gap.
- Water is still pooling under the tub or the subfloor is visibly saturated.
- Surround components, such as a tile backsplash, a plastic splash guard or a flange, need replacing or waterproofing rather than resealing.
These are plumbing, structural or waterproofing problems. New caulk on top of them fails again, and the cost of the second call is higher than the first one would have been.
Maintenance
A good silicone seal gives you 5 to 10 years if you treat it and much less if you do not. Wipe it down with a tub-safe cleaner as part of your normal bathroom routine, and keep standing water off the joint where you can.
Check the bead once a year, in good light. Look for cracks, a lifting edge, black speckling that does not wipe away, or a gap where the bead has pulled from the flange. Small splits at the ends are worth fixing early with a touch of fresh caulk on a clean, dry surface.
Replace the whole bead when it splits along its length, hardens to a chalky dull finish, or starts lifting from the surface. Once a bead lifts, water gets behind it and the repair is the same job you just did, only sooner. Keeping the joint clean and dry is the whole game.
Frequently Asked Questions
Can you caulk over old caulk instead of removing it?
Sometimes, but only in one specific case. A thin, flat film of residue left on clean bare substrate is usually fine if your new bead is 100 percent silicone, because silicone bonds to that film. Loose, curled or lifting fragments are not fine. New caulk grabs whatever is under it and peels off with it, which is the usual reason a fresh seal fails within months.
Why is the old caulk still stuck after using a caulk remover?
Because cured silicone is a crosslinked rubber that no household solvent fully dissolves. Removers work on the adhesive underneath and swell the surface slightly, which helps a scraper get underneath, but they do not melt the bead. Score both edges with a utility knife first, then work the putty knife or plastic razor under the strip. The cut is what frees the bead, not the spray.
Can a heat gun remove caulk without damaging a tub?
It can, if you are careful and patient. Use the lowest setting, hold it about 4 inches or more from the joint, and keep it moving the whole time. Never park it on one spot. Acrylic and fiberglass tubs can warp from concentrated heat, and heating silicone drives fumes into the room. A hair dryer on low is the safer option for softening a stubborn patch.
What should I do if removing old caulk reveals mold or a soft subfloor?
Stop and deal with the cause before caulking anything. Do not put bleach on porous grout or drywall, since it soaks in and leaves the stain behind. Wipe light surface mold with a tub-safe cleaner, wear gloves and a mask, and dry the area completely. If the wood or subfloor is soft, or the mold area is larger than a few square feet, have a professional inspect it before you reseal.
How long must the joint dry before applying new caulk?
Give it at least 24 hours of full drying, and 48 hours in a cool or poorly ventilated room. The test is simple: a clean finger along the joint should feel dry and cool, not damp. A fan or dehumidifier speeds this up. Caulking over a damp joint is one of the most common reasons a new seal fails early, because moisture gets trapped under the bead.
Should old caulk be removed from both sides of the bathtub joint?
Yes. Take the bead off the tub edge and the wall or tile side where you can reach it. Caulk that survives on the wall becomes a hidden ledge that traps water and lets the new bead lift away from the tile instead of gripping. On a vertical tile face, a plastic razor or nylon brush usually works better than a knife, since you have less control of the angle.
Start with the joint, not the products. Score both edges of the bead, cut it out in sections no longer than 18 inches, and scrape the flat residue with plastic. Clean it, give it a full 24 hours to dry, and only then lay the new bead. If the flange is soft or the tub moves, that is a plumber problem, not a caulk problem.