How to Build a Simple Bookshelf with Hand Tools 2026
A simple bookshelf is just a box: two side panels, a top, a bottom, two or three shelves between them, and a thin back panel that keeps the whole thing from leaning sideways. You can build one with a hand saw, a block plane, a combination square, a chisel, a screwdriver and a bit of glue, and a beginner can finish a small one in a weekend.
Learning how to build a simple bookshelf with hand tools is mostly about three things: marking accurately, keeping the frame square while the glue sets, and stopping the shelves from bowing in the middle. Get those right and the build is forgiving. Skip them and you end up with a wobbly bookcase that leans like it has opinions.
Contents
Time: 8 to 12 hours plus drying time, spread over two or three days. Cost: lumber, glue, a few fasteners and a tin of finish, which varies a lot by region and by the wood you pick. Difficulty: easy to moderate. Skill level: complete beginner, if you have never glued anything together before.
Below is one design at fixed dimensions: 30 inches wide, 48 inches tall, 11-3/4 inches deep (762 × 1,219 × 298 mm). Every measurement below refers to that bookcase, so you can scale the numbers up or down without rethinking the joinery.
Before the saw comes out, decide where the unit is going and measure that spot twice. If you are styling the finished shelf afterwards, our bookshelf decor ideas are worth a look, and if the whole room needs work first, start with these budget room makeover strategies.
Tools and Materials for Building a Simple Bookshelf with Hand Tools
Here is the full list, grouped the way you will actually reach for it. If you are missing something, the substitution table underneath tells you what to use instead.
Hand tools that do the real work
- Measuring and marking: 25 foot tape measure, 6 inch or 9 inch combination square, pencil, and a marking gauge or a knife if you want repeatable lines across a board.
- Cutting: a panel saw or rip saw for crosscuts, plus a backsaw or tenon saw for the thinner back panel. A coping saw handles tight corners where a big saw will not fit.
- Smoothing edges: a block plane for most work. Add a smoothing or jack plane if you are flattening long boards by hand, because a block plane alone will not do it.
- Joinery: 1/2 inch and 3/4 inch chisels, a wooden mallet, a drill brace or hand auger with a 1/4 inch bit, and a screwdriver with a 2 inch and a 4 inch blade.
- Checking: a 2 foot carpenter’s level, a straightedge, and a machinist square or small try square for squaring.
Materials for one simple bookshelf
- 3/4 inch (19 mm) plywood or good solid wood boards: 2 side panels, plus 4 pieces for top, bottom and two shelves.
- 1/4 inch (6 mm) hardboard or thin plywood for the back panel: about 29-1/2 by 48 inches.
- Wood glue, roughly 4 to 6 ounces for this size.
- 1-1/4 inch and 2 inch wood screws, about 24 of them, plus 6 wall anchor screws for securing the unit.
- 120, 180 and 220 grit sandpaper, a sanding block, wood filler, and one water-based finish or paste wax.
- Masking tape, a square, and a pair of sawhorses or two offcuts to work on.
Cut list for a 30 by 48 inch bookcase
| Piece | How many | Finished size (imperial) | Metric |
|---|---|---|---|
| Side panel | 2 | 3/4 × 11-3/4 × 48 in | 19 × 298 × 1,219 mm |
| Top | 1 | 3/4 × 11-3/4 × 28-1/2 in | 19 × 298 × 724 mm |
| Bottom shelf | 1 | 3/4 × 11-3/4 × 28-1/2 in | 19 × 298 × 724 mm |
| Fixed shelf | 2 | 3/4 × 11-3/4 × 28-1/2 in | 19 × 298 × 724 mm |
| Back panel | 1 | 1/4 × 29-1/2 × 48 in | 6 × 748 × 1,219 mm |
The top and shelves sit between the sides, which is why they are 1-1/2 inches shorter than the outside width. Each of the four openings comes out at about 11-3/8 inches (290 mm) once the panels are in.
What to use when you do not own a power tool
| If a guide says | Use this instead | Note |
|---|---|---|
| Circular saw | Panel saw or rip saw | Slower, but a square cut from a sharp saw is identical |
| Drill / driver | Hand auger or brace, plus a screwdriver | Drill pilot holes so the screw does not split the wood |
| Router for dados | Chisel and mallet, laid out with a marking gauge | Parks the chisel on the baseline to keep the depth even |
| Orbital sander | Sanding block or hand sanding in a vise | Slower, and you keep more control over edges |
| Jigsaw for the back | Bench hook and backsaw | Clamp the hardboard to a bench hook and cut straight down |
| Pocket hole jig | Dowels, or glue plus screws into end grain | Both hold for decades if the joint is glued |
One honest note on tools: if you buy nothing else, buy a decent panel saw and a combination square. Everything else can be borrowed or improvised for a first build.
Before You Start
Pick the wall before you pick the wood
Stand the finished bookcase where you want it and check the floor with a level. If the floor slopes more than about a quarter inch across the width of the unit, shim the low side rather than trying to force the carcass flat.
Find the studs before you finish, not after. A stud finder or a small hammer and nail both work; tap in a few spots in the area behind the shelf to hear the difference between hollow and solid. If you cannot confirm what is behind the surface, plan to use toggle anchors rated above the weight of the finished unit.
Protect the floor and your hands
Lay down a drop cloth, and set up sawhorses so the saw never cuts toward your knee. Safety glasses whenever you cut, drill, chisel or sand. A dust mask is worth having for sanding, and if you use solvent-based finish, open a window first.
Inspect every board before you mark it
Look down each board and pick out knots near the ends, splits, and any bowed piece. Boards sold as 1 inch thick often measure 3/4 inch, and that nominal-versus-actual gap is where a lot of beginner projects go wrong, so measure every board and write the real numbers on the board in pencil.
Turn each board over and decide which face is the good face. That is the face that goes outward, and marking it now saves a mistake you cannot sand out later.
Know when the job stops being a beginner job
Permits usually do not apply to a free-standing bookcase in a bedroom. They do tend to come up when you cut into a stud wall, alter an opening, or work on an outlet or pipe you have to move. This is where you stop and call someone qualified.
Step-by-Step Instructions
Step 1: Plan a Bookshelf with Hand Tools and Mark the Wood
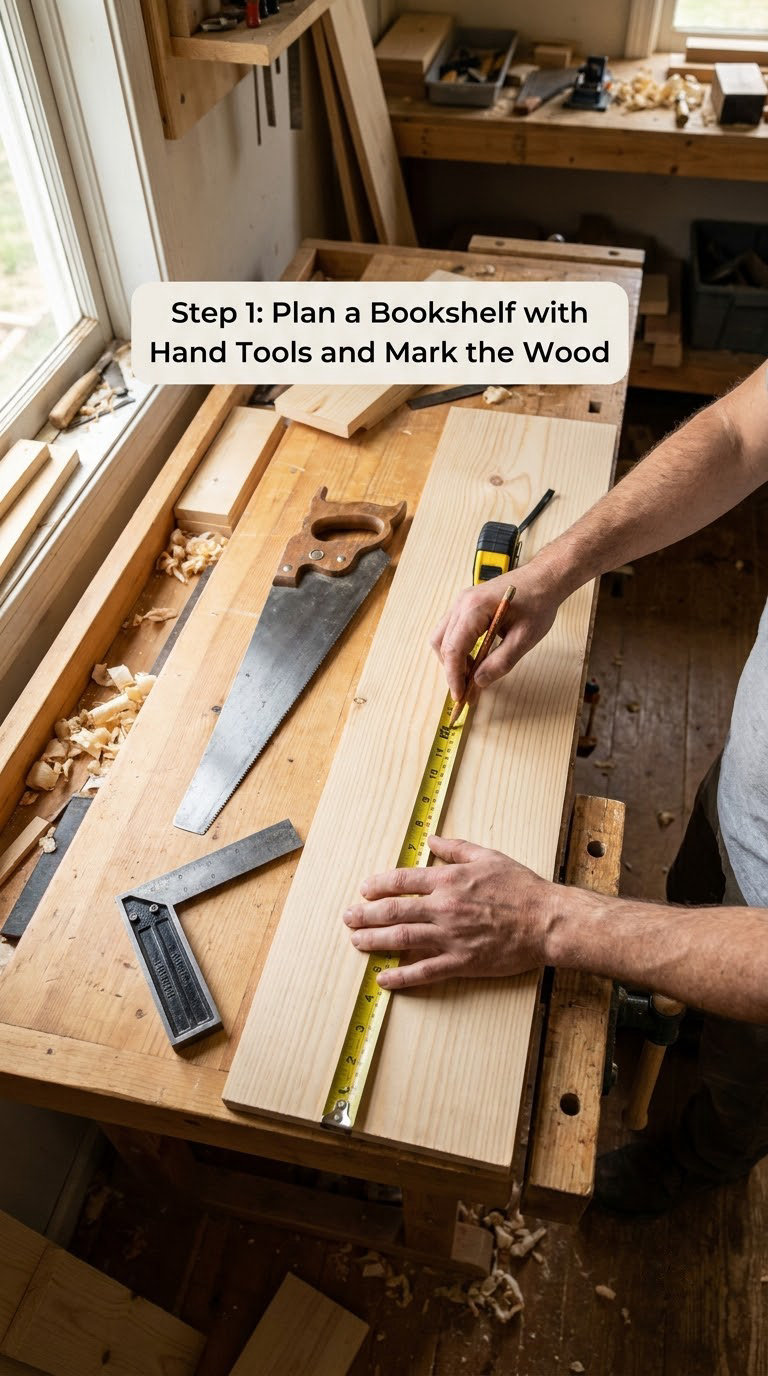
Measure the space, then subtract a half inch on width and height for a fitting gap. A 11-3/4 inch depth suits paperbacks and most hardbacks; going deeper only adds weight and bow to the shelves.
Lay out your dimensions on the good face of each board before cutting anything. Measure the side panels first, mark the top and bottom shelf positions, then check the spacing twice: 48 inches minus four panels at 3/4 inch leaves four openings of roughly 11-3/8 inches.
Use your marking gauge to scribe the back edge of the side panels to the wall if the wall is out of plumb, or simply leave them square and fill the gap with a scribe strip. Scribing takes longer up front and saves you at the wall later.
Step 2: Cut the Side Panels and Shelves
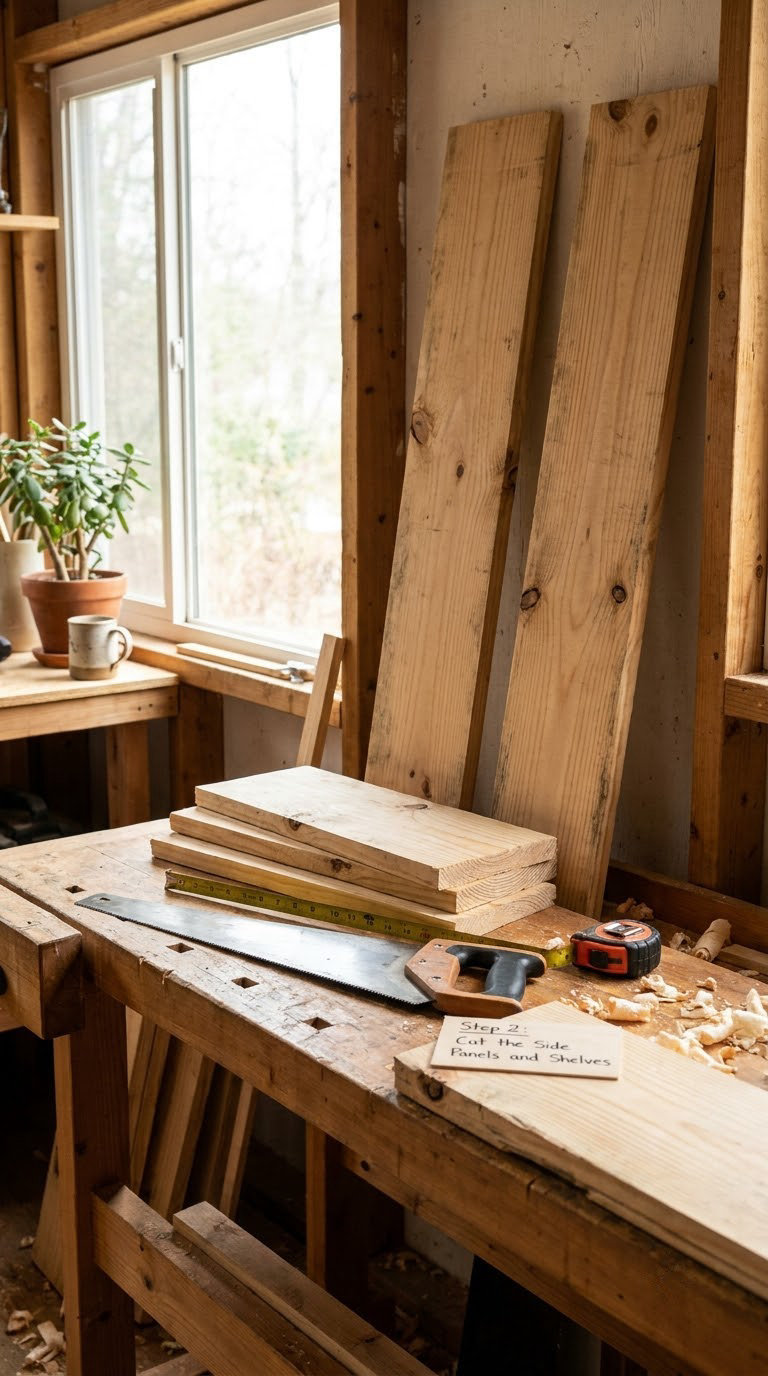
Clamp the board securely and cut the two side panels first. Support the offcut so it does not tear out as the blade exits the bottom, and keep the saw square to the top edge by using the bench hook or a square as a guide.
Then crosscut the four horizontal pieces at 28-1/2 inches. Check each cut with the combination square before moving on, because four wrong-length shelves are a much worse afternoon than one re-cut now.
Cut the back panel last, with a fine-toothed backsaw, and clamp it into a bench hook so you are cutting straight down instead of trying to steer it. If a plywood edge starts to splinter, score the line with a utility knife first.
Step 3: Drill Pilot Holes and Join the Frame
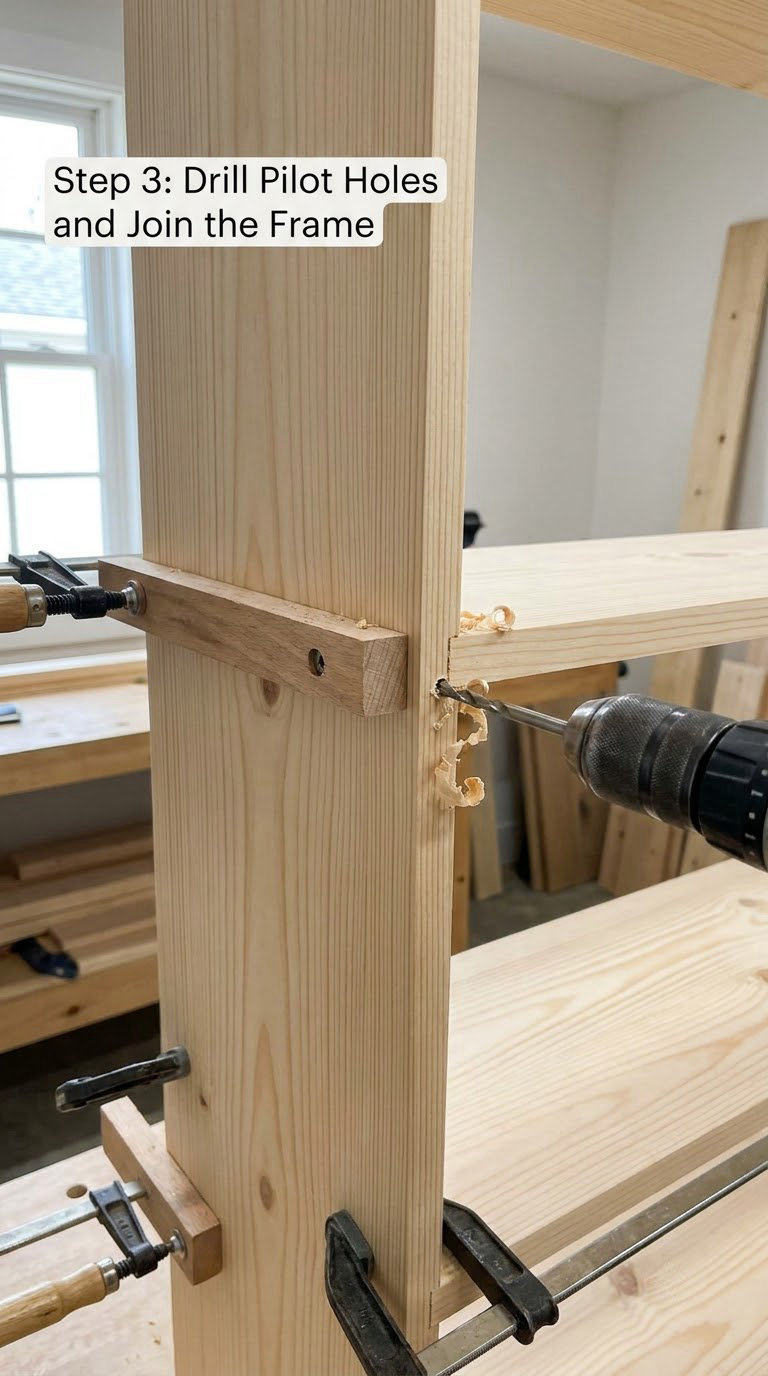
Stand the carcass on edge on your bench, with the side panel lying flat and the top and bottom boards standing on it. Drill pilot holes through the ends of the horizontal pieces into the side panel, put a thin bead of glue on each joint, and slide them together.
Glue and screw at the same time. Wood glue grips end grain fine these days, and the screw is there to hold the joint while it cures rather than to do the holding, so you do not need to crank the driver.
Now check squaring with diagonals. Measure corner to corner in both directions; the two numbers should match within a sixteenth of an inch. If they do not, nudge the far corner gently until they do, then add temporary braces of thin scrap across the corners and leave them on for the full drying time.
Step 4: Add the Back and Optional Wall Support
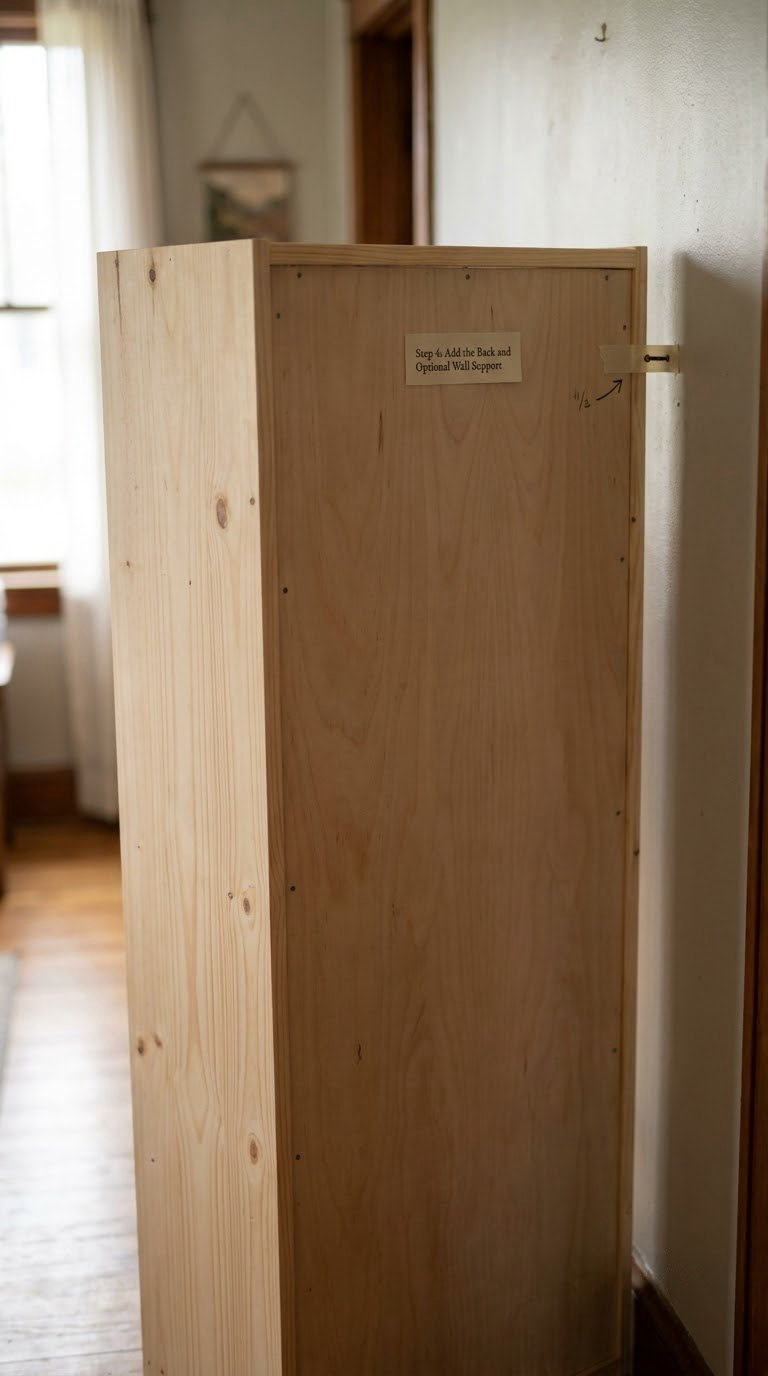
Set the back panel into a rabbet, or simply nail or screw it flat onto the rear edges. Squeeze the frame gently toward square as you fasten, because the back is what turns a loose box into a rigid carcass.
Once the back is on, check the diagonals again. If they still match, the frame will hold its shape for years and the back will keep the shelves from bowing sideways.
For a unit taller than about five feet, or any unit in a house with small children, fasten two L-brackets or a wall anchor strap near the top back edge into studs. Attach the unit first, then the wall, so you can shim for a floor that is not quite level.
Step 5: Sand, Fill, and Finish the Wood
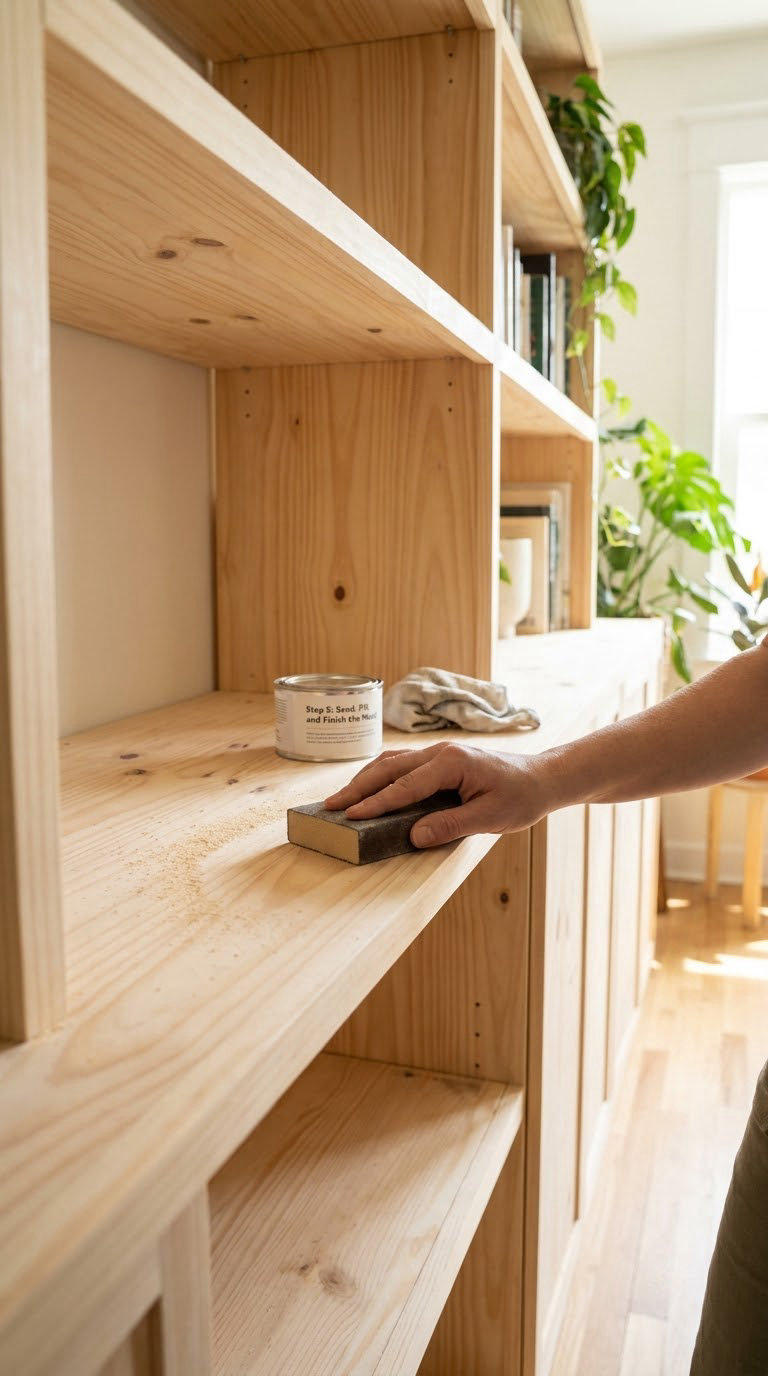
Sand the whole carcass with a sanding block before the finish goes on: 120 grit to knock down the pencil marks and glue squeeze-out, then 180, then 220 for the final pass. Work along the grain and change paper often, because a fresh sheet matters more than pressure.
Fill any nail holes, screw holes and small gaps with wood filler. Let it dry fully, usually 15 to 60 minutes depending on the product, then sand the filler patches back flush with 180 grit and vacuum or tack the dust away.
Apply your finish in thin coats. For a water-based polyurethane, brush it on, wait two to four hours between coats and give it a week before loading; for paste wax, buff it after ten minutes and repeat once. Brushing one heavy coat almost always looks worse than three thin ones.
Step 6: Level, Install, and Load the Bookshelf
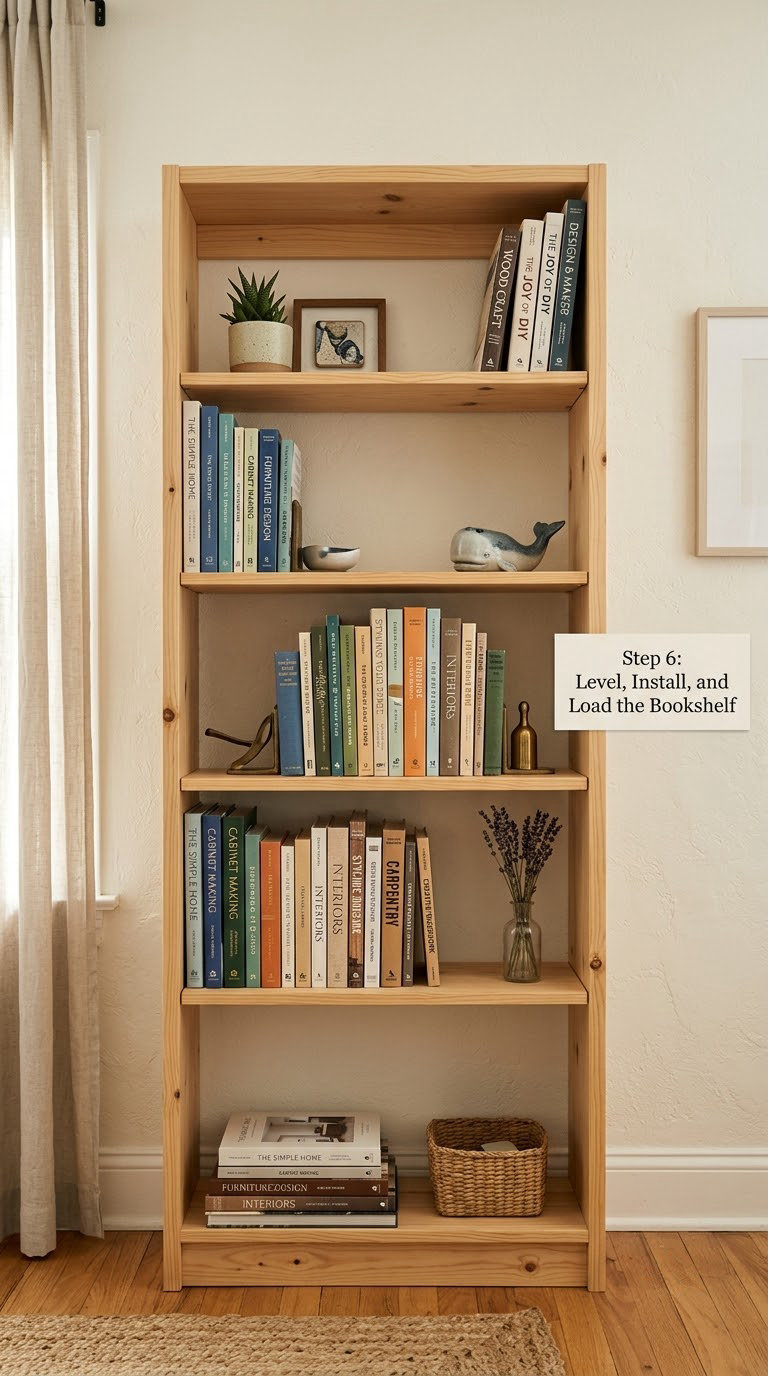
Stand the bookcase where it will live and check it with the level, both front to back and side to side. Shim or trim rather than forcing it, and make sure it does not rock when you push the top corner gently in each direction.
Secure it to the wall if it is tall, heavy, or in a house with kids, then wait out the final cure time before you load it. Start with the heaviest books on the bottom shelves and near the sides, where the span is shortest, and leave a little room at the top.
Check for sag after a week by measuring across the middle of a shelf from one side to the other and comparing with the end measurements. A few millimeters of dip in a heavy-loaded center is normal; a visible curve means the span is too wide and needs a center divider, a front cleat, or a thicker shelf.
How Wide Can a Shelf Be Before It Bows?
Shelf sag is the most common complaint about beginner bookcases, and it is entirely about span. The table below is a conservative starting point for evenly distributed books; concentrate weight in the center and you can cut the numbers roughly in half.
| Shelf material | Safe span | What happens past it |
|---|---|---|
| 3/4 in (19 mm) pine or poplar | up to 26 in (660 mm) | Visible dip under heavy books |
| 3/4 in (19 mm) plywood | up to 28 in (710 mm) | Mild sag, usually acceptable |
| 1 in (25 mm) solid wood | up to 36 in (915 mm) | Mild sag |
| Two shelves stacked and screwed together | up to 40 in (1,016 mm) | Mild sag |
Two cheap fixes beat buying thicker material: drop a center divider into the unit, or glue and screw a 1 by 2 inch cleat along the front underside of the shelf to turn it into a T-section. Either one shortens the span without changing the look.
Common Mistakes to Avoid
- Measuring from a different board each time. Mark every measurement on the piece itself with a square, and measure twice. Errors of a sixteenth inch add up fast over four shelves.
- Assembling the frame before checking squaring. Measure both diagonals before the glue grabs. Bracing a rhomboid carcass back into shape later is miserable work.
- Over-tightening screws. Snug is enough once the glue is on. Driving hard splits the end grain and leaves a visible crack.
- Skipping the glue, or gluing and wiping immediately. Let the glue get tacky for a minute before you squeeze out the excess, then wipe with a damp rag. Wiping while it is still wet spreads glue into the grain instead of lifting it off.
- Sanding too hard before finishing. You cannot undo 120 grit damage, and you only need to knock down high spots. Stop at 220 grit; anything finer does nothing for a hand-rubbed finish.
- Loading a fresh finish too soon. Water-based coatings feel dry long before they are hard. Wait the full cure time from the label, not the touch-dry time.
- Placing an unsecured tall unit against a wall. Anchor it into studs, even if the wall looks flat. A tall bookcase tipping over is the one failure here with a genuinely bad outcome.
- Loading the middle of a long shelf. Fill from the bottom up, heaviest books near the sides. Uneven loading bends a shelf far faster than the total weight does.
When to Call a Pro
Some parts of this project stop being DIY the moment you cannot see what is behind the surface. Book a carpenter or handyman when the wall is unpainted drywall over an unknown structure and no stud can be located where you need one, or when the load will exceed the rating of the anchors you have.
Get a structural opinion for very tall units over six feet, anything that has to sit above a radiator, a bed headboard or a heavy piece of furniture, or any bookcase carrying records, water jugs or storage totes rather than books.
Stop and call a licensed tradesperson if the location means moving an outlet, cutting a stud, or moving a pipe. Permits show up for wall alterations in many jurisdictions, and a freestanding bookcase inside a room almost never needs one, but a built-in or a wall modification can.
Maintenance
Dust the shelves every month or so, and wipe with a barely damp cloth rather than a wet one. Wood finishes dislike standing water more than they dislike dust.
Every six months, check the wall anchors and the screws at the back corners, and push the top of the unit gently to see if anything moves. A joint that has started to move means glue squeeze-out and a fresh screw, not a rebuild.
Watch the load line. If a shelf holds a row of hardbacks so tightly you cannot slide a finger in behind the spines, take the heaviest books down a size. That is the moment spans start to bow.
Small scratches in a waxed or oiled finish get rubbed out with a cloth and a little of the same product. In a lacquered finish, touch up with a matching brush-on product from the same brand, feathering the edges outward, and do not sand back to bare wood for one mark.
Frequently Asked Questions
What is the easiest wood to use for a simple bookshelf?
Pine and poplar are the easiest because they cut, drill and glue cleanly with hand tools, and any dents or chatter marks sand out fast. Three-quarter inch plywood is even more stable for the shelves, since sheet material will not bow the way a wide solid board can. Avoid knots near the ends of your side panels, and keep the grain running lengthwise on panels that will carry weight.
Do I need power tools to build a bookshelf with hand tools?
No. A panel saw, block plane, chisel, hand auger, screwdriver, combination square and a little glue cover the entire build. A drill-driver only makes pilot holes faster, and a sander only makes sanding faster, but nothing on the critical path depends on them. If you own a saw, a plane and a square, you can finish this bookcase in a weekend.
How deep should a basic bookshelf be?
About 11 to 12 inches deep suits most books, with 11-3/4 inches a good all-round number. Paperbacks and most hardbacks fit with room to spare, and larger art books still sit upright. Going deeper adds weight and makes shelves bow without adding much useful space, so wider is the better place to spend your lumber.
How much weight can a simple DIY bookshelf hold?
A well-glued 3/4 inch bookcase with a full back panel holds roughly 60 to 80 pounds spread evenly across its shelves, and considerably more on the bottom shelf. Concentrating weight in the middle of a wide shelf cuts that figure sharply. As a rough guide, keep each shelf under about 25 to 30 pounds and check for sag after loading.
Should a freestanding bookshelf be attached to the wall?
Yes, if it is taller than about five feet, heavier than a child can climb, or sitting on carpet in a house with young children. Two L-brackets or a wall anchor strap into studs near the top back edge takes about ten minutes and prevents the unit from tipping. Short, light units are fine standing free.
What finish is best for a pine bookshelf?
A water-based polyurethane keeps the pale pine colour and is easy to brush on, though it takes several thin coats and a week to fully cure. Paste wax or a hard wax oil gives pine a warmer, softer look and can be spot-repaired later. If you want the grain to darken, stain first, then seal with two or three coats of clear finish.
What to Do First
Measure the wall and find the studs before you buy a single board. Then mark one side panel, cut it, and check the cut against your square before repeating it four more times.
Everything else in this guide flows from those two habits: measure the real space, and confirm each piece before it becomes part of the frame.
Once it is up and level, the decorating is the fun part. Our bookshelf styling ideas cover how to balance light and dark, and if you would rather compare finished units before you commit to a design, take a look at the bookshelf buying guide.