How to Paint a Metal Front Door: Easy DIY Guide (October 2026)
How to paint a metal front door comes down to four things: strip off the grease, kill every trace of loose rust, lay down a rust-inhibiting metal primer, then add two thin coats of exterior satin or semi-gloss paint. Skip any one of those and the new finish peels off in a couple of seasons.
The good news is that a standard 36 by 80 inch steel entry door is a forgiving project. Most of the effort goes into prep, not painting, and the whole thing stretches across three days only because of drying time. Your actual hands-on work is closer to four hours.
Contents
Time: 3 days total, about 4 hours of work · Cost: one quart of primer, one quart of finish coat, and a small hardware kit · Difficulty: Moderate DIY · Skill level: Comfortable with a screwdriver, a scraper, and patience
Fall is a good season for this work. The air is cooler, the sun is less punishing, and you have enough dry days between primer and finish coats without frost or rain in the forecast.
Tools and Materials
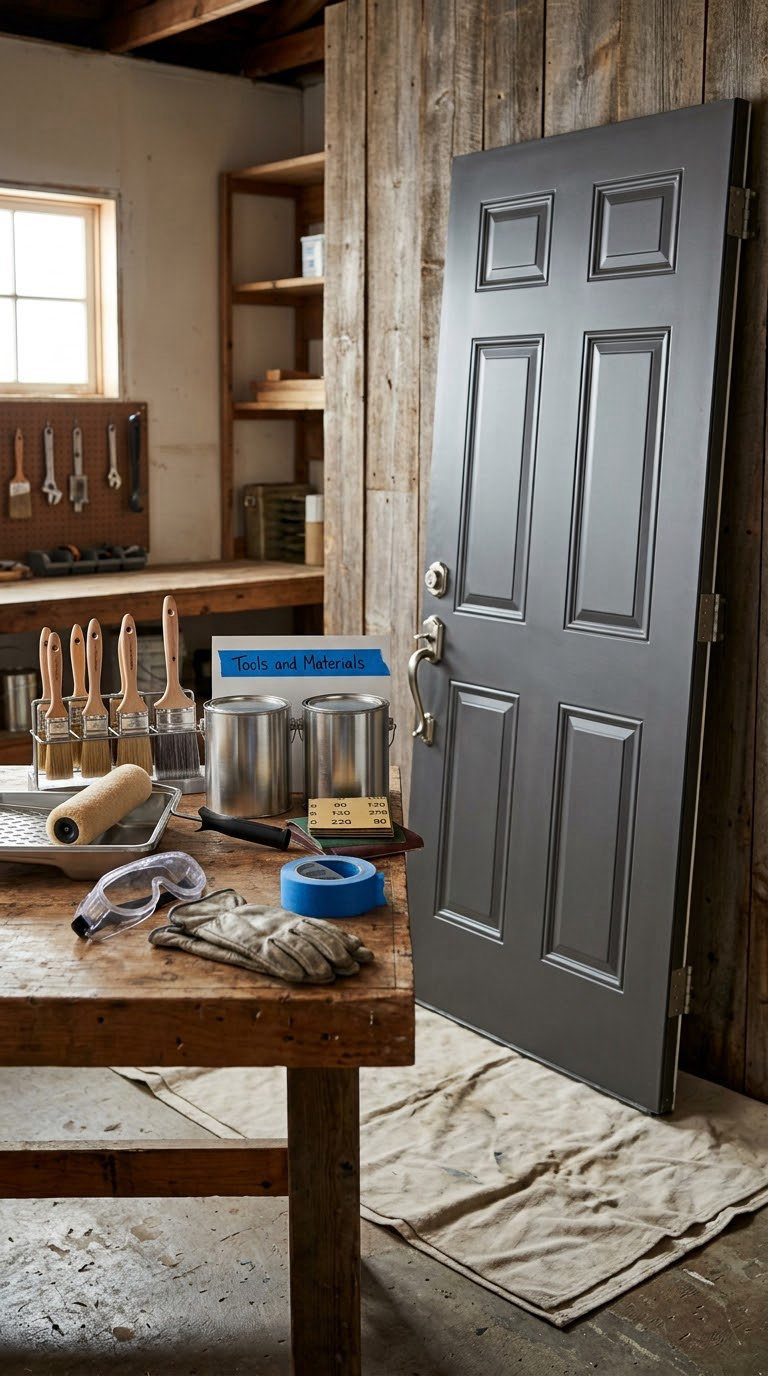
Gather everything before you unhook a single screw. Running out of primer halfway through the second coat is a bad way to spend a Saturday.
Tools
- 2 inch angled sash brush for panels, mouldings, and recessed areas
- 3 inch flat brush for the edges around the lock and kick plate
- One 6 to 9 inch short-nap roller (about 1/4 inch nap) with a roller frame and a sleeve
- Plastic paint tray and a stir stick
- Pole sander, sanding block, or a hand sanding pad with 80, 100, and 150 grit sheets
- Wire wheel on a drill, plus a nylon wheel, for surface rust
- Plastic paint scraper and a small wood chisel
- Medium-bristle nylon brush for dust
- Shop towel or tack cloth
- Screwdrivers, a nut driver, and a magnetic parts tray or small labeled containers
- Two sawhorses and a padded blanket or old sheet
- Masking tape, a plastic drop cloth, and painter’s plastic for the threshold
- Safety goggles, nitrile gloves, and a dust mask or N95 respirator for sanding
Materials
- Exterior rust-inhibiting primer formulated for metal, 1 quart
- Exterior 100 percent acrylic latex or alkyd-fortified enamel in satin or semi-gloss, 1 quart
- Paint-and-primer-in-one exterior metal paint as a fallback only
- Exterior degreaser or trisodium phosphate substitute, 1 quart
- Metal-compatible filler or glazing putty for dents and gouges
- Stiff nylon brush, and rust converter if the pitting is deep
- Touch-up paint in the existing trim color if you are also painting the doorjamb casing
One quart of each covers a single door twice over with room to spare, both sides plus the hinge edge included. Add a second quart of finish coat only if you are painting a wide door with raised panels that drink paint.
Before You Start: Prepare the Door and Work Area
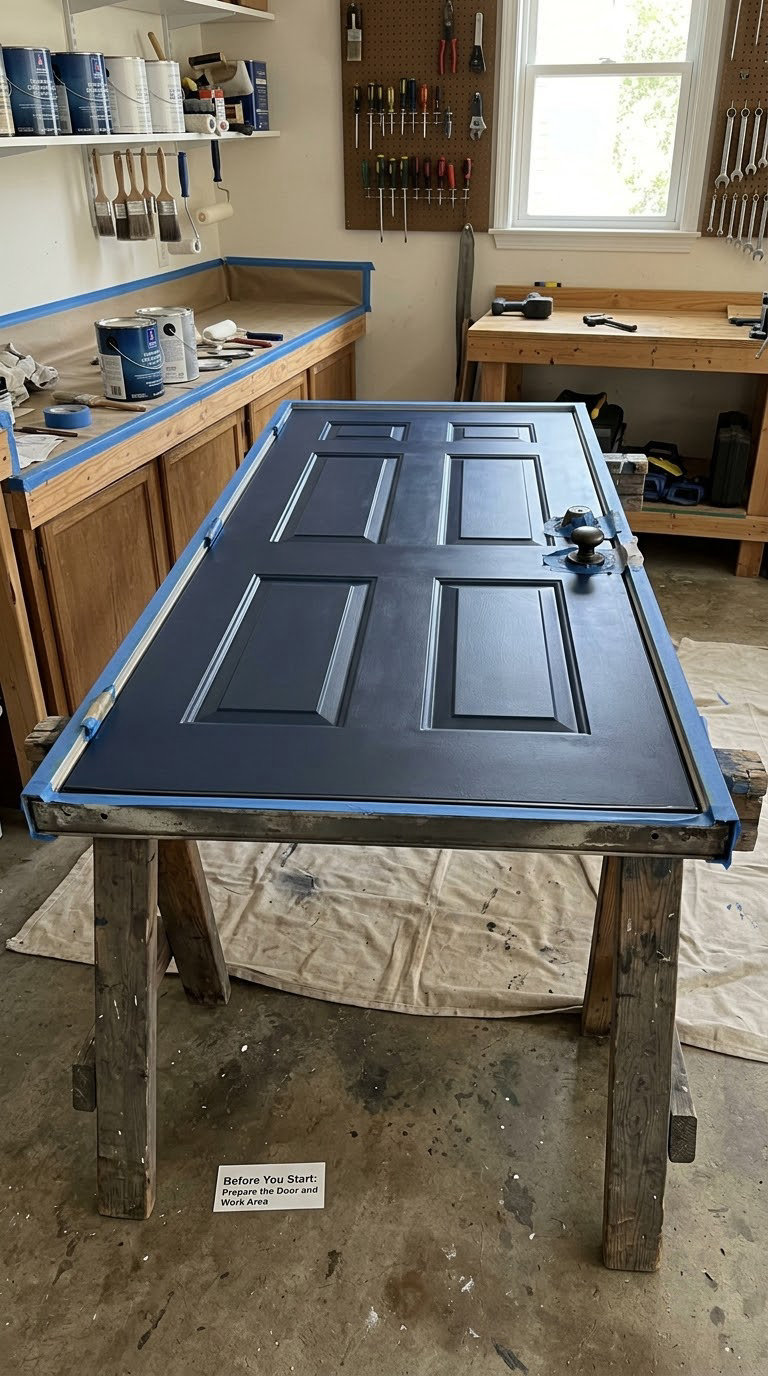
Pick a stretch of three days with no rain in the forecast and no strong sun on the door while it is wet. Metal doors bake fast, and paint that skins over in direct sun will show every lap mark.
Work outdoors or in a well-ventilated garage. Put on goggles and gloves before you start, because the prep stage throws off more dust than people expect from a smooth steel slab.
If the door is pre-1978 and the existing coating might contain lead, test it first or treat the whole prep stage as a lead job: a respirator, wet sanding rather than dry, and no power tool without a rated shroud.
Figure out what you are actually painting. Hollow steel doors feel light for their size and are the most common. Solid metal and fiberglass doors with a metal-look skin paint differently but follow the same steps. A factory-primed new steel door already has its factory primer intact, so skip straight to cleaning and light scuffing.
Decide whether the door comes off the hinges. Off the door is easier on your back and gives you a flat surface, and it takes about 15 minutes with a helper for a heavy steel slab. If you paint in place, wedge the door open at the top and bottom so it cannot swing, and accept that your entry is unusable for two to three days.
Step-by-Step Instructions: Paint a Metal Front Door
Step 1: Remove or Protect the Door Hardware
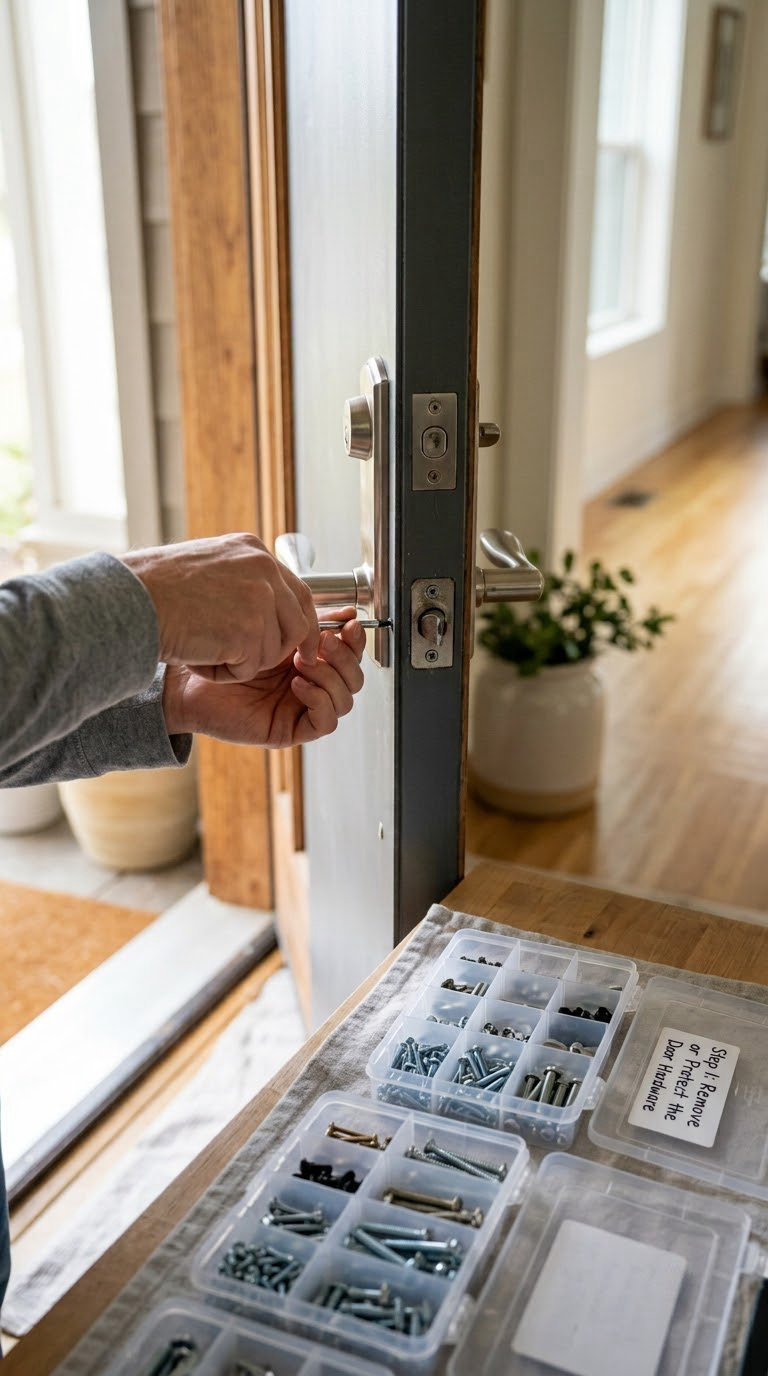
Mark every screw with painter’s tape and a pencil before anything comes off, or drop each piece into its own labeled container. Hardware goes back in the right hole the first time when the labels are still readable.
Take off the deadbolt, knob or lever, strike plate, peephole, closer arm, hinges, kick plate, and any mail slot. The closer arm is the one people forget, and it will tear the whole top edge if you paint over it.
Tuck a plastic bag and tape over the door’s bottom sweep and weatherstripping so primer and paint do not gum up the seal. That seal is what keeps drafts and water outside your house.
If you are leaving the door hung, push painter’s plastic behind the hardware and tape it to the door face. Lay a plastic drop cloth over the interior floor and tape it at the baseboards.
Check: with the hardware off, run a finger along the old finish. If it is loose, flaking, or blistering, it is coming off in Step 3.
Step 2: Clean and Degrease the Metal Surface
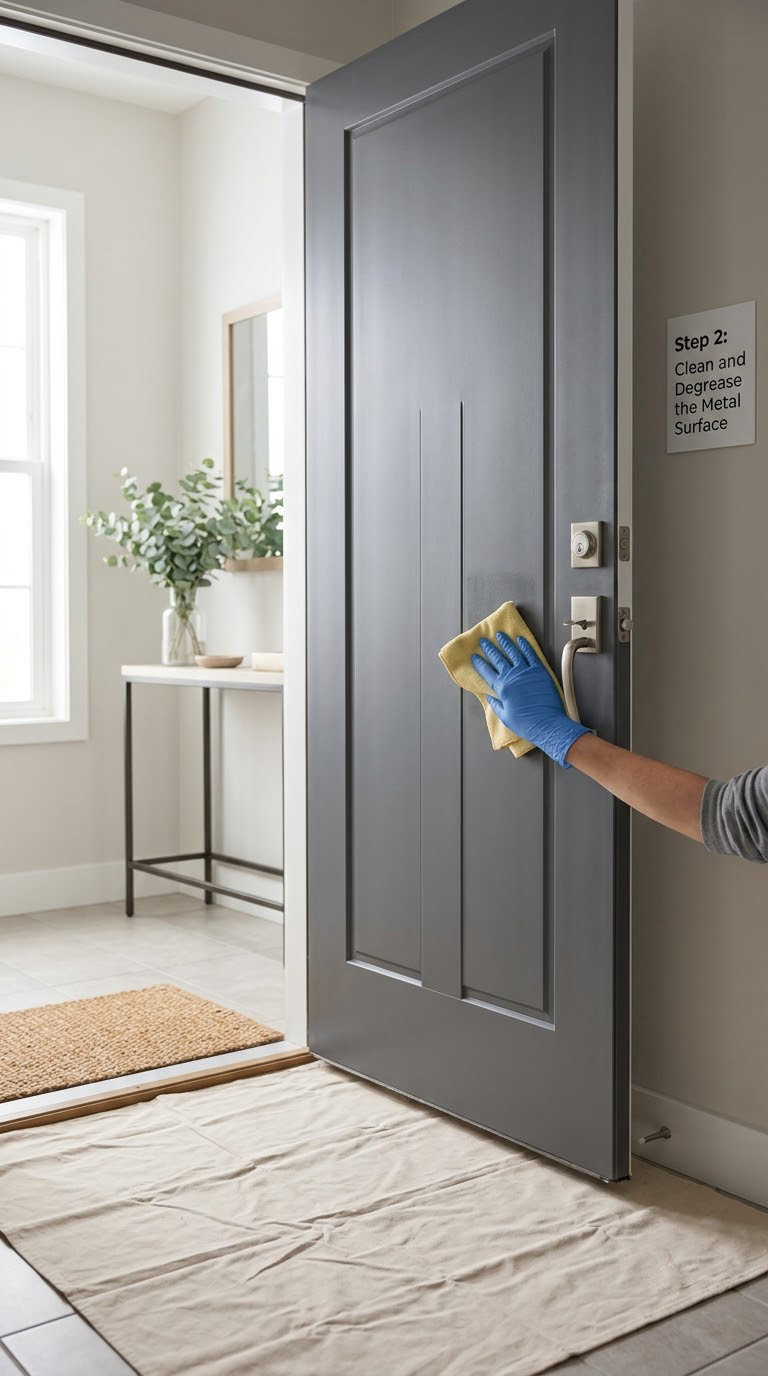
Mix the degreaser according to its label and scrub the whole door with a stiff nylon brush. Pay attention to the lower third of the door and the area around the lock, where hands and weather drag oil onto the coating.
Rinse with clean water and wipe the surface down with a damp cloth. Let the door dry completely, which takes 30 to 60 minutes in open air and longer in shade or humidity.
Touch the metal with the back of your hand. If it feels cool rather than neutral, there is still moisture in it, and primer will go on cloudy and peel later.
Skipping this step is the quiet reason painted doors fail. Paint does not bond to grease, and no primer on the shelf will rescue a surface that still has hand oils on it.
Step 3: Remove Rust, Loose Paint, and Imperfections
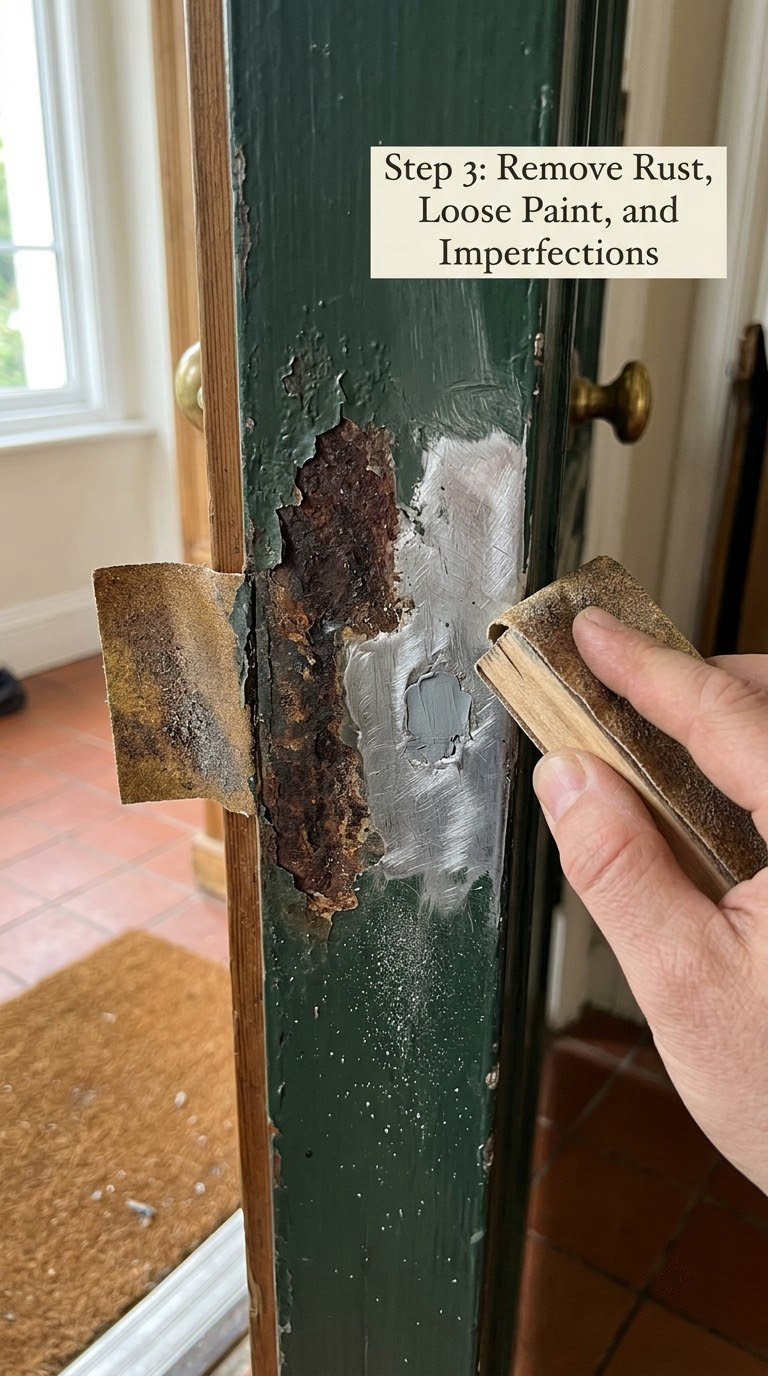
Rust needs a decision, not a guess. Light surface rust, the kind that wipes off on a finger and leaves orange smudge on a cloth, comes off with a wire wheel and 80 grit. Deep pitting where the metal is cratered and does not come back to flat needs a rust converter or a replacement door, because no coating will level it out.
Work in passes: wire wheel first, then 80 grit to cut the rust back, then 150 grit to feather every edge smooth. Experienced painters report that 90 grit followed by 150 grit does the same job on a typical door.
Scrape or sand off any flaking old paint, then feather the boundary between intact paint and bare metal with 150 grit. Sand the whole face lightly if you are changing color, and sand only the damaged areas if the old coating is sound and staying.
Fill dents and gouges with a metal-compatible filler, let it dry, and knock it back with 150 grit. Never paint over active corrosion that is still flaking.
Brush off the dust with a stiff nylon brush, then wipe with a tack cloth. Wear your mask; fine metal dust is unpleasant to breathe and it settles on the floor fast.
Step 4: Mask the Door and Nearby Surfaces
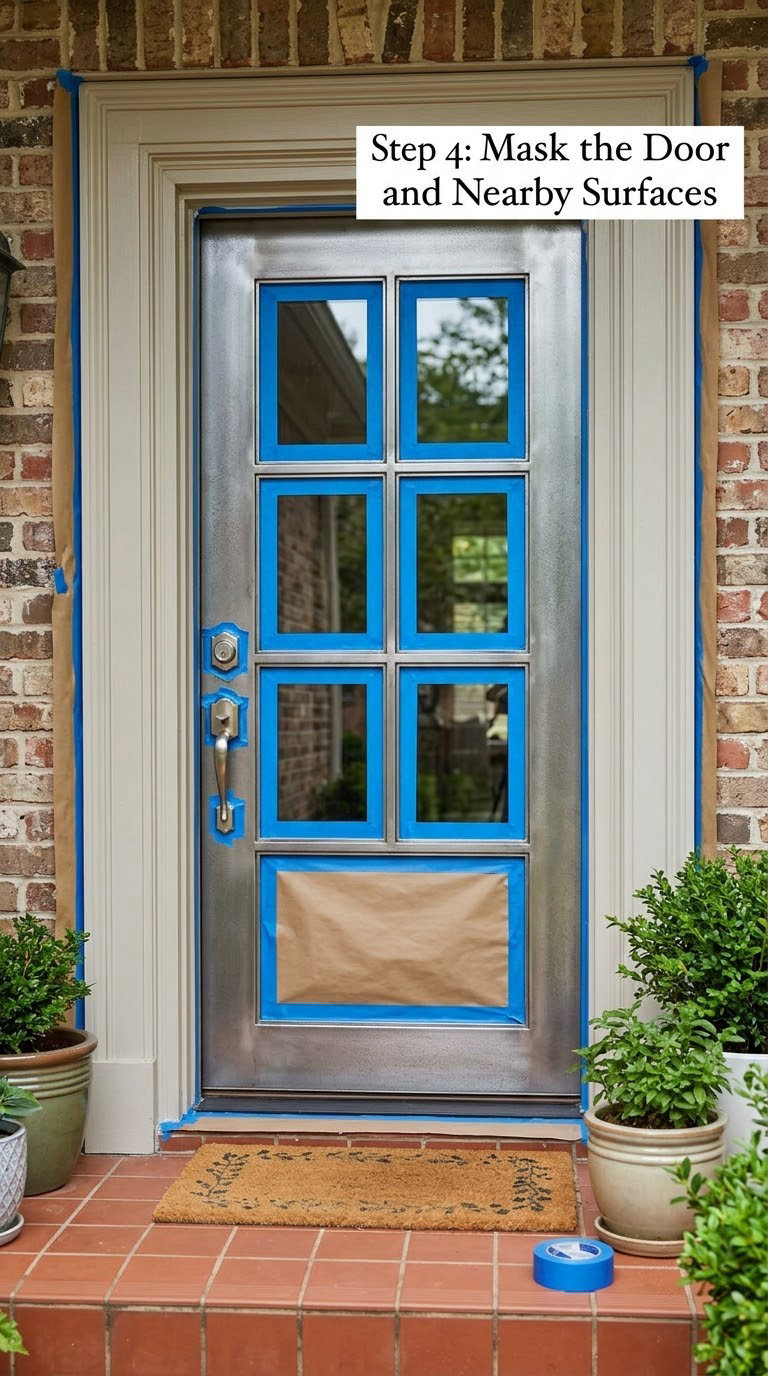
Tape the glass panes, the doorjamb, the casing, and the threshold. Press every tape edge down firmly with your thumb or a plastic card, because a lifted edge is where paint bleeds.
Tape every weatherstripping edge and any raised decorative moulding you would rather not cut in with the brush.
Give the whole surface one more tack cloth wipe before the primer goes on. Dust trapped under primer is the difference between a smooth finish and a faintly gritty one you can feel with your fingertips for years.
Keep the masked areas clean for the next few days. Do not put tools or tape scraps on the wet door.
Step 5: Apply Exterior Primer for Metal
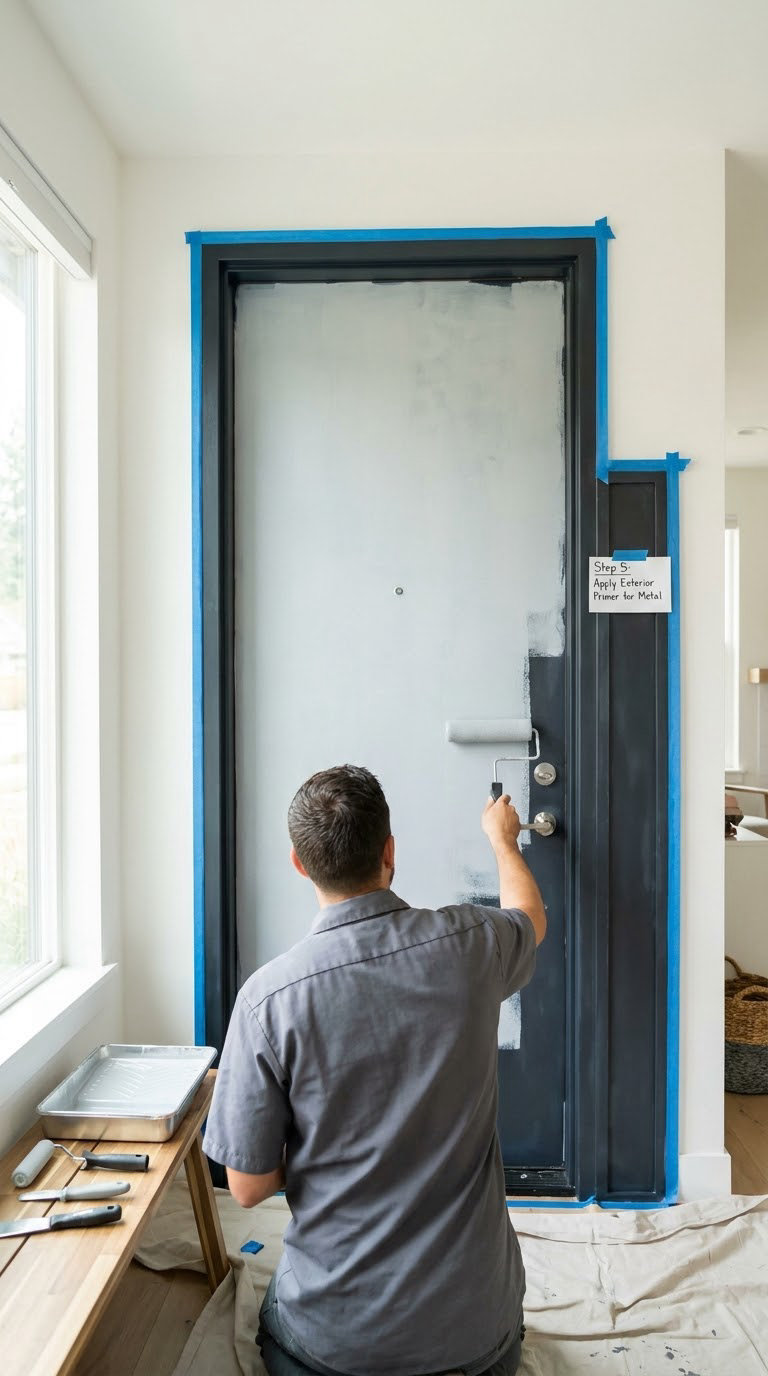
Choose a primer labeled for metal and for exterior use. If the door is bare, rusted, or previously painted with something incompatible, use a separate rust-inhibiting metal primer rather than relying on a paint-and-primer-in-one.
Stir the primer thoroughly, pour it into the tray, and load the roller lightly. Brush the recessed panels, grooves, mullions, and rails first, then roll the flat faces.
Do not let primer pool in the corners. Wipe off any puddles with a clean dry brush, because pooled primer dries thicker and shows as dull spots under the finish coat.
Use light pressure. Pressing hard with a roller leaves a stippled texture that the finish coat will not hide.
Check the label for recoat time, typically 2 to 4 hours for water-based primer, and give it the full window. The primer should look uniformly matte and slightly darker than bare metal with no wet patches anywhere.
Step 6: Apply the Exterior Finish Coats
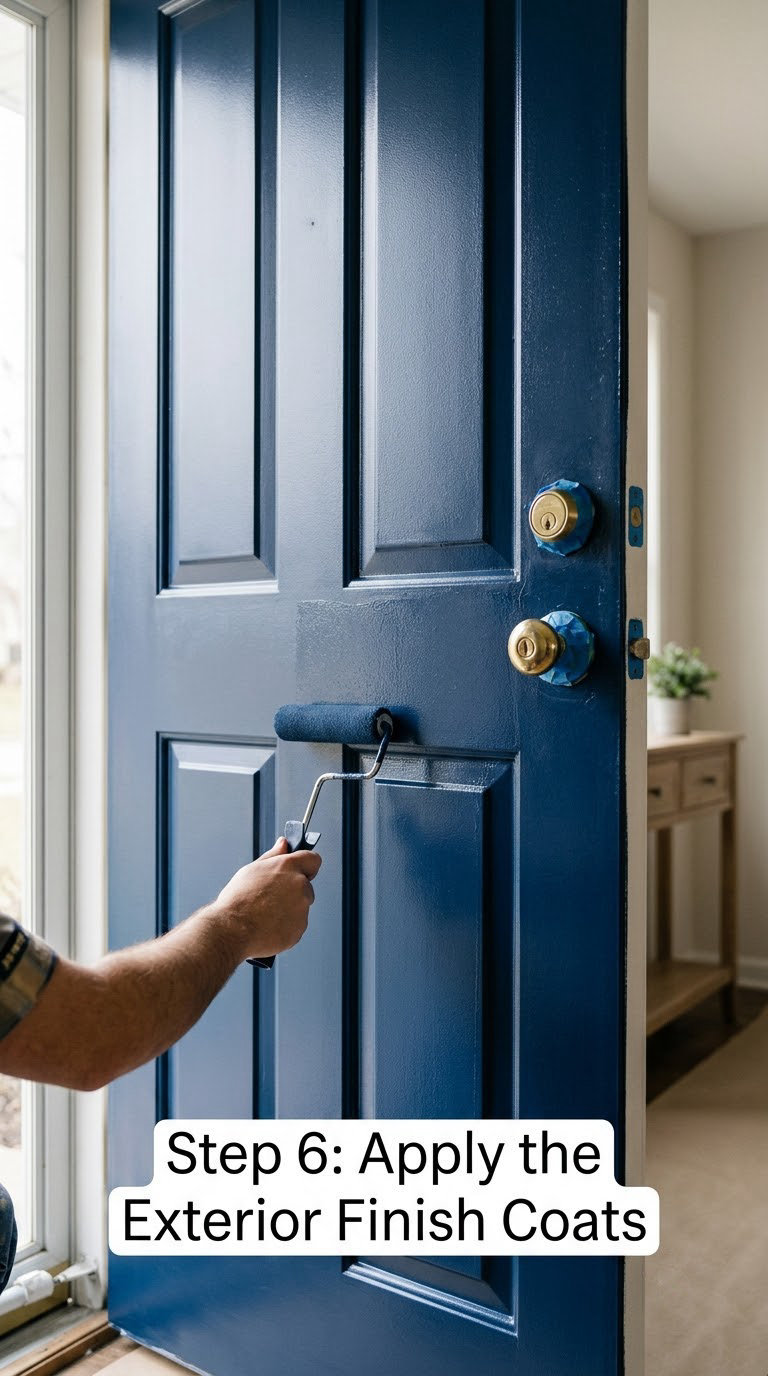
Pick a 100 percent acrylic latex exterior paint or an alkyd-fortified enamel, in satin or semi-gloss. Flat paint collects fingerprints on a door people touch daily, and high gloss shows every flaw in the surface.
Stir from the bottom of the can. Load the roller until it is damp but not dripping, and roll the flat panels with strokes running parallel to the long direction of the door.
Brush the mouldings, panel edges, hinge edge, and the narrow faces around the lock before you roll, then blend the roller into that wet edge. Keeping a wet edge as you move across the door is what stops lap marks.
Two thin coats beat one thick coat every time. A thick coat sags, dries rubbery, and traps solvent under the skin.
Paint both sides and the hinge edge in the same color if you want the door to look right when it stands open. The inside face of a steel door can take the same exterior paint, or an interior satin latex if you prefer a softer finish indoors.
Leave 2 to 4 hours between coats, following the label, and longer if the air is humid or the door is in shade. If you are torn between colors, it helps to look through our front door color ideas before the first coat goes on.
Step 7: Remove Masking, Reinstall Hardware, and Let It Cure
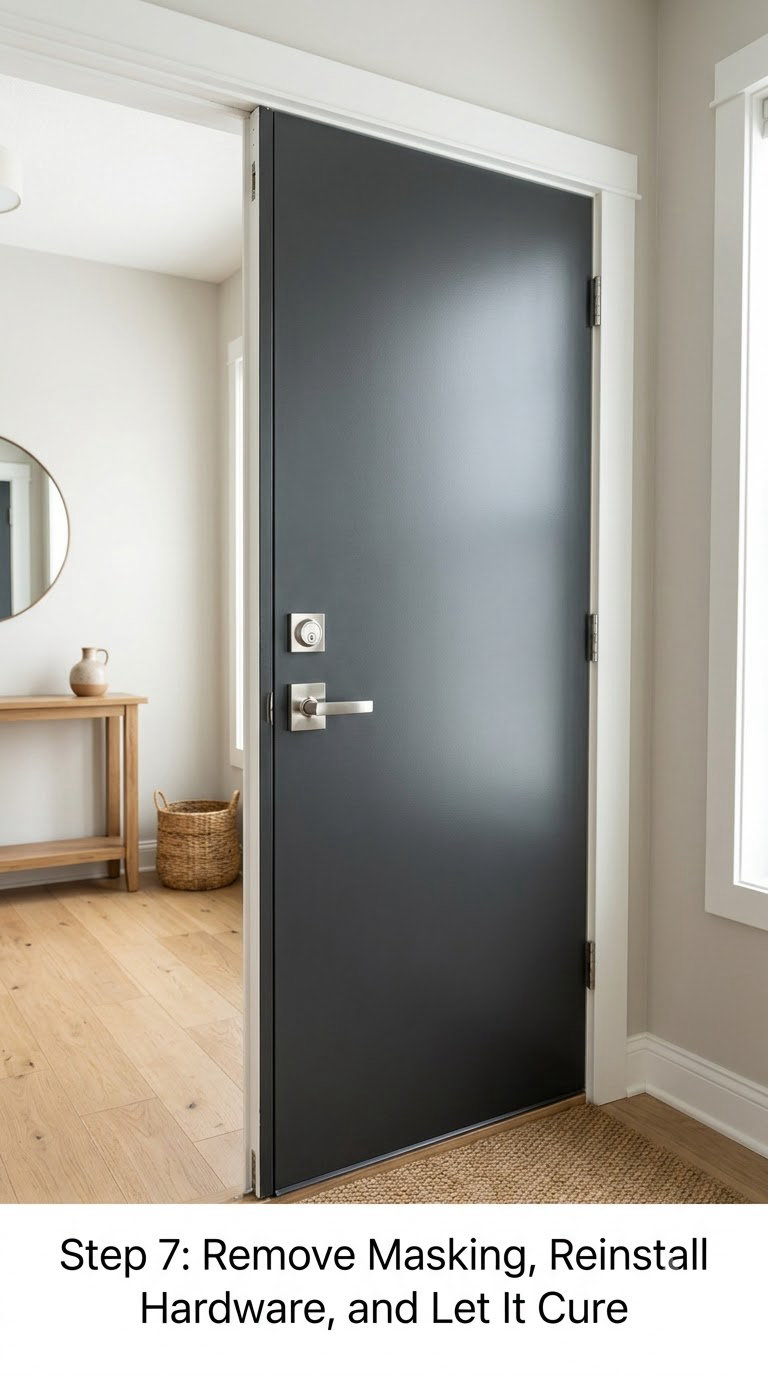
Pull the tape while the last coat is still slightly soft, usually 2 to 4 hours in, not the next morning. Sharp edges come free that way; tape left overnight leaves a ragged line or pulls paint off the glass.
Reinstall the hardware in the same order you removed it, tightening screws by hand first so you do not cross-thread them in the strike plate.
Hang the door and check it three times: closed and latched, closed and deadbolted, and open against its stop. If it rubs or bounces, adjust the hinge screws before the finish cures rather than after.
Dry to the touch is not cured. Expect the door to be usable after 24 hours and the film to harden over 2 to 4 weeks, longer in humid or shaded conditions.
Common Mistakes to Avoid
- Painting over dirt, grease, or a failing finish. Scrape and sand every loose area, and degrease the whole face before primer. Sound old paint can stay; anything flaking must go.
- Leaving rust in place. Rust-inhibiting primer slows corrosion, it does not stop it. Remove surface rust back to clean metal, or spot-treat deep pitting with a converter first.
- Using interior paint or a cheap exterior latex on the outside face. It chalks and peels within a few seasons, and no amount of extra coats changes the chemistry.
- Skipping the separate metal primer. Paint-and-primer-in-one is acceptable on sound, rust-free, previously painted metal. On bare or rusted steel, use a real rust-inhibiting primer.
- One heavy coat instead of two thin ones. Thick coats sag on vertical steel and dry rubbery. Cut the nap load on the roller and go around again.
- Not waiting long enough between coats. Touch-dry is not the same as ready to recoat. Follow the label, and add time in humid weather.
- Leaving the tape on overnight. Set it into the paint while the coat is still slightly soft for a clean line.
- Painting the weatherstripping, the bottom sweep, or the closer arm. Mask them or remove them. Paint on a seal makes a door that does not shut quietly, or not shut at all.
- Painting in direct sun or in the shade of a deep porch. Work in open shade with moving air. Paint applied in full sun skins over before it can level.
When to Call a Pro
Hire a painter or a door company when the metal itself is failing. Rust that has eaten through the sheet, craters you cannot sand flat, or a door that has warped away from its frame is a repair, not a paint job.
Fire-rated doors, security doors, and armored entry systems have finish specifications from their manufacturer, and a paint build-up on the seal can affect the rating. Get the manufacturer or a certified installer involved rather than improvising.
Any project with wiring at or near the frame, an electronic lock with a transformer in the jamb, or a magnetic contact that has to be removed and reset belongs to a licensed electrician or locksmith. Ask your local building department whether exterior door work in your area needs a permit at all; most simple repainting does not.
Get a pro for decorative stamped or deeply raised steel doors where getting an even finish without lap marks takes real technique, and for anything where the door weighs more than two people can safely lift back onto its hinges.
Maintenance
Walk past the door twice a year, once in spring and once before winter, and look for chips at the bottom edge, around the lock, and along the hinge side. Those three spots fail first.
Clean gently with a soft cloth and warm soapy water. Skip the pressure washer and the abrasive pad, both of which scratch a satin finish and give rust somewhere to start.
Touch up chips while they are still small. Sand the spot with 220 grit, wipe it, prime it if bare metal is showing, and brush two thin coats of the same finish.
Check the weatherstripping and the bottom sweep each year. If the door started slamming shut or drafts appear under it, the seal is compressed or painted, not the frame moving.
Recoat when the surface is crazing, chalking, or losing gloss across a large area rather than in isolated spots. At that point a fresh primer coat and two finish coats will hold another decade. A few front door plants at the threshold hide the scuffs during the drying days, which matters more than it sounds.
Frequently Asked Questions
What kind of paint should I use on a metal front door?
Use a 100 percent acrylic latex exterior paint or an alkyd-fortified enamel in satin or semi-gloss. Satin holds a fingerprint well and cleans up; semi-gloss lasts longer outdoors but shows every dent. Avoid flat paint on a door people touch, and never use interior paint on the exterior face. Pick a direct-to-metal or metal-rated product if you can find one.
Do I need to prime a metal front door before painting it?
On bare, rusted, or previously unknown metal, yes. A separate rust-inhibiting primer seals the steel and stops corrosion from lifting the finish. Paint-and-primer-in-one is acceptable only over sound, rust-free existing paint. If the old coating is oil-based, take it back further or use a primer that bonds over it, otherwise the new paint will peel in sheets.
How long does exterior paint take to dry and cure on a metal door?
Expect it to be dry to the touch in 1 to 2 hours and ready to recoat in 2 to 4 hours, following the label. Wait a full 24 hours before handling or rehanging the door, and 2 to 4 weeks before the film is fully hard. Humidity, shade, and cool temperatures all stretch those numbers, and a door that feels tacky a week later has not cured.
Should I use a brush or roller when painting a metal front door?
Both. Use a 2 inch angled brush for recessed panels, grooves, mullions, rails, and edges, then a short-nap roller of about 1/4 inch for the flat faces. Brush first and roll into the wet edge, run strokes parallel to the long panels, and use light pressure. Pressing hard leaves roller marks the finish coat will not cover.
Can I paint a metal front door without removing it from its hinges?
Yes, and it is the right call for a heavy steel door or anyone who does not want to lift it. Wedge the door open at the top and bottom so it cannot swing, tape the hardware in place with painter’s plastic, and cover the interior floor. Plan for the entry to be unusable for two to three days and never leave the house unsecured overnight.
Can I paint over rust on a metal front door?
Light surface rust, yes, but only after you remove it. Wire wheel, then 80 grit, then feather with 150 grit, and prime the whole door. Deep pitting that does not sand flat needs a rust converter and extra coats, and rust that is actively flaking means the section may be too thin to save. Sound old paint is fine to paint over; rust is not.
Start at the bottom of the door, where rust and chips appear first, and work your way up while you still have energy. Strip the hardware, degrease, sand the rust to clean metal, prime the whole face with a rust-inhibiting metal primer, then roll two thin satin coats with a brush for the panels. Give it 24 hours before the door goes back on its hinges and a few weeks before it takes a scrubbing.
While the coats dry, pick a house number to match the new color. Our picks for modern house numbers are worth a look before the door is back up.