How to Paint a Brick Fireplace White: Simple DIY Tips (2026)
A red brick fireplace can swallow a room, and the fastest way to change that is to paint a brick fireplace white. The method is simple: clean and prep the surface, apply a masonry primer, then finish with two coats of high-quality acrylic latex paint. Do those three things properly and the fireplace reads as a clean, bright focal point instead of a 1960s time capsule.
The part that trips people up is prep, not paint. Brick is porous, so it drinks up moisture and lets soot and mineral salts bleed back through a light topcoat. Skip the primer or rush the drying and the mortar lines telegraph through the white in gray streaks, which is the single most common complaint in DIY threads about this project.
Contents
Before you start, know that painting brick is close to a one-way door. Getting paint off later means sanding, scraping, and stripping, and all of that scars the brick face permanently. Whitewash is the reversible option; solid white paint is the one that lasts.
Time: 8 to 10 hours of work spread over 3 to 4 days, mostly drying time. Cost: roughly 1 gallon of primer and 2 gallons of topcoat for a standard 4 by 5 foot surround. Difficulty: Moderate DIY. Skill level: Careful beginner; the technique is simple, the patience is the hard part.
Tools and Materials
Gather everything before you climb the ladder. Scrambling for a brush with primer already dripping on the floor is how a project drags on for days.
Essential supplies
- Masonry primer or stain-blocking acrylic primer, 1 gallon per 100 to 120 square feet
- Acrylic latex interior paint in your chosen white, 2 to 3 gallons for two coats on a medium surround
- 2 inch angled nylon-bristle brush for mortar lines and inside corners
- 3 inch flat brush for cutting in around the mantel and hearth
- Thick-nap roller cover, 1/2 inch for rough brick or 3/8 inch for smoother faces, plus a cage and a short extension pole
- Stiff nylon or natural-bristle masonry brush for scrubbing
- Shop vacuum with a brush attachment
- Mild dish detergent or a pH-neutral masonry cleaner, a bucket, and clean rags
- Plastic sheeting, painter’s tape, and a canvas or plastic drop cloth
- Safety glasses, nitrile gloves, and a N95 or P2 dust mask
- Caulk and a caulk gun for the final seam touch-up
Helpful extras
- A paint tray and a roller grid
- A paint strainer for the topcoat
- Small plastic cups for mixing primer
- Bright work light, since the inside of a firebox swallows daylight
- Low-pressure hose attachment or a garden sprayer for rinsing, if your brick is not historic
Before You Start: Prepare the Fireplace and Work Area
Never paint the inside of the firebox. That surface gets temperatures a standard paint cannot survive, and a firebox lining needs a rated high-heat product or nothing at all. Everything you paint sits outside the firebox: the brick face, the mortar joints, and the surround.
Wait until the fireplace has been unused for at least 48 hours and every surface is cool to the touch. If you have recently had a chimney fire or any other combustion problem, get it inspected first. Painting over a sooty, damp surface guarantees peeling, no matter how good the primer is.
Ventilate properly. Open the firebox damper fully, open a window on the opposite side of the house, and run a fan if you have one. Brick cleaning kicks up fine dust, and primer and paint fumes are heavier than most people expect. If anyone in the house has asthma, do this project another day.
Move furniture, cushions, and rugs out of the room rather than covering them in place. Dust finds its way under fabric no matter how well you tape. What stays gets a plastic drop cloth, taped at the edges, and the walls, mantel, and trim get plastic sheeting taped with painter’s tape on a clean surface.
Put on glasses and a dust mask before you start brushing debris loose, not after. Gloves matter too if you are using a cleaner; a pH-neutral product is gentler on your hands and on the mortar than a stronger degreaser.
If the house is older than 1978, treat the brick as potentially lead-bearing and do not sand or sandblast it. Disturbing painted surfaces in a home that old can release lead dust, and testing is cheap compared with remediation. If you are planning an exterior brick repaint later, our guide to exterior paint colors for brick homes is worth reading now, because paint on the same house tends to want to agree.
Step-by-Step Instructions: Paint a Brick Fireplace White
To paint a brick fireplace white, clean the porous brick, seal it with a masonry primer, then roll on two coats of acrylic latex paint, brushing the mortar joints first. Give each coat 24 hours to dry, and the finish will stay white through years of soot and use.
Step 1: Inspect the Brick and Choose White Paint
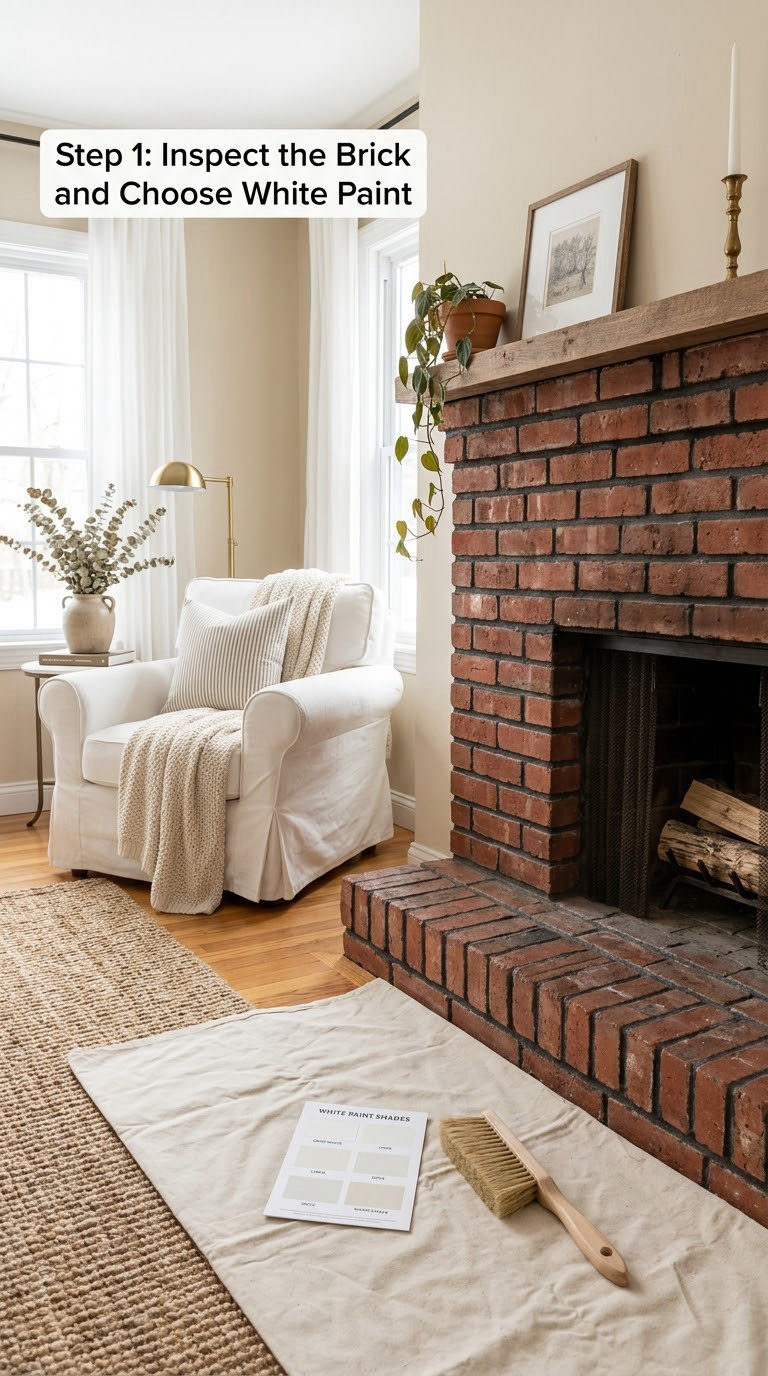
Start by finding out what you are actually painting. Press a fingernail into a mortar joint: if it crumbles, the joints need repointing or a bonding primer before anything else. Loose spalling brick means water has been getting in behind the face, and paint will not fix that.
Look at the color of the brick itself. A red or orange undertone fights a cool white and turns it dingy gray over time. A warm white with a touch of yellow or pink in it reads clean against red brick and softens the mortar pattern. A cool white looks sharper but exaggerates every imperfection. Test a sample on one brick face near the firebox and let it dry overnight, because wet paint and dry paint are different colors.
For a starting point on the warm side, our notes on Sherwin-Williams Divine White show how a soft warm white behaves in a real room. If you want to browse more options, we compared 15 of the best Behr white paint colors, several of which sit in the warm range that suits brick.
Choose the paint system before you buy anything: one primer and one topcoat from the same manufacturer, both labeled for masonry or for use on previously painted surfaces.
Step 2: Clean the Brick and Remove Loose Material
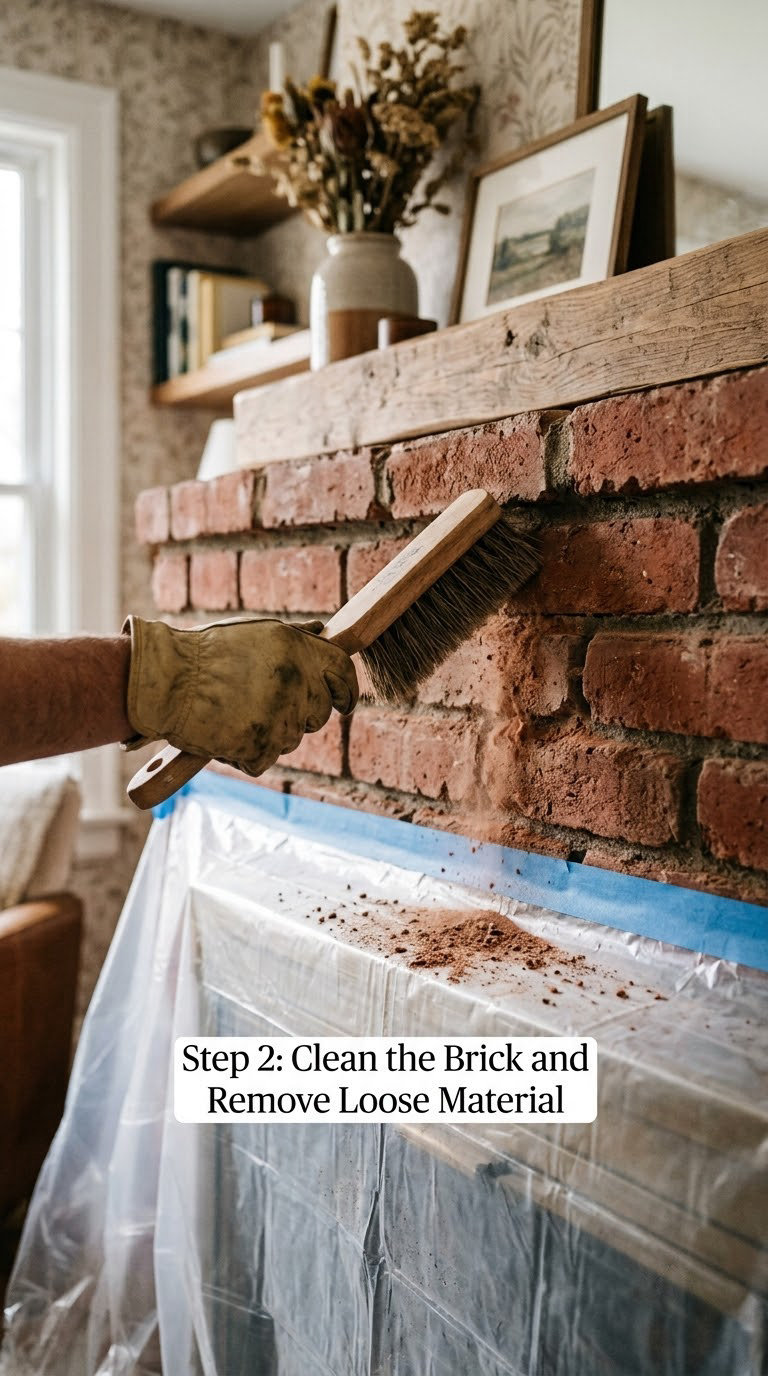
Vacuum the whole face first, from the top down, with the brush attachment touching the brick. Loose grit dragged across wet primer is what leaves those long scratchy streaks people blame on the roller.
Next, work the brick with a stiff masonry brush and a bucket of warm water with a squirt of dish detergent. Scrub in small circles, about a 2 foot square at a time, then wipe with a clean damp rag. Change the water often; dirty water just spreads the soot back around.
Rinse sparingly. Squeeze water from a rag rather than hitting the brick with a hose, because saturated brick takes days to dry and primer applied to damp masonry will peel within a year. If there is real efflorescence, the white powdery salt coming through the face, scrub it with a masonry-specific cleaner and give the wall 48 hours to dry out.
Do a final pass with the vacuum and let the brick dry completely, overnight at minimum. Press a paper towel firmly against a mortar joint; if it comes away damp, wait another day.
Step 3: Repair Cracks and Fill Gaps
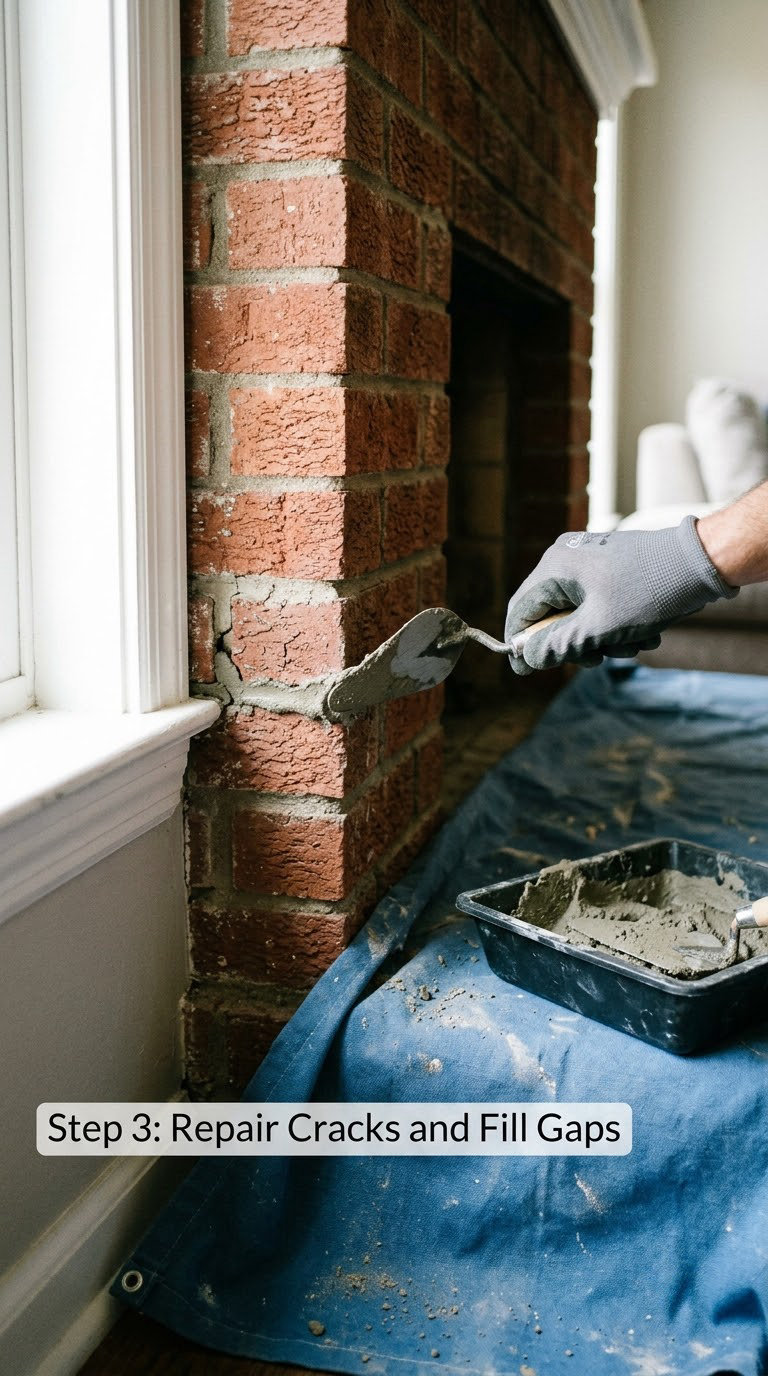
Pick out any mortar that is already loose or missing and press in a premixed masonry repair product or a matching mortar mix. Push it in firmly with a small tool so it sits slightly recessed rather than proud of the joint, and feather the edges.
Fill small nail holes and chips in the face with a masonry patching compound, and let it dry until it matches the brick color. A wide patch that shades differently from the surrounding brick will telegraph through white paint, so keep repairs small or accept that a spot primer will not fully hide them.
Cosmetic repair is where DIY ends. A crack running through several courses, bricks that move when you press them, or a firebox that leans are structural or combustion problems, and they need a mason or a chimney specialist before any painting happens.
Step 4: Mask and Protect the Surrounding Area
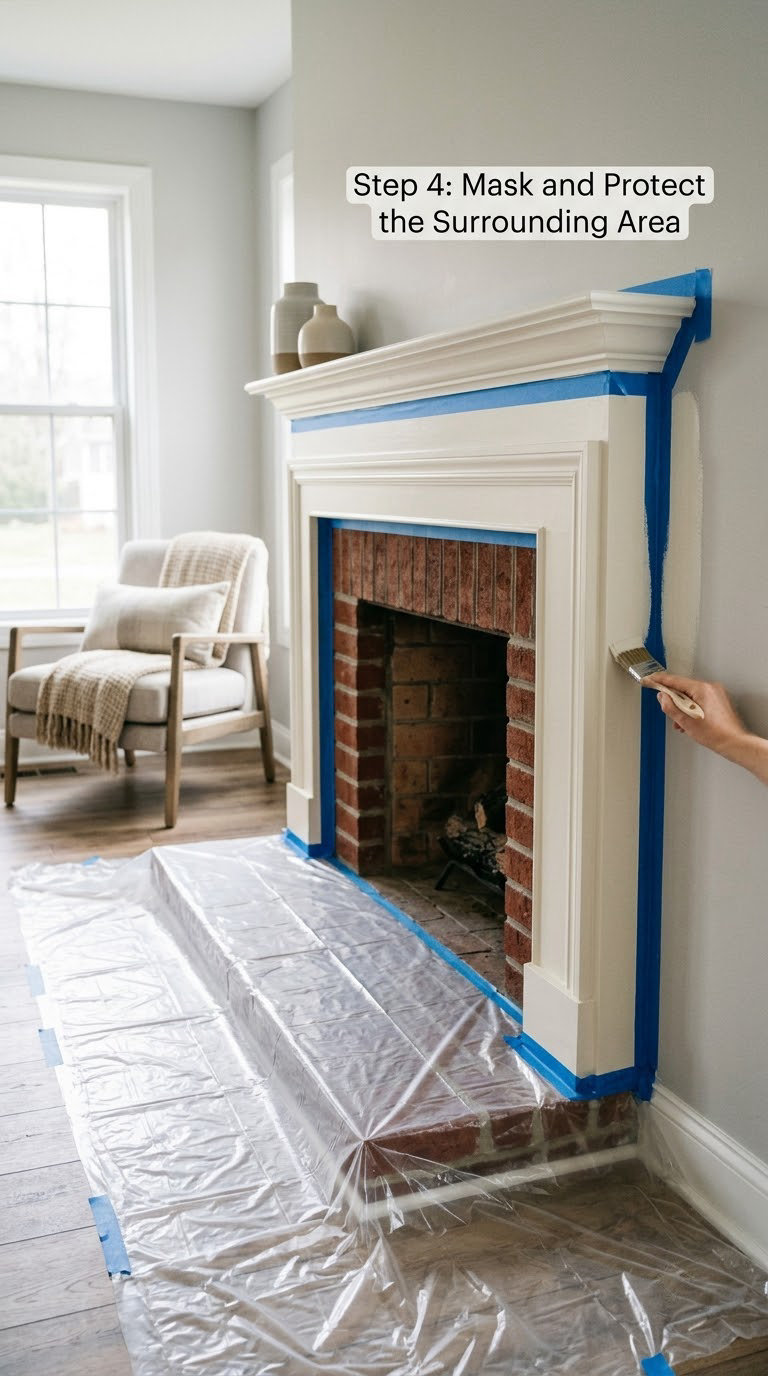
Tape first, cut in second. Run painter’s tape on trim, the mantel, and the edge of any painted or stained wood, pressing it down firmly with a putty knife so paint cannot creep underneath.
Sheet the hearth and the floor below the work area. Brick grinding dust and splatter travel further than you expect, and a canvas drop cloth under plastic is much easier to peel up than plastic on its own.
Two things to watch: never tape over a floor register or return air vent, because you need that airflow while the room full of paint fumes dries. And if the fireplace has a gas insert, do not tape across its vents or flue opening.
Mask the firebox opening from the inside with a rigid card or a light-colored board so you are not painting a dark cavity by accident.
Step 5: Apply Primer to the Brick
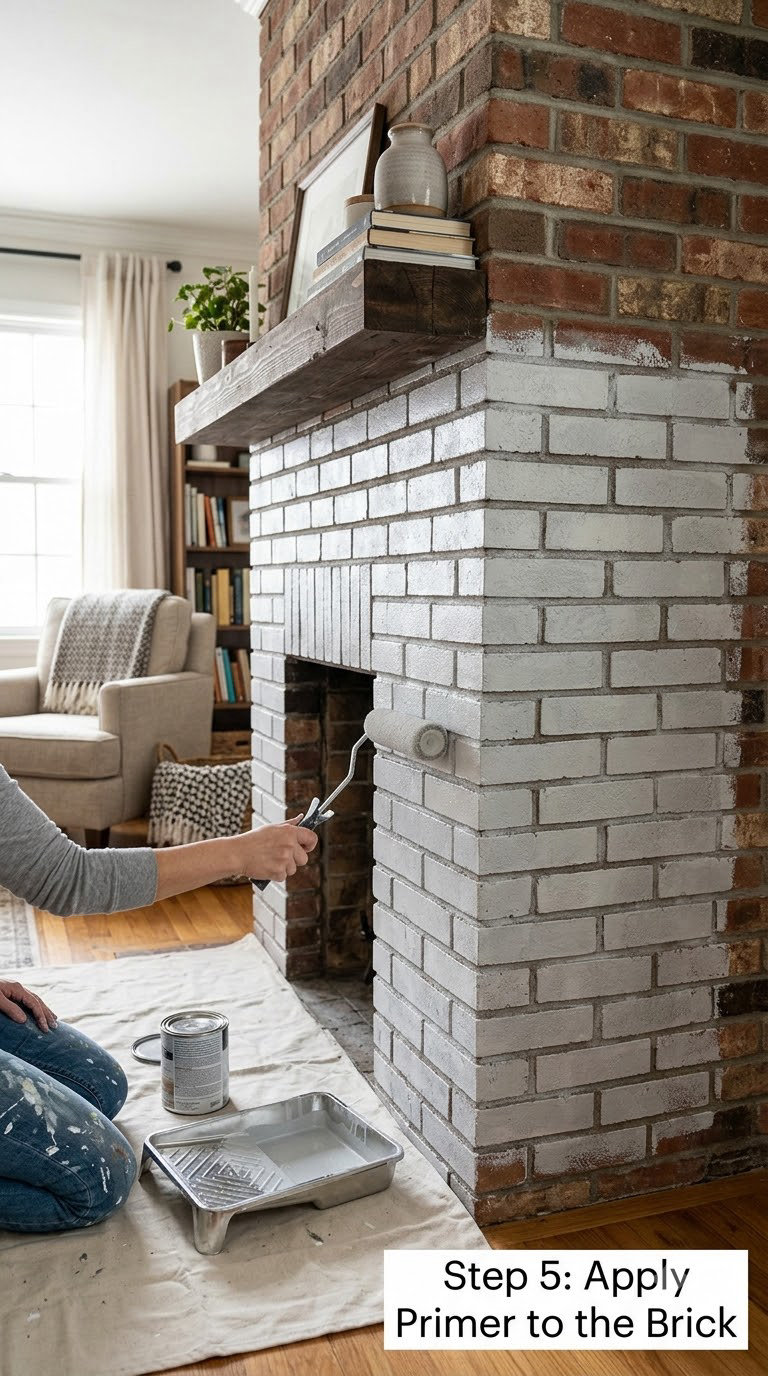
Stir the primer thoroughly, do not shake it, and pour it through a strainer if it has been sitting. Mix in a separate container so you do not return sediment to the can.
Brush primer into every mortar joint and crack first, using the 2 inch angled brush and enough pressure to push material to the back of the joint. Then roll the brick faces with a thick-nap roller, working in a W pattern and overlapping each pass by about a third.
Brick is porous, and it will drink noticeably more primer than the drywall next to it. Watch for the roller skipping over the high spots and going dry halfway across a section; reload more often than feels natural. Let the roller do the flat faces and the brush handle the texture, rather than forcing one tool to do both jobs.
Two coats of primer is the normal recommendation here, not one. The first coat soaks in and seals, the second evens out the tone and knocks down the mortar bleed-through that would otherwise show as gray clouds under white. Wait the full label time between coats, usually 4 hours, and let the last coat dry overnight before you start on paint.
Step 6: Paint a Brick Fireplace White With Two Even Topcoats
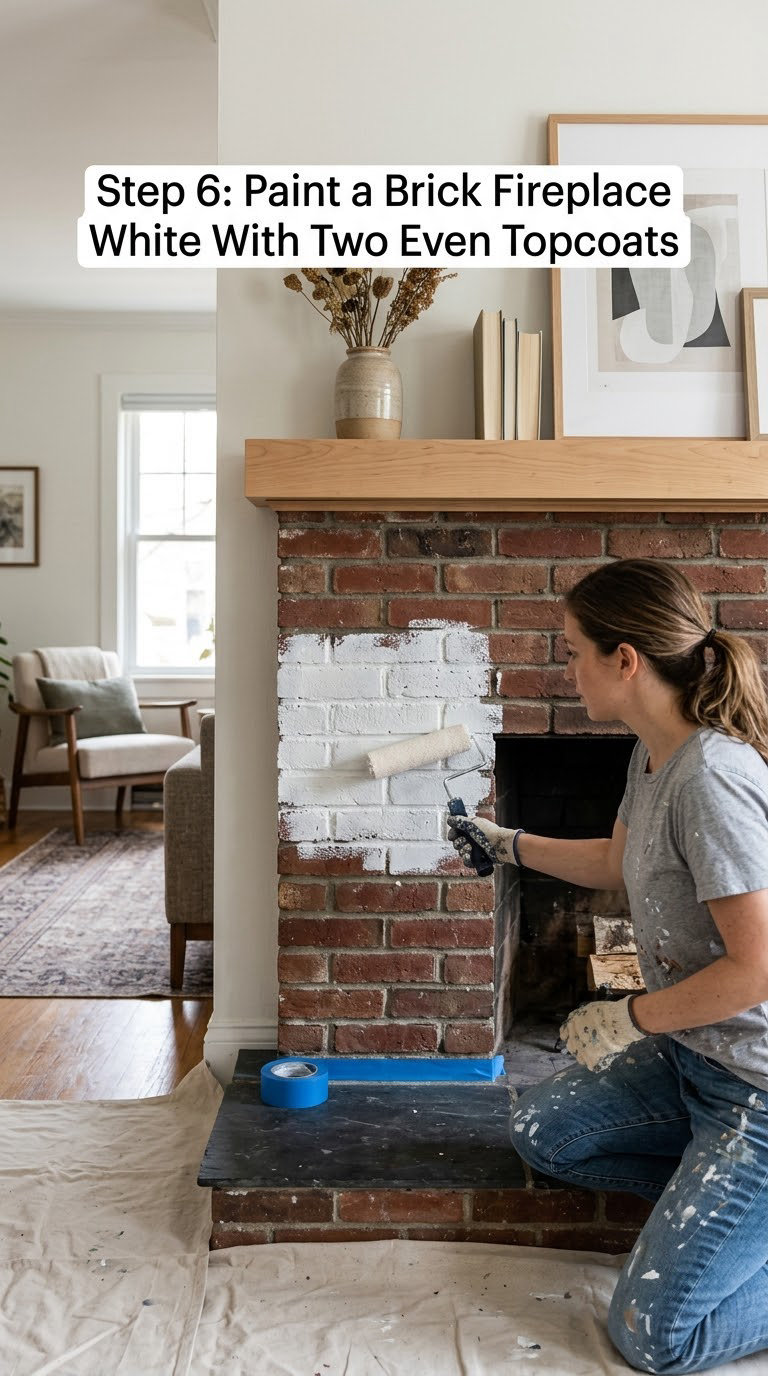
Stir the topcoat and thin it only if the label allows a small amount of water. Load the roller until the nap is damp, not dripping, and roll from the top of the surround down so you are not rolling paint over settled dust.
Brush the mortar lines and inside corners with the 2 inch angled brush, then immediately roll the faces while the brushed areas are still wet. Keeping the two steps close together is what produces a single even film instead of a patchwork of separate brush and roller areas.
Use thin coats. One heavy coat dries on the surface while the underside stays soft, and that is how you get peeling a year later. Let coat one dry for the label’s recoat time, usually 4 hours, then scuff lightly with 180 to 220 grit if the manufacturer recommends it, and roll coat two.
Good coverage means no red or brown shows through, no mortar line is darker than its neighbors, and the sheen is uniform when you look at it from an angle in daylight. Check the face with a bright light held flat against the wall; shadow reveals pinholes that daylight hides.
Once the final coat is dry, run a paintable caulk bead into the corners where the brick meets the trim or hearth. It hides the seam line and stops moisture from getting behind the paint. Then leave the room alone for 24 hours before lighting a fire, and give the paint a full week before you lean anything against it.
Common Mistakes to Avoid
Painting damp or dusty brick. The finish peels in sheets within a year. If the brick cannot dry fully in your climate, the project needs a masonry paint system rather than a standard latex one.
Skipping the second primer coat. Soot and mineral salts reappear as gray and tan patches through white, and the only fix is to strip and start over.
Applying thick coats. Heavy coats skin over, stay soft underneath, and blister. Thin coats, more of them, dry harder and last longer.
Rolling mortar lines. A roller cannot reach the back of a recessed joint, so the lines read gray or red under the white. Brush every joint before you roll.
Painting over silicone or wax. Fresh caulk, candles, and furniture wax bleed through new paint as yellow ghosting. Remove them with a degreaser, or wait weeks and hope. New paint also will not stick to an old gloss surface; scuff or use a bonding primer first.
Using interior paint on a surface that still gets warm. Brick within a foot or two of the firebox opening can soften paint that is not rated for the heat. Use a high-heat product in that band.
Leaving the room unprotected. Dust from the masonry brush settles into upholstery and takes an hour to clean. Move what you can; cover what you cannot.
Painting a fireplace you still fire regularly without checking the manufacturer’s cure time. Many topcoats need a week or more of open-air curing before heat exposure. Igniting a fire too early softens the film and it never hardens properly.
When to Call a Pro
Call a chimney specialist, not a painter, if the fireplace has structural movement, spalling brick, a cracked firebox, or a flue you have never had inspected. Do not paint over any of that, and do not use the fireplace again until it has been cleared.
Historic brick deserves a different conversation. Owners of original 18th and 19th century fireplaces in r/centuryhomes are nearly unanimous: paint destroys the surface, and stripping it later takes the brick with it. On old or irreplaceable brick, repointing and a German smear or lime wash will give you the pale look without closing the door.
Get a lead test before scraping or sandblasting anything painted in a home built before 1978. Get a pro for heavy soot or creosote contamination, for any active water intrusion behind the face, and for a color change on a large double-sided surround where a mismatched patch will be obvious from the hallway.
No permit is normally required to paint a fireplace. You do need one, or a code check, if the project involves relocating the firebox, changing the flue, or opening up the wall around it.
Maintenance
Dust the painted face with a soft dry cloth or a vacuum with a brush head, monthly if the fireplace gets used. Wipe soot marks with a barely damp cloth and a drop of mild detergent, then dry it.
Do not scrub with a stiff brush or a green pad, and do not pressure wash. A pressure washer drives water into the mortar and lifts the film off the brick face, which is the fastest way to create peeling you then have to fix.
Before any touch-up, clean the spot, let it dry fully, and feather the edges of the surrounding sound paint with 220 grit. Painting over a peeling edge just spreads the problem, so scrape loose paint back to where it is firmly attached first.
Watch the mortar lines, not just the flat faces. Lines darkening or the white going dull in patches usually means moisture or a stain getting through, and it is worth finding the source before repainting. Repainting over the top without fixing the cause is how a three-year job becomes a weekend one, every few years.
Frequently Asked Questions
What kind of paint should I use to paint a brick fireplace white?
Use a high-quality acrylic latex interior paint over a masonry or stain-blocking primer. Do not paint the firebox interior. Brick is porous, so the primer does the real work of sealing soot and mineral salts. Two thin topcoats in eggshell or semi-gloss give a scrubbable surface; flat paint shows every roller mark on a textured face.
Do I need to prime brick before painting it white?
Yes. Skip the primer and soot, efflorescence, and mineral residue will bleed back through the white within months, and the topcoat will not adhere well to raw porous brick. Two coats of a masonry or stain-blocking acrylic primer seal the surface and even out the tone. Wait the full label dry time between coats and overnight before the topcoat.
Can I paint a fireplace white if the brick is old or porous?
Older brick can almost always be painted, since it is simply more porous than newer brick. The primer absorbs faster and the job takes longer, so budget extra coats and extra drying time. The exceptions are historic or original brick worth preserving, brick that is spalling or damp from water intrusion, and any home painted before 1978, where lead testing comes first.
Should I use warm white or cool white paint on a brick fireplace?
Warm white, with a hint of yellow or pink, flatters red and orange brick and softens the mortar pattern. Cool white looks crisper and more modern but makes shadows and patchy joints more obvious. Test a sample on one brick face near the firebox and look at it in daylight and under lamps at night, because lighting changes the undertone more than the swatch suggests.
How long does painted brick need to dry before using the fireplace?
Keep the fire out for at least 24 hours after the final coat and treat the surface gently for a full week. Most manufacturers recommend a week or more of open-air curing before heat exposure, and lighting a fire too early leaves the film soft. Full cure takes longer still, so the first season of burns is when a rushed job usually shows it.
Can I paint over a fireplace that already has paint or whitewash on it?
You can, but adhesion is the whole problem. Scrape and wash off anything loose, scuff glossy paint with 180 to 220 grit or use a bonding primer, and apply a stain-blocking primer before the topcoat. If old whitewash is still flaking or the previous coating peels in sheets, strip it first, because new paint will lift wherever the old layer lifts.
Conclusion: Start with Preparation for the Best White Finish
The finish you get is decided on day one, not in the last coat. Let the fireplace cool for a full 48 hours, check the mortar for looseness, scrub the brick clean and let it dry completely, then protect the room properly before a single drop of primer goes on.
After that it is straightforward: two coats of masonry primer, two thin coats of acrylic latex paint, brush the joints first and roll the faces second. Give it 24 hours before the first fire and a week before you lean anything against it, and the white you paint a brick fireplace white today should still look clean years from now.