How to Paint a Popcorn Ceiling: Simple DIY Method (October 2026)
Painting a popcorn ceiling is mostly patience, not skill. Use a split-foam acoustic roller or a thick-nap roller with a short extension pole, flat water-based ceiling paint, and very light pressure. Two coats, rolled in opposite directions, give an even finish. If your home was built before 1980, test the texture for asbestos before you wet it.
The texture stays exactly where it is. That is the whole appeal — you brighten a dated, dusty ceiling in a weekend without scraping, without drywall dust in the air, and without a sledgehammer in the hallway.
Contents
What bugs people most is the fear of turning a bumpy ceiling into a smeared, half-flat mess. It takes very little pressure to crush popcorn texture into a smooth, ugly patch. Everything below is about light touch, protecting the peaks, and knowing when to stop.
Time: one to three days including drying. Cost: a few gallons of ceiling paint and one roller cover. Difficulty: Moderate DIY. Skill level: patient beginner.
Tools and Materials
Everything here is a standard hardware store item. Buy the roller before the paint, because the roller choice drives everything else.
- Flat water-based ceiling paint in a drip-resistant, low-splatter formula. Buy 15 to 30 percent more than a flat ceiling would need, because texture drinks paint.
- Split-foam acoustic roller cover or a thick-nap roller, 1/2 inch to 3/4 inch nap, 9 inches wide, plus a sturdy cage.
- Extension pole, 4 to 6 feet of reach. A longer pole saves a ladder on tall ceilings.
- 2-inch angle sash brush for cutting in along walls, trim and around fixtures.
- Paint tray and screen, or a small paint pail if you are using a pole.
- Painter’s tape and 2 to 4 mil plastic sheeting to cover furniture and the floor.
- Mild all-purpose cleaner, a sponge, a duster and a vacuum with a brush head for cleaning the texture.
- N95 or better dust mask and safety glasses for the cleaning stage.
Optional, depending on what you find: stain-blocking primer, PVA or gum-out primer for bare texture, ceiling-texture patch for repairs, a paint strainer bag, an LED work light, and an airless sprayer if the room is large. If you would rather rent one, our best paint sprayers for ceilings guide covers the models worth renting.
Before You Start
First, work out what you are dealing with. A ceiling sprayed with texture in the 1960s looks completely different from a fine modern knock-down, and the two need different roller naps. Run your hand across it, or hold a flashlight at a low angle to it. If the peaks are roughly the size of a grain of rice, that is a medium texture needing about a 1/2 inch nap. Larger, flatter blobs mean 3/4 inch.
Next, find out how old the texture is. Asbestos was used in sprayed ceiling texture until the 1978 ban, and it was not illegal to use material already on site afterwards. If your house was built before 1980, treat the texture as untested until a lab says otherwise. An at-home test kit with a microscope lets you check a sample yourself, but a lab is the answer you want before you wet the whole ceiling. Never sand, scrape or pressure-wash untested texture.
Then assess the surface itself. Pop a few loose spots with a screwdriver and see whether the texture holds or crumbles. Look for brown water stains, sagging between joists, mold blooms or fresh paint that peels in sheets. Any of those means you have a leak or a structural issue to solve first.
Last, set the room up. Furniture out or buried under sheeting, floor covered, registers and returns taped, fans off, windows open. Ceilings dry from the top down and the air stays damp for hours, so keep the room closed up while you paint and ventilate well afterward.
How to Paint a Popcorn Ceiling: Step-by-Step Instructions
The sequence below is how to paint a popcorn ceiling in the order that saves rework. Prep first, then edges, then the field, then the second coat at 90 degrees to the first.
Step 1: Protect the Room and Check the Ceiling
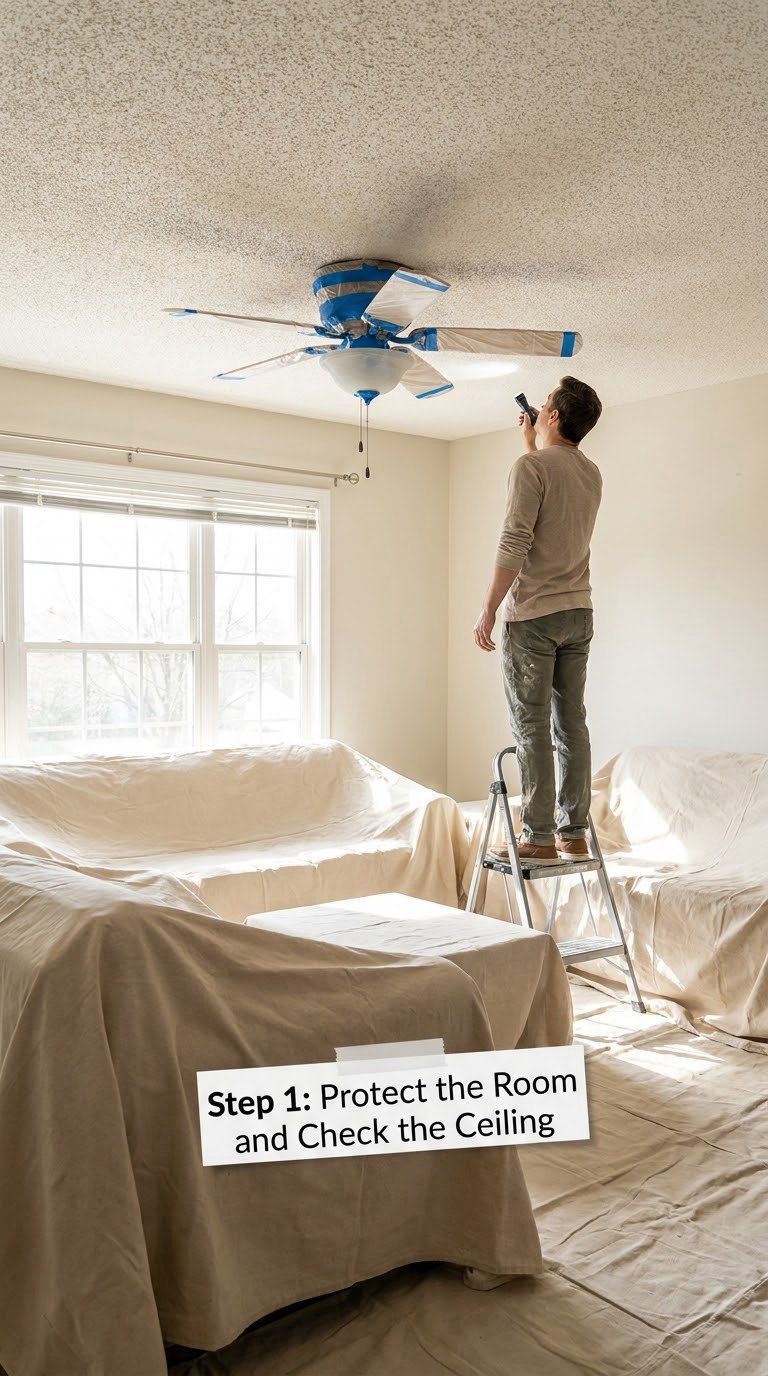
Push the furniture to the center of the room, drape the drop cloth over it, and tape plastic to the walls at 8 to 12 inches wide. Ceiling texture sheds constantly, and wet popcorn sticks to everything it lands on.
Tap the texture in several places with the handle of a screwdriver. Firm sections sound dull and stay put. If it crumbles or powder comes off, stop and read the section on calling a pro below.
Step 2: Clean and Repair Damaged Texture
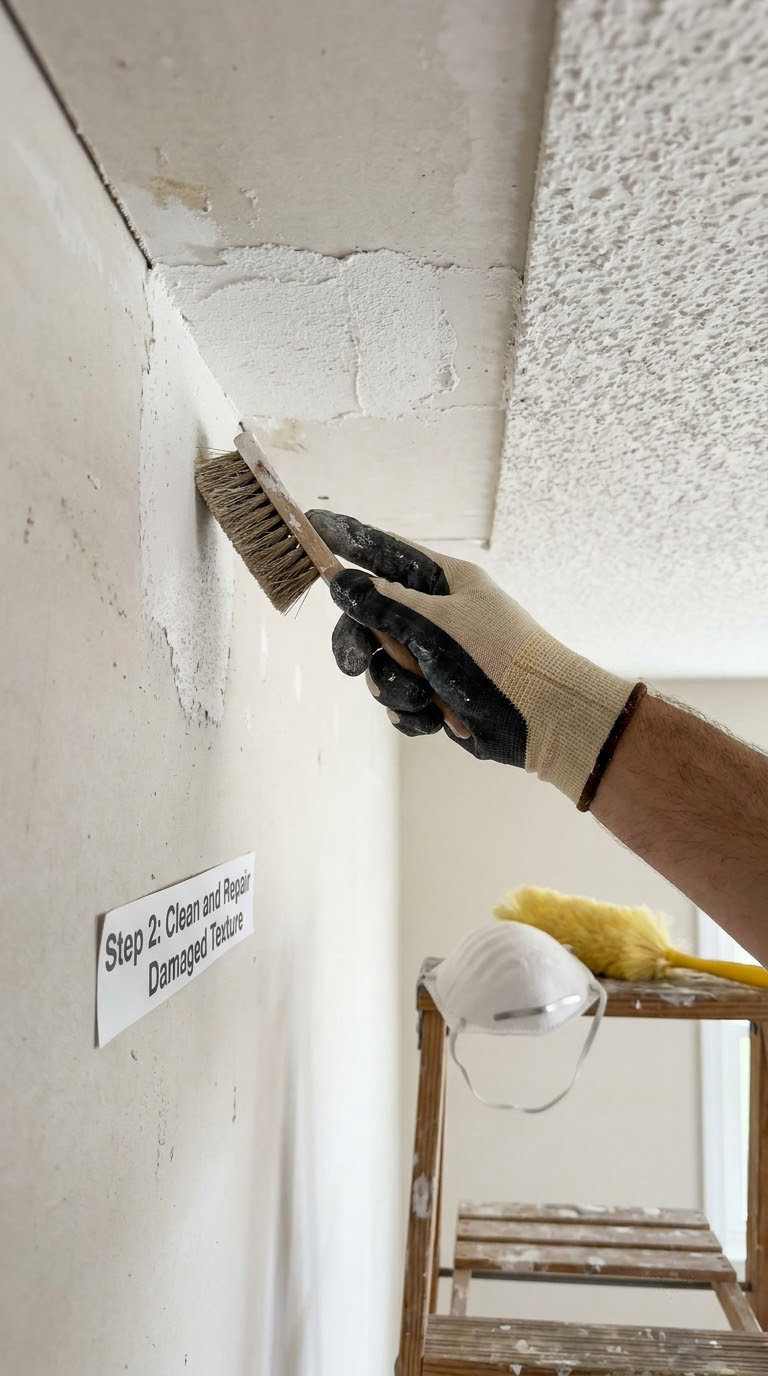
Vacuum the ceiling with a brush head, then wash it with a damp sponge and a mild cleaner. Let it dry completely, overnight if you can. Paint applied over dust and grime glues that dirt down permanently, and you will see every cobweb through the first coat.
Patch cracks and missing texture with a premixed ceiling-texture product, applied with a small brush or a stiff card. Feather the edges flush. Follow the cure time on the label, and spot-prime bare patches so they do not telegraph through the finish.
Step 3: Choose Paint and Apply Primer When Needed
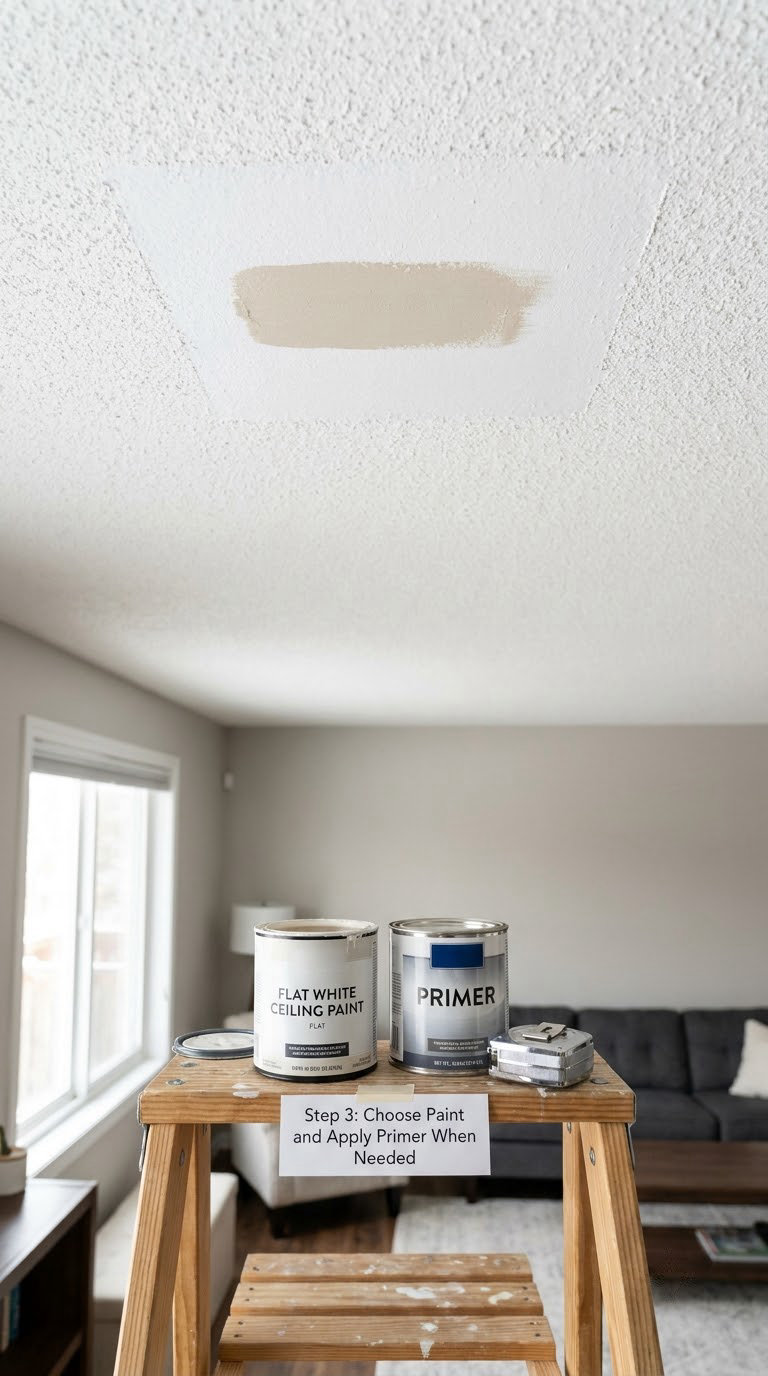
Use flat or matte water-based ceiling paint. Any sheen at all, eggshell through semi-gloss, catches every peak and shadow of the texture and makes a bad ceiling look worse. Skip oil-based paint too; it is miserable to clean up and a pain for anyone who touches that ceiling later.
White is the forgiving choice. It hides roller marks, holidays and missed spots better than any color. If you want another shade, our guide to choosing a ceiling paint color covers how light and warm a ceiling reads at a low angle.
Prime when you have bare or repaired texture, when you are going from a dark color to a light one, over heavy stains, or over previously painted popcorn that is peeling. Use PVA or gum-out primer on bare texture to lock dust down, and a stain-blocking primer for water or smoke stains. A self-priming ceiling paint skips this step on an already painted ceiling in good shape.
Step 4: Cut In the Edges
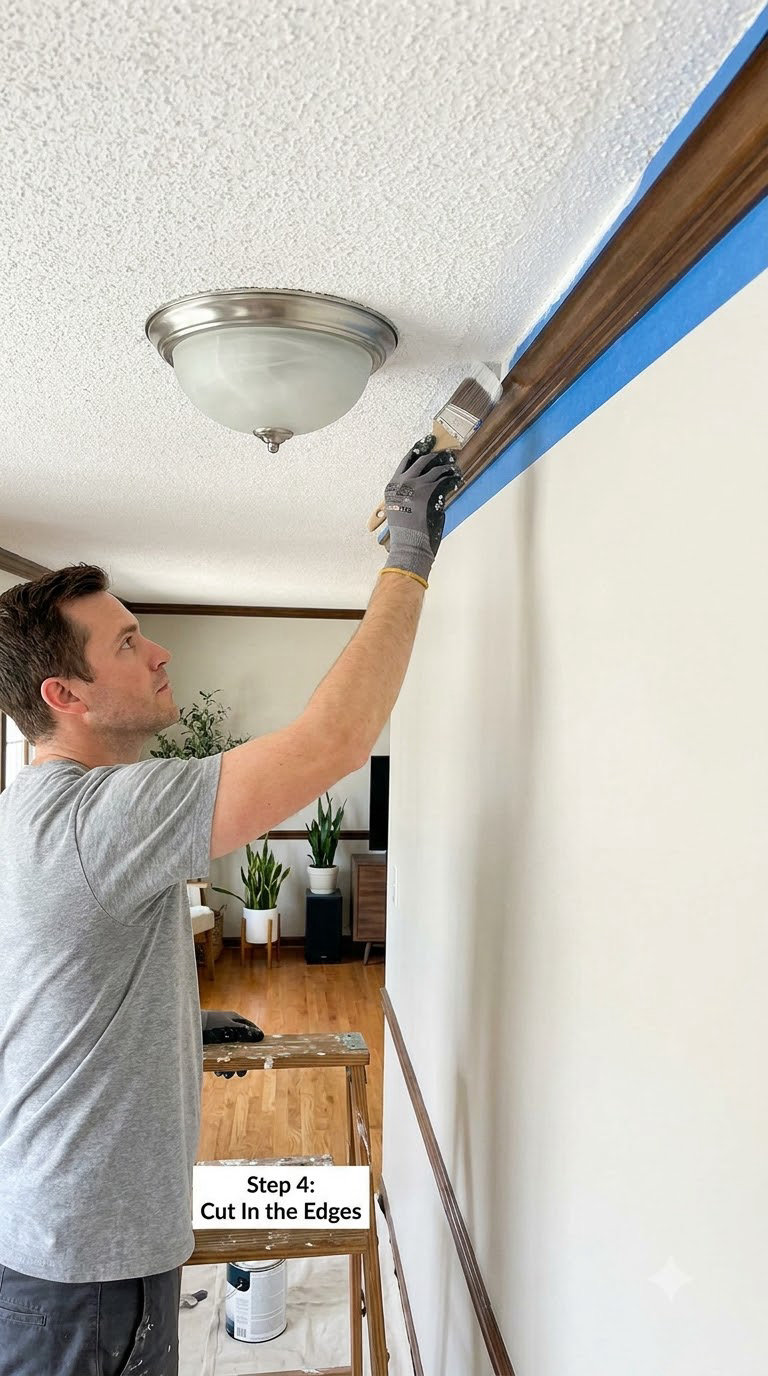
With the 2-inch angle sash brush, paint a narrow band about 2 inches wide where the ceiling meets walls, trim, and around fixtures. Keep the line even and slightly wider than the roller will cover; you want the roller to land on your brush work, not the other way around.
Pull the tape while the edge is still workable, before the paint skins over. If you are taping the whole wall run, wait until the paint is about 80 percent dry before removing it, or the line can lift.
Step 5: Roll the Ceiling Field
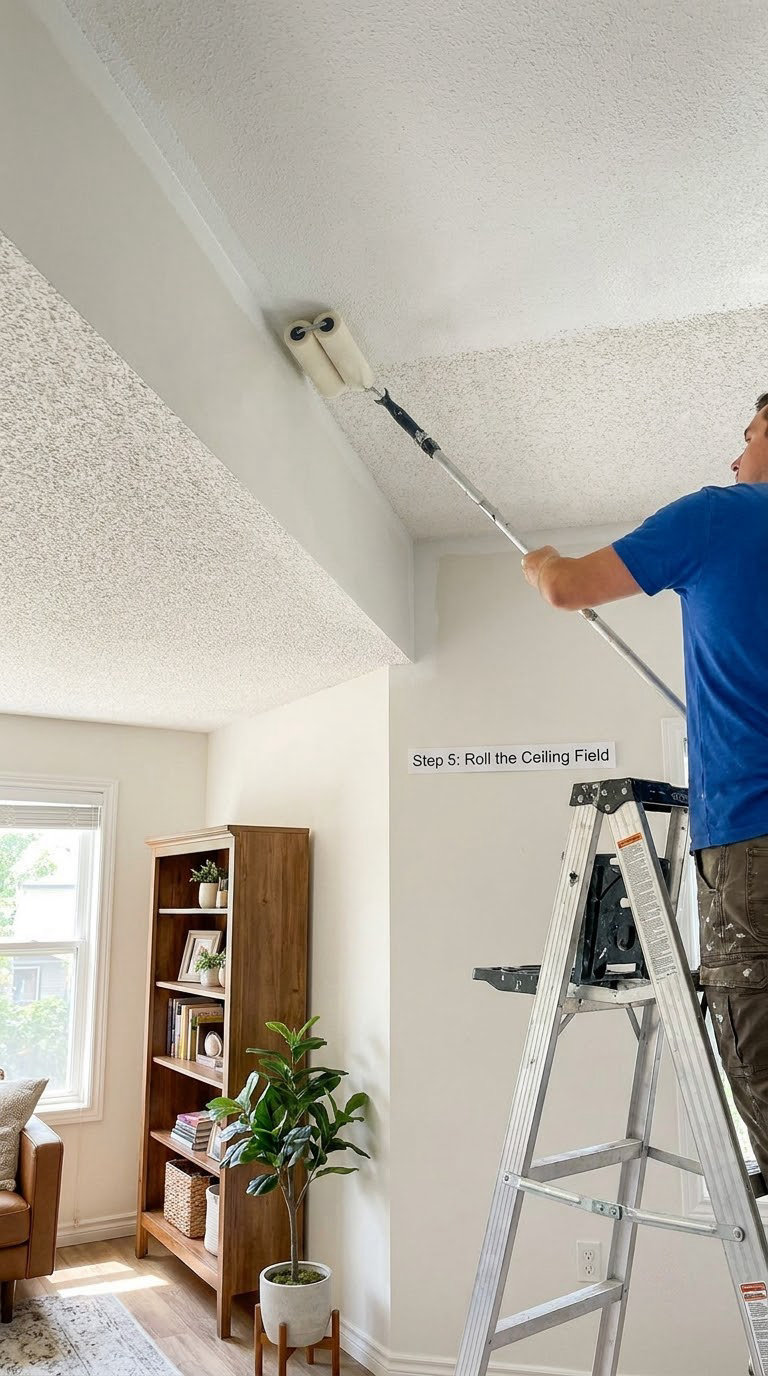
Load the roller until the felt is damp, not dripping. Tap out the excess against the side of the tray. An overloaded roller is as damaging as pressing hard, because wet paint softens the texture and it transfers onto the sleeve.
Start at the far corner and work in 3 by 3 foot sections toward the light, so you can see what you have missed. Lay an even coat on with light pressure, then vary the direction slightly pass to pass. Keep a wet edge between sections and do not go back over a drying area.
If you do catch a missed spot, leave it for the second coat. Re-rolling a tacky spot is the fastest way to pull texture loose.
Step 6: Let Dry and Apply the Final Coat
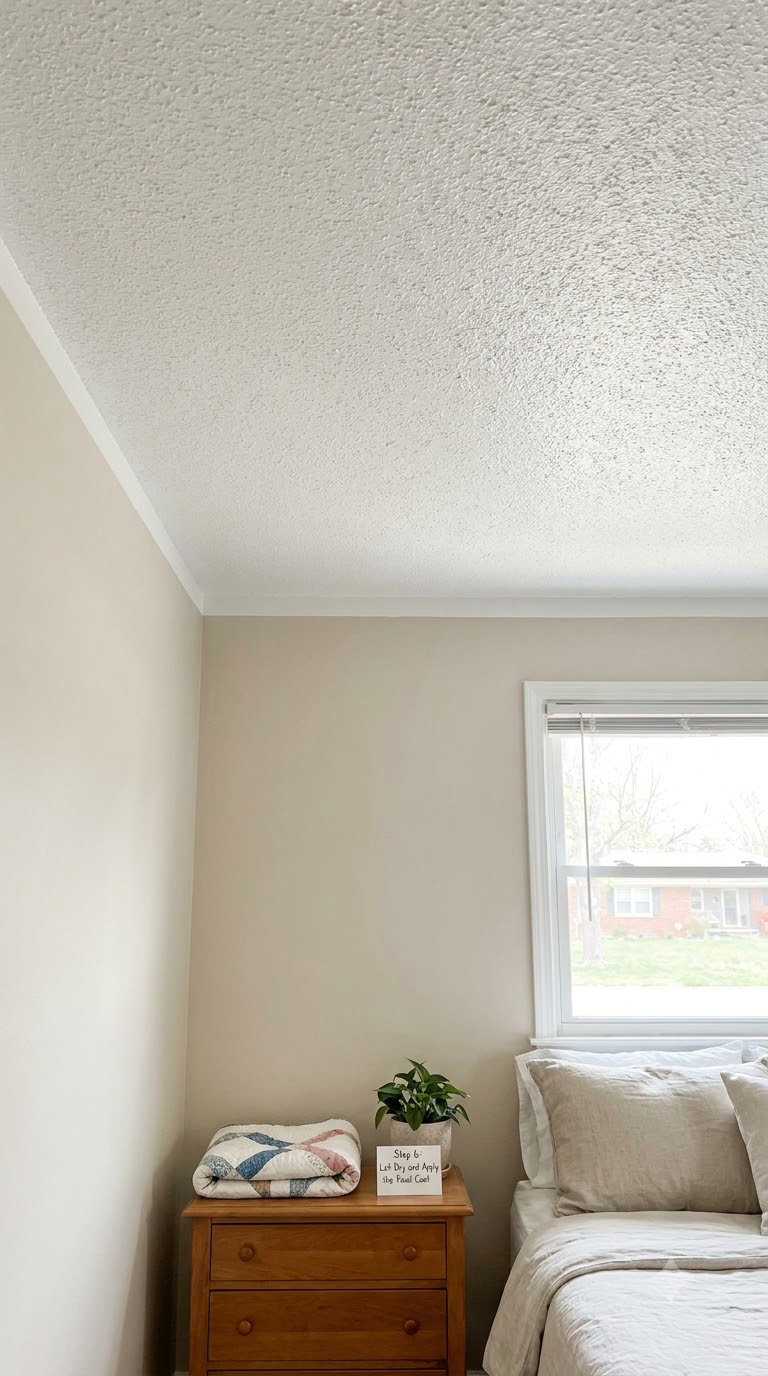
Give the first coat the full dry time printed on the can, typically 2 to 4 hours, then a night if the house is humid. Texture holds moisture in its valleys, so a ceiling that feels dry on top can still be damp underneath.
Do not judge the color until 24 hours have passed. Weld every roller mark and holiday with a light pass, then roll the second coat at 90 degrees to the first so the marks cross rather than stack. Curing takes a few days longer than drying.
Common Mistakes to Avoid
- Skipping the clean. Paint over dust and the dirt becomes permanent. Vacuum and wash first.
- Not testing adhesion. Run a dry deep-nap roller along the ceiling first. If plenty of texture comes off on the sleeve, painting will make it worse. Patch and prime instead.
- Using a short-nap roller. A 1/4 inch nap cannot reach into the valleys. Use split foam or 1/2 to 3/4 inch nap.
- Overloading the roller. Extra paint softens popcorn so it comes off onto your sleeve. Load less than you think.
- Pressing hard. Pressure flattens peaks into a smooth patch that stands out against the rest. Light touch only.
- Re-rolling missed spots. Once paint is tacky, rolling over it lifts texture. Let it dry and fix it in the next coat.
- Pulling tape late. Set tape that has fully skinned will tear the paint line. Peel it while it is still workable.
- Painting one thick coat. Two thin coats even out. One heavy coat sags in the valleys and dries unevenly.
- Working in heat or a strong draft. Paint skins before it can bond. Aim for 50 to 85 degrees with no direct airflow across the surface.
When to Call a Pro
Stop and bring in a contractor if texture is coming off in sheets across a wide area, if you have an active leak, sagging or soft drywall between joists, or visible mold. Do the same if lab testing finds asbestos, since removal then requires a licensed abatement contractor. Electrical work around light fixtures, fans and junction boxes should be handled to local code requirements, with the power off at the breaker. A ceiling that needs removal, drywall cover or re-texturing is a bigger job than a repaint, and worth pricing as one.
Maintenance
Wipe the surface gently with a damp cloth and mild cleaner every few months. Avoid anything abrasive, and keep heavy water exposure off it, since the texture stays slightly porous. When you hang pictures or install a ceiling fan later, cover the surface with a clean sheet first and vacuum up the debris after.
Fix roof and plumbing leaks the moment you spot them. A stain that has already soaked through will reappear under any coat, and a repaired leak means a spot prime before the next touch-up. With that care, a well-painted ceiling holds up seven to ten years before you need to think about it again.
Frequently Asked Questions
Can you paint popcorn ceilings without removing the texture?
Yes, and that is the normal approach. The texture stays in place and gets a fresh coat of flat ceiling paint, which brightens the room and seals in dust and grime. It will not make the ceiling smooth. If you want a smooth look, the options are scraping, covering with drywall, or installing planks. Make sure the texture is sound and tested for asbestos before you start.
Should I use a primer before painting a popcorn ceiling?
Prime bare or newly patched texture, popcorn that has been painted before and is peeling, water or smoke stains, and any change from a dark color to a light one. Use PVA or gum-out primer to lock down dust on bare texture and a stain-blocking primer over discoloration. Self-priming ceiling paint is enough on an already painted ceiling that is clean and sound.
What type of roller should I use for popcorn ceilings?
A split-foam acoustic roller is the best tool for this job. The slits let paint reach the low spots without shearing the peaks. A thick-nap roller, 1/2 inch to 3/4 inch, also works; the 3/4 inch suits coarse texture and the 1/2 inch suits a medium finish. Avoid short naps, and use a sturdy cage on an extension pole.
How long does it take to paint a popcorn ceiling?
A standard living room takes roughly four to six hours of actual work, plus drying. Allow two to four hours between coats and a full 24 hours before judging the color. Add prep and cleaning time, and budget a full day for one room. Very tall ceilings or heavily stained surfaces can stretch that to two days.
Can tenants paint a popcorn ceiling?
Check your lease first. Ceiling paint is normally the landlord’s responsibility, and many leases prohibit painting without written approval. If you are approved to change the color, use a sample board first, patch any nail holes and clean the rollers thoroughly. Painting white over white without permission is still a change, so ask before you buy the paint.
What should I do if the popcorn texture is loose or damaged?
Do not paint loose texture. Remove the flaking material, clean the area, patch bare spots with ceiling-texture patch, and prime the repair so it does not telegraph. If the texture crumbles across most of the ceiling, painting will not fix it. Get a contractor to assess whether the drywall needs replacing before you invest in paint.
The Short Version
Start with the screwdriver test and the asbestos question, then clean. Everything else is short passes with a split-foam roller, light pressure and a full night between coats. That is the whole job: if the texture is sound, two coats of flat ceiling paint will make that room look brand new without any of the mess of removal.