
How to Build a Deck Railing: Simple Steps for 2026
A safe deck railing comes down to three things: posts anchored into the framing, rails fastened so they do not move, and balusters spaced tight enough to pass the 4 inch sphere test. Learning how to build a deck railing well is mostly a measuring job done before the first cut, not a carpentry job. Get the layout right on the deck surface and the rest follows.
Time: 2 to 4 days for a 12-foot run · Cost: lumber and fasteners scale with run length and material choice, and regional pricing moves around · Difficulty: Moderate DIY · Skill level: Comfortable with a circular saw, impact driver and a level.
Contents
Most people build their railing in spring or early summer, before family gatherings start landing on the deck. Lumber is easier to handle in mild weather, and pressure-treated material gives off moisture as it dries, so an early start lets posts settle before the finish goes on.
Tools and Materials
Lay these out before you measure anything. Nothing here is exotic, and every item earns its place on a 12-foot section of railing.
Tools
- Tape measure, 25 foot or longer, plus a 6 inch speed square and a framing square for marking post centers.
- 4 foot spirit level and a torpedo level for checking plumb on short posts.
- Circular saw with a fresh finishing blade, plus a miter saw for square crosscuts on post tops.
- Impact driver with a 2 to 3 inch bit, a drill/driver, and a 1/8 inch bit for pilot holes in hardwood balusters.
- Chisel and rubber mallet, a wood file or block plane, and a scrap block of the same baluster stock to use as a spacing jig.
- Hammer, drill bits sized to your structural screws, and a socket set for carriage bolts and nuts.
- Safety glasses, hearing protection, gloves, and a dust mask when cutting pressure-treated material.
- Extension cords rated for outdoor use, and a GFCI-protected outlet if you are working near a wet surface.
Materials
Quantities below assume a 12-foot straight run with posts no more than 6 feet apart, which is a common residential layout.
- Posts: nominal 4×4 pressure-treated posts, 42 inches long for a 36-inch guard plus a burial length, or longer if the post runs through the deck board. For a 12-foot run expect 3 posts.
- Top rail: one 2×6 on flat for the structural rail, plus a 2×6 cap if you want a wider handhold. Measure the run plus 6 inches of overhang per end, so about 13 feet of material.
- Bottom rail: one 2×4 running between posts, about 12 feet of material.
- Balusters: 1×4 or 2×4 vertical infill. A 12-foot run at a 3.5 inch clear opening on 4.75-inch centers takes about 30 balusters. Buy 32 to cover the corners and mistakes.
- Fasteners: structural-rated deck screws at least 3 inches long for rail-to-post connections, through-bolts or approved post connectors where posts meet framing, and exterior-rated screws for balusters.
- End sealer and finish: a water-based end-grain sealer or exterior wood sealer, plus a stain or exterior paint from the same family as your deck boards.
- Flashings and caps: post caps or a sloped cap cut on site, and a small flashing plate wherever a rail meets the house.
A note on lumber sizes that trips up first-timers: a nominal 4×4 post actually measures 3.5 inches by 3.5 inches. Builders on deck forums cut for the nominal size and end up with posts that sit loose. Measure your material before you trust the label.
Before You Start: Check the Plan, Layout, and Local Code
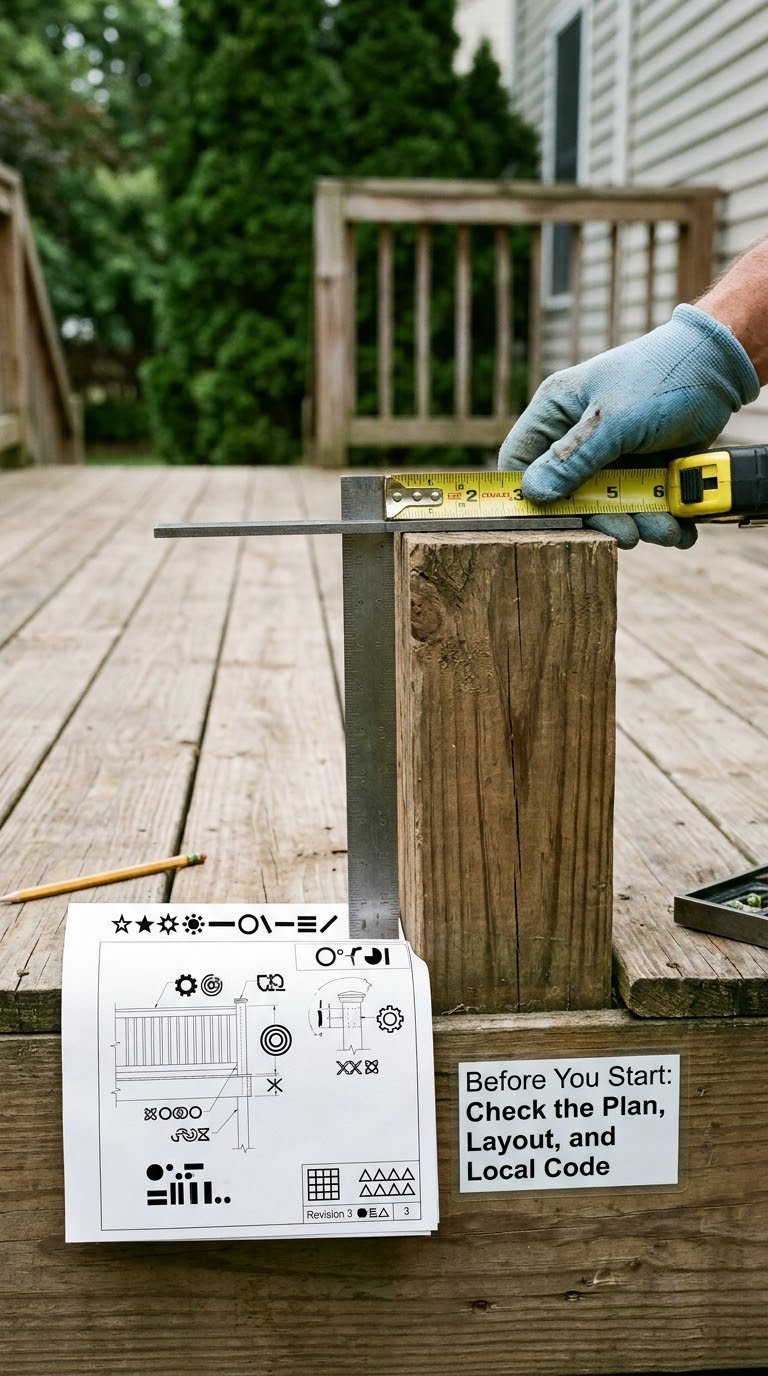
A railing is a fall-protection assembly, not decor, and most building departments require a permit and an inspection for guard work on an elevated deck. Call your local office before you cut anything, because the rules that bite most homeowners are the guard height and the baluster opening.
The figures below are the common US residential rules most jurisdictions adopt. This is not legal advice, and it is not a substitute for reading your own code. Confirm the numbers with your building department, then check them against your drawing.
- Guard height: 36 inches minimum measured vertically from the walking surface to the top of the rail. Some jurisdictions require 42 inches for certain conditions, including balconies and decks more than a certain height above grade, and it is a common surprise for second-story work.
- Baluster clear opening: 4 inches maximum between vertical members. The 4 inch sphere rule means a 4 inch ball must not pass through the guard.
- Horizontal members and rails: openings between rails generally cannot exceed 4 inches, and a decorative pattern with openings is judged by the same sphere test.
- Gap under the bottom rail: typically 4 inches maximum so nothing small drops through, and often 1 inch maximum for the rise between the deck surface and the bottom rail on many local codes.
- Post spacing: posts must land on structural members, usually within a few inches of the joist centerline or rim board centerline, and stay well inside the deck edge.
- Handrail grip: a graspable top rail with a 1.5 inch to 2 inch thick surface, with an open area beneath for fingers on any elevated walkway.
- Load: the guard must resist a 200 pound concentrated load applied at the top rail in most residential code.
- When a guard is required: any walking surface more than 30 inches above adjacent grade or a floor below.
Confirm the framing before you plan post locations. Posts that bolt only into the deck boards will feel solid for a season and then wobble as the boards move with seasonal moisture. Your post needs to reach a joist, a rim board or a blocking panel you add yourself between joists, and it needs bolts or approved connectors rated for treated lumber.
Skip the permit office and talk to a professional instead when the deck is second story or higher, when the stair run is wide or turns, when you are cutting into existing framing, or when the load path from the railing to the foundation is unclear. Check the existing paint before you sand or scrape anything. If the deck predates 1980, treat the coating as potentially lead-bearing and get a test before disturbing it. On the work end, wear eye and hearing protection, keep the guard on your saw, and shut off and lock out power tools before changing a blade.
Step-by-Step Instructions: How to Build a Deck Railing
The build runs in one direction: measure, mark, square, cut posts, set and brace them, run the bottom rail, then hang the top rail and fill with balusters. Do the layout on the deck surface with a pencil before any lumber goes down, because moving a pencil mark takes ten seconds and moving a bolted post takes an hour.
Step 1: Measure the Railing and Plan Post Locations
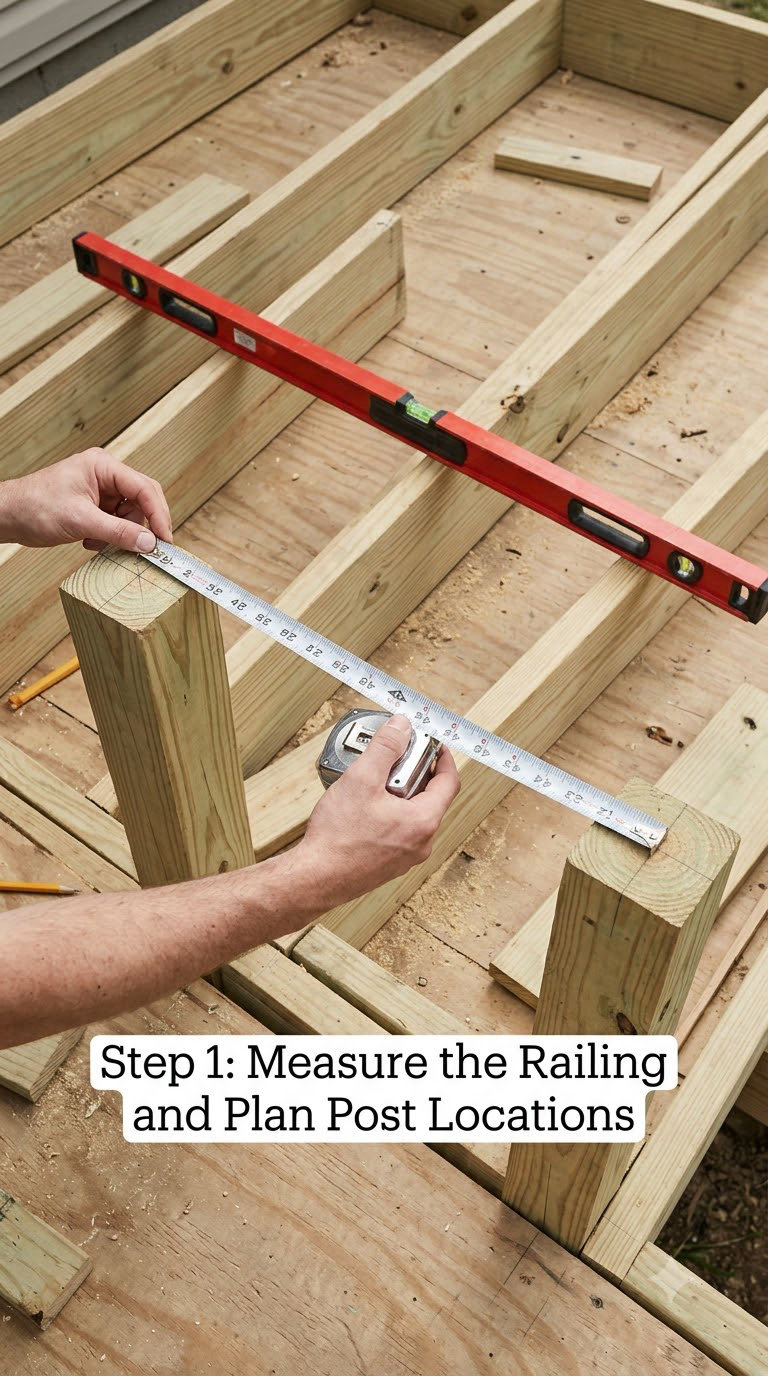
Measure the deck opening at both the deck surface and at the framing, then decide your finished guard height and write it down. A 36 inch guard measured from the top of the deck board, not the framing, lands the top rail at 36 inches above what your feet actually touch.
Mark post centers on the deck so the clear distance between the inner faces of two posts stays under 6 feet, which keeps the top rail from sagging. Then subtract the actual post thickness and halve the result to find the spacing between centers.
Do the baluster math before you buy. The clear opening is measured between the widest points of neighbouring balusters, so a nominal 1×4 baluster that actually measures 1.25 inches needs an on-center spacing of 1.25 inches plus your target gap. Aim for a 3.5 inch clear opening, which puts you at 4.75 inches on center with a little room left under the 4 inch limit.
Count openings first, then balusters. A 12-foot run with an intermediate post every 6 feet gives you two 6-foot bays, and each bay at 4.75-inch centers takes about 15 balusters. That works out to roughly 30 balusters and a little over 30 openings. Write the count on the lumber before the saw comes out.
Step 2: Square the Layout and Transfer the Height
Snap a chalk or pencil line for every post center so the marks carry across the deck boards. Measure both diagonals of the framed opening and adjust until they match, within a quarter inch on a 12-foot run.
Strike a level reference line at your finished guard height around all four sides, using the level on a straight board and marking off a stud or post face. Once that line circles the deck, the top rail location is identical everywhere, which is what keeps corners from looking crooked.
Check the corners and stair openings against the line now, while nothing is fastened. A baluster next to a downspout, a door swing or a heat pump unit can quietly force a gap you cannot fix later.
Step 3: Cut and Prepare the Posts
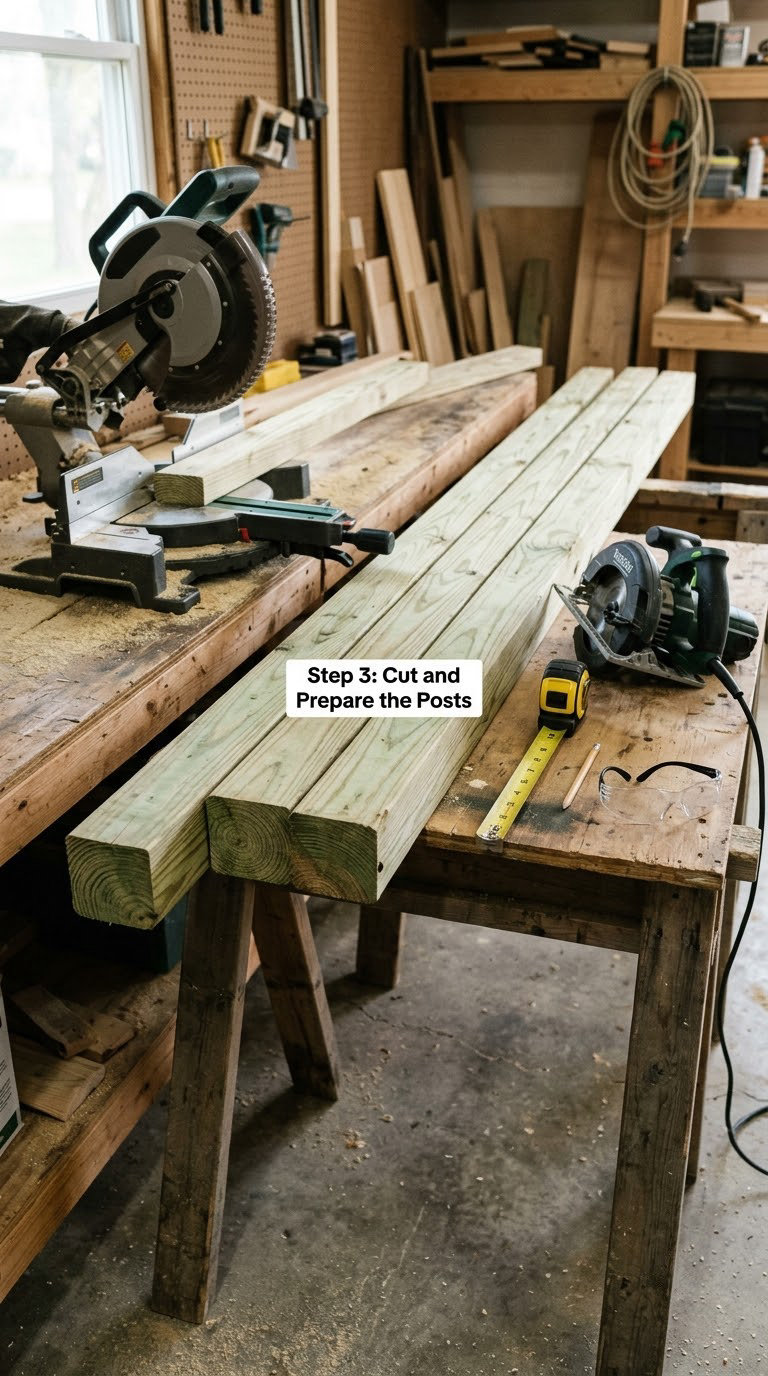
Cut each post to the planned height, which is the finished guard height plus the burial length. If the post passes through the deck board into a joist, add roughly 8 inches of extra length and account for the 3.5 inch actual thickness of a nominal 4×4. Mark which face points outward on every post while they are still loose.
Seal cut ends before the post goes anywhere. Pressure-treated end grain drinks sealer and moisture, and a post that dries through a split top is the fastest way to get a rough, splintered post cap. One coat of end sealer on each cut face is enough if the posts go in the same day.
Cut post tops at a slight slope or fit a manufactured cap. A flat top collects water and sits there all winter. Prep a brace for each post while you are at it, a 2×4 offcut with a screw in one end, because holding three posts plumb with your shoulder while you drive screws is a losing fight.
Step 4: Attach and Plumb the Posts
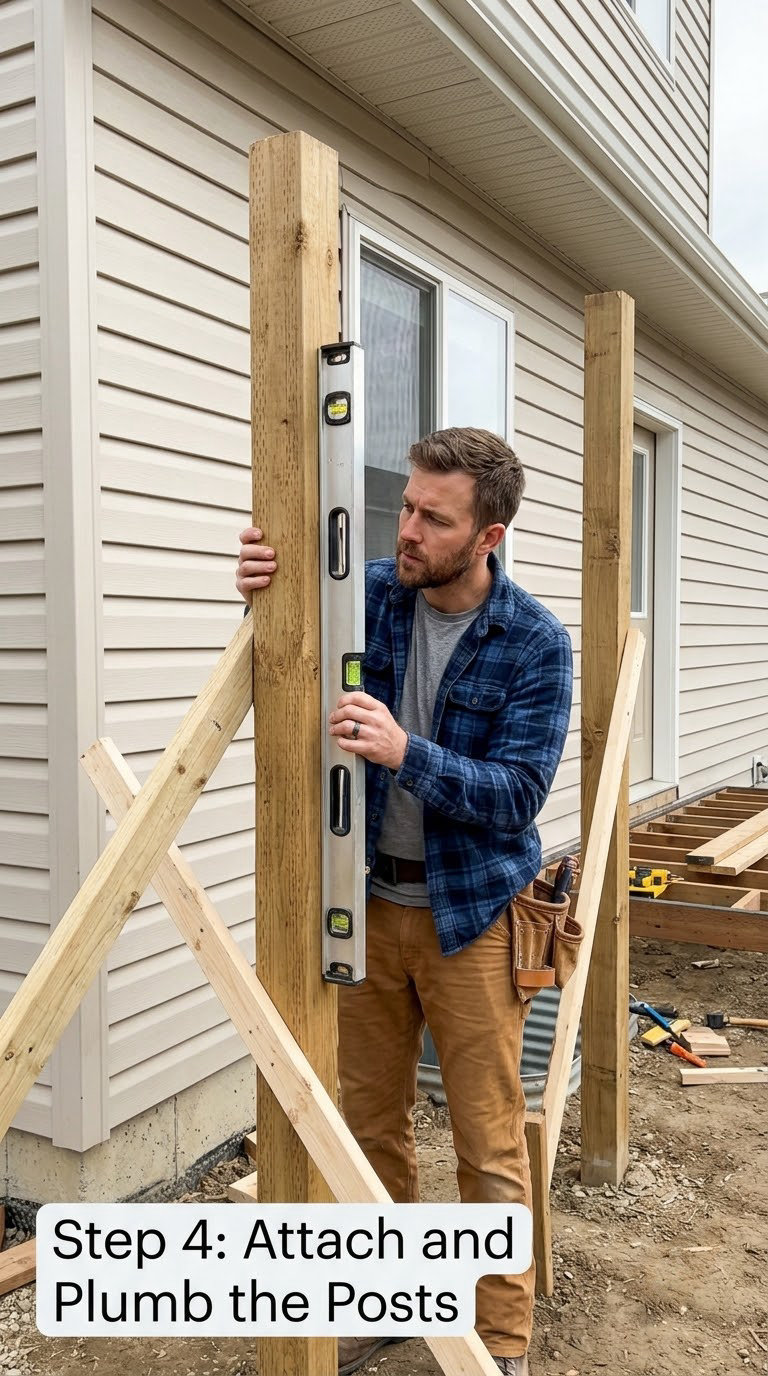
Set each post on the deck, align its marked face with the layout line, and drive the structural fasteners through the post into the joist or blocking behind it. Stay at least 1 inch inside the deck edge and keep the fasteners at least 2 inches from the post edge, which leaves room for the rail and avoids splitting the post on through-bolts.
Where you want through-bolting, drill through the post, add a carriage bolt, and tighten the nut to a few turns past snug. Use washers under the bolt head and nut so the wood does not dent. If you use connectors instead, match them to the post size and to the fastener the manufacturer specifies.
Plumb the post in both directions, not just one. Check with the level, brace it, then re-check after the next post goes in, since driving a fastener can shift things. Move on only when every post reads plumb and the spacing between them matches your pencil marks.
Step 5: Install the Bottom Rail or Supporting Cleat
Set the 2×4 bottom rail between the posts on the layout line, check it with the level across the run, and fasten it into each post with structural screws from the inside face. Where a full bottom rail will trap water against the deck boards, use a 2×4 cleat set a few inches above the surface with the same drainage gap maintained along its length.
Measure the gap under the bottom rail before you fasten the second end, and check that gap against the local limit while you can still slide the rail a fraction of an inch. Re-measure the diagonals of the post layout once more here, since this is the last moment you can nudge a post before the rails lock the frame.
Look at what the bottom rail is actually carrying: the top rail load travels down through the posts, not through this piece. Its job is to stop the guard from racking sideways and to keep a small gap from opening under the guard.
Step 6: Hang the Top Rail and Install Balusters
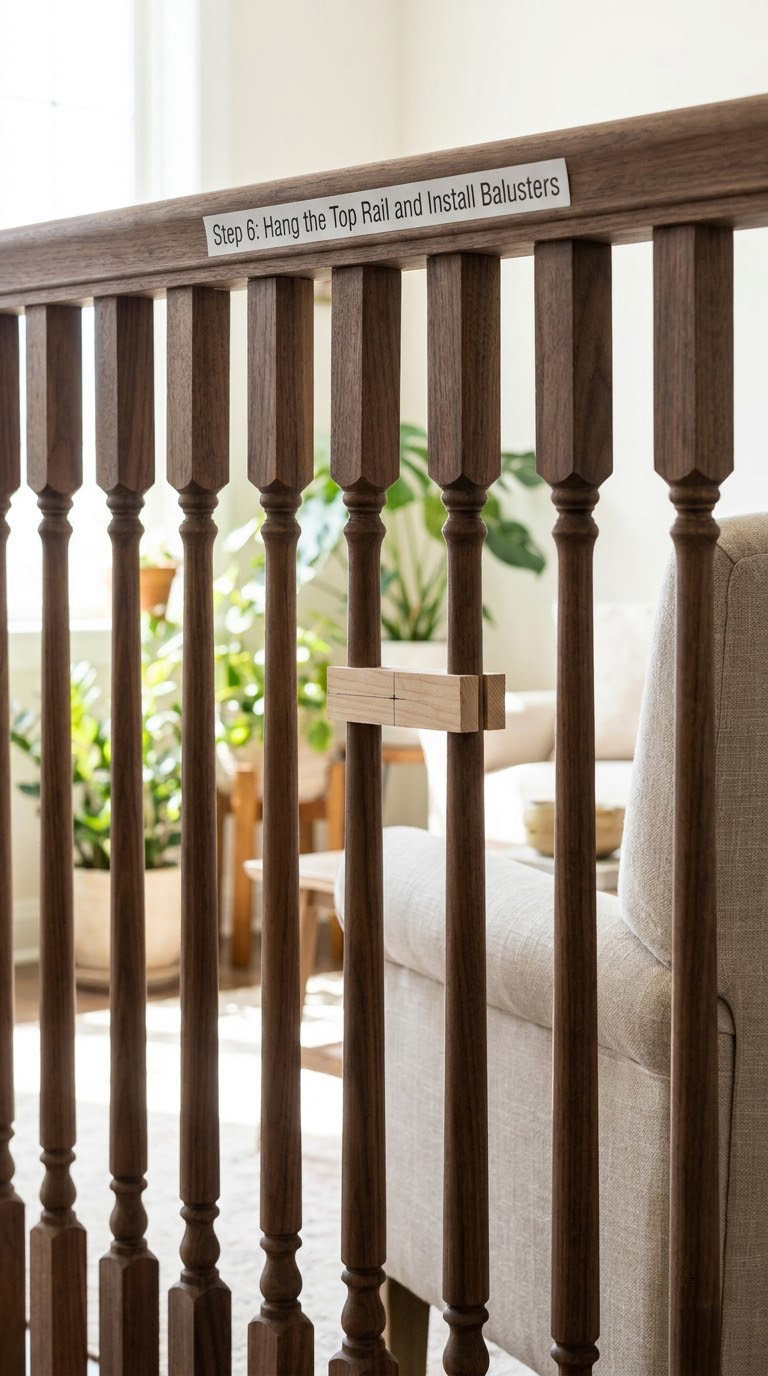
Position the 2×6 top rail on the posts, level it along the run and across the run, and fasten it into each post with at least three structural screws angled to avoid splitting the rail end. Attach the cap rail after the balusters are set so the assembly works from the bottom up.
Make a spacer block from a scrap of the same baluster stock: one piece as wide as the baluster plus your chosen clear gap. Set it against the first baluster, drive one screw, slide the block, and repeat. The block keeps the whole run consistent instead of accurate at the ends and drifting in the middle.
Check the clear gap at several points with a 4 inch sphere, a square, or a piece of plywood cut to the limit, and pay attention at the corners where the angle changes everything. Pre-drill when you drive screws near a baluster end, and drive two screws at a slight angle into the top rail rather than one straight down the center.
Finish with the cap rail, then seal all cut ends, knock down any proud screw heads, and let the wood dry before the finish goes on. Water-based stain and sealer usually need a dry surface and a few days of dry weather; exterior paint needs longer. Follow the label on the product you chose.
If a cable or metal infill fits your plan better than wood balusters, the framing sequence is identical and only the infill step changes. Our guides to DIY cable railing systems and cable railing kits for wood posts cover the tensioning and fitting details that balusters skip.
Common Mistakes to Avoid
Nail-only framing is the complaint that comes up most often on deck forums, because driving fasteners into the end grain of a pressure-treated post splits it and leaves a rough top. Use structural screws or through-bolts and give the post edge enough margin.
A baluster gap measured at 4 1/4 inches fails, and one quarter inch is easy to miss by eye. Use the spacer block and check with a sphere rather than your tape.
Posts surface-screwed to deck boards instead of the framing will wobble. Add blocking between joists or through-bolt to the rim board, then re-plumb.
Bowed rails, split baluster ends and a top rail fastened into end grain with one screw all come from rushing the layout. Measure twice, mark on the deck, and cut last.
A bottom rail sitting flat on the deck boards collects water and speeds rot at the post base. Maintain drainage clearance along the whole run.
Two different finish families on posts and rails, or a stain applied over an unsealed cut end, lead to early peeling at the joints. Use one compatible system and seal the end grain first.
Finishing the whole run before the posts settle locks in a warped frame. Let the lumber dry after installation, then coat, and expect to touch up the horizontal surfaces sooner than the verticals.
When to Call a Pro
Hire a licensed contractor or a structural engineer when the deck is elevated or second story, when the railing load path into the house or foundation is unclear, when you would need to cut or remove existing joists, or when the stairs are wide, turn, or land on a landing.
Permit-sensitive work is the same category. If the building department wants a plan review, an engineered design, or an inspection of concealed framing, the fix belongs before the deck boards go back on.
Paint and coatings from before 1980 are a separate trigger. Sanding, scraping or power-washing an unknown coating can release lead, so test first and use a certified abatement contractor if it comes back positive.
Any code question you cannot answer in one phone call to the building department is a reason to ask a pro. Guard rails are cheap compared with the cost of being wrong about where the load goes.
Maintenance
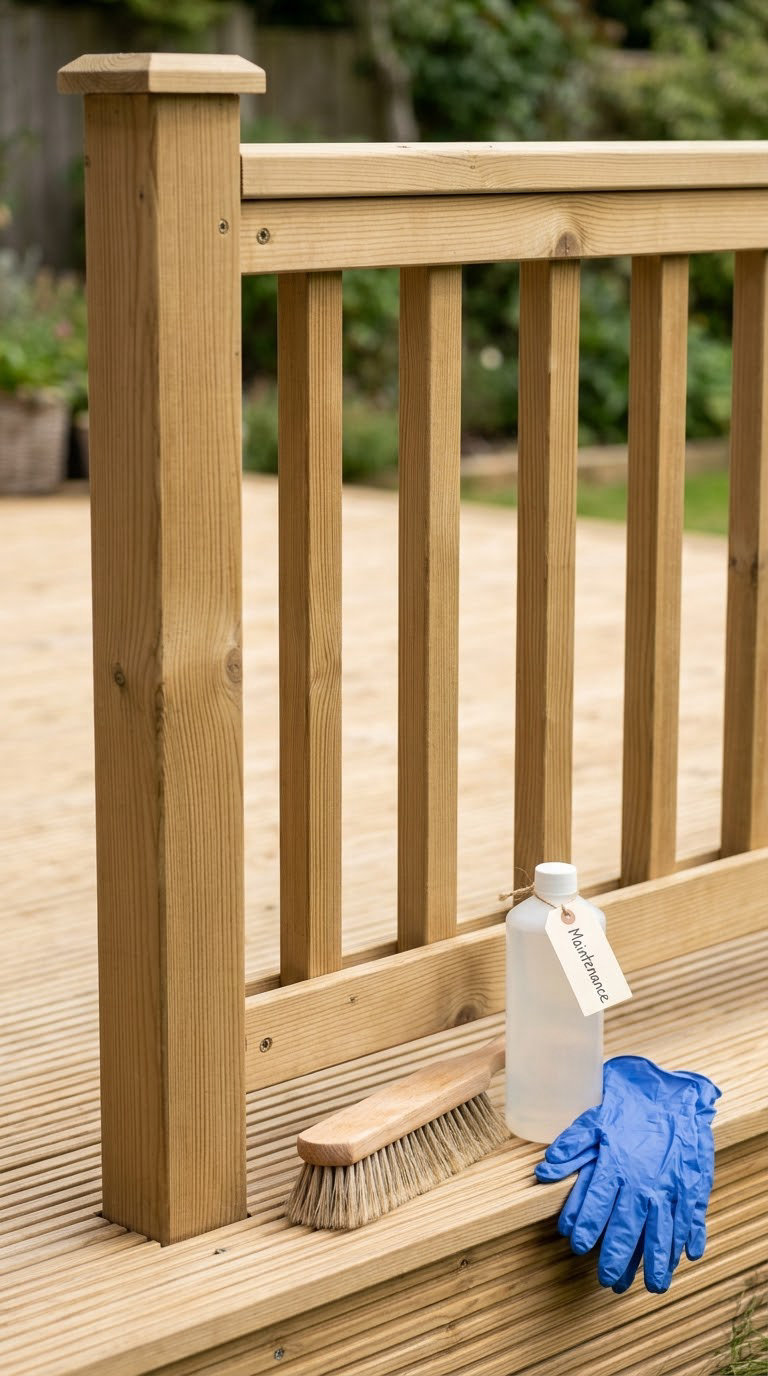
Walk the railing twice a year and look for loose fasteners, soft spots, splits, and any place water sits. Pay attention to post bases, the bottom rail and the underside of the top rail, which dry slowest.
Clean with a soft brush and a mild cleaner, then let the surface dry fully before recoating. Standing moisture, not rain, is what moves mildew, so clear leaf litter and debris from the deck surface inside the railing line.
Seal any fresh cut or split end as soon as you find it. End sealer on exposed end grain is the cheapest maintenance step there is, and it buys years.
Recoat at the interval your finish manufacturer prints on the can, which is typically every two to three years for a stain and sealer on a sunny deck. Tighten loose screws by driving them back out slightly rather than just adding a second fastener next to the head, and replace any split baluster rather than working around it.
For inspiration on style and layout, our porch railing ideas gallery covers spacing patterns and finishes that translate directly to a deck edge.
Frequently Asked Questions
What is the minimum height for a residential deck railing?
Most US residential code requires a guard to be at least 36 inches high measured vertically from the walking surface to the top of the rail. Some jurisdictions require 42 inches for balconies and for decks elevated a certain distance above grade, and homeowners insurance can ask for more than code. Measure from the deck board you actually stand on, not the framing below it, and confirm the number your building department uses.
How far apart should deck balusters be?
The clear space between balusters must stay under 4 inches so a 4 inch sphere cannot pass through the guard, which is the 4 inch sphere rule. Since a nominal 1×4 baluster actually measures 1.25 inches, place them on roughly 4.75 inch centers. Cut a spacer block from the same baluster stock and slide it down the run so every gap stays identical. Check several points before you finish.
Should deck railing be attached to the house?
Where a railing meets the house, fasten the rail into the ledger or the framing behind it, not just into siding or the deck boards. Add a flashing plate at the junction and seal the penetration so water enters the wall. If your deck was built as a freestanding structure with no ledger, the guard still has to be continuous around the perimeter and fully self-supporting at every post.
What screws or nails are best for deck railing?
Use structural-rated exterior deck screws at least 3 inches long for rail-to-post connections, and through-bolts or approved post connectors where posts meet the framing. Hand-driven common nails alone are what split pressure-treated posts and leave rough tops. Match the fastener to the treated lumber, keep screws at least 2 inches from post edges, and pre-drill near baluster ends to avoid splitting.
How do I build a railing around deck stairs?
Build the stair guard on its own slope, with a top rail that follows the stair line and a graspable handrail for anyone who needs it. Posts typically land at the top and bottom of the run and every 6 feet or so between, and each post needs its own approved base attachment at the stair framing. Baluster spacing follows the same 4 inch clear rule measured perpendicular to the rail. Wide or turning stairs are worth handing to a pro.
Can I replace an existing deck railing without rebuilding the deck?
Yes, in most cases. Remove the old rails and balusters, leave the posts if they are sound and plumb, and fasten new rails into them with structural screws. If the posts wobble, are soft, or were never bolted into the framing, you can sister new posts onto the existing locations or add blocking under the deck between joists. Check the joist spacing and the ledger before assuming the old post layout is reusable.
Start With the Layout, Not the Saw
Mark every post center on the deck, strike one level reference line at your finished guard height, and confirm the baluster count before you pick up a board. That single afternoon of pencil work prevents the two failures inspectors and families notice first: a railing that is too short, and a baluster gap that is a quarter inch too wide.
Then bring your framing plan and your finished height to your building department before the first cut. It is a short call, and it is much cheaper than moving a bolted post later.
