How to Paint Stucco Exterior Walls in 2026: Proven Steps
Learning how to paint stucco exterior walls comes down to four things: a sound wall, a clean wall, a paint made for masonry, and enough coats to lay a film over a very thirsty surface. Skip any one of those and you will be scraping your work off within a couple of seasons.
Most DIY failures I see come from the same two mistakes — painting over chalk or moisture, and buying a gallon count that assumes the wall is flat. Stucco drinks like a sponge and it holds onto whatever is in the pores, so the prep work is the job.
Contents
If spraying is on your mind, our guides to the best paint sprayers for exterior stucco and best HVLP paint sprayers for homeowners cover the equipment side. Rolling works just as well, and on heavy texture it is usually faster.
Time: Two to three days for a typical single-story home, plus drying days between coats. · Cost: Paint and tools run into the hundreds for a small house and into the low thousands for a large one; a contractor quotes several thousand more for the same walls. · Difficulty: Moderate DIY. · Skill level: Careful prep, steady roller technique, and patience with drying times.
Tools and Materials: How to Paint Stucco Exterior Walls
Most of the list is ordinary painting kit. The two items people skip and then regret are a thick-nap roller cover and a proper masonry primer.
- Roller: a sturdy frame plus an extension pole, with medium-nap covers (about half an inch) for typical textured stucco and heavier covers for rough knock-down finishes
- Brushes: a 2 to 3 inch angled sash brush and a 4 inch masonry brush for edges and patches
- Cleaning gear: a stiff-bristle brush, a pressure washer or garden hose, and a soft push broom
- Hand tools: a scraper or putty knife, wire brush, caulk gun, and a plastic cutting tool for removing loose coating
- Repair materials: exterior stucco patching compound, acrylic or elastomeric caulk, and masonry waterproofer for damp areas
- Protection: drop cloth, plastic sheeting, painter’s tape, outlet covers, and a ladder or scaffold with proper footing
- Personal protective equipment: safety glasses, nitrile gloves, a respirator for cleaning products or spraying, and a hearing protector if you run a washer nearby
Materials list:
- Exterior primer — a masonry primer or sealer that is alkali-resistant and breathable, not an interior latex primer
- Topcoat — a high-quality 100% acrylic masonry or elastomeric paint rated for exterior use, in a flat or low-sheen finish
- Enough paint for two full coats plus about 10% for touch-ups. Heavily textured walls can consume 30 to 50% more than a square-foot estimate predicts, so measure and buy generously
- Roller quantity depends on wall area and coat number: one cover per gallon for the first coat on rough texture, plus a spare per gallon on the second
Application equipment is your call. A roller gives you control and forces paint into the low spots. A sprayer is faster on a large wall but only works properly if you back-roll while the paint is still wet.
Before You Start
Stucco has a narrow weather window. Paint will not cure properly on a cold or wet wall, and it will skin over on a hot one.
- Temperature: air and surface temperature between 50°F and 85°F, with the surface at least 5°F above the dew point
- Humidity: keep relative humidity below roughly 80%
- Wind: below about 15 mph, or the coating will dry too fast to bond and spray will drift
- Rain hold: no rain for the drying window the label specifies, usually several hours; postpone if a storm is forecast that afternoon
- Moisture: the wall should be dry for 24 to 48 hours after washing. Test it by pressing a hand firmly against the surface; if it feels cool or damp, wait
Wear eye protection, gloves, and closed-toe shoes with good grip. Use a respirator and keep the area ventilated whenever you are working with masonry cleaners or spray equipment, and never work overhead in a way that puts you directly under a running nozzle.
Pressure washing needs its own caution. Keep the fan spray at least 12 inches from the wall and stay well under the pressure that etches concrete, because water driven behind cracked render makes things worse, not better. If you rent a washer, read the manual on nozzle distance rather than guessing.
Protect the surroundings before anything gets wet. Cover doors, windows, vents, gutters, fixtures, and any concrete walkways, and lay a drop cloth over shrubs and beds. Plastic sheeting on the plants keeps cleaning solution off leaves. Check your local rules before working near a sidewalk or public right-of-way, since overspray onto shared property is a common complaint.
Exterior repainting usually needs no permit. Repairs to the stucco itself, work on a home built before 1978 where lead paint is possible, or any property in a historic district can pull in permits, lead-safe practice, or local registration rules, so check before scraping or sanding anything.
Step-by-Step Instructions
Seven steps take the job from inspection to a finished wall: check and repair, clean, mask, choose the paint, prime, apply, then dry and recoat.
Step 1: Inspect the Stucco and Make Repairs
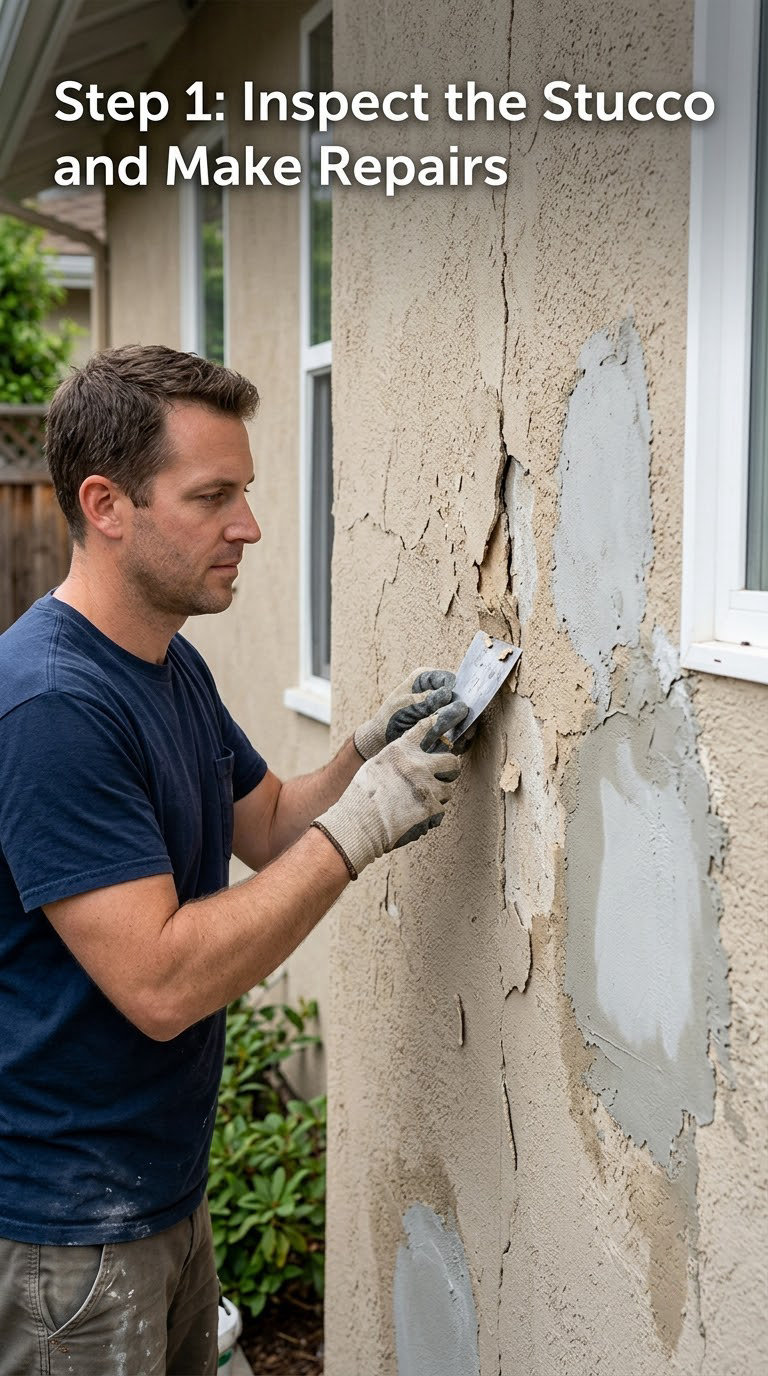
Walk the wall before you buy anything. Look for hairline cracks, loose or flaking render, hollow-sounding areas, white powdery salt deposits, mildew staining, and paint that is already peeling.
Tap suspicious spots with the flat side of a scraper or a fist. A dull thud means delaminated material behind the surface, and paint will not save it. Scrape off everything loose, cut out crumbling material until you reach sound material, and feather the edges.
Size the crack before you fill it:
- Under 1/16 inch: a moving hairline — fill with quality acrylic or elastomeric caulk
- 1/16 to 1/4 inch: wider and possibly deeper — use exterior patching compound, then caulk if the crack stays open
- Over 1/4 inch, or cracks that repeat in the same place year after year: this is movement, and the wall needs a stucco professional, not filler
Efflorescence — the white, powdery salt that pushes out of the wall — means water is moving through it. Clean it off with a masonry cleaner and find the source before you paint, because a sealed wall with wet underneath will blister. Let every repair cure for the time printed on its label; larger patches generally need seven to ten days, and fresh stucco needs far longer.
Step 2: Clean the Wall and Rinse Thoroughly
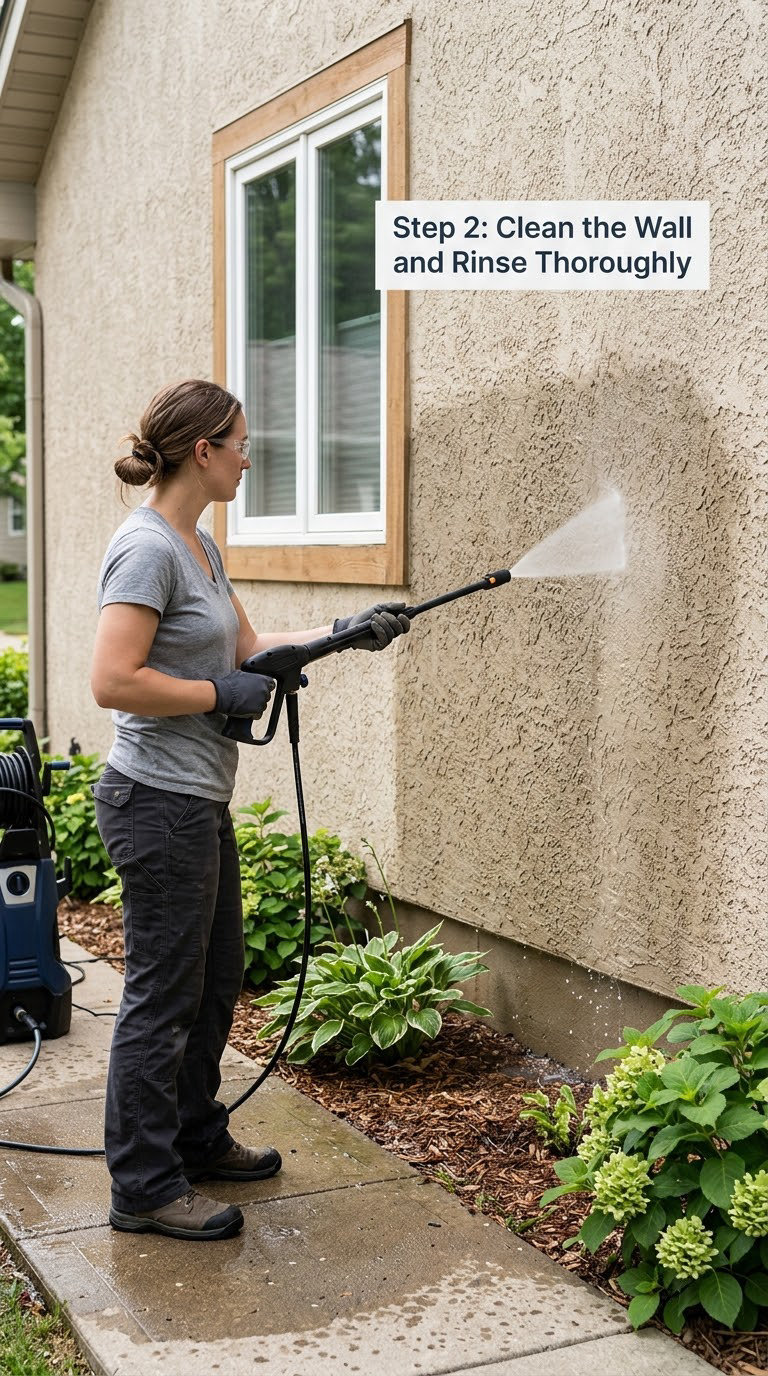
Dirt and failed coating are what peel away first. Work from the bottom up so runoff does not wash soil over clean wall, and keep the nozzle moving.
For dry, dusty stucco a low-pressure wash with a broad fan spray at 12 inches or more is plenty. A softer route is a stiff brush with a masonry cleaner, then rinse with the hose. Skip aggressive pressure on EIFS, where the base coat is a thin layer over foam, and never sandblast.
Let the wall dry fully — typically 24 to 48 hours — then run your hand over it. A clean hand that picks up white powder means chalking, and paint will slide straight off that surface until you prime it with a bonding primer.
Step 3: Mask and Protect Nearby Surfaces
Tape happens last in prep and first in quality. A crisp window line is what tells a neighbor you know what you are doing.
- Tape windows, doors, trim, gutters, vents, and light fixtures with a tape rated for exterior surfaces
- Fit outlet and fixture covers over anything electrical, and switch off and verify the power at the breaker if you are near one
- Sheeting over plants, doors, and concrete, taped at the top and held clear of where you will be standing
- Brush dust off the wall one more time; tape grabs loose grit and drags it across the finish
Tape only on clean, dry surfaces. Pull it off while the paint is still workable so the edge lifts with it rather than with the topcoat.
Step 4: Choosing Paint for How to Paint Stucco Exterior Walls
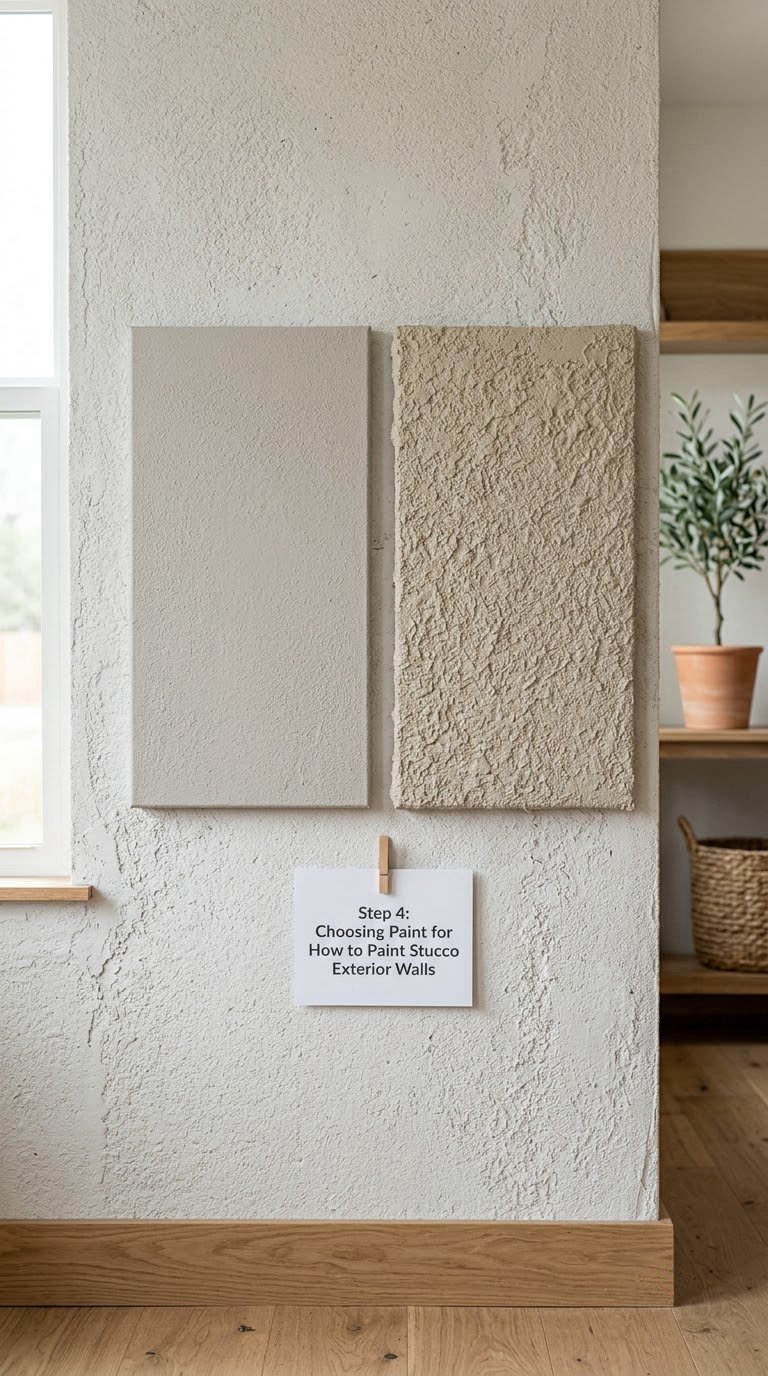
How to paint stucco exterior walls comes down to matching the coating to the existing finish. Buy an exterior masonry paint — 100% acrylic is the standard — formulated for porous cement surfaces. For traditional rough stucco, a textured coating keeps the surface looking like itself; a smooth paint on heavy texture looks thin and flat. Smooth coatings suit smooth or skip-trowel finishes only.
Elastomeric paint forms a thicker, more waterproof membrane. It is a good choice in coastal or wet climates and on walls that take a lot of wind-driven rain. In dry regions it is often the wrong answer, because a low-breathability film can hold moisture in the wall and drive peeling. Check with the label what the product does about vapor, and match it to your climate.
Flat or low-sheen finishes hide texture irregularities best, and most masonry walls look better without gloss. Before you buy, compare the label’s substrate requirements, coverage rate per gallon, application temperature range, recoat window, full cure time, and whether it is compatible with your patch material. Paint and primer need to belong to the same family of chemistry, or one will fight the other.
Step 5: Prime Bare or Repaired Stucco
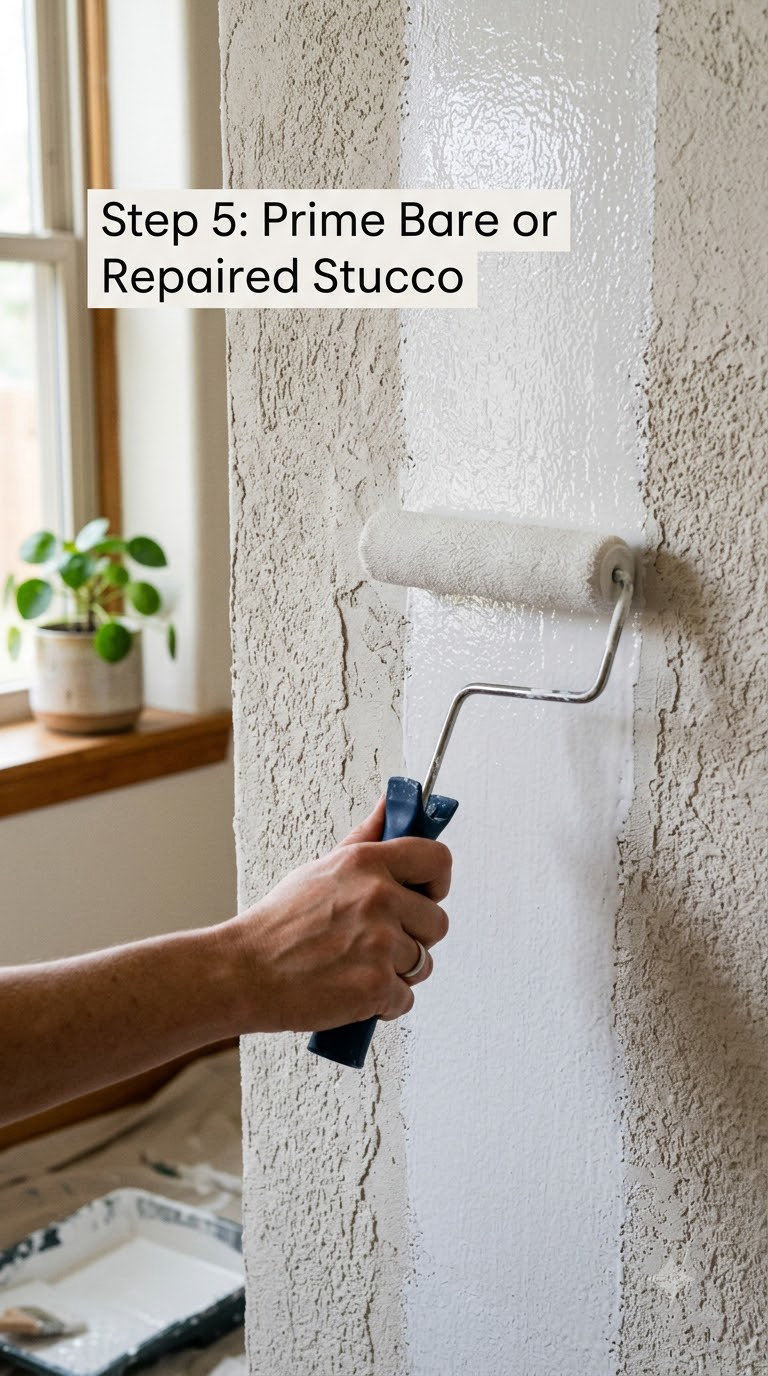
Prime when the stucco has never been painted, when you have repaired or patched it, when the surface is chalky, or when the manufacturer requires it. A bonding primer is the choice on chalky or previously painted walls. Alkali-resistant masonry primer is not optional on new stucco, because fresh stucco stays highly alkaline for weeks and ordinary primer film fails on top of it.
A sealer is not a primer. Sealers slow absorption; primers equalise the surface and give the topcoat something to grip. On never-painted stucco you usually want both.
Apply with the roller or spray equipment using even passes, and do not let it pool in the recessed texture — puddles dry slowly and stay soft. Respect the label’s recoat window, which is often longer than people assume. If you can still see the color of the previous coat through the primer, you have not sealed the surface; lay down another coat.
Step 6: Apply the First Coat
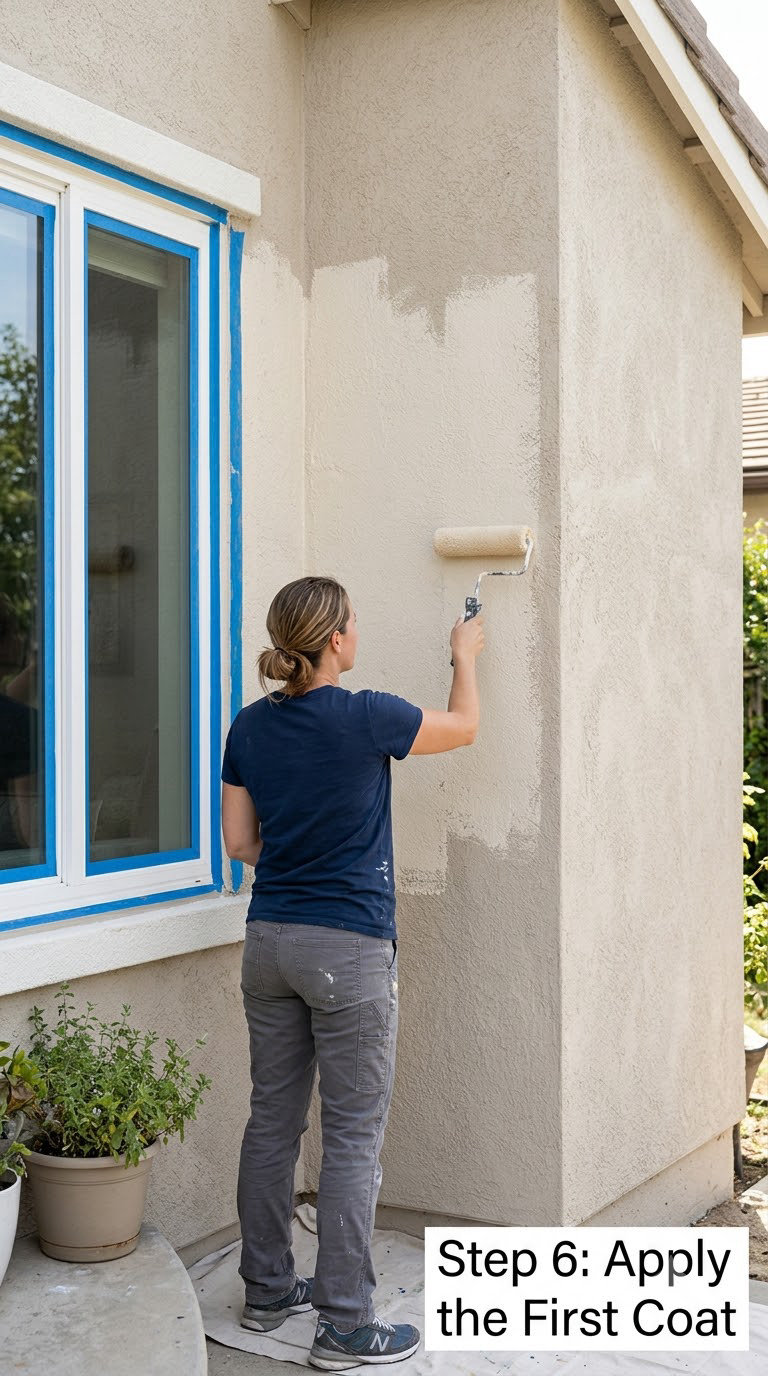
Cut in first with the brush along edges, trim, and around openings. Then roll or spray the field in manageable sections, working top to bottom and keeping a wet edge ahead of you.
Overlap each pass by a few inches and vary the roller direction across the texture so you do not leave stripes. Let the nap do the work — pressing hard flattens the finish and leaves the low spots bare. Vary pressure with the texture, not in a steady downward shove.
If you spray, back-roll immediately with a heavy-nap roller while the paint is still wet. Without that step the high spots carry color and the valleys stay unpainted, which is exactly the streaky look people try to blame on the paint.
Spread the paint rather than dumping it on. Follow the product’s spreading rate, catch runs and drips while the paint is still workable, and keep the coat even rather than thick. A heavy first coat that skins over on top traps solvent underneath and dries like a blister.
Step 7: Dry, Recoat, and Inspect the Finish
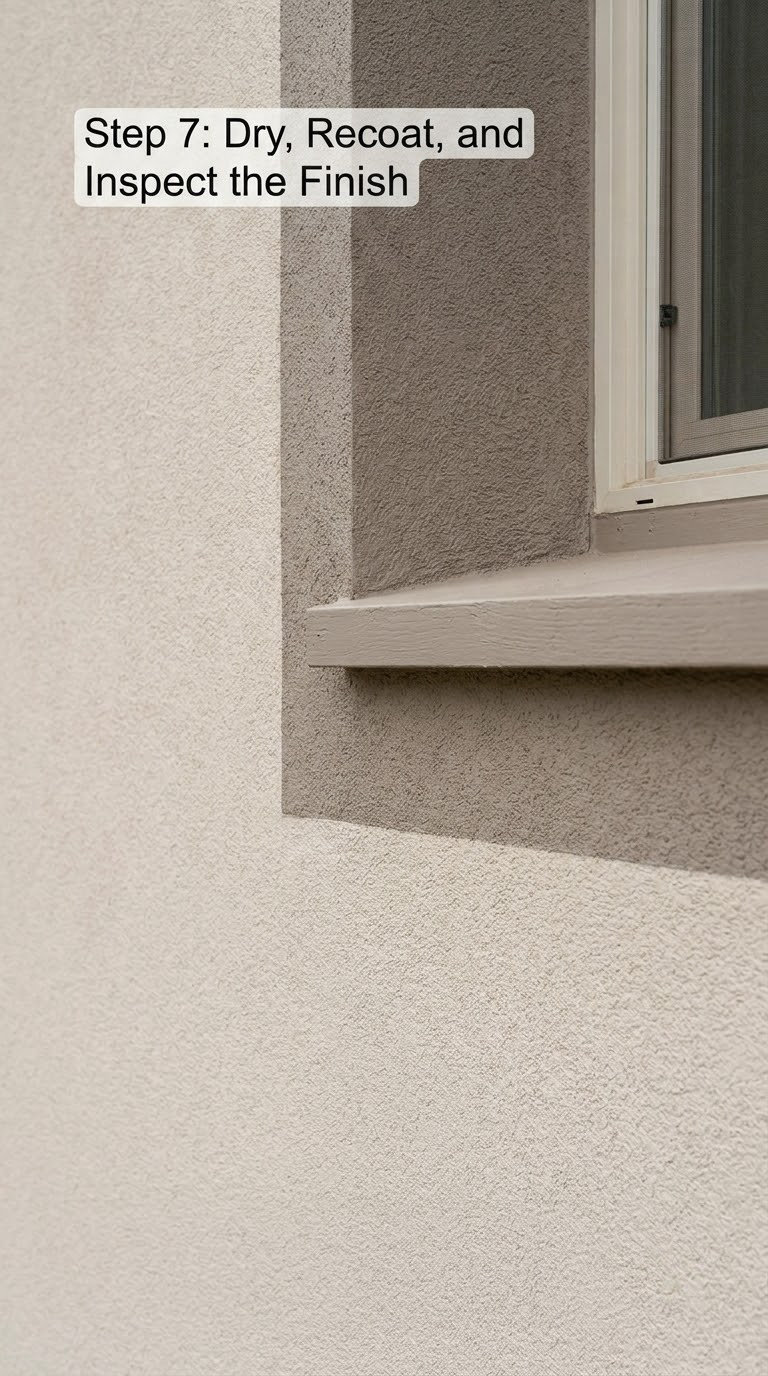
Dry to the touch, ready to recoat, and fully cured are three different milestones. Touch dry is hours. Recoat window is typically 24 to 48 hours. Full cure can take two to four weeks depending on the product, temperature, and humidity, and that is when the coating reaches its real strength.
Test before you load the roller again: touch an inconspicuous spot with a clean finger. If any color transfers, wait. Follow the label rather than the forecast, and do not second-coat late in the day if dew is coming overnight.
Inspect the dried first coat under good light for holidays (missed bare spots), lap marks, thin texture, runs, and missed pockets behind downspouts and corners. Fix them now with the same paint, feathered, before the second coat hides the problem under a third layer. Remove tape before the final coat cures enough to grab it.
For comparison of application methods, our notes on the best paint sprayers for stucco break down the equipment and control tradeoffs.
Common Mistakes to Avoid
Every failure below has a matching correction. Run through this list at the end of each work day.
- Painting over moisture or loose stucco. Fix: wash, dry for 24 to 48 hours, wire-brush off failing coating, and confirm the wall is solid by tapping.
- Skipping primer. Fix: prime bare and repaired stucco, plus anywhere that is chalky or powdery after a hand wipe.
- Using paint not formulated for masonry. Fix: use 100% acrylic exterior masonry paint, or a breathable elastomeric chosen for your climate.
- Applying too heavily. Fix: use thin, even coats at the label’s spreading rate and keep a wet edge.
- Painting in heat or direct sun. Fix: work on the shaded side first, start early, and stay inside the temperature range on the label.
- Creating lap marks. Fix: keep a wet edge, blend each pass before it dries, and change roller direction across the texture.
- Recoating too soon. Fix: wait for the full label window and use the clean-finger test.
- Painting in rain or wind. Fix: postpone until surfaces are dry, humidity is workable, and wind is under roughly 15 mph.
- Spraying without back-rolling. Fix: roll the wet coat with a heavy-nap roller right after spraying.
- Under-buying paint. Fix: budget two coats plus 10%, and add 30 to 50% for heavy texture.
When to Call a Pro
Some stucco problems are repair work wearing a paint job’s clothes. Bring in a qualified stucco contractor or painter when you hit any of these.
- Hollow, drummy, or crumbling stucco across large areas — that substrate needs cutting out and rebuilding, not coating
- Cracks that return in the same place, or stair-step cracks that follow a structural line
- Water coming in: staining below windows, efflorescence that returns after cleaning, or a roof or flashing problem
- Work more than about 12 feet up, or anywhere a ladder setup would put you on uneven footing
- Historic-district properties, or any wall where lead-based paint may be present on a home built before 1978 — this needs certified lead-safe practice, and testing is usually required before disturbance
- Coating removal that means scraping, sanding, or sandblasting, since disturbed lead dust and silica are serious hazards
Repainting still costs far less than full restucco, so the repair-first path is usually the cheaper one long term. A pro can also tell you whether the wall problem is actually in the roof, the flashing, or the ground slope draining toward the house.
Maintenance
A good stucco paint job is a ten-year job, and a five-minute routine keeps it there.
- Wash gently once a year: low-pressure rinse with a broad fan spray from about 12 inches, keeping the nozzle moving. Skip the aggressive pressure setting.
- Check every spring and after storms: look for new cracks, lifted edges, moisture staining, and discoloration around openings.
- Touch up promptly: small compatible patches in the same product beat a full wall in a different weather window.
- Aim sprinklers away: constant wetting leaves mineral deposits and can force water behind the coating. Add drip line where heads hit the wall.
- Budget by condition, not the calendar: recoat when the color fades unevenly or paint starts chalking, rather than on a fixed schedule.
If you are learning how to paint stucco exterior walls for a first time, plan the whole job around dry, mild days and give yourself room between coats. Rushing the drying is what separates a wall that lasts a decade from one you redo next summer.
Frequently Asked Questions
What kind of paint should I use on exterior stucco?
Use a 100% acrylic exterior masonry paint formulated for porous cement and stucco surfaces. Elastomeric paint adds a thicker waterproof membrane and suits wet or coastal climates, but it breathes less, so dry regions are usually better served by acrylic. Pick a flat or low-sheen finish to hide texture irregularities, and confirm the label’s coverage rate, temperature range, and recoat window before you buy.
Do I need to prime stucco before painting?
Prime stucco that has never been painted, any area you have patched or repaired, and any surface that is chalky or powdery after a hand wipe. Alkali-resistant masonry primer matters on new stucco, which stays highly alkaline for weeks after curing. On sound, previously painted stucco in good condition, priming may not be required, so check the paint label.
Should I use a roller or spray gun on exterior stucco?
Either works, but a roller forces paint into the low spots of the texture, which is what gives even coverage. Use a medium-nap cover, about half an inch, on typical stucco and heavier on rough knock-down finishes. If you spray, back-roll immediately with a heavy-nap roller while the paint is wet, or high spots will be coated and valleys will stay bare.
How long should exterior stucco paint dry before a second coat?
Wait for the recoat window printed on the label, which is typically 24 to 48 hours under normal conditions. Longer in cool or humid weather. Dry to the touch is not the same as ready to recoat. Use a clean finger on an inconspicuous spot: if any color transfers, the wall is not ready. Full cure takes two to four weeks.
Can I paint over cracked or peeling stucco?
Only after you fix the underlying wall. Scrape off loose or failing coating, then repair cracks by width: under 1/16 inch with quality caulk, 1/16 to 1/4 inch with exterior patching compound, and anything wider or recurring means structural movement that needs a stucco professional. Peeling paint usually points to moisture or a chalky surface, both of which must be resolved first.
Start at the wall, not the paint can. Inspect for moisture, cracking, and chalking, then clean and repair before you choose a coating — everything after that is straightforward application.