
How to Remove a Stripped Screw from Wood Without Damage (2026)
A stripped screw is one whose drive head, whether Phillips, square, Torx or flat, has rounded or chewed out so a bit spins in it instead of biting. Learning how to remove a stripped screw from wood is mostly about matching the tool to the damage rather than adding force.
Most of them come out in under two minutes with a bit that fits and a thick rubber band for grip. The stubborn ones are the deeply buried, painted-over, rusty fasteners in second-hand furniture, and those need an extractor or a different plan entirely.
Contents
Time: 10 to 30 minutes for most screws · Cost: pennies if you already own the tools, a few dollars for an extractor bit · Difficulty: easy DIY through step 3, moderate DIY from step 4 · Skill level: beginner friendly
Tools and Materials
Most of what you need is already in a drawer somewhere. Gather it all before you start, because mid-job hunting for a bit is how screw heads get chewed up.
- Safety glasses — a spinning screw is a projectile and wood chips fly
- Work gloves and a padded towel or folded rag to lay the piece on
- Scrap wood block about 2 by 4 inches, to protect the visible face under the screw
- Drivers matching the screw: a #1 Phillips for small screws, #2 for standard wood screws, #3 for heavy structural screws
- Manual screwdriver with a fat handle for leverage the drill cannot give you
Then the method-specific gear. You need at most one of these, depending on how the job goes:
- Thick rubber band or inner tube ring for friction grip
- Screw extractors sized to the screw, manual spiral or power-driver bits
- Penetrating oil such as WD-40 or a kerosene-based lubricant, plus a rag
- Hair dryer or heat gun for a seized screw, plus a scrap metal shield
- Clamp-on vise grips for a screw with a protruding shank
- Wood filler, a matching wood plug or a threaded insert for the repair afterward
- Twist drill bits in two sizes if you end up drilling out the screw
Before You Start
Protect the piece first. Set a scrap block under the screw head so the driver or clamp cannot dent the finish, and lay the workpiece on a folded towel so it cannot slide or rock. On finished furniture, a thin scrap of the same wood taped over the head takes the abuse better than a block.
Clear the area and shut off power at the breaker if the screw is near an electrical box or a light fixture. A spinning screw with a live wire behind it is a genuinely bad afternoon. If the fastener is in plumbing or gas territory, stop and read the section on calling a pro.
Now look closely at the head. Is the recess rounded, corroded, recessed below a countersink, or already chewed by someone else’s attempt? How deep is the screw, flush, below the surface, or deep into hardwood where nothing can grip it?
A quick test tells you a lot. Press an undamaged driver of the correct size straight into the recess with firm downward pressure and turn counterclockwise by hand. If it slips immediately, the recess is gone and friction methods or an extractor are your route. If it grips and moves even a fraction of a turn, you can finish it by hand and save the drill entirely.
If you are working around drywall rather than solid wood, check what is holding the screw before you cut into the wall. Drywall anchor and screw combinations behave differently from screws driven into a stud, and a mistake there means patching the face. Our guide to drywall screw guns covers how fasteners behave in that material.
Step-by-Step Instructions: How to Remove a Stripped Screw from Wood
The order below runs from least damaging to last resort. Stop at the first step that works, and move on only when it clearly fails.
| What you see | Start with | Skip to |
|---|---|---|
| Recess slightly chewed, bit still bites | Matching driver, hand pressure | Step 6 |
| Head fully rounded, shallow in softwood | Rubber band or tape friction | Step 3 |
| Head rounded, flush or countersunk | Manual or power extractor | Step 4 |
| Head gone, shank flush or below surface | Extractor, then drilling | Step 5 |
Step 1: Inspect the Screw and Protect the Work
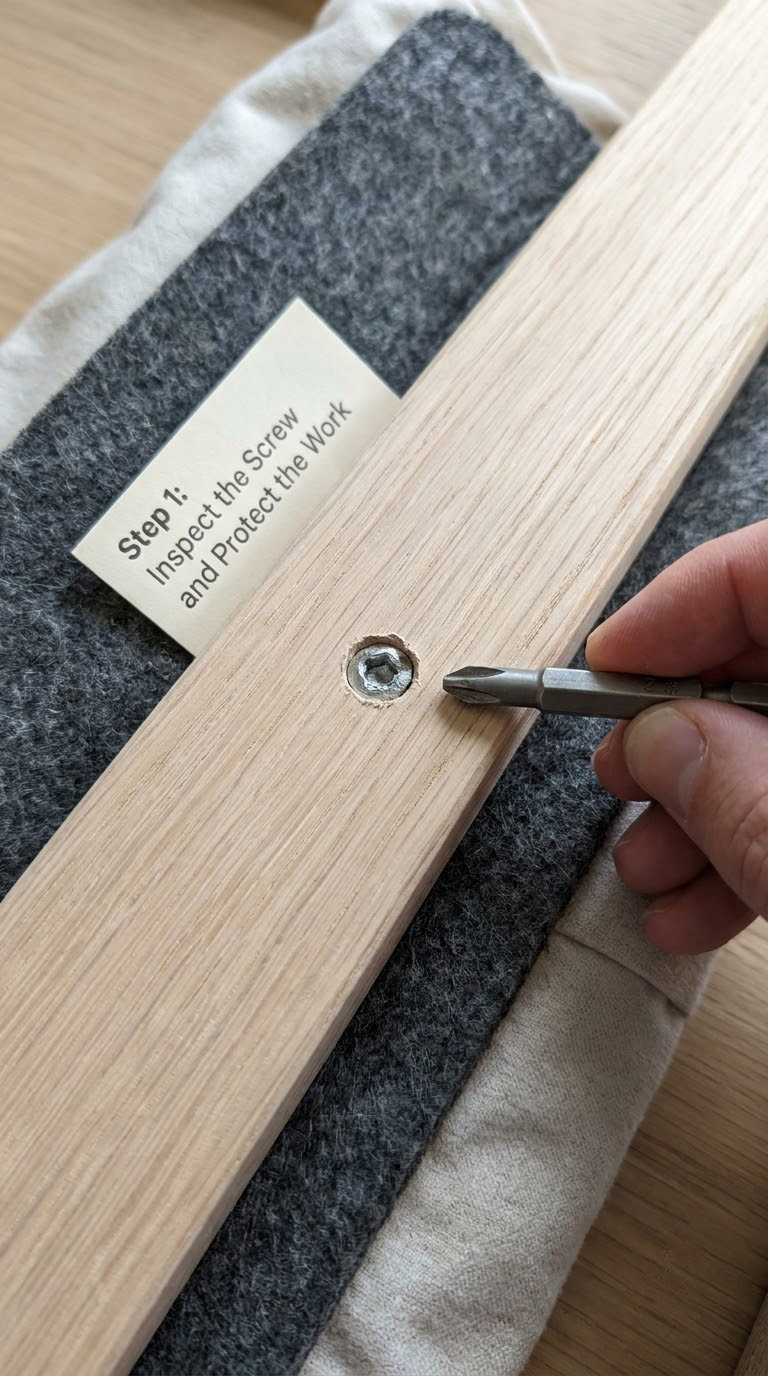
Identify the drive before you touch it. Phillips heads cross and cam out easily under torque. Square and Torx heads hold far better, so a rounded Torx usually means the bit was worn, not the screw. Slotted and combination heads can be re-cut with a file if the slot is shallow.
Place a scrap block under the head and check the screw size. A #6 or #8 screw takes a #2 driver; a #10 or larger usually wants a #3. Set the piece on a towel and brace it with your knee or a clamp so nothing moves when you push down.
Step 2: Try a Correct-Size Driver or Rubber Friction Grip
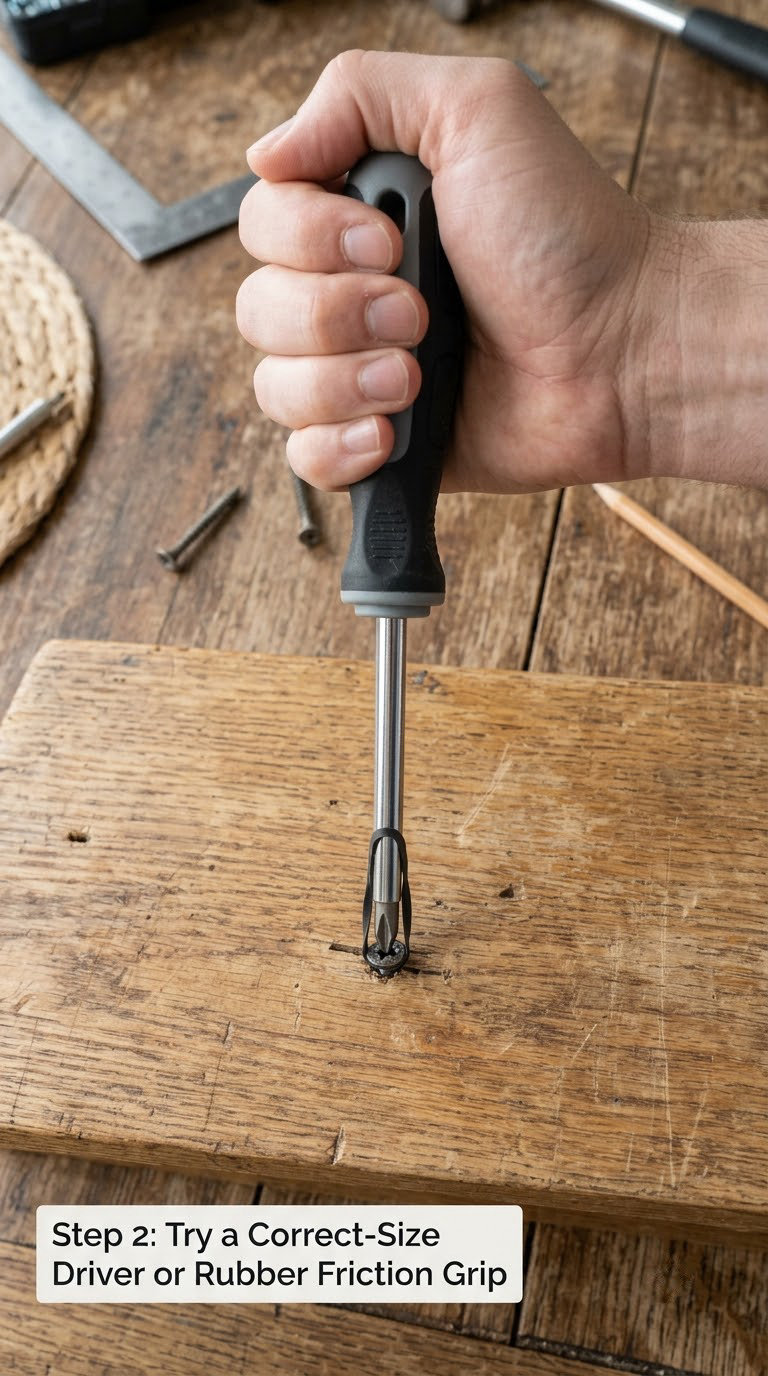
Clean out the recess with a toothpick or a stiff dry brush. Grit and old paint are half the reason a bit feels like it will not grip, and half the reason a new bit rounds off in one turn.
Seat an undamaged driver that matches the head exactly. Push down hard enough that you are driving the screw slightly into the wood while you turn counterclockwise. That downward load keeps the bit engaged instead of letting it ride up and out.
If the bit slips, stretch a wide rubber band over the tip and press it down into the recess so the band fills the gap between the bit and the walls of the drive. A thick band gives you far more surface area than steel on steel. Turn counterclockwise again with steady pressure.
Duct tape wrapped over the head works the same way with less grip. A drop of cyanoacrylate glue with baking soda pressed into the recess bonds the bit to the screw and cures almost instantly, which is useful when the head is recessed and a band will not reach.
Clockwise turns have one job here: seating a rubber band or an extractor bit into the pilot hole. The moment the screw starts to feel tight going in, stop, because you are burying it deeper.
Step 3: Back the Screw Out With More Grip or a Manual Extractor
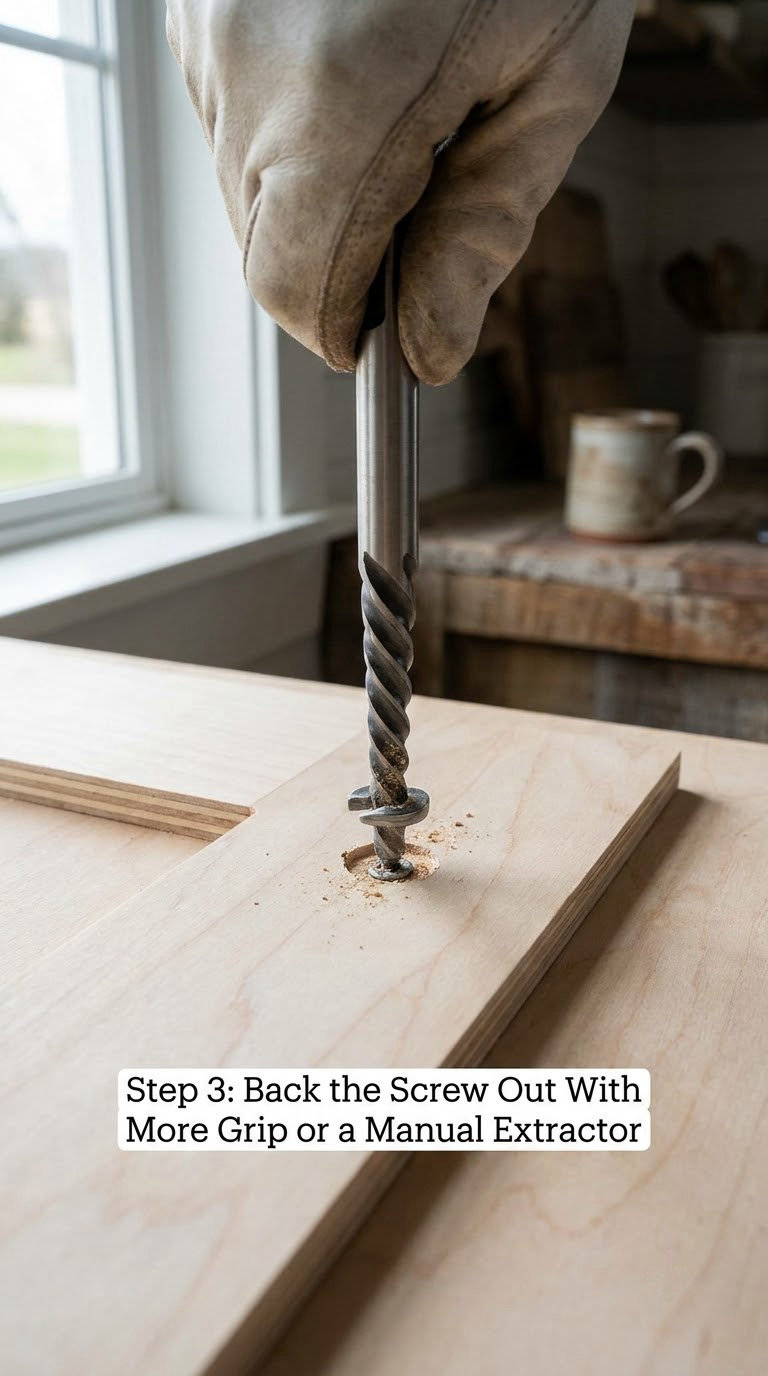
Widen your grip in stages. Try a driver one size up, a driver with a fatter tip, then a rubber band again over the wider bit. If the head protrudes at all, clamp vise grips on the shank and turn counterclockwise with light pressure, moving the clamp to a fresh spot each turn.
When friction fails, use a manual screw extractor. Pick one that matches the screw diameter, place it in the pilot hole or the damaged recess, and turn counterclockwise under firm pressure toward the screw. The reverse flutes bite deeper with every turn.
Use the quarter-turn rhythm: one turn back, then a small clockwise reset to re-engage the flutes, then back again. Stop if the extractor forces the screw deeper, if the hole starts to enlarge, or if you see wood fibers lifting around the head.
If the screw is buried below the surface, work from the hole outward. Follow forum reports from r/DIY and r/woodworking, extractor bits that were a size too large simply opened the hole wider and left nothing to bite, so measure the screw before you pick the bit rather than after it fails.
Step 4: Use a Powered Screw Extractor for Firm Grips
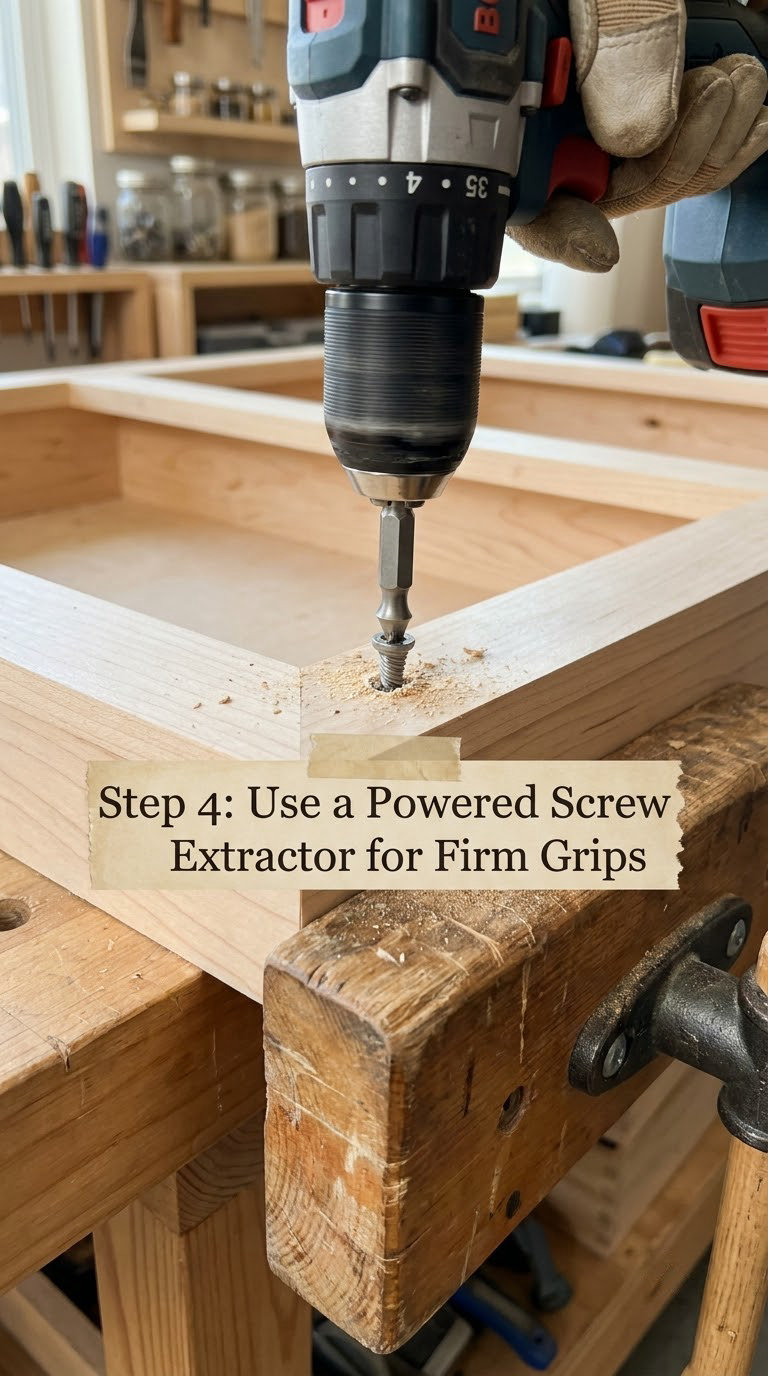
A powered extractor bites deeper and faster than a hand tool, which makes it worth reaching for on a screw that has held for decades. Match the extractor to the screw size and drive type, then follow the maker’s instructions for whether it is driven in clockwise or counterclockwise.
Hold the drill straight, in line with the screw. Nobody wants the driver to run at an angle. Set it to low speed and reverse, keep steady pressure pushing into the screw, and let the tool do the work in short bursts.
You will feel engagement change: the tool stops bouncing and starts pulling the screw along with it. That is the success signal. Stop immediately if the extractor twists off in the drill, skates back out, or if the wood around the head splits.
Power does not fix a wrong-size bit. It just chews the head faster and heats the surrounding wood, which weakens the grip you were counting on.
Step 5: Apply Heat or Carefully Drill Out the Screw
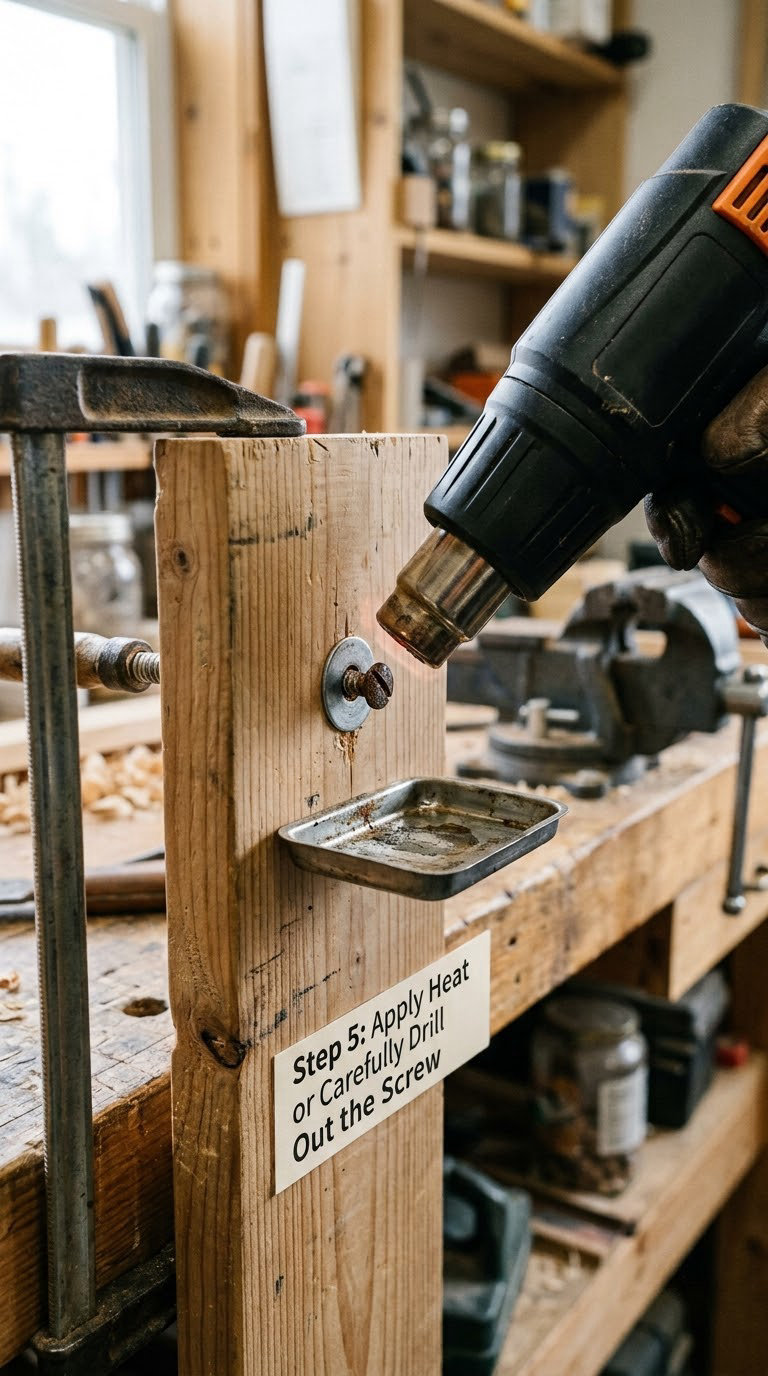
Heat is a narrow tool. It works on a metal screw wedged tight in wood, often a rusty one, by expanding the metal slightly more than the surrounding fibers. Shield the surface with a scrap metal washer, keep a drip tray under the piece, and move the heat gun constantly rather than holding it in one spot.
Warm the head for 30 to 60 seconds, apply penetrating oil, let it soak for a few minutes, then retry while the metal is hot and the wood is cool. Watch for smoke or scorch marks and stop the moment the finish darkens.
Drilling out the screw is the last resort, and it works better in solid wood than in particle board or MDF, where the material has almost no grip left to offer. Use the smallest bit that will still cut the screw, centre punch the head so the bit cannot walk, and drill straight with the scrap block underneath as a backing stop.
Pull the bit out every 15 to 20 seconds to clear chips and check depth. Stop before the head separates so you can lift the remaining stub with pliers. Anyone who escalates step by step without stopping can end up with a hole far bigger than the screw, and patching that is a different job entirely.
Step 6: Repair the Hole and Retighten Properly
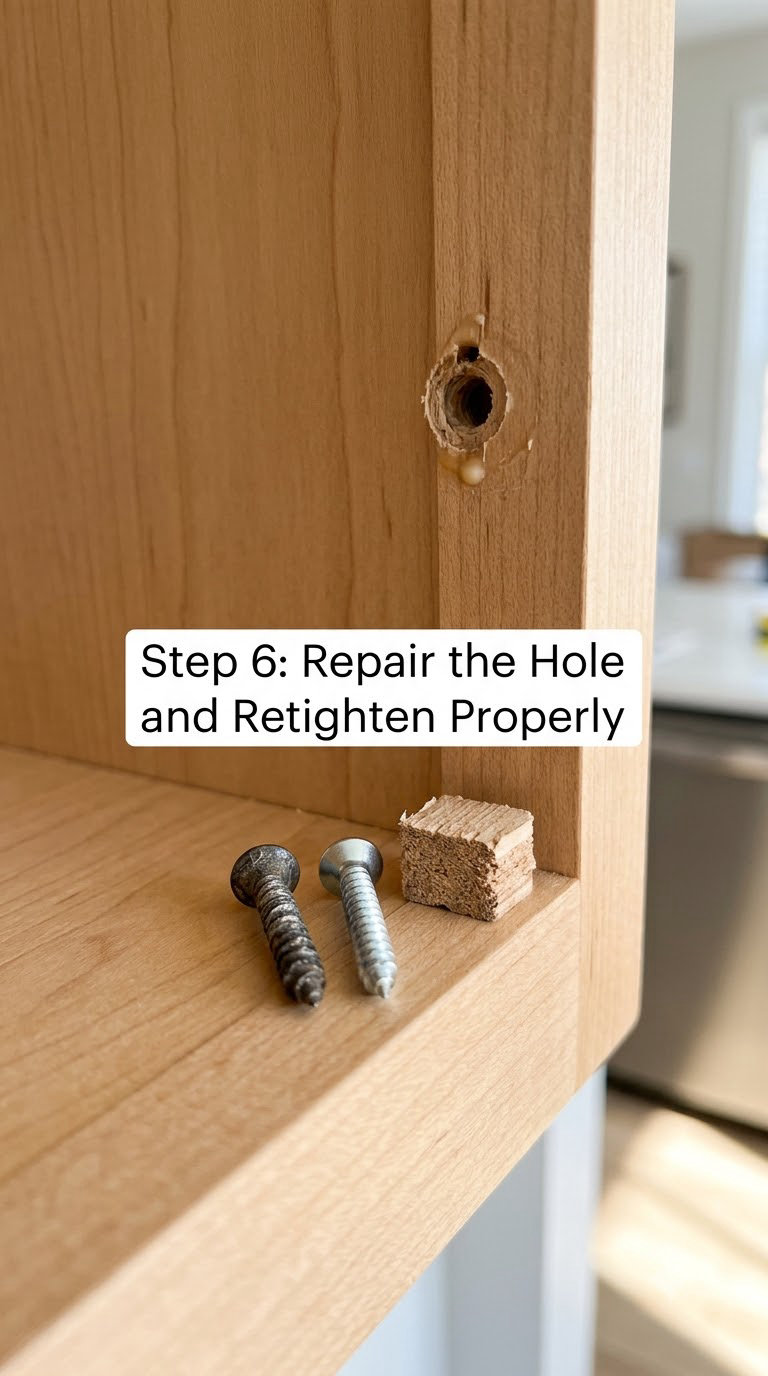
If the head sheared off during removal, grip the remaining stub with pliers and back it out, or use a screw removal tool designed for headless fasteners. Keep turning in small increments so you are not levering sideways and splitting the grain.
Once the screw is fully out, clear debris from the hole with a drill bit slightly under the hole diameter, or a round brush. Check the wall around it for cracks. A small ragged gap is filler work; a split running with the grain means the board is compromised.
For a hole in a visible face, fill it with a colour-matched wood filler or a wood plug kit. Let it dry fully, typically two to four hours for a water-based filler indoors, sand it flush with 180 grit, and seal if the piece is finished.
Drill a fresh pilot hole and drive the same screw in by hand, stopping at snug rather than full torque. Over-tightening is what stripped most of these heads in the first place. If you want to dress the repair, a shallow recess routed into the panel hides a plug neatly, and our guide to wood routers for woodworking covers the bits and feed speed that keep that cut clean.
Common Mistakes to Avoid
- Forcing a mismatched driver. A bit that does not fit shears the remaining recess in seconds. Match the head or move to friction grip.
- Using an extractor that is too large. It widens the hole and leaves nothing to grip. Size the extractor to the screw, not to the hole.
- Turning clockwise to get a grip. That buries the screw deeper and can snap the shank. Clockwise is only for seating a band or extractor.
- Drilling a bit wider than the screw. You lose the wood holding the screw and create a repair. Take the smallest bit that cuts.
- Holding full drill torque. High speed chews the head and heats the wood. Low speed, steady pressure.
- Pulling sideways on an extractor. Any sideways load turns into a wedge and splits the board. Stay in line with the screw.
- Leaving heat on one spot. Scorched veneer or a burned cabinet face costs more than the screw ever would. Keep the gun moving.
- Continuing after visible splitting. The moment you hear or see a crack, stop and reassess the repair instead of finishing the job.
When to Call a Pro
Some screws are holding something that matters. A fastener in a load-bearing beam, a ledger, a joist, or a structural bracket is not a DIY job, because removing it can change how the assembly carries load. So is a screw near wiring, a junction box, or a plumbing or gas line you cannot positively locate.
Stop and get a qualified carpenter, electrician or handyman if cracks run past the fastener into the board itself, if the wood around the hole is crushed or powdery, if the fastener is in masonry or a masonry-anchored plate, or if the material you are drilling could be asbestos-containing product. That last one deserves a test before any drilling.
Second-hand furniture is usually fine to tackle yourself. A door frame in a rental you do not own, or hardware holding a stair rail, is worth one phone call before you touch a drill.
Frequently Asked Questions
Can I use heat to remove a stripped screw from wood?
Yes, but only as a limited rescue for a metal screw wedged tight in wood. Shield the surrounding surface with a scrap metal washer, move a hair dryer or heat gun constantly, warm for 30 to 60 seconds, apply penetrating oil, then retry. Stop if you see smoke or scorch marks. Heat expands the screw slightly more than the wood, which loosens the grip.
Why does my new screwdriver still slip on a stripped screw?
Usually the recess is rounded, so no bit fits, or the screw is buried and the bit is riding up and out. Push down hard enough to drive the screw slightly into the wood while turning counterclockwise. If it still slips, go to friction grip with a thick rubber band, then to an extractor sized to the screw.
What size screw extractor do I need?
Match the extractor to the screw diameter, not to the hole. A #6 to #8 screw takes a small extractor, a #10 takes a medium one, and heavier structural screws need the largest size available. The common failure is going too large, which widens the hole and leaves the extractor nothing to bite. Measure the screw before you choose.
What do I do if the screw head breaks off in the wood?
Grip the remaining stub with pliers or locking pliers and back it out in small increments, keeping the pull straight along the screw rather than sideways. If nothing protrudes to grip, use a screw extractor or drill a series of increasingly small holes around the shaft to free it. Fill the leftover hole with wood filler or a wood plug afterward.
When does a stripped screw mean the wood needs professional repair?
When the damage spreads past the fastener. Cracks running with the grain, crushed or powdery wood, a hole that has grown wider than the screw, or a fastener in a beam, joist, wall wiring or masonry all need a qualified trade professional. In older buildings, get the material tested for asbestos before drilling anything.
Conclusion
Start with a driver that fits and real downward pressure, add a thick rubber band if it slips, and move to a manual or powered extractor matched to the screw size. Heat is a short window of opportunity. Drilling the screw out is a last resort that leaves you repairing the hole.
Before anything else, put a scrap block under the head and match the extractor to the screw. That single step is what keeps the wood intact.
