
How to Install Peel and Stick Wallpaper Without Bubbles (2026)
Peel and stick wallpaper is the fastest way to change a wall, but it only looks professional when it goes on flat. Almost every bubble traces back to one of three things: a dirty wall, a strip applied too fast, or pressure applied in the wrong direction.
This guide walks through how to install peel and stick wallpaper without bubbles, starting with a wall you could almost paint on and finishing with center-out smoothing that pushes trapped air to the edge instead of sealing it inside. Most first-timers finish a full 8 foot wall in an afternoon.
Contents
Time: 3 to 5 hours for one 8 foot wall, plus 24 to 48 hours before heavy use · Cost: materials only — wallpaper rolls, optional primer and a small set of hand tools · Difficulty: Easy DIY · Skill level: Beginner
Tools and Materials
Gather everything before you unroll anything. Mid-panel stops to find the utility knife are how seams end up crooked.
- Wallpaper: peel and stick rolls sized so each strip is at least 4 inches (10 cm) longer than your wall height, plus one extra roll for pattern matching and mistakes.
- Wallpaper primer or adhesive: a primer rated compatible with the wall surface, if the wall is freshly painted, glossy or porous.
- Tape measure: 25 foot (7.5 m) length so you can measure a full wall without repositioning.
- Pencil and level: a 24 inch (61 cm) spirit level or laser level for vertical guideline, plus a soft pencil that wipes off.
- Utility knife with fresh blades: for trimming outlets, corners and the top and bottom edges.
- Metal straightedge or extra-long ruler: 24 inch (61 cm) minimum, so cuts run true over a panel.
- Drop cloth: to catch adhesive debris and protect the floor.
- Plastic smoothing tool or felt-edged squeegee: one wide and one narrow, a plastic card also works in a pinch.
- Microfiber cloth and isopropyl alcohol: roughly 70 percent isopropyl mixed with water, for the final wall wipe.
- Spackling compound and sandpaper: for filling nail holes and small cracks.
- Step ladder: rated for your height, with a paint tray on top for tools.
- Safety glasses and cut-resistant gloves: cheap, and worth having when you’re cutting overhead.
- Hair dryer: low heat only, for reactivating adhesive at lifted edges and inside corners.
- Straight pins: for the pin-prick method on small bubbles that will not flatten.
Before You Start
Inspect the wall first. Run your hand flat across it — if you can feel grit, ridges or pimples, the adhesive has nothing to grip and you will fight bubbles the entire time.
Fill every nail hole and hairline crack with spackling, let it dry fully, then sand flush. Dust the wall with a damp cloth and follow with a dry one. Then wipe it down with the isopropyl solution and let it dry completely; any remaining dust becomes a bubble later.
Timing matters more than most people expect. Fresh latex paint is still off-gassing and soft for roughly four weeks, and peel and stick applied over uncured paint will either lift the paint or bond to nothing. Check that the paint is dry to the touch, has no chalky residue, and is at least four weeks old.
Safety: wear eye protection when cutting panels and gloves when handling blades, especially on a ladder. Turn off the breaker for any wall where you are cutting around an outlet, and never paper over a live outlet.
Call a pro instead of papering if the wall has unstable or flaking plaster, active moisture or mold, deeply textured surfaces like popcorn or heavy knockdown, lead-based paint, or specialty finishes such as glass block, tile or wallpaper already on the wall.
Step-by-Step Instructions
Step 1: Measure the Wall and Plan the Layout
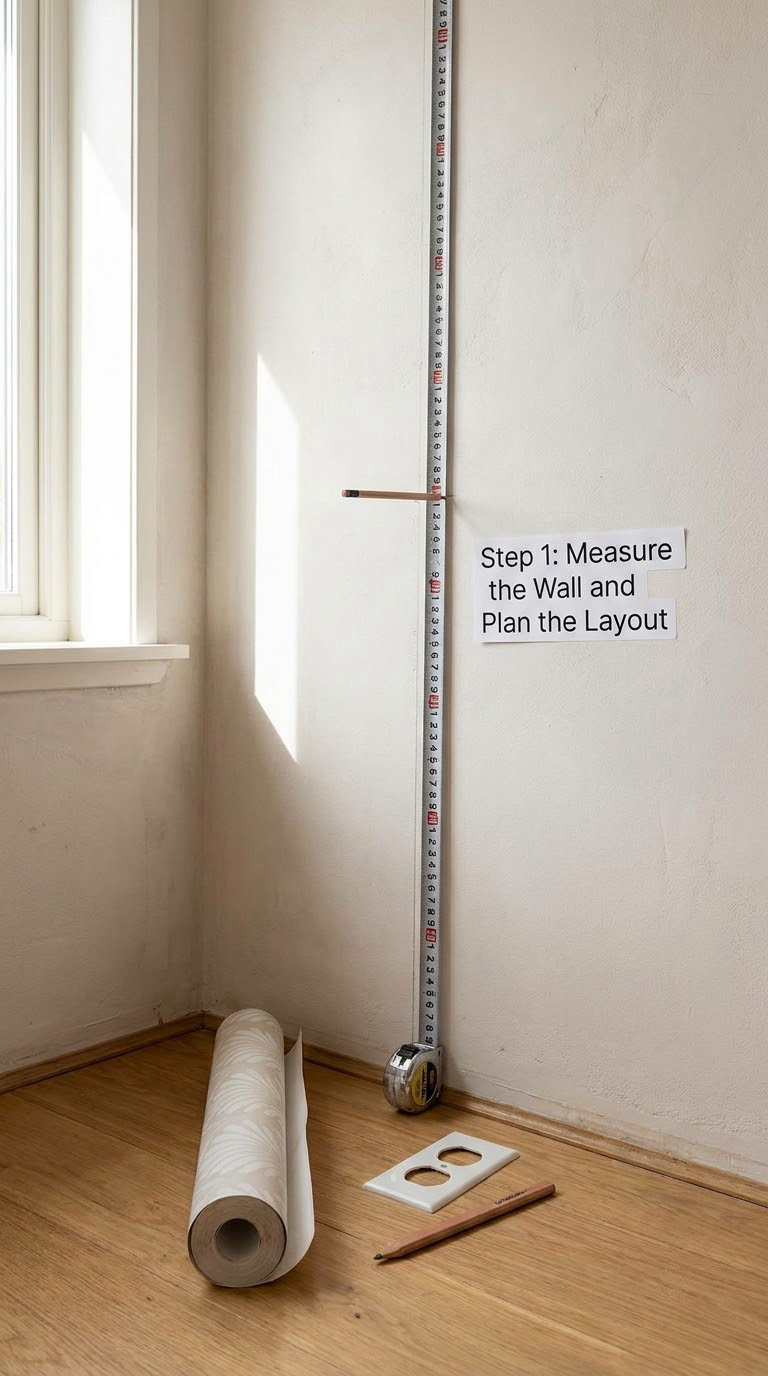
Measure the wall width and height at several points, including the lowest and highest spots. Walls are rarely square, so check the ceiling line and the baseboard line separately.
Multiply width by height for the square footage, then add 10 percent for trimming waste. Add a further roll if the pattern has a repeat, since matching at a seam often means cutting a strip short by a few inches. An average single roll covers roughly 20 to 25 square feet (1.9 to 2.3 square meters), depending on roll width.
Mark your vertical guideline with the level, then check the plan against the room. Start at the least visible corner or a corner opposite the main door so the seam pattern lands where furniture and foot traffic will not hit it.
Step 2: Clean and Prepare the Wall
Remove existing wallpaper, loose paint and any flaking finish. Wash away grease with a degreaser, rinse with a clean damp cloth and dry fully.
Check the surface again with the side of your hand. Smooth down any raised edges with sandpaper and skim over deep divots with spackling, allowing at least a few hours of drying, ideally overnight, before you touch it.
To test adhesion, press a coin firmly onto the wall in a few spots. If it slides instead of sticking, the wall still has dust, moisture or gloss and needs another cleaning pass or a primer coat.
Step 3: Apply Primer When the Wall Requires It
Prime when the wall is freshly painted, glossy or semi-gloss, freshly patched, or highly porous like bare drywall joint compound. You can skip it on clean, matte, fully cured paint.
Choose a primer labeled for wallpaper adhesion and compatible with both the wall and the backing of your peel and stick product. Apply a thin, even coat with a roller and let it dry to the touch, usually one to three hours, following the can.
Watch for two failures. A glossy or patchy coat leaves the wallpaper slick in places and tight in others, so sand any shiny spots lightly. And lap marks from overworking wet primer will print straight through, so feather each pass and stop while the coat is still slightly damp.
Step 4: Cut the Wallpaper Panels
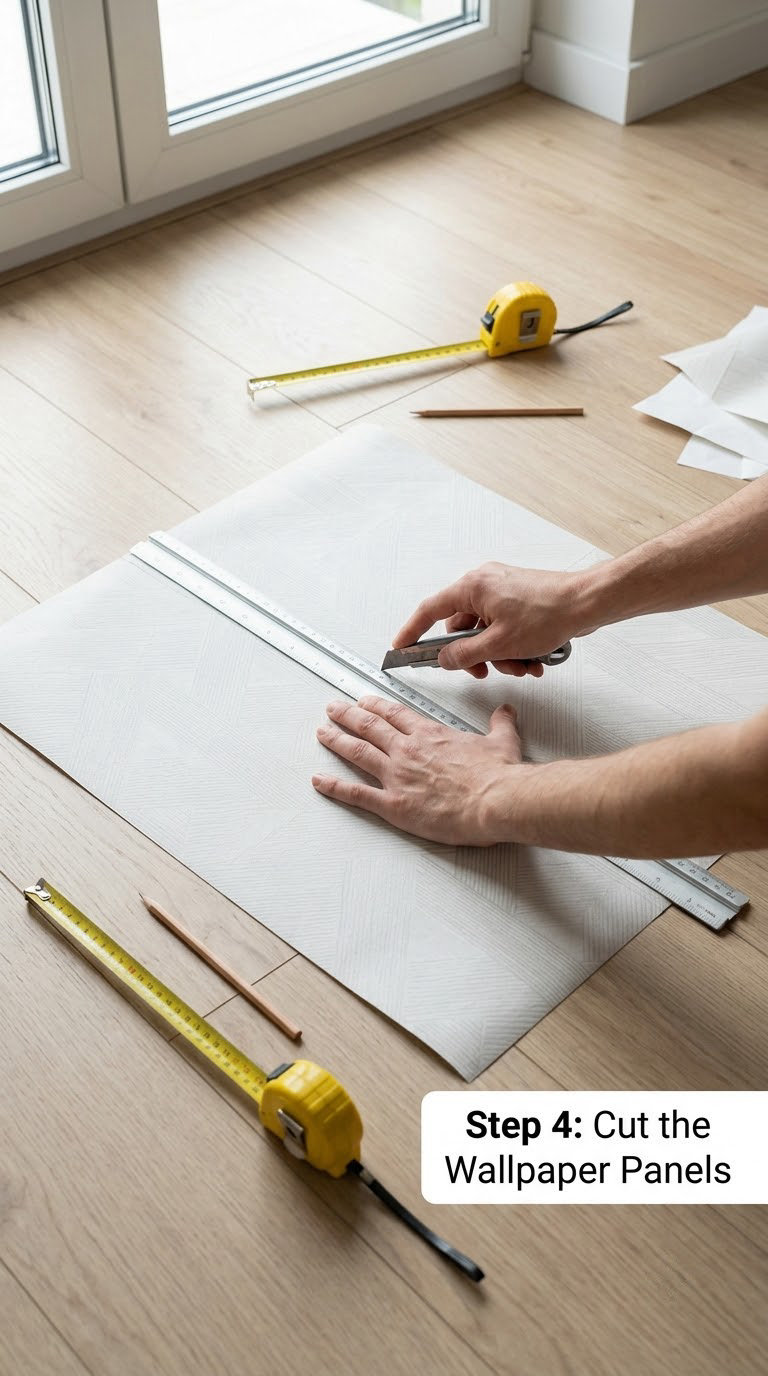
Measure each panel against the wall, then add 4 to 6 inches (10 to 15 cm) of extra length for trimming at the ceiling and baseboard. Cut the first strip slightly long rather than short.
Lay the panel face down on a clean floor, place the straightedge, and draw the blade toward you in one long pass. Scoring the same line several times frays the edge and leaves a visible ridge.
For panels with outlets, make a paper template, trace it onto the wallpaper, and cut a small relief slit in the middle. The slit lets the panel flatten around the box instead of tenting over it.
Step 5: Peel Backing and Apply the First Panel
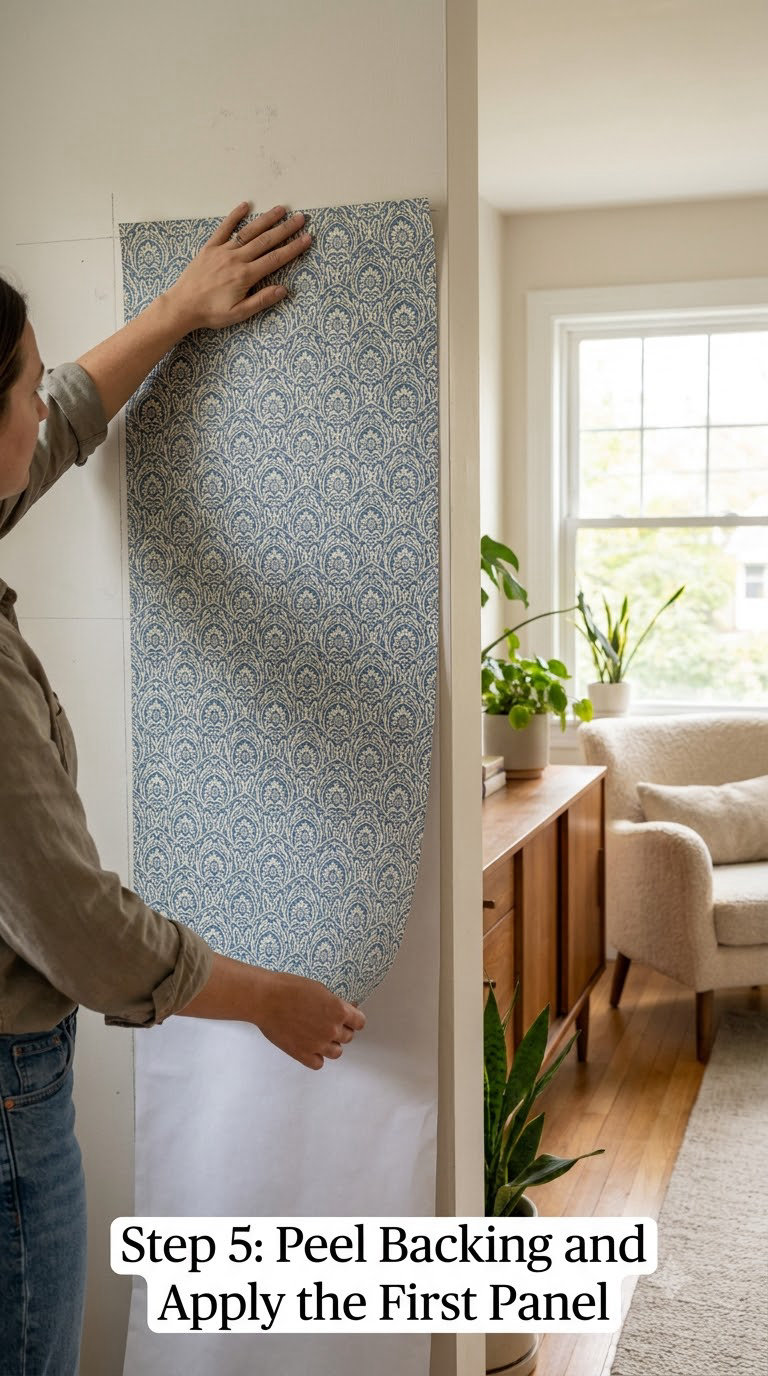
Start at the top of your guideline. Peel the release liner back 6 to 12 inches (15 to 30 cm) and fold the backing under itself so the adhesive does not stick to itself.
Hold the top edge against the wall with one hand, keep the panel bowed slightly, and press the exposed adhesive along the pencil line. Then work downward, peeling the backing and applying the panel in overlapping increments.
Never rush this part. Peel the liner a little at a time and press as you go, and the panel stays flat. Peel the whole length at once and the material lands heavy and limp, and that is exactly where the bubbles come from.
Do not stretch the panel. Pulling to fit shifts every printed line out of alignment and creates tension that shows up as a wrinkle days later.
Step 6: Smooth the Wallpaper Without Creating Bubbles
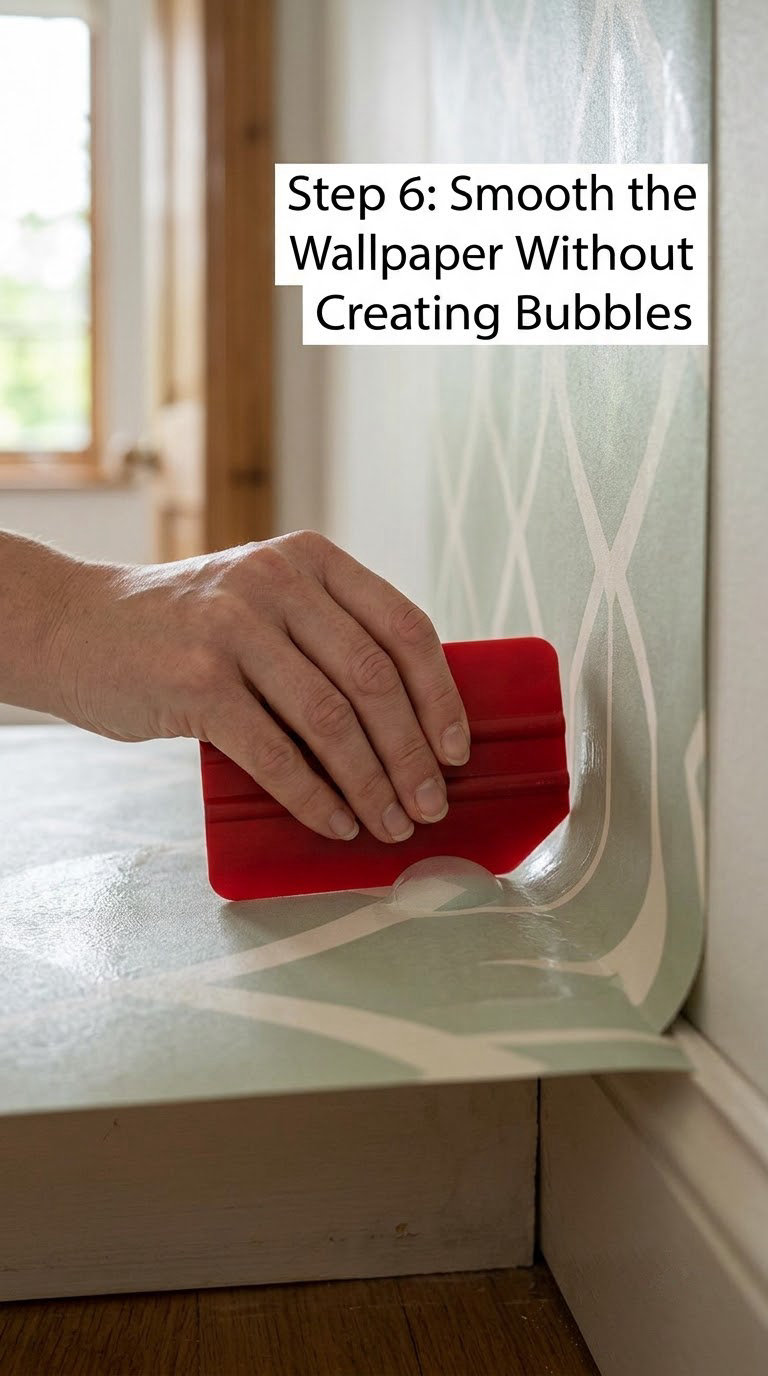
Pressure direction is the whole trick. Work from the center of the panel outward in overlapping strokes, always pushing air toward an edge, never back into the middle.
Use firm, even strokes with the flat face of the tool. Sharp downward jabs concentrate force in one spot and stretch the material; long sweeping passes spread the same force across the panel and bond the full surface.
Do not scrub a bubble to chase it across the panel. Lifting the edge gently, letting the trapped air escape, and laying it back down smooths it in one pass — rubbing just spreads the air and stretches the print.
Finish every panel by running the tool once more down the full length, from the ceiling to the baseboard. That last pass is what the eye notices when you walk past the wall at eye level.
Step 7: Fit Seams, Corners and Obstacles
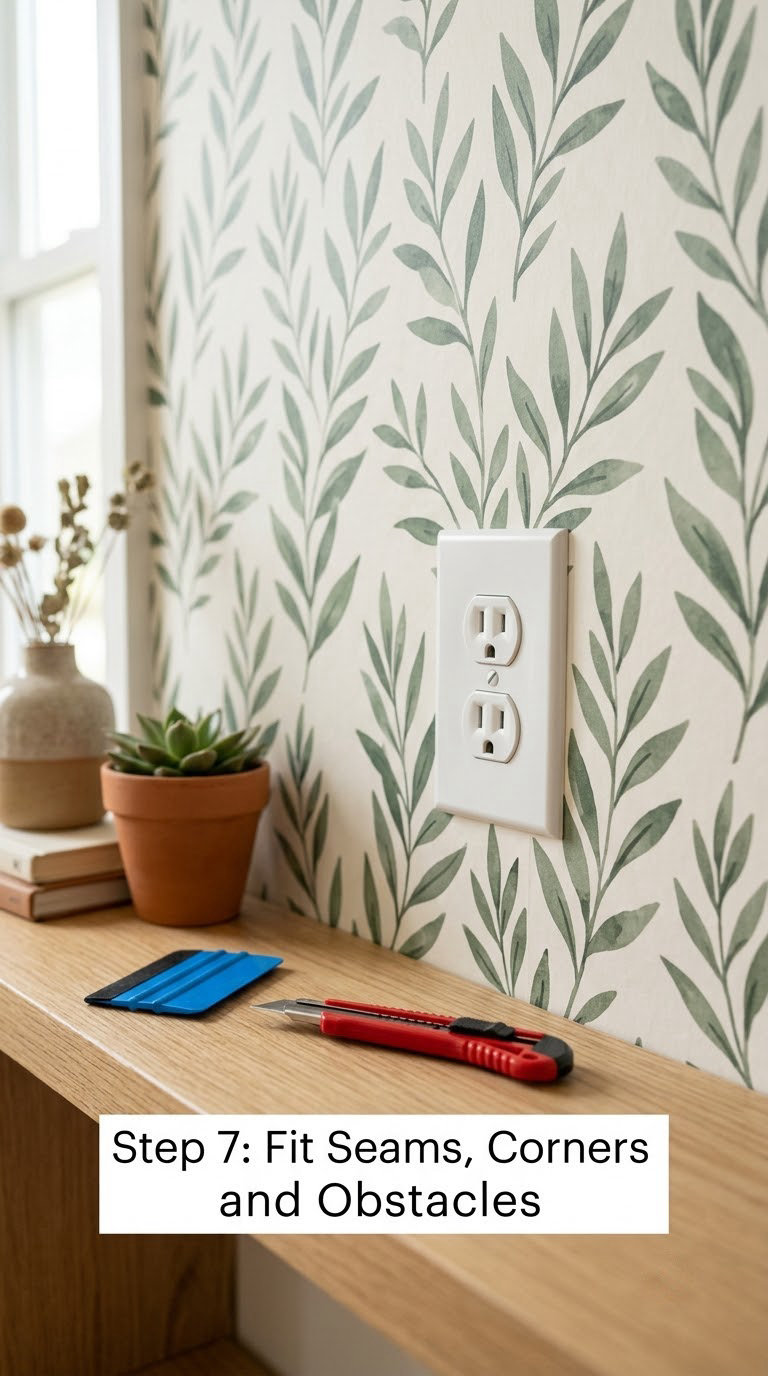
Overlap each new panel onto the previous one by about 1 inch (2.5 cm) and butt the cut edge tightly against the seam. Peel and stick has no wet paste to grab, so the panel above needs a little extra press along the joint to lock in.
For inside corners, cut the first panel to fit exactly, then run a second panel into the corner with a 1/4 inch (6 mm) wrap and trim it in place. Wrapping a single panel around a corner tents the material and lifts within weeks.
For outside corners, wrap the panel around the edge and trim the back so both sides lie flat, then press firmly with the smoothing tool and a little low heat from the hair dryer.
Around outlets and switches, keep the power off, trim the excess with the utility knife, replace the cover plate, and run the tool over the surrounding paper to re-bond the edge.
Step 8: Inspect, Correct and Finish
Walk the length of the wall and look at it from an angle, with the light raking across it. Small bubbles catch light and show up clearly from across the room.
Fix what you find while the adhesive is still workable. Lift the bubble edge, press out the air, and smooth it down again. For a stubborn bubble in the middle of a panel, press a straight pin through it to vent the air, then flatten the pocket with the tool.
Let the room settle for 24 to 48 hours before hanging heavy frames or moving furniture back. Hold off on washing or scrubbing during that window so the adhesive can set.
Common Mistakes to Avoid
Skipping the wall clean. Dust and grease are the number one cause of bubbles that appear days later. Wipe with isopropyl solution, dry, and never wallpaper over a freshly cleaned wall that is still damp.
Peeling the whole backing at once. The panel collapses under its own weight and sticks to itself. Peel in 6 to 12 inch (15 to 30 cm) increments and apply each section before moving on.
Squeegeeing from the edge inward. That traps air in the center and drives it toward the seam. Always push from the middle outward.
Stretching to fit. Tension shows up as wrinkles and seam separation weeks later. Fit by trimming, not by pulling.
Rubbing bubbles flat. Rubbing stretches the surface and the bubble comes back. Lift the edge, release the air, press it down.
Papering over uncured paint. Fresh paint holds moisture and stays soft for about four weeks, so the wallpaper pulls the paint or bonds to nothing. Wait, then prime.
Ignoring textured surfaces. Orange peel, knockdown and popcorn give the adhesive nothing to grip. Skim-coat them smooth first or use a heavy-duty textured-wall liner.
Skirting the seam on the first panel. The first strip sets the pattern for everything after it, and a crooked start cannot be corrected later.
When to Call a Pro
Some walls are worth handing to a professional, and the tell is the wall rather than the wallpaper. Old plaster that flakes when tapped, cracks wider than a pencil line, or moisture coming through from behind the surface all need repair before anything is hung.
Popcorn and heavy knockdown ceilings and walls need a pro or an aggressive skim coat. Lead-based paint on a home built before 1978 should be tested and handled by a certified contractor.
Commercial spaces, shared apartment walls and any job involving new electrical boxes or moving outlets need licensed help and, in many areas, a permit. Traditional wallpaper installers are the wrong hire here — the useful skill set is a steady hand with a smoothing tool, which this guide covers.
Maintenance
Treat installed wallpaper like a finished wall, not like plastic sheeting. Vacuum or dust it gently with a soft dry cloth, and for marks use a barely damp cloth with a drop of mild dish soap, wiped with a clean dry cloth straight after.
Keep water, alcohol and harsh cleaners off the surface, especially in a bathroom or kitchen. Wipe splashes promptly rather than letting them sit, and avoid steam cleaning.
Watch the seams and inside corners, where lifting starts first. Press a lifting seam back down as soon as you spot it, and use a hair dryer on low from 12 inches (30 cm) away to reactivate the adhesive before pressing.
Give the wall 48 hours after install before you clean it at all, then spot-clean only for the first month. For more ideas for the room once the wall is done, our picks for winter wallpaper ideas that brighten a home and wallpaper ideas for nursing students are good follow-ons.
Frequently Asked Questions
Can I remove bubbles in peel and stick wallpaper after it has dried?
Yes. Lift the bubble edge gently with a fingernail or plastic card, let the trapped air escape, then press the edge back down and smooth it flat with a plastic tool. For a small bubble in the middle of a panel, push a straight pin through it to vent the air, then flatten the pocket. Bubbles that have hardened usually release with gentle heat from a hair dryer on low.
Can peel and stick wallpaper be reused after removal?
Rarely, and only once. A panel that has been fully pressed down has usually taken a set from its pressure-sensitive adhesive. Peel it back slowly at a shallow angle rather than pulling straight off, and expect it to lose most of its grip and stretch slightly on the second try. Buy an extra roll instead of planning to reuse pieces.
How long does it take to install peel and stick wallpaper?
Allow three to five hours for a single 8 foot wall if you are cutting panels as you go, plus 24 to 48 hours before the room is back to normal use. A larger accent wall across two or three surfaces pushes it toward a full weekend. Prep time, drying and any patching can add more than the hanging itself on a rough wall.
What wall surfaces can peel and stick wallpaper go on?
Smooth painted drywall is the best surface, and clean matte paint that is fully cured works well. Primer helps on freshly painted, glossy, patched or porous walls. Skip textured surfaces like popcorn, orange peel and heavy knockdown, and avoid damp, flaky or already-papered walls. Sealed tile and glass need a primer rated for those surfaces.
Why are my peel and stick wallpaper seams lifting at the edges?
The usual causes are dust or grease on the wall, uncured paint, a textured surface, or a room that was too cold during installation. Press the lifted seam back down and warm it with a hair dryer on low from about 12 inches away. If it keeps lifting, the edge probably never bonded, so lift that strip back an inch, clean the wall under it and press it down again.
Conclusion
Start with the wall, not the wallpaper. Wipe it clean, patch it flat, let fresh paint cure for four weeks, and take your layout measurements twice before you unroll anything.
Once the panel is on the wall, peel the backing in small increments and smooth from the center outward. Those two habits solve most bubble problems before they start, and everything left over is fixable with a smoothing tool and a pin.
