How to Remove Hard Water Stains from a Toilet Bowl 2026
How to remove hard water stains from a toilet bowl is mostly a chemistry problem. Hard water leaves calcium and magnesium deposits behind as it evaporates, and those alkaline crusts only shift when you put something acidic against them. Drain the bowl, apply vinegar or a limescale remover, let it dwell, scrub the waterline, then flush.
The word “easily” is doing some work in that sentence. A light ring wipes away in ten minutes. A crusted layer that has been building for three years in a well-water house wants an overnight soak and a stiff nylon brush, and sometimes two rounds of it.
Contents
Mine is a 1990s two-piece in a house on a well, so I have cleaned this ring more times than I would like to admit. The routine below is the one that finally kept it manageable, and I have pulled the safety rules up front because the fastest way to make this project go wrong is to mix an acid cleaner with bleach.
Time: 30 to 45 minutes of active work, plus an optional overnight soak for heavy scale · Cost: a spray bottle, a toilet brush and either white vinegar from the pantry or one bottle of limescale remover · Difficulty: easy DIY · Skill level: beginner
Tools and Materials
Gather everything first. Scrubbing a bowl with one hand while hunting for the spray bottle with the other is how cleaner ends up on the floor.
Tools
- Rubber household gloves, one pair
- Safety glasses with side shields if you already own them
- Toilet brush with a stiff nylon head, roughly 3 inch (7.5 cm) bristles
- Stiff-bristled toothbrush for under the rim and behind the seat bolts
- Plastic or nylon pumice stone for thick scale (optional)
- Microfiber cloth, 12 inch square or larger
- Small cup or measuring scoop, 1 cup capacity
- Adjustable wrench and a flathead screwdriver, only if you plan to remove the tank
Materials
- White vinegar, 4 to 6 percent acetic acid, about 2 cups (500 ml)
- Or one bottle of acidic limescale or toilet bowl descaler, gel or liquid
- Optional: citric acid powder, 1 to 2 tablespoons
- Optional: effervescent denture cleaning tablets, 2 to 4 tablets
- Plain dish soap, 1 teaspoon
- Cool tap water in a bucket, about 1 gallon (4 litres)
Skip the abrasive powders and the fine 400 grit sandpaper people pass around online. Both work, and both take a layer of glaze with them.
Before You Start
Put on the gloves and open a window. Acidic cleaners give off a sharp vapour, and a small bathroom holds it fast.
Know your bowl before you start. Look at where the deposit sits. Hard water stains ring the waterline, pool under the rim where the flush holes drip, and sometimes settle at the trap at the bottom. Grime from a shared household wipes away with soap and a brush. A ring that stays after a normal scrub is mineral, and it needs acid.
Colour tells you how far along you are. A chalky white ring is recent limescale. Yellow to brown means years of slow buildup. Orange and rust tones usually mean iron in the water rather than calcium, and iron takes longer but still responds to acid. Greenish horizontal stripes on well water are often algae or copper, and those want a different treatment than a descaler.
Two things to check before you pour anything. Older toilets and cheap ones sometimes have a thin or worn glaze, and once the glaze is porous the stain soaks in rather than sitting on top. Second, if you use bleach anywhere in this bathroom, flush the bowl thoroughly first so no bleach is in the water when the acid goes in.
Step-by-Step Instructions
Step 1: Flush and Prepare the Toilet Bowl
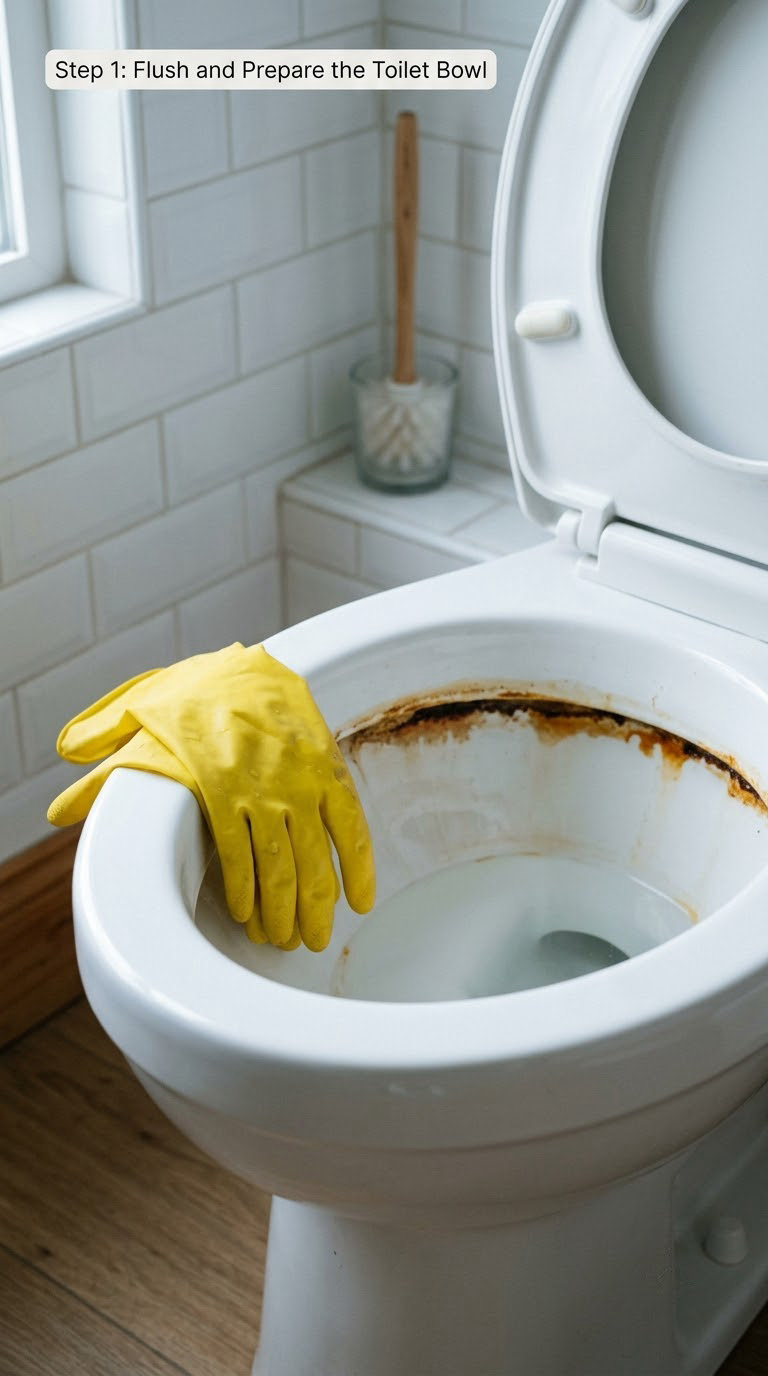
Flush once, then use the brush to scoop out what you can. For a low-flow toilet, a cup works better than a container you have to balance on the seat.
Lower the water level so the deposits are not underwater. Turn the shutoff valve on the left side of the toilet clockwise until it stops, or set the flapper aside and let the tank drain for the night. Then flush to empty the bowl as far as it will go.
Wipe the interior with a dry paper towel and look closely at the waterline. That pale band marks the exact height the water used to reach, so it is also the best single indicator of how bad the buildup is. A bowl that was flushed a week ago shows a crisp line; a bowl with a soft, fuzzy band has had months of neglect.
Step 2: Apply the Cleaning Solution
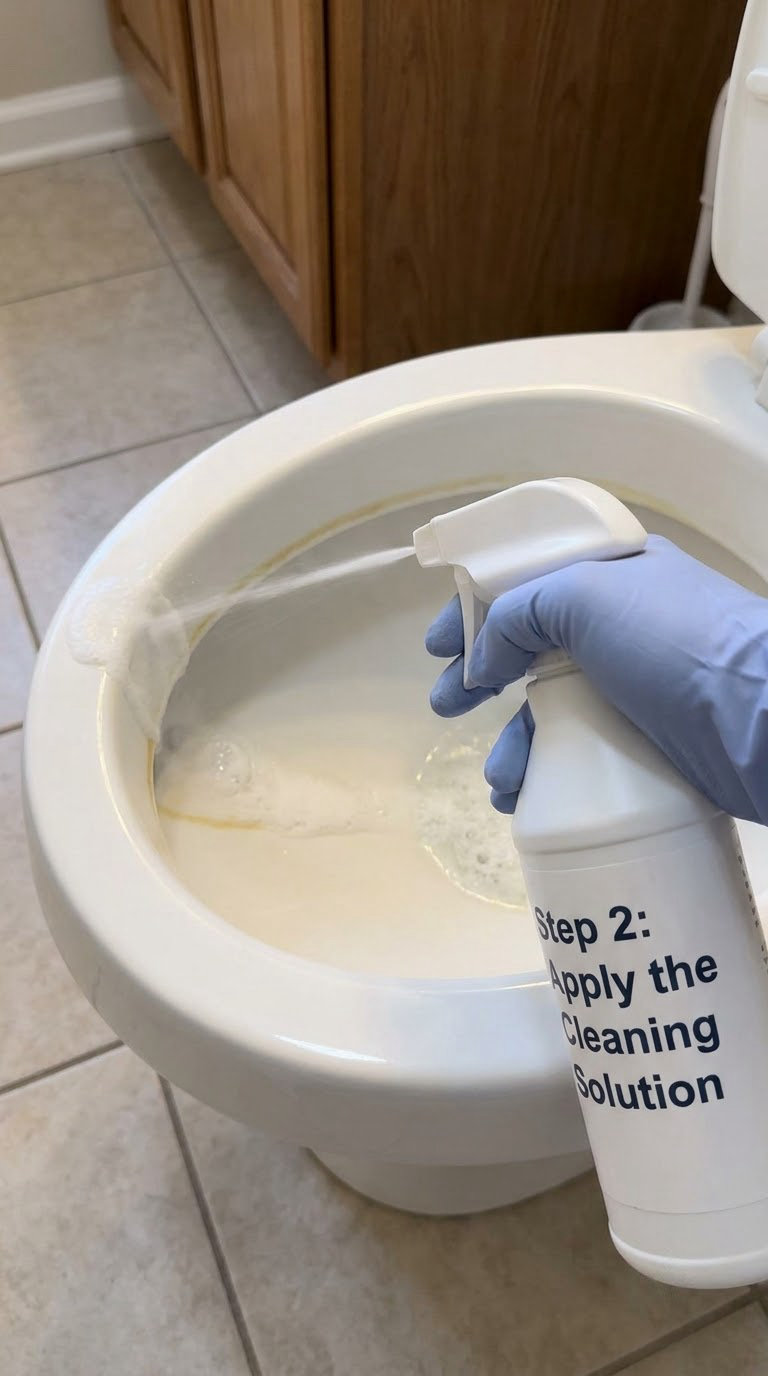
For a standard clean, mix about 1 cup (240 ml) of white vinegar with 1 teaspoon of dish soap in a spray bottle. The soap is there to help it cling; it is not doing the dissolving.
Spray or pour the solution along the entire waterline band and up under the rim where the flush holes are. Those holes are where most of the invisible staining starts, and they get almost no brush contact during a normal flush.
Now let it work. Vinegar needs 20 to 30 minutes to loosen a light ring and closer to an hour for heavy scale. A commercial descaler is faster and thicker, so follow the label dwell time, usually 5 to 10 minutes, and go longer if the deposit is thick. Never pour a descaler and a vinegar solution into the same bowl at the same time.
For a serious ring, drop 2 to 4 denture tablets in and let them dissolve overnight. The effervescent action keeps moving acid through the crust while you sleep. It is the least effort per result of anything on this list.
Step 3: Scrub the Hard Water Deposits
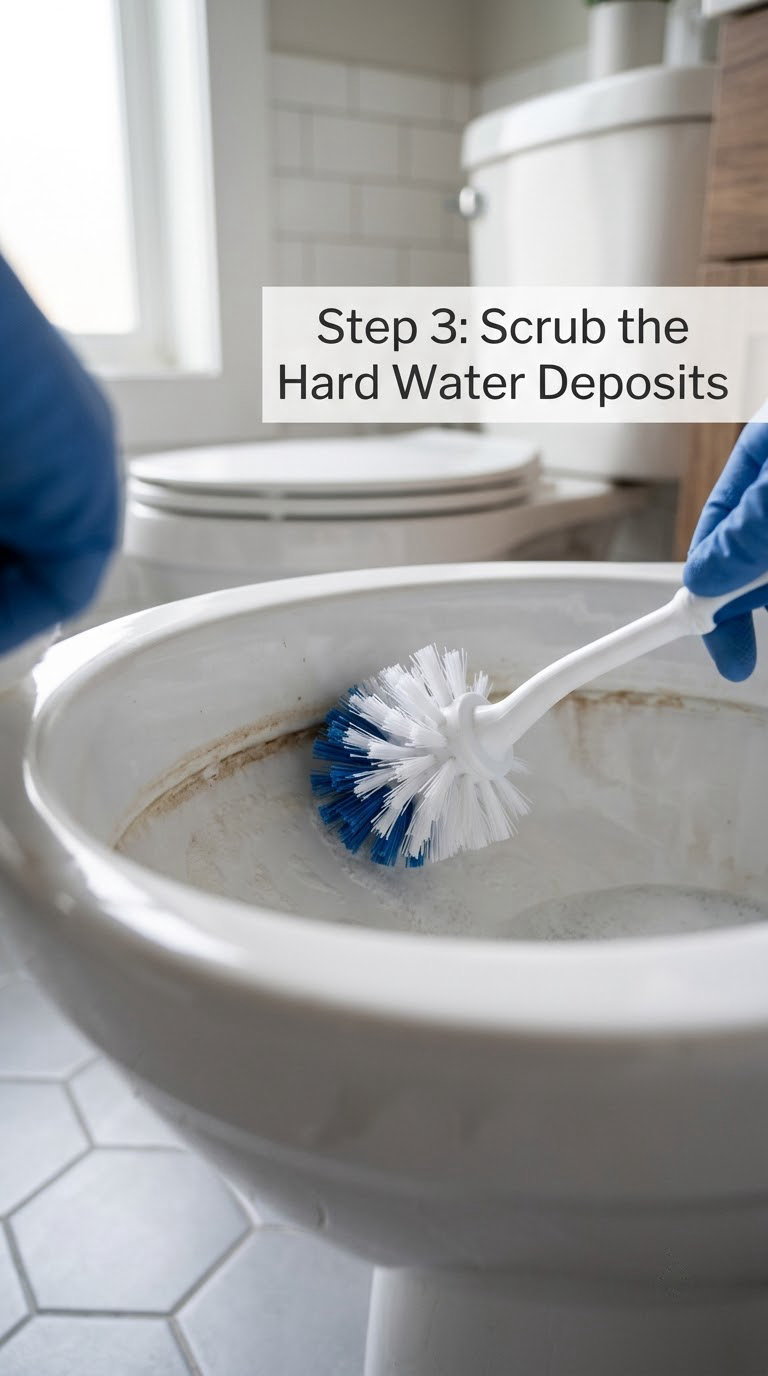
Angle the brush head so the bristles ride up and over the waterline rather than straight down at it. Short, firm strokes of 10 to 15 passes per section beat long lazy circles, which mostly move water around.
Work in three zones: the waterline band first, then under the rim around each flush hole, then the bottom of the bowl near the trap. When the brush head reaches the narrow gap between the rim and the bowl wall, turn it sideways and work the bristles into that channel with the tip.
Keep the pressure moderate. Porcelain is hard but the glaze is thin, and the deposits sit on top of it. If you feel the brush skipping over a rough patch instead of biting into it, that is the sign to stop and switch to a soak rather than grind the same spot for another five minutes.
For a crust that has hardened into a raised lip, a wet pumice stone is faster than a brush. Soak the stone for 5 minutes first, press it lightly against the damp deposit and move it in one direction rather than back and forth. The stone must stay wet or it will scratch, and it makes a sound like a squeaky shoe that always startles me.
Step 4: Rinse and Repeat if Needed
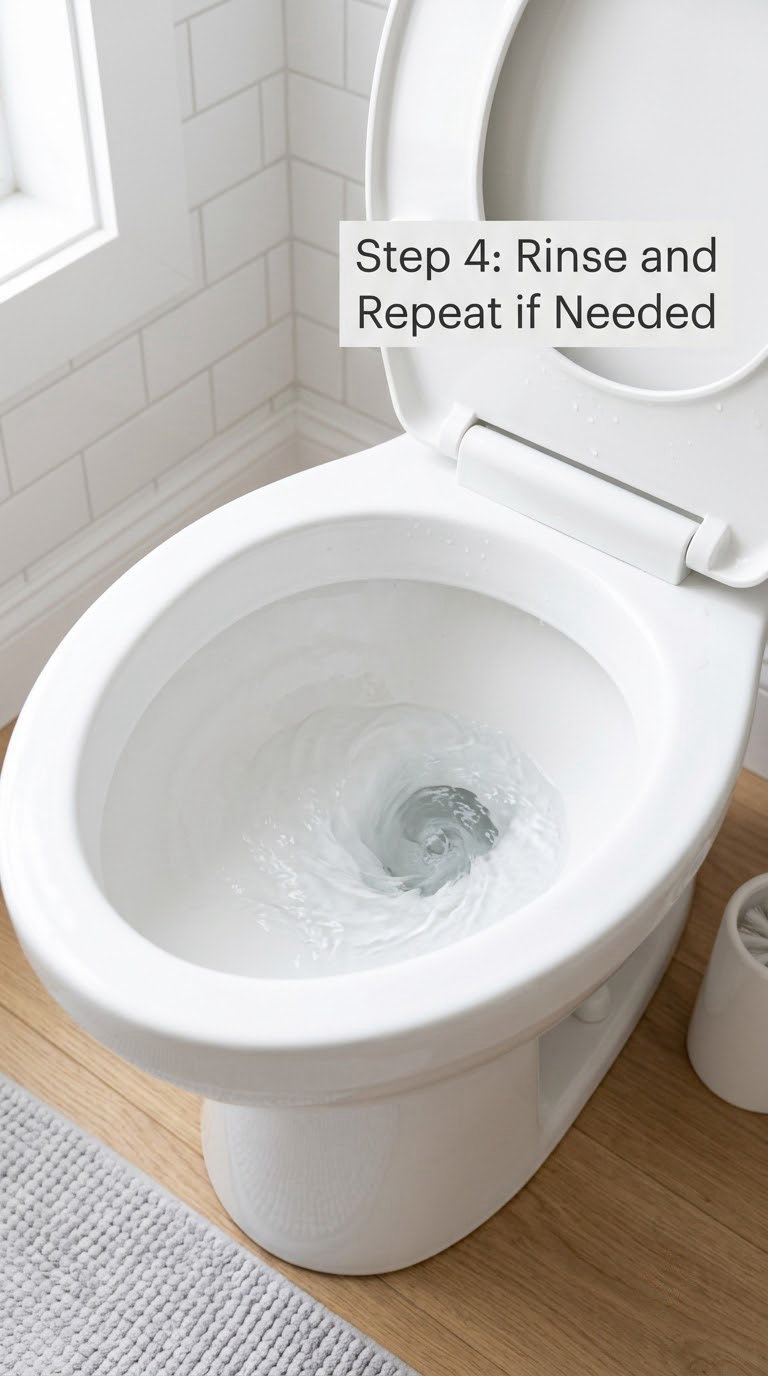
Flush twice and let it refill fully. The first flush carries away dissolved minerals, the second clears what settled at the bottom.
Dry the bowl interior with a microfiber cloth or paper towel while the water is still low, then look again with the light behind you. What is gone is gone. What remains as a shadow or a slightly rough matte patch is embedded in the glaze rather than sitting on it, and that is where a second treatment helps far more than more scrubbing.
If the ring came back within a day, the water is still very hard and you were probably cleaning during a period when the fill valve was leaking, keeping the waterline higher than normal. Repeating the same treatment once is reasonable. Doing it three times in a week mostly just wears the glaze.
Step 5: Dry and Prevent New Buildup
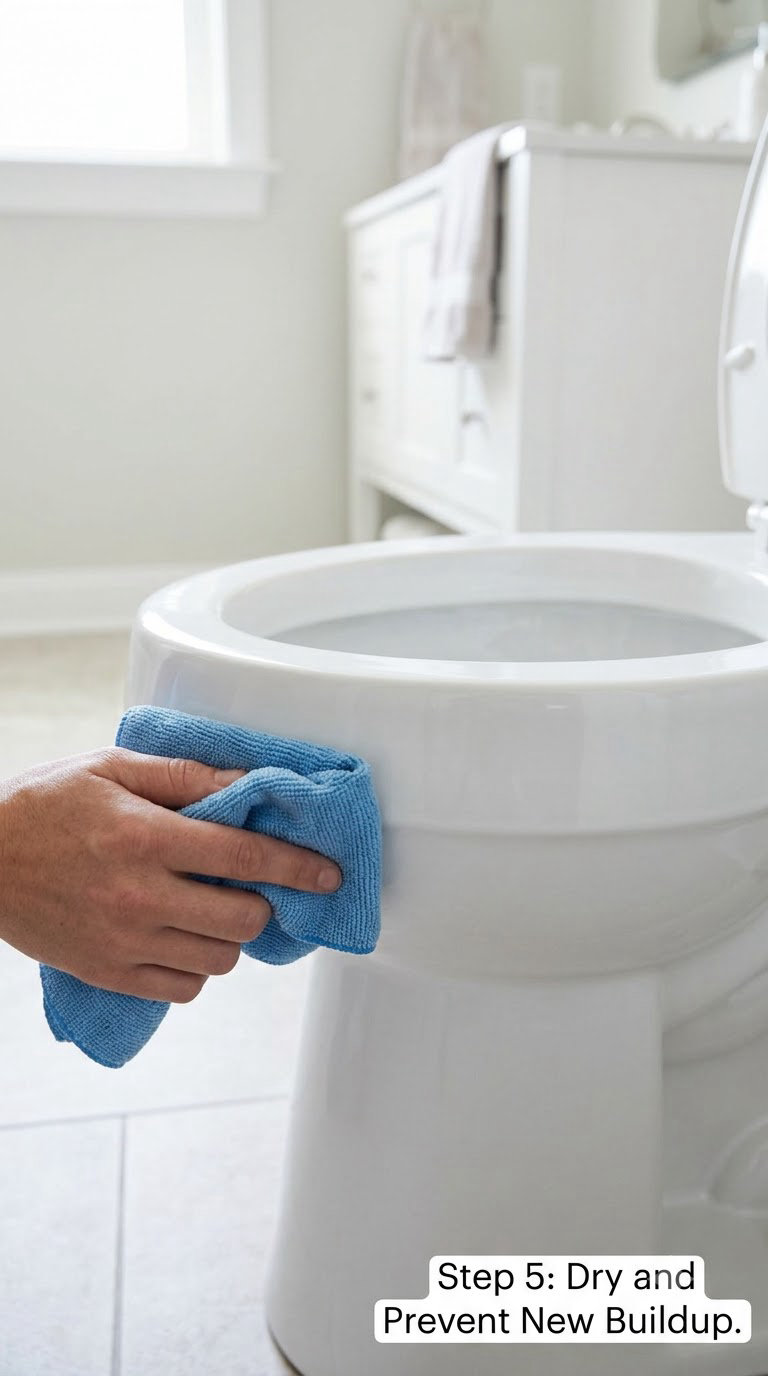
Wipe the rim, the seat, the lid and the outside of the bowl dry. Standing water in an undrained trap or a bead of water trapped under the rim is how a fresh ring starts, so drying is not an optional finishing touch. The seat and lid yellow faster than the bowl and need their own approach, so I keep how to remove yellow stains from a toilet seat on hand for those two parts.
For a well or very hard municipal supply, put 2 tablespoons of citric acid powder in the tank once a month and flush. It dissolves what is forming in the tank and the bowl before it becomes a visible ring. If you also want to see what your supply is doing elsewhere in the house, I wrote about hard water stain cleaners for the shower, which fails the same way as the bowl but is harder to replace when it goes wrong.
One warning on water levels. If your bowl is running or the fill valve never shuts off, the waterline sits higher than design and stains return twice as fast. That is a fixable mechanical fault, and there is a separate guide on how to adjust the water level in a toilet bowl that covers the adjustment.
Common Mistakes to Avoid
- Mixing bleach with an acid. An acidic descaler plus sodium hypochlorite releases chlorine gas. Flush first, ventilate, and never combine the two in the same bowl or the same bucket.
- Using baking soda as the cleaner. Baking soda is a mild base. It neutralises the vinegar you just added and gives you a thick paste that does very little to calcium. Use it as a gentle scouring powder, not as a descaler.
- Scrubbing a dry bowl. Dry abrasive work over a partially dissolved deposit is how glaze gets scratched. Keep the surface wet from the first pass to the last.
- Skipping under the rim. The flush holes leak a thin stream constantly, and that is the hardest ring to see and the first one visitors notice.
- Pouring boiling water. It softens plastic seats and can crack old vitreous china. Cool tap water loosens deposits just as well with far less risk.
- Expecting one treatment to fix decades of scale. A deposit that has etched into worn glaze is not a cleaning problem any more. Two attempts is realistic; after that, change method or accept the surface.
- Leaving a strong descaler sitting for days. Overnight is fine for most acidic products. Beyond a day you are etching the fixture, not cleaning it.
When to Call a Pro
Cleaning cannot fix these, and more scrubbing will not help:
- The bowl clogs repeatedly with no foreign object involved, which points at a trap or main line problem
- Water pools around the base of the toilet or the tank sweats constantly
- The toilet runs continuously or the fill valve keeps the bowl overfull
- Cracks or chips in the bowl or tank, especially near the base or the bolt holes
- Buildup returns within a day or two across every toilet in the house, which is a water supply problem rather than a toilet problem
Licensed plumbers handle the first four. If the whole house is affected, treat the water at the source instead. I have covered the options in a piece on what hard water does to bathroom surfaces, and a plumber or water treatment specialist is the right call before you keep buying bowl cleaner.
Maintenance
- Weekly: scrub the waterline with the toilet brush and a squirt of dish soap during your normal cleaning. Ninety seconds, no chemicals.
- Monthly: flush a citric acid or tablet through the tank, and wipe under the rim with a toothbrush.
- Quarterly: one full treatment at the strength described in Step 2, with 20 to 30 minutes of dwell time.
- Twice a year: turn off the supply, remove the tank and flush it out by hand with warm water and a mild detergent. Tank interiors are where a lot of recurring bowl staining is born.
- Always: keep something in the bowl to catch drips. Most of the brown streaks people chase are from a slowly weeping flush valve, not from the water itself.
Nobody enjoys a monthly chore, but the difference between a light ring and a crusted one is almost entirely how often you touched it.
Frequently Asked Questions
Will vinegar remove hard water stains in a toilet?
Yes, for light to moderate limescale. White vinegar is acetic acid at about 5 percent, which is enough to break down fresh calcium deposits. Drain the bowl, pour in 2 cups (500 ml), and let it sit 20 to 30 minutes before scrubbing the waterline. For crust that has been building for years, vinegar alone will only soften the outer layer, so follow it with a commercial descaler or an overnight denture tablet soak.
Will bleach remove hard water stains in a toilet?
No. Bleach is an oxidant, not an acid, and mineral deposits are alkaline. Bleach will whiten the surrounding surface and make the stain stand out more clearly against it. The only bleach and limescale combination that works is a product that contains both in a controlled, labelled formula, and those should never be mixed with anything else in the bowl.
How do you use a pumice stone on a toilet safely?
Soak the pumice stone in warm water for 5 minutes first. A wet stone glides and loosens the deposit; a dry stone grinds it into the glaze. Wet the deposit too, press the stone against it lightly, and move it in one direction instead of scrubbing back and forth. Test an inconspicuous spot near the waterline before you work the whole band.
Can you leave a limescale remover in the toilet bowl overnight?
Yes, for acidic products such as CLR, Lime-A-Way, or an effervescent denture tablet. Overnight is a normal contact time and often the only way heavy limescale will move. Do not extend it past a day, keep the room ventilated, and never add a bleach-based product to the same bowl while the acid is soaking.
What is the most powerful toilet bowl limescale remover?
A hydrochloric or phosphoric acid descaler applied at full strength to a drained bowl, with a thick gel formula that clings to the surface, beats a thin spray. The key variable is concentration at the deposit, not the brand. Let it dwell for the label time, scrub the waterline with stiff nylon bristles, and flush twice.
Conclusion
Start tonight with the drain, the acid, and a 30 minute wait. Turn off the supply, empty the bowl, apply vinegar or a descaler along the whole waterline band, scrub under the rim as well as the ring, then flush twice and dry it off. That sequence handles most stains in one sitting, and the monthly tank flush is what keeps it from coming back.