How Long Does Wood Filler to Dry? Drying Times (October 2026)
How long does it take for wood filler to dry? Most of it: 15 minutes for a thin solvent-based fill on trim, 2 to 8 hours for a shallow water-based repair, and 24 hours or more when you fill a deep gouge. The label time is the floor, not the promise.
The difference between those numbers is thickness and chemistry. Filler loses water or solvent to the air, and how fast that happens depends on how much filler sits on the wood, how warm the room is, and how much moisture is already in the air.
Contents
If you are filling trim and doors before a paint job, it also helps to know how long bathroom paint takes to dry, since the two clocks stack on the same weekend.
Wood Filler Drying Times at a Glance
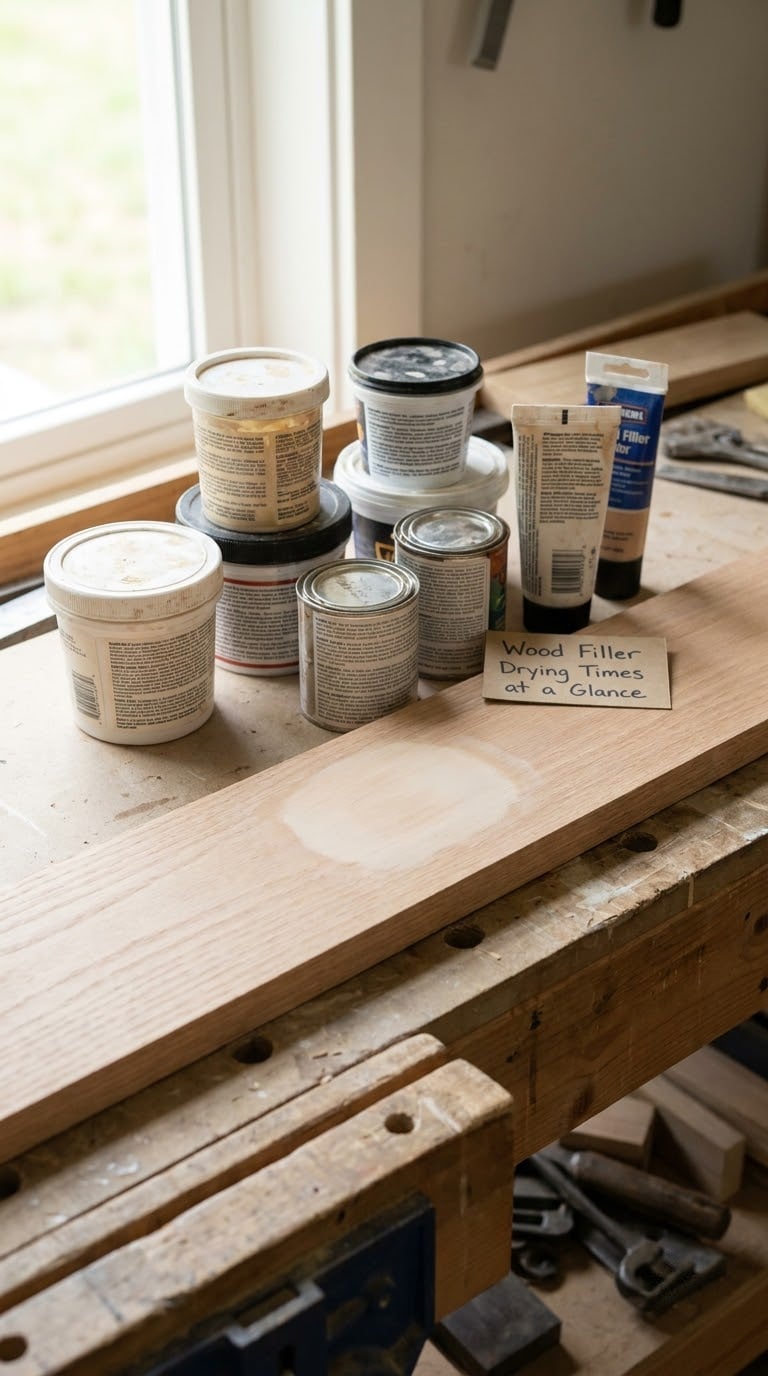
These are typical US ranges for interior household use at 65 to 75 F. Manufacturer instructions always come first, because formulas vary.
| Filler type | Thin fill (to 1/8 in) | Deep fill (over 1/4 in) | Fully cured | Best used for |
|---|---|---|---|---|
| Fast-drying solvent filler | 15 to 30 minutes | 1 to 2 hours per layer | 24 hours | Trim, doors, cabinet faces, quick paint prep |
| Water-based latex filler | 30 minutes to 2 hours | 8 hours to overnight | 24 to 72 hours | Nail holes, dents, gouges, interior furniture |
| Solvent-based filler | 1 to 3 hours | 8 to 24 hours | 24 to 48 hours | Exterior trim and moldings, knot holes |
| Two-part epoxy filler | 15 to 60 minutes | 1 to 4 hours | 8 to 24 hours | Structural repairs, missing sections, exterior rot |
| Oil-based wood putty | 2 to 4 hours | Not recommended | 24 to 48 hours | Hiding fasteners, holding hardware, glazing |
Wood filler dries lighter than the wood around it, so a repair can look pale until you seal it. One manufacturer publishes a benchmark worth remembering: a void 1/8 inch deep and 1 inch across dries in under an hour when spread as a 1/8 inch layer.
How Wood Filler Dries
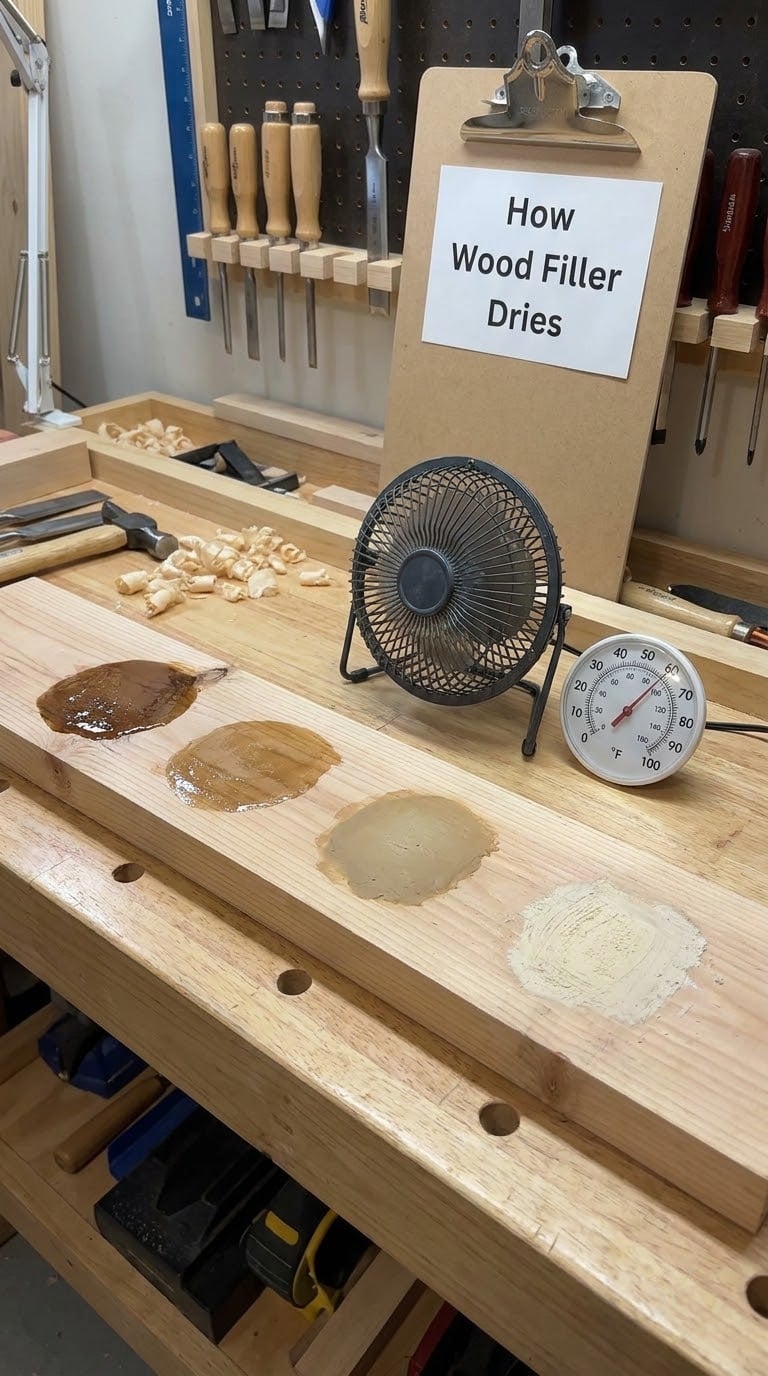
Two different processes are going on, and mixing them up is why people sand too early.
Water-based and latex fillers dry by evaporation. Water leaves the filler, travels into the air, and the remaining binder hardens into a solid. Temperature, airflow and humidity control that rate completely.
Solvent-based fillers and two-part epoxy cure chemically. The resin reacts with a hardener or the air, and the clock is set by chemistry rather than by the weather in your garage. A fan helps nothing there.
Three milestones matter, and they are not the same moment:
- Surface dry means the skin no longer feels cool or tacky. The middle can still be soft for hours.
- Sandable means the filler powders under sandpaper instead of smearing or stringing.
- Fully cured means the water or solvent has finished leaving, and the filler has reached its final hardness.
You can usually sand at the sandable stage. Paint and stain want the cured stage, and rushing that step is what traps moisture and causes peeling later.
How Long Does Wood Filler to Dry by Type?
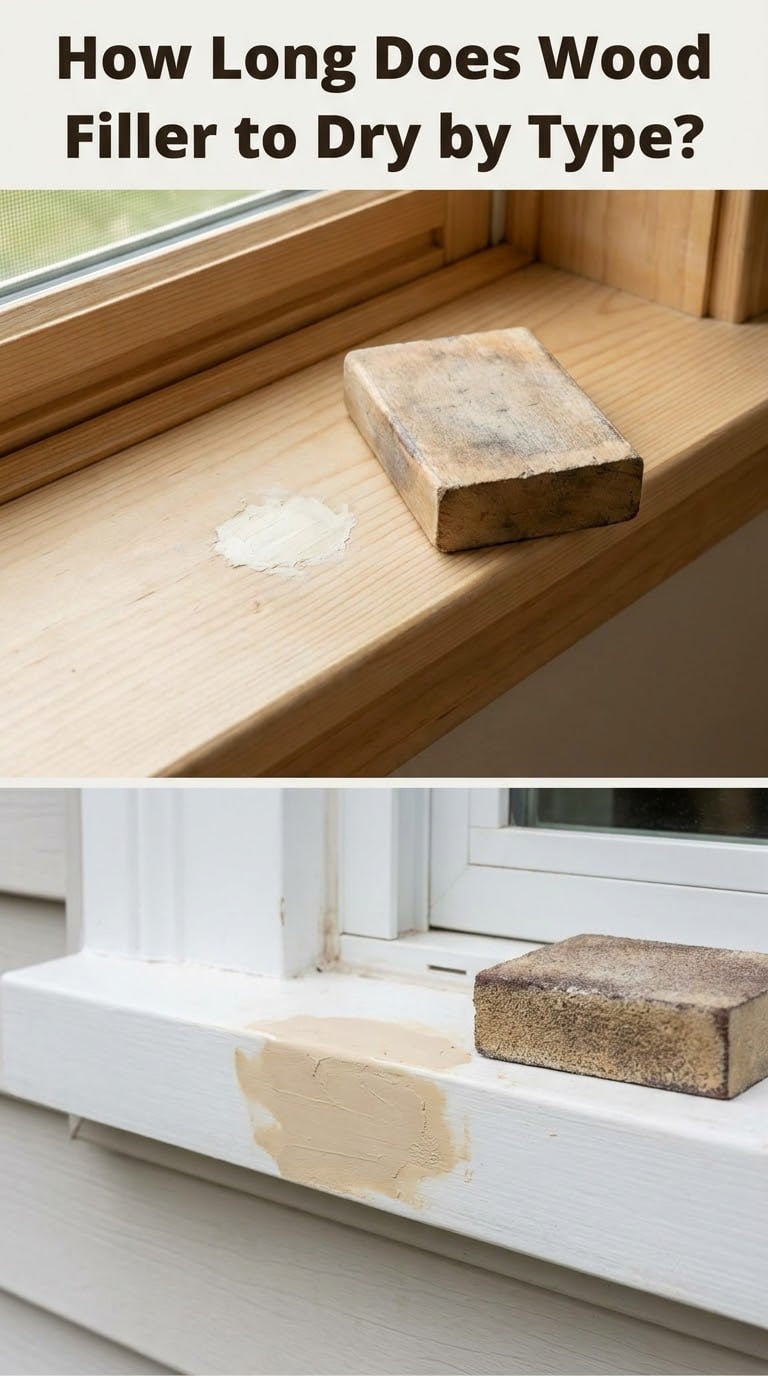
Water-based interior filler: 2 to 8 hours for a shallow repair
This is the everyday tub in most houses. Nail holes, dents and small gouges on indoor furniture take 2 to 8 hours to dry through. Overfill it slightly, since filler shrinks as it dries and will sink below the surface if you level it off flush.
On r/woodworking, people almost universally ignore the label and wait a full 12 to 24 hours anyway. On r/3Dprinting, one user reported interior wood filler still very soft after two days in humid conditions and needing three days total. That matches what happens with a thick fill in a damp room.
Solvent-based exterior filler: 1 to 3 hours, longer in bulk
Solvent-based filler dries faster on the surface and handles exterior trim and moldings, where the repair has to shrug off weather. Plan on 1 to 3 hours for a shallow fill and 8 to 24 hours once the depth passes a quarter inch.
The tradeoff is odor and ventilation. Work outdoors or in a room with a fan running and windows open, and keep the container capped when you are not using it. The fumes are the reason many people switch to water-based indoors.
Fast-drying repair compound: 15 to 30 minutes
Pro painters on painttalk.com reach for fast-drying plastic wood products for trim and doors because they set in roughly 20 minutes. That is what makes same-day prep work possible, with sanding and painting inside one session.
These are thin-fill products. They are not built for deep voids, and forcing a big build-up will crack as it dries.
Two-part epoxy filler: 15 minutes to 4 hours
Epoxy mixes a resin and a hardener, then cures on a chemical clock that temperature does influence. A thin fill sets in 15 to 60 minutes and a deep one runs 1 to 4 hours, with full cure in 8 to 24 hours.
Watch the pot life. Once you combine the two parts you usually have only a few minutes of working time, so mix small batches, and have your repair fully prepared before you start.
Oil-based wood putty: slow by design
Putty is not filler. It stays workable for days, which is exactly why it is the right choice for driving a screw into a hole or holding a knob in place while the wood moves with humidity. Do not build a structural fill out of it.
Stainable and grain fillers: 1 to 3 hours
Grain and pasty stainable fillers dry faster than a body filler because they sit thin, usually 1 to 3 hours. They still shrink, so a second skim is normal. Open-grain wood like oak needs the filler to be wiped on and scrubbed back rather than trowelled.
If the piece is a decorative one you will burn or carve later, the filler work still has to cure fully first, otherwise the grain goes fuzzy and the tool tears it out. Our tested picks for wood burning kits for beginners come after the sanding, not before.
What Changes the Drying Time
Everyone asking how long does wood filler to dry gets the same honest answer: it depends, and depth is the biggest reason. A 1/8 inch layer can be ready within the hour, 1/4 inch takes several hours, and anything half an inch or deeper runs overnight. Never fill past a quarter inch in one pass on a repair you want to finish the same day.
Layers beat depth. Let each layer dry completely before adding the next, and you get predictable times and a repair that will not crack down the middle.
| Condition | Effect on dry time | What to do |
|---|---|---|
| Room at 70 to 75 F | Baseline for all times in this guide | Nothing, this is the target range |
| Room below 65 F | Slows water-based filler substantially | Warm the room to at least 65 F first |
| High humidity | Biggest cause of slow water-based drying | Add airflow and run a dehumidifier |
| Deep single pour | Center stays soft for days | Switch to quarter-inch layers |
| Closed room, no airflow | Evaporation slows down | Fan the repair, open a window |
| Dense hardwood like maple | Slightly longer than pine | Add a buffer of several hours |
| Direct heat from a hair dryer | Cracks the fill, traps moisture below | Keep heat at least 12 inches away, or skip it |
People in humid climates are the ones who reliably report filler still soft after 24 hours. If that is you, thin layers matter more than any fan.
How to Tell Wood Filler Is Ready for Sanding or Painting
Label times are a starting point. These five checks tell you the truth about the repair in front of you.
- Touch the center, not the edge. A cool, soft spot that dents under a fingertip means the middle is still wet.
- Sand a small patch with 150 grit. Ready filler breaks into fine powder. Still-damp filler gums the paper and pulls out in strings.
- Look at the color. Water-based filler goes from wet and glossy to matte and noticeably lighter as it dries.
- Tap a thick fill with your knuckle. A hollow sound means the core has not set yet, which a dry surface will hide.
- Check for shrinkage. If the filler has sunk below the surrounding wood, it needs a second skim and another full dry cycle.
If the sandpaper clogs on the first pass, stop and wait. That gummed crater is exactly the kind of mess you end up sanding twice.
Painting over damp filler is the one mistake that costs real money. Moisture gets trapped under the film, the bond fails, and the paint peels or bubbles weeks later. Sanding indoors also puts a lot of fine dust into the room, and a shop vacuum is the fastest way to get it out of the carpet fibers before it migrates. Our picks for upright vacuums that handle wood floors well are worth a look if you are doing a whole project in one go.
How to Speed Up Drying Without Ruining the Repair
- Apply thinner layers, no more than a quarter inch at a time.
- Warm the room to 65 F or above before you start filling.
- Move air across the repair with an open window and a fan, without blowing dust onto a wet surface.
- Run a dehumidifier in a damp basement or garage.
- Scrape off squeezed-out filler from joints instead of letting it sit.
- Switch to a fast-drying formula when the repair is shallow.
Heat guns and hair dryers are the exception, not the rule. Keep moving them and hold them at least 12 inches from the fill, or the top skins over while moisture stays trapped underneath and the repair splits along the middle.
For larger wood projects, the order of operations matters as much as the products. If you are turning spindles or cutting joinery this fall, our picks for heavy-duty wood lathe steady rests are worth a look before you start.
Typical Costs of Wood Filler and Related Products
Costs move constantly and vary by region and retailer, so treat the ranges below as a shape rather than a quote. The pattern holds: you pay more per ounce for the small stuff.
| Product | Typical size | Typical US price | Notes |
|---|---|---|---|
| Squeeze tube filler | 1 to 2 oz | $4 to $8 | Highest per ounce, fine for nail holes and one-off touch-ups |
| Standard water-based tub | 8 to 16 oz | $7 to $14 | The everyday choice for furniture and trim |
| Solvent-based filler | Quart | $12 to $20 | Exterior rated, stronger odor |
| Fast-drying filler | Tube or small tub | $6 to $12 | Buys you a same-day finish |
| Two-part epoxy kit | Quart or larger | $20 to $45 | Buys you strength, not speed of application |
| Sandpaper assortment | 80 to 220 grit | $6 to $12 | Keep 150 grit for filler, 220 for final |
| Wood glue | 8 to 16 oz | $5 to $10 | Mix into exterior filler for a weatherproof repair |
A single nail-hole repair costs very little. A quart covers a whole cabinet reface, which is why most people end up with a half-used tub in the garage that skins over between projects.
Pros and Cons of Common Wood Filler Types
| Type | Drying speed | Indoor or outdoor | Sandable | Cleanup | Odor | Durability |
|---|---|---|---|---|---|---|
| Water-based latex | 2 to 8 hours shallow | Indoor mainly | Very easy | Soap and water | Low | Moderate, not for damp areas |
| Solvent-based | 1 to 3 hours shallow | Both | Easy | Solvent or thinner | Strong | Good outdoors |
| Fast-drying | 15 to 30 minutes | Indoor mainly | Easy | Soap and water | Low | Moderate |
| Two-part epoxy | 15 minutes to 4 hours | Both | Harder, must be fully cured | Requires solvents while liquid | Strong until cured | Excellent, load-bearing capable |
Cured filler is not as hard as the surrounding wood in any of these categories. It sits somewhere around the hardness of a dense hardwood, which is fine for a dent in a cabinet door and not fine for a joint that carries load.
When to Choose a Different Repair Product
Wood filler is built for small holes, nail holes, dents and gouges up to about a quarter inch deep. Past that, another product does the job better.
For a missing chunk of trim or a rotted section of siding, two-part epoxy fills the void and cures hard enough to screw and drill. For a gap that is a moving joint, wood putty flexes with seasonal movement where filler would crack out. For large structural splits and anything supporting weight, replace the board rather than filling it.
And if you are dealing with rot, filling the hole hides the cause. Get the moisture source fixed first, or the repair fails regardless of how long you waited for it to dry.
Where the repair involves load-bearing framing, structural members, or anything that needs a permit, hand that part to a licensed contractor. Filling small holes in trim and furniture is well within DIY territory.
Frequently Asked Questions
Does wood filler get hard like wood?
Not quite. Cured filler lands near the hardness of a dense hardwood, not the surrounding species, and it is usually a touch more brittle. That is fine for dents, nail holes and small gouges in trim, doors and cabinet faces. For a load-bearing joint or a missing structural section, use two-part epoxy or replace the board.
Is it okay to leave wood filler overnight?
Leaving it overnight is the safe habit. Most DIYers on woodworking forums wait 12 to 24 hours regardless of what the label says, and it costs you nothing but time. Overnight also lets you catch shrinkage in the morning, skim the sunken area, and let that second layer dry properly before sanding.
How do I know when wood filler is dry?
Press a finger into the center of the fill, not the edge. Then sand a small patch with 150 grit: dry filler breaks into fine powder, while damp filler gums the paper and pulls out in strings. A dull matte color instead of a wet gloss, and a hollow sound when you tap a thick fill, both mean more time is needed.
How big of a gap can you fill with wood filler?
Fill a quarter inch at a time and let each layer dry completely before adding the next. Most interior fillers handle shallow fills up to 1/8 inch well, but anything deeper shrinks as it dries, so deliberately overfill and skim it back after it cures. Beyond that, use two-part epoxy for the void.
How can I speed up wood filler drying?
Apply thinner layers, warm the room to at least 65 F, and move air across the repair with a fan and an open window. A dehumidifier helps in a damp basement or garage. Keep hair dryers and heat guns at least 12 inches away and moving, because forced heat skins the top over and traps moisture that splits the fill later.
Why is my wood filler still soft after the stated dry time?
Humidity and depth cause this almost every time. Water-based filler evaporates, so a cold room or a humid one leaves it soft well past the label, and a thick single pour keeps a wet core under a dry skin. Woodworkers in humid climates report needing three days. Fix both by using quarter-inch layers in a warm, ventilated space.
Conclusion
Start by matching the filler to the job: fast-drying for trim, water-based for indoor furniture, epoxy for anything structural. Then keep the layer under a quarter inch, warm the room, and test with 150 grit rather than trusting the clock alone.
Leave it overnight when you can. Sanding a fill that has dried properly takes the same ten minutes either way.