How to Replace a Shower Valve Cartridge: Safe DIY Guide 2026
A dripping showerhead with the handle turned off, a handle that got stiff over the years, or hot water that suddenly runs cold — all three usually trace back to the same small part inside the wall. Learning how to replace a shower valve cartridge takes about an hour, costs a few dollars in parts, and keeps the expensive brass valve body buried in your wall where it belongs.
The whole job comes down to four moves: shut off the water, take the trim off, swap the cartridge, turn the water back on slowly and watch for drips. That last part is where most homeowners rush, and it is exactly what separates a five-year fix from a two-month one.
Contents
Time: 45 to 90 minutes for a first-timer · Cost: one cartridge, plus a small tube of silicone grease · Difficulty: moderate · Skill level: anyone comfortable with basic hand tools
Tools and Materials
You can do this with a screwdriver and an adjustable wrench, but a couple of specialty tools turn a frustrating afternoon into a calm one. Gather everything before you shut the water off, because you do not want to stop halfway with the shower dry and no way to finish.
Hand tools
- Phillips and flat-blade screwdrivers, a 1/4 inch hex (Allen) key for set-screw handles
- Adjustable wrench, 8 inch, for the retaining nut
- Needle-nose pliers or channel-lock pliers for pulling retaining clips
- Old toothbrush, small nylon brush, and a soft cloth
- Cardboard or a thin plastic shield to slide between your wrench and the tile
- Work light or headlamp, a phone camera, and a small towel
Parts and materials
- The correct replacement cartridge, matched to your valve brand and series
- Silicone plumber’s grease, the type rated for rubber and nylon O-rings
- Replacement O-rings or the factory-seals kit that came with the cartridge
- Penetrating oil for a cartridge that has been sitting for a decade
- White vinegar and warm water for soaking scale off the old parts
- A spare retaining clip, because these snap at the worst moment
- A plug or rag for the drain so nothing small disappears down it
Before You Start
Two things decide whether this is a good afternoon project or an expensive lesson: knowing which cartridge you need, and finding a way to turn the water off.
Read the brand first. Turn the handle to the middle position and look for a cast-in logo on the handle, the escutcheon plate, or the showerhead flange. Delta, Moen, Kohler, Price Pfister, American Standard, and Symmons all mark their trim somewhere. If nothing is visible, do not guess from the shape — carry the old cartridge to the plumbing counter, which is the single most reliable identification method there is.
One thing worth knowing: the trim gets replaced far more often than the valve behind it. A shiny new handle tells you nothing about which cartridge is in the wall. If you have a Moen and you are deciding between two nearly identical part numbers, our Moen 1222 vs 1222HD comparison and Moen 3320 vs 3330 guide walk through the differences that actually matter.
Know your shutoff. Open the cabinet under the nearest sink and look for angle stops feeding that wall. Many showers built after 1990 have their own hot and cold service stops right in the wall cavity near the valve. Older homes, and remodels where the stops got buried, may have nothing but the main shutoff on the house — which means no one in the house can shower until you are done. Find out which situation you are in before you start.
Relieve the pressure. With the water on, open the shower handle to full hot and let it run until it stops sputtering. That equalizes pressure across the cartridge so it is far less likely to shoot out or twist when you pull it.
Check the symptoms before you commit.
- Drip from the showerhead with the handle turned off: failed cartridge seals — replace the cartridge.
- Handle is stiff, gritty, or hard to turn: scale on the cartridge and O-rings — soak and clean it, or replace it.
- Hot and cold running backwards: the cartridge or handle is installed 180 degrees off — rotate it.
- Temperature jumps when a toilet flushes: failed pressure-balancing spool — fit a pressure-balancing cartridge.
- Low flow on both settings: an aerator packed with scale — clean or replace the aerator first.
- Drip only when another fixture runs: failing pressure-balancing cartridge — replace the cartridge.
Wear eye protection when you pull a cartridge. Drop the drain cover or stuff a damp rag into the drain first, because a small O-ring will vanish and you will not find it. If you are working in a tub surround, lay a towel down to catch water from the supply lines when you break them loose.
How to Replace a Shower Valve Cartridge Step by Step
Work in a steady order and document as you go. The single most useful habit here is taking two or three photos with your phone before anything comes apart — those photos tell you the orientation of the cartridge, which way the hot side faced, and where the retaining clip sat.
Step 1: Identify the Valve and Shut Off the Water
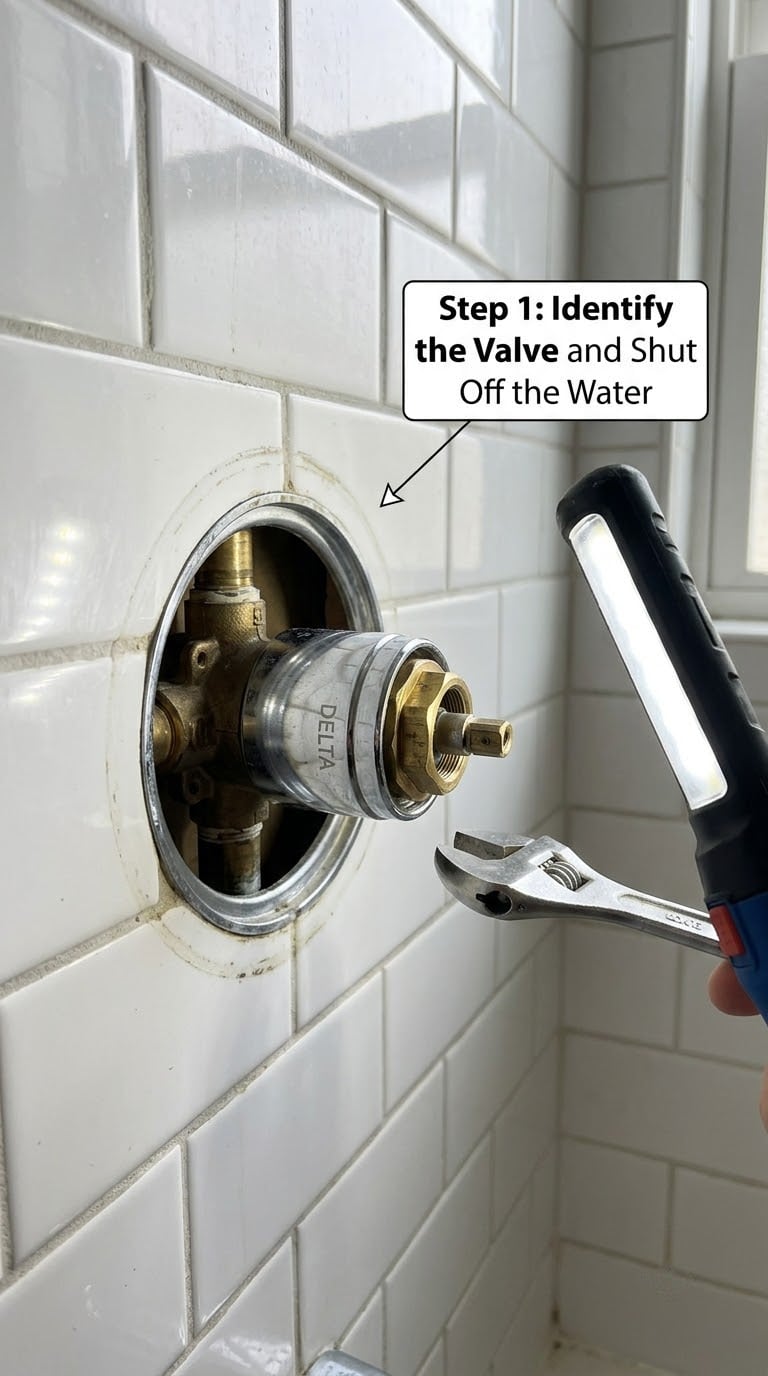
Turn off the hot and cold supply stops feeding the shower, or the main shutoff if the shower has its own. Open a faucet somewhere in the house to bleed the line and confirm the water is truly off at the shower — a quiet faucet is not proof.
Now look at what you have. A pressure-balancing cartridge has a spool and a cap; a thermostatic cartridge has a wax element and usually a numbered temperature dial; two-handle valves use simple ceramic disc washers. Take the old part’s measurements and markings, and photograph the cartridge in place from straight on.
Step 2: Remove the Handle and Escutcheon
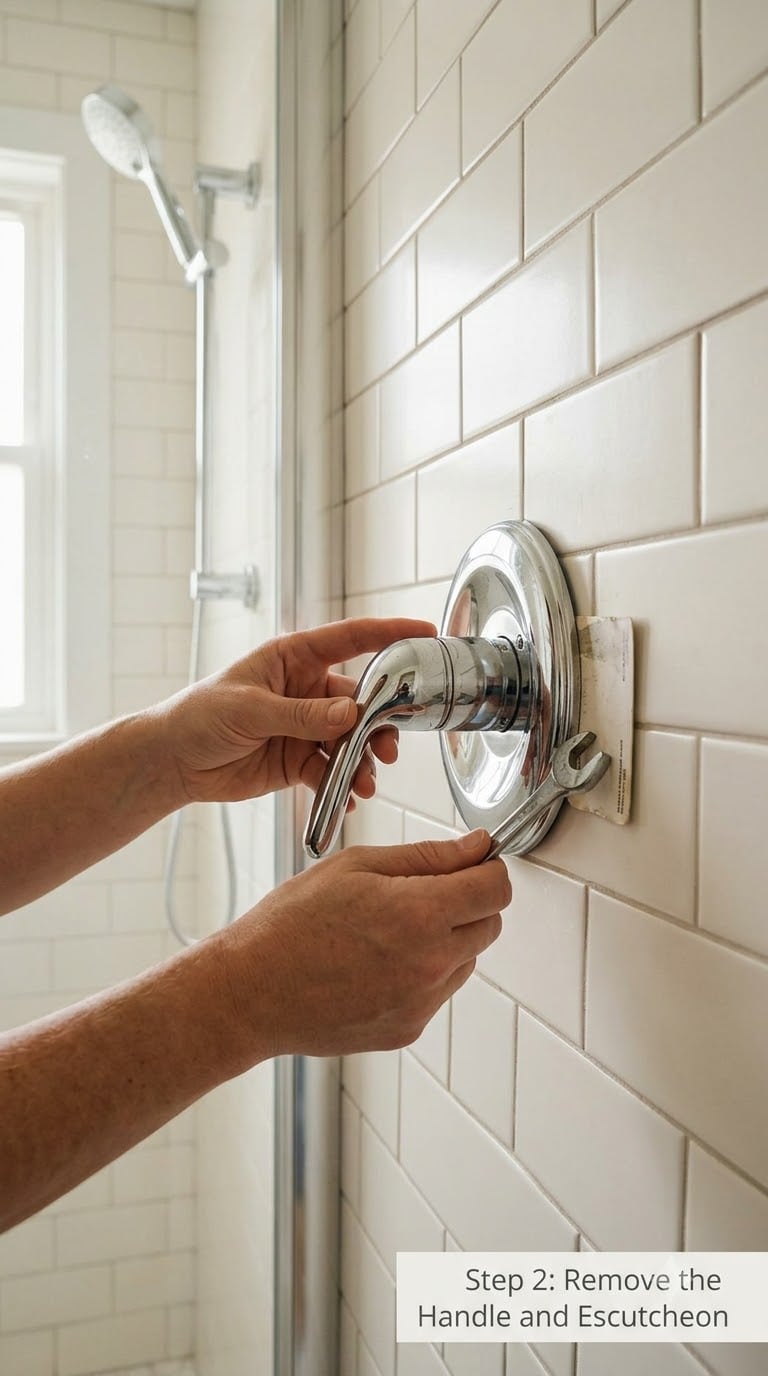
On most single-handle valves the handle comes off after you lift a small cap or index button, loosen one Phillips screw underneath, and pull the handle straight up off a spline. Some handles instead have a set screw on the side, which is where the hex key comes in.
Slide the thin card between your screwdriver or wrench and the tile before anything touches the escutcheon. The decorative plate lifts off next, usually threaded or held by a grub screw at the bottom. If caulk resists it, score the caulk line with a utility blade first and pry gently from the edge, never from the center.
Mark which side the hot inlet was on before the handle comes off. Get it backwards on reinstall and your shower will deliver cold water when you pull toward you.
Step 3: Expose and Remove the Old Cartridge
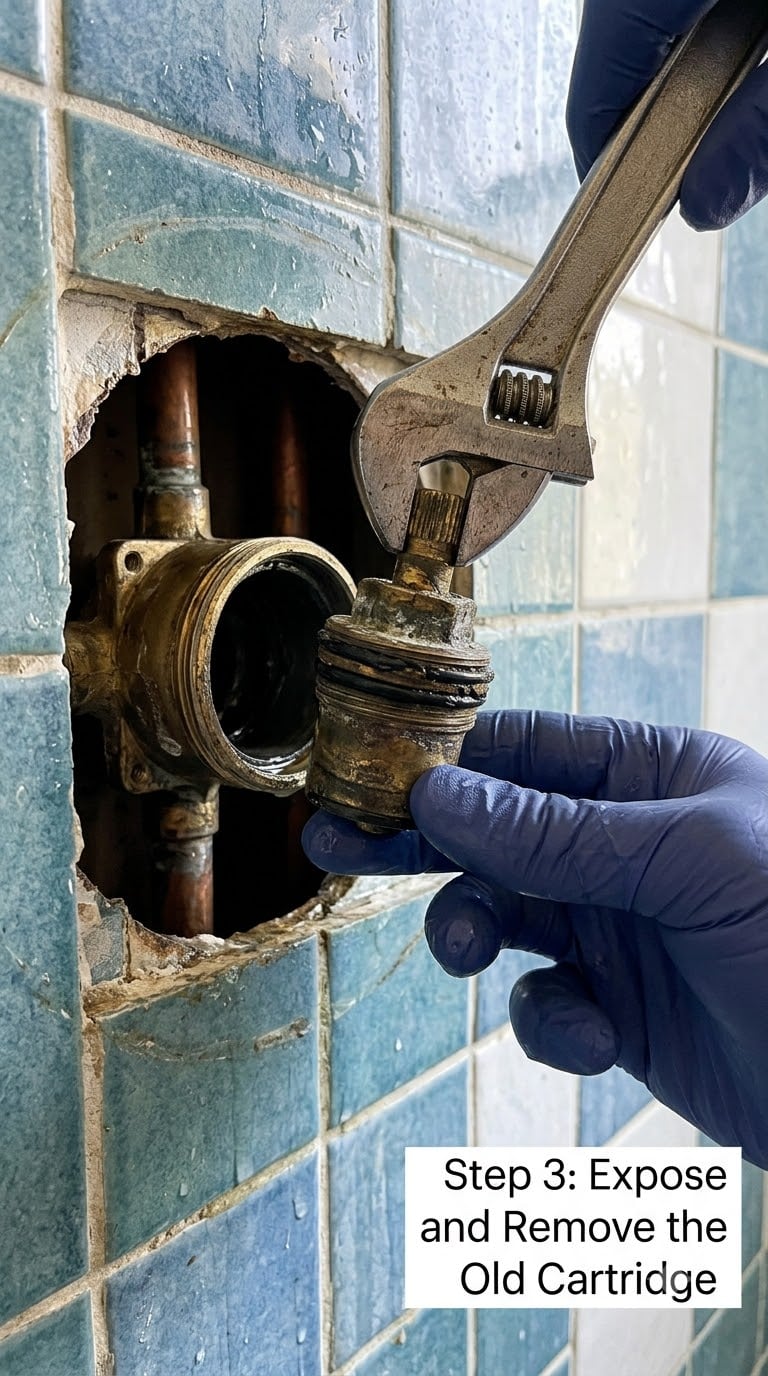
Unscrew the retaining nut or collar counterclockwise and set it on the towel so you do not lose the washer behind it. Some cartridges are held by a horseshoe-shaped retaining clip instead — needle-nose pliers work, and expect the clip to snap or crumble if it has been in there since the 1990s.
Grip the exposed stem or the top of the cartridge and pull straight out, rotating gently back and forth if it resists. Never pry against the tile, and never lever sideways against the valve body. Brass cracks, and a cracked valve body turns a cartridge swap into a wall opening.
If it will not budge, work through this escalation in order: spray penetrating oil and wait fifteen minutes, try the cartridge puller again, then wrap the stem in cling film and tap around the perimeter with a rubber mallet to break the mineral bond. A block of wood braced against the opposite wall, a vise-grip on the stem, and gentle levering with a hammer claw is the last DIY move. If the cartridge twists instead of coming straight out, stop — you are about to shear something.
Step 4: Clean the Valve and Install the Replacement
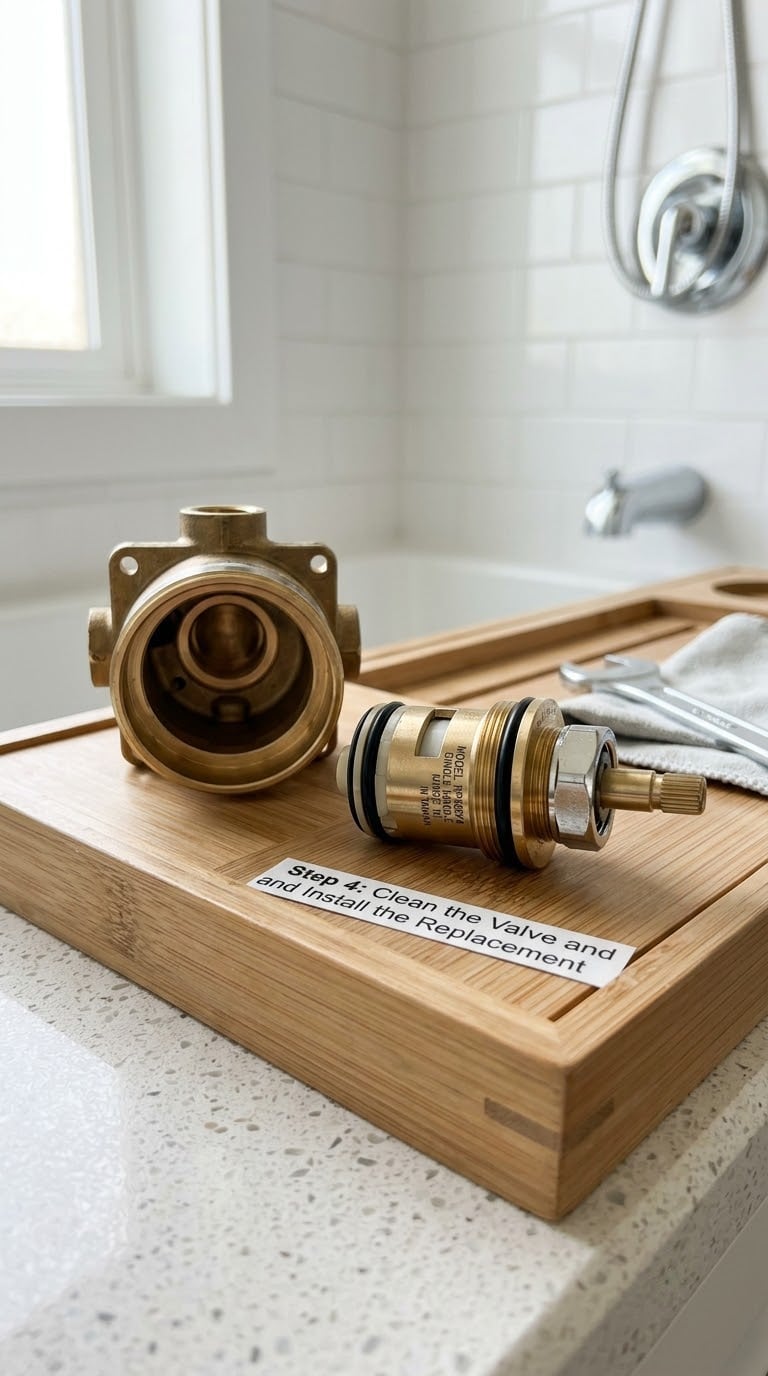
Flush the valve body with water, then wipe the inside clean and look at it honestly. Green or white crust, pitting, or a rough feel means scale or corrosion, and that will keep ruining new cartridges until you address it. Look at the valve seat and the O-ring grooves for nicks that would catch a seal.
Work a thin film of silicone plumber’s grease onto each new O-ring. Petroleum jelly, grease, and WD-40 attack rubber and nylon seals and will shorten the life of the cartridge you just installed.
Slide the new cartridge in with the hot inlet facing the hot inlet. It should seat fully with firm hand pressure, and the orientation notch or colored marker should line up with the mark on the valve body. If it stops partway, do not force it — the part is wrong, the cartridge is backward, or an O-ring is rolled underneath it. Push it back out and check all three.
Install the retaining nut or clip and tighten snugly. Hand-tight plus a quarter turn is usually plenty; overtightening cracks the valve body and strips the threads you may need next time.
Step 5: Reassemble the Shower and Test for Leaks
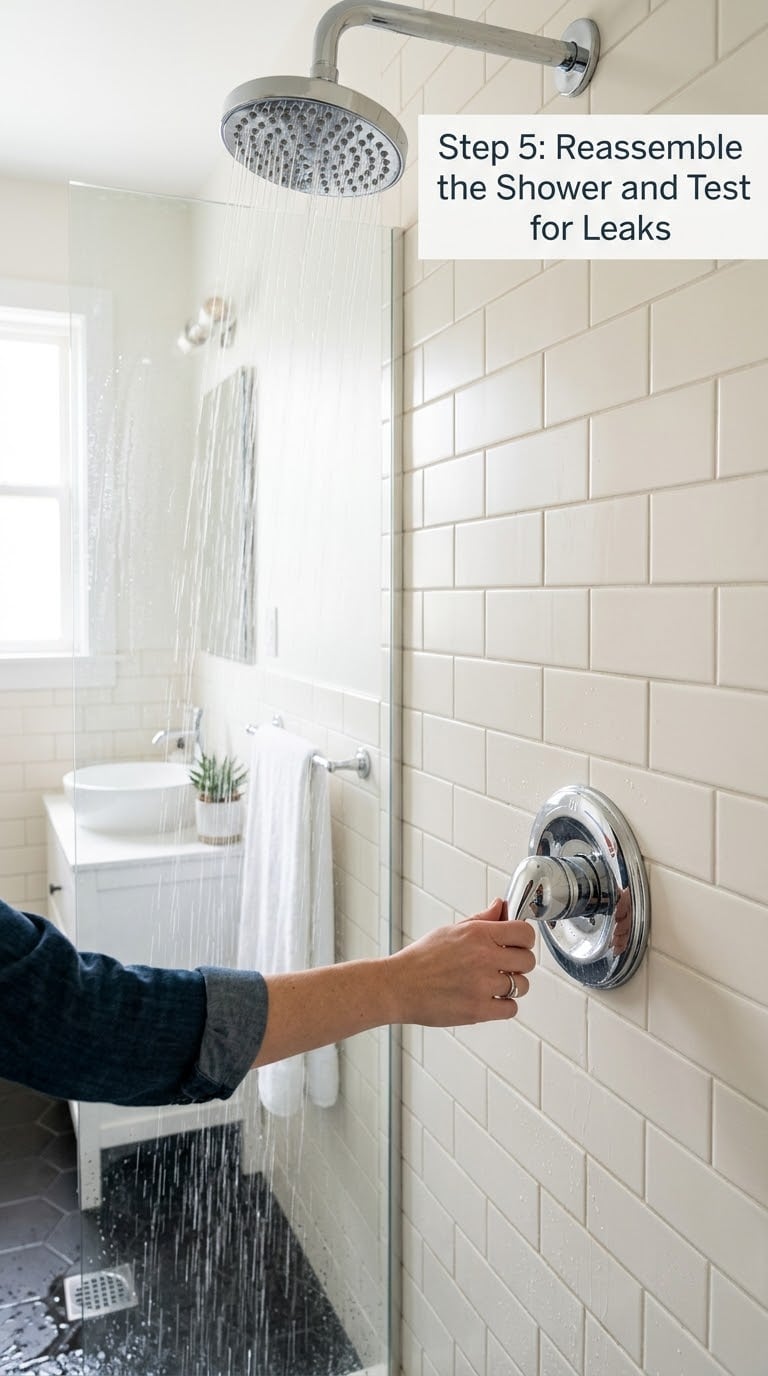
Put the escutcheon back on, seat the handle on its spline, and tighten the screw or set screw firmly but not aggressively. Turn the water back on slowly and stay in the room while it fills. A steady drip at the retaining nut means it is not tightened enough; water weeping from behind the escutcheon means the cartridge is not seated fully.
Then test properly. Run the shower through its full range from cold to hot and back. Turn the handle completely off and leave it for several minutes to see whether the drip returns. Check the temperature while a toilet flushes and the dishwasher runs; a pressure-balancing cartridge should hold steady. If hot and cold came out reversed, shut the water off again and rotate the cartridge or the handle 180 degrees, depending on the model.
Flush the showerhead for a minute before getting back in it, since debris from the old cartridge often comes out first.
Common Mistakes to Avoid
- Ordering a close-but-wrong cartridge. Moen and Delta cartridges are not interchangeable, and within one brand the model numbers differ in ways you cannot see from the outside. Match the brand, series, and rough-in opening size exactly.
- Using petroleum jelly or WD-40 on the seals. Both will swell or dissolve rubber O-rings. Silicone plumber’s grease is the only lubricant for this job.
- Forcing a seized cartridge. Sideways force bends or cracks the brass valve body. Straight pull, rotate gently, or wait for more penetrating oil.
- Overtightening the retaining nut. Snug is enough. Excess torque cracks the valve body and turns your afternoon into a plumber’s invoice.
- Skipping the retaining clip or the washer. Without the clip, the cartridge can walk out of the body the first time someone leans on the handle.
- Installing the cartridge backward. Hot on cold means you will chase the problem forever. Match the hot indicator before you tighten anything.
- Not testing under pressure. Reassembling and walking away leaves you with a slow drip that hides inside the wall for months.
When to Call a Pro
Cartridge replacement is a well-bounded job, and there are clear lines where it stops being one. Call a plumber if any of these are true.
- The shutoff valves will not close fully, or you cannot find a shutoff that isolates this shower.
- The valve body itself moves when you put the wrench on the retaining nut. That means loose mounting or a failing valve body.
- You see water staining on the wall, a soft ceiling near the shower, or a valve body covered in green corrosion.
- The valve is soldered copper with no removable trim, or the plumbing is concealed behind a wall you would have to open.
- The old cartridge is seized and your last lever attempt moved the valve or stripped the nut.
- You need an upgrade to a pressure-balancing or thermostatic valve where the current one is non-pressure-balancing. Code in many jurisdictions requires an ASSE 1016 listed pressure-balancing valve with a maximum set temperature of about 120F.
If your setup is a two-handle or three-handle valve, the repair is genuinely different rather than harder. Our two-handle shower valve walkthrough covers the ceramic disc swap, and the ball valve direction guide helps on older three-handle setups.
Maintenance
Cartridges typically last somewhere around eight to fifteen years, and hard water cuts that window short. A little attention keeps the next replacement years away.
- Descale the aerator every few months by soaking it in white vinegar overnight and scrubbing the face.
- Never force a stiff handle. Back it off, clean the stem, and lubricate with silicone grease.
- If you are on well water or have a hardness above about 7 grains per gallon, a whole-house softener is the single biggest thing you can do for cartridge life.
- Replace worn seals and O-rings the first time you notice weeping, not months later.
- During a bathroom remodel, cap the valve openings with a protective plug before tile and grout work. Grit in a new valve body is a common cause of early failure.
- Write the cartridge part number on the back of the escutcheon with a pencil. People do it, and the next person to change it will thank you.
Frequently Asked Questions
How do I know which shower valve cartridge to buy?
Read the brand marking cast into the handle, escutcheon, or showerhead flange, then match the model or series number. If nothing is marked, remove the old cartridge and take it to a plumbing counter. Note that trim is often replaced independently of the valve, so a new-looking handle does not identify the in-wall valve.
Can I replace a shower valve cartridge with the water on?
No. Shutting off the hot and cold supplies feeding the shower is the first step. Without it, removing the retaining nut releases line pressure and the cartridge can shoot out or fly. Open the handle first to relieve pressure, then close the supply stops or the main shutoff.
What if the old cartridge will not come out?
Work up the escalation ladder: penetrating oil and a fifteen minute wait, then the cartridge puller again, then cling film around the stem tapped with a rubber mallet to break the mineral bond, then a vise-grip and block of wood levered gently. Never pry against the tile or lever sideways on the valve body.
Should I use plumber’s grease on a shower cartridge?
Yes, silicone plumber’s grease, applied thinly to each new O-ring before the cartridge goes in. Petroleum jelly, cooking oils, and WD-40 will attack the rubber and nylon seals and cause the new cartridge to fail early.
How long does replacing a shower valve cartridge take?
About 45 to 90 minutes for someone doing it for the first time, including identification, removal, cleaning, and testing. A seized cartridge that needs penetrating oil and a puller can add another half hour, and finding the shutoff valves is often the slowest part of the job.
Why does my shower still drip after replacing the cartridge?
Check four things in order. Turn the handle fully off and wait — the drip may come from the showerhead or a hose, not the valve. Clean or replace a scale-packed aerator. Confirm the retaining nut is snug and the O-rings are seated, not pinched. If the drip appears when another fixture runs, the pressure-balancing spool inside the cartridge is failing.
Conclusion
Start tonight: find the shutoff valves for that shower, turn the handle to the middle, and see whether you can read a brand marking on the trim. That answer decides whether this is an afternoon job or a call to a plumber. Once you have the part number, the actual swap is about an hour of careful, straight-pull work — and you keep a brass valve body that would cost many times more to replace.