How to Paint Vinyl Siding: Proven Exterior Tips 2026
Yes, you can paint vinyl siding. Clean it thoroughly, apply a 100% acrylic exterior paint formulated for vinyl, and work top to bottom on a mild overcast day. Most failed repaints trace back to one thing: chalk and oxidation left on the surface so the paint had nothing to grab.
That is good news, because prep is the boring part you can actually control. Vinyl is a non-porous, heat-sensitive plastic, and paint bonds to it mechanically once the loose powdery layer is gone. Get that step right and a homeowner project runs about 30 to 40 percent of the cost of replacing the cladding and can last nearly as long.
Contents
Time: 2 to 4 days including drying. Cost: paint is the biggest expense; supplies run a couple hundred dollars more. Difficulty: Moderate DIY. Skill level: patient prep work matters more than painting technique.
Tools and Materials for Painting Vinyl Siding
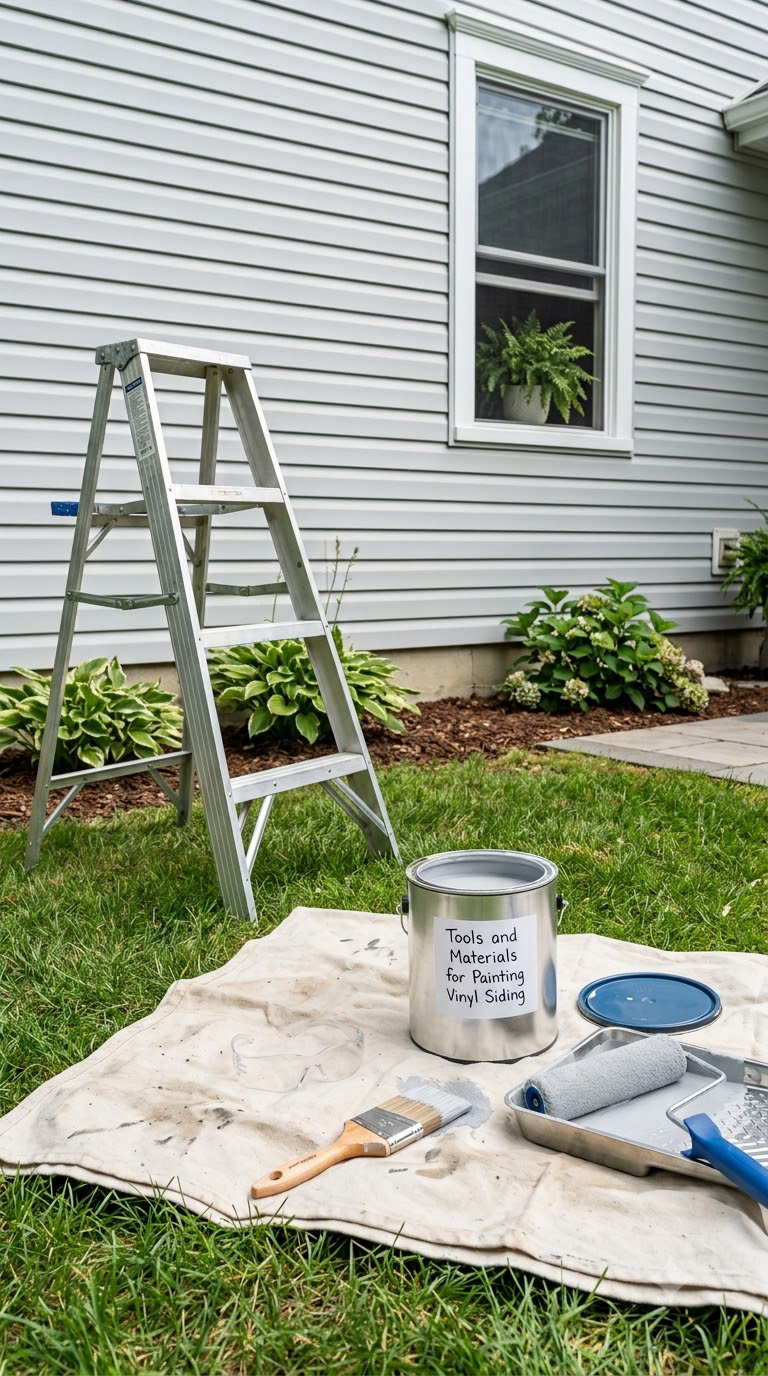
Have everything on the ground before you climb. Half-finished projects fail because the brush ran out at the top of the second story.
- Exterior paint formulated for vinyl siding in 100% acrylic, in a color that is the same shade as the siding or lighter. One gallon covers roughly 350 to 400 square feet per coat.
- Bond primer for bare, pitted, porous or badly chalked panels only. Sound painted siding does not need it.
- Siding cleaner such as trisodium phosphate or a gentle household detergent, plus a soft nylon-bristle brush.
- 9 inch roller, medium nap, with a sturdy cage for broad panels, and an extension pole to reach the second story from the ground.
- 2.5 inch angled synthetic brush for cutting in around windows, doors, vents and trim.
- 180 to 220 grit wet or dry sandpaper and a scraper for scuffing chalky spots and feathering loose edges.
- Exterior painter’s tape, plastic sheeting and a canvas drop cloth for windows, light fixtures, outlets and shrubs.
- Exterior acrylic caulk to reseal joints, trim edges and nail holes you disturb.
For safety gear and access:
- Safety glasses, nitrile gloves and a N95 or P2 respirator if you are scraping or mixing.
- A sturdy step ladder or an extension platform ladder set on level ground, plus a spotter.
- A hose-end sprayer or a low-pressure washer set well under 1,500 psi, kept more than 12 inches from the siding.
- A paint tray, a stir stick, and a mesh strainer for the second coat.
- Fan deck or extension light for checking coverage in the evening.
Before You Start
Weather decides more than anything else. Paint when the surface temperature sits between 50 and 90 degrees Fahrenheit, humidity stays low, and no rain is expected for 24 to 48 hours after the last coat. Morning shade on the west wall is better than a blazing afternoon, and wind is the enemy of a wet edge.
Read your siding manufacturer’s instructions before you buy anything. Some brands void or limit their color-fade warranty once the siding is painted, and a few specify their own approved product lines. Photograph the warranty paperwork before you start so you know what changed.
Dew is the quiet one that ruins jobs. Painters in cold climates warn that early spring and late fall dew keeps siding damp long after the sun goes down, and paint applied over damp film peels within weeks. If dew is heavy overnight, wait for a warmer stretch of days.
Finally, look at the house itself. If the home is dated before 1978 and you will be scraping or sanding, treat it as a lead paint question until a test says otherwise. Houses from that era with original siding are the ones that need a certified contractor, not a weekend.
Step-by-Step Instructions
Step 1: Inspect the Siding and Plan the Work
Walk the house before you clean anything. Note panels that are loose, cracked, warped, buckled or pushed out of their locks, and note the color difference between the sun side and the shaded side. That difference tells you how faded the whole surface really is.
Run a paint color across a sun-facing panel and a shaded one. A visible mismatch means the sun-exposed siding needs extra care and probably a bonding primer.
Do the quantity math now. Measure the wall area that will be painted, subtract roughly 10 percent for windows and doors, then divide by 350. That is your coverage per gallon per coat. Double it for two coats, and add a gallon for the cut-in work and for touch-ups later. A 1,500 square foot exterior usually lands in the eight to ten gallon range for two full coats.
Timing matters more than most guides admit. Vinyl expands in heat and contracts in cold. Painting while the panels are contracted in cool weather means overlaps stay tight; painting in peak summer heat leaves gaps between courses as the siding cools. Aim for a mild day in shoulder season.
Step 2: Clean the Vinyl Siding Thoroughly
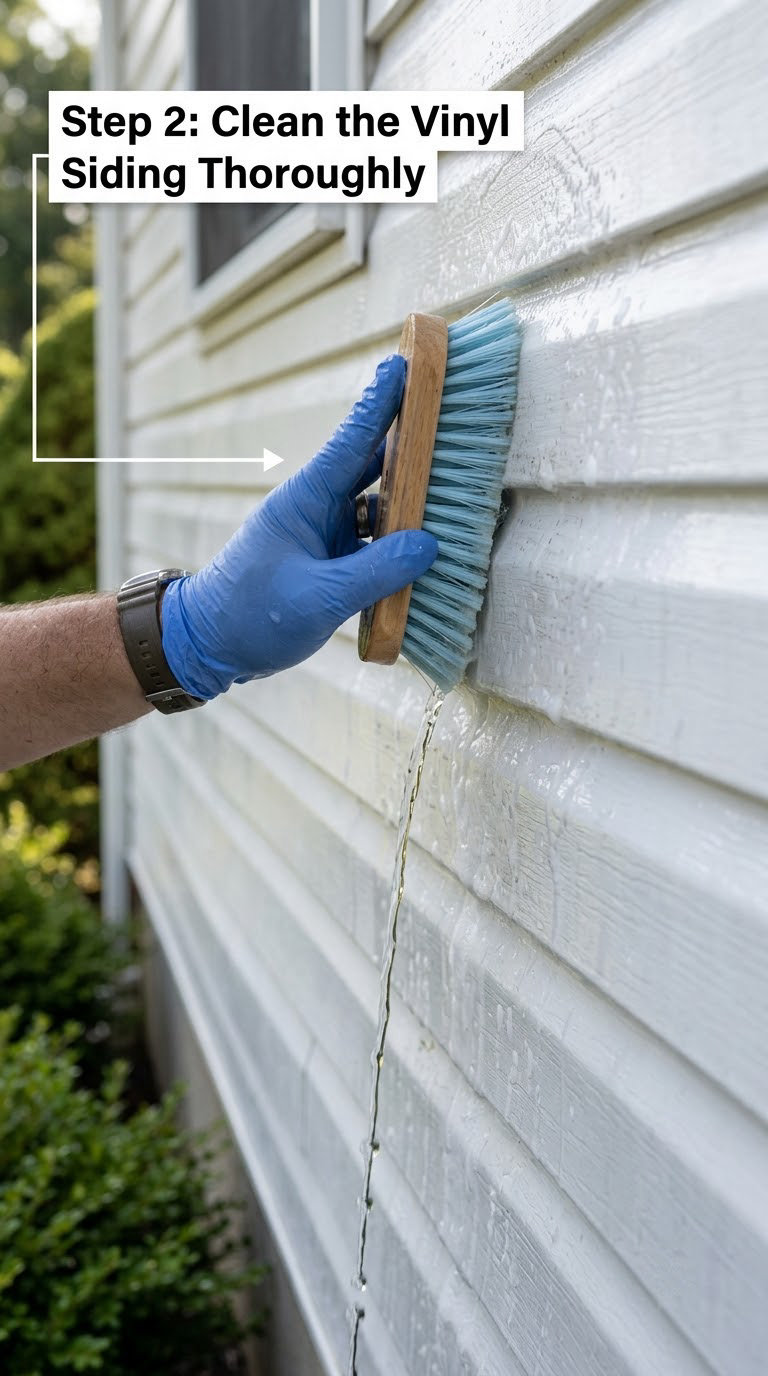
This is the step that decides whether paint stays. Vinyl oxidises, and that chalky powder is exactly the layer that fails to bond.
- Mix trisodium phosphate with water per the label, or use a gentle detergent in warm water. Never use a chlorine bleach mix on colored vinyl.
- Apply from the bottom up and rinse from the top down, so dirty solution runs over clean siding instead of into your finish.
- Work each panel with a soft nylon brush. Skip the stiff wire wheel; it scratches the surface and paint will telegraph every scratch.
- For mildew and algae, use a mildewcide cleaner and give it the dwell time printed on the label before rinsing.
- If you use a pressure washer, stay under 1,500 psi, hold the nozzle at least 12 inches away, and use a wide fan tip.
Let the siding dry a full 24 to 48 hours. Run your hand over a panel the next morning; if it feels cool or powdery, it is not ready.
Step 3: Repair Small Surface Problems
Fasten loose panels back into their original nailing pattern. Use the same hot-dip galvanized nails or screws that were there originally, and never face-nail into a wider slot because the fastener has to travel as the panel moves.
Scrape failed paint back to sound material, feathering the edge 1 to 2 inches so the new coat has somewhere to land. Stop scraping the moment you see the color of the vinyl change, because paint that bonds well can take a layer of the cladding with it. That exact scenario is one of the most common complaints on Home Improvement forums, and it is a slow repair.
Reseal any joint you opened with exterior acrylic caulk, and touch up scuffed corners with the same paint you plan to use. Check the trim too, since trim usually needs its own coat and a different sheen than the siding body.
Stop and call someone if panels are bowed outward, gaps between courses are opening wider than a finger, or fasteners are backing out repeatedly. Those are movement and structural issues, not paint problems.
Step 4: Choose Paint That Is Safe for Vinyl Siding
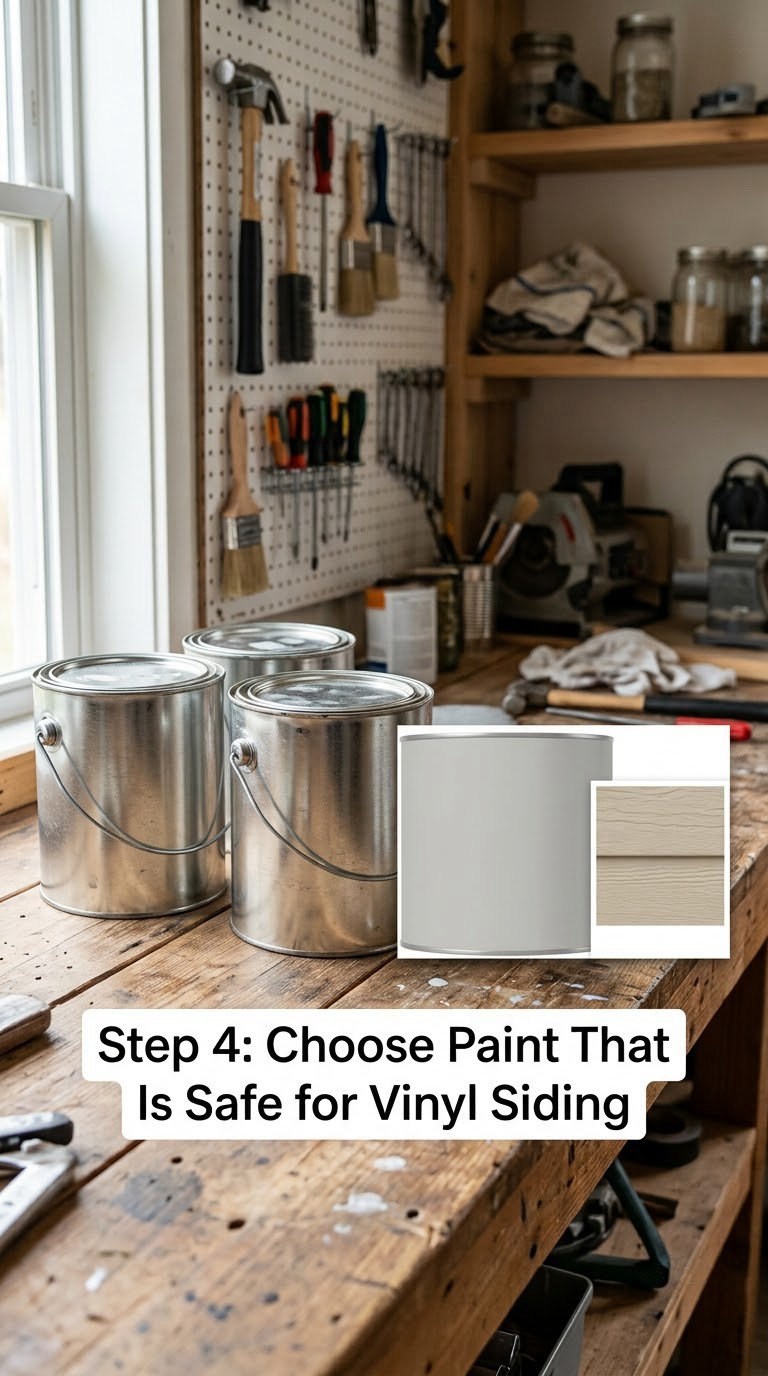
Start with the resin. You want 100% acrylic exterior latex, or a latex urethane exterior acrylic in cold climates, because acrylic stays flexible as the panel moves and holds color under UV exposure. Anything oil-based on vinyl is a bad bet; it goes brittle and cracks.
Then check the color itself. Vinyl-safe is a property of the color formulation, not the binder, and manufacturers publish their approved lists. Look for a color that is the same shade as the siding or one step lighter and you are in safe territory. Going darker makes the panels absorb more heat than the profile was engineered for, which leads to warping and buckling rather than peeling.
If you want a dark color, two conditions matter. Use a color from the manufacturer’s vinyl-safe collection, and check the light reflectance value; 55 or above is the practical floor for anything deep. If the color sits below that, expect more heat load and plan for more maintenance.
On sheen, eggshell or satin hides lap marks and tool marks better than flat, and trim usually takes a different sheen. If white is your goal, our roundup of Behr white paint colors shows how much white actually varies once the walls are in a different light than the paint chip.
Three manufacturers with published vinyl-safe lines are Sherwin-Williams, with its VinylSafe colors and Emerald exterior acrylic latex, Benjamin Moore, with Revive and Aura Exterior, and Behr, with its vinyl-safe exterior colors. Compare on the color list rather than on the label.
Step 5: Prime Bare or Repaired Areas
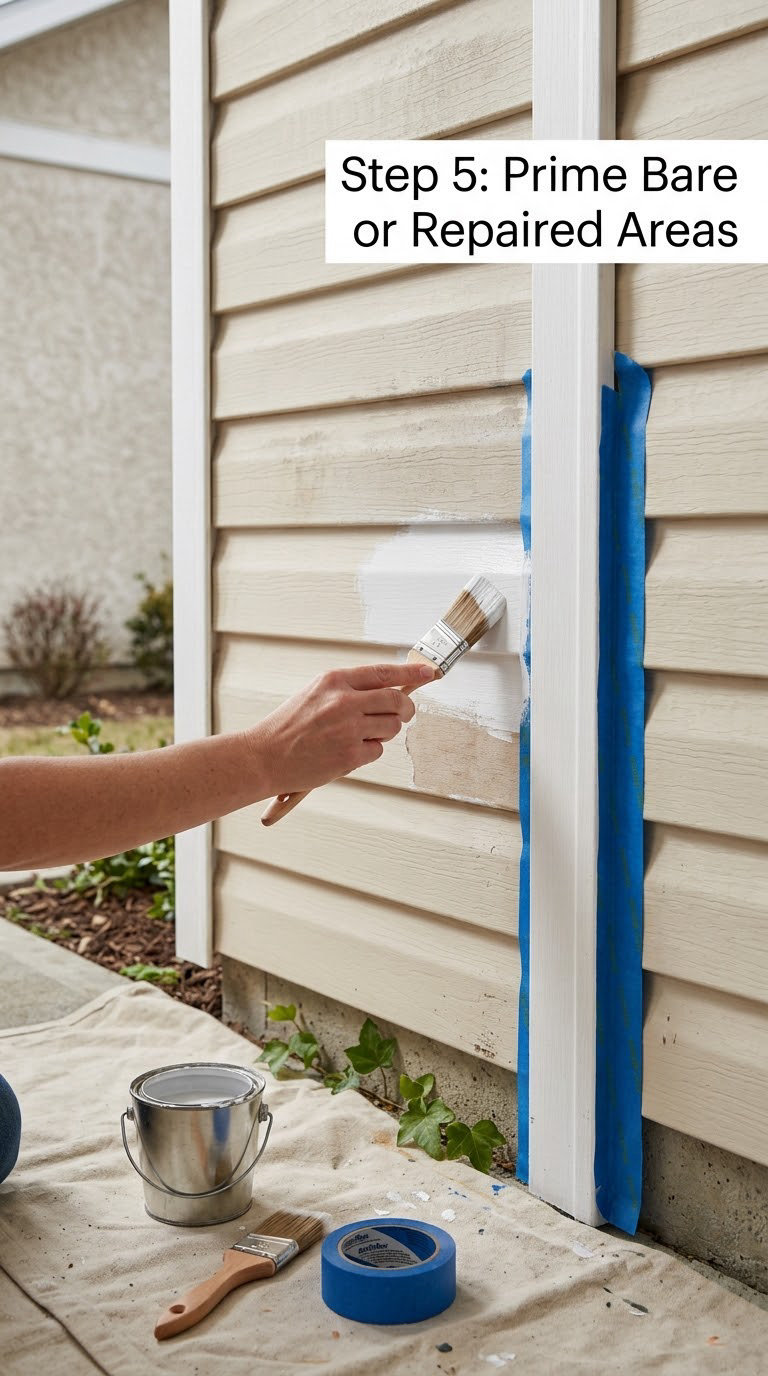
Here is the rule: prime when the surface is porous, pitted, chalked beyond what washing removed, or bare vinyl where a panel has been repaired. Skip primer on sound, previously painted siding covered by a paint-and-primer-in-one exterior acrylic.
- Sound, sealed siding with no repairs: no primer.
- Faded and chalky siding that still feels powdery after cleaning: one coat of bonding primer.
- Pitted, porous or repaired areas: one coat of exterior bonding primer, no matter what the topcoat is.
- Previously painted and peeling: strip back to sound material first, then prime the bare spots.
Follow the label for the drying interval before you topcoat, usually 1 to 4 hours for a dry-to-touch bonding primer. Apply it evenly and keep it thinner than the topcoat; a heavy primer film is what curls and flakes later.
Step 6: Apply the First Coat of Exterior Paint
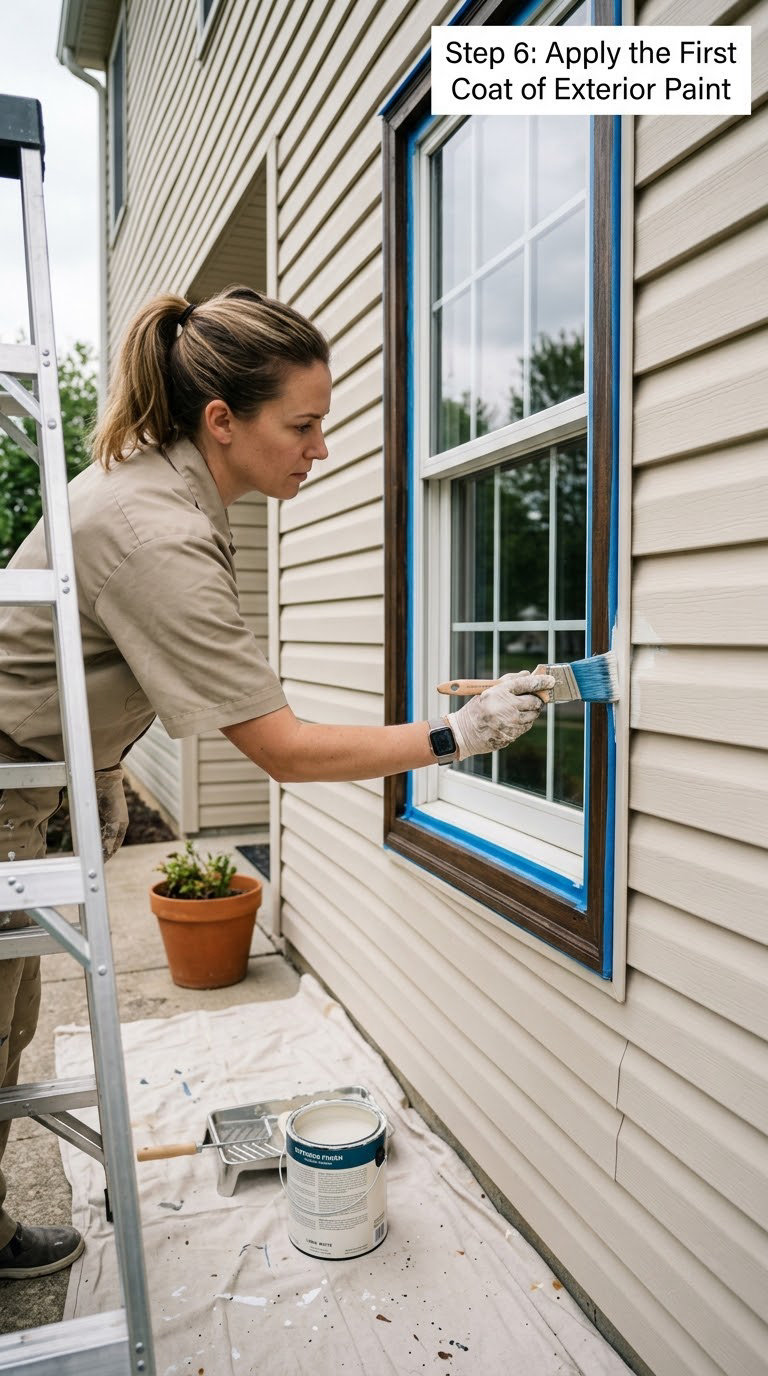
Start at the top of the house and work down, so you keep a wet edge in front of you and any drips fall onto a section you have not painted.
- Cut in first: brush a 2 inch border along trim, windows, doors, vents and around every fastener.
- Load your roller evenly. Too much paint on the nap is what creates lap marks and runs.
- Roll the broad field, then lightly back-roll the coat to spread it and push paint into the panel laps.
- Keep the wet edge moving. Work in sections you can finish within 20 to 30 minutes.
- Wipe drips immediately with a damp rag before they skin over.
On application method, spraying gives the smoothest, most factory-like finish but needs a low-pressure airless sprayer, careful masking and practice. A roller is the sweet spot for most homeowners, and a brush alone is fine for trim and cut-in work. Painters who spray usually still do not back-brush, which is why their finish looks more even than a beginner’s rolling.
Step 7: Apply the Second Coat and Let It Dry
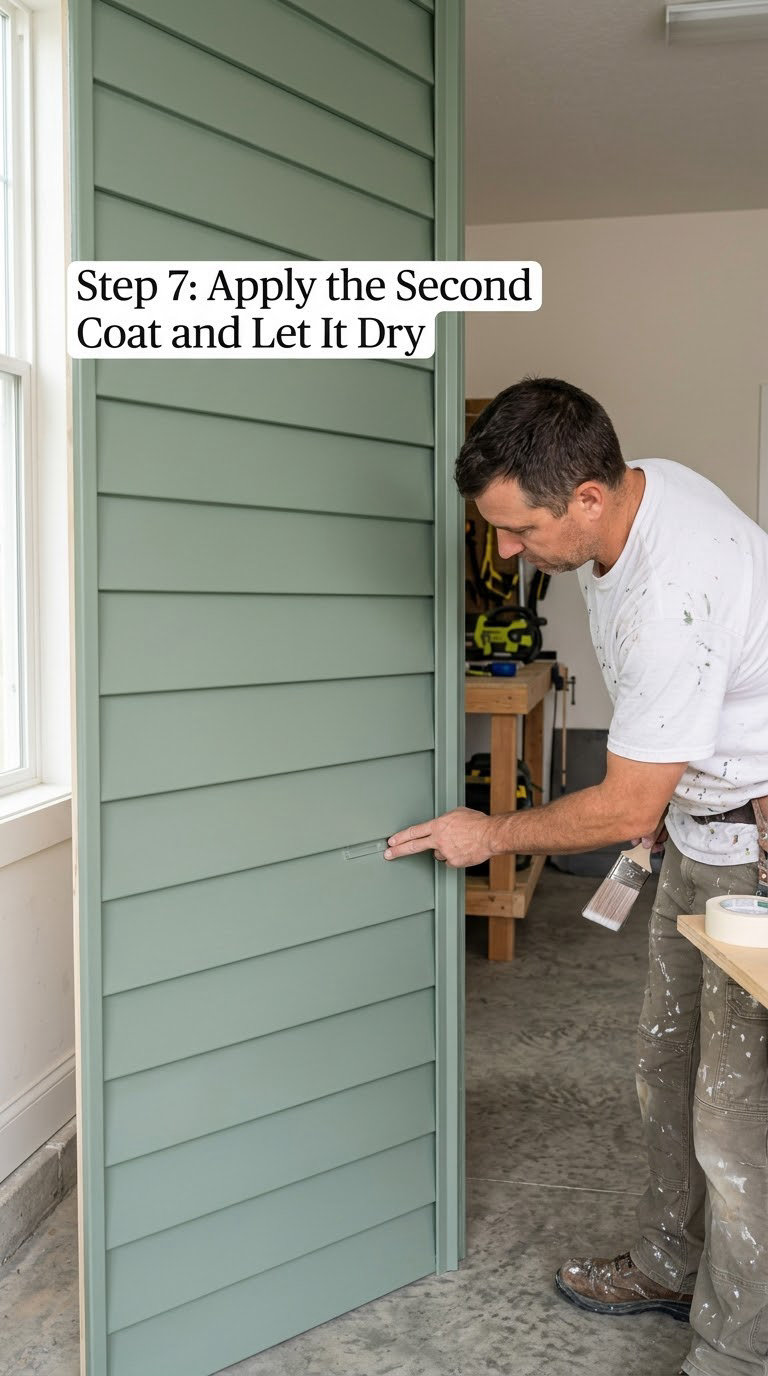
Wait for the label’s recoat window, commonly 4 hours, before the second coat. Painting early can lift the first coat; waiting for a hard cure can make the second coat grab.
Inspect the dry first coat in indirect daylight or shade rather than direct sun. Look at the panel laps and the cut-in lines, which are where the thin spots show first. Paint any missed edge before moving on, while the surface is still workable.
Second coat goes on the same way, same order, same load. Then give it 24 hours of dry weather with no rain, and remember that dry and cured are different. Full cure takes days of good weather, which is why late-season jobs fail: the paint looks dry at dusk and finds dew every night before it hardens.
Step back from about 20 feet before you put the brushes away. Raking light from the side exposes lap marks and missed fasteners better than anything you can see up close.
Common Mistakes to Avoid
Painting over chalk. The single most reported failure on homeowner forums. Washing is not enough when the panel still feels powdery; scuff the surface and use a bonding primer.
Painting over existing peeling paint. Peel back to sound material before anything else. A new coat over a loose one welds the failure into place.
Using ordinary exterior paint. If the color is not on the manufacturer’s vinyl-safe list, the warranty argument aside, dark panels absorb heat and move more than the profile expects.
Painting in poor weather. Under 50 degrees, over 90 degrees, high humidity, direct midday sun or any rain inside the drying window. The cure does not happen.
Painting damp siding. Dew and rain in the night are the reasons paint peels a month later.
Rushing the coats. Two thin coats beat one thick one. A heavy coat skins over, traps solvent and lifts.
Losing the wet edge. Backlighting every lap line and edge is where a weekend project announces itself.
Skipping the edges. Nail heads, seams, corner trim and the strip under windows. Those are the seams a buyer notices first, which is where modern farmhouse paint color ideas tend to fall apart.
When to Call a Pro
Hire a painting contractor when the siding needs structural attention, and the professional will tell you if it needs cladding instead of color. That covers widespread warping, buckling or loose panels, rotted sheathing, or fasteners backing out across the wall.
Second story and above should go to a pro if you are not comfortable on an extension ladder. Falls from ladders are one of the most common injuries in home DIY work, and a sprayer on a ladder is worse.
Pre-1978 homes with original siding need an EPA lead-safe certified firm if the surface will be scraped or sanded. Asbestos in older window glazing and some textured coatings is a separate question for a licensed assessor.
Also call in a pro for a large color change on an old installation, for gable and turret areas that need scaffolding, and where local rules require a permit for exterior alterations. Ask for a written scope that names the exact color line on the manufacturer’s vinyl-safe list, because that is the detail that separates a job that lasts from one that peels.
Maintenance
- Wash the painted siding once a year with the same gentle cleaner you used before painting.
- Walk the house each spring and check the top and bottom edge of each panel, where peeling usually starts.
- Touch up exposed fasteners and trim as soon as you see a chip, while the surrounding film is still flexible.
- Check the caulk at panel ends, around windows and at trim joints every couple of years and reseal what has opened.
- Watch for chalking on the sun side; consistent chalking means the topcoat is wearing and a fresh coat will hold better.
A well-prepped paint job on vinyl siding usually needs attention in the ten to fifteen year range rather than a full replacement. Touch-ups in the first two years are normal and cheap. If you are repainting every three years, the prep was not thorough enough the first time.
Frequently Asked Questions
What kind of paint do you use on vinyl siding?
Use a 100% acrylic exterior latex paint, or latex urethane exterior acrylic in cold climates, in a color listed by the siding manufacturer as vinyl-safe. Acrylic stays flexible as the panels expand and contract and resists UV fade. Same shade or lighter is the safest route. Check the color list, not the label, because vinyl-safe describes the color formulation.
Do I need to prime vinyl siding before painting?
Only in certain cases. Sound painted siding with a paint-and-primer-in-one acrylic needs no primer. Prime bare, pitted or porous panels, siding that is chalked beyond what washing removed, and any repaired area. Use one coat of exterior bonding primer on those spots only, then follow the label drying time before the topcoat.
Is it a good idea to paint vinyl siding?
It is a reasonable idea if the vinyl itself is sound. Painting changes the color and hides faded panels at a fraction of the cost of replacing the cladding, and a properly prepped job can last a decade or more. It is a bad idea if panels are already warping or buckling, or if the siding is under a warranty that painting voids. Check both first.
What colors should you not paint vinyl siding?
Avoid going darker than the original shade unless the color comes from the manufacturer’s vinyl-safe collection. Dark colors absorb more heat, and vinyl expands under that load until panels warp and buckle. If you want a deep color, also check its light reflectance value and stay at 55 or above. For dark siding, budget for more maintenance and check it every spring.
Will paint peel on vinyl siding, and why does it happen?
It can, and almost always for the same three reasons: chalk and oxidation left on the surface, a non-vinyl-safe color, or paint applied over damp or peeling material. Peeling usually starts at the top and bottom edge of each panel, where water and sun hit hardest. Remove all loose material, wash, prime if the surface is porous or chalky, and use two thin coats in dry weather.
Is painting vinyl siding a beginner-friendly DIY project?
The painting is beginner-friendly; the prep is the hard part. Washing, hand-scraping loose paint, masking and working a steady wet edge takes most of the weekend. Painting itself is two coats with a roller and a brush on an extension pole. If the siding is two storeys up, the walls are warped, or the home predates 1978, hand it to a pro.
Conclusion
Five things decide whether paint stays on vinyl siding. Confirm the color is on the manufacturer’s vinyl-safe list, clean every panel until it stops feeling powdery, repair and prime the bare spots, lay down two even coats in dry weather between 50 and 90 degrees, and let the finish cure for a couple of days before you judge it.
Get those right and you have bought yourself a decade or more of the color you wanted without tearing off a single panel of cladding.