
How to Paint Over Paneling Walls: Simple DIY Steps 2026
Most people paint over paneling walls and never rip out the wood, and the rooms turn out better than they expect. How to paint over paneling walls comes down to one rule: paint never touches bare or shiny wood directly. Clean it, dull the shine, fill the gaps, prime it, then roll two coats, and the paneling stays put for years. Skip any one of those steps and you will be scraping it off the wall within a season.
Paneling shows up in a lot of houses from the 1960s and 1970s, usually in kitchens, dens, basements, sunrooms and the occasional living room. It gets a bad reputation for looking dated, but the wood underneath is usually fine. A weekend of work and a few gallons of paint later, it reads as a normal painted wall.
Contents
This guide walks through the whole process in the order that matters, from testing the old finish to letting the last coat cure.
Time: One full weekend for a standard 10 by 12 foot room, two to three people. · Difficulty: Moderate DIY. · Skill level: Anyone comfortable with a roller, a putty knife and a ladder.
Before you buy anything, it helps to know what you are painting. A quick look at HVLP paint sprayers for small projects covers options if you decide a sprayer suits the room later. Most people do fine with a roller and an angled brush, though.
Tools and Materials for One Paneled Room
Gather everything before you start. Missing the caulk gun halfway through a room is the kind of small annoyance that turns a two-day job into three.
Hand and prep tools
- Putty knife, 4 inch and 6 inch wide, for filler and spackle
- Caulk gun for the panel seams
- Paintable acrylic caulk, one 10 oz tube per roughly 150 linear feet
- Wood filler for nail holes and larger cracks, plus lightweight spackling compound for small gaps
- Sandpaper: 120 grit for the first shaping pass, 220 grit for the final pass before primer
- Sanding block or hand pad, and a detail brush for the grooves
- Utility knife for cutting loose caulk and trimming filler ridges
Application, protection and safety gear
- 2 inch angled nylon brush for the grooves and cut-in lines
- 6 inch roller frame with a medium nap cover, roughly 3/8 inch, plus a spare cover
- Extension pole or a sturdy step ladder
- Plastic drop cloth, painter’s tape, and a plastic card to shield baseboards
- Microfiber cloths or a tack cloth for wiping dust
- Degreasing cleaner or a TSP substitute, plus a clean bucket and sponge
- Nitrile gloves, safety glasses, and a N95 or P100 dust mask
- Stain-blocking primer or bonding primer, 1 gallon
- Interior acrylic paint, 2 gallons for most rooms, 3 if you are covering a dark stain in a light color
Before You Start: Test, Protect and Inspect
Ten minutes of checking now saves a whole day of scraping later. Push an outlet cover or a vent grate loose and look at the cut edge, because the finish and the substrate tell you how the whole job has to go.
Test the existing coating. Press a finger into an inconspicuous spot. If it feels soft and tacky, that is an old wax or oil finish, and paint will slide right off it. Wipe a small patch with denatured alcohol; if the colour lifts, the surface is waxed or freshly oiled, and it needs a full strip or a deglosser plus a bonding primer.
Confirm it is wood. Solid wood has a visible grain and smells like timber. Veneer and faux wood paneling is a thin printed or laminated skin over particle board or MDF, and it will scar if you sand hard or let a putty knife drag across it. On veneer, press filler in with your fingertip instead of scraping it flat.
Protect everything around the wall. Lay the drop cloth, tape the trim you are not painting, and open the windows. Paint fumes in a closed room are genuinely unpleasant, and ventilation also helps the coats dry evenly.
Look for problems paint will not fix. Raised seams, panels that flex when you press them, water staining, soft spots or large holes all need repair first. If the paneling moves at all when you push on it, the framing behind it has shifted and painting is the wrong project.
Check the age of the house. If it was built before 1978, the existing coatings may contain lead. Do not sand or sand-blast anything until it has been tested by a certified lead inspector, and if you are not certain, leave the sanding to a professional. This is not a place to guess.
Step-by-Step Instructions: How to Paint Over Paneling Walls
The whole process runs in one direction: clean, repair, dull the surface, fill, prime, paint twice. Do it in that order and the finish holds. Do it out of order and you get peeling, blotches and grain showing through the colour.
Step 1: Test the Paneling and Clean the Surface
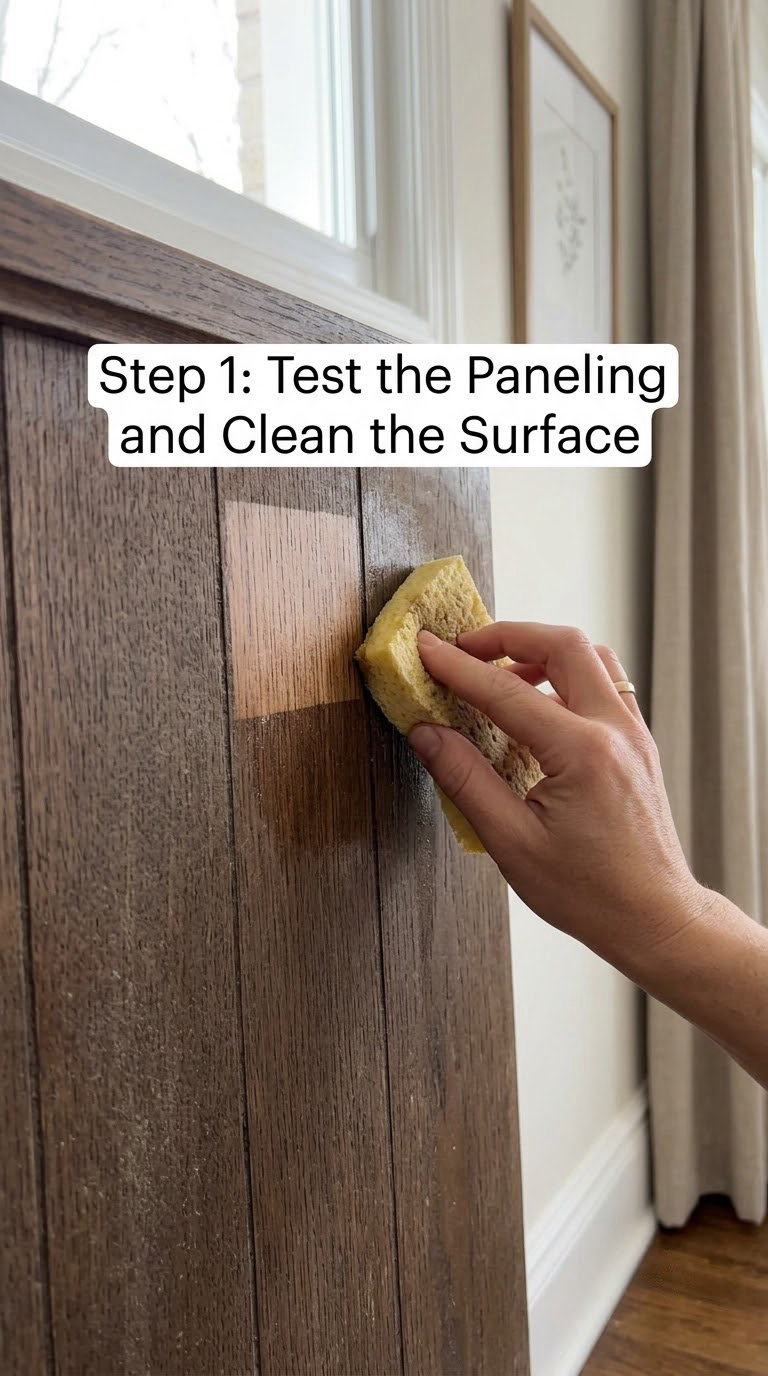
Start behind a door or in a corner you will not look at closely. Scrape a thumbnail across it and press a finger in to check for wax, then clean the whole wall.
Mix a degreaser or TSP substitute in warm water according to the label, and wipe the paneling with a sponge or a low-pressure wet rag. Work in sections about 4 feet wide, then rinse with a clean damp cloth. Let the wall dry fully, usually 4 to 8 hours with good airflow, before you sand or prime.
Grime is the quiet reason paint fails here. A sealed film of nicotine, dust and hand oil sits right under the new paint and holds it away from the wood.
Step 2: Repair Loose Panels, Trim, and Major Defects
Drive every proud nail or screw back flush with the face of the paneling, and add a blocking strip behind any fastener that will not hold on its own. Loose panels get nailed or screwed to solid framing, not just to the edge of the next board.
Fill nail holes with wood filler and let it stand proud, then knock it down in Step 3. Use spackle for hairline cracks and gaps under a quarter inch wide.
Replace any board that is split through, delaminating or rotten. No primer fixes a board that is falling apart, and a replacement board of the same thickness drops straight into the groove.
Step 3: Sand the Paneling and Smooth the Seams
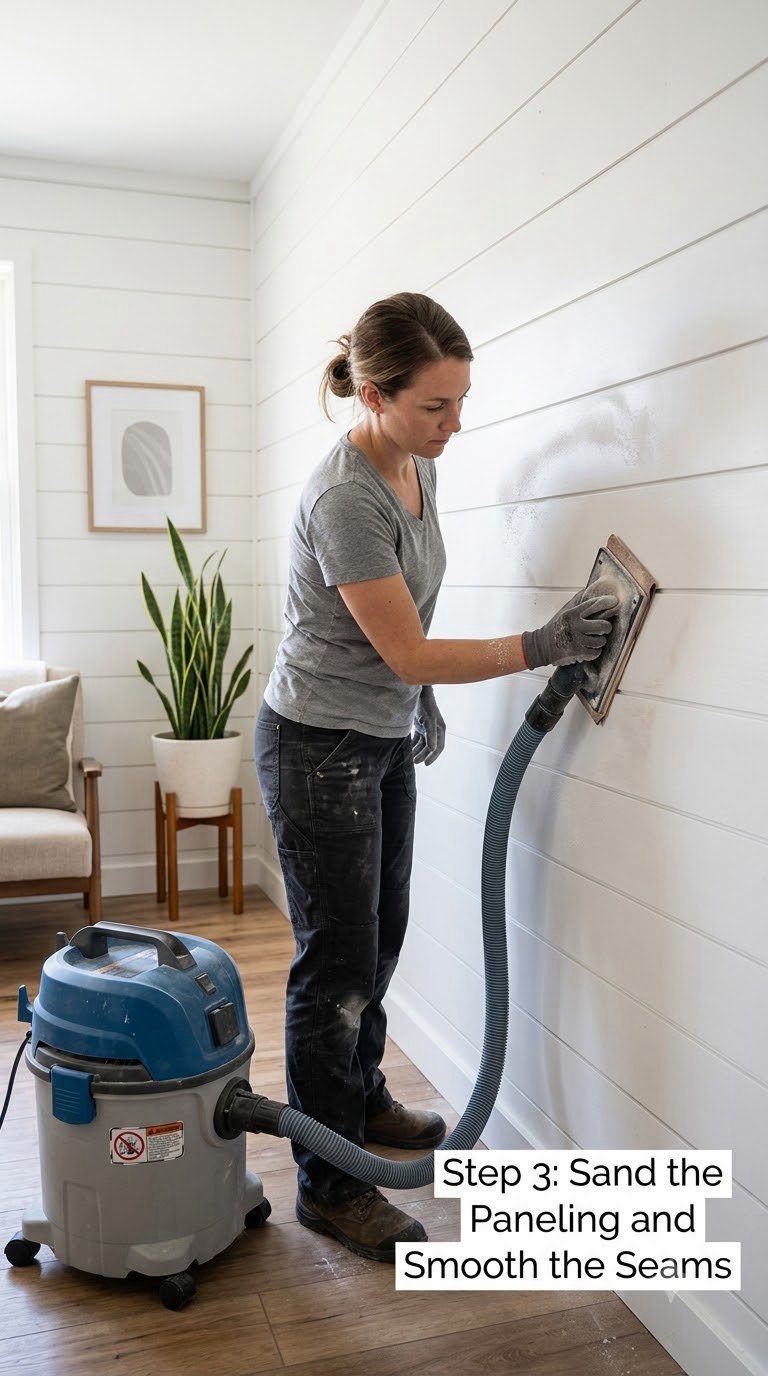
Goal here is a dull surface, not bare wood. Start with 120 grit and work the panel faces lightly, staying off the mouldings, then finish with 220 grit. Work with the grain and feather the edges of any sheen you knock down.
On a glossy or previously painted surface, a liquid deglosser works as well as sanding and takes a fraction of the time. Apply it, leave it for the label’s dwell time, and wipe it off. Never sand a wet surface, because damp dust turns into a paste and gums the paper.
Sand the dried filler flat with 220 grit. Then vacuum the wall with the brush attachment and wipe it with a damp cloth or a tack cloth. Dust left behind is the single most common cause of a stippled, gritty finish.
For deep grooves, run a bead of paintable acrylic caulk down each seam and smooth it with a wet finger. Caulk flexes as the panels expand and contract with humidity, so it will not crack the way filler does. Spackle stays for flat holes; caulk stays for moving seams.
Step 4: Apply the Right Primer
Primer is not optional on paneling. It is the layer that bonds to the wood, seals any stain, and gives the top coat something to grip.
Use a stain-blocking primer on bare or stained wood, especially on dark walnut, mahogany, cedar or redwood, which carry tannins that can bleed a yellow-brown halo through a light top coat. Use a bonding primer on glossy laminate, faux wood or previously painted paneling, because it is designed to stick to surfaces that sanding alone will not fix.
For dark stain going to white or a very light colour, tint the primer toward the finish colour. A tinted primer lets you get away with two finish coats instead of three, which saves you most of a day.
Apply a thin coat with a roller on the flats and an angled brush in the grooves. Let it dry for the time printed on the label, typically 1 to 4 hours, then knock off any remaining filler ridges with 220 grit and wipe the dust away.
Step 5: Choose and Apply the Finish Coat
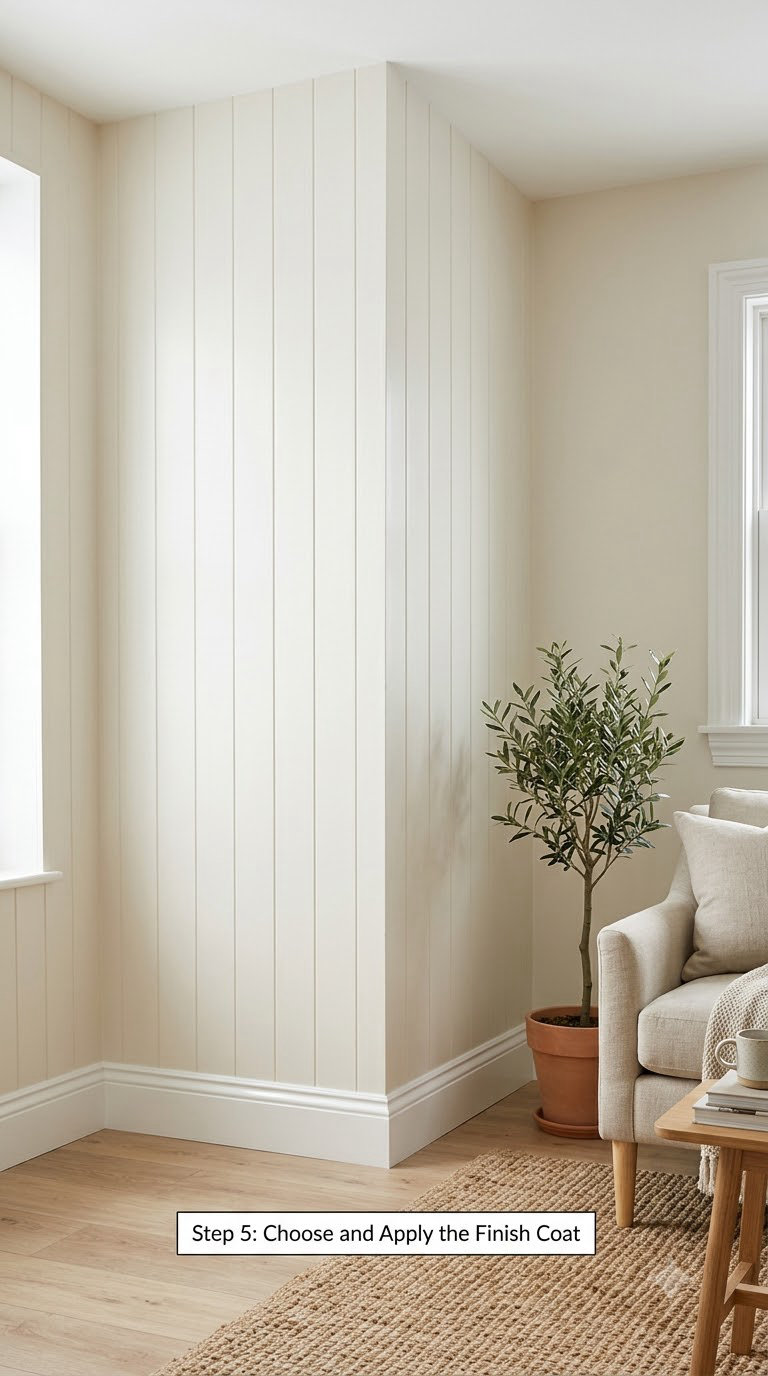
Interior acrylic latex in an eggshell or satin finish covers almost every room. Satin wipes down more easily and takes a roller texture well; eggshell hides a slightly uneven wall better. Save semi-gloss for trim and for rooms that get handled a lot.
Cut in first with a 2 inch angled brush along the ceiling line, baseboards, corners and the edges of the panel mouldings. Keep a wet edge and do not let the brush dry at the ends of a run.
Roll the flats with a medium nap cover, about 3/8 inch, which reaches into the grooves without leaving a heavy texture. Work in 3 foot columns and overlap each pass by 3 to 4 inches while the edge is still wet. Lap marks show up exactly where the wet edge breaks, so reload the roller rather than going back over a section that has started to set.
If you would rather spray, our best paint sprayers for walls and ceilings comparison covers the setups that handle paneling without leaving grooves full of overspray. A sprayer still needs the primer underneath it.
Step 6: Apply a Second Coat and Let the Paint Cure
Wait for the full recoat window on the label before going over the first coat. Rushing this is how you get a tacky second coat that pulls the first one up with it.
One coat can pass when the colour is close to what was underneath and the paneling is sound. Dark stain going to white, or any colour change, needs two. When in doubt, count on the label’s coverage rate per gallon and add one gallon.
Drying is not curing. Paint feels dry to the touch in an hour or two, but it takes about 24 hours before it is furniture-safe and up to four weeks to reach a full cure. Leave baseboards and furniture away from the wall for a day, and avoid hanging anything that presses into the surface for the first week.
Common Mistakes to Avoid
- Painting over wax or oil. The film slides off in sheets within weeks. Strip the wax or apply a deglosser and a bonding primer.
- Skipping the dulling step on glossy paneling. Paint peels in large pieces. Scuff sand or degloss first.
- Rolling over dust. The finish goes gritty. Vacuum, then wipe with a tack cloth before every coat.
- Ignoring dirt and grease. The film lifts around the failure. Degrease and rinse, then dry fully.
- Using the wrong primer. Regular primer over bare stain lets tannins bleed through. Match the primer to the substrate.
- Painting too thick. Thick coats sag in the grooves and peel as one heavy sheet. Keep the coat thin and let each one dry.
- Sanding damp or wet paneling. The paper gums and the dust becomes a paste. Let the wall dry completely first.
- Skipping the panel seams. Dark lines show through the colour. Caulk the seams and feather them flat.
- Rushing the second coat. Applying it before the first has fully dried pulls the first coat up. Respect the label’s recoat time.
- Leaving loose panels in place. Movement is what eventually shears the paint off. Nail or screw everything down first.
When to Call a Pro
Some conditions are outside a paint job. Get a qualified contractor, and a lead inspector where applicable, when you hit any of these.
- Paneling that is warped, flexing or already detached from the framing
- Water damage, staining that came from a roof or plumbing leak, or soft substrate
- Mold growth, or a musty smell that returns after the wall dries
- Coatings in a pre-1978 home that have not been tested for lead, where sanding is required
- Asbestos-containing coatings or textures, which must be handled by a licensed abatement contractor
- Exposed wiring, junction boxes or other electrical work near the wall
- Fireplaces, mantels and heat-exposed surfaces that need specific clearances
- Repairs that need a permit, such as structural sheathing changes or relocating outlets
Maintenance: Making the Paint Last
Painted paneling is a washable surface, and most of the damage comes from how people clean it rather than from wear.
Wipe with a soft damp cloth and a little mild dish soap. Skip abrasive sponges, scouring pads and steam cleaners, all of which take the sheen off and dull the finish permanently.
Touch scuffs and chips while they are small. Clean the spot, feather the edge, spot prime it if bare wood is showing, and repaint just that area with a small brush while the surrounding wall is still sound.
Once a year, run your fingers along the panel seams. Caulk that has opened up lets moisture into the joint, so scrape it out and redo it before painting over it.
Expect a little seasonal movement, because the wood expands and contracts with humidity and that movement can open a thin bare line at a seam. When the finish is worn through in patches rather than peeling, a fresh coat over a clean, spot-primed surface is the fix. If the paint is cracking and coming off in sheets, the problem is underneath, and another coat will not solve it.
If you like the texture but not the colour, painting is the cheapest fix. If you want the panels gone entirely and the wall flat, that is a different project, and our dining room paneling wallpaper ideas are worth a look before you commit to demolition.
Frequently Asked Questions
Do the grooves between wood panels show through the paint?
Yes, unless you fill them. Paint follows the shape of the surface underneath, so a deep groove stays a shadow line even after two coats. Run paintable acrylic caulk down each seam and smooth it with a wet finger if you want the flat drywall look. If you are happy to keep the texture, skip the caulk and just make sure the roller presses paint into every groove.
What is the best way to paint over textured paneling?
Do not fight the texture with thick paint. Use a medium nap roller, roughly 3/8 inch, so the nap reaches the bottom of each channel, and load the angled brush heavily to push paint into the grooves before you roll the flats. If you want a genuinely flat wall, caulk the seams and sand them, then prime, then paint twice. Textured paneling needs more labor than a drywall wall, not different products.
Do I have to prime before painting over paneling?
Treat primer as required, not optional. A stain-blocking or bonding primer seals the wood, blocks any tannin bleed from dark stains, and gives the top coat a surface to bond to. Skipping it is the most common reason paint peels off paneling within a year. The one case where you might get away with less is a sound, matte surface getting a bonding primer, but even then a light scuff is safer.
How long does it take to paint a room with paneled walls?
Plan on a full weekend for a standard 10 by 12 foot room with two coats, and longer if you are filling grooves or going from dark stain to white. Add several hours between coats for drying and another day before furniture goes back against the wall. Two or three people working together will cut the elapsed time considerably, but the hands-on work in the grooves does not go away.
What should I do if the old paint starts peeling after painting?
Find out why before you repaint. Most often it is dirt or grease under the film, wax that was never removed, or a glossy surface that was not dulled. Strip the failing area back to sound wood, clean and degrease it, spot prime the bare spots with a bonding primer, and repaint. If paint keeps lifting in the same place, suspect moisture from a leak or from unsealed panel seams and fix that first.
Conclusion: The Order That Makes It Last
If you remember nothing else about how to paint over paneling walls, remember the sequence. Test the old finish, then clean and repair the wood. Sand or degloss, fill the holes and the seams, prime for the substrate you actually have, and finish with two controlled coats.
Every shortcut skips adhesion somewhere, and adhesion is the whole game. Done properly, the paneling becomes an ordinary painted wall that nobody has to think about again.
