How to Replace an Interior Door Slab: Easy DIY Guide 2026
Replacing an interior door slab is a half-day job. Lift the old leaf off its hinge pins, mark exactly where every hinge and the lock bore sat, cut matching recesses in the new slab, and hang it on the frame you already have. The jamb, casing and trim never move.
Keeping the frame is the whole point. A sagging, swollen or broken door is the problem in most houses, and swapping just the slab fixes it without disturbing paint you would have to match and patch. It also gives you room to step up from a builder-grade hollow core door to something heavier if a room is noisy.
Contents
Time: 2 to 4 hours for a single door, plus paint drying time. Cost: one slab, three hinges if the old ones are pitted, and one lockset. Difficulty: Moderate DIY. Skill level: Comfortable with a tape measure, a drill and a chisel. Nobody will hand you a torch for this job, but the first cut is the one that has to be right.
Tools and Materials
Assemble these before you pull the old door off. The annoying part of a door job is stopping halfway through to find the thing you need.
Hand and power tools
- Tape measure, 25 ft (7.5 m) or longer, plus a 6 in (15 cm) folding rule for inside corners
- Speed square or carpenter’s square, plus a pencil and a fine marker
- Drill/driver with a 3/8 in (10 mm) paddle bit, a spade bit set, and a 1/8 in (3 mm) twist bit
- Hole saw matched to your lockset for blank slabs, or none at all for pre-bored slabs
- 1 in (25 mm) chisel and a mallet, a punch, and a block plane or smoothing plane
- Circular saw with a straight edge guide, only if you expect to trim more than 1/8 in (3 mm)
- Two or four clamps, a rubber mallet, and a utility knife with fresh blades
- Safety glasses, work gloves, a dust mask for boring and cutting, and ear protection if you use the saw
Materials
- Replacement slab in the nominal size you need, primed if you plan to paint
- Three hinges for a standard 80 in (2 m) door, sized to match the hinge pockets in the jamb
- Lever or knob set with latch and strike plate, or your existing hardware if it still works
- 1 in and 2 in wood screws for hinge leaves, and a handful of drywall anchors for the strike plate
- Plywood or cedar shims for packing behind the middle hinge
- Painter’s tape, a canvas drop cloth, a folded moving blanket, and wood glue for any loose joints
- Finish for the door: latex paint typically dries to the touch in 1 to 2 hours and takes several more hours before it handles well, or stain plus sealer
Before You Start
Stand in front of the door and answer three questions. Does it swing the way you want it to, is the opening square, and are the hinges still holding the jamb rather than pulling out of it?
Check the hinges before you buy anything. Open and close the old door slowly. If a pin is loose, a leaf is rusty, or screws spin in the jamb, replace the hinges. Screws that turn without biting mean the hinge has been loose for a while and a new slab on the same hinges will sag within weeks.
Match thickness and swing. Standard interior slabs are 1-3/8 in (35 mm) thick and come 80 in (2 m) tall in widths of 24, 28, 30, 32 and 36 in (61, 71, 76, 81 and 91 cm). Confirm your door is 1-3/8 in before you order, since 1-3/4 in (44 mm) doors exist and will not drop into the same opening. Facing the door from the side you pull it from, if the hinges are on your right it is a right-hand door.
Decide pre-bored or blank. A pre-bored slab already has the lock and latch holes drilled at the right height, usually 36 in (91 cm) from the floor. A blank slab needs all of it bored by hand and is a considerably bigger job.
Protect the room. Lay the drop cloth, prop the door with wedges so it cannot fall onto the floor, and tape the casing on both sides. Lay the moving blanket under the opening, because a slab dropped edge-first will take a bite out of hardwood.
Know when to stop and call someone. Fire-rated doors between a garage and a house, or in a stairwell or rated corridor, are assemblies, not leaves. Historic trim, painted-over lead coatings in homes built before 1978, and openings that are visibly out of square or rotted at the jamb all belong with a pro. If you are planning to change the opening itself rather than the leaf, look at pocket door kits before you commit to a swing direction.
Step-by-Step Instructions
Step 1: Remove the Existing Door and Hardware
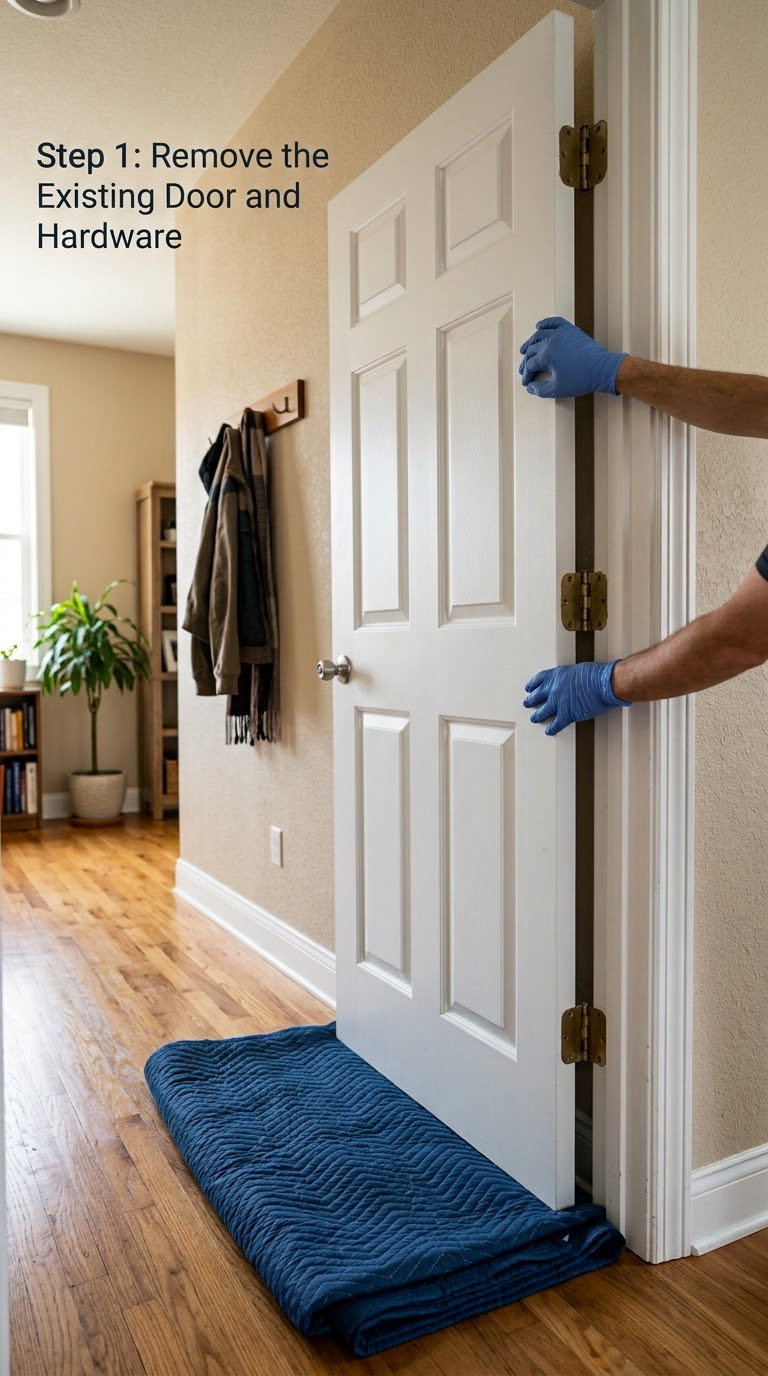
Start at the bottom hinge. Support the weight of the slab with one hand, then tap the hinge pin upward from the underside of the knuckle with a punch and a mallet. Repeat at the middle and top hinges and lift the door off the pins.
Remove the hinge leaves from the slab with a screwdriver and put them in a labelled bag. Leave the hinge leaves on the jamb alone. Taking them off the frame is how beginners gouge the casing or lose the mortise reference, and the new door needs to land on those same hinges anyway.
Score the paint around the strike plate with a utility knife, then slide the blade behind it and lever it off. Working paint needs the score line first. Set the old door somewhere you can still reach it, because the next steps use it as a template.
Step 2: Measure the Opening and Choose a Replacement
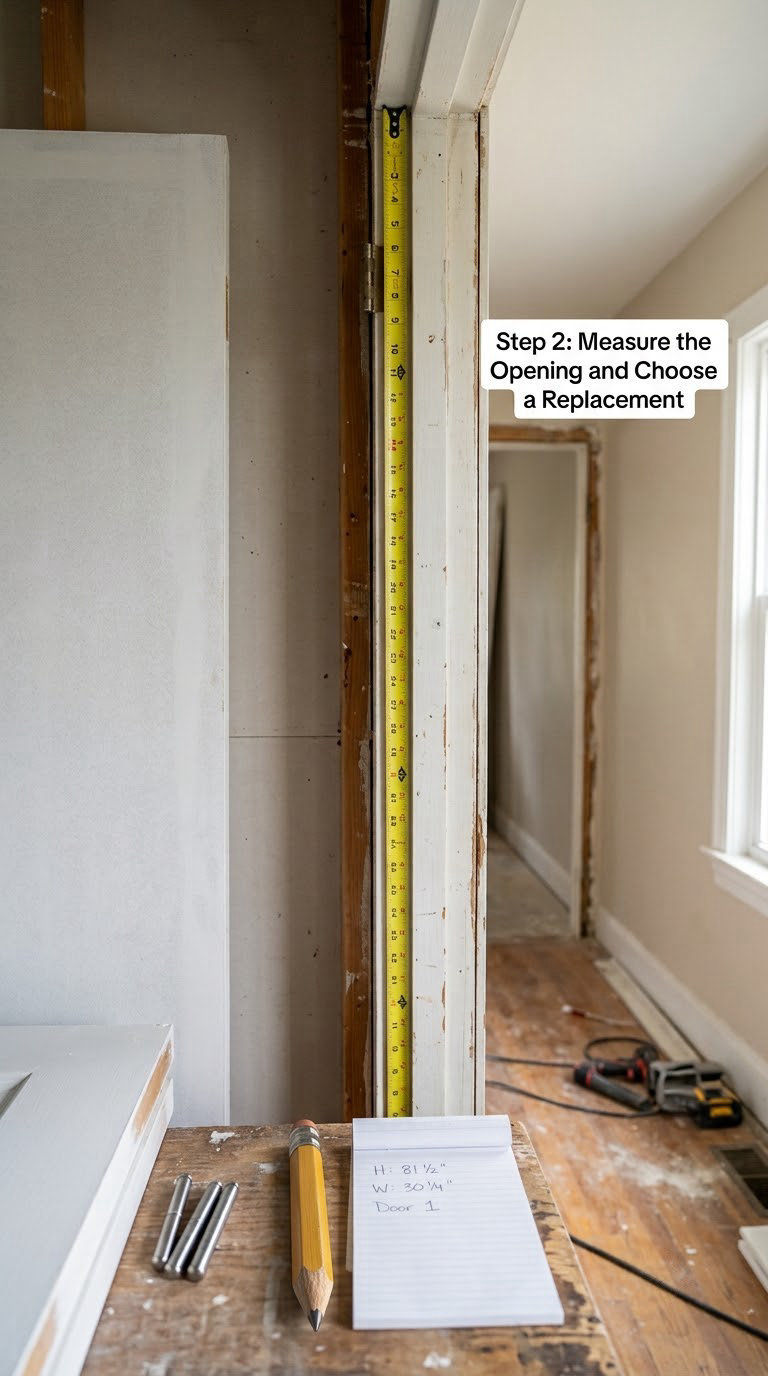
Measure the opening, not just the door. Check width at the top, the middle and the bottom of the opening, and height on both the hinge side and the latch side. Older houses are rarely square, so the smallest number is the one that decides your order.
Write the numbers down with the label at the top and bottom of each reading. Then subtract what the door needs to move freely:
- 1/8 in (3 mm) of clearance on each side, measured from the slab to the jamb
- 1/8 in (3 mm) across the top
- 1/4 to 1/2 in (6 to 13 mm) between the bottom of the slab and the finished floor, and closer to 3/4 in (19 mm) where carpet is going down
- Knob centre at 36 in (91 cm) from the floor, which is the pre-bored standard on most new slabs
Buy the nominal size that covers your smallest reading and trim to fit. Nominal sizes are rounded up, so a 32 in (81 cm) slab will almost always need a little taken off rather than a lot added.
If the old door is still on the property, measure it too and compare. A 1/8 in (3 mm) difference between the door and the opening at the same spot tells you immediately whether the door is undersized or the opening has shifted.
Step 3: Prepare to Replace an Interior Door Slab
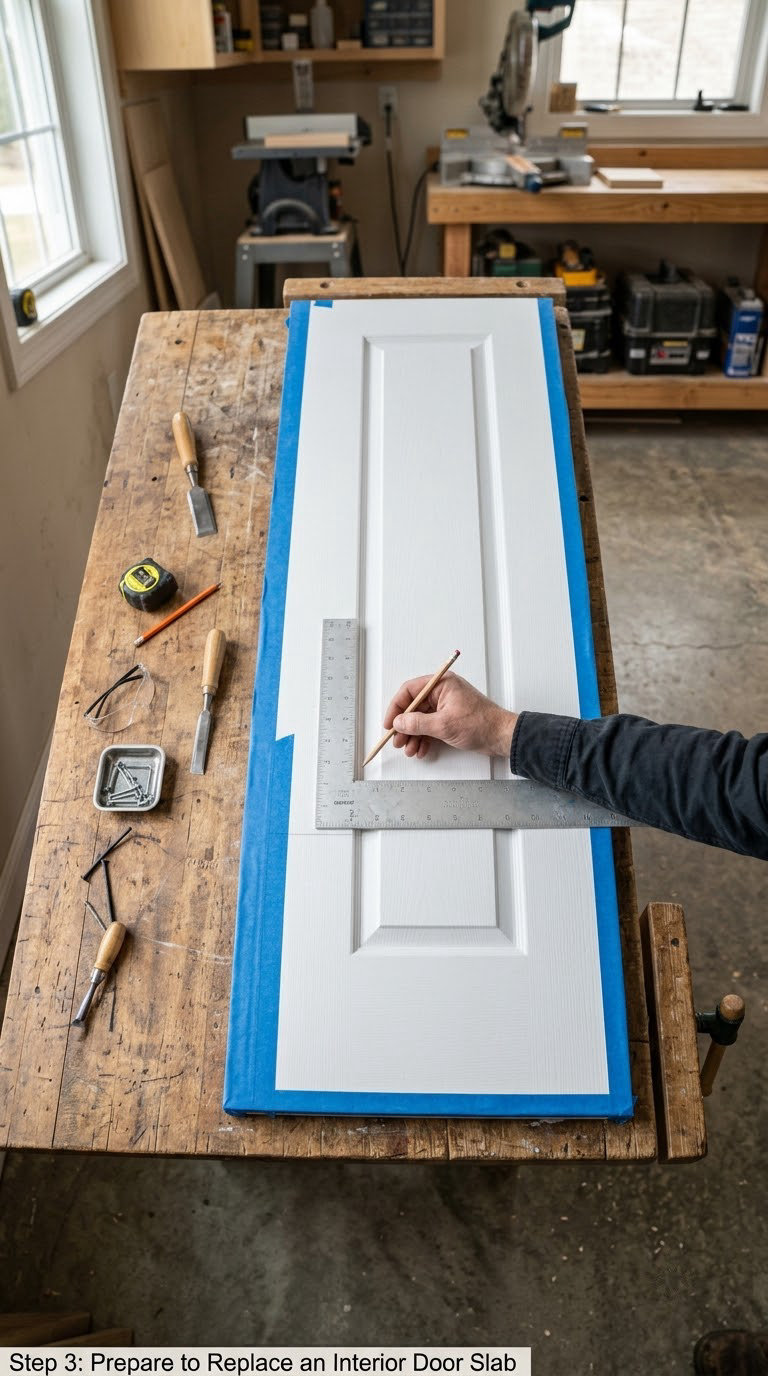
Put the old slab and the new slab side by side on the floor, face to face, with their hinge edges touching. Clamp them together so they cannot shift. Mark the top edge of the new slab with a strip of tape and a single stroke so nobody confuses top and bottom later.
Trace each hinge leaf around its outline on the old door, then transfer the outline to the matching spot on the new slab. Do the same for the lock bore and the latch bore, circling both. Mark the three hinge screw centres with a punch or a sharp pencil dot on the new slab.
Label the hinge side on the face of the new slab before you lift the saw or the bit. Getting that wrong costs you a 2 in (5 cm) recess, a saw kerf through the face, and a trip back to the store.
Then take the smallest drill bit you own and make one hole all the way through the slab at the first hinge screw location, backed by a scrap block. That demonstration hole is your proof that the bit is clearing both faces without the far side bursting out. If you can do it with a 1/8 in (3 mm) bit, every bit after it will behave.
Step 4: Install the Hinges and Hang the New Door
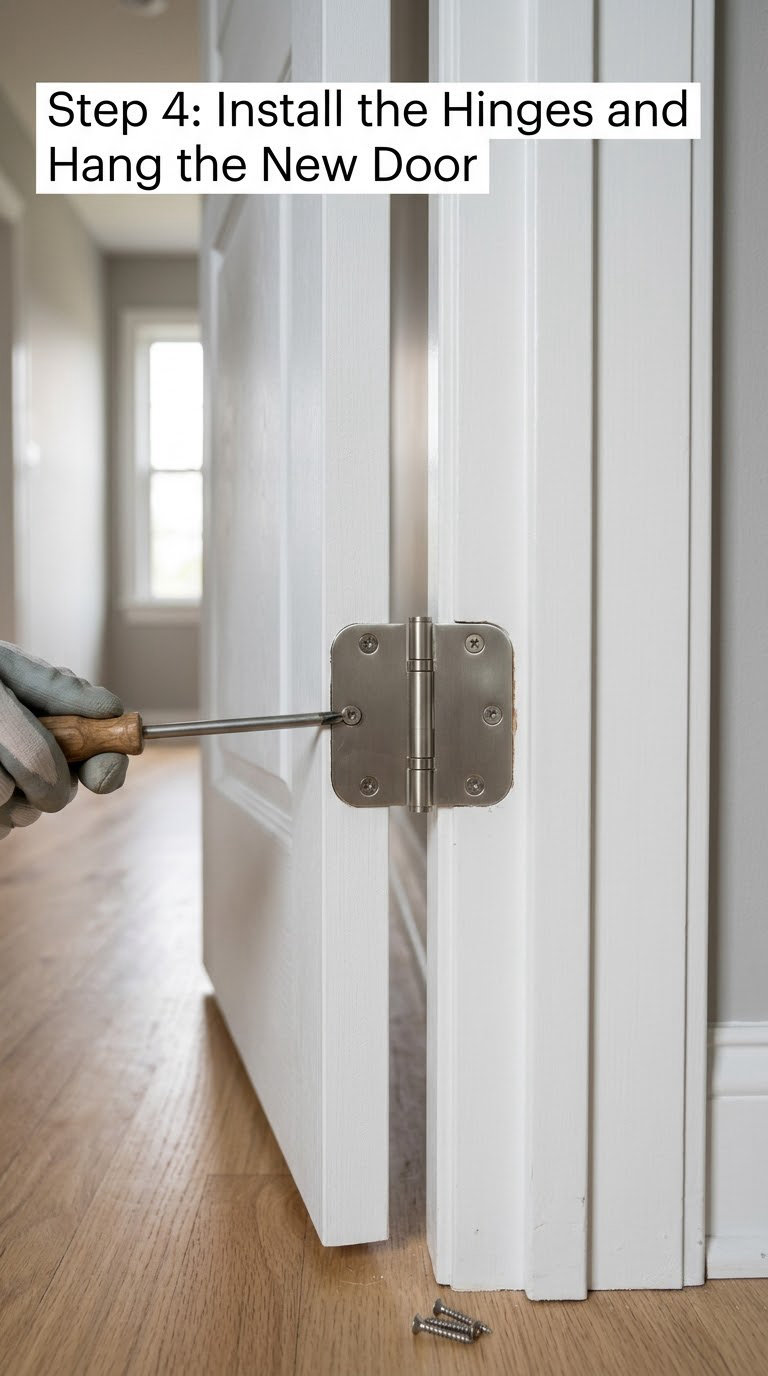
Score the traced hinge outlines all the way to the hinge edge with the utility knife. A clean score line is what stops the face veneer from lifting in ribbons as the chisel moves.
Chisel the recess about 1/8 in (3 mm) shallower than the hinge leaf is thick, working from the hinge edge toward the middle of the door. Take the waste out in thin slices rather than one heavy cut. Then deepen the recess about 1/16 in (1.5 mm) beyond the leaf so paint buildup has somewhere to go later.
Press each hinge leaf into its recess and check that it sits flush with no daylight around the plate. Pre-drill the screw holes slightly smaller than the screw shank and drive the screws until snug. Do not crank them. Screws driven home hard in an engineered or hollow core slab strip the fibre, and the fix is a longer screw or a wooden shim, not more torque.
Lift the slab onto the hinge pins and close it. Check the side and top reveals at 1/8 in (3 mm). If the hinge side is tighter, pack behind the middle hinge with shims and re-hang. Fit the strike plate on the latch jamb, making sure the latch bolt enters it without the door being pushed, then drive the pin screws.
Step 5: Check Fit, Operation, and Finishing
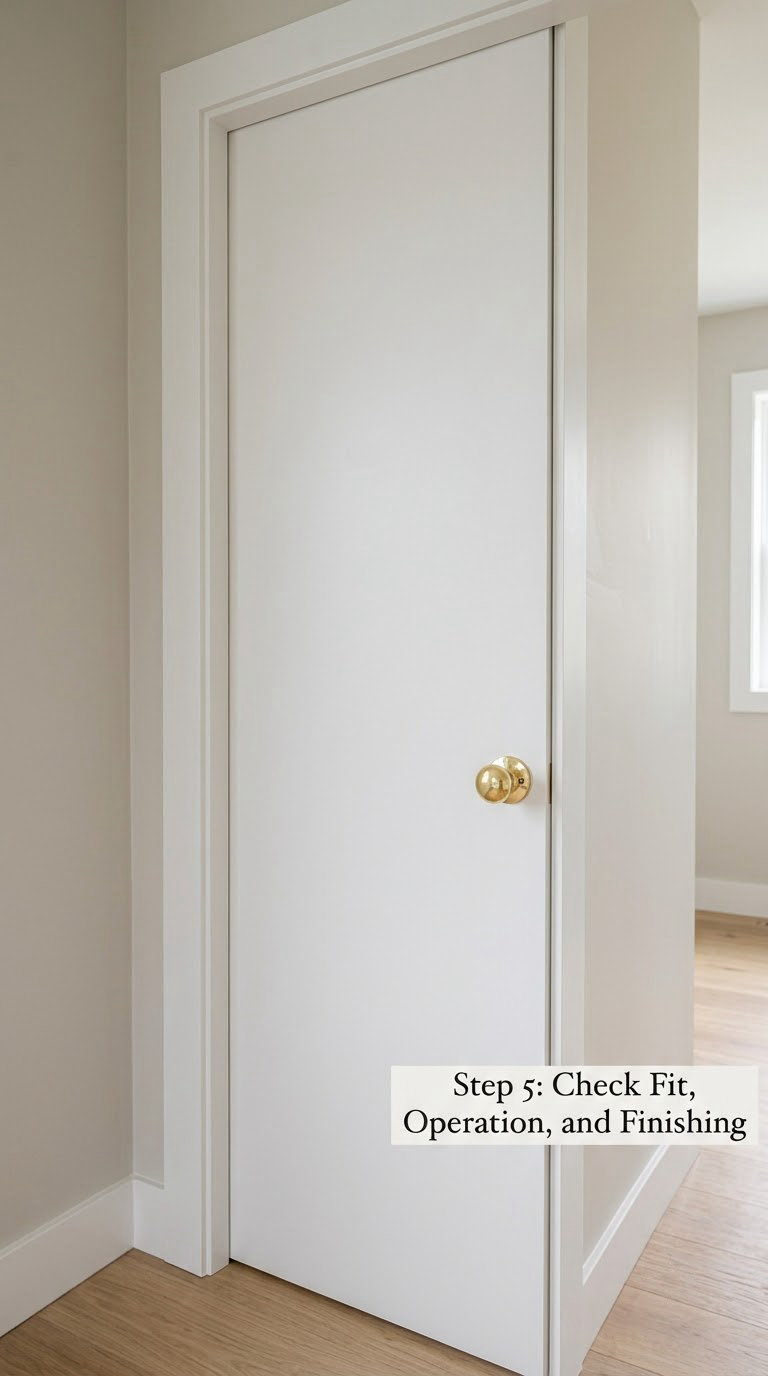
Open and close the door three times by hand and then three times from the handle alone. The latch should engage without anyone pushing the door, the door should stop on its own before the frame stops it, and no corner should catch the casing. A corner that catches means the door sits a fraction proud, and a tap of the block plane on the back edge of the slab clears it.
Drive the hinge screws back in fully, check that the strike plate is seated flat and screwed into the jamb stud rather than into air, and wipe squeeze-out from the joints with a damp rag while it is still soft. If you are reusing hardware, this is also the moment to swap in a fresh solid brass interior door lever handles set, which takes about ten minutes and upgrades how the door feels every single day.
Paint before you remove the tape. A pre-primed slab can be painted while it lies flat on sawhorses, which is far easier than painting it on its hinges. Once the finish is dry to the touch, usually a couple of hours for latex, peel the tape off at an angle and touch up any line that lifted with it.
Remove the wedges one at a time, from the top down, so the door never drops onto a pin.
Common Mistakes to Avoid
Almost every door job goes wrong in one of a handful of predictable ways, and each has a straight correction.
- Ordering by nominal size alone. A 32 in slab is 32 in at the face and slightly under at the hinge edge in some lines. Fix: measure the opening three times and order to the smallest number.
- Ignoring swing direction. A left-hand slab in a right-hand opening will not close. Fix: face the door from the room you pull from and note which side the hinges are on.
- Marking hinge locations crooked. A hinge recess that is a few degrees off throws the reveal out at the top and bottom. Fix: clamp the old and new slabs face to face and trace in one position rather than freehand.
- Over-tightening hinge screws. Stripped fibre in a hollow core slab means the door sags within months. Fix: stop when the head is seated and snug, and use shims behind the leaf.
- Gouging the jamb while removing the strike plate. Levering against unfinished wood lifts the casing. Fix: score the paint first and lever against the plate itself, never the jamb.
- Forcing the slab closed. Forcing hides an out-of-square frame and splits the hinge recess. Fix: take the door off, pack behind the middle hinge, and re-check the reveals.
- Painting before the door is dry. Trapping a wet face between the slab and the stop leaves a mark that stays. Fix: paint flat on sawhorses, and let latex dry a couple of hours before rehanging.
- Throwing out the old door early. It is your only accurate template for hinge and bore locations. Fix: keep it until the new slab is hung and closing.
When to Call a Pro
Some openings are not a leaf swap, and a professional will cost less than the damage.
Hire a door installer or finish carpenter when the opening is out of square by more than about 1/4 in (6 mm) and the reveals cannot be made even, when the jamb is soft, rotted or has been chewed by a stripped screw, or when the frame needs to move at all. That last case is a frame project, and shimming a pre-hung unit to hide it tends to settle and fail anyway.
Call a pro for any fire-rated assembly, including the door between an attached garage and the house. Those doors carry a label, they are part of a tested system, and swapping in an ordinary slab breaks a safety assumption that exists to slow a fire down.
Also bring in a pro if you suspect lead paint in a home built before 1978, if the door is a period or solid wood unit worth preserving, or if the reveal detail around the casing is original to a historic interior. Test for lead before disturbing anything.
Maintenance
A hung interior door asks for very little, and most complaints are fixable in two minutes.
- Check the hinge screws every six months and at the start of each heating season. Tighten any that have worked loose by hand only.
- Listen for a scrape or a sticking latch when you first open it each day. Sticking at one corner is usually a high spot on the jamb, not the slab.
- Never over-tighten. If a screw will not hold, drive a longer screw the same length as the one already there, or pack the hole with wood.
- Clean with a damp cloth and a drop of dish soap. No abrasive pads, and keep standing water away from the bottom edge where carpet and moisture meet.
- Touch up chips and scuffs while they are small, after the first full coat has cured, and always after sanding the spot lightly.
Frequently Asked Questions
Can I replace just the interior door slab without replacing the frame?
Yes, in most homes the frame stays exactly where it is. A slab door is just the leaf, with no frame or hinges attached, which is the right choice whenever your jamb is square and your hinges still bite into the studs. You keep the casing, the trim and the hinge positions, so the finished room looks untouched apart from the new slab.
How do I know what size interior door slab to buy?
Measure the opening at the top, middle and bottom, then buy the nominal size that matches the smallest reading. Standard slabs are 80 in tall, 1-3/8 in thick, and come in widths of 24, 28, 30, 32 and 36 in. Nominal sizes run a little larger than the opening, so plan on trimming a fraction off rather than hoping to shim your way to a fit.
Can I reuse the old hinges and handle on a new door?
The hinges, usually yes, as long as the leaves are not rusted and the screws bite into solid jamb material. Do not reuse hinges whose screws spin in the jamb, because the new door will sag on them. Reuse the handle and latch too if the bore spacing matches the new slab; a pre-bored slab at 36 in may not line up with an older knob.
How do I transfer the hinge positions to a new door slab?
Lay the old slab and the new slab face to face on the floor with their hinge edges touching, and clamp them together. Trace each hinge leaf outline, punch or dot the three screw centres per hinge, and mark the lock and latch bores the same way. Label the hinge side with tape before you cut so the recesses land on the correct edge.
Do I need to remove the door frame to replace the slab?
No, and you should not. Pulling hinge pins and removing the leaf takes about ten minutes and leaves the jamb, casing and hinges in place, which means no painting and no match to existing trim. Remove the frame only when the jamb is damaged, rotted or out of square, and in that case a pre-hung unit is usually the faster route.
What is the difference between a hollow-core and solid-core interior door?
A hollow-core slab has a hollow honeycomb or lattice inside a thin face, which makes it light, cheap and quick to swing. A solid-core slab is heavier, absorbs more sound and shrugs off knocks. Hollow core is more stable across humidity swings, while solid core suits bedrooms, home offices and any room where noise matters more than swing weight.
Start with the hinges and the swing direction, not with the saw. Measure the opening three times, clamp the old slab to the new one, and transfer every mark before the first cut.
That is really the whole project. Take your time with those ten minutes and the rest of the swap to replace an interior door slab goes faster than you expect, with the frame and trim still looking exactly like they did this morning.