How to Repair a Window Screen: Simple DIY Fix (2026)
A torn window screen is one of those small annoyances that turns into a whole problem the moment mosquitoes find it. The good news is that most damage splits into two camps: a small hole or slit that takes ten minutes with a patch, and widespread damage that needs the old mesh pulled out and a new sheet rolled into the frame. Either way you can work it out yourself with hand tools and about an hour on a typical window.
Learning how to repair a window screen is mostly about knowing which of those two jobs you have in front of you. Start by looking at the damage closely, match it to the table below, and then follow the matching method in the steps section.
Contents
Time: 10 minutes for a patch, 45 to 90 minutes for a full re-screen · Cost: one patch kit or a roll of mesh, and you can use scraps of both for the next few windows · Difficulty: Beginner to moderate · Skill level: No experience needed, but the re-screen path rewards patience
| What you see | Best repair method | What you need | Approximate time |
|---|---|---|---|
| One or two holes under 1 inch wide | Patch with self-adhesive screen patch | Scissors, patch, straightedge | 10 minutes |
| A slit or rip along the frame edge | Patch tucked under the spline | Flathead screwdriver, patch, roller | 20 minutes |
| Mesh popped out of the frame, still intact | Re-roll the existing mesh into the groove | Spline roller or substitute | 15 minutes |
| Holes larger than 3 inches across | Re-screen the whole frame | Mesh, spline, roller, knife | 45 to 90 minutes |
| Many holes, brittle or sagging mesh, bent frame | Replace the entire screen frame | New frame or full re-screen kit | 1 to 2 hours |
Tools and Materials
For the patch route, you need almost nothing. Grab these first and most of the job is already covered.
- Self-adhesive screen patch or plain screen mesh offcuts, one square inch larger than the hole on every side
- Scissors or sharp snips for cutting the patch square
- Soft brush and a damp cloth for cleaning the area before the adhesive goes on
- Straightedge or ruler to keep the cut straight
For the full re-screen route, add these to the list.
- Replacement screen mesh, enough for the frame plus 2 to 3 inches of overhang on every side. Buy the roll width closest to but not narrower than your frame’s short side.
- Replacement spline in a diameter close to your existing cord, usually 0.160 inch for standard residential frames. Buy a few extra inches; corners often eat more than you expect.
- Spline roller or a substitute such as a shower door wheel, a round wooden dowel, or the head of a plastic spoon
- Flathead screwdriver and a second small flathead or thin pry tool for lifting the old spline
- Utility knife with fresh blades for cutting mesh and trimming the excess
- Tape measure and a pencil for sizing the new mesh
- Cardboard sheet to lay the frame on so the knife never touches your work surface
- Safety glasses and cut-resistant gloves, plus a stable step stool if the window is above ground level
Before You Start
Put on eye protection before you touch mesh or a blade. Fiberglass strands are fine enough to work into your skin and eyes, and a snapped utility blade can travel further than you expect.
Move pets and kids out of the work area, especially if the screen is going on a floor-level door where the frame will be propped up. If you are working outdoors, pick a still day; mesh that is light enough to blow will fight you the entire time.
Look at the frame before you take anything apart. Aluminum and vinyl frames hold mesh in a recessed spline groove. Older wood frames are often fastened with staples or wire brads instead, and those get pulled and re-set differently. If the frame itself is split, swollen, or rusted through, stop there and read the section on when to call a pro.
No permit is needed for screen repair. It is not structural, it does not touch wiring or gas, and it does not change the window’s weather rating.
Set a towel or a cardboard sheet under the frame the moment it comes out. It catches screws, dust, and the pile of debris that falls out of the bottom channel.
Step-by-Step Instructions
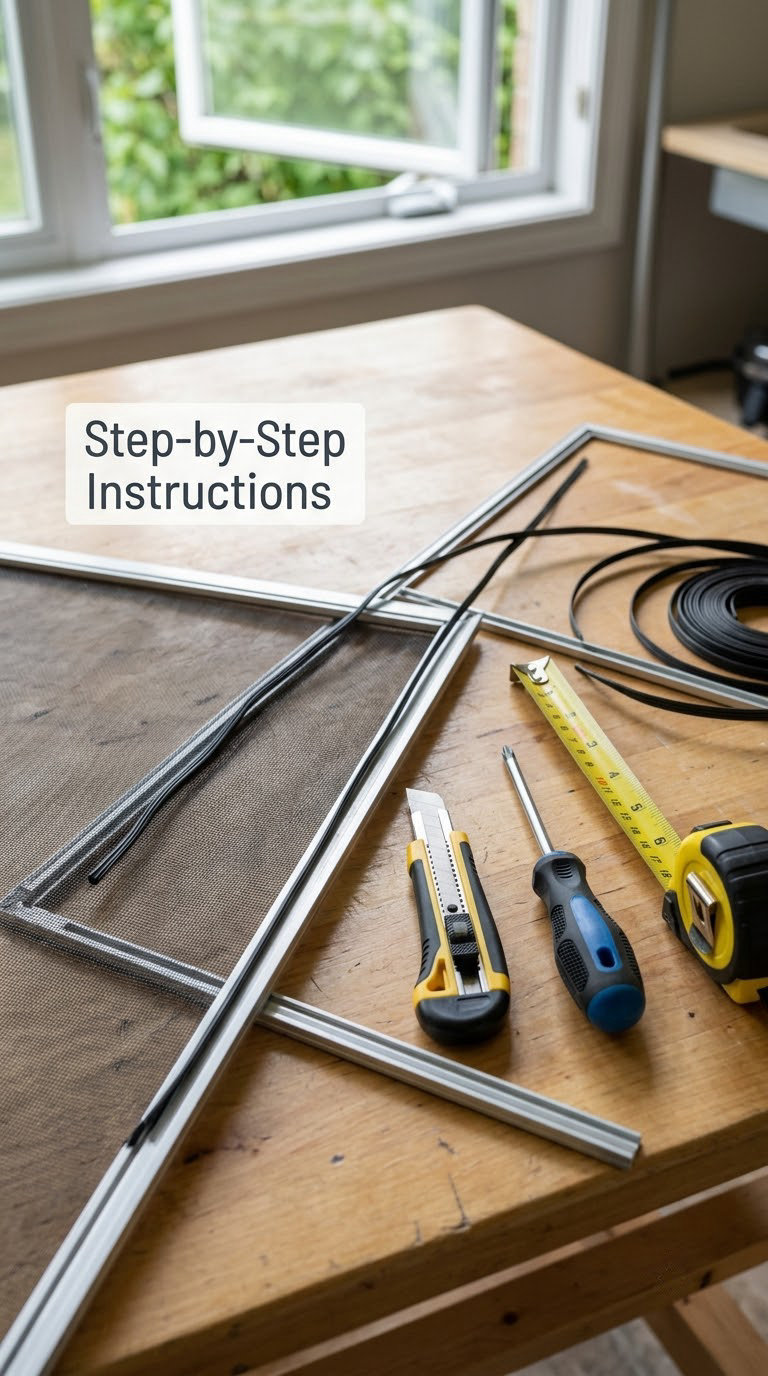
Step 1: Remove the Window Screen Safely
Most inside screens lift straight out once you release the hardware. Look along the sides of the frame for a small plastic pull tab or a turn-button, and check for screws or tabs along the top and bottom edges before you pull.
For a double-hung window, lift the lower sash about 6 inches and the screen usually slides out on its own track. Sliding windows use a hidden spring or a track at the bottom edge that you press inward while lifting. Casement windows release with a screw or a pressure clip on the frame side.
Support the screen with both hands as it comes free and keep it vertical or flat. Screens are lighter than they look and once the corner bends it usually stays bent. If the frame resists, stop pulling and look for a hidden tab on the opposite side rather than forcing it.
Step 2: Clean the Frame and Inspect the Damage
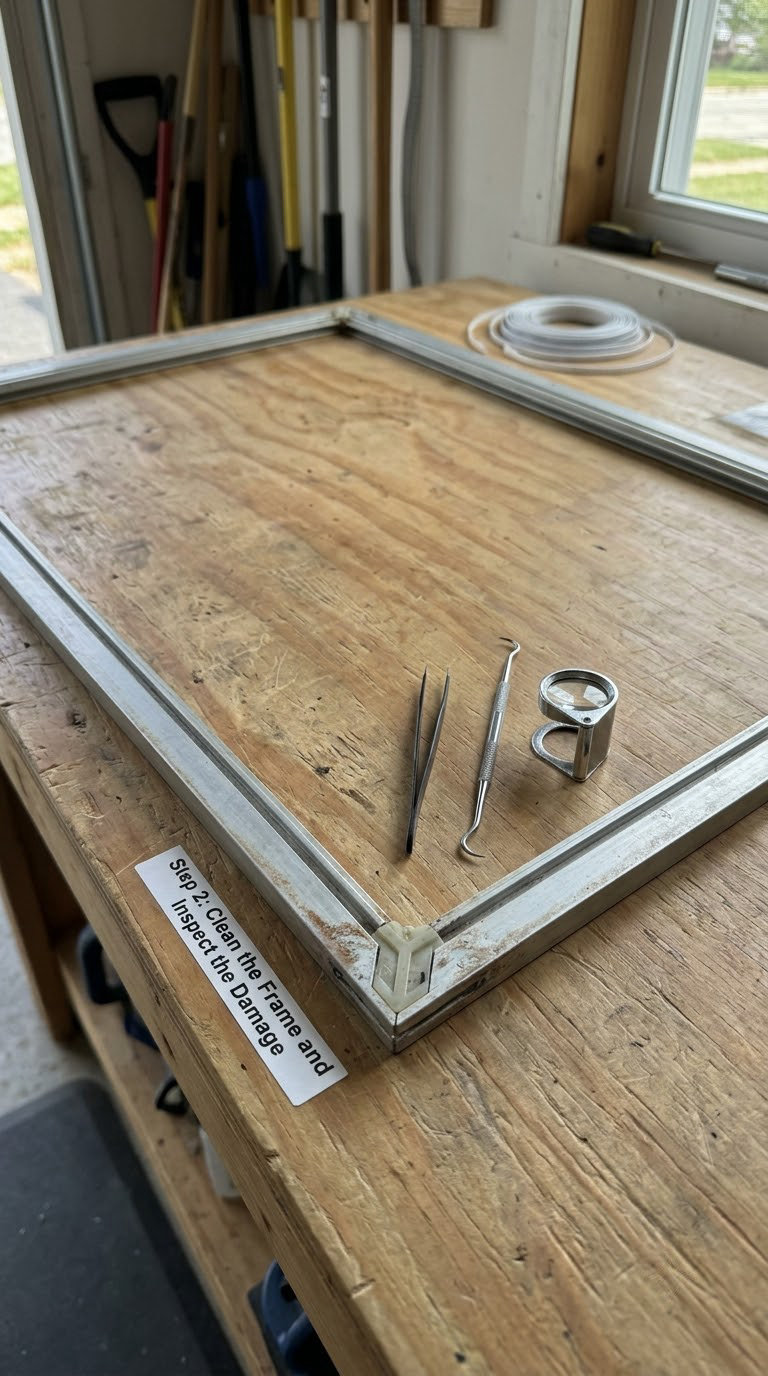
Vacuum or brush off loose dirt, then wipe the frame and the mesh with a damp cloth and mild dish soap. Let it dry fully before any adhesive goes near it, because a damp surface is why most patches peel off within a few weeks.
Now assess the damage honestly. Hold the mesh up to a window or a lamp so light comes through, and count the holes, measure the biggest one, and check whether the mesh is stretched, brittle, or sagging.
Look closely at the groove. A bend or a broken corner in the frame means the tension will be uneven no matter how carefully you roll, and that frame needs replacing rather than re-screening.
Step 3: Repair Small Tears With Mesh Tape
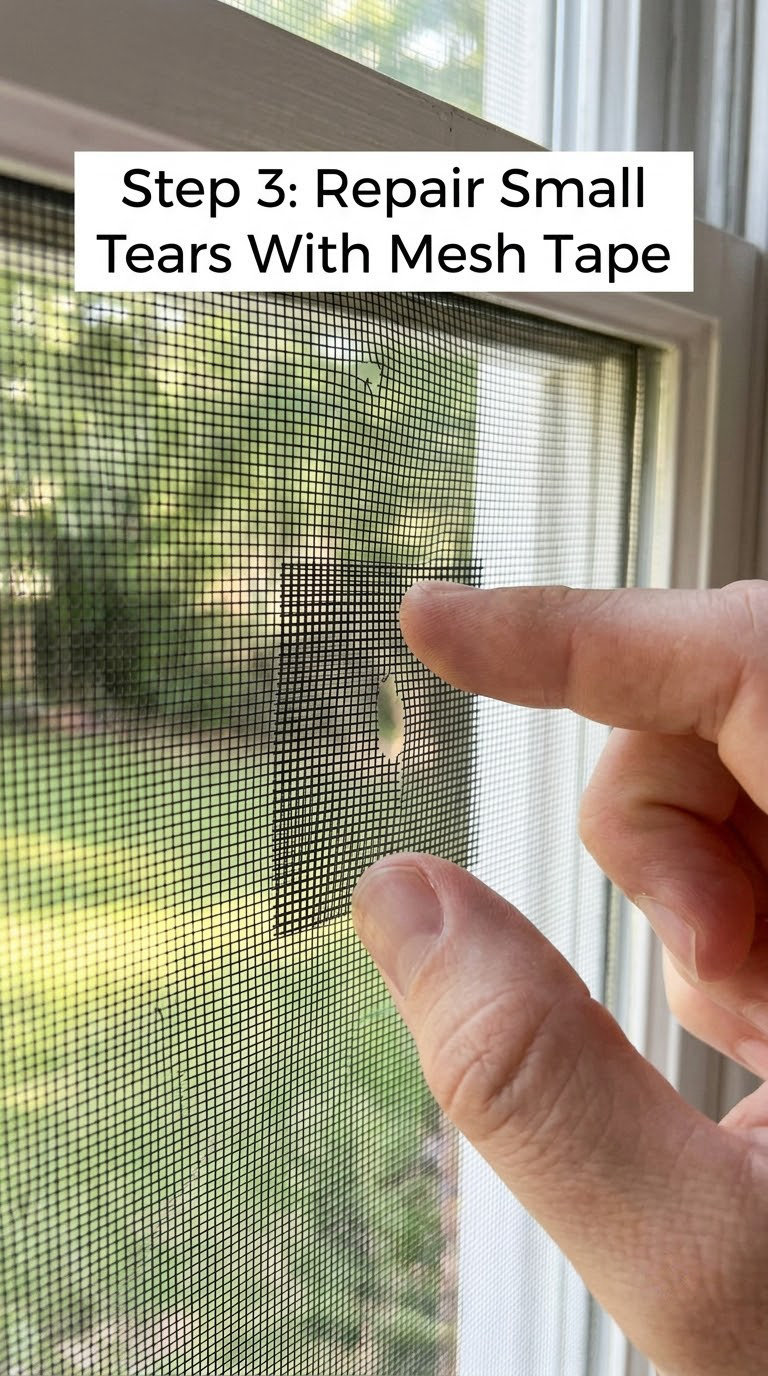
Trim away loose strands first so they do not sit under the patch and create a raised edge. Then cut your patch square, leaving 1 inch of overlap on all four sides so the adhesive grips mesh that is not right at the tear.
Peel the backing, center the patch over the hole with the weave running in the same direction as the original mesh, and press it flat from the center outward with your thumb. Even pressure beats a hard rub, which pushes the adhesive into the weave.
Give the adhesive 30 to 60 minutes to grab, longer if the window is cool or damp. After that, give the patch a gentle tug at one corner. If it lifts at all, the mesh underneath was damp or fuzzy, and you want to know now instead of in the middle of a summer night.
For a rip that runs along the frame edge, the patch goes under the spline rather than on top of it. Pull the mesh out from under the spline a few inches past the tear, lay the patch across the damaged section with mesh overlap on both sides, then push the spline back and roll it in. The patch ends up captured by the frame instead of sitting on the surface where it snags.
If your only damage is a screen that popped out of its groove on a windy day, the mesh is usually fine. Lift the mesh over the frame lip, lay it back into place, and roll the existing spline into the groove with the roller. Check that no spline is missing before you start, since a gap will open up again the next time the wind picks up.
Step 4: Replace the Mesh and Spline
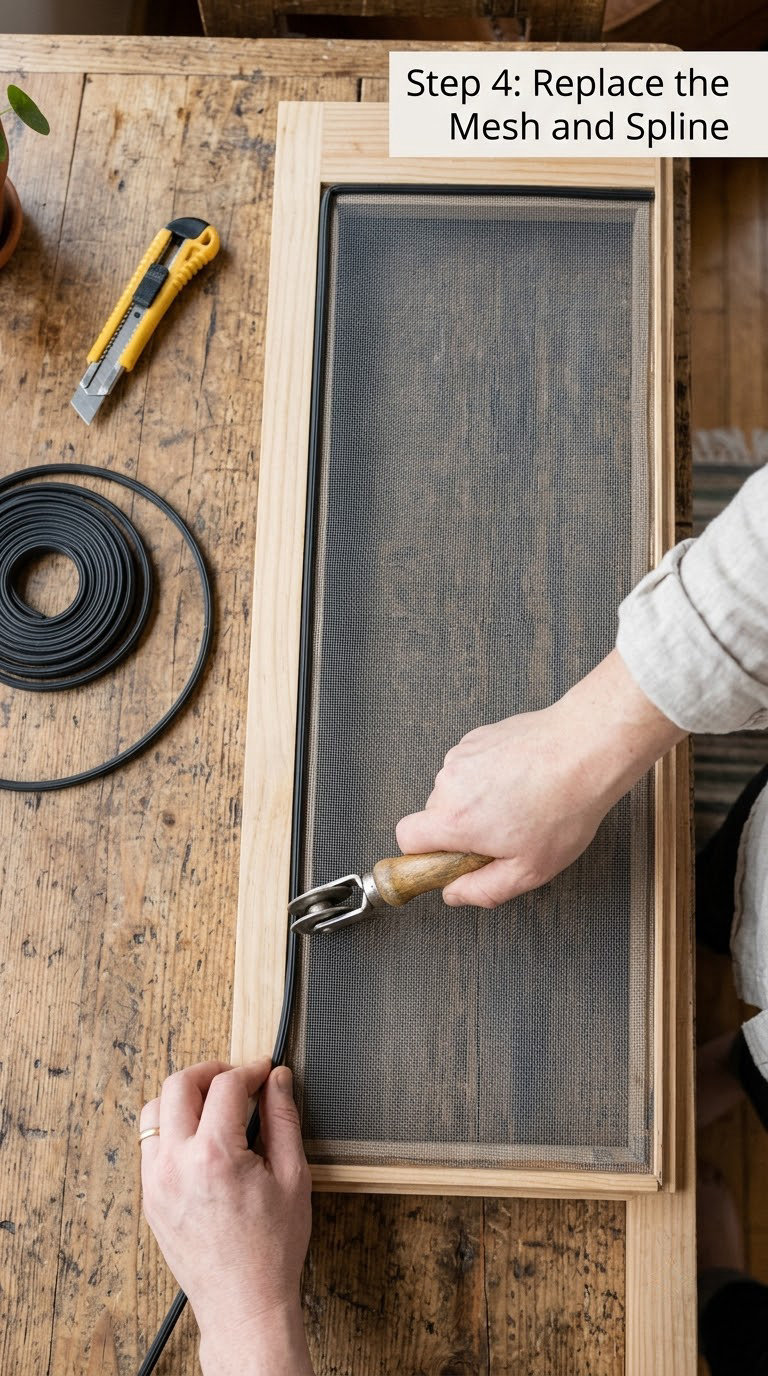
Use a flathead screwdriver to pull the old spline out of the groove. Work along one side at a time, lifting the corner first and sliding the cord out rather than prying the whole length, which bends the frame lip. Pull the mesh free once the spline is out.
Check the old spline before you throw it away. If it is still flexible and less than about 15 years old, people on DIY forums commonly reuse it and tap the last inch home with a rubber mallet. If it is stiff, cracked, or flattened, buy new.
Measure the frame across the groove on two sides, then cut the new mesh 2 to 3 inches larger than those measurements on every side. That overhang is what you grip and tension while you roll. Cut from the edge of the roll using a straightedge, because a jagged edge is the first place the spline will chew through the mesh.
Work out which material you want before you cut. This matters more than most guides admit.
| Mesh type | Durability | Ease of installation | Best for |
|---|---|---|---|
| Fiberglass | Lower, roughly 7 to 10 years indoors | Easiest; forgiving of beginner technique | Renters, rental homes, most houses |
| Aluminum | Higher, roughly 10 to 15 years indoors | Harder; does not stretch, wrinkles hold | Shaded sides of the house, rentals |
| Pet-resistant | Highest of the three | Stiffer, so tension matters more | Homes with dogs or cats on lower windows |
Fiberglass is the practical default because it stretches enough to forgive small mistakes, and window cleaners tend to re-screen in it for exactly that reason. Aluminum holds up better and does not sag, but it will not forgive a wrinkle and shreds if you roll the roller backwards. Pet-resistant mesh costs more and behaves like a stiffer aluminum.
Now get the spline size right. Most residential screens use 0.160 inch spline, with 0.140 and 0.175 inch showing up on older and larger frames. The mismatch is the single most common reason a spline will not seat, so measure rather than guess.
| Spline diameter | Where you will usually find it | How to check |
|---|---|---|
| 0.140 inch | Older aluminum frames, some storm doors | Roll the old cord between two fingers and compare |
| 0.156 to 0.160 inch | Most standard residential screens | The default if the removed cord is round and springy |
| 0.175 inch | Larger or heavier frames, some wood-framed screens | If 0.160 slips out easily, step up |
With the mesh centered on the frame, press the spline into the groove at one corner and work a short 6 inch section along each side before going further. Keep the roller riding on the frame side of the spline so any nick or tear lands on mesh you are about to trim off, and angle the roller very slightly away from the center of the frame.
Cut the spline at the corners rather than butting two ends together. Overlap them slightly so the corner stays tight, since corners hold the highest tension and are where a spline usually pops back out first. If you do not own a roller, a shower door wheel, a round dowel about 3/8 inch thick, or the head of a plastic spoon will all seat a spline, though slowly.
The spline faces inward. The grooved, V-shaped side sits down in the channel with the mesh trapped underneath, so the ridge points away from the center of the frame.
Step 5: Cut and Fit the Repaired Screen
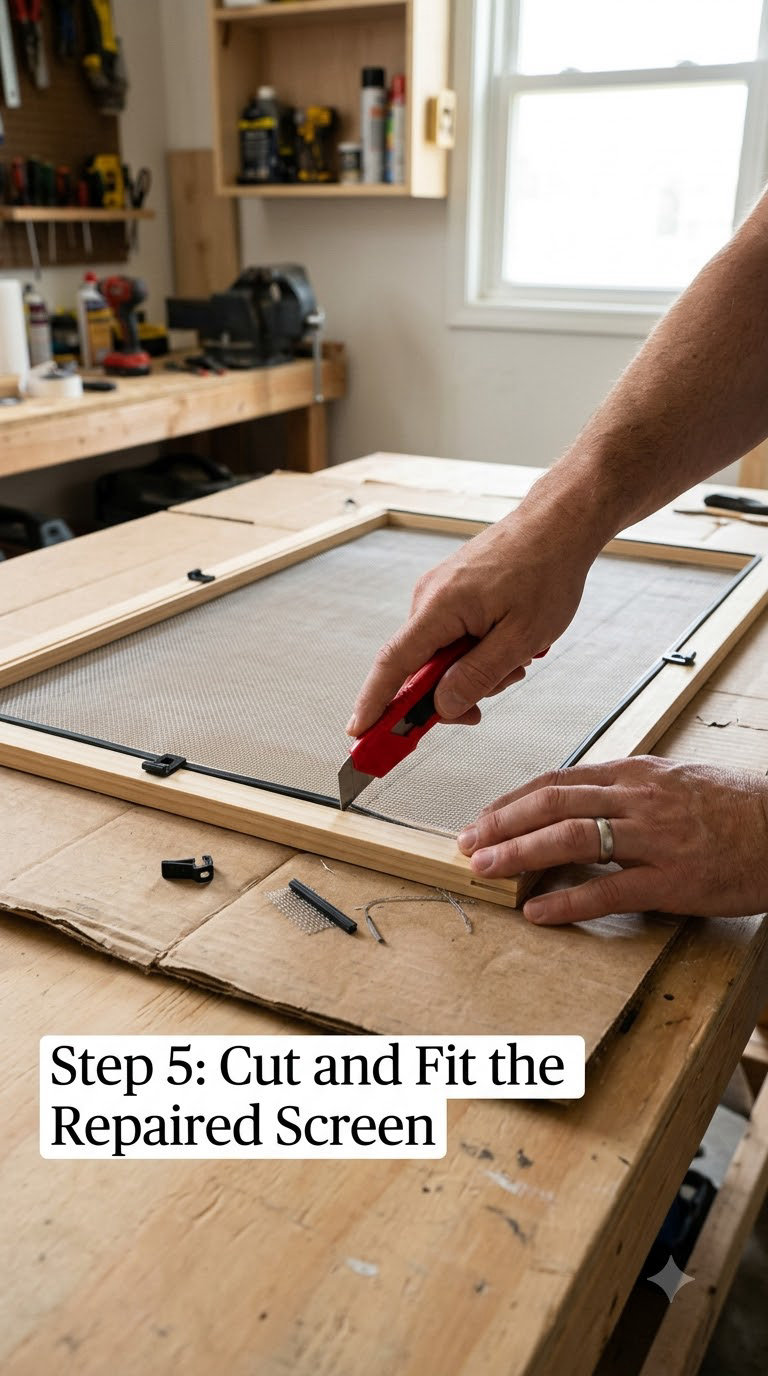
Lay the frame on cardboard and shave off the overhang with a fresh utility blade. Cut away from the groove, not toward it, and take several light passes instead of one heavy one. A single firm cut toward the spline is how a brand new screen ends up with a slit in it.
Watch the corners, where the mesh can pull tight and lift away from the frame. If a corner looks slack, you can tuck that mesh back under the spline and roll a short section again rather than trimming it away.
Hold the finished frame up to light and look straight through it. Wrinkles, a diagonal slack line, or a corner pointing in toward you all mean the tension was uneven and it is worth re-rolling now rather than living with a screen that catches on the sash.
Step 6: Reinstall the Screen and Check the Fit
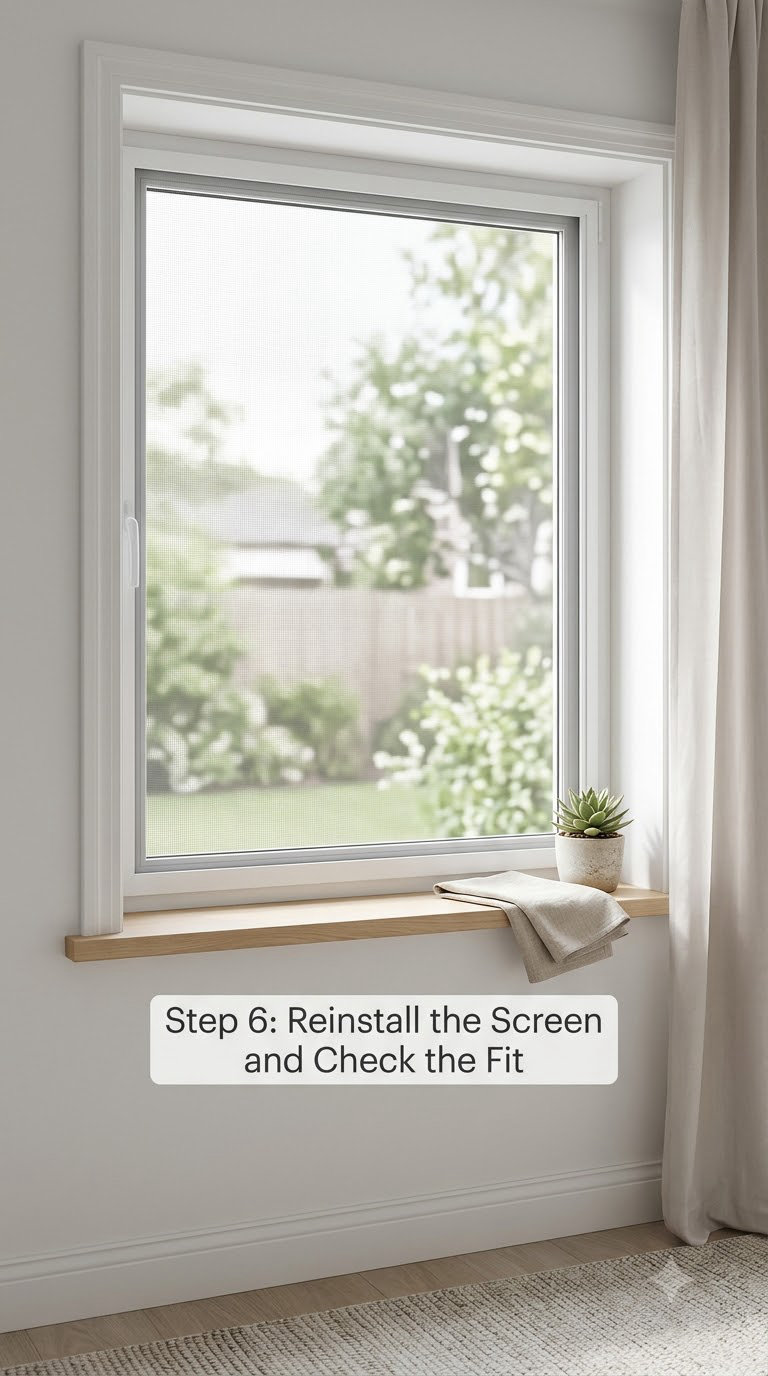
Slide the screen back into its track or seating channel, starting at the top. If you used screws or turn-buttons, put those back to the factory tension rather than snugging them down hard; over-tightening bows the frame and leaves the mesh rippled.
Open and close the window a few times. The screen should sit flat with no gap between the frame and the sash, and the mesh should be taut enough that a firm push with your palm does not create a wave. Any gap wider than a pencil at the edge is a door for mosquitoes, so check the bottom corners specifically.
Close the window, turn off the lights, and look from outside. In a dark room a gap shows up as a faint outline of light, which is the fastest way to catch a missed corner.
Common Mistakes to Avoid
Cutting the mesh too small. With no overhang you have nothing to hold, so the screen installs slack and wrinkles. Cut 2 to 3 inches larger than the frame measurement.
Patching a damp or dusty surface. The bond fails and the patch peels off with the first rain. Clean, dry, then adhere.
Forcing the wrong spline. If it will not seat by hand with firm pressure, it is the wrong diameter, not a matter of being tougher. Trying to force a thin cord into a narrower groove splits the frame lip.
Rolling the roller backwards or pressing on loose mesh. Roll forward, keep the wheel on the frame side of the spline, and any stray cut lands on material that gets trimmed away.
Installing mesh into a bent or wet frame. Damp wood swells and never dries flat, and a warped corner makes the tension uneven everywhere. Dry the frame first and replace it if it is out of shape.
Using a dull blade for the final trim. Dull blades push the mesh instead of cutting it, leaving a curled edge that catches. Swap the blade and cut on cardboard.
Losing the corner tension. If a corner lifts again after a week, cut that spline, pull it, and re-roll the corner with slightly more tension. Corners are the highest-stress point on the whole frame.
When to Call a Pro
Screen work itself is beginner territory. A few situations are not. If the window frame is split, rotted, or the aluminum is corroded through, the screen is the least of it, and that repair needs a window or door pro.
Security screens and insect screens with embedded stiffeners are a different product entirely, usually tensioned by a spring system rather than a spline. Retrofit screens in historic or custom glazing may need to be built to match the original profile. Laminated, tempered, or custom glass is a specialist job, and anything above the first floor needs a proper ladder setup or a lift.
If you are not able to remove the screen without tilting the sash out of the opening, or the window has a coating, screen channel, or frame profile you cannot match, a pro can usually handle it in under an hour. Worth it if the same window has already defeated two attempts. If you enjoy working through other small repairs, our [electric recliner repair walkthrough](https://www.rosenberryrooms.com/electric-recliner-repair/) covers the same kind of take-apart-and-fix approach.
Maintenance
Vacuum screens gently once a month with a soft brush attachment. It keeps pollen and grit from working into the weave and abrading the fibers from the inside.
Wash with a soft brush, a bucket of lukewarm water, and a small amount of dish soap, then rinse and dry the screen completely before reinstalling. Never put a screen on the window while it is still damp, because trapped moisture wicks into the frame.
Repair punctures while they are small. A hole under half an inch is a patch job of a few minutes; the same hole a month later is usually the start of a run of tears along the weave.
Twice a year, check the spline by pressing the mesh gently in the middle of the frame. It should feel taut and spring back. Check the pull tabs and any screws at the same time, and replace the ones that have gone brittle rather than forcing them.
Keep a scrap of mesh and a short length of spline in the garage. Screens are one of the few household items that fail in slow motion, and a ten-minute fix on a Saturday keeps it that way. For the same kind of low-cost household upkeep, we keep a practical guide to [vacuum repair and maintenance](https://www.rosenberryrooms.com/best-place-to-fix-my-vacuums-complete-repair-service/) handy too.
Frequently Asked Questions
How do you fix a window screen without replacing it?
Clean and dry the damaged area, trim away loose strands, then apply a self-adhesive screen patch or a square of mesh cut 1 inch larger than the tear on every side. Press from the center outward and give the adhesive 30 to 60 minutes before reinstalling. This works for holes up to about 3 inches.
What size spline do most window screens use?
Most residential window screens use 0.160 inch spline, with 0.140 inch found on older aluminum frames and 0.175 inch on larger or wood-framed screens. Rather than guessing, pull a short piece of the old spline and compare it to the new cord, or roll it between two fingers to judge the diameter.
Should the splines on a window screen face in or out?
The spline faces inward. The grooved, V-shaped side sits down in the channel so the mesh is trapped beneath it, and the pointed ridge faces away from the center of the frame. If the cord fits loosely and will not seat, the diameter is wrong rather than the orientation.
What can I use instead of a screen spline tool?
A shower door wheel, a round wooden dowel about 3/8 inch thick, or the head of a hard plastic spoon all seat spline. A short length of PVC pipe with a smaller pipe slid inside it makes a passable roller too. They take longer than a real roller, so work in short sections and keep the pressure even.
Which is better, fiberglass or aluminum screen mesh?
Fiberglass is easier to work with because it stretches and forgives beginner mistakes, and it suits most homes and rentals. Aluminum lasts longer, resists sagging, and blocks insects more tightly, but it does not stretch and wrinkles stay. Choose pet-resistant mesh if dogs or cats work at the lower windows.
Is it cheaper to repair or replace a window screen?
Patching costs one patch and about ten minutes, and it makes sense for isolated holes. Full re-screening costs one roll of mesh plus spline and takes 45 to 90 minutes, which is still far less than a new frame. Replace the whole screen only when the frame is bent, the mesh is brittle throughout, or damage is widespread.
Conclusion
Start by identifying what you are dealing with: count the holes, measure the biggest one, and check whether the mesh is sound or brittle. One small hole means a patch. Widespread damage or a bent frame means re-screening the whole thing.
From there the first physical step is simple. Pop the screen out of the window, lay it on a flat surface, clean and dry it, and pull the old spline out of the groove. Everything after that is cutting, tensioning, and trimming, and the repair is finished inside the hour.