
How to Repair a Sagging Ceiling Drywall in 2026 the Safe Way
A sagging ceiling can usually be repaired, and most small sags are a fastening problem rather than a structural one. If the drywall panel has simply pulled away from the ceiling joists above it, you can push it back into contact, screw it home and skim the seams in a weekend. If the joists themselves have bowed, or the gypsum is wet and crumbly, no amount of fastening will help until the framing or the leak gets fixed first.
That distinction is the whole job. Learning how to repair a sagging ceiling drywall starts with separating the two cases, because one is a Saturday afternoon and the other is a call to a contractor. I have watched homeowners spend a full weekend screwing down a panel that had already taken a permanent set from water damage, and it sagged right back within a month.
Contents
Time: 4 to 6 hours plus drying time · Cost: modest for materials on a small area, higher when framing is involved · Difficulty: Moderate DIY · Skill level: Comfortable with a drill, a utility knife and a ladder
Tools and Materials
Hand tools, access and safety equipment:
- Drill/driver with a depth stop, plus 1-5/8 inch coarse-thread drywall screws (about 1 screw per square foot of ceiling is a reasonable starting count)
- Utility knife with fresh blades, straightedge or 4 foot level, tape measure, pencil, chalk line and string for snapping joist locations
- Stud finder, plus a hammer to tap and listen for the sharp sound of a joist against the dull thud of a cavity
- Flat bar or pry bar, drywall saw or reciprocating saw, and a hand rasp for cleaning cut edges
- Stable step ladder or drywall platform, safety glasses, work gloves, N95 or P100 dust mask, and a battery or corded work light
- Canvas or plastic drop cloth, painter’s plastic for protecting walls, and a vacuum for drywall dust
Repair materials, with quantities for a small area of roughly 2 by 4 feet:
- One 2 by 4 foot piece of drywall the same thickness as the existing ceiling, cut to fit
- Two or three 1-5/8 inch coarse-thread drywall screws, or 2 inch screws if you are going into plaster
- Drywall tape, setting-type joint compound in a 3 to 5 gallon tub, a 6 to 12 inch taping knife and a 12 inch finishing knife, 120 grit sandpaper or a sanding sponge
- Construction adhesive, a paintable primer and ceiling paint to match
- Loose hardware: 1-5/8 inch screws, common nails, washers, and a 1×2 or 1×3 offcut to use as a cleat
If the opening runs larger than a single sheet, plan on one 4 by 8 sheet per opening plus a 10 percent waste allowance, extra tape and compound, and a corner bead if you cut into a wall run. Ceilings are heavier than they look, so if the sag spans most of a room, budget for a second pair of hands and a ceiling jack or a homebuilt 2×4 prop. If you are shopping the gear, our picks for drywall tool kits cover the knife, saw and hand tools in one place. Prices swing by region and season, so check locally before you buy.
Before You Start
Stand back and look at the sag from eye level, not from directly underneath. A dip that reads as dramatic from six feet below often disappears when you view it from across the room, and half-inch drywall is flexible enough that a shallow bow can stay invisible unless sidelight windows wash light across it. Take photos from the same spot now, so you have a before picture if you want to argue a texture match later. Measure the low point with a straightedge and a tape, and write the number down.
Then get above it if you can. Open the attic hatch or find another access point, comb back blown-in cellulose in sections rather than all at once, and look at the joists directly overhead. You are checking four things: framing that is straight or visibly bowed, fasteners that have pulled loose, insulation that is damp or matted, and any sign of a roof or plumbing leak. If the attic is full of loose fill, comb it back a room at a time or have an insulation contractor vacuum it out with a truck-mounted hose rather than shoveling it all into the corner.
Protect the room before you cut anything. Move furniture out, lay a drop cloth, tape plastic over light fixtures and vents, and keep pets and children out until the dust settles. Drywall dust is fine enough to travel through the house, and a mask is worth the ten seconds it takes to put one on.
If the sag sits under or near a light fixture, switch off the breaker for that circuit before you remove the fixture, and confirm it is dead with a tester. Old ceilings can have cloth-sheathed cable or brittle insulation, and re-lighting a fixture in a sagging ceiling is one of the most common ways a repair job turns into a drop.
Finally, know when to stop. A permit is rarely required to patch drywall in a home, but repairs that touch framing, and any work involving structural changes, may need one depending on your jurisdiction. If you find a leak, rot, a bowed joist, or wiring you cannot trace with confidence, that is a professional assessment rather than a weekend project.
How to Repair Sagging Ceiling Drywall Step by Step
These steps cover a small, localized sag where the panel has detached from sound framing. If moisture, structural movement or an electrical concern is still unresolved after Step 1, stop there and read “When to Call a Pro” further down before you touch a fastener.
Step 1: Confirm the Cause Before You Repair Sagging Ceiling Drywall
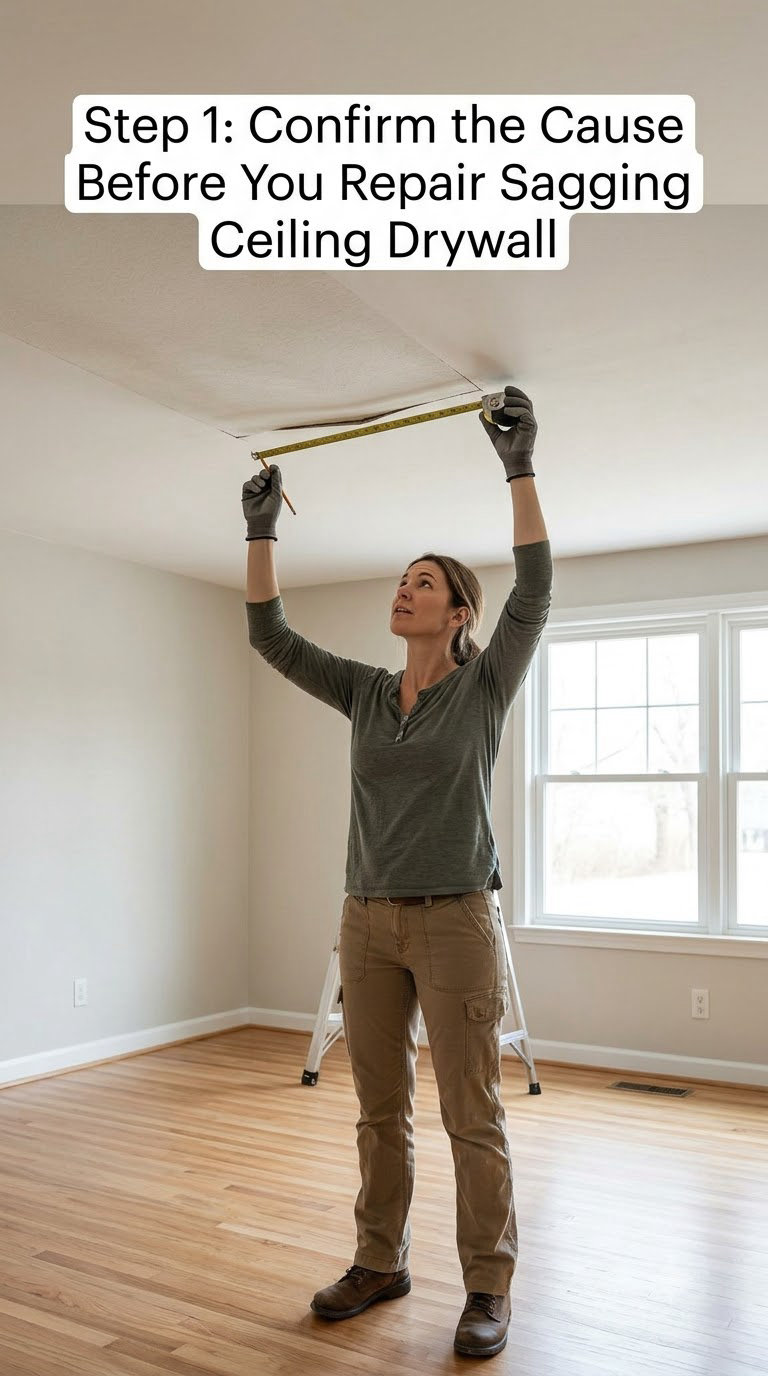
Mark the boundary of the sag from below with a pencil, then probe the edge gently with a screwdriver. A panel that moves and springs back when you push it has failed fasteners, not failed framing. A panel that feels soft, hollow, or crumbly under pressure has lost strength in the gypsum core and needs to come out. Push up on several points rather than one, and note where the panel resists.
Check the seams and screw lines for pops, torn paper, and fasteners sitting proud of the surface. On older jobs, look for signs of adhesive-only attachment: the panel was bedded in construction adhesive and held with a few widely spaced nails, and the screws that were supposed to hold it never went in. On plaster, look for radial cracks running out from a central bulge, which is the signature of lath that has separated from its keys.
From the attic, trace where the water came from if there is any evidence of damp. Fix the source first. A repair made over an active leak will fail no matter how well it is done, and the moisture keeps coming back until the roof, the plumbing, or the ventilation is corrected.
Stop and step back if the ceiling has an unexplained bulge, an active leak, movement across several panels, or anything electrical near the sag. Those are not drywall problems.
Step 2: Clear the Work Area and Shut Off Utilities
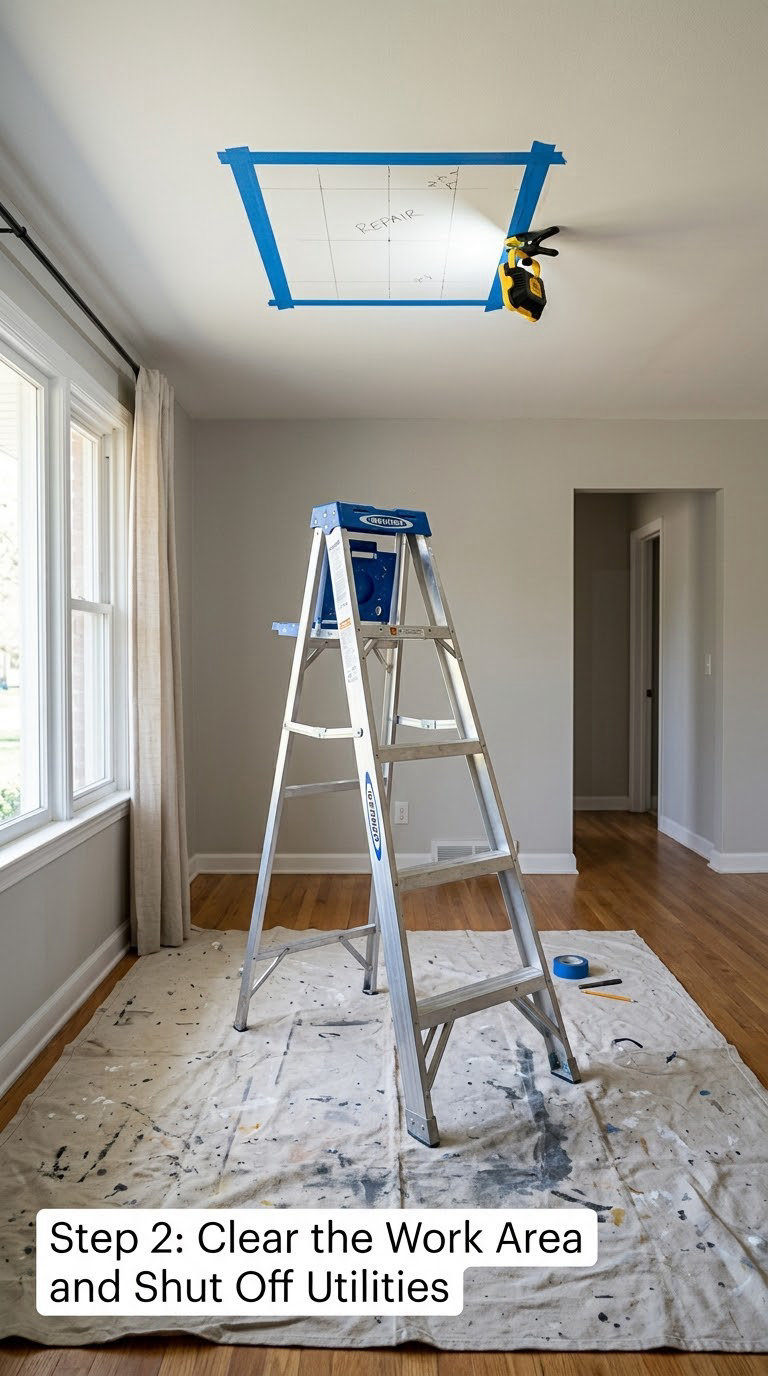
Get everything out from under the work zone, not just to one side. Sheets of half-inch drywall falling from seven feet carry enough momentum to hurt, and users on home repair forums repeat the same advice: never work directly under a visibly bulging section, observe it from the side first, and keep bystanders out of the room while you are overhead.
Set up a stable ladder on level ground and position your work light so your shadow is not between you and the ceiling. Ventilate the room while you cut and sand, since the dust settles on everything. Put on eye protection and gloves, and switch off the breaker for any circuit serving fixtures in or near the sag.
If you will be working from the attic side, put on a respirator before disturbing old insulation. Homes built before 1980 can carry asbestos in blown-in or vermiculite insulation, and some textured coatings as well. If you are not certain what the material is, treat it as asbestos-containing and hire a licensed abatement contractor to test and remove it.
Step 3: Remove Loose Drywall and Expose the Cause
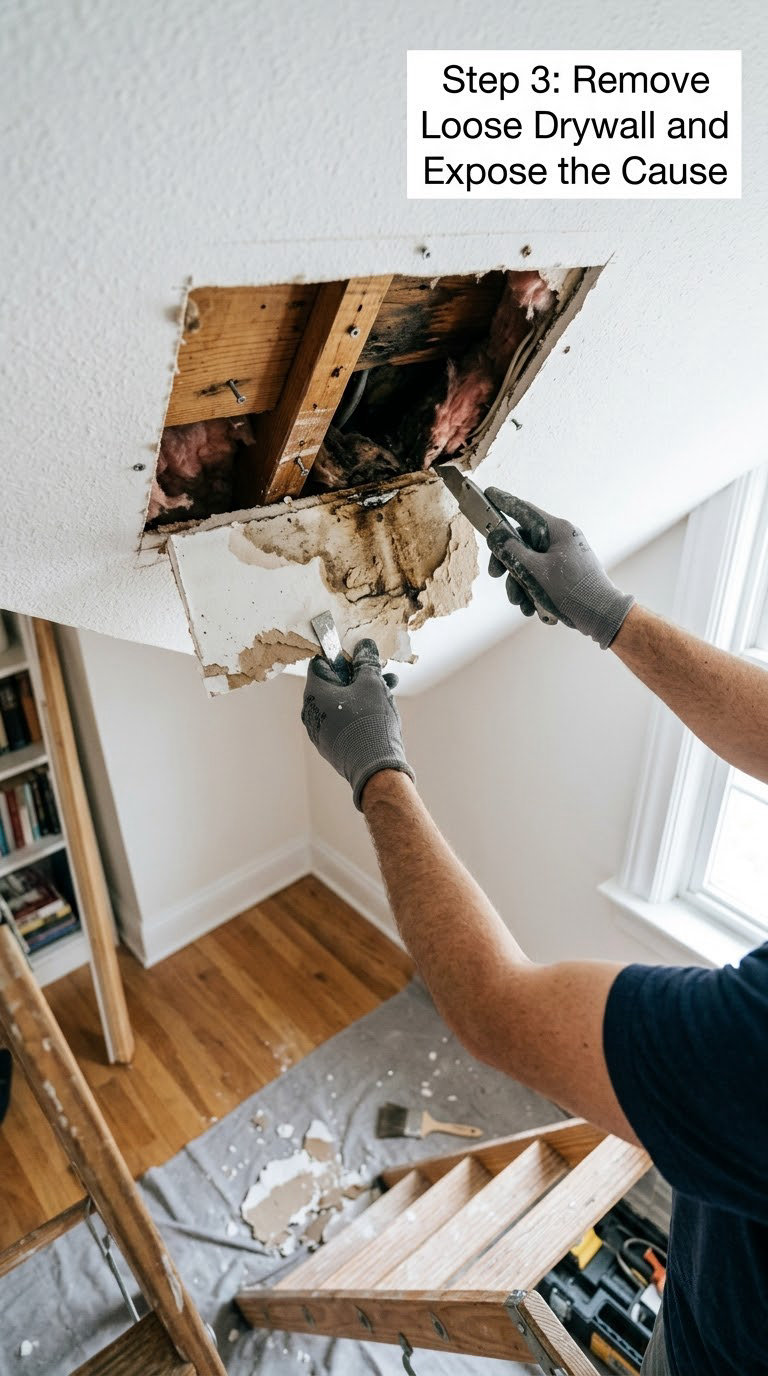
Cut out only the loose material. Slide the knife in along a marked line and take the panel back to sound edges, working slowly so you do not slice a pipe or a wire hidden above the surface. Keep the pieces in order and label them, because a section that comes out intact can often go back in and save you a sheet.
With the opening exposed, look at the framing and the fasteners. Sound framing is straight, dry, and firm; the joists should sit tight against the wall plate. What you are hoping to see is a joist face with plenty of solid wood to take a screw. What you do not want is rot, a crack or split through the member, a wet surface, or a joist that has been pushed sideways out of its bearing.
Feel along the joist for soft spots and look for screw holes from a previous repair. Multiple empty holes in a line usually mean something heavy was once hung there, and it is a hint that the framing was under more load than it was sized for.
Stop here if the framing is rotten, cracked, split, wet or displaced. No amount of drywall work fixes framing that has lost its strength, and a sistered or replaced member is a bigger job with different rules.
Step 4: Repair or Add Backing Support
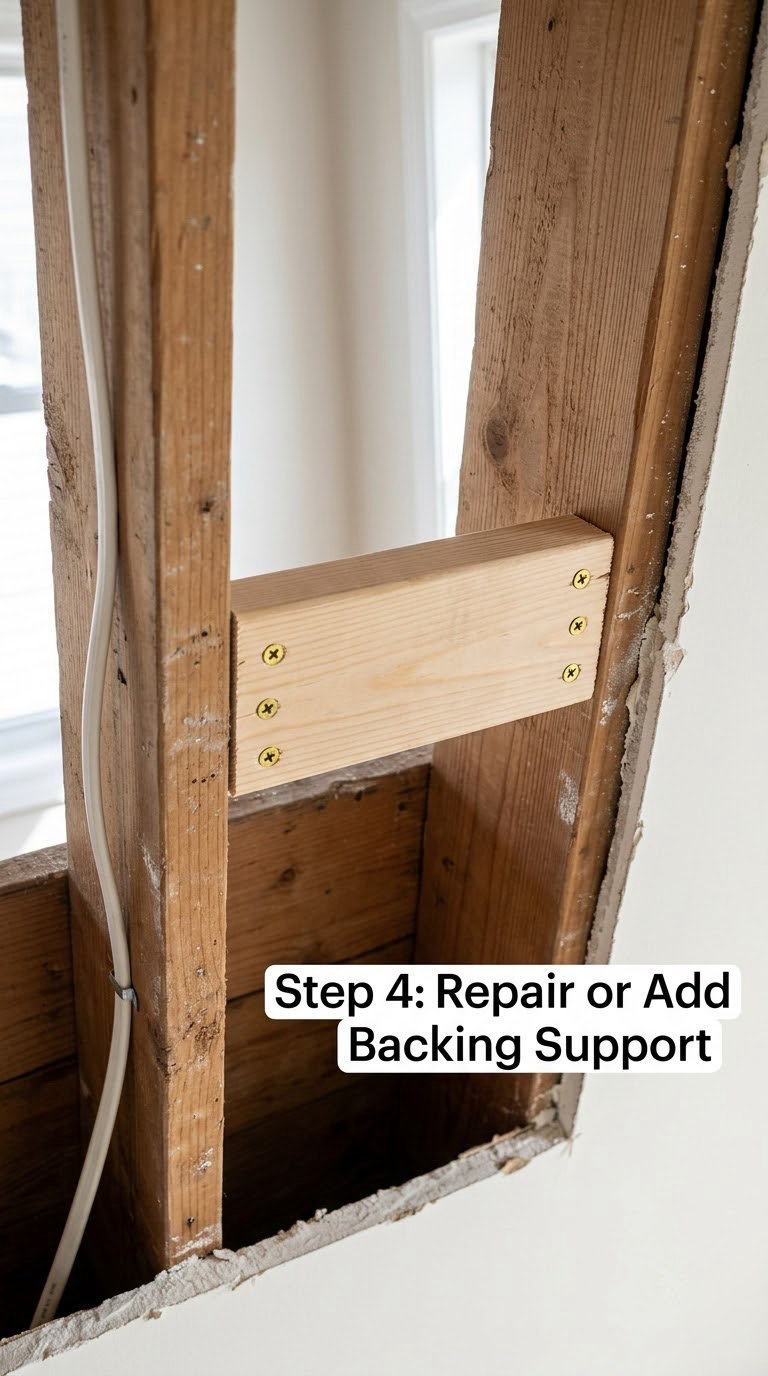
If a joist is present and sound, you do not need anything new. Drive the existing panel back up into the joists with 1-5/8 inch coarse-thread drywall screws, placed in the centre of each joist and set so the screw head sits just below the paper without tearing it. Where the panel is bowing, the fix is the same: bring the panel to the wood, then screw it there. Experienced regulars on the r/drywall and r/HomeImprovement forums describe this as the reliable first move, and it holds when the panel itself is intact. If this is your first time working through how to repair a sagging ceiling drywall, this is the step worth slowing down on.
If there is no fixing point, add one. Cut a 1×2 or 1×3 cleat long enough to span between the two joists, nail it to the side of each joist with a couple of nails driven at an angle, and let the edge of the drywall sit against it. Where the sag is pronounced, users recommend 2×2 or 2×3 rather than thin 1×2 furring, because thin furring bends to match the curve instead of lifting the panel flat.
For a longer run, lay furring strips perpendicular to the joists at 16 inch centres, with the first strip tight against the wall and the final strip butted to the far wall so the drywall has support at every edge. Drive 2 inch screws into pilot holes to avoid splitting the strip. If you are picking up a driver for this, our review of drywall screw guns covers the depth control that stops screws going in too deep.
Before you fasten anything, check what is in the bay. Locate pipes, wiring and any insulation above, and never drive a screw into a cable or a copper line. A single screw into a romex is enough to kill power to the room.
Step 5: Cut, Fit, and Secure the Replacement Drywall
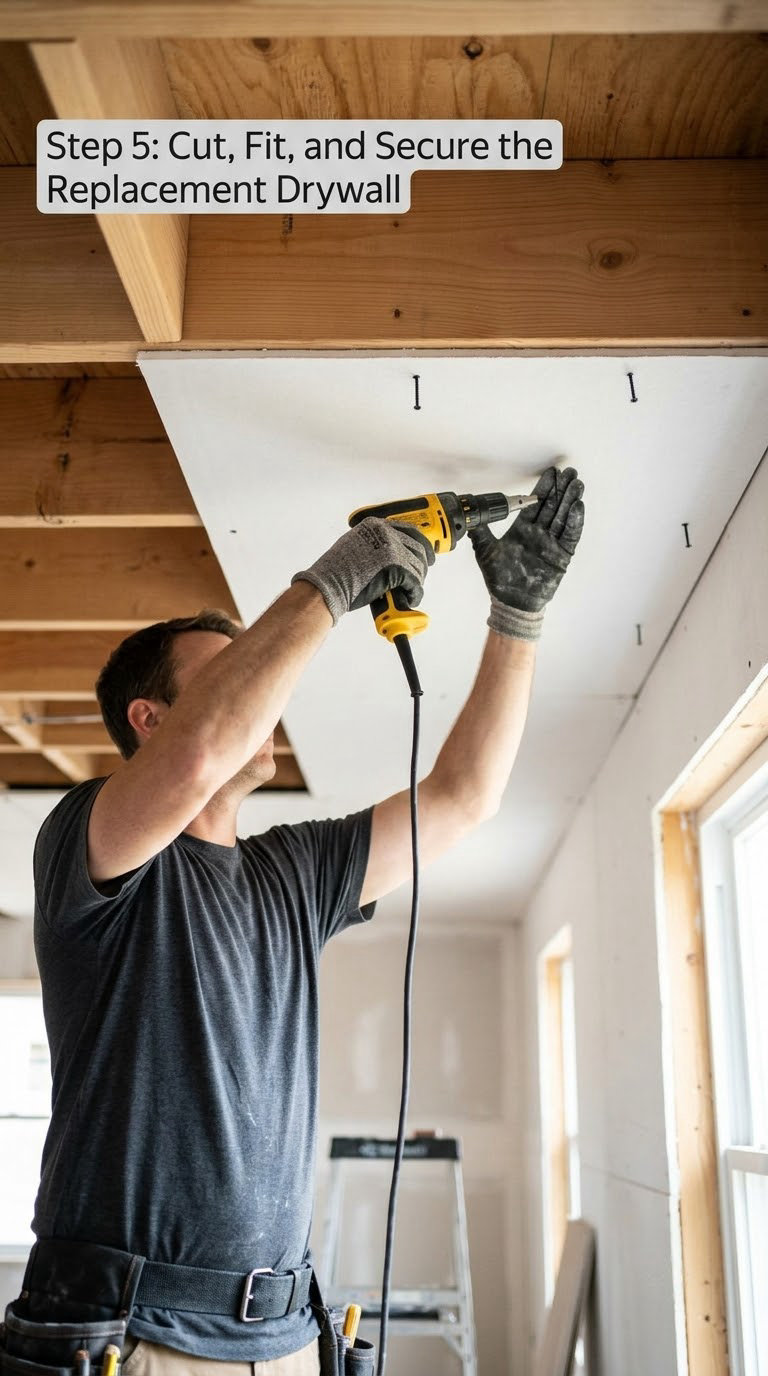
Measure the opening and cut the replacement panel a quarter inch smaller all round. If you are reusing a piece that came out, test it in place first. A panel cut dead to the opening has nowhere to go, and forcing it creates the exact bow you are trying to fix.
Lift the panel into the opening and have someone hold it, or prop it with a 2×4 jack. The simplest version is a length of 2×4 with a shorter crosspiece screwed on near the top, standing on a board on the floor; if the panel is heavy or awkward, a second pair of hands beats any prop. Get the face flush with the surrounding ceiling before you fasten anything.
Drive screws in the centre of each joist, into every furring strip, and into the cleat where one exists. Space them 6 to 8 inches apart, stay 1/2 inch from every edge, and keep the head just below the paper. Check your work with a level across the patch: if it sits proud or shy, adjust the screws now rather than fighting it later with compound. Leave the screw heads just proud of the surface rather than sunk deep, because buried heads are what cause dimpled patches later.
Do not re-drive an old screw through torn paper. The screw has nothing to grip, and it will pop out again. Move a couple of inches along the joist and start fresh.
Step 6: Tape, Mud, Sand, and Finish the Seams

Embed paper tape into wet setting-type joint compound along every taped joint, then let it set and scrape the excess flat. Setting-type compound hardens by drying rather than by air curing, which is why it is the right choice on a ceiling: a 6 to 12 inch knife loaded lightly is much easier to feather overhead than a shrinking all-purpose compound. A 45-year drywall contractor quoted on the Fine Homebuilding forum made the same point about repairs that have to hold up, and our picks for drywall taping tools cover the knife sizes and the corner tools that make this faster.
Apply three thin coats, not one thick one. Feather each coat wider than the last so the joint disappears into the surrounding texture, and let every coat harden fully before sanding, typically 12 to 24 hours per coat. Scrape the ridges off with the knife, sand the dry surface with 120 grit, and check with a raking light from a lamp held low across the ceiling; a dip shows up long before it shows up under overhead lighting.
Prime the patched area, especially if it is a water-damage area, and let the primer dry before painting. Matching a textured ceiling means mixing a small test patch first and letting it dry, because the match you judge while wet will be a different match tomorrow. If the repaired area stays visible with no shadow in it, many people simply accept the flat patch and paint the whole ceiling a shade brighter.
Common Mistakes to Avoid
- Treating the symptom and ignoring the moisture. Fix the leak, the ventilation, or the missing vapor barrier before anything else, or the sag returns within a season.
- Forcing a bowed panel flat. Drywall that sagged while damp has taken a set: it is permanently longer and wider than it was installed, and no reasonable force will flatten it. That panel has to come out.
- Using drywall nails where screws are needed. Nails work loose in a ceiling under gravity and seasonal movement. Screws hold.
- Fastening into framing that is not there. Screws into a cavity or into a rotten joist end up holding nothing. Find the joists, or add a cleat, before you spend an evening driving fasteners into air.
- Removing more ceiling than the problem needs. Cut back to sound material only. Every extra square foot is more tape, more mud and more sanding.
- Laying compound too thick. Thick coats shrink, crack and take days longer to dry. Thin coats feather out and disappear.
- Sanding before the mud is dry. Fresh compound gums the paper and pulls it off. Wait until the whole coat has hardened and darkened evenly.
- Disturbing wiring while cutting. Switch off the circuit, map what is above the cut, and treat any cable you cannot identify as live.
One more worth naming: the king post. It circulates widely as a way to straighten sagging joists, and it does not work, because you would be supporting something by attaching it to the thing it is already supporting.
When to Call a Pro
Stop and bring in a trade when the cause is not something you can fix with a screw and a strip of wood. A roofer or plumber first if there is an active leak, recurring damp, or water staining in the attic. An electrician if you are removing or swapping a light fixture in a sagging area, or if the wiring is old, brittle, or you cannot trace it. A structural engineer, not a contractor, if the joists themselves are bowed, cracked, or visibly out of position, or if several fasteners have pulled free across multiple panels.
Also bring in a pro when the panel is soft and crumbling and there is more than a small area of it, when you cannot get above the ceiling to see the framing, or when the attic insulation may contain asbestos. Extensive damage is generally cheaper to rebuild than to patch, and homeowners on r/HomeMaintenance report a few hundred dollars for a contractor to cover roughly 12 square feet of ceiling, patch and texture match included.
And be honest about scale. A sag that has taken a permanent set, or a joist that needs sistering or a strongback, is a reframing job. It can be done, but not as a weekend project with a screw gun.
Maintenance
Watch the repaired area for the first year. Look up at it from the same spot every few months, in the same light, and check that the seam has not reopened and that no screw heads have popped. Touch up small stains and fastener marks early with a dab of primer and a fingertip of paint, before they become a full patch.
Keep the ceiling dry and keep the attic ventilated, which means clearing soffit vents of insulation and checking that the bathroom and kitchen exhaust fans run outside rather than into the attic. After a storm or a roof repair, go up and look for new staining before the drywall tells you about it.
Do not hang heavy items from the ceiling, and if you store anything up there, spread the load across several joists rather than concentrating it in one bay. If the sag comes back or a new crack appears across a panel, treat it as a new problem with its own diagnosis. The first repair told you about the fasteners, not about what is causing the movement underneath them.
Frequently Asked Questions
Can I repair a sagging ceiling drywall myself?
Usually yes, if the panel is intact and the joists above are straight and dry. Push the panel up to full contact and drive 1-5/8 inch coarse-thread drywall screws into the centre of each joist, or add furring strips where there is no fixing point. If the gypsum is soft, the framing is bowed, or there is an unresolved leak, stop and get a professional assessment first.
How do I know if a sagging ceiling has a structural problem?
Press up on the panel from below. If it moves and springs back and the joists above are straight, the failure is in the fasteners. If the sag follows the joist line, spans several panels, the panel feels soft, or cracks run diagonally out of corners, the framing has moved and needs an engineer to look at it. Multiple fastener holes with no wood behind them is another warning sign.
How long does it take to repair sagging ceiling drywall?
A small localized repair takes most of a working day: an hour to diagnose and clear, a couple of hours to remove loose material and add backing, and the rest cutting, fastening and taping. Then allow three coats of setting-type compound at 12 to 24 hours each, plus sanding, priming and paint. Most people finish in two to three days including drying time.
What screws should I use when attaching ceiling drywall?
Use 1-5/8 inch coarse-thread drywall screws, which are designed to grip wood framing without splitting it. Place them in the centre of each joist, spaced 6 to 8 inches apart and about 1/2 inch from every edge, and drive them so the head sits just below the paper without tearing it. Move a few inches along the joist rather than re-driving a screw through torn paper.
Can I paint over a repaired ceiling seam?
Not straight away. Let every coat of compound harden fully, sand the ridges with 120 grit, then prime the patched area and let it dry before painting, because compound absorbs paint differently from the surrounding ceiling and shows as a dull patch. On a textured ceiling, mix a small test batch and let it dry completely first, since the colour you judge while wet is not the colour you will see tomorrow.
Why is my ceiling drywall sagging after a leak was fixed?
Because the drywall may have taken a permanent set while it was wet. Water weakens the gypsum core, and as the panel dried it lengthened and stayed longer than it was installed, so it no longer fits flat against the joists. Screw it back up and it will sag again. The panel usually has to be removed and replaced, along with fixing the source of the water and the ventilation that let it in.
Conclusion
Find the cause before you touch a fastener. Mark the boundary of a small sag from below, push on it to see whether the panel is detached or the framing has moved, and look at the joists from the attic side if you can reach them. If the panel is intact and the framing is sound, this is how to repair a sagging ceiling drywall: support it, screw it to sound wood, patch the opening, and finish with three thin coats.
Get help straight away for moisture, structural movement, or anything you are unsure of near wiring. A ceiling that has taken a set or a bowed joist will not straighten itself, and no amount of compound will hide it for long.
