How to Fix a Door That Sticks: Easy DIY Troubleshooting (2026)
If you have ever shoved a door that would not budge, you already know the fix usually takes less time than the argument you had with it. Learning how to fix a door that sticks starts the same way every time: find the exact spot where the door touches the frame, then correct that one point. Most sticking doors are a loose hinge screw, a swollen edge, or paint that crept into the gap, and all three are weekend work with hand tools.
Here is the short version, before the detail. Tighten the hinge screws first, because it costs you nothing and it fixes a surprising share of the problem. Sand or plane only what still rubs after the hinges are tight, and always seal bare wood before you close the door up again.
Contents
Time: 30 to 90 minutes for most interior doors, plus drying time for filler and paint · Cost: low, usually a few screws, a sheet of sandpaper and a small tin of filler · Difficulty: Easy to moderate DIY · Skill level: confident with a screwdriver and a block of sandpaper
Tools and Materials for Fixing a Sticking Door
Gather everything before you pull the pin out of the hinge. Working with a half-open door and a screwdriver in one hand is how people gouge a frame.
- Tool kit: a Phillips screwdriver set, a flat screwdriver, a cordless drill with a bit that fits 3 inch (75 mm) screws, a block plane, a sanding block, 100, 120, 180 and 220 grit sandpaper, a 6 inch (150 mm) flexible putty knife, an adjustable wrench, a pencil, a ruler or tape measure, and a thin flashlight for checking gaps.
- Repair supplies: 3 inch (75 mm) #3 wood screws for hinges, wood filler, wooden toothpicks, cardboard hinge shims, masking tape, a clean damp cloth, and a small can of paint and primer that match your existing finish.
- Safety gear: safety glasses, work gloves, a dust mask or respirator for sanding old paint, and a door stop wedge or a block of wood to keep the door from swinging while you work on the hinges.
- Optional: a door punch or a nail set, a chisel and mallet for removing a stubborn strike plate, a rasp or file for a metal edge, and a trim square for a straight sanding line.
Before You Start: Find Out Why the Door Is Binding
Every sticking door belongs to one of a few families, and each one gets a different fix. Look at where the door catches and you can usually tell which family you have.
If the door rubs on the side opposite the hinges, or the gap narrows toward the top, loose hinge screws are the likely culprit. If the door hangs crooked or the latch misses the strike plate, the frame is out of square. If the bind shows up on the hinge side, the hinges are pinned tight or shimmed wrong. If a whole edge is swollen and hard to the touch, the wood has absorbed moisture. If it starts in humid months and eases off in winter, you are looking at seasonal movement.
A few safety and prep notes before you touch anything. Wear eye protection when you work near a door that may snap closed, and clear the swing path so the door cannot fall against you. If you are sanding an older painted door, use a dust mask; old paint is the reason that gear is on the list. Do not drive screws deep near the hinge area without checking first, because electrical cable and plumbing sometimes run through the framing behind a jamb. And if the door is carrying structural load, or the problem is a draft rather than a bind, plan for a larger repair than the one described here.
Step-by-Step Instructions for How to Fix a Door That Sticks
Step 1: Diagnose Where the Door Is Binding
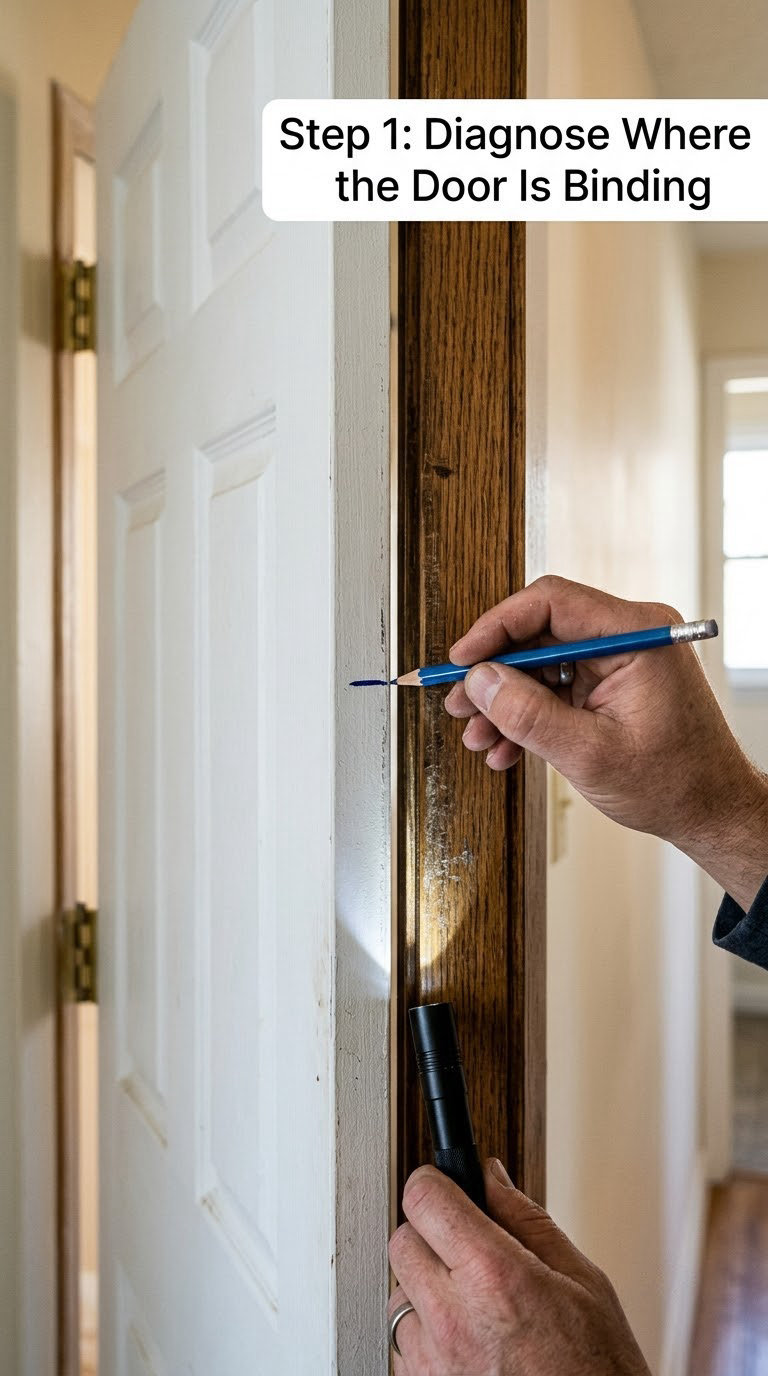
The diagnosis takes five minutes and saves an hour of sanding the wrong edge. Open and close the door slowly several times, feeling where it resists, and mark every contact point on the door and the frame with a pencil. Carbon paper taped to the edge leaves a cleaner mark if you have a piece.
Shine the flashlight along the gap at the top, both sides, the latch side and the threshold. A healthy gap is about 1/8 inch (3 mm) at the sides and around 3/4 inch (19 mm) at the bottom. If the door lifts easily and clears once you lift the bottom corner with your knee, the hinges have settled. If the door is hard from the first inch of movement and the edge feels swollen, the wood itself is the problem.
Step 2: Tighten Hinges and Correct Loose Screws
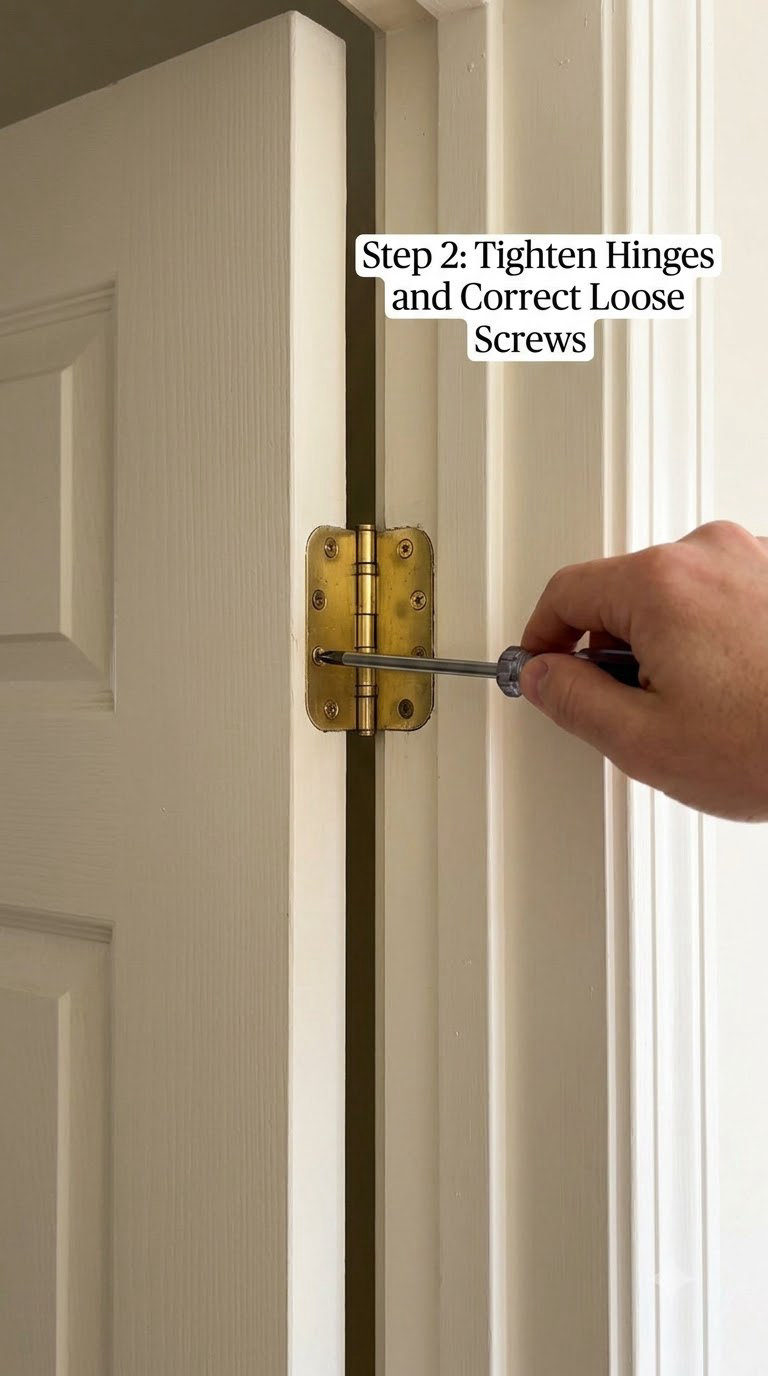
Wedge the door so it cannot move, then work the screws by hand first. Most hinge screws that look tight have simply worked loose in the soft wood of the jamb without losing their heads, and a quarter turn is often all it takes.
Next, replace one screw in each hinge with a 3 inch (75 mm) screw that reaches the stud behind the jamb. Long screws pull the leaf tight to the framing and stop the sag that makes a door rub. If a screw hole is stripped, coat the toothpick in wood filler, push it into the hole, let it dry, snap it off flush, then drive a shorter screw back in. Take a look at whether the door frame itself is moving before you blame the hinges; several sticking doors in a house are a sign that the framing has shifted, not that each hinge needs help.
Step 3: Adjust the Door Swing and Strike Plate
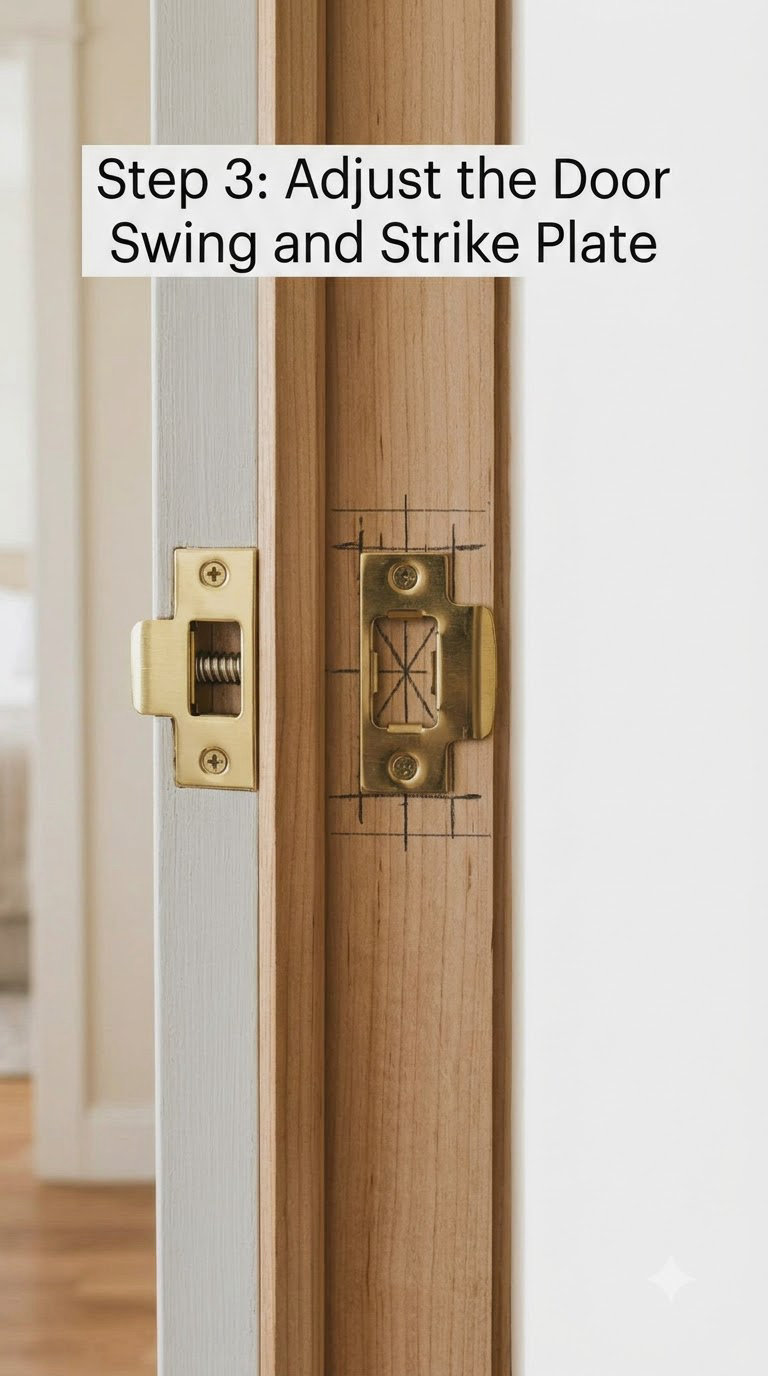
If the door binds on the hinge side after the screws are tight, the hinges are holding it too close to that side. Back the hinge screws out slightly, slide a shim made from folded cardboard or a thin wood strip behind the leaf, then retighten. Test the swing after each hinge. Change one thing at a time, because shimming a top hinge too aggressively is a fast way to bind the bottom corner instead.
Only touch the strike plate once the door hangs square. If the latch bolt consistently lands low or high compared with the opening, mark the bolt position with a pencil, then deepen the opening with a file or move the plate. Undoing a screw that runs the full length of the plate is fiddly, so a small metal file is easier than a chisel here.
Step 4: Sand or Plane a Door That Sticks at the Top or Bottom
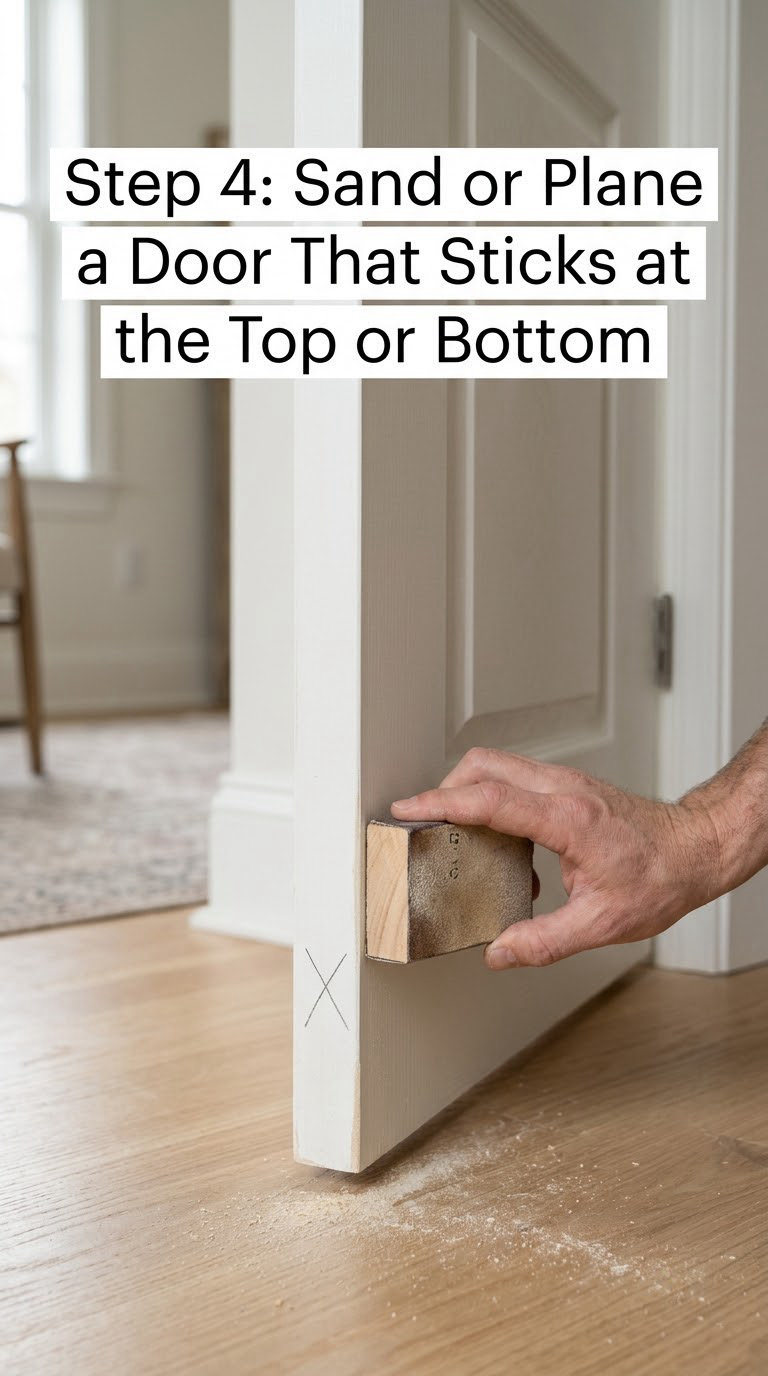
Mark the high spots with your pencil from Step 1, then work the wood with the grain. Use 100 or 120 grit to find the trouble spots fast, and hold the sandpaper flat on a block so you do not round the edge over.
A block plane is faster and more controlled for a heavy bind. Take shallow passes from the top of the door downward, which reduces splintering on the end grain, and check the fit after every few strokes. Finish with 180 to 220 grit to take the roughness out. Stop while the gap is still about 1/8 inch (3 mm) at the sides; if you take too much off, the door will rattle in winter when the wood shrinks. You should be able to close it with a gentle push of the palm, not a shove.
Step 5: Fill, Prime, and Repaint the Repaired Area
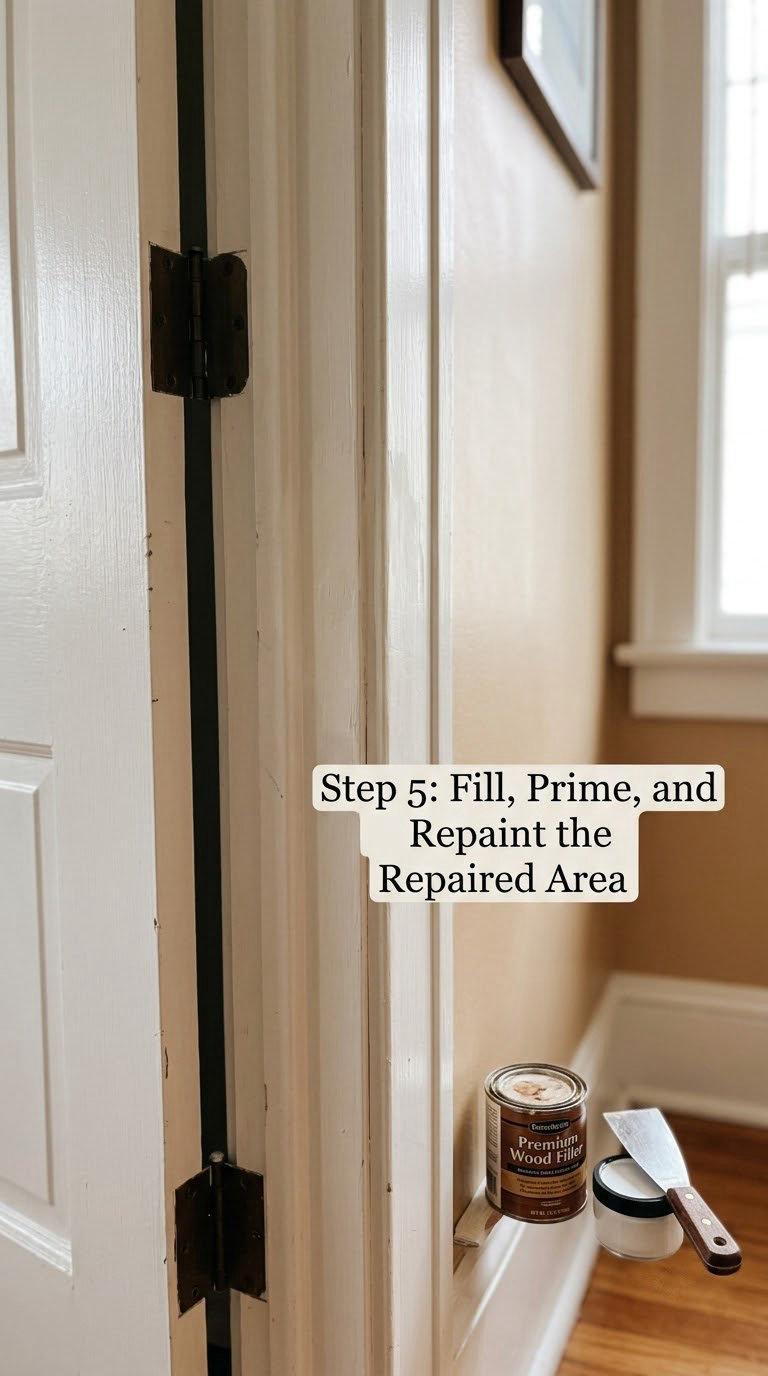
Sanded wood is raw and drinks moisture, which is how one repair turns into a repeat repair a year later. Fill gouges, chipped edges and screw holes with a wood filler matched to the stain level of your door, and let it dry for the time printed on the label, usually 15 to 60 minutes for a small repair.
Sand the filler flush with 180 grit, feathering the edges into the surrounding paint so the repair disappears when the light hits it. Prime any bare wood with a stain-blocking primer, let it dry, then paint two thin coats rather than one heavy one. Two thin coats dry flatter and leave no brush marks, which matters on a door people touch every day.
Step 6: Rehang, Test, and Confirm the Repair
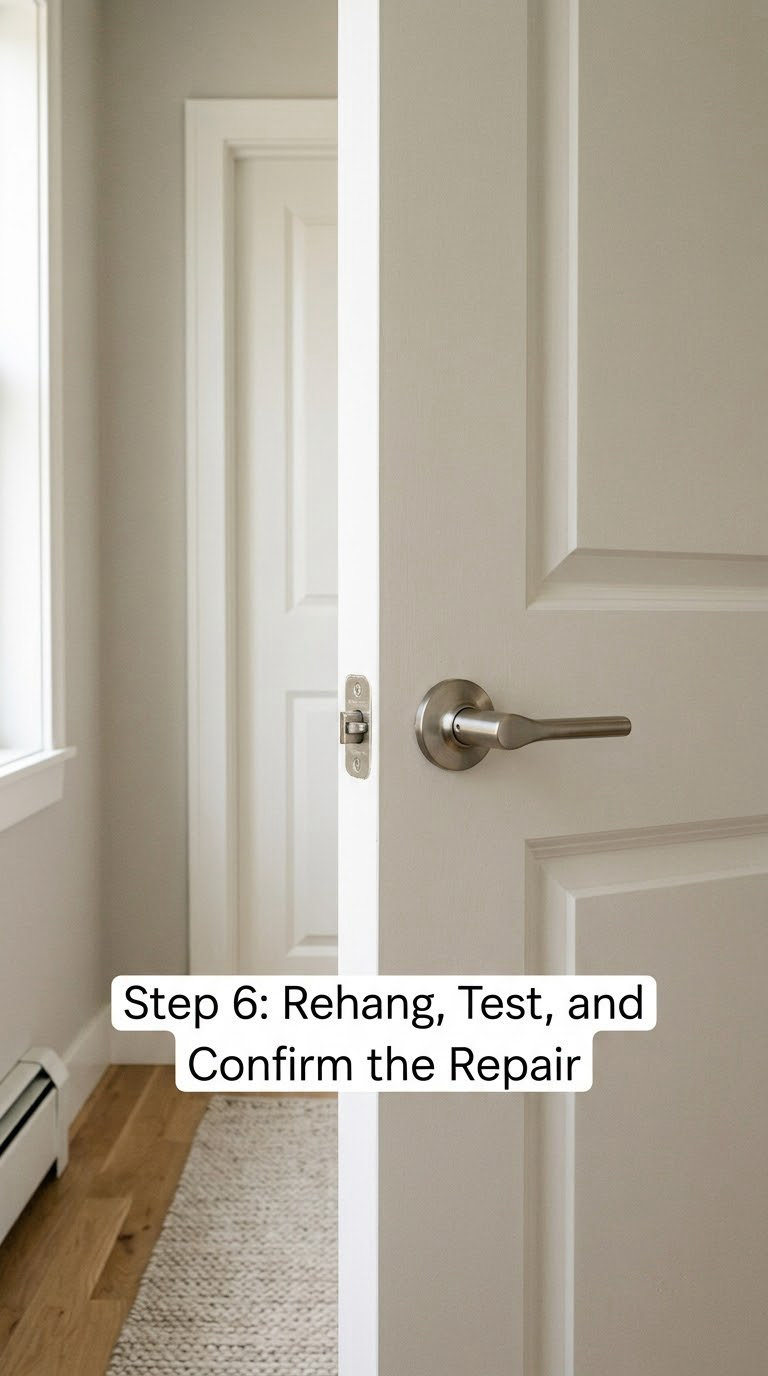
Lift the door back onto the hinge pins and swing it through its full travel several times. The gaps should look even from top to bottom on the hinge side, and the latch should enter the strike plate on its own with a light touch. Never test by forcing it; forcing is how a good repair becomes a hinge problem.
On an exterior door, check the weatherstripping while it is closed and look for daylight through the seal. Give paint 24 to 48 hours before the door gets daily use, and a full week before you lean on it, because paint that looks dry is still soft underneath. If the door binds again within a month, go back to Step 1 with a sharper eye rather than sanding more.
Common Mistakes to Avoid
- Sanding too much in one pass. Removing half the door to fix a tight spot guarantees a rattle later. Take 1/32 inch (1 mm) at a time and test constantly.
- Planing across the grain. Cross-grain passes tear out fibers and leave a fuzzy edge that catches fabric. Always work with the grain, from the top down.
- Forcing the door. Shoving a stuck door damages the latch, the strike plate and sometimes the frame. If it needs a shove, something is still binding.
- Loosening all the hinge screws at once. The door drops. Support it with a wedge or a second person before you back a single screw out.
- Deepening the strike plate first. Chasing a misaligned door with a bigger hole only hides the problem and weakens the jamb. Square the door first.
- Painting over damp filler. Filler that has not fully dried will crack and blister. Follow the label and test with a fingernail before painting.
- Ignoring swollen wood or a distorted frame. If several doors stick at once, or gaps widen toward the ceiling, the cause is moisture or framing, not hardware.
When to Call a Pro
Call a qualified door or window professional when the wood itself is failing. Cracked panels, rot at the bottom rail, a bowed slab that no amount of planing will straighten, or a hinge pulled out of a crumbling frame all need a carpenter, not a sanding block.
Stop and call for help if the cause is structural: doors sticking across several openings in the house, gaps that grow toward the ceiling, or cracks running from a door corner up the wall. That pattern points to foundation settlement or framing movement, and planing a door there only buys you a season. Concealed wiring near a hinge, damaged hinges on a heavy door, and any exterior repair that touches insulation or flashing also belong with a pro. For the specific case of how to fix a bathroom door that hits the toilet, the clearance problem is a different set of fixes worth reading first.
Maintenance That Keeps the Repair in Place
Give the hinges a quarter turn by hand twice a year, in spring and autumn, and touch up any screw heads that have walked out of the wood. That five-minute habit prevents most sticking doors from ever starting.
Once a year, look at the paint on the door edge and the frame. If bare wood is showing, spot prime and paint it before it takes on water. On exterior doors, clear leaves and grit off the threshold, check that the weather seal still touches the door all the way across, and keep the seal painted so it stays flexible. Inside, run a dehumidifier or a dehumidifier setting on your climate system through the humid months, aiming for roughly 35 to 50 percent relative humidity; wood expands across its grain as moisture rises and shrinks as it dries, so a stable indoor climate does more for a door than any repair. A drop of light oil or silicone on the hinge pin twice a year keeps the swing quiet. A related frustration worth solving properly is when something in the bathroom does not line up the way you expect, such as when you need to fix a bathtub lip that sticks out.
Frequently Asked Questions
Why has my wooden door expanded?
Solid wood doors take on moisture through the grain and swell across their width. Humid summer air, a leaking exterior door or a wet mop around an interior door are the usual causes. The fix is to let the source dry out, keep indoor humidity around 35 to 50 percent, then sand or plane only the spots that still bind.
Why is my door hard to close all of a sudden?
The usual causes are a hinge screw that worked loose, a swollen edge after a wet spell, paint or caulk that crept into the gap, and hardware that shifted. Close the door slowly and mark where it catches. If the bind shows up on the hinge side, tighten the screws and shim. If a whole edge feels swollen, sand it.
Will WD-40 fix a sticking door?
WD-40 is a water displacement spray and a decent short-term hinge lubricant, but it is not a wood treatment and it will not shrink a swollen door. If your door is bound on metal, the product can help for a few weeks before it needs reapplying. For real fixes, tighten hinges, shim them, or remove a small amount of wood.
Should I sand or plane a sticking door?
Plane when you are removing more than a light layer, and sand for anything lighter or for finishing. Both work with the grain, and both need frequent fit checks. Sanding is easier for a first repair and mistakes are hard to undo, so many people sand first and only reach for the plane when sanding stops making progress.
How do I know if a sticking door means a foundation problem?
One sticking door is almost always a hardware or moisture issue. Signs that point further are several doors sticking at once, gaps that widen toward the ceiling, doors that bind differently from one week to the next, and cracks running from a door corner into the wall. If you see that pattern, get an inspection before adjusting hardware further.
Start at the hinges. Tighten the screws, add one 3 inch (75 mm) screw per hinge, then close the door and see whether the bind is gone. If it is not, mark the rubbing point and take 1/32 inch (1 mm) off with the grain. Prime and paint the bare wood and the repair will hold for years instead of one season.