
How to Repair Cracked Grout in a Shower the Easy Way (2026)
To repair cracked grout in a shower, remove the damaged material with a grout saw, clean and fully dry the joint, then pack it with fresh grout or flexible silicone caulk depending on where the crack sits. Corners and changes of plane get caulk, tile-to-tile joints get grout.
A hairline crack in a shower joint is one of the cheapest problems in a bathroom to fix, and one of the most expensive to ignore. Grout is the seal that keeps water off the backer board behind your tile. Once it opens, water gets behind the tile, and that is where the expensive damage starts.
Contents
Time: 2 to 4 hours of work plus drying time · Cost: low for a spot repair, one small container of material covers several linear feet · Difficulty: moderate DIY · Skill level: patient beginner with good lighting
Nobody enjoys a shower that looks like it is slowly falling apart. I have repaired the same three or four joints in my own shower twice now, and the second time took half as long because I knew what the joint should look like when it is right.
Tools and Materials
Gather everything before you pull the first tool out. Half-finished grout jobs fail because you stop halfway to find a sponge.
- Manual grout saw or grout rake — a tungsten carbide blade, roughly 6 inch long, for the actual removal
- Oscillating multi-tool with a grout blade — optional, faster on a long shower wall but easier to chip tile with
- Razor scraper and small pry bar — for lifting out loose chunks without grinding
- Shop vac with a brush attachment — cement dust is finer than most people expect
- Stiff nylon brush — the small one that fits inside a 1/8 inch joint
- Damp sponge and a second clean sponge — one for the float cleanup, one for the final haze
- Rubber grout float for grout work, or a caulk gun if you are filling corners with silicone
- Safety glasses and a dust mask — non-negotiable, grout dust irritates eyes fast
- Painter’s plastic or a shower curtain and a couple of old towels to protect the drain and tub
Materials depend entirely on which joint you are fixing:
- Color-matched grout caulk for small hairline cracks in a tile field — the easiest fix there is
- Cement-based grout, premixed or powder where you are replacing a full joint on the wall or shower floor
- 100% silicone sealant for inside corners, the base of the shower, and anywhere two planes meet
- Grout sealer, only if the product you used is not pre-sealed and not an epoxy
- Mold and mildew cleaner — see our picks for cleaners for shower tile and grout before you scrub old growth out of the joint
Before You Start
Five minutes of diagnosis saves an hour of undoing work. Tap each tile around the crack with a screwdriver handle or a coin. A hollow ring means the tile has lost its bond to the backer board, and no amount of new grout will fix that.
Press firmly on the backer board behind the suspect area. Firm and cool is fine. Soft, spongy, or stained dark means moisture has already gotten through, and that substrate has to dry out completely before anything is packed into the joint.
Photograph the shower before you touch it, especially if the shower is new. Cracks appearing within the first two years of a renovation are worth documenting before you repair them, because that timing points at the original workmanship rather than normal wear.
Decide how far the repair travels. Extend each crack out by about 2 inches past where it ends, so the new material has something sound to bond to. You are not obliged to regrout the entire shower to fix one bad line, though a shower where most of the grout is powdering is a different job.
Then protect the space. Tape or drape the drain area and drop cloth, open the window and run the exhaust fan, and shut off the water to the shower if you will be working long enough for a single session. Wear the glasses and the mask from the moment you start cutting.
Step-by-Step Instructions to Repair Cracked Grout in a Shower
Step 1: Inspect the Shower and Mark the Damaged Grout
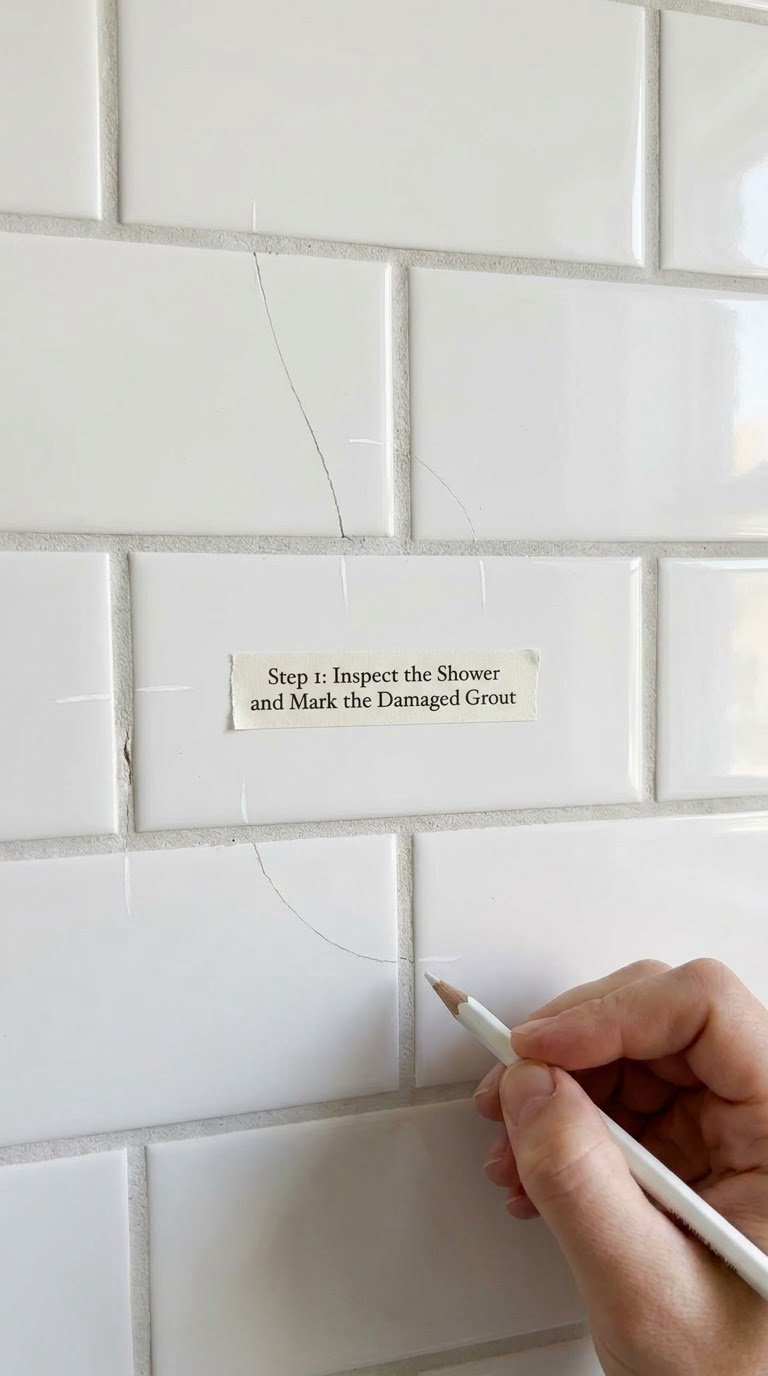
Walk the shower and mark every crack, every joint where the grout has gone soft, and every place the grout has separated from the tile edge. Marking first stops the job from creeping as you work, which it always does.
Sort each mark into one of three buckets: surface crack, joint that is falling out, or tile that moves. The first two are yours to fix. The third belongs to someone who does this full time.
Step 2: Remove the Damaged Grout
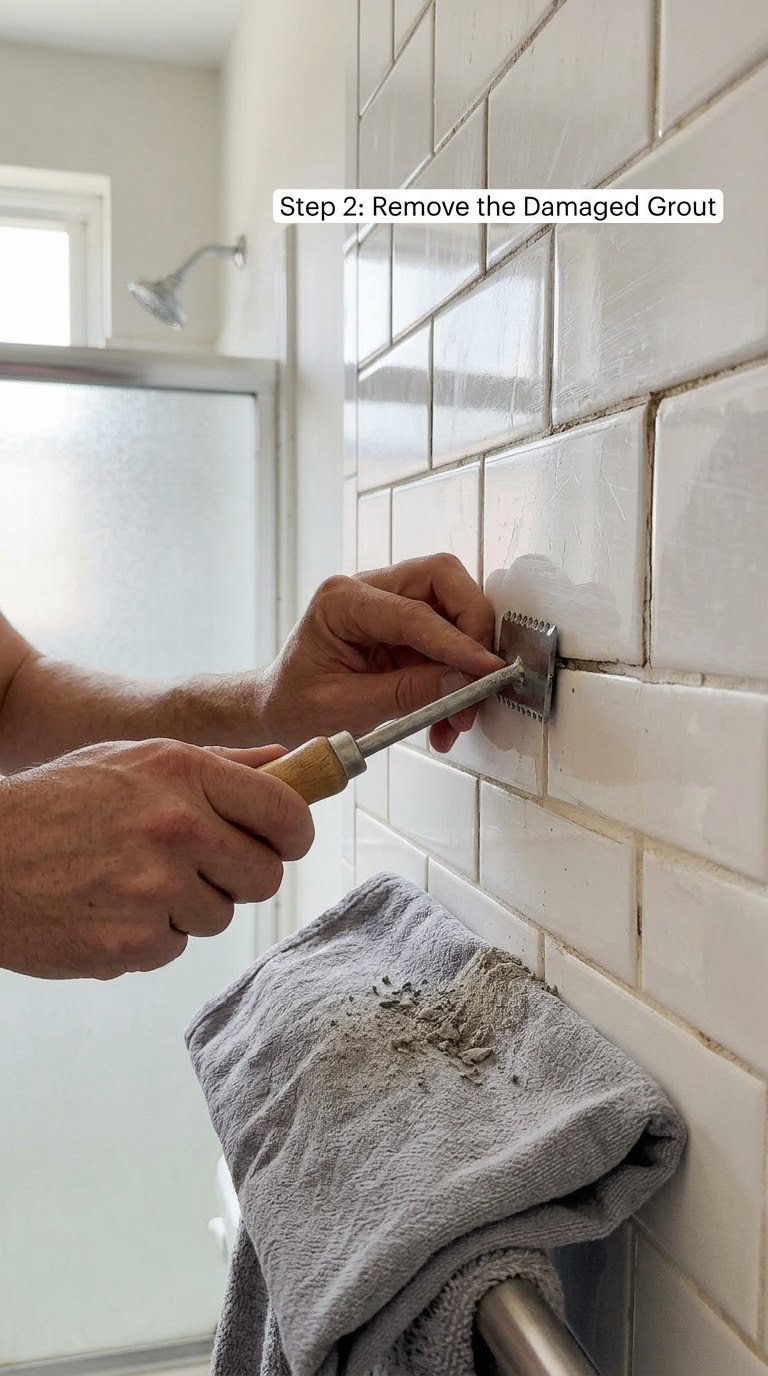
Run the grout saw along the joint at a shallow angle, working from the middle of the crack outward. Dig out at least two-thirds of the old depth so the new material has room to sit below the tile face rather than bulging up out of it.
Pull the saw toward you, never push it away from your body. Push strokes are how people chip a ceramic edge, and a chipped edge is permanent.
Work in short passes and vacuum as you go. If a chunk releases in one piece, lift it out with the pry bar instead of sawing around it.
Step 3: Clean and Dry the Joints
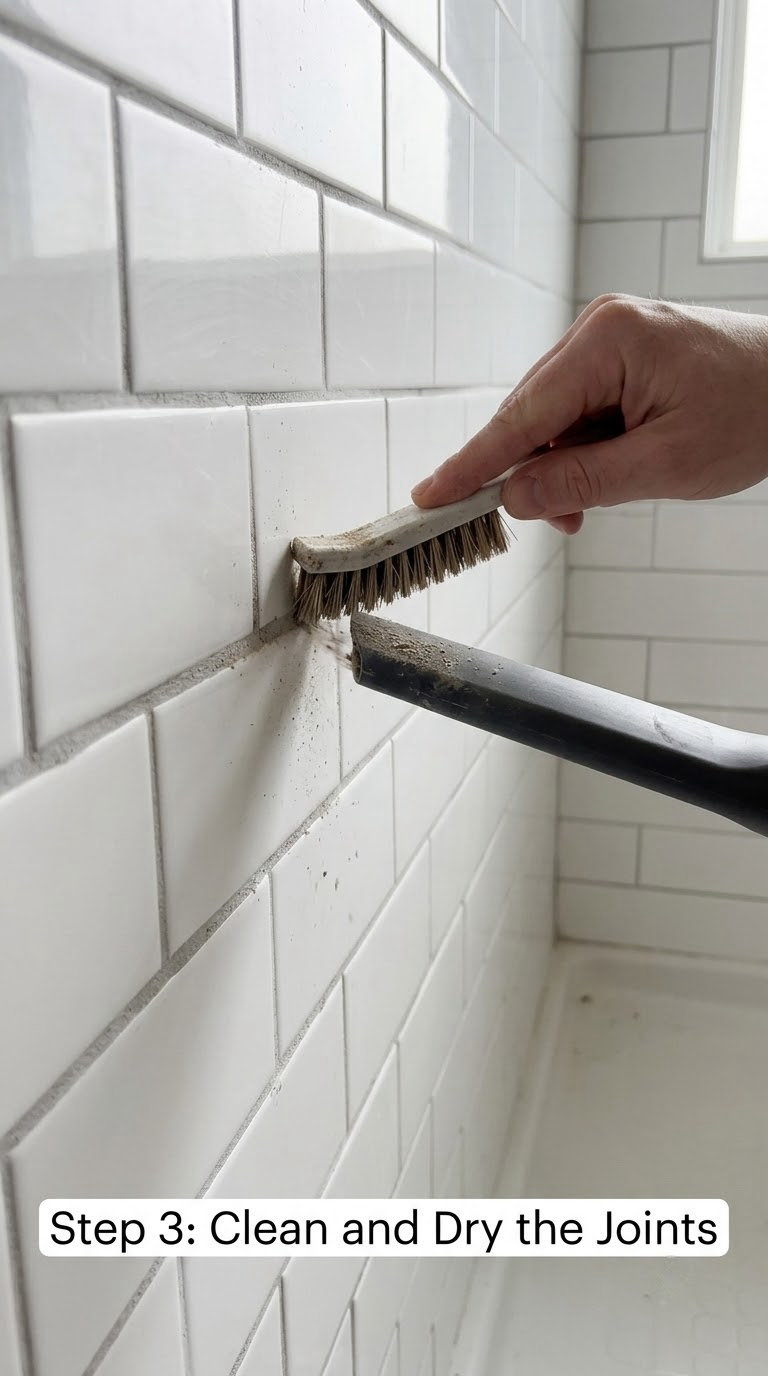
Vacuum the joint, run the stiff nylon brush through it a few times, then vacuum again. Wipe the tile faces with a damp sponge so no dust film is trapped under the new grout.
Let the joint dry completely. Cement-based grout needs a dry substrate to grab, and moisture trapped in the joint is the single most common reason a first application crumbles a day later.
Fan the shower or run a dehumidifier if you are not certain. A cool, dry joint is the check: if the shower floor feels cold and damp to the back of your hand, wait.
Step 4: Mix and Apply Replacement Grout
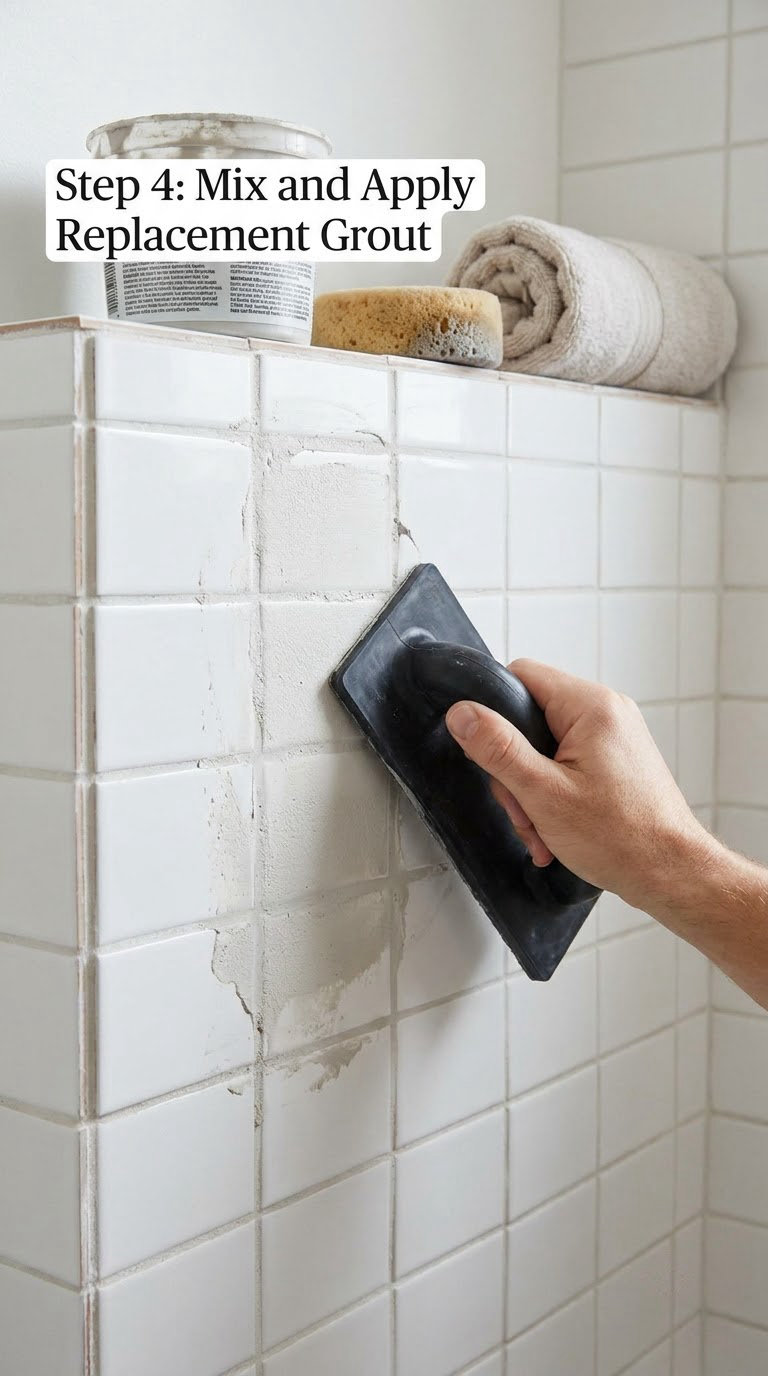
Mix cement grout to the consistency of thick peanut butter and let it sit for the five minutes the bag specifies, which lets the cement hydrate and stops the surface from curing pale and dusty.
Pack the joint with the rubber float, holding it at about a 45 degree angle and pushing the material firmly into the joint with the leading edge. Fill slightly proud of the tile surface, because grout shrinks as it cures.
Sanded grout goes into joints wider than 1/8 inch. Unsanded grout goes into joints at 1/8 inch or narrower, and sanded grout should never touch marble, metal, or glass tile, where the grit will scratch the face. If your shower floor has narrow joints, check whether the joint you are filling is really grout at all.
Step 5: Remove Excess Grout and Let It Cure
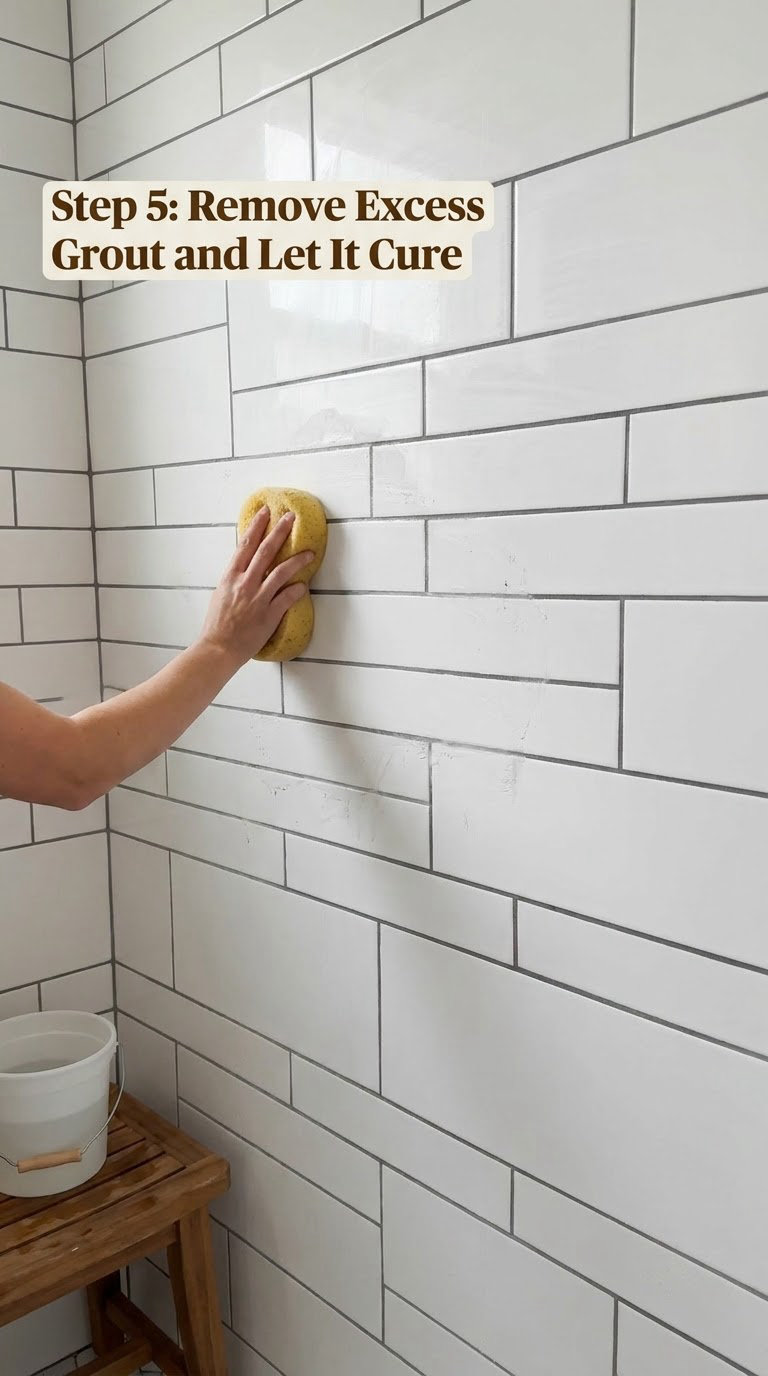
Scrape the float lightly along the joint to level it, then wipe the tile face with a damp sponge held just barely damp. Rinse that sponge often and keep working it across the tile, not back and forth along the joint, or you pull the fresh grout out of the hole you just filled.
Let the surface haze dry for about 30 minutes, then buff it off with a dry sponge or a stiff cloth. The right finish is a smooth, even line sitting slightly below the tile face, not a rounded bead.
Cement grout wants 48 to 72 hours before water hits it, and about 28 days to reach full cure before you seal it. Premixed acrylic and grout caulk are usually water-ready in 24 to 72 hours. 100% silicone needs roughly 24 hours. Check your own label, because these numbers vary.
Step 6: Seal the Repaired Grout
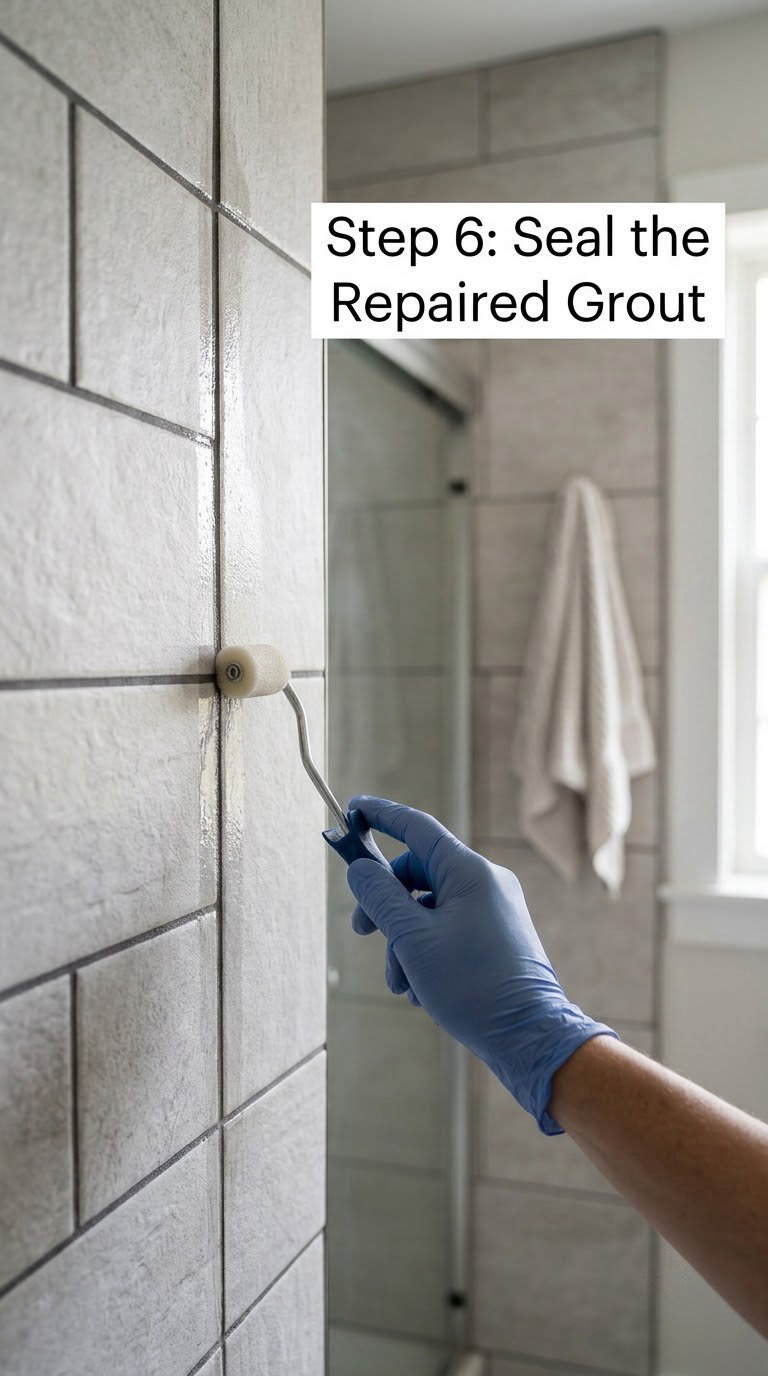
Once the grout has cured, apply a penetrating sealer with a small foam roller or a wipe-on applicator, keeping the sealer inside the joint lines. Let it dry and apply a second coat if the label calls for one.
Skip the sealer entirely if you used epoxy grout or a factory-premixed product that states it is pre-sealed. Those do not accept sealer and it will just sit on the surface as a film.
For corners and the base of the shower, run a continuous bead of 100% silicone instead of grout. Flexible material in a moving joint is the whole point.
Common Mistakes to Avoid
Grouting over a crack instead of digging it out. New grout sitting on top of old cracked grout bonds to nothing. It looks fine for a month, then the whole patch pops out in one piece.
Putting grout in a corner. Inside corners and the shower base move as the structure moves. Grout there is a crack waiting to happen. That is the most contested question on every DIY forum, and the answer has not changed: silicone belongs in the corners.
Using sanded grout on a narrow-jointed shower floor. If the joint is 1/8 inch or less, unsanded is the only material that will stay in place. On marble, stone, metal, or glass tile, sanded grit will scratch the face permanently.
Grouting over a damp substrate. If the first application crumbles when you buff it, the substrate is wet. Dry the shower out for days with a fan and a dehumidifier, then start again. Painting over the failure makes it worse.
Waiting too little time before showering. Twelve hours feels dry to the hand and is not dry to the water. Respect the label’s full cure time, and keep the shower unused in the meantime.
Skipping the prep. A dust film left in the joint is a bond breaker. Vacuum, brush, vacuum again.
When to Call a Pro
Stop and get a tile contractor if any of these show up, because each one points below the tile rather than at it.
- Tile moves, rings hollow when tapped, or rocks under pressure — the thinset bond has failed and tile comes off with the grout work
- The backer board is soft, spongy, or darkly stained — the panel has to be cut out and replaced
- Cracks keep coming back in the same line within months — something behind the wall is moving, and regrouting is a temporary fix
- Water appears downstairs or around the base of the tub — that is a shower pan or waterproofing failure, not a grout problem
- More than about a quarter of the shower needs work — at that point a full regrout by a contractor is usually less disruptive than a month of spot repairs
Anyone adding a steam generator to an existing tile shower is also in permit and waterproofing territory. Our notes on steam shower generators for tile showers walk through where the pan and the liner have to sit before anything gets plumbed in.
Maintenance
Fresh grout fails slowly, and the slow stage is visible. Stand in your shower once a month with a flashlight and look at the joints at eye level, where cracks show first.
Clean grout with something mild and non-acidic. Acidic cleaners eat cement grout, and harsh dye removers will discolor a color-matched patch faster than anything else. Our roundup of cleaners safe for colored grout in a shower covers the options that will not strip the color you just paid to match.
Squeegee the walls after each shower, run the exhaust fan during and for twenty minutes after, and keep the shower door or curtain open until the room has dried. Standing water is what turns a hairline crack into mold.
Refresh the silicone in the corners and along the shower base every two to three years, or sooner in a humid bathroom. Seal cement grout every year or two. Both jobs are an afternoon with a caulk gun and a small brush, and both are far cheaper than the repair they prevent.
Frequently Asked Questions
Can you put new grout over cracked grout?
No. New grout bonds to clean tile and sound grout, not to a crumbling layer sitting over a crack. If you pack over it, the whole patch fails together later. Dig out at least two-thirds of the old depth, clean and dry the joint, then refill. For a hairline crack that will not release, a color-matched grout caulk can sit in the surface crack without any removal at all.
Can I caulk over cracked grout?
Yes, and this is the right call in moving joints like inside corners, around fixtures, and along the base of the shower. Cut the old material out first so the bead is not stacking on dead grout, clean and dry the joint, then run a continuous bead of 100% silicone. Latex or acrylic caulk is the wrong choice here, because it hardens and cracks instead of moving with the tile.
What should I fill cracked grout with?
Use cement-based grout for tile-to-tile joints on shower walls and the floor field, matched to the existing color. Use 100% silicone sealant for inside corners, the shower base perimeter, and any joint where two planes meet. Use color-matched grout caulk for hairline surface cracks you do not want to dig out. Match the width rule too: sanded above 1/8 inch, unsanded at or below it.
Can water leak through cracked grout in a shower?
Yes. Grout is the seal that keeps water off the backer board, and a crack is a direct path through it. Water that reaches the board softens it, weakens the thinset holding your tile, and can travel under the shower pan to the framing below. Hairline cracks are worth fixing promptly, but a wide gap or falling-out grout is a leak you should not shower through for months.
Do I need to remove all the grout to fix a crack?
No. Extend each crack about 2 inches past where it ends and remove only that section, down to two-thirds of the old depth. Removing the whole shower grout line is worth it only when the grout is powdering across a wide area or has separated from the tile all along its length. If grout is loose in a dozen places, a full regrout by a contractor usually beats months of spot repairs.
How long before I can shower after regrouting?
Cement-based grout wants 48 to 72 hours with no water, and about 28 days to reach full cure before sealing. Premixed acrylic and grout caulk are generally water-ready in 24 to 72 hours. 100% silicone in a corner needs roughly 24 hours. High humidity stretches all of these, and a shower that stays damp will push them out further, so check the label on the product you actually bought.
Conclusion
To repair cracked grout in a shower, work in a fixed order: mark the damage, dig out two-thirds of the old depth, clean and fully dry the joint, refill with grout in a tile field or 100% silicone in a corner, sponge off the residue, then wait out the cure time before sealing or showering.
Start by tapping the tiles around the crack and pressing the backer board behind it. If both sound and feel solid, this is a two-hour job with a grout saw, a sponge, and the right material. If anything moves or feels soft, stop there and get a tile contractor to look at it.
