
How to Patch Nail Holes Before Painting: Easy Guide (2026)
How to patch nail holes before painting comes down to six steps: pull the nail, press lightweight spackling into the hole, let it dry, sand it flush with the wall, spot prime it, then paint. Budget about an hour for a full wall of holes, and the repair disappears into the paint instead of showing up as a dark ring.
If you have ever moved a picture hanger and watched a fresh coat of paint turn the old hole into a soft grey shadow, you already know why this step matters. Paint soaks into drywall and filler at different rates, so anything untreated reads as a different colour once the roller passes over it.
Contents
This is the fix I use every time a room needs to come back to a uniform colour, usually a few weeks before a repaint when the pictures come off the wall. It works the same on drywall, on painted trim and on a rental you need to hand back clean.
Time: 45 to 60 minutes for a wall of 10 to 15 holes, plus drying and paint time · Cost: a modest outlay for a tub of spackle, one putty knife, a sheet of fine sandpaper and a small tin of primer · Difficulty: Easy DIY · Skill level: Beginner
Tools and Materials for Patching Nail Holes Before Painting
A nail hole repair is one of the cheapest jobs in the house. You need four things for small holes, and almost everything on the list is already in a junk drawer or a hardware store aisle. If you would rather buy it all in one go, our guide to the best wall repair patch kits covers the ones actually worth keeping on a shelf.
For small nail holes (up to about 1/4 inch):
- Lightweight spackling compound in a small tub, about 4 to 8 oz to cover a room’s worth of holes
- Flexible putty knife, 2 to 3 inches wide, stainless steel or plastic
- Fine-grit sanding sponge or 180 to 220 grit sandpaper
- Tack cloth or damp microfibre cloth to lift dust
- Small angled brush for cutting in, plus the same paint already on the wall
- Fine-nib brush for spot priming if you are priming
- Safety glasses and a dust mask or respirator for the sanding
For deeper damage, bigger holes or worn-out walls:
- Setting-type or all-purpose joint compound for anything deeper than 1/8 inch or wider than a pencil eraser
- Self-adhesive mesh patch or a metal drywall patch for holes 1 inch and up
- Setting-type compound for deep or damaged board, since it hardens in the hole and will not shrink
- Wood filler or patching compound for baseboard, door casing and painted wood trim
- Wood glue and a paint stir stick for the common “filler pulled out of the wood” problem on trim
- Primer, either latex bonding primer for the repair or stain-blocking primer over anything that has bled
- A 3 to 4 inch drywall knife and a mixing paddle for a skim coat once the wall is full of patches
Before You Start
Work out what you are actually patching before you open a tub of anything. Press a thumb into the damaged spot. Firm with no give is drywall or plaster, solid and slightly springy is wood trim or moulding, and hollow-sounding usually means an unfilled cavity behind the surface.
Take a colour sample before you touch the wall. Slide a piece of cardboard behind the picture hanger and cut a clean square out of the paint with a utility knife, about 2 inches on a side, for matching later. Paint fades and oxidises, so a store swatch will not match a wall that was rolled ten years ago.
Look at the hole, not just at the nail. A clean puncture in drywall takes spackle. A hole with torn paper hanging loose, a crumbling rim, or a brown stain spreading out from it is a different job, and patching it with filler will only hold for a few months.
Protect what is below. A drop cloth, and move the switch plate if a hole sits near an outlet. If you are working within a foot of an outlet or a light switch, kill the breaker for that circuit first and use a flashlight, not a metal tool, near the box.
Open the windows or run a fan before you sand, and clear anything fragile out of the dust path. If the wall is old plaster, wear a respirator and work gently, because plaster edges crumble in a way drywall never does.
Step-by-Step Instructions
Step 1: Clean and Prepare the Hole
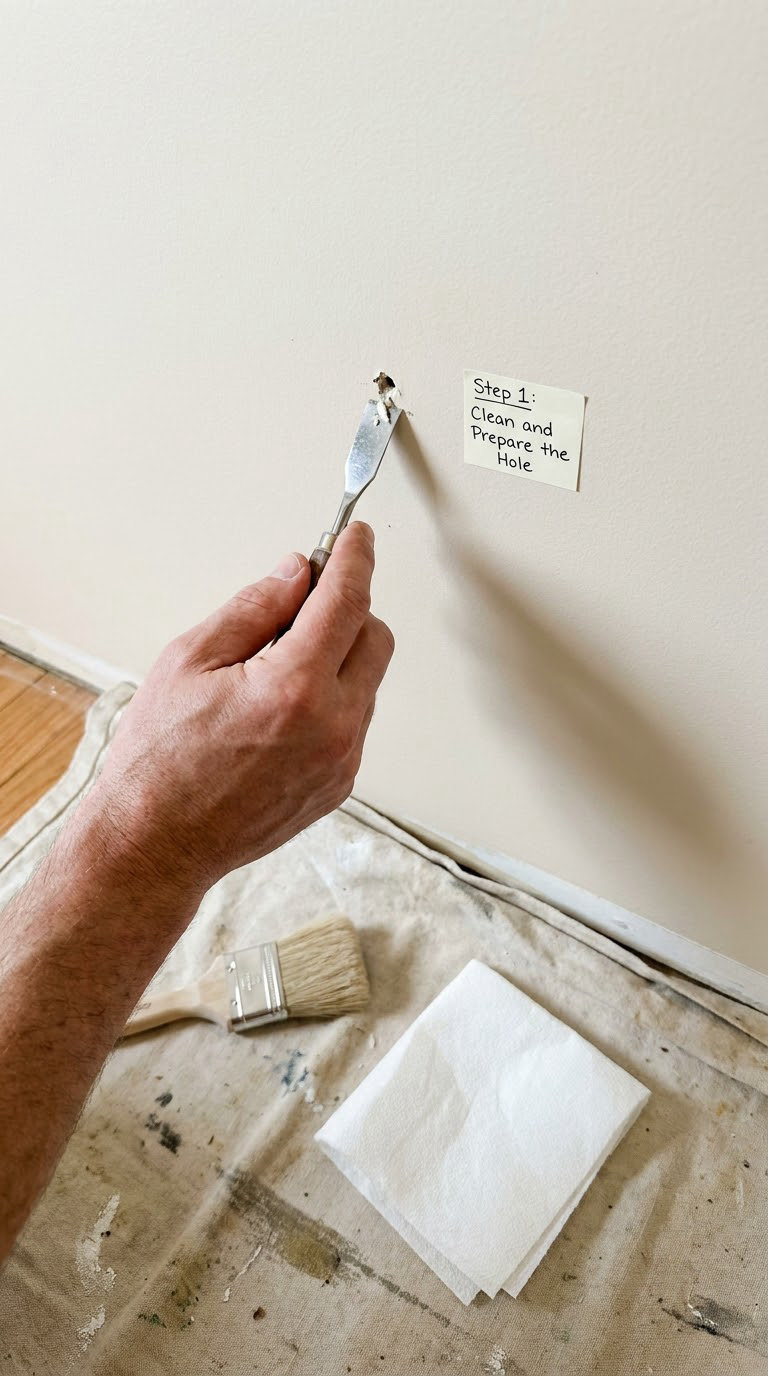
Pull the nail with the claw end of a hammer, angled so the shank comes straight out. If the head shears off, grip the shank with pliers and back it out with a gentle twist rather than yanking sideways, which widens the hole.
Brush away loose paint flakes and vacuum the dust. A stiff brush and a fingertip is usually enough for a nail hole, and a pointed scraper or the corner of a plastic putty knife will lift any remaining paint ring without cutting the paper facing.
Push any torn drywall fibres back into the opening with the flat end of the knife. Compressing the frayed paper shrinks the visible hole and stops the filler from dimpling as it dries, which is a small habit that saves a second round of filling later.
Widen the damage only where it is already loose. A 1/8 inch opening with a sound rim is a spackle job. Anything that crumbles, tears in a ring around the nail, or moves when you press it needs the edge cut back cleanly so the repair has something solid to sit on.
Step 2: Apply Spackle to Patch Nail Holes in Drywall
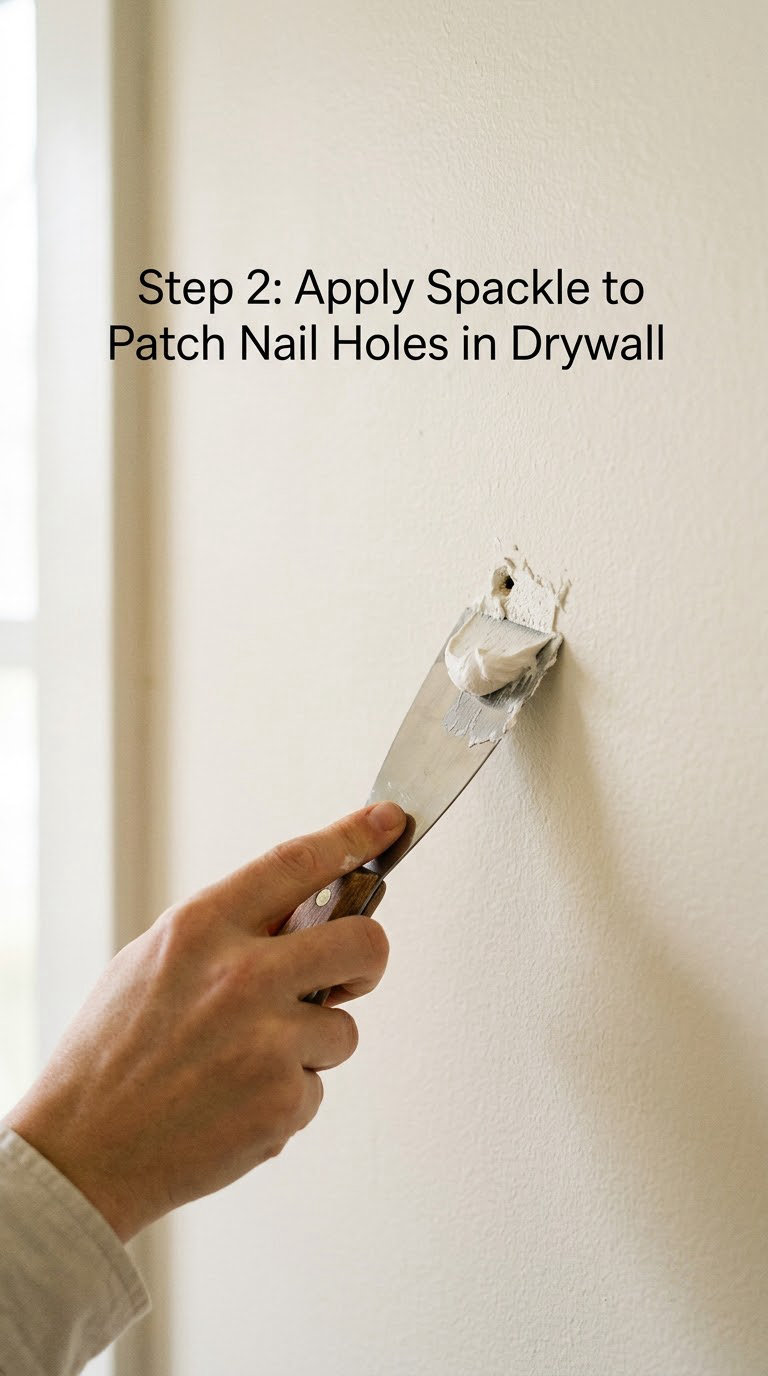
Stir the tub first. Spackle that has sat since the last job has a skin on top and a watery layer underneath, and both of those end up in the wall.
Load a pea-sized amount onto the blade and press it into the hole with the long edge, not the tip. Push the material down to the back of the cavity and pull the knife out flat, which leaves the filler slightly proud of the surface rather than dished in.
For a truly small hole, your fingertip works better than a knife. Push the spackle in, then wipe the excess straight back off the wall. Pro painters fill dozens of holes this way because it leaves almost nothing to sand and it does not skate off a textured wall the way a blade does.
Keep the patch small. Filler smeared across a 6 inch circle is the single most common reason a repair is obvious after painting, because a wide patch has more edge to catch light. A patch only needs to be a little larger than the hole.
Check it from the side, in raking light, before you let it dry. A hollow sound means a gap behind the filler, so add a little more now. Shrinking is the number one complaint about spackle, and a second thin coat after drying is normal, not a mistake.
Step 3: Let the Filler Dry
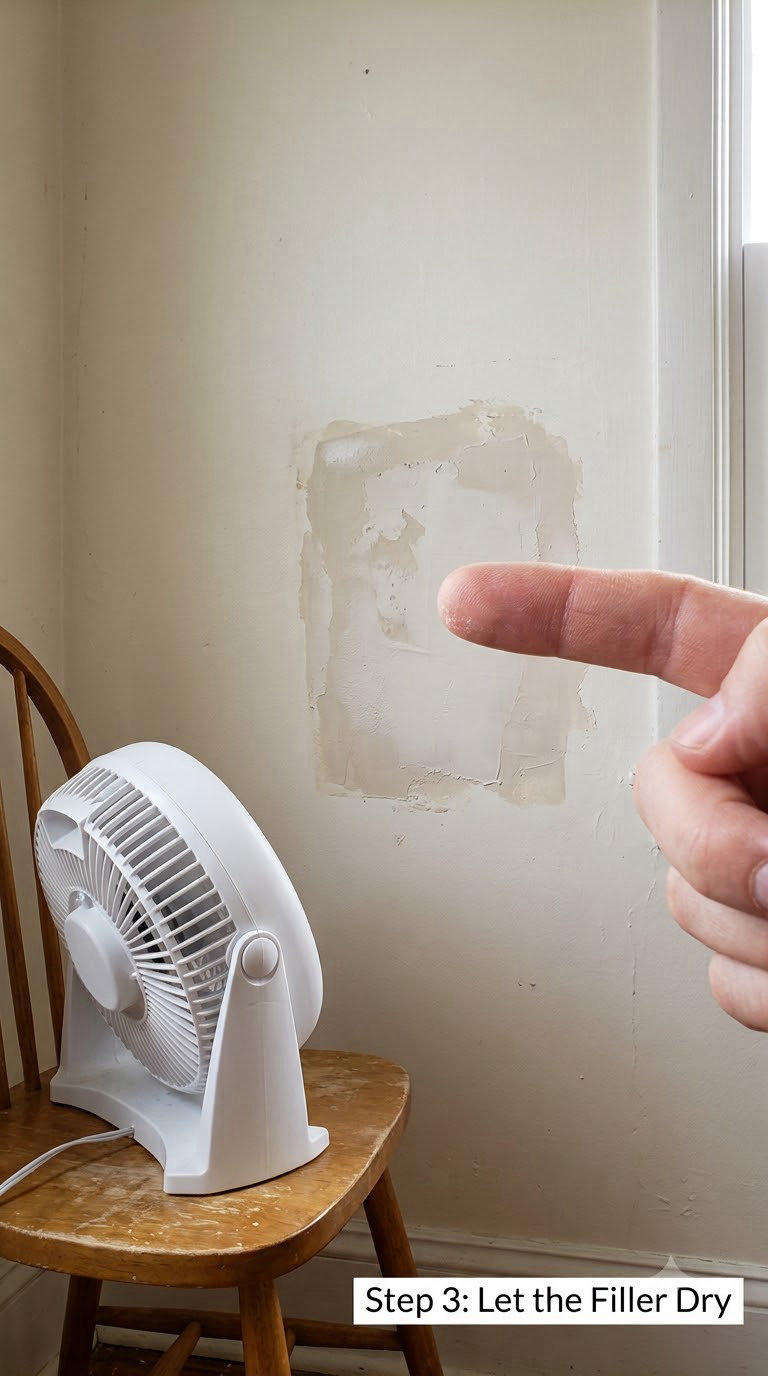
Lightweight spackle is usually sandable in 30 minutes to an hour in a warm, dry room. Joint compound takes overnight for a full hand-width repair, and setting-type compound hardens in about 25 minutes no matter what the room is doing. Cool, damp rooms and thick layers stretch all of those times.
Test instead of guessing. Press a fingernail gently into the edge. If it dents or feels cool and damp, it is not ready. Dry filler is noticeably lighter in colour than wet filler, chalky to the touch, and leaves fine powder on your fingertip.
Watch for shrinkage. Spackle dries and drops slightly below the surface, leaving a shallow dip that catches light exactly like the original hole did. A fingernail dragged across the patch will find it faster than your eye. If there is a dip, add a second thin coat and dry it again before moving on.
Speed things up with a fan or a hair dryer on cool. Just keep the airflow moving and stay away from heat guns, which dry the surface first and drive moisture into the middle, leaving a cracked shell.
Step 4: Sand the Repair Smooth
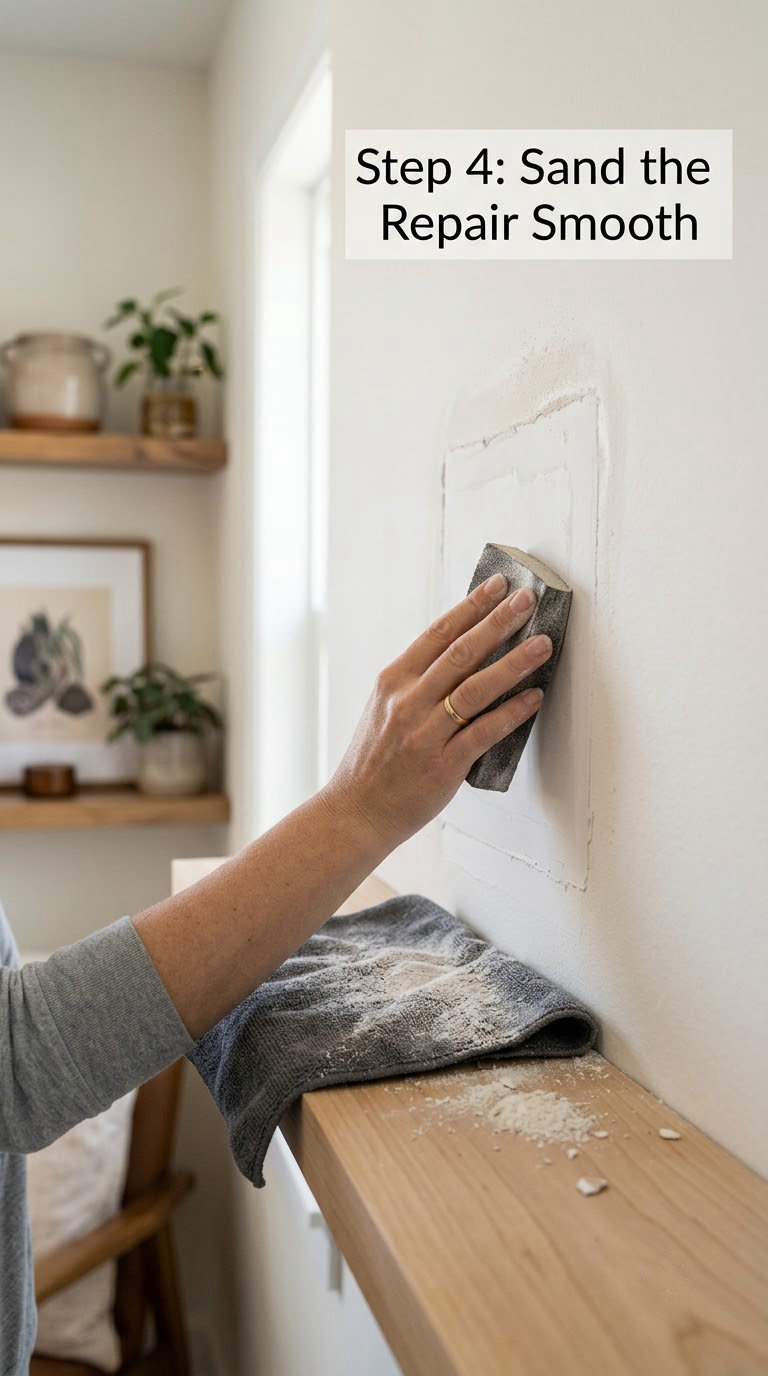
Sand with a 180 to 220 grit sponge or paper, using light circular passes across the patch and just past its edge. The goal is to knock the crown of the filler down level with the wall and feather the transition, not to remove the whole patch.
Keep the sheet flat and count strokes rather than pressure. A few firm passes and a lift is safer than twenty heavy ones, because the paint around a fresh filler scuffs easily and a shiny scuffed ring is harder to hide than the original nail hole.
On textured or orange-peel walls, skip the wide sanding entirely. A putty knife skates over the bumps, and sanding the patch flat creates a smooth bald spot ringed by texture, which pros call a halo. Finger-filled spackle on a textured wall usually needs nothing more than a light scuff of the raised edges.
Wipe the dust off with a damp cloth or a tack cloth after every few holes, and again before you prime. Dust that gets sealed under paint is the reason a patch can look gritty and pale in raking light a month later.
Step 5: Prime if Needed
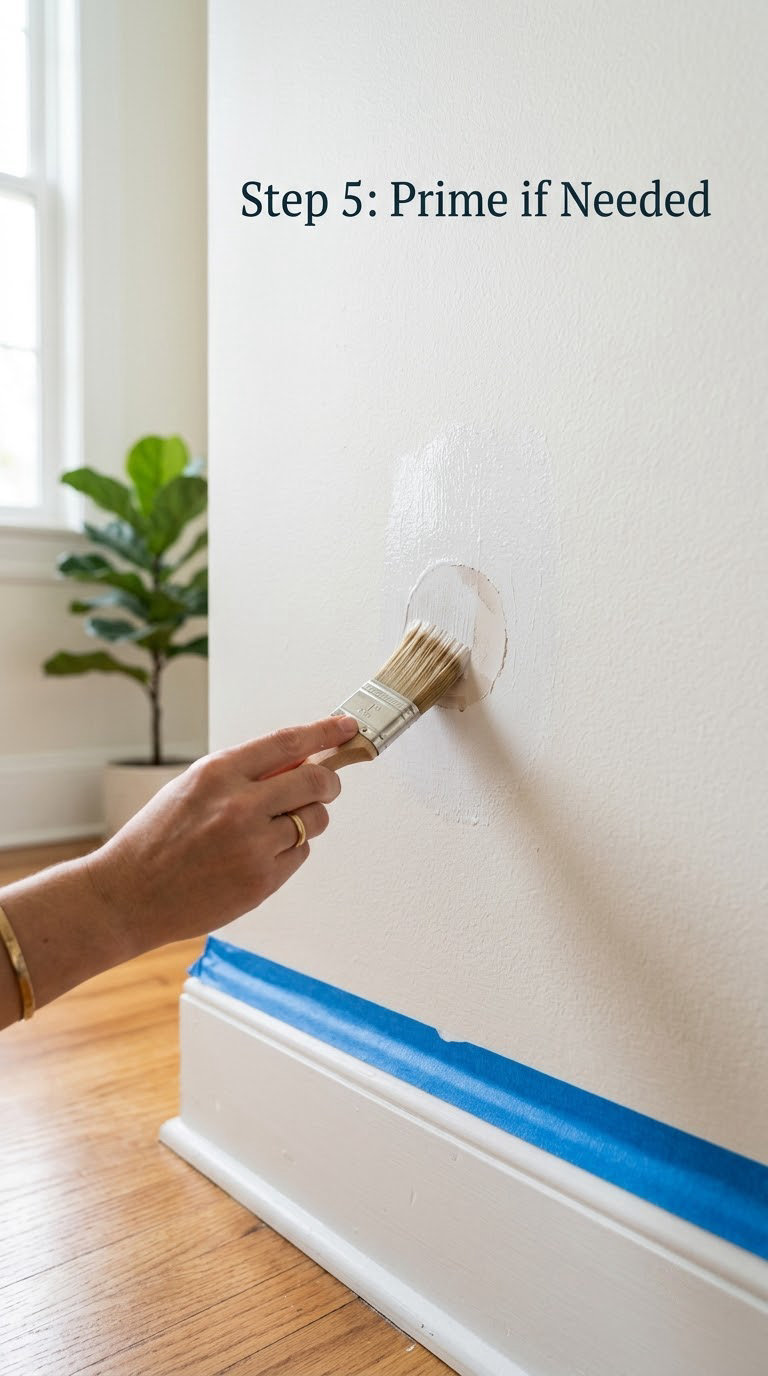
Prime when the repair sits on bare drywall, when you are going from one colour to a darker one, when the wall is a heavy texture, or when the filler sat in a spot that has taken a scuff. Skip the primer only when you are doing a straight touch-up over sound painted wall with the exact same paint and sheen.
Prime because filler drinks paint. Spackle is porous and pulls the first coat in faster than the wall around it, so the patched area dries a shade lighter. Painters call the result flashing, and it is the most common reason a good repair still shows under the paint.
Use a brush, not a roller, and stay inside the patch plus a hair of the wall around it. A 1 inch angled brush loaded lightly gives you control. Let the primer dry fully, then scuff it lightly with 220 grit and wipe again, because primer spots can sand to a different sheen than the surrounding wall.
Two finish coats, or one coat of a semi-gloss or higher sheen paint, will cover a small repair in place of primer on a busy job. That is the shortcut pros use on a rental where the whole wall is getting repainted anyway. It is not a shortcut for a single spot on an otherwise finished wall.
Step 6: Paint Over the Repair
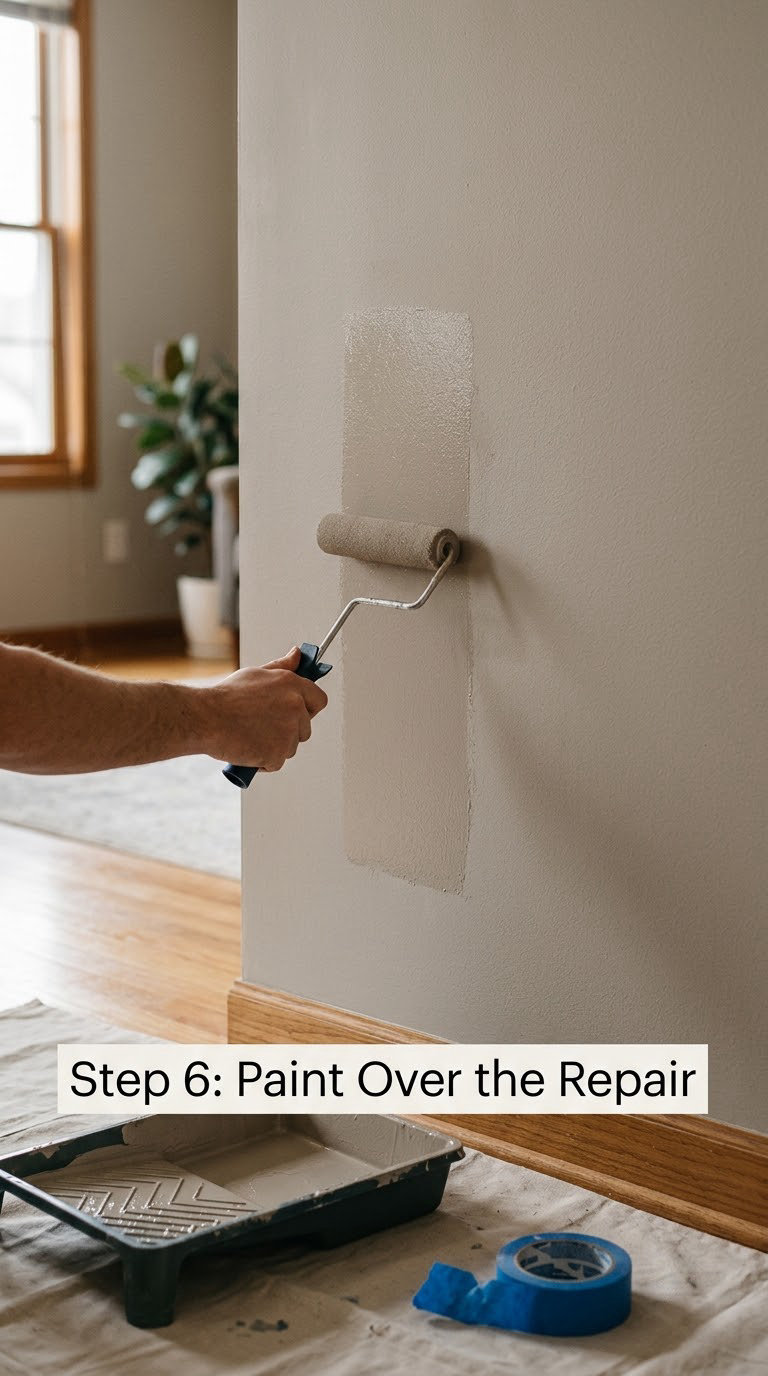
Start with the brushed-out colour sample you cut earlier. If you have no sample, test the leftover paint from the can that did this room on a piece of cardboard in the same spot on the wall, and let it dry fully before judging.
Cut in around the patch with your angled brush, then roll or dab the centre. Feathering is the whole trick: blend the wet edge outward into the surrounding wall so there is no hard line where the touch-up stops. A wide brushed rectangle over a small hole is what makes a repair stick out like a stamp.
On a flat wall, a small foam roller or even a stiff dry brush, loaded lightly and worked in short soft passes, blends better than a big brush loaded properly. On a textured wall, a brush loaded with almost nothing will push into the bumps and skip the valleys, so dab instead of stroke.
Let the first coat dry fully, usually a few hours, and check it under normal light before you call it done. A patch often needs a second coat of paint after the primer, especially over a dark repair or a wall that took a lot of colour.
Common Mistakes to Avoid
Filling too much and too wide. Spackle smeared over a wide circle leaves a broad flat area that behaves like a separate surface. The fix is a small patch, knife-flat, just proud of the wall, with the edges feathered thin.
Sanding before the filler is truly dry. Damp filler gums up, pulls the surrounding paint with it and cracks as it finishes drying. Press a fingernail to the edge and wait for chalk, not dent.
Using heavy joint compound for a nail hole. Regular mud is designed to be thick and it shrinks more than spackle, so a small hole ends up with a visible dip and a cracked rim. Spackle for small holes, mud for real gaps.
Painting straight over an unfilled or unprimed hole. Paint soaks into the raw paper edge and the filler at a different rate from the sealed wall, so you get a ring. Fill it, and prime it if the repair is on bare or scuffed wall.
Brush-stroking a big rectangle of touch-up paint. Every stroke edge is a visible boundary. Keep the wet paint moving outward with a nearly dry brush until the edge disappears.
Skipping the second coat of filler. Shrinkage is normal, and most people are surprised by how often a second thin layer is needed. Checking with a fingernail before sanding catches it in minutes.
Using toothpaste, peanut butter or baking soda as filler. These show up constantly in advice threads. Toothpaste fills a hole fine and looks convincing for a week, then it dries out, shrinks and lets go of the paper. Peanut butter attracts insects and goes rancid, and baking soda mix crumbles out. None of them sand smoothly or hold paint, and all of them cost more to redo than a tub of spackle.
Ignoring a textured wall. A wide patch on an orange-peel surface rings itself with a smooth halo. Fill with a finger, keep the repair tiny, and skip the aggressive sanding.
When to Call a Pro
Step back and get a drywaller or painter involved when the damage is bigger than a nail hole, or when it suggests something behind the wall is wrong.
- The board is soft, crumbling, or powdering when you press it, which points to water damage, mould or an old leak
- A brown or grey stain spreads out from the hole, or the paint around it is blistered and peeling
- The hole is larger than 1 inch, or a chunk of the board is missing rather than just a puncture
- Cracks run diagonally from a corner, or there is a stair-step pattern that suggests movement in the framing
- The hole sits inside a door frame, near a window corner, or in a load-bearing wall section
- Nail holes are repeating in the same spot because something is being screwed into a stud or joist every time, and the board edge is breaking up
Never cut into or work around an outlet, switch or junction box with the circuit live. If a hole is next to wiring, stop and have someone qualified look at it first.
Old plaster walls are worth a pro as well. Plaster patches need a binder and often a skim of the whole wall to blend in, and a well-meaning filler repair on a 90-year-old wall can look worse than the hole did.
Frequently Asked Questions
What is best used to fill nail holes before painting?
Lightweight spackling compound is the right choice for small nail holes in drywall. Press it into the hole, let it dry, sand it flush, spot prime it and paint. Use joint compound instead for gaps deeper than 1/8 inch, and wood filler for holes in baseboard, casing or painted wood trim.
Can I just paint over nail holes?
Painting over a bare nail hole usually leaves a visible dark ring. Paint absorbs at a different rate over the raw paper edge and the surrounding sealed wall, so the hole reappears as a shadow. Fill and prime the hole first, then paint. A filled, primed hole under two coats of the same paint and sheen is invisible.
Is spackle or joint compound better for repairing nail holes?
Spackle for nail holes. It dries fast, shrinks very little and sands easily, which is why painters use it for small repairs. Joint compound is thicker, shrinks more and takes overnight to dry, so it is meant for bigger gaps and seams rather than a pencil-sized hole. Regular mud in a nail hole leaves a dip that catches light.
Can I use toothpaste as spackle to patch nail holes?
It works for a few days and then it does not. Toothpaste fills the hole and takes paint, but it dries out, shrinks and releases the paper edge, so the ring comes back within a month. Peanut butter and baking soda fail the same way and attract insects. A small tub of spackle costs little and lasts for every repair in the room.
How long should spackle dry before sanding and painting?
Lightweight spackle is usually sandable in 30 minutes to an hour in a warm dry room. Joint compound on a wider repair generally needs overnight, and setting-type compound hardens in about 25 minutes. Humid, cool rooms stretch every one of those times. Test with a fingernail: the patch should feel dry, chalky and lighter in colour before you sand.
Why are my nail hole patches still visible after painting?
Four causes cover almost every case. The patch was too wide or too proud, so it catches light differently. The filler was unprimed, so it drank the first coat and flashed lighter than the wall. The touch-up paint was brushed on as a visible rectangle instead of feathered. Or you are on a textured wall, where a smooth filled patch rings itself with a halo. Prime, feather, and keep the patch small.
Start with the smallest job on the wall. Pull one nail, clean the hole, push a fingertipful of spackle in and wipe the excess off. Do the rest of the wall while that one dries, then sand, prime and paint with a feathering brush. An hour of work now saves you from repainting the entire room to hide a shadow later.
