
How to Remove Rust from Outdoor Metal Furniture (2026)
Learning how to remove rust from outdoor metal furniture saves you the replacement aisle. A patio set with orange blooms on the chair legs is not a lost cause — the corrosion is almost always surface level, and a weekend of brushing, treating and priming brings it back. The trick is doing it in the right order: strip what is loose, dissolve what is stubborn, then seal the metal so it stays clean.
Rust is iron oxide, what happens when iron or steel meets oxygen and water and keeps meeting them overnight. On outdoor furniture, that means dew, rain splash and damp cushions doing their slow work on any chip in the paint. Most pieces have plenty of life left in them.
Contents
Time: One to two days of work plus three dry days before use · Cost: A modest supply list and a free weekend · Difficulty: Moderate DIY · Skill level: Patient beginner
Tools and Materials: How to Remove Rust from Outdoor Metal Furniture
Gather everything before you start, because interrupting the job halfway through to find a wire wheel is how a metal frame ends up sitting in the garage with a chemical rag drying on it. Most people need the same short list, whether they have one bistro chair or a full dining set.
For light surface rust
- Hand wire brush, 6 inch, stiff bristles — 1
- Stiff nylon or bristle brush for the scrub stage — 1
- 80 grit and 120 grit sanding blocks or sheets — a few sheets each
- Drop cloth or heavy tarp, 6 by 8 foot
- Clean rags and a soft nylon scrub pad
- Safety goggles, chemical-resistant gloves, N95 dust mask
For heavy, pitted or flaking corrosion
- Angle grinder with a 4 to 6 inch wire cup wheel — only if you are comfortable with power tools
- Rotary tool with a small sanding drum for scrollwork and tight joints
- Three-in-one brush that cleans, scrubs and reaches crevices in one pass
- Gel rust remover or naval jelly for stubborn residue
- Spray bottle, garden hose or utility sink for rinsing
For the protective finish
- Exterior metal repair compound for deep pits, plus a putty knife
- Rust-inhibiting metal primer — self-etching if the piece is aluminium
- Exterior rust-inhibiting paint or spray paint rated for outdoor metal
- Clear UV-resistant topcoat, plus masking tape and 120 grit paper
A rotary tool is the right call for ornate cast iron scrollwork that a hand brush cannot reach. On straight tubular steel, a hand wire brush and a sanding block do the same job with less risk of gouging the sound coating around it.
If you are still choosing a set rather than restoring one, our all-weather patio furniture picks are worth a look. But if rust is already there, keep reading — most furniture is worth saving.
Before You Start
Work outside or in a garage with the door open. Chemical rust removers give off fumes, and sanding produces dust that carries fine rust particles, which are exactly what you do not want to breathe.
Wear eye protection and gloves you can still grip a brush in. If you use a grinder, add a dust mask or a respirator with a P100 filter, and keep the run time short.
Pick a dry day with wind and a forecast that gives you three rain-free days afterwards. This is the step people rush, and it is the reason a fresh coat starts blistering a week later.
Lay the drop cloth down before anything else, and check what is underneath it. A tarp over concrete blocks dampness from reaching the surface; a tarp over grass will kill a patch if you leave it there a few days.
Find out what metal you actually have. Steel and iron take a standard rust-inhibiting primer. Aluminium needs a self-etching primer or it will not bond, and galvanised steel has its own prep rules. If you are not sure, an inexpensive magnet test tells you: steel and iron stick, aluminium does not.
Test any cleaning product on a hidden spot first, on the underside of a seat or the inside of a leg. Vinegar and acidic removers will etch bare metal and dull some powder-coated finishes. Give it a few minutes, wipe it, and look before you commit the whole piece.
Step-by-Step Instructions
Step 1: Inspect, Move, and Clean the Furniture
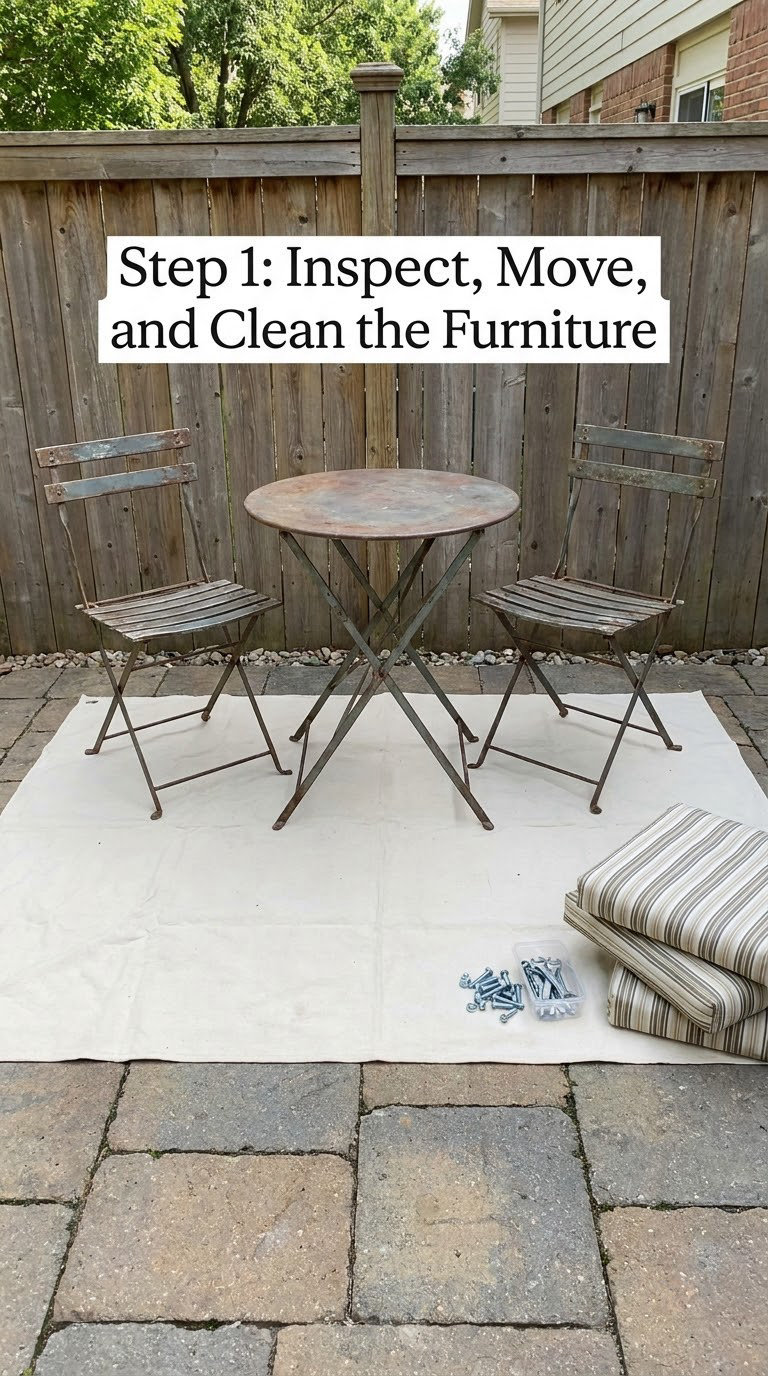
Move the piece somewhere you can work on all four sides — a driveway, a garage floor, a lawn you do not mind staining. Lift it onto cinder blocks or a scrap of lumber so air can move under it and you are not crouched all day.
Take the cushions off and bag the hardware. Photograph the damage from two angles before you start; when a piece looks patchy mid-project that photo tells you where the rust actually was.
Wash the furniture down with warm water and dish soap to move off pollen, bird droppings and oils. Rinse and let it dry. Judge severity now: if a fingernail scrapes the orange patch off, it is surface rust; if the metal is pitted or flakes in layers, budget extra time for the chemical stage.
Step 2: Remove Flaking Rust Mechanically
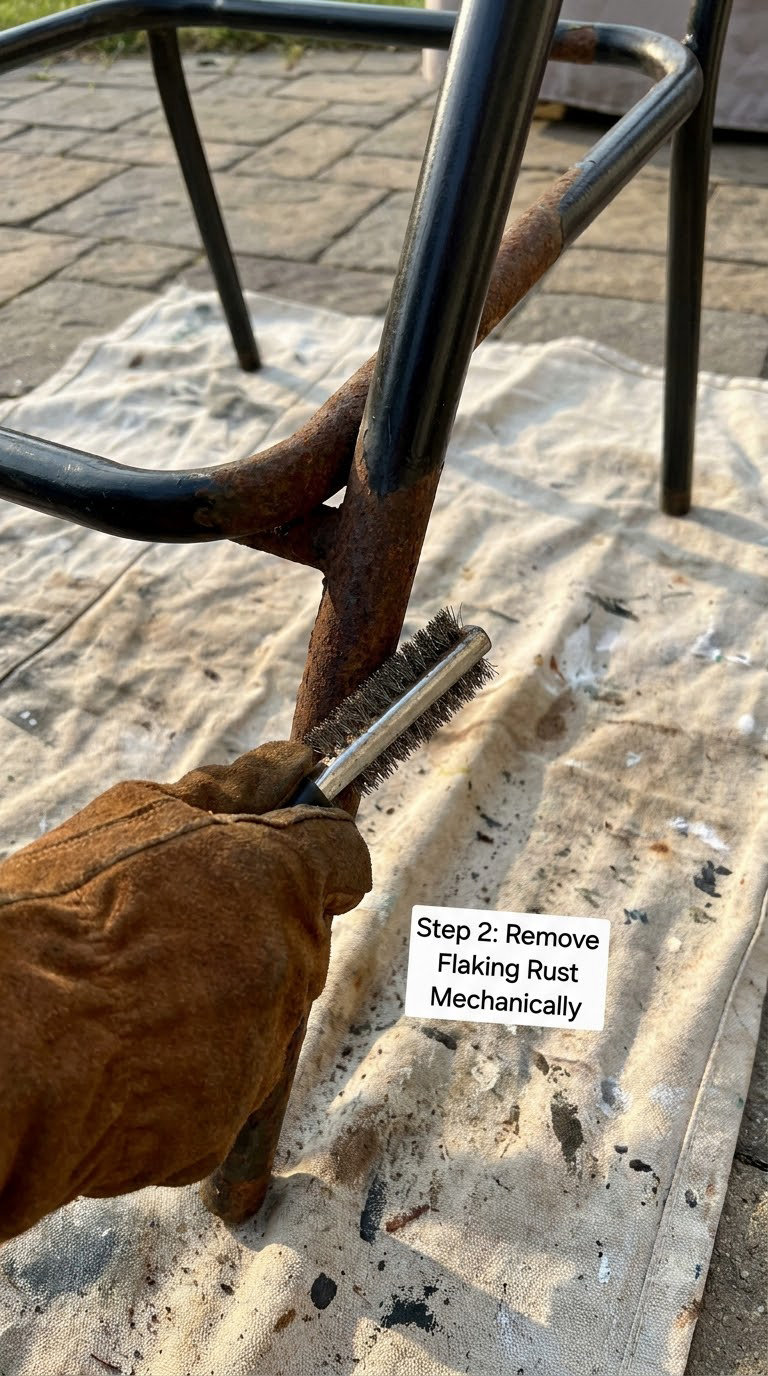
Start where the rust is thickest and work in 6 to 8 inch sections rather than trying to do the whole leg at once. Short, firm strokes with the wire brush follow the grain of the tube and lift loose scale fast.
Follow the brush with 80 grit on the areas you disturbed, then 120 grit to feather the edge of the remaining paint. Feathering matters — a hard ridge of old paint is where a new coat peels off first, so blend the boundary until you cannot feel it with a fingertip.
On decorative scrollwork, a small rotary drum or a three-in-one brush gets into the valleys a hand tool skips. Those are the spots where rust hides and where water sits, so they matter more than the flat areas.
Keep the original coating wherever it still grips. Sanding a piece back to bare shiny metal everywhere is the most common way people turn a two-day job into a five-day one, and bare steel needs more primer to protect it. Brush off the dust and move on.
Step 3: Treat Remaining Rust Stains
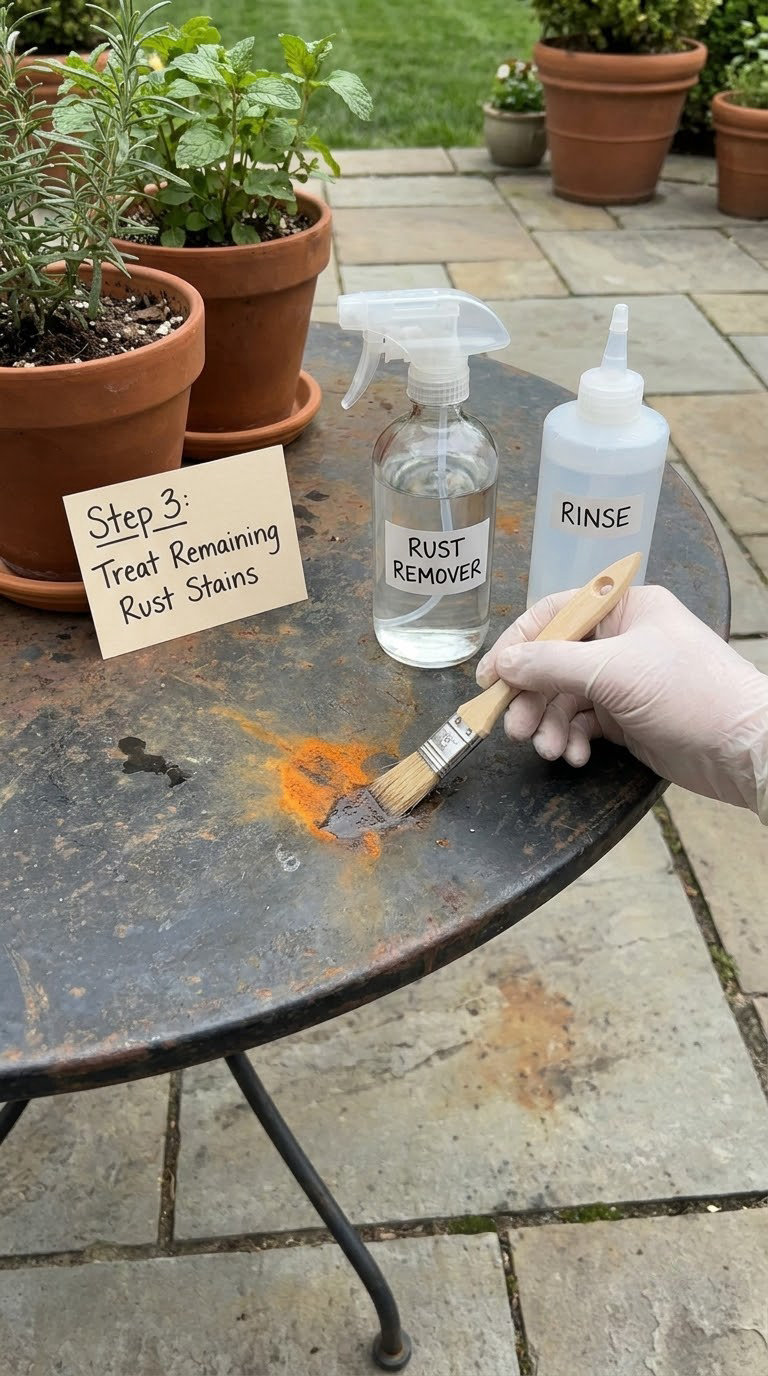
Anything orange that survived the brush needs dissolving. Apply a gel rust remover or naval jelly in a thin coat over the stain, following the product label, and leave it for the stated dwell time — usually 5 to 10 minutes for gel products. Do not flood the piece, and do not let it dry on the metal.
Here is how the common options compare, all of them outdoors:
- White vinegar or citric acid — light surface rust and stains. Leave 20 to 60 minutes. Watch for a dull film that needs a thorough rinse.
- Baking soda paste — small patches of fresh rust. Leave 10 to 15 minutes. Mild, but it still needs scrubbing afterwards.
- Gel rust remover or naval jelly — pitted rust and larger areas. Dwell 5 to 10 minutes, must be neutralised, and can darken the metal temporarily.
- Oxalic acid — stubborn stains on removable parts. Leave 30 minutes to overnight. Toxic, so use it outdoors only.
Scrub the treated area with a non-damaging pad, not steel wool on a finished surface. Rinse, then look. If orange still shows after a second pass, go back rather than moving on — this is the last chance to remove it without stripping paint later.
Rust converter is the alternative path for deep pits you cannot scrub flat. It chemically converts remaining iron oxide into a stable black coating. Reviewers warn that people confuse it with a remover: a remover dissolves rust so you can wipe it away, a converter leaves a dark conversion layer you paint over. Apply it only where rust remains, and expect the patch to turn black or dark brown first.
Step 4: Neutralize, Rinse, and Dry the Metal
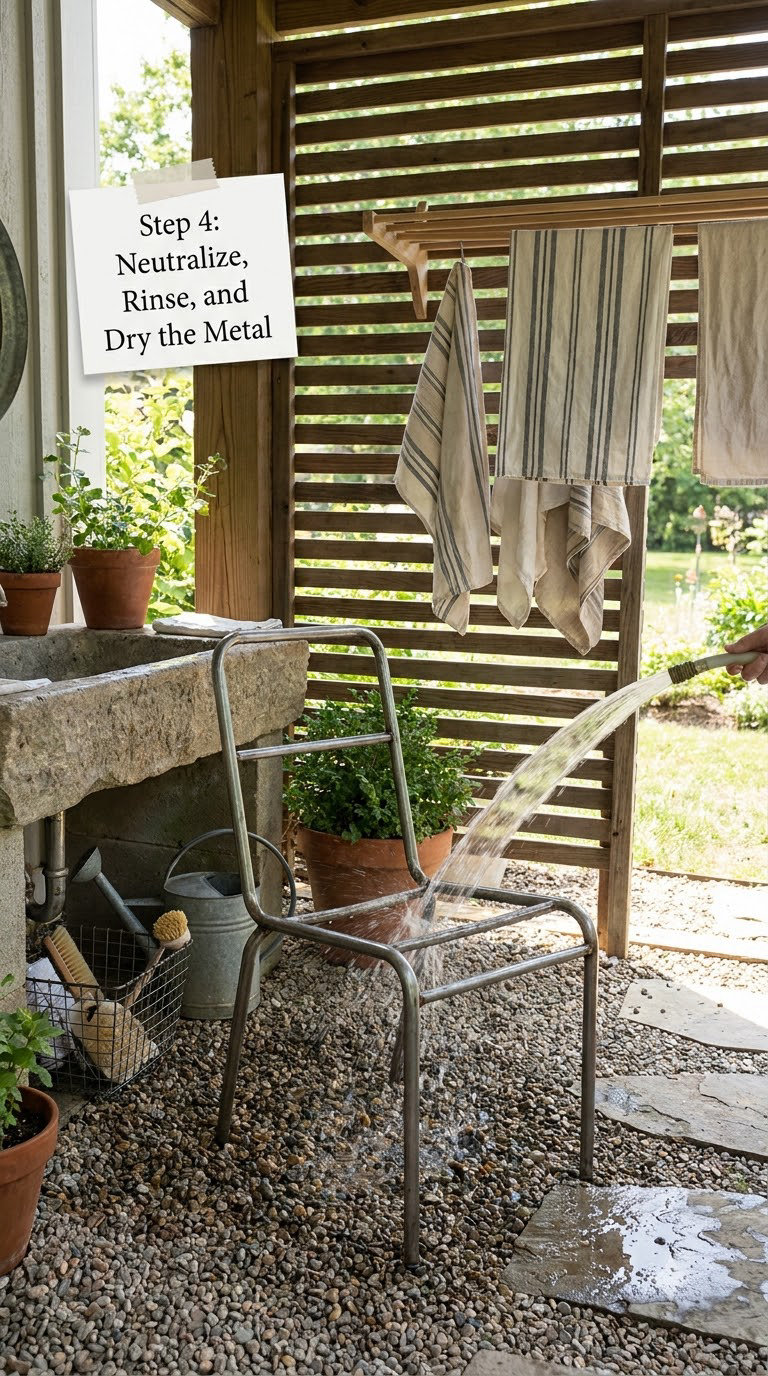
Read the label on your rust remover and do exactly what it says about neutralising. Acid-based products need a baking soda and water rinse until it stops bubbling, then a clean water rinse. Skipping the neutralising step is how furniture ends up with pits appearing months later.
Follow with a wipe using denatured alcohol to remove oils and fingerprints, then let the metal dry fully. Bare steel left damp will grow flash rust — a fine orange bloom that returns within hours, sometimes overnight, and it will happily bubble up through your primer.
Set the piece in a shaded, ventilated spot and give it a minimum of a few hours, longer if the weather is humid. Bare hand to bare metal with no damp feeling is the test. Do not prime over a cold, wet piece.
Step 5: Repair or Prime the Surface
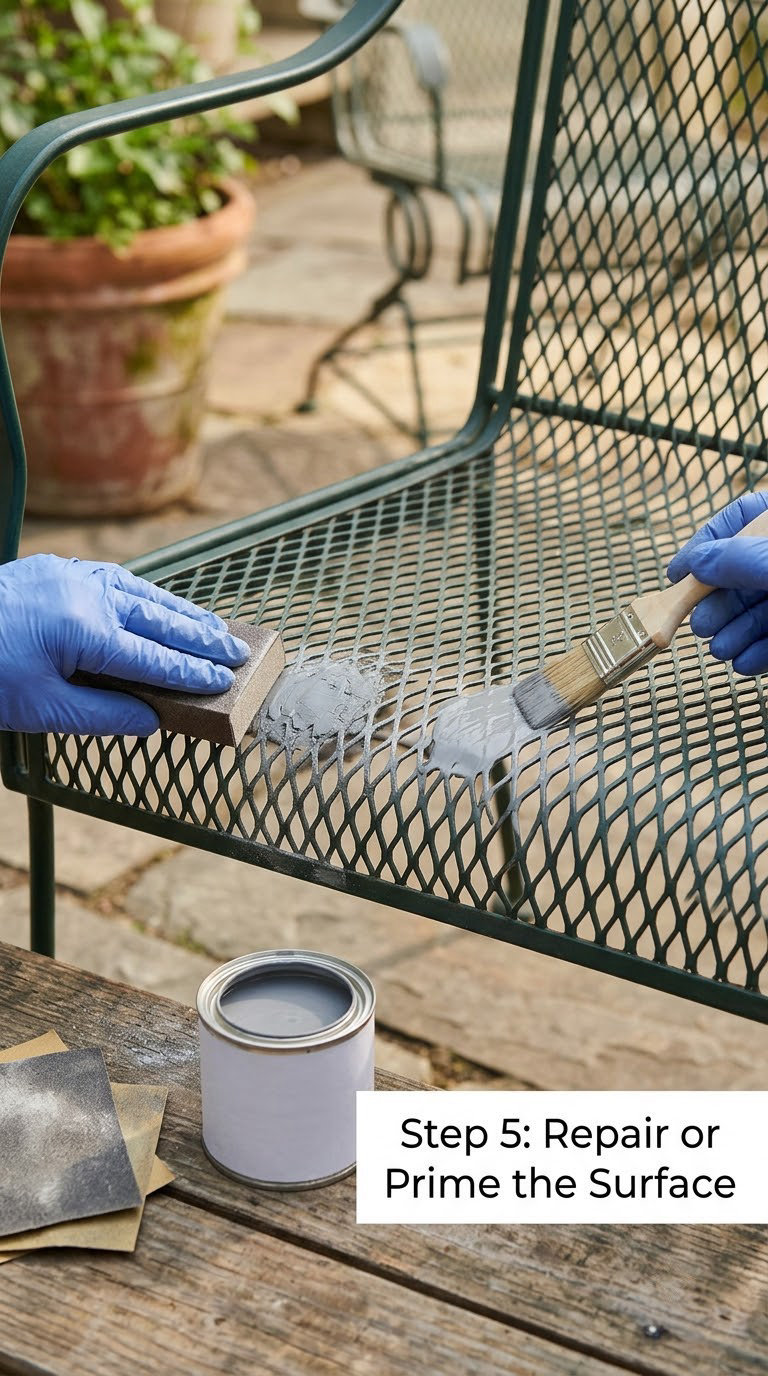
Fill deep pits and small dents with an exterior-compatible metal repair compound. Let it dry to the product’s stated time, sand it flush with 120 grit, and wipe the dust away with a damp rag.
Apply a rust-inhibiting metal primer to every bare-metal area, not just the rusty ones. Bare steel needs the full coat. On aluminium, use a self-etching primer — ordinary primer will peel off it within weeks.
Hold the can 8 to 12 inches away and move it in a steady pass. Follow the can’s timing before recoating, which is commonly 30 to 60 minutes for a spray primer and longer for a brush-on product in cool weather. Thick coats run, sag and trap solvent underneath.
Step 6: Paint or Seal the Furniture
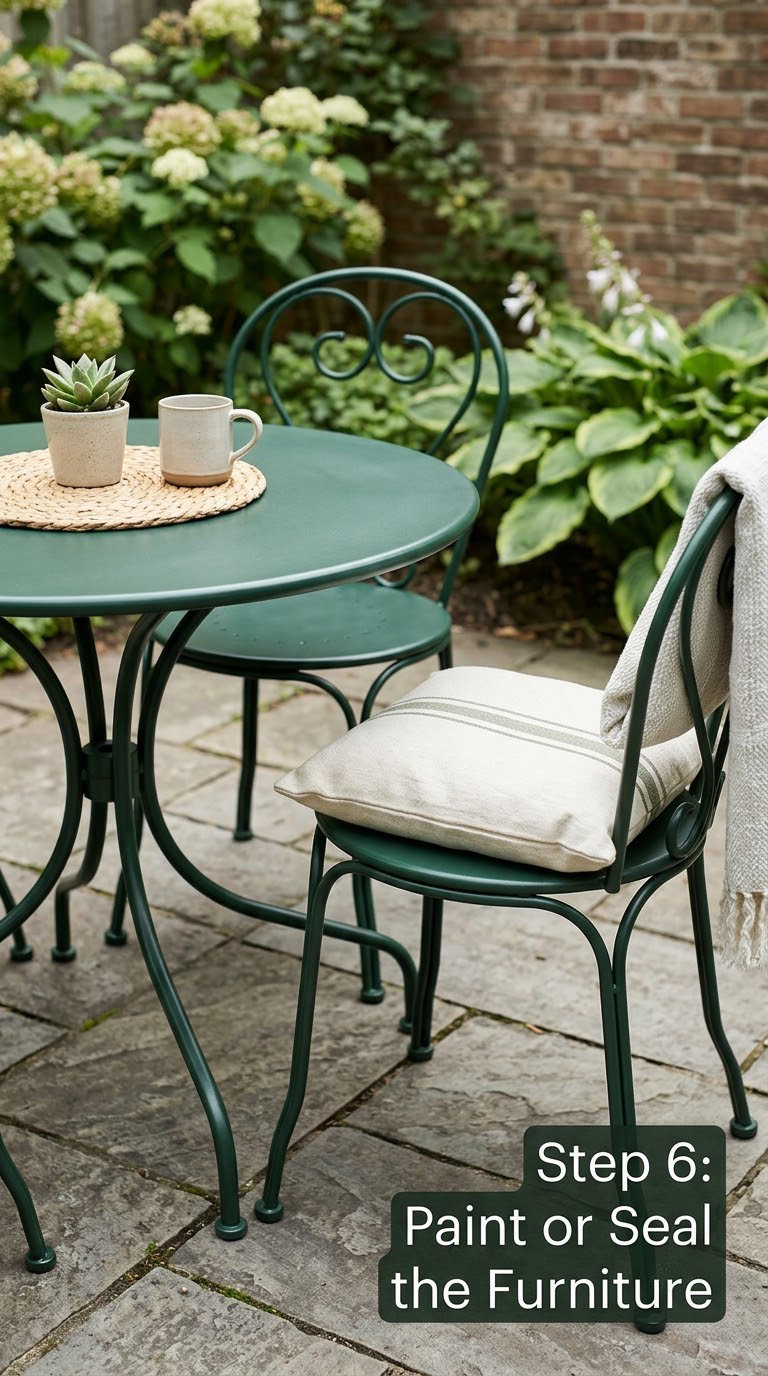
Pick a finish deliberately. Satin or gloss exterior enamel holds up better on wrought iron and sheds moisture; flat matte paint looks handsome but its texture traps water and wears faster. Either way, it must be labelled for outdoor metal and rust-inhibiting.
Apply two to three thin coats rather than one heavy one. Let each coat dry to the touch before the next, and check the label for full cure time, commonly 24 to 48 hours before the piece can handle rain or heavy handling.
Spray from 10 to 12 inches, sweeping side to side and overlapping about half the previous pass, keeping the can moving. Start at the far side of the piece and work toward you so you are not reaching across wet paint. For scrollwork, a small brush puts paint where the spray cannot get and stops the drips.
Finish with a clear UV-resistant topcoat over the dry colour coat. Sunlight fades topcoat paint long before it wears it out, and that clear layer is the difference between a set that still looks sharp in three summers and one that looks tired in two.
Then do a final walk-around in good light. Look for missed orange patches, runs, and thin spots on edges and joints that take extra paint. Touch up now while it is still easy to fix.
Common Mistakes to Avoid
- Only removing the loose rust. Brushing gets the scale, not the stain. Whatever orange survives brushing needs a dissolving or converting step, or it will push through the primer later. Fix: treat and re-scrub before priming.
- Skipping the neutralise and rinse. Acid remover left on metal keeps eating it invisibly. Fix: follow the label to the letter, rinse until the water runs clear, and wipe with alcohol before drying.
- Painting over active corrosion. This is the single most common reason rust returns within a season. Fix: bare, clean, dry metal only. If orange reappears under the primer, strip that area back rather than painting over it.
- Priming over damp or flash-rusted metal. Flash rust appears in hours and ruins a full day of work. Fix: dry thoroughly, and apply primer the same day you clean.
- Applying one heavy coat. Runs, sags and trapped solvent cause peeling. Fix: two or three thin coats with the label’s timing between them.
- Using an indoor finish outdoors. Interior enamel chalks and fails fast in sun and rain. Fix: exterior-rated rust-inhibiting paint plus a UV-resistant clear coat.
- Scrubbing the whole piece back to bare metal. Every bare square needs primer, and you lose the coating that was still doing its job. Fix: feather edges, leave sound paint alone.
- Using steel wool on a delicate or powder-coated finish. It scratches and can cut through the coating. Fix: a non-damaging nylon pad or a brass brush on soft finishes.
- Forgetting tight joints. Scrollwork valleys and the underside of seat slats are where rust hides and water sits. Fix: work in short passes with a small rotary tool or narrow brush, then inspect from underneath.
When to Call a Pro
Stop and get an assessment if the metal has thinned enough to flex. If a chair leg feels spongy, if a tabletop has visible holes, or if the rust has eaten through a weld or bolt hole, no amount of coating brings structural integrity back. Powder coating is the only finish that restores and protects at the same time, and it is a shop job with the piece stripped and blasted.
Call a professional for extensive deep pitting across a whole set, where the time and materials start to outweigh refinishing. If you are refinishing around code-sensitive components — public seating, a swing, anything a child sits on and rocks — a fabricator or metal shop should look at the frame first.
Galvanised or aluminium surfaces need specialised prep and the right primer system, and mistakes there are hard to undo. Antique or collectible pieces are worth a conversation with a specialist restorer before you touch them; over-sanding can cut into original material that cannot be replaced.
DIY covers surface rust on sound structural metal. It does not cover compromised structure.
Maintenance
A finished set needs an hour or two a year to stay in good shape, and most of that is watching. A sensible routine for a piece exposed to full sun and weather: wash with mild soap and water each spring and each autumn, dry it, and touch up chips while they are fingernail-sized.
Do not leave cushions sitting on a wet or damp frame. Lift them when it rains heavily, and check underneath every few weeks in the first year — that is where rust starts more often than anywhere visible.
Scratch a coating with a key or a mower and the bare metal underneath starts oxidising the same day. Sand the chip, clean it, prime it, and paint it. Five minutes there is the whole repair.
A quick seasonal checklist: wipe down, look for orange colour under joints and slats, check the powder coating or paint for chips and flaking at welds and feet where moisture sits, and rinse off salt if you are near a coast. Salt is the fastest rust trigger there is, and a hose rinse after windy days does more than most people expect.
A few readers pair their restored set with protective furniture pads to keep cushions dry, and refresh the seat fabric separately with our outdoor cushion guide.
Frequently Asked Questions
What is the easiest way to remove light surface rust from outdoor metal furniture?
Wash the piece, dry it, then scrub the rust with a stiff hand wire brush working with the grain. Follow with 80 grit and then 120 grit on the spots you disturbed, feathering the paint edge. For orange stains that remain, white vinegar on a cloth for 30 minutes followed by a non-damaging scrub pad usually finishes the job.
Can I use vinegar to remove rust from a metal patio chair?
Yes, for light surface rust. White vinegar is acetic acid and it will loosen iron oxide over time, but it is slow and it leaves a dull film that needs a rinse and a wipe with alcohol before you prime. Never mix vinegar with bleach. On powder-coated or galvanised surfaces, test a hidden spot first because acid can etch the finish.
How do I treat deeply pitted rust that remains after scrubbing?
Stop trying to sand it out. Either apply a gel rust remover for the stated dwell time and scrub, or use a rust converter, which turns remaining iron oxide into a stable dark conversion coating you can prime over. Expect the spot to darken first. Fill remaining pits with exterior metal repair compound, sand flush, then prime as normal.
What paint or coating is best for rust-free outdoor metal furniture?
Use exterior-rated rust-inhibiting paint or spray enamel over a rust-inhibiting metal primer, finished with a clear UV-resistant topcoat. Satin or gloss holds up better than flat on wrought iron because it sheds water from the surface texture. Aluminium needs a self-etching primer rather than a standard one, or the coating will peel within weeks.
How long should I let exterior metal furniture dry before painting?
Until it is completely dry to the touch and there is no cool or damp feeling on the metal. In warm dry weather that is a few hours; in humid weather, give it overnight. Bare steel left damp will grow flash rust within hours, and that fine orange bloom will bubble up through your primer and ruin the finish.
How do I keep outdoor metal furniture from rusting again?
Wash it with mild soap twice a year, dry it, and keep cushions off a damp frame. Repair chips and scratches the week you notice them, since bare metal starts oxidising immediately. Check under slats and inside joints each season, rinse off coastal salt, and add a compatible protective coating or wax. Avoid leaving wet metal sitting in the sun.
Start at the flakiest leg with a wire brush and work outward in small sections. The order is what makes or breaks this job: remove loose rust, dissolve what is left, neutralise and dry completely, then prime, paint and topcoat. Get that sequence right and most rusty patio sets look good for years.
