How to Install a Dishwasher Yourself: Safe Steps (October 2026)
Learning how to install a dishwasher yourself is mostly two hose connections, one electrical connection, and leveling four feet. If your kitchen already has a hot water valve, a drain, and a 120-volt circuit in the cabinet bay, a competent homeowner can finish in an afternoon with basic hand tools.
The catch is what happens when those three things are missing. A first-time install with no hookups means running a new water line, drilling a hole through a cabinet side, and sometimes adding a circuit, and that is where the job stops being a weekend project and starts being trade work.
Contents
Time: 2-4 hours for a straight replacement, 4-8 hours if there were no hookups · Difficulty: Intermediate · Skill level: Basic plumbing and electrical familiarity, plus a second person to help lift the appliance · Best season for this: a cool dry stretch of 2026 when you can leave the water off overnight without much thought.
Tools and Materials
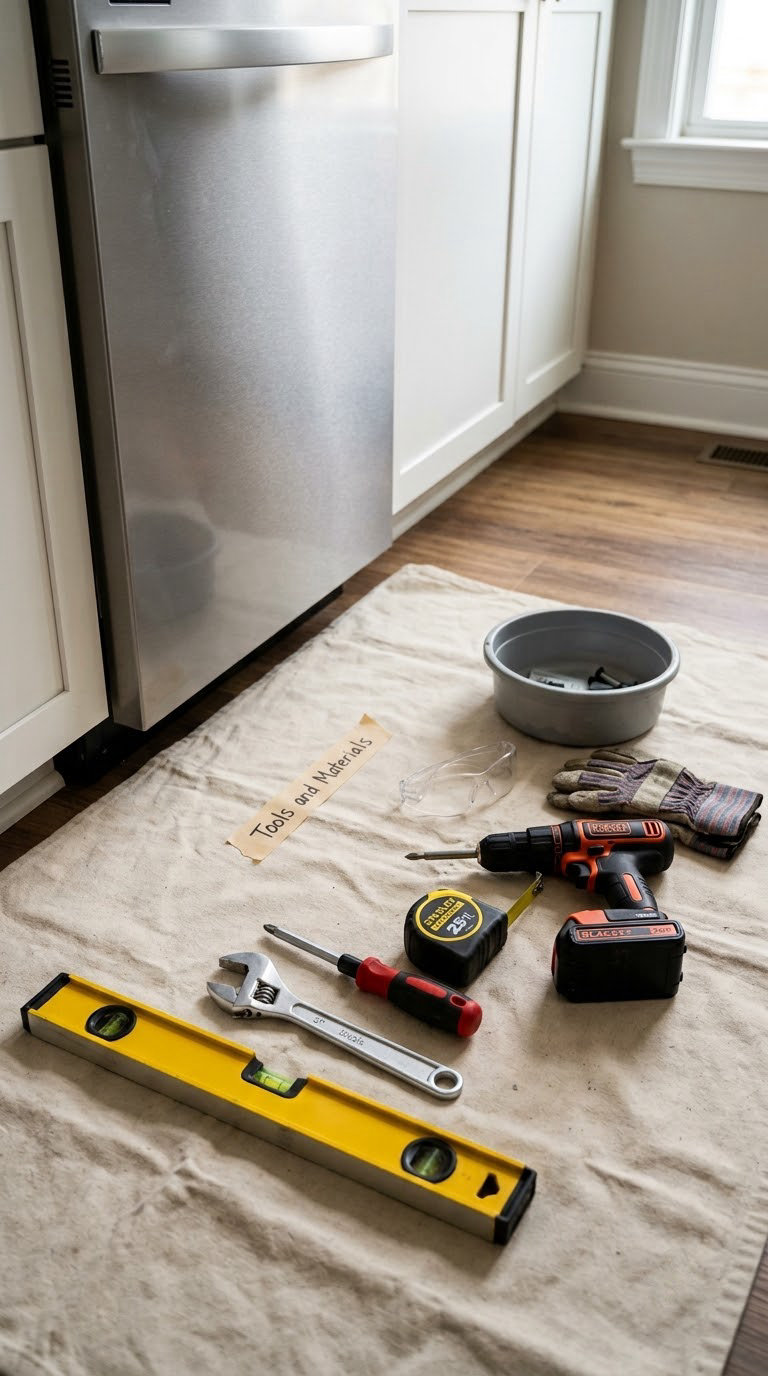
Gather everything before you pull the old unit out. Half of a slow dishwasher swap is waiting on a part that was sitting in the garage.
Tools
- Phillips and flat-blade screwdrivers, plus a 3/8 inch nut driver or socket set
- Adjustable wrench and a pair of pliers
- 24 inch bubble level for front-to-back and side-to-side checks
- Tape measure and a straightedge
- Cordless drill with a 1/2 inch bit and a 1 inch bit for drilling the cabinet hole
- Utility knife for cutting packaging and removing trim
- Flashlight, work gloves, safety glasses
- Shallow pan or bucket, drop cloth, and old towels
Supplies and parts
- Braided stainless dishwasher water supply line with a 90-degree elbow fitting (most models do not include one)
- Dishwasher installation kit: hose clamp, rubber gasket washer, and mounting hardware
- Two to four wood shims or packaging runners for leveling
- Thread seal tape only for the drain tailpiece, never on the appliance water valve threads
- Painter’s tape to hold hoses in place while you work
- Optional: an appliance power cord if the unit is plug-in, and an insulation blanket to quiet the cabinet
Answering the question everyone asks first: dishwashers almost never ship with a water supply line. Some include a short power cord, many are hardwired with no cord at all. Assume you are buying the supply line.
Before You Start
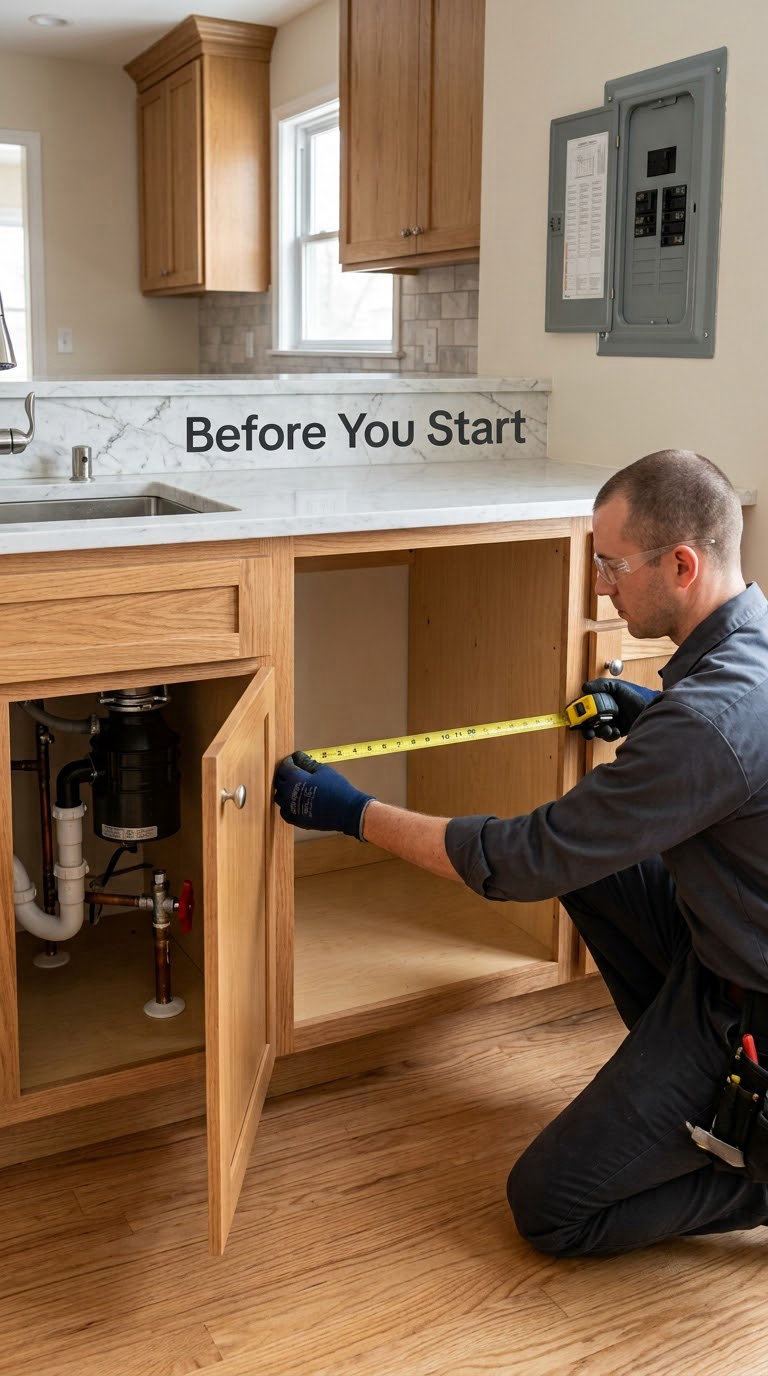
Most of the disappointment in a dishwasher install happens before a single screw turns. Spend twenty minutes on checks that decide whether this is a Saturday job or a contractor visit.
Measure the opening, not the gap you think you have. A standard under-counter unit is designed for a 24 inch wide opening, about 24-3/8 inches to the front of the cabinet face frame, and roughly 27 inches of height from the floor to the underside of the counter with the legs at their lowest setting. Compact 18 inch models exist for narrower bays. Check the installation specifications sheet for the exact model you bought, because hinge clearance and countertop overhang vary by brand.
Check clearances. Leave about 27 inches of free floor space in front so the door drops fully open and the racks pull out. In a corner install, leave roughly 2 inches of clearance on the hinge side so the door can swing past the adjacent cabinet.
Know where your utilities are. Find the hot water shut-off valve under the sink and confirm it works. Locate the breaker for the kitchen receptacle or the hardwired junction, and confirm the circuit is 120-volt, 15 or 20 amps. If a receptacle is being used, it must be grounded and accessible under the counter, not inside a drawer.
Protect the floor and the cabinet. Lay a drop cloth, and pull out anything stored in the bay. Owners who have done this job repeatedly warn that the sheet metal edges of an old dishwasher cut like a razor. Gloves are not optional.
Decide about permits. Swapping a plug-in unit in a home you own generally needs no permit. Adding a circuit, cutting into fixed wiring, or running new supply lines can trigger local inspection rules, so check your city or county requirement before you start that portion.
If you are shopping the appliance first, the budget dishwasher guide covers models where the hookup situation is the deciding factor.
Step-by-Step Instructions
Follow this order. Each step assumes the previous one is finished, which keeps the water, power, and cabinet work from stacking on top of each other.
Step 1: Remove the Old Dishwasher and Prepare the Cabinet
Shut off the hot water valve under the sink and switch off the breaker feeding the kitchen. Put towels and a shallow pan under the connections because a little water always comes out when you break a fitting.
Open the old door and remove the two front-top screws that hold the appliance to the cabinet frame, which is the step most people miss until their new unit will not slide in. Pull the door off if the trim or the handle blocks the opening, then disconnect the water line with an adjustable wrench and pull the drain hose out of the sink tailpiece or disposal.
If the old unit is hardwired, photograph the terminal box wiring before you touch it: black to hot, white to neutral, green or bare to ground. Photographing costs nothing and saves an afternoon.
Slide the old appliance straight out. Now inspect the cabinet: look for rot, dampness, a sagging base rail, or screws protruding where the cabinet walls meet the floor. Patching a wet cabinet before it goes in is far easier than doing it with the new appliance wedged in place.
Step 2: Check the Opening and Installation Clearances
Confirm width, height and depth against the new appliance’s installation instructions, not the old unit. A replacement that is an inch taller will not go under the countertop, and that is the single most common reason a swap gets abandoned halfway through.
Check the handle position too. Some models need the door panel fitted after the appliance is anchored, and some need the front edge of the door to sit flush with the cabinet fronts. Built-in models and freestanding portable units are installed differently, so read the manual section that matches your type.
Step 3: Position and Secure the Dishwasher
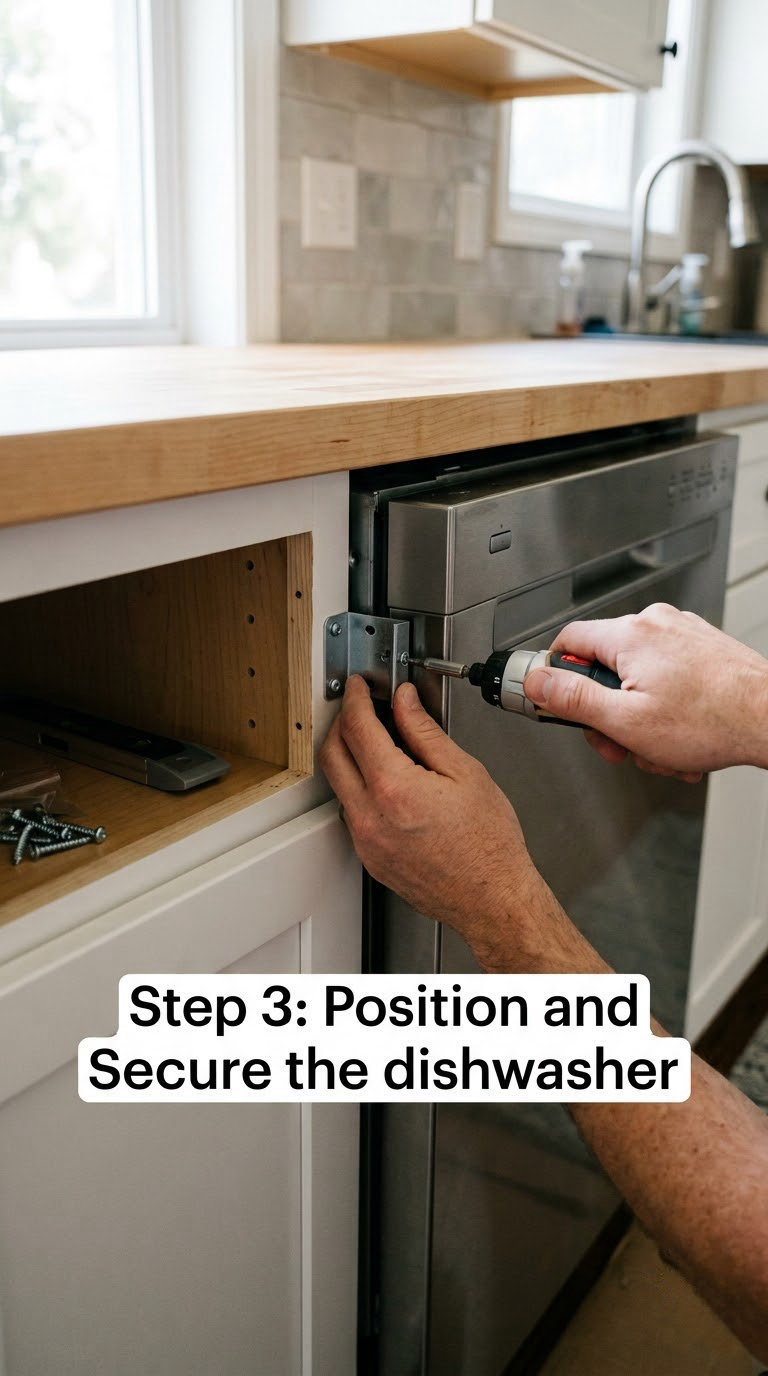
Remove the plastic packaging, tape and all shipping brackets, and check the tub for transit damage before it goes in. Many manufacturers want the appliance tipped back onto its top for a moment to settle the water in the tub.
Slide it into the bay on wood runners or a piece of cardboard so the floor does not get scratched, front edge first. Do not force it past the door swing. When it is seated, follow the manual for front, top and side mounting brackets, which usually screw to the cabinet frame or the underside of the countertop rather than to the appliance’s decorative skin. Brackets to drywall hold nothing; brackets to the frame or a stud hold plenty.
Step 4: Connect the Water Supply Line
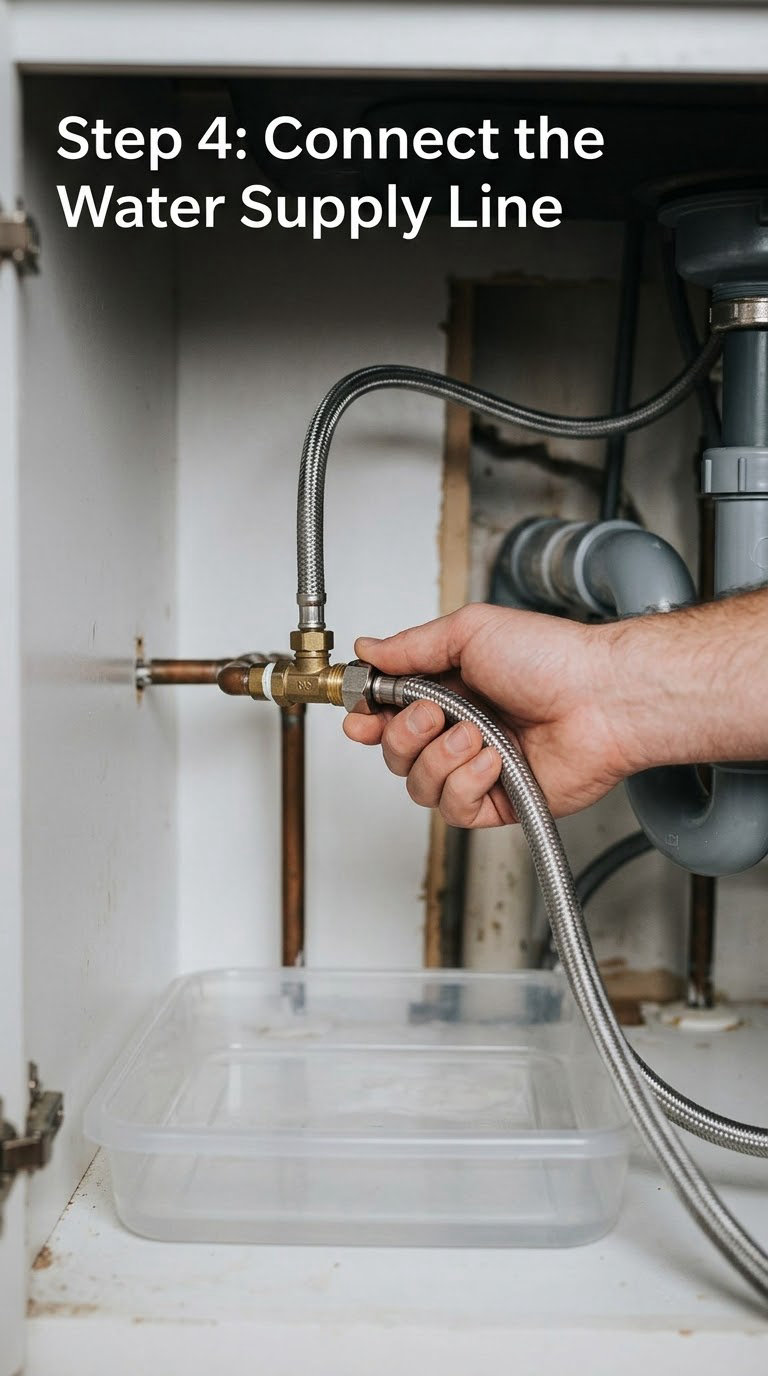
Run the braided supply line from the hot water shut-off valve to the inlet valve at the front lower left of the appliance. Most supply kits come with a 90-degree elbow fitting that lets the hose reach the valve without a kink. Hand-tighten the nuts first, then snug with a wrench. Cranking hard on the elbow is how you crack a fitting and spend the next morning under the sink mopping up.
Do not put thread seal tape on the appliance threads, the elbow, or the shut-off valve outlet. Those are flat or rubber-seated fittings. Tape on a rubber-seated thread tears the washer and causes exactly the drip the new install was supposed to stop.
If there is no valve, or the existing valve is seized and older than the appliance you are replacing, that is a plumber job rather than a Saturday afternoon.
Step 5: Connect the Drain and High Loop
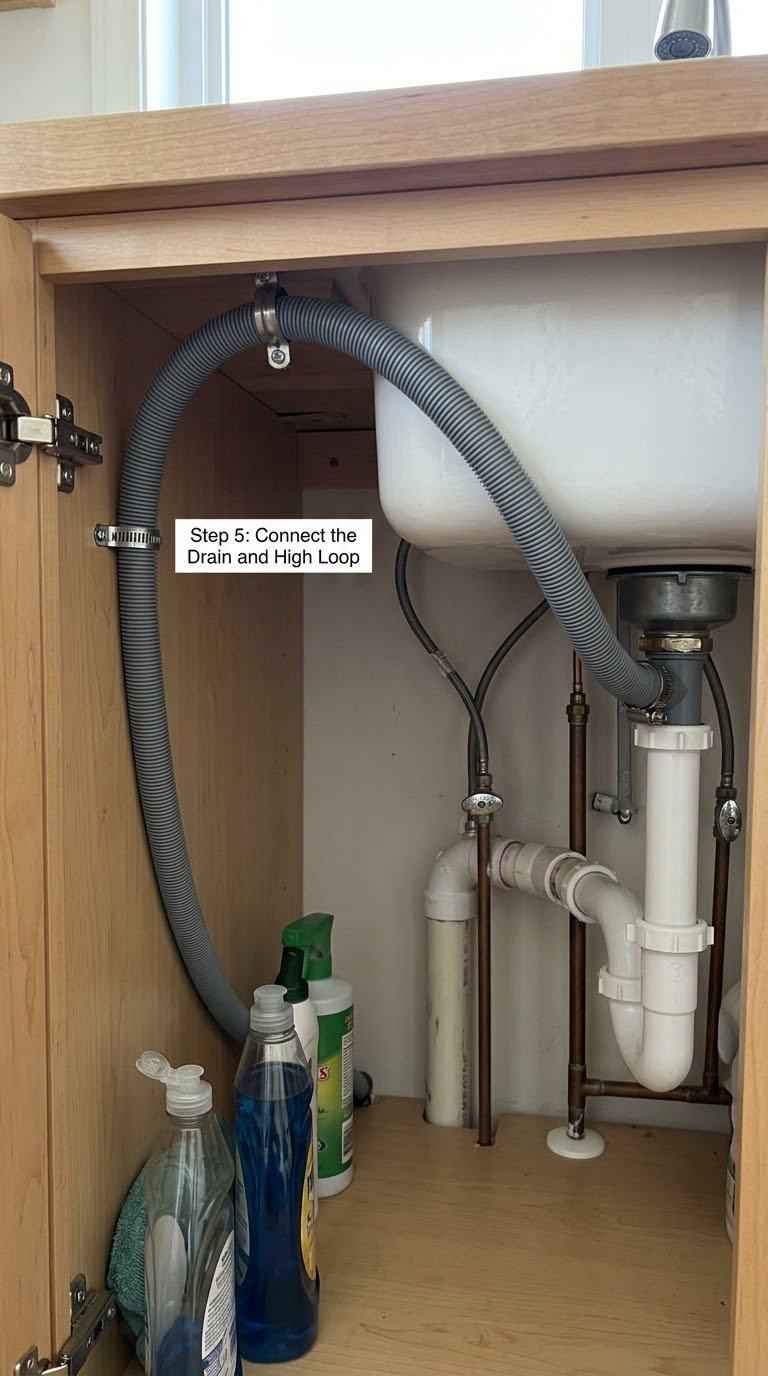
Route the drain hose from the dishwasher up to the underside of the countertop, as high as it will go, and secure it there. That loop is the high loop, and it is the code detail that matters most here: it keeps drain water from backflowing into the tub and contaminating the next fill.
Bring the hose down to the sink tailpiece or into the disposal. If it goes into a disposal, remember the knock-out plug inside the disposal inlet. That plastic plug has to be removed with a screwdriver or wrench, and forgetting it is the most common cause of a dishwasher that fills but never drains. The air gap versus high loop guide explains which arrangement your local code expects.
Clamp the hose to the tailpiece with the dishwasher hose clamp and snug it by hand plus a quarter turn. Keep the hose uphill all the way to the connection and leave no tight bends, because a kinked drain hose behaves like a plugged one.
Step 6: Connect Power, Level the Dishwasher, and Test It
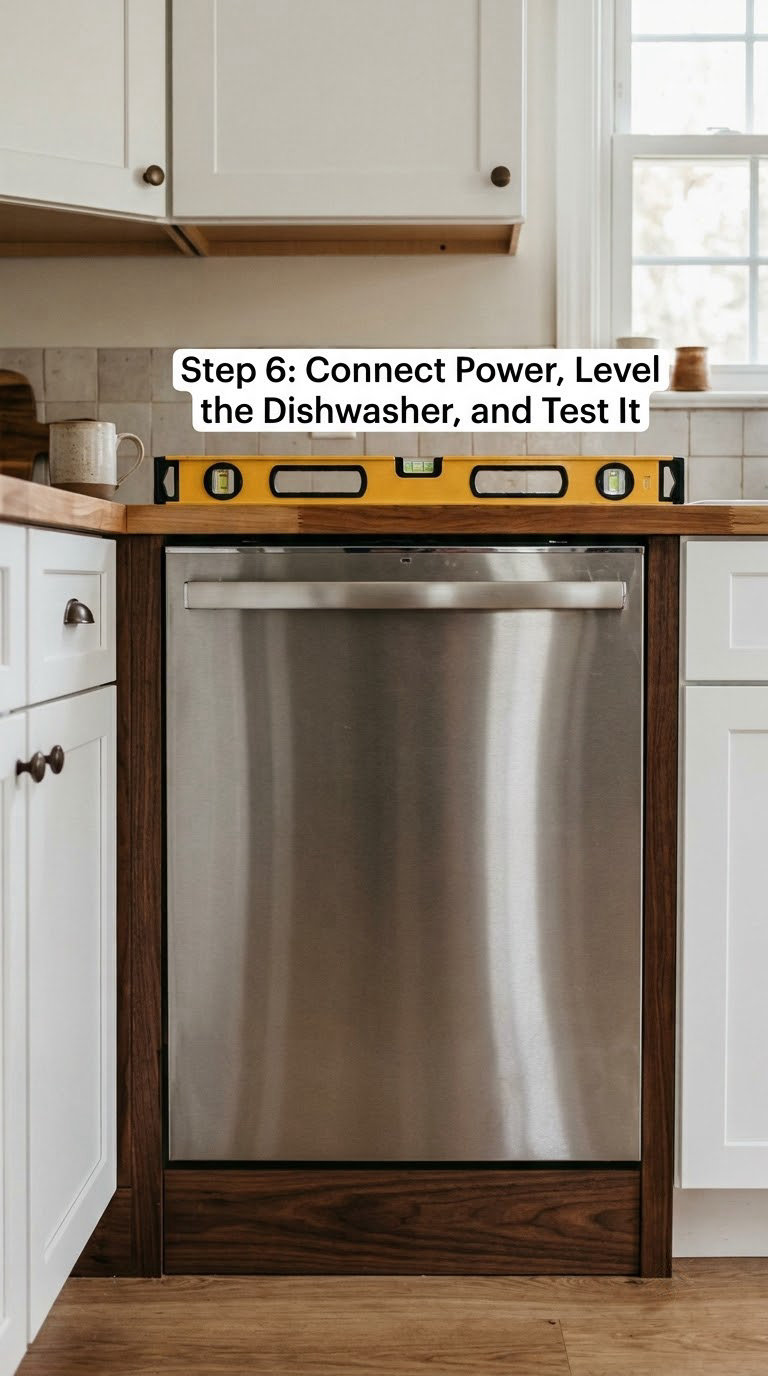
For a plug-in model, plug the cord into the grounded receptacle and route it so it cannot be kinked or pinched by the appliance sliding back. For a hardwired model, work inside the terminal box or junction box with the black lead to hot, white to neutral, and green or bare copper to ground, using wire nuts and a grounding screw or pigtail. Any new circuit, new receptacle, or 240-volt work belongs to a licensed electrician.
Adjust the leveling legs at the front, then the rear, until the level reads true front-to-back and side-to-side. Turn each nut a quarter turn at a time and re-check; the rear legs are the ones most often missed, and an unlevel tub is why dishes come out gritty. Follow the manual’s rule about how the appliance should sit relative to the countertop and the cabinet doors, since many brands want the top edge of the door just under the counter overhang.
Fit the toe kick or access panel, then restore the water valve and the breaker. Run a short test cycle with the racks empty while you stay in the kitchen, and watch the supply connection, the drain hose, and under the sink for the first two minutes. The first fill is the only fill that reveals a slow weep. Then load normally and check once more after a full cycle.
Common Mistakes to Avoid
None of these are exotic. They are the recurring ones, and each has a straight fix.
- Sizing the opening by guesswork. Measure the counter height and the appliance height separately, with the legs at their lowest setting. If the numbers do not leave room, you need a different model, not a longer shim.
- Skipping the leveling. Four feet, checked in both directions, takes five minutes and decides how the dishes come out.
- Leaving the drain hose in a flat loop. No high loop means possible backflow into the tub.
- Forgetting the disposal knock-out plug. The machine fills, runs, and leaves dirty water in the bottom.
- Using tape or a wrench on rubber-seated water fittings. Use the flat gasket, snug gently.
- Mounting brackets into drywall or the appliance skin. Anchor to the cabinet frame or the countertop underside.
- Forgetting the two front-top screws on the old unit. That is the stuck appliance you cannot slide out.
- Testing and walking away. Stay for the first two minutes of the cycle and look underneath.
When to Call a Pro
Stop and hire a licensed plumber when there is no accessible hot water valve, when the existing valve will not turn, or when the drain has to be cut into a wall or moved to a new location.
Hire a licensed electrician for a new circuit, a new receptacle, a relocated outlet, or any hardwired alteration in a panel-adjacent box. This is also the moment to bring in a pro if the old unit was hardwired and you cannot tell whether the black lead was truly the hot conductor, or if the circuit has no ground.
Structural work is not a DIY job either: a wet or rotted cabinet base, a sink that has to be moved, or a countertop that must be cut for clearance all need a carpenter or installer. And if your local authority requires a permit for the work you are doing, book the inspection before closing the cabinet up. Most installs are legal homeowner work in most jurisdictions, and the exceptions are electrical changes and new supply lines.
Maintenance
Ten minutes a month keeps a new install leak-free. Pull the bottom rack and rinse the mesh filter or cylindrical filter under warm water, then run a bare cycle with a cup of vinegar in a bowl on the top rack if you notice a smell or a film on the glassware.
Twice a year, lift the spray arms off and clear the spray holes with a toothpick, and wipe the door gasket and the detergent door seal with a damp cloth. Once a month, look under the sink at the supply line and the drain hose joint for a damp spot, and listen for a cabinet floor that feels spongy near the appliance.
If you find standing water in the bottom of the tub, a hose clamp you cannot stop weeping, or a smell that means the drain is not moving, deal with it quickly. Pull the appliance forward about 6 inches, which most brackets allow, and address the hose before you pull it out for service.
Frequently Asked Questions
Can I install a dishwasher myself?
Yes, most homeowners can install a standard under-counter dishwasher when the opening, hot water supply, drain and 120-volt power are already in place. The work is two hose connections, one electrical connection, and leveling four feet. You will still need a second person to help lift the appliance, and the manufacturer’s installation instructions should be in hand before the first screw turns.
Do I need an electrician to install a dishwasher?
An electrician may be required if you need a new circuit, a new receptacle, a circuit extension, or any alteration to fixed wiring. A plug-in model with a suitable existing grounded receptacle is usually homeowner work. Hardwired models are also fine to connect yourself if the black lead to hot, white to neutral and green to ground are known and the circuit is properly grounded.
How long does it take to install a dishwasher?
A straightforward replacement commonly takes two to four hours once the cabinet opening and connections are ready. Removing an old unit, modifying cabinets, drilling for hoses, or solving an electrical problem can push a first-time installation to a full day. Budget the extra time whenever there was never a dishwasher in that cabinet bay.
What size opening does a dishwasher need?
Most standard under-counter dishwashers are built for a 24-inch-wide cabinet opening, with roughly 24-3/8 inches to the front of the face frame and about 27 inches of height from the floor to the underside of the countertop. Compact 18-inch models fit narrower bays. Check the installation specifications for your exact model, and leave about 27 inches of clear floor in front for the door to open.
Is it legal to install your own dishwasher?
In most places a homeowner may replace or install their own dishwasher. Replacing a plug-in unit generally requires no permit. Adding a circuit, running a new water line, or altering fixed wiring can require a permit and licensed trade work under local rules, and kitchens in some rental or multi-unit buildings carry extra requirements. Check your city or county before starting new electrical or supply lines.
Conclusion
Start by confirming the appliance fits: measure the opening in three places, check the handle and door swing, and read the installation sheet for that model. Then inspect the cabinet base for dampness and locate the water valve, the drain, and the circuit before you buy any parts.
Once the unit is in, work in this order: remove the old machine, verify clearances, slide and secure, connect water, route the drain into a secured high loop, then handle power, level all four feet, and stay for the first minutes of the test cycle. If any step requires a new circuit, a new supply line, or repair of a damaged cabinet, hand that part to a licensed professional rather than guessing. How to install a dishwasher yourself is a very doable job within those limits.
Still choosing the appliance? Comparing hookup-friendly models in the dishwasher picks under $500 narrows the field before you measure anything.