
How to Paint a Mobile Home Interior Wall: Easy DIY Guide 2026
You can paint a mobile home interior wall, but the job lives or dies in the prep. Most manufactured home walls are VOG panels (vinyl over gypsum): a gypsum core with a thin, glossy vinyl skin that regular latex paint will not grab onto. Clean it, dull the shine, prime with a bonding primer, then roll two thin coats of 100% acrylic latex and the finish will hold for years.
Fall is a good time for this, by the way. The heat is off, the days are shorter, and you can leave windows cracked overnight between coats without fighting the sun.
Contents
Time: 2 to 3 days for one room, mostly drying · Cost: one gallon of primer and one gallon of paint covers a typical single room · Difficulty: moderate DIY · Skill level: patient beginner
Tools and Materials
Gather everything before you break the tape out. A half-finished wall with no roller left is how projects stretch to a week.
- 2.5 inch angled sash brush for cutting in trim and corners
- 3/8 inch nap roller, 9 inches long, plus a roller frame and a sturdy plastic tray
- 180 grit sandpaper or sanding sponge to dull the gloss
- 220 grit for a light pass over dried primer
- Putty knife, plus spackle or setting-type drywall compound
- Utility knife, painter’s tape, and a tack cloth
- Drop cloth, painter’s plastic for the floor, and a small vacuum or brush for dust
- Nitrile gloves and a dust mask or respirator for sanding
- Step ladder, a flashlight, and a clean rag
For materials, what the wall is made of decides the list.
- A gallon of phosphate-free cleaner, or a trisodium phosphate substitute if your state restricts phosphate products
- One gallon of bonding primer, the type labeled for vinyl and non-porous surfaces
- One gallon of 100% acrylic latex interior paint in eggshell or satin
- Paint swatches, or a sample pot, before you commit to a gallon
- Flexible paintable caulk for gaps along batten strips and trim lines
If you are still deciding on a color, sample a few in the room itself at different times of day. Paint colors shift with the light in a way no swatch fan shows you. Our notes on picking shades that hold up indoors are in 10 best interior paints for walls. For how a new color changes the feel of a whole room, take a look at mountain modern home interior ideas, and if you would rather not paint at all, wallpaper ideas for a living room is a weekend-sized alternative.
Before You Start: Prep the Wall and Check the Surface
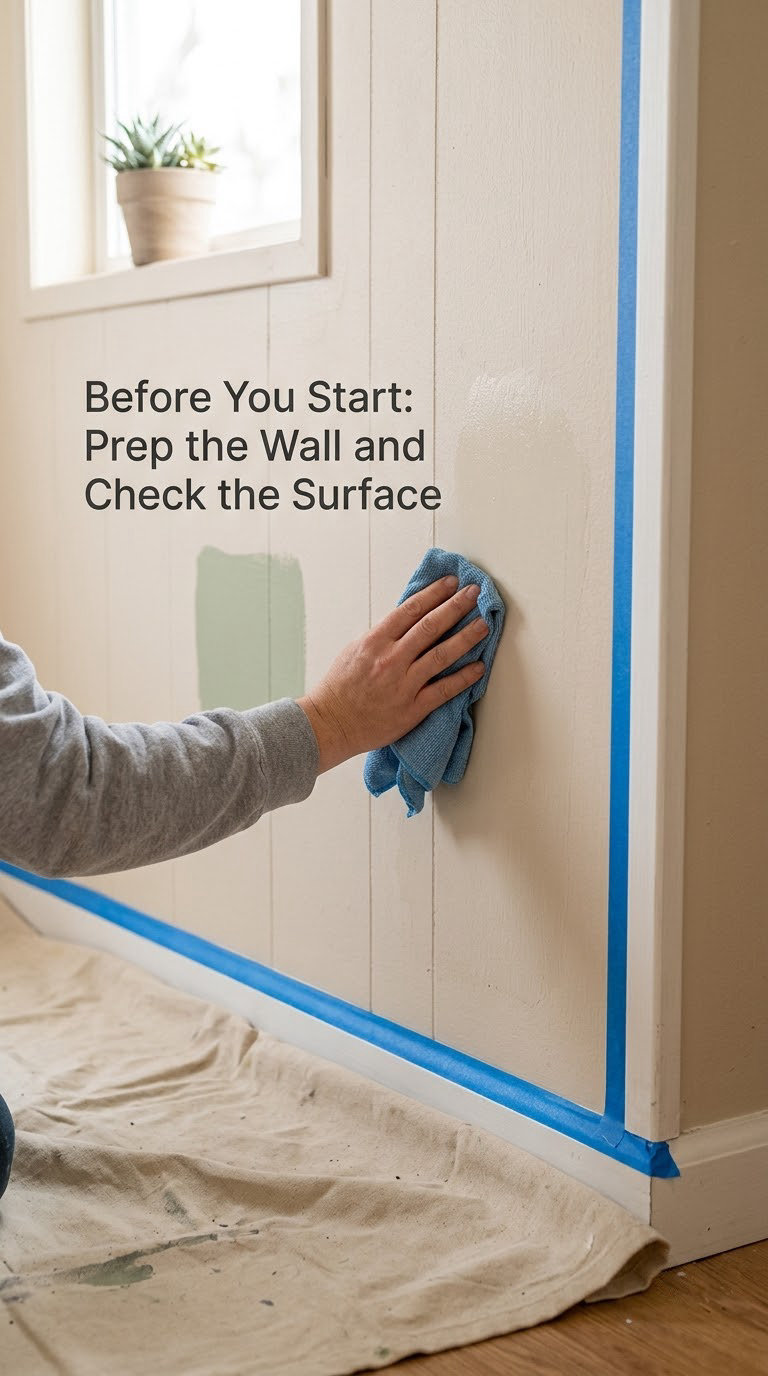
Put on gloves and eye protection, and open windows before you mix anything. Paint fumes get heavier in a closed mobile home because the same small volume of air moves through the whole space. A fan pointed at an open window moves air out faster than you would think.
Find out what you are painting before you buy a primer. Press a fingernail into an inconspicuous spot. If the wall is shiny, hard, and cold, it is almost certainly VOG. If a light scuff leaves a dent in a chalky grey layer underneath, that is drywall or panelboard with old paint on it. Metal homes and additions may need a rust-inhibiting primer instead.
Look up the wall’s condition and any paint warranty the manufacturer lists in your paperwork. Some manufactured homes were built with an interior finish that was never meant to be painted, and a few jurisdictions ask you to confirm local rules for interior work in a manufactured structure before you start.
Do a small test patch in a closet corner. Paint a 6 inch square, let it dry the full time the can lists, then scratch it with your fingernail. If the paint lifts in a strip, you have missed a step and you have found out in an hour rather than six months from now.
How to Paint a Mobile Home Interior Wall Step by Step
This is the order that works for most walls in a manufactured home: protect, clean and repair, prime, cut in and roll, dry, second coat. Each step gives the next one something solid to sit on.
Step 1: Remove Doors, Hardware, and Wall Obstructions
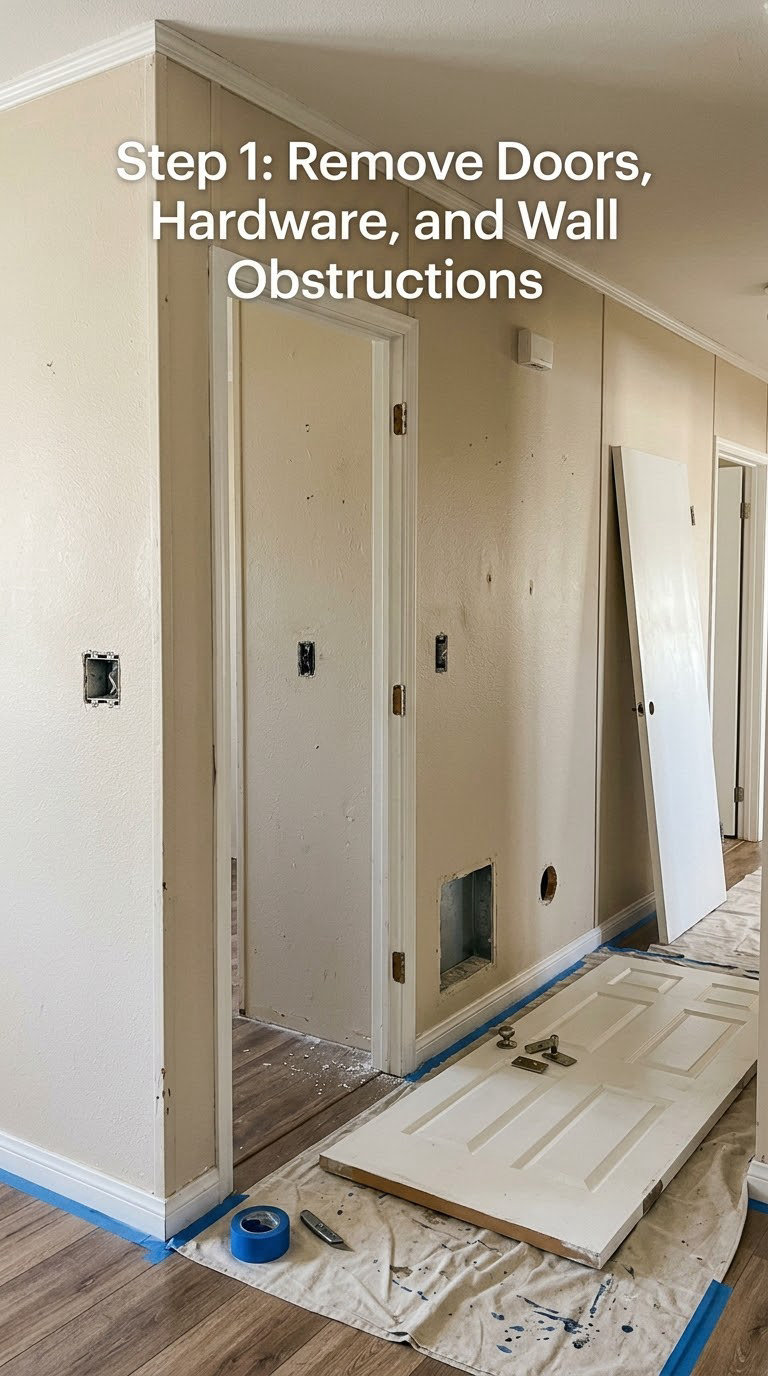
Move furniture and anything on a shelf at least 3 feet (about 90 cm) from the wall. Lay the drop cloth and tape its edges to the floor so nothing creeps underneath.
Switch off the breaker for the room before you touch a single switch plate, and confirm the power is dead with a non-contact voltage tester. Unscrew the plate, tape the screw holes, and let the plate stay off until the end. Leave any wiring to a licensed electrician.
Mask the baseboard, window casings, ceiling edge, crown molding, and any wall vent grille with painter’s tape. Press the tape down with your thumb; paint creeps under lifted edges more than it creeps anywhere else. If a batten strip runs across the wall, tape it now while it is still easy to reach.
Label each door and hardware piece with masking tape if you are removing more than one, and set screws in a labeled cup. You will thank yourself in step five.
Step 2: Clean, Fill, Sand, and Prime the Wall
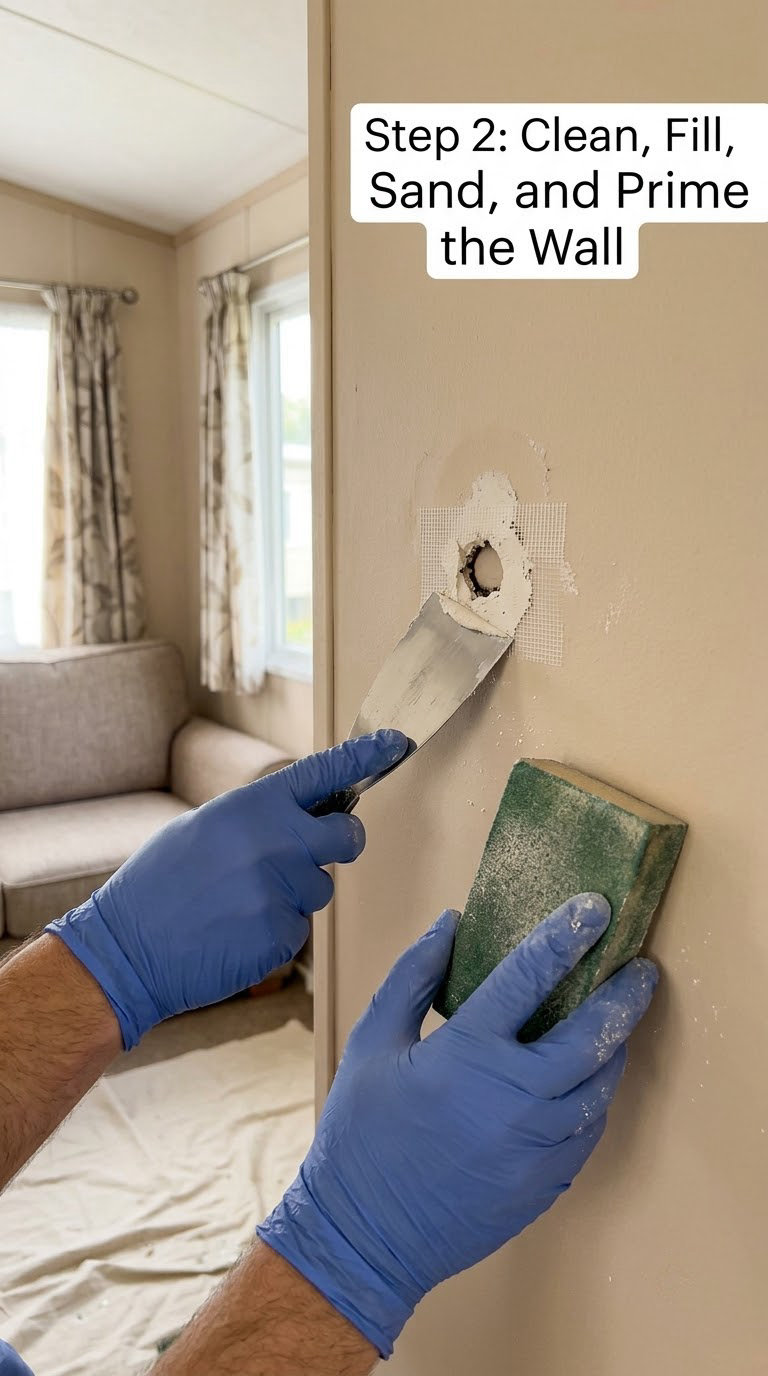
Mix the cleaner with warm water according to the label, wipe the wall from top to bottom in small overlapping strokes, and change your cloth often. Kitchen grease and silicone spray are invisible and they will wreck the bond later, so give those areas a second pass with a clean cloth. Let the wall dry fully, usually two to four hours.
Fill nail holes, dents, and small cracks with spackle, and any wider gap or damaged gypsum with drywall compound. Feather the edges with the putty knife and let it dry. Sand the repairs smooth with 180 grit, going over the repair more lightly than you think you need to.
Now dull the whole surface with the 180 grit. On VOG, the goal is a uniform matte sheen, not a raw panel. You are scuffing the vinyl skin, not sanding through it. A few light passes with a sanding sponge is plenty, and the dust should feel like fine powder rather than grit. Vacuum or wipe the wall down, then run a tack cloth over it so the dust leaves with the cloth.
Prime with the bonding primer in thin, even coats using a roller, and cut in first with the angled brush. Follow the can for dry time; typical water-based bonding primers need one to four hours before recoating. When the surface is dry, run a fingernail across it. If your nail leaves a shiny scratch, wait longer. A quick scuff with 220 grit and a second tack cloth pass smooths any minor texture before you paint.
If any gaps along batten strips or trim are open more than a hairline, run flexible paintable caulk into them now. Caulk flexes with the wall as temperatures change, and rigid compound in the same gap cracks open within a season or two.
Step 3: How to Paint a Mobile Home Wall with a Brush and Roller
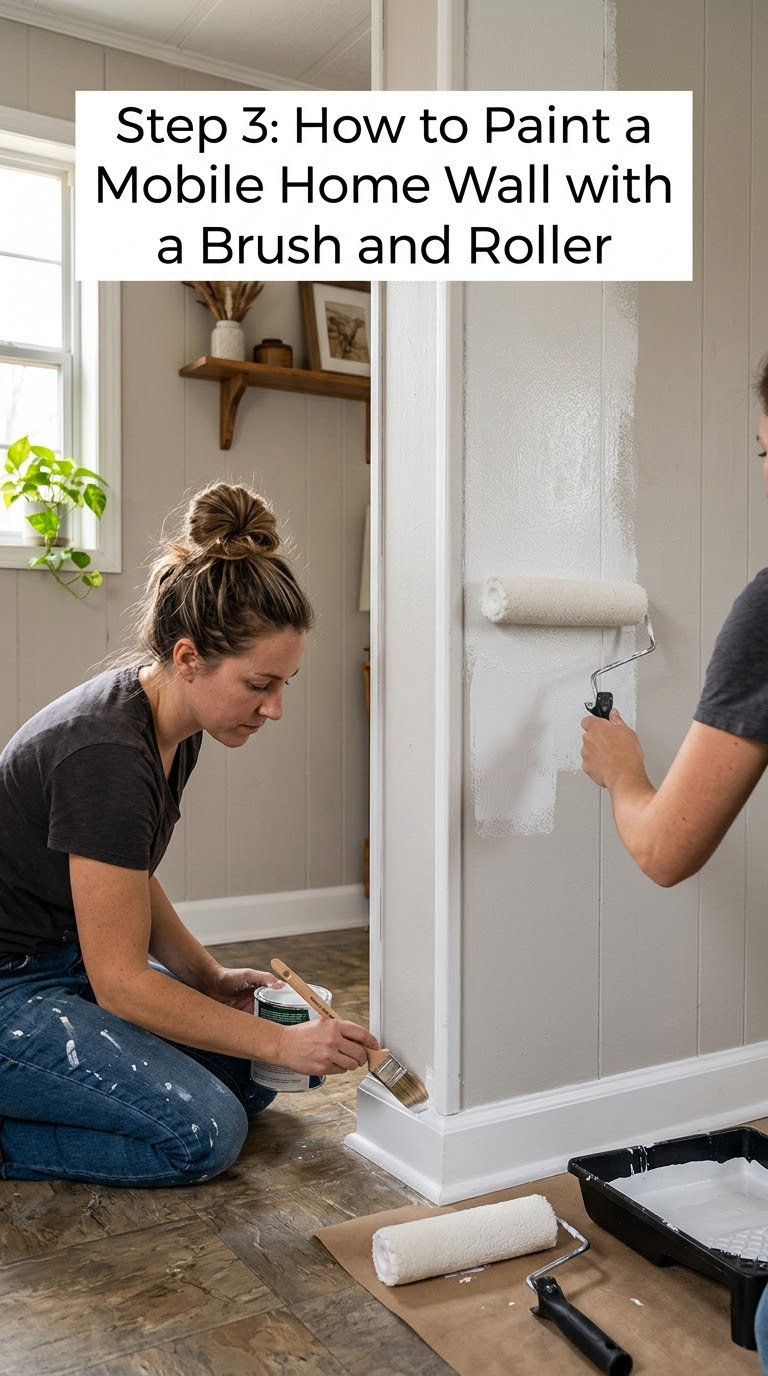
Stir the paint thoroughly with a paint stirrer, from the bottom of the can up, for two full minutes. Skim the solids off the lid and seal it back up. Opening the can halfway through a long job reintroduces skin and dust.
Cut in first along the baseboard, the ceiling line, the corner, and both sides of every batten strip. Load the brush about a third of the way to the ferrule and keep it nearly flat against the trim. One steady pass lays it down; two light passes and a feathering touch finish it.
Load the roller by dipping it into the tray and rolling it up and down the ramp six or seven times to spread the paint evenly in the nap. Then roll onto the wall in a W pattern, one row at a time, and finish each row with a slow pass along the wet edge you just laid down. That wet edge is what keeps lap marks from showing.
Reload before the roller starts to dry on the wall. A roller running nearly empty skips and drags, and those streaks are much harder to fix later than a few extra trips to the can.
Step 4: Let the First Coat Dry and Apply the Second Coat
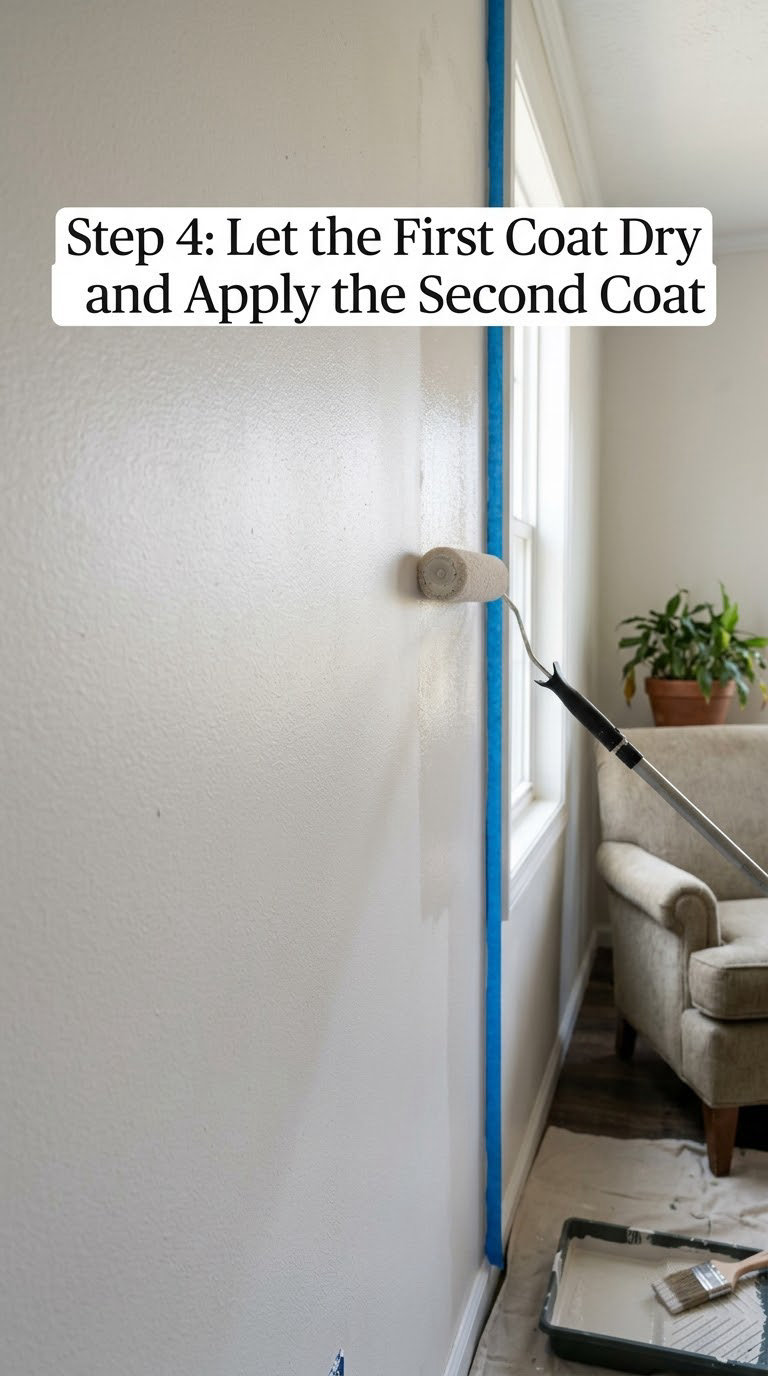
Read the can, because the number on the label is the number that applies. Recoat windows commonly run one to four hours for water-based acrylic latex in normal indoor conditions. Cold, humid, or poorly ventilated rooms push that window longer, and painting too early is the most common cause of a finish that peels later.
Check a spot in the room where light hits the wall. If the paint looks uniformly matte with no darker patches, you are close. Touch a low, out-of-sight spot lightly with the back of a clean finger; a slight tackiness is fine, a cool surface that feels damp means wait.
Apply the second coat the same way as the first. If you are going from a dark color to a light one, or from bare primer to your final shade, plan on a third coat. Each one stays thin, and three thin coats will always outlive one heavy coat.
Step 5: Remove Tape, Clean Tools, and Inspect the Finish
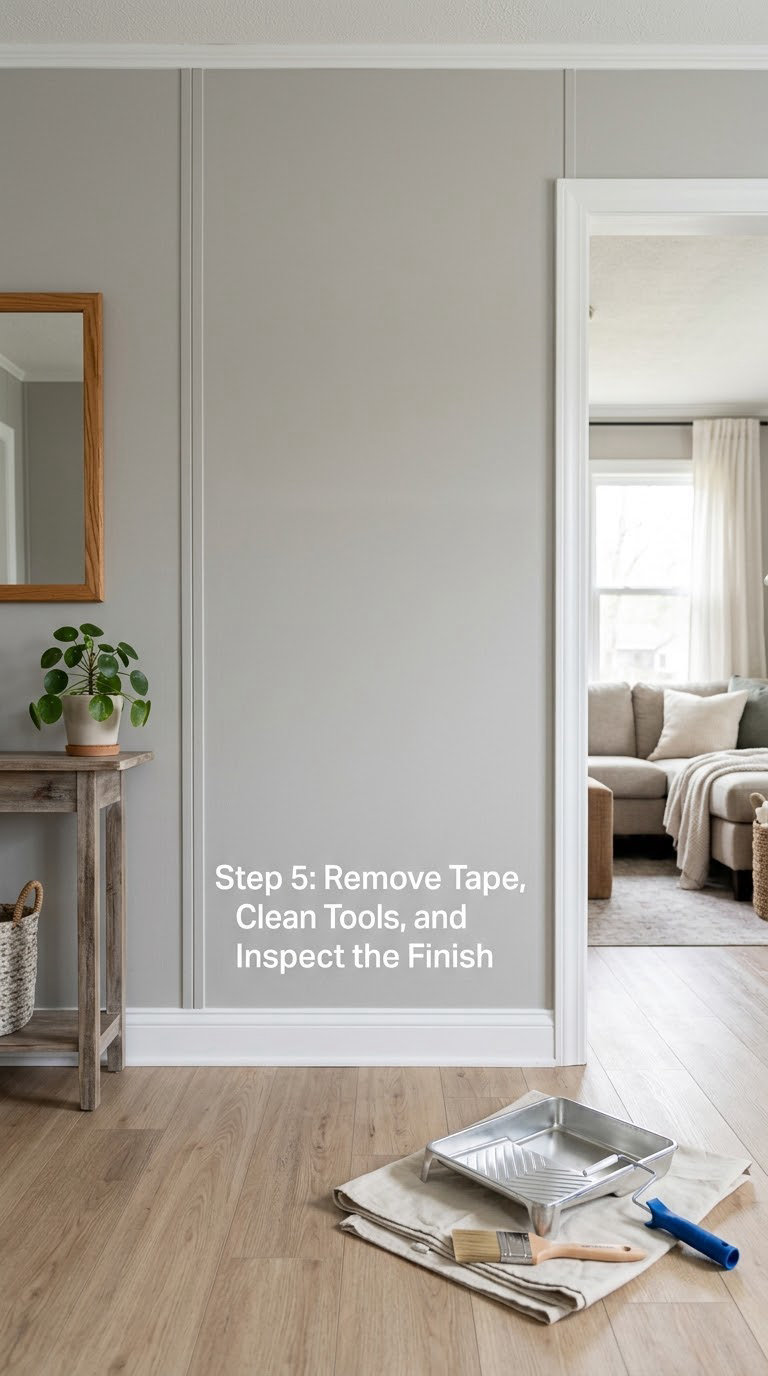
Pull the tape while the paint is still workable but has gone slightly firm, usually a few hours after the last coat, not the next morning. Pull at a shallow angle, slowly, and fold the tape into itself rather than yanking straight back. Paint that has cured hard enough to tear will take a strip of the wall with it.
Clean up while the paint is still soft: rinse the roller in warm water, work the paint out of the nap with your thumb, then wash the brush in warm soapy water and comb the bristles straight. Let everything dry, then scrape the dried paint off the tray rim and save the tray liner for later.
Sweep the room with a soft broom and wipe any drips on the trim with a damp rag. Walk the room with the lights on and look across the wall at an angle. Roller skips and lap marks show up as flat matte patches, and a small brush fixes them the same day.
Common Mistakes to Avoid
- Not identifying the wall first. Paint for drywall will peel off a vinyl panel. Press your fingernail into a hidden spot before you choose a primer.
- Painting over grease and dust. Wipe the wall, let it dry, sand, then vacuum and use a tack cloth. Two cleaning passes beat one, especially near a kitchen.
- Using an ordinary primer. General purpose latex primers are built for porous surfaces. A bonding primer made for vinyl and non-porous substrates is the whole reason the finish lasts.
- Overloading the roller. Thick coats run, sag, and dry into a wrinkle. Work the paint out on the tray ramp and keep coats thin.
- Painting a cold or damp room. Below roughly 50°F (10°C), or in high humidity, the film forms slowly and unevenly. Warm the room and paint mid-day with windows open for airflow.
- Ignoring the label’s dry time. A recoat applied onto a tacky first coat peels in sheets, sometimes within weeks.
- Pulling batten strips off. Those strips cover the panel joints and let the wall move. Removing them invites cracks that come back; paint over them and caulk the gaps instead.
When to Call a Pro
Stop and get a qualified painter or contractor when paint is coming off in sheets across more than a small patch, or when peeling returns in the same spot after a fresh coat. That pattern points to moisture behind the wall rather than a bad paint job.
Mold growth, soft or crumbling drywall, visible rust streaks, or a wall that feels damp needs the underlying problem fixed first. Interior work in a manufactured home can also fall under local rules, so check before altering anything structural.
Anything involving rewiring, adding outlets, or moving fixtures belongs to a licensed electrician. If you are not sure whether a wall is load-bearing or whether the structure allows painting at all, an inspection is cheaper than a repair.
Maintenance
Wipe the painted wall with a soft cloth and warm, soapy water. Skip the abrasive sponges, the magic eraser pads, and any cleaner with ammonia or a strong solvent, since those dull the finish and break down the paint film you worked to bond.
Touch up chips and scuffs while they are small. Keep the same paint can sealed and stored for touch ups; a can that has been frozen or overheated rarely matches the wall anymore.
Watch the wall seasonally. Paint that bubbles, flakes near a window, or darkens along the bottom edge is telling you about moisture, poor ventilation, or a leak, and it is worth chasing down before you repaint.
Frequently Asked Questions
What kind of paint do you use on a mobile home interior?
Use 100% acrylic latex interior paint in eggshell or satin. These flexible coatings handle the slight movement of a manufactured home wall better than older oil-based formulas, and they are easy to clean. Buy paint rated for vinyl or non-porous surfaces, and pair it with a bonding primer when the wall is VOG paneling.
Can you paint the walls inside a manufactured home?
Yes, most owners paint their interior walls. The walls are typically gypsum-based panels with a vinyl skin, so clean the surface, scuff the gloss with 180 grit, prime with a bonding primer made for vinyl, and apply two thin coats of 100% acrylic latex. Check your paperwork first, because a few manufacturers note that the factory finish was never intended to be painted.
Do I need primer on vinyl-over-gypsum walls?
Yes, on vinyl-over-gypsum panels. The vinyl skin has almost no porosity, so ordinary primers and standard latex paint have nothing to grab and peel away in sheets. A bonding primer for non-porous surfaces forms a keyed layer that the topcoat holds to. Skipping it is the single most common reason a first paint job fails within months.
How long does interior paint take to dry between coats?
Most water-based acrylic latex interior paints need one to four hours before recoating, but always follow the label on your can. Cold rooms, high humidity, and poor airflow extend that time considerably. Wait until the wall looks evenly matte with no darker damp patches, and test a hidden spot with the back of a clean finger before you reload the roller.
Can I use regular latex paint on vinyl walls?
You can, but it may not last. Regular latex is designed for porous surfaces like drywall, and the slick vinyl skin gives it almost nothing to adhere to. The paint usually goes on fine, looks good for a while, then lifts in sheets along the seams. A bonding primer plus a paint rated for vinyl costs one extra step and prevents most of that failure.
How do you fix peeling paint on mobile home walls?
Peeling paint usually means moisture or a bad earlier job, not a bad color. Find and fix the damp source first, then scrape or sand the loose paint back to a firm edge, feather the edges, clean and dust the wall, and prime the bare spots with a bonding primer. Patch with flexible paintable caulk along any joint or trim gap, then apply two thin coats of 100% acrylic latex.
Conclusion
Start by identifying the wall. Run a fingernail into a hidden corner, and if it is hard and glossy, treat it as vinyl over gypsum and plan on a bonding primer. From there the order never changes: clean the wall, repair the holes, scuff the gloss, dust everything, prime, then roll two thin coats of 100% acrylic latex with real drying time between them. Give it a weekend in good weather and the wall will look like a fresh room for years.
