
How to Cut Baseboard Corners Without a Miter Saw (October 2026)
Yes, you can cut baseboard corners without a miter saw. Use a manual miter box and a fine-tooth hand saw for outside corners, and cope inside corners with a coping saw, a jigsaw, or a hand file. Both methods take about ten minutes a corner once your hand learns the saw.
A miter saw is faster, not better. What it gives you is a repeatable angle and a straight guide, and for one room of trim in an apartment with noise rules, a miter box does the same job without a single decibel. Most beginners I have watched learn the hand method in a single afternoon and never go back.
Contents
Fall is when this comes up. Baseboard takes the worst of a wet summer, seams open up as the air dries out in September and October, and suddenly every corner in the living room is visible. What follows is the order I work in, with the measurements that matter and the mistakes that cause gapped corners.
Tools and Materials to Cut Baseboard Corners Without a Miter Saw
You need very little. Here is the honest list for a single room, roughly 20 to 30 feet of baseboard.
- Miter box with pre-cut 45-degree and 90-degree slots, one per project. A wooden box is fine; a cast aluminum box holds the angle better.
- Hand saw or back saw, 12 to 14 teeth per inch, 20 to 24 inches long. Fine teeth cut smoothly; coarse teeth tear MDF.
- Coping saw with a thin blade for inside corners on molded profiles. A jigsaw with a fine-tooth wood blade is the stand-in.
- Tape measure (25 foot is plenty) and a sharp pencil for marking.
- Speed square or combination square to check the corner and to guide a cut.
- Clamp or vise to hold the trim, plus two sawhorses or a scrap 2×4 as a cutting station.
- Hammer and 1.5 inch finish nails, or a brad nailer if you have one. Nails go into studs, not just drywall.
- Stud finder, painter’s tape, utility knife, file or sanding block, and paintable caulk for the final fill.
- Drop cloth and safety glasses. MDF dust is fine and it finds eyes.
- Scrap trim for practice cuts. Always cut the sacrificial piece first.
Not required, but useful: a bevel gauge or digital angle finder for out-of-square walls, an oscillating multi-tool for trimming baseboard that is already nailed up, a jigsaw for coping, and miter shears if you want a shearing action that leaves almost no kerf.
Here is how the main methods compare.
- Miter box and hand saw — best for outside corners and flat trim. No dust, silent, and the easiest place for a beginner to start.
- Coping saw — best for inside corners and molded profiles. No dust, silent, and it needs a little practice to follow the shape.
- Jigsaw with a fine-tooth blade — copes without a coping saw. Light dust, moderate noise, intermediate skill.
- Hand file or sanding block — the final adjustment on a coped joint. Light dust, silent, beginner-friendly.
- Circular saw with a speed square — worth it for long runs and many cuts, but heavy dust and real noise.
- Oscillating multi-tool — trims baseboard that is still on the wall. Heavy dust, loud, and best kept for demolition work.
Before You Start
Put on the glasses before the first mark, not after the first nick. A hand saw throws fine dust straight back at your face, and a saw kerf in a fingertip is genuinely unpleasant.
Look at the profile. Square-edged flat trim and colonial-style molded baseboard are two different jobs. Flat trim butts or miters easily; a 6-inch colonial profile has an ogee and a bead that tear out if you rush the cope. If your trim is tall, thick, or heavily molded, budget twice the time.
Know the material. MDF cuts clean but the edges fuzz if you back-cut it. Pine splits along the grain on a crosscut. PVC and vinyl trim cut with anything and shrug off paint, so it forgives almost every mistake.
Remove what has to be removed. Pry off the old baseboard carefully, or if you are trimming in place, leave it and work around it. Clear the floor of rugs, and lay a drop cloth over the flooring you care about.
Check the corner before you trust it. Hold a speed square flat against one wall with the blade against the other, then mark the high spot in pencil. A wall that reads 93 degrees at the top and 88 near the floor is normal in an older house, and it is the reason so many first attempts gap.
Step-by-Step Instructions
Step 1: Measure the Wall and Mark the Baseboard
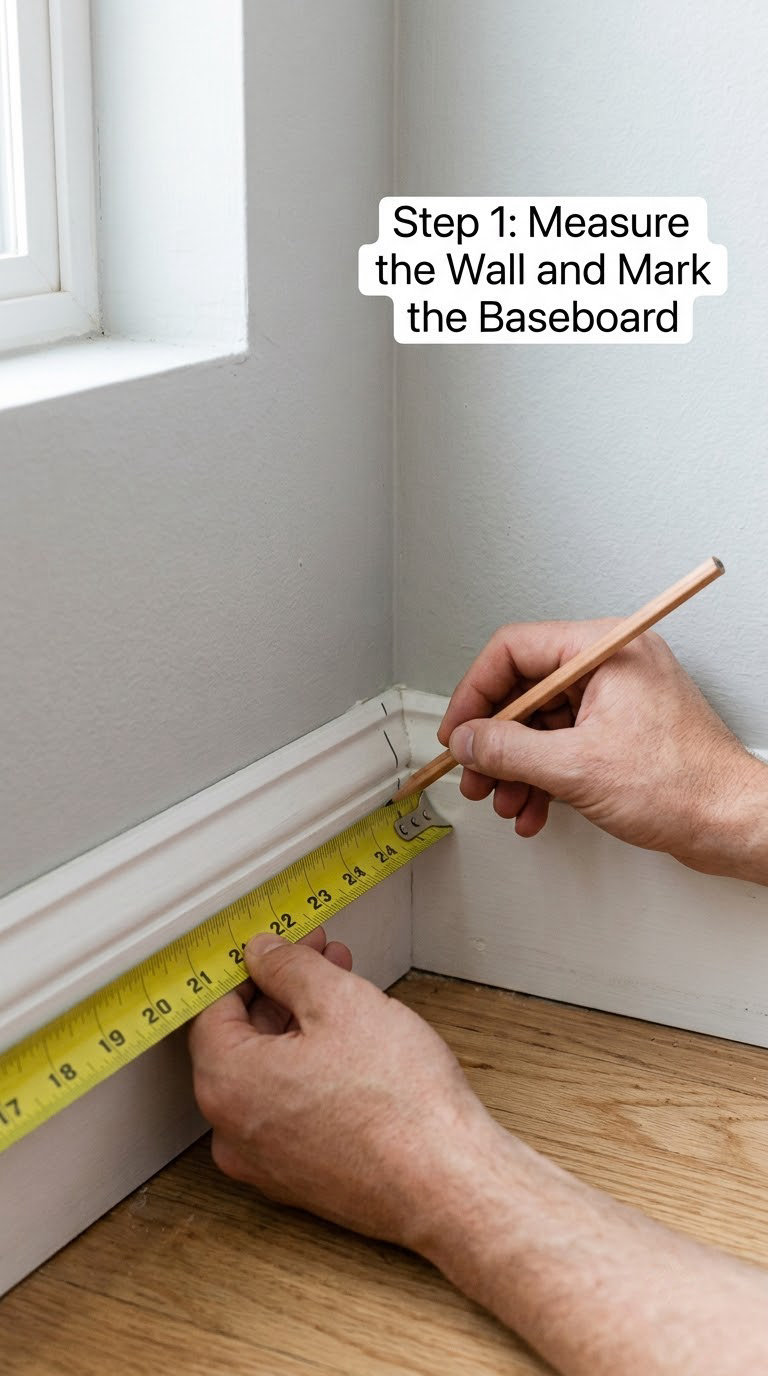
Measure the wall run and write the number on the back of the trim in pencil. Now the part that causes most short pieces: for a mitered piece, the face of the board at the corner is longer than the wall line, because the miter runs back at 45 degrees. Add 2 to 3 inches of extra length and trim back to fit instead of discovering you are an inch short at the corner.
For flat square-edge trim in an inside corner, a plain butt joint works and trades the miter problem away entirely. That is the standard advice from finish carpenters on r/Carpentry for flat stock, and on painted trim it is indistinguishable once caulked.
Mark the cut face with a hard pencil line, then draw an X on the waste side. Two lines: one to cut, one to make sure you are not looking at the wrong end at 2 inches long.
Step 2: Set the Miter Box to 45 Degrees
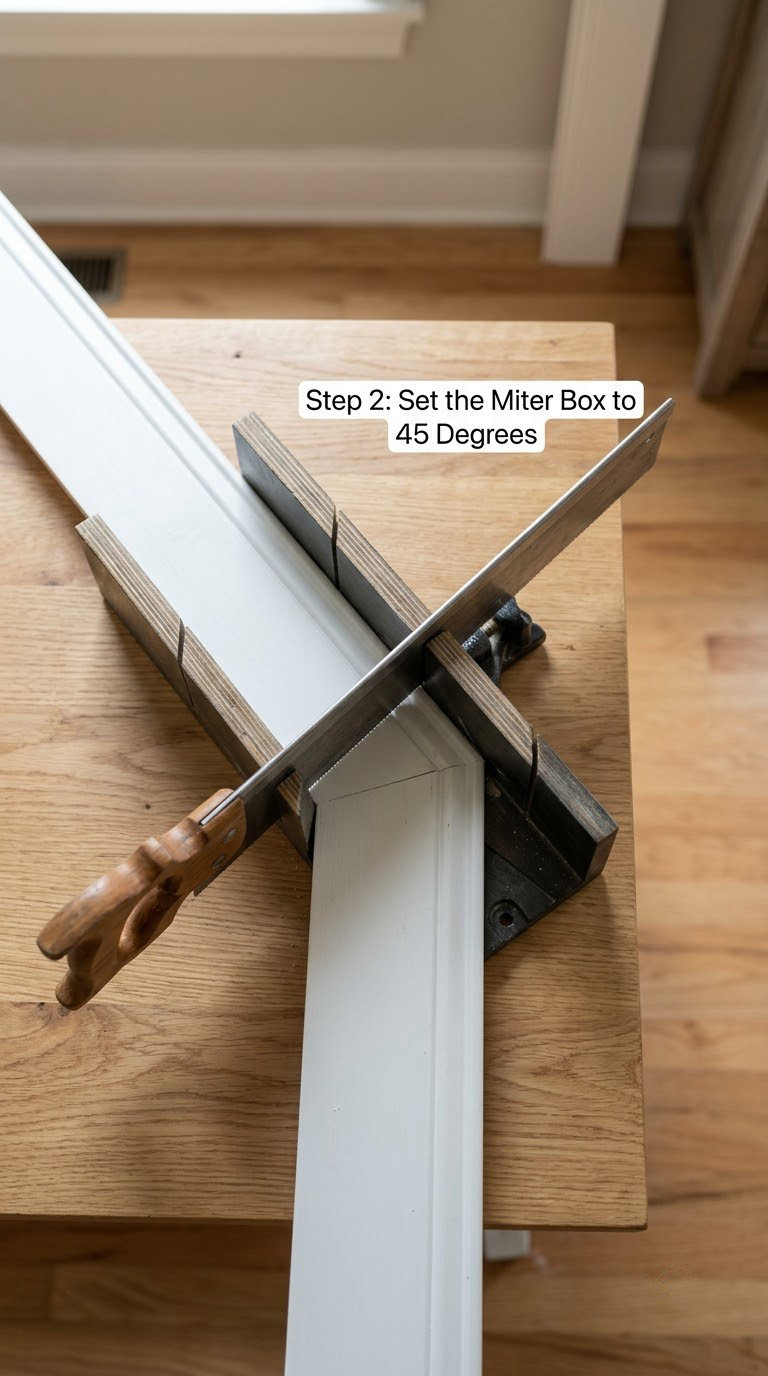
Set the trim into the miter box so the face you want to see on the finished piece sits flat against the fence. Loose sawdust in the channel is the number one reason a cut comes out 2 degrees off, so blow the slot clean with a few puffs of air first.
Line the pencil line up with the 45-degree groove, not the 90-degree one. The box is symmetrical, so it does not matter which side of the center the board sits on for an outside corner, as long as the fence holds the face you want forward.
Clamp it or boot it with your hip. A miter box that shifts mid-stroke is how beginners tear the top off a board. Check the cut line runs the full height of the profile before you start.
Step 3: Cut Straight Sections First
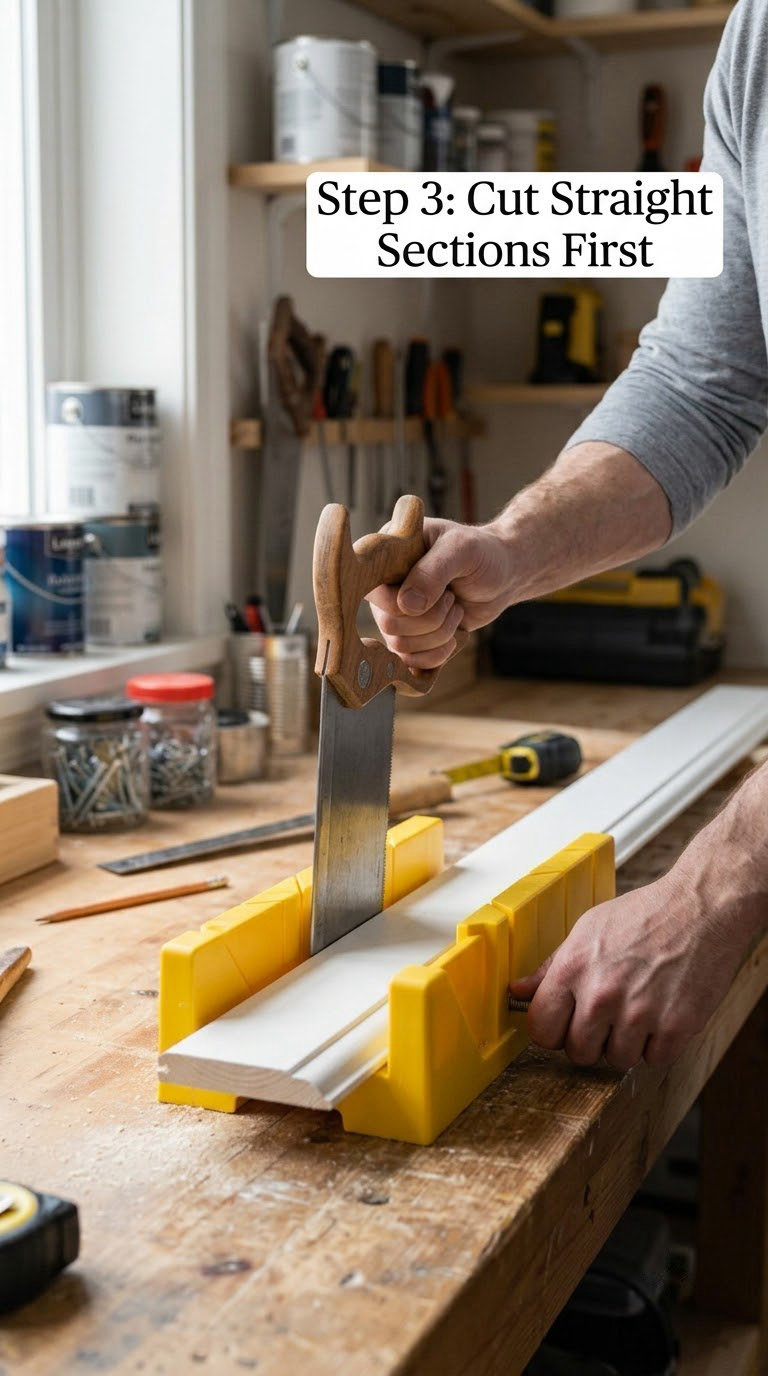
Do the butt cuts on the long runs before any corners. A straight cut is the easiest thing a hand saw does, and getting it out of the way first means the corner pieces are the only pressure left on the end of the job.
Use long, relaxed strokes and let the saw do the work. Start with three light passes to establish a kerf, then sweep the full length of the cut. Keep the saw vertical and slightly toward the waste side; a saw that wanders toward the line shortens your piece.
A saw is dull when it needs pushing, when it starts to sound like it is tearing rather than slicing, or when your arm is burning at 15 seconds. Eight or ten clean strokes versus forty hard ones is the whole difference. Cut your scrap piece first and check the edge with your thumb.
Step 4: Cut an Inside Corner Joint
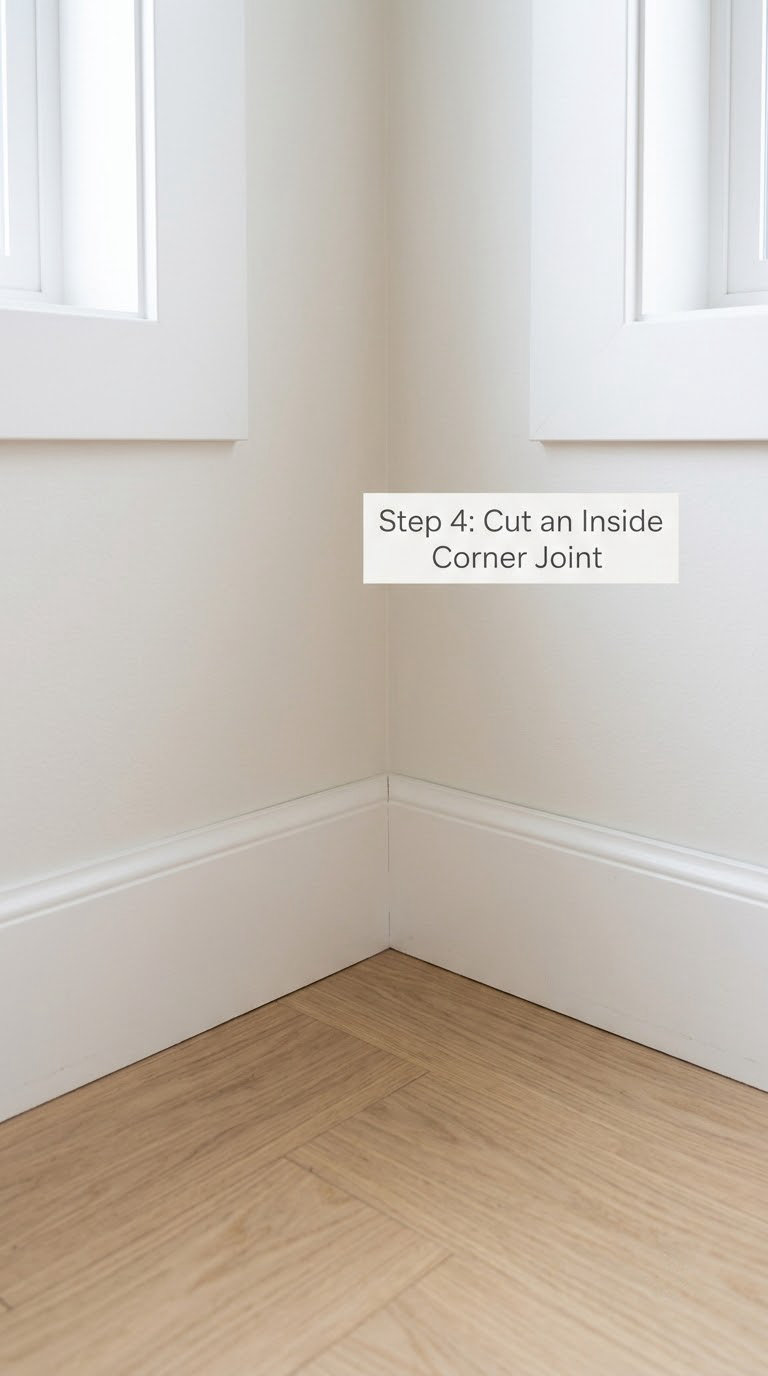
Inside corners are where beginners lose the plot. The rule most people get from carpenters and decorators is simple: miter outside corners, cope inside corners. A 45-degree miter on an inside corner looks perfect on paper and gaps the moment the wall is not exactly square.
Cope one piece and let the other run straight into the corner. First make a 45-degree miter on the piece that will be coped, then use a coping saw to cut away the back of the miter, following the profile as you go. Work in shallow passes from the back toward the face and stop at the face line. The back is now shaped to the other piece, so it nests no matter what the wall does.
Test fit constantly. Push it into the corner, look down the joint from above, and take a little more off anywhere it rocks. If you have no coping saw, a jigsaw with a fine-tooth blade follows the same path, and a hand file is the final adjustment.
For flat square-edge trim, skip all of it: butt both pieces square and run a bead of paintable caulk into the seam. Several people on r/HomeImprovement report mitering, caulking, and having painted corners hold up for years. On molded or unpainted trim, cope.
Step 5: Cut an Outside Corner Joint
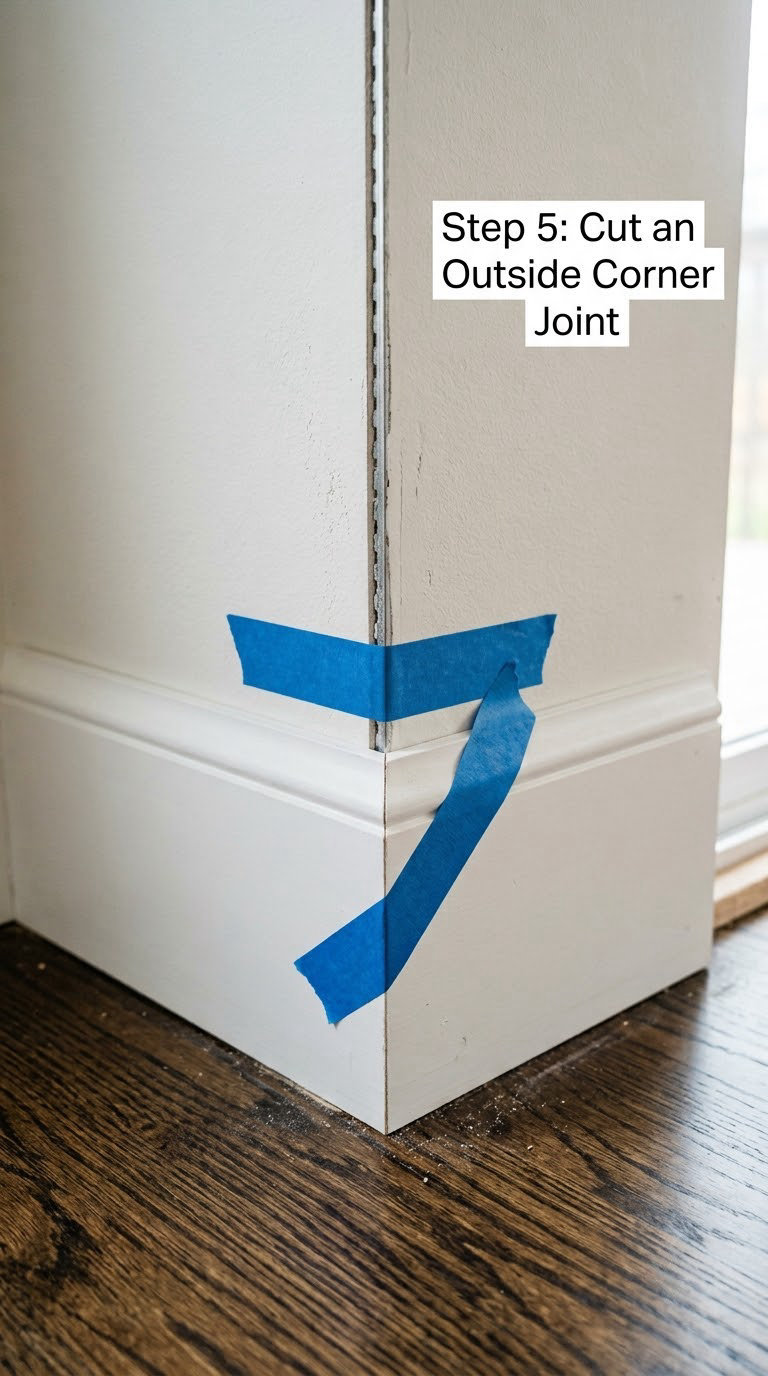
Outside corners are a straight 45-degree miter on both pieces, and they are the easiest job on the list. Measure each run, add the same 2 to 3 inch allowance, and mark.
Cut the first piece in the miter box with the fence on the side that keeps the finished face forward. Flip the second piece end for end and cut it, so the two angles mirror each other. The miter line runs from the inside corner of the joint to the outer corner, and the front edges are the long points that have to meet.
Tape them dry before you nail anything. Hold the joint with painter’s tape, step back, and check the seam. If a gap opens, the angle is off, not the length, so re-cut rather than trying to pull the joint tight. If the long points overhang, you have cut both at less than 45 degrees and the corner is blunt.
Step 6: Cope, Sand, and Secure the Final Piece
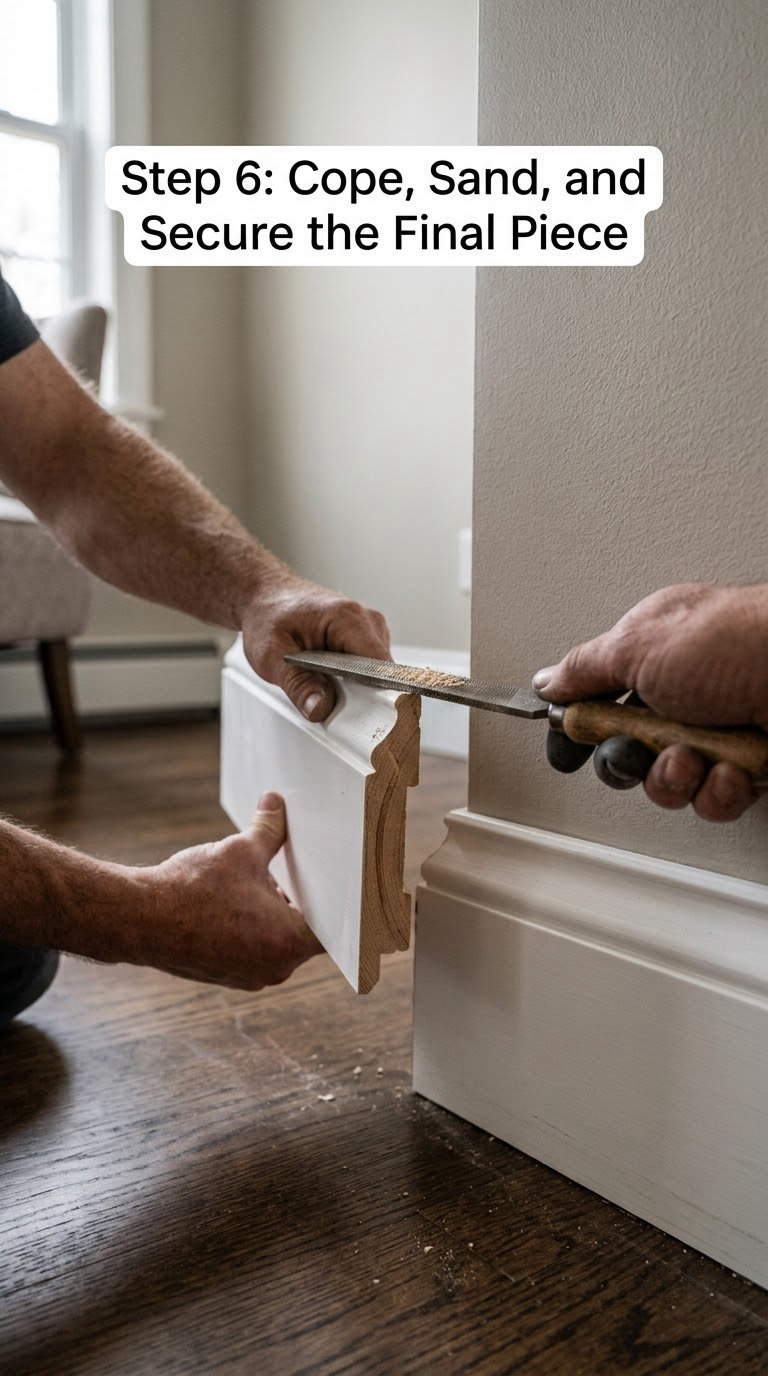
Deburr every cut edge with a file or a sanding block, working along the grain, then knock the corners off with a block plane if you have one. A sliced baseboard is sharp enough to draw blood through a thin sock.
Apply finish before the trim goes on, or at least prime the cut faces. End grain drinks sealer, and a bare MDF end face will swell and look chalky next to a painted wall forever.
Set each piece, check the joint, then fasten into studs every 8 to 16 inches. Nail into the wall where the baseboard overlaps it, and into the corner stud for the coped piece. Keep nails about 1 inch above the floor so the base of the board can flex with seasonal movement. Pull the temporary tape as you go.
Fill the joints and nail holes with paintable caulk or wood filler, let it dry 30 to 60 minutes, sand flush, and paint. One thin coat of finish on the cut faces, two on the face if you want the joints to disappear entirely.
Common Mistakes to Avoid
- Measuring to the wall instead of the long point. The face of a mitered piece is longer than the wall line by the depth of the board. Add 2 to 3 inches and trim to fit.
- Cutting the wrong end. Mark the waste side with an X every time. Half of all mistakes happen on a 15 inch stub.
- Using a dull or twisted saw. A dull blade crushes fibers instead of slicing them and leaves a chipped edge. A bent blade wanders and you will chase it forever.
- Skipping the 90-degree check. Hold a speed square in the corner and mark the high spot. If the corner reads 93 degrees, the miter angle is 46.5 degrees, not 45.
- Overcutting a cope in one pass. Take thin slices and check the fit. A deep cut in a molded profile removes material you cannot get back.
- Forcing the joint closed. If a miter needs pressure to fit, it is the wrong angle. Nailing a piece into a gap you tried to hide with a brad nailer shows up within a year.
- Cutting directly off the pencil line. Saw on the waste side and let the line be removed. Anything left behind reads as a dark hairline against white paint.
- Forgetting the baseboard heel. On a square-edged board, back-cut a few degrees so the top edge does not ride up and lock the miter shut.
When to Call a Pro
Crown molding is the line. Anything above the wall plane with a compound profile needs a miter saw or a coping saw and a fair amount of practice, and a bad cut there is visible from across the room. If you want the look, see how a compact miter saw handles trim work before you commit to hand tools.
Hire a finish carpenter when the corner angle is not 90 degrees and you have no bevel gauge to work it out, when a run is longer than the saw stroke you can control in one piece, or when you find soft, crumbling wood behind the baseboard. That last one is rot, not a trim problem, and the repair underneath outranks the finish in front of it.
For a whole house, work out the rental before you buy. A day of rental covers a lot of baseboard, and if you would otherwise spend 20 hours hand coping, the math is obvious. If you are buying, our notes on 10-inch miter saws for trim carpentry cover the size that suits baseboard. No permit is needed for baseboard work in a residence, but anything touching wiring, plumbing, or structural framing is a different job and belongs with a licensed contractor.
Maintenance
Dust the top edge monthly and wipe the whole run with a damp cloth twice a year, mild soap and water for painted trim, nothing abrasive on PVC.
Touch up chips while they are small. Sand the scuffed area, prime bare wood, and repaint the same day you notice it, because a bare MDF end grain left exposed will swell and go fuzzy.
Watch for moisture in bathrooms, basements, and behind exterior doors. Baseboard that swells, softens, or flakes at the bottom is telling you about a leak, not about the paint.
Check the joints once each season, ideally in January and July, because wood moves as humidity swings. Inside joints made with caulk flex and stay put. A coped joint holds. A mitred inside corner is the first place to look when a gap opens up.
Frequently Asked Questions
Can I cut baseboard with just a hand saw?
Yes, a hand saw produces clean baseboard joints if the blade is sharp and fine-toothed. Use a 12 to 14 TPI back saw, support the board in a miter box or between two offcuts, and keep the saw vertical. Cut on the waste side of your pencil line so the cut falls slightly long rather than short.
What is the best hand tool for cutting baseboard corners?
A manual miter box with a sharp hand saw is the simplest option for standard 90-degree inside and outside corners, because the box guides the blade at a true 45 degrees. A coping saw is the better choice when the wall is out of square or the baseboard has a detailed profile, since it follows the molding shape.
Do baseboard corners need to be cut at 45 degrees?
Outside corners usually do: two complementary 45-degree miters make a clean point. Inside corners usually do not, because the wall is rarely exactly square and a miter will gap. Cope inside corners instead, or butt flat square-edge trim together and fill the seam with paintable caulk.
How do you cut baseboard corners that do not meet evenly?
Hold both pieces in place and mark where the wall or molding stops them from meeting. On the piece with the detailed profile, use a coping saw to remove the back of the joint in thin passes, following the shape. On flat trim, trim the offending piece back a few millimeters at a time until the joint closes without pressure.
Start by checking one corner with a speed square and cutting a scrap piece. Once the box holds a clean 45-degree angle, the rest of a room is repetition, and the joints that used to catch your eye will disappear under caulk and two coats of paint.
