How to Paint a Wood Deck Step by Step (2026)
How to paint a wood deck step by step is less fussy than most people expect. It comes down to four things: clean, bare, bone-dry wood, then a compatible primer and two coats of exterior deck paint. Leave one of those out and the finish peels off within a season, usually along the board edges where moisture sits longest.
A painted deck is genuinely nice to look at and it kills splinters, but it is maintenance, not a one-time job. Homeowners in r/Decks and on painting forums say the same thing over and over: a deck that is prepped properly and painted in good weather still needs a touch-up most springs.
Contents
The good news is that the actual job is not fussy. A weekend, a rented sander, a hose, and two coats will do it. This guide walks through the whole sequence so you know what happens at each stage and how to tell when the wood is ready for the next one.
Time: two to three days including drying · Cost: roughly 250 to 700 dollars in materials for a 200 square foot deck, more in high-sun regions · Difficulty: Moderate DIY · Skill level: patient beginner
Tools and Materials for Painting a Deck
You do not need much beyond a brush, a roller, and a hose. Here is what the job actually calls for on a typical 200 square foot residential deck.
- Random orbital sander with dust collection, plus 60- to 80-grit and 100- to 120-grit sandpaper
- 2.5 to 3 inch angled brush for cutting in edges, railings, and spindles
- 9 inch roller, 3/8 inch nap, with a short extension handle so your back stays out of it
- Stiff-bristle push broom and a garden hose with a spray nozzle
- Shop vac or vac attachment for dust off the boards after sanding
- Deck cleaning product or oxygenated bleach for mildew and algae
- Plastic scraper, wood filler, and exterior epoxy putty for cracks and fastener holes
- Painter’s tape, drop cloths, and plastic sheeting for posts, lights, and nearby plants
- Safety gear: eye protection, nitrile gloves, N95 or P100 respirator, and closed-toe shoes with good grip
On materials, the short list is an exterior primer rated for the surface, plus enough paint for two coats. Most exterior deck paints cover roughly 350 to 500 square feet per gallon per coat, so a 200 square foot deck needs about two gallons for two coats.
- Exterior primer — an oil-based bonding primer or a stain-blocking acrylic primer, matched to your topcoat
- Deck paint labelled for horizontal exterior surfaces, in an acrylic formula
- Exterior acrylic caulk for board joints and railings
- Disposable paint tray and roller covers so you are not reloading mid-board
If the wood is being coated for the first time, spend a moment on waterproof paint options for wood before you buy, since not every exterior paint belongs on a horizontal surface that gets walked on.
Before You Start: Prep, Safety, and Permits
Read the label before anything else, because it tells you the surface types the product accepts, the temperature and humidity window, the recoat time, and the cure time. If the label and your deck disagree, the deck wins.
Walk the deck first. Look for boards that flex, screws standing proud, raised grain, soft spots, black mildew staining, and any place where the wood feels punky or crumbly. Cosmetic painting will not fix rot.
Protect what is nearby. Cover shrubs and planters, tape off posts, light fixtures, and house siding if you are close to it. Keep the space ventilated, and wear eye protection, gloves, a respirator for sanding old coatings, and closed-toe shoes. A dust mask is not enough if the deck carries an old coating.
Know the cure clock. Most deck paints are touch-dry in a few hours, recoatable in 4 to 8 hours, and need 24 to 72 hours before heavy foot traffic. Full cure takes longer, sometimes up to a week. Plan the job so nothing walks on the deck until the label says so.
Painting itself rarely needs a permit. Repairs that touch structure, framing, guards, or electrical wiring fall under different local rules, so check before you go further than a board swap.
How to Paint a Wood Deck Step by Step
The order matters more than the technique: inspect, clean, repair, sand, mask, prime, then paint. Rushing any of the first four is why so many decks fail in a year.
Step 1: Inspect the Deck and Make Repairs
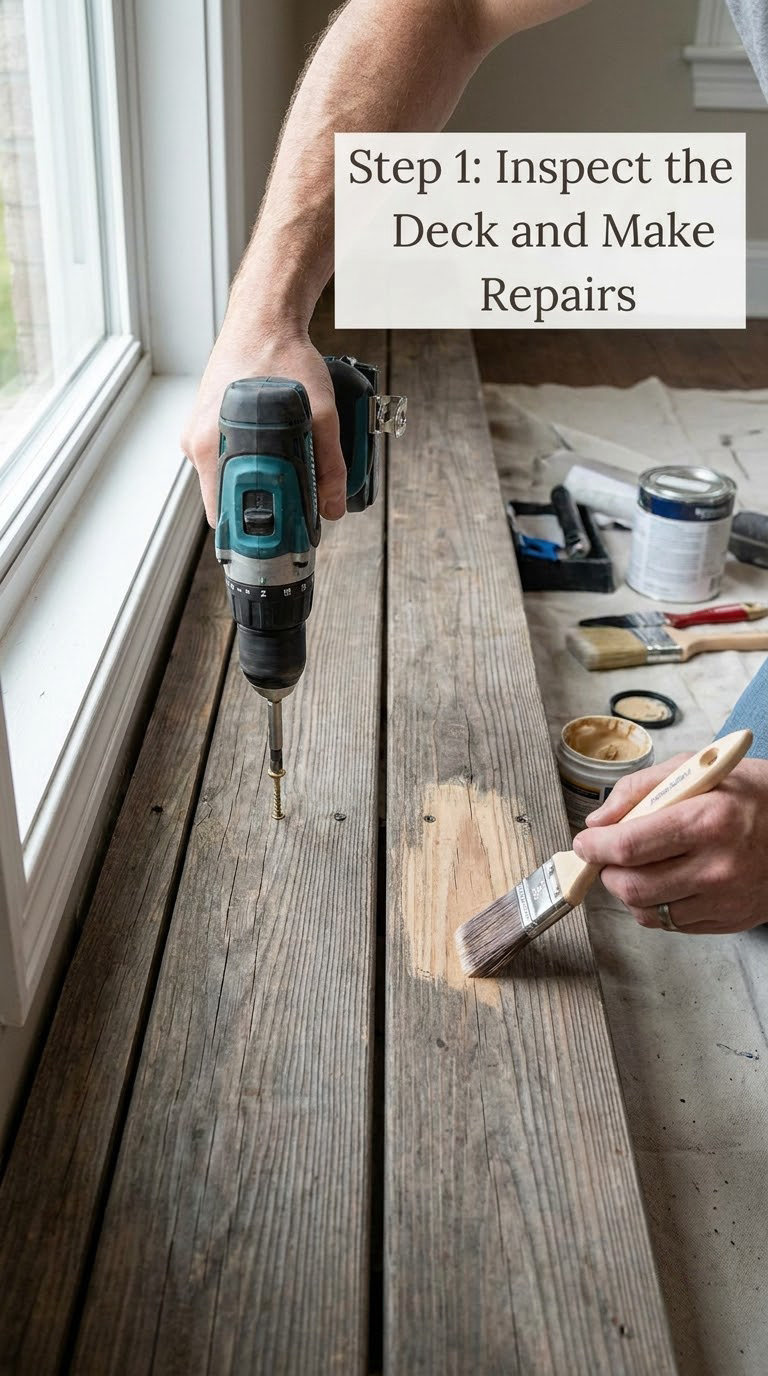
Start at the stairs and walk the whole surface. Push on each board end; anything that moves gets replaced with the same profile of exterior-rated lumber. Drive every proud screw down with a countersink bit, then add a screw either side of it so the board stays held.
Fill splits and holes with exterior epoxy putty on structural cracks, and a flexible exterior wood filler on small checks. Let filler dry completely — usually a few hours — and sand it flush.
If the wood is soft, black, or smells musty, stop and get a professional assessment. Coating decayed wood just traps the water in.
Step 2: Clean the Deck Thoroughly
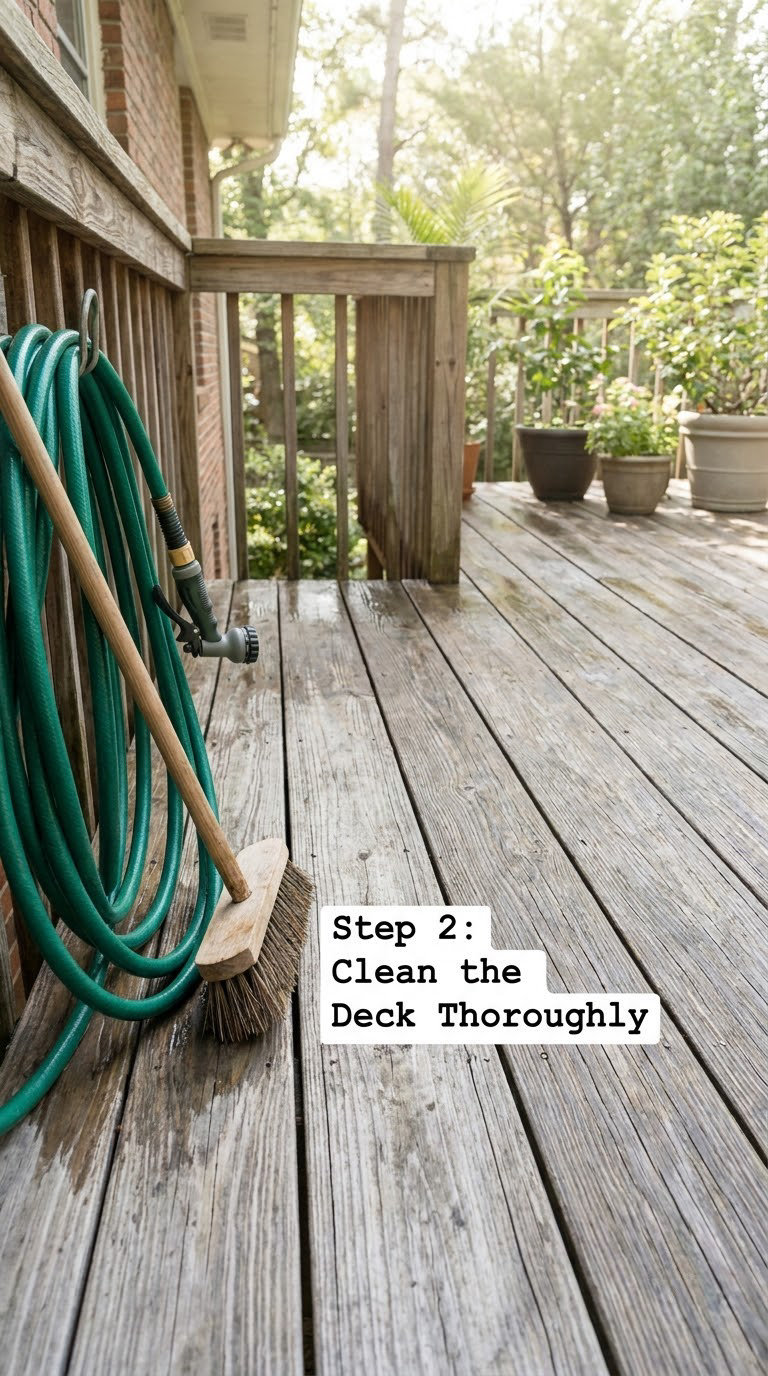
Sweep first, then apply a deck cleaner or oxygenated bleach solution according to the label, usually diluted roughly 1:4 in water. Scrub with a stiff brush, let it sit 10 to 15 minutes, and rinse well.
Keep the pressure modest, roughly 1,200 to 1,500 PSI with a fan tip held 12 to 18 inches away. Anything stronger frays softwood fibres and drives water into end grain cracks.
Wait at least 48 hours before sanding, and longer if the boards stay cool to the touch in the evening.
Step 3: Sand the Surface and Edges
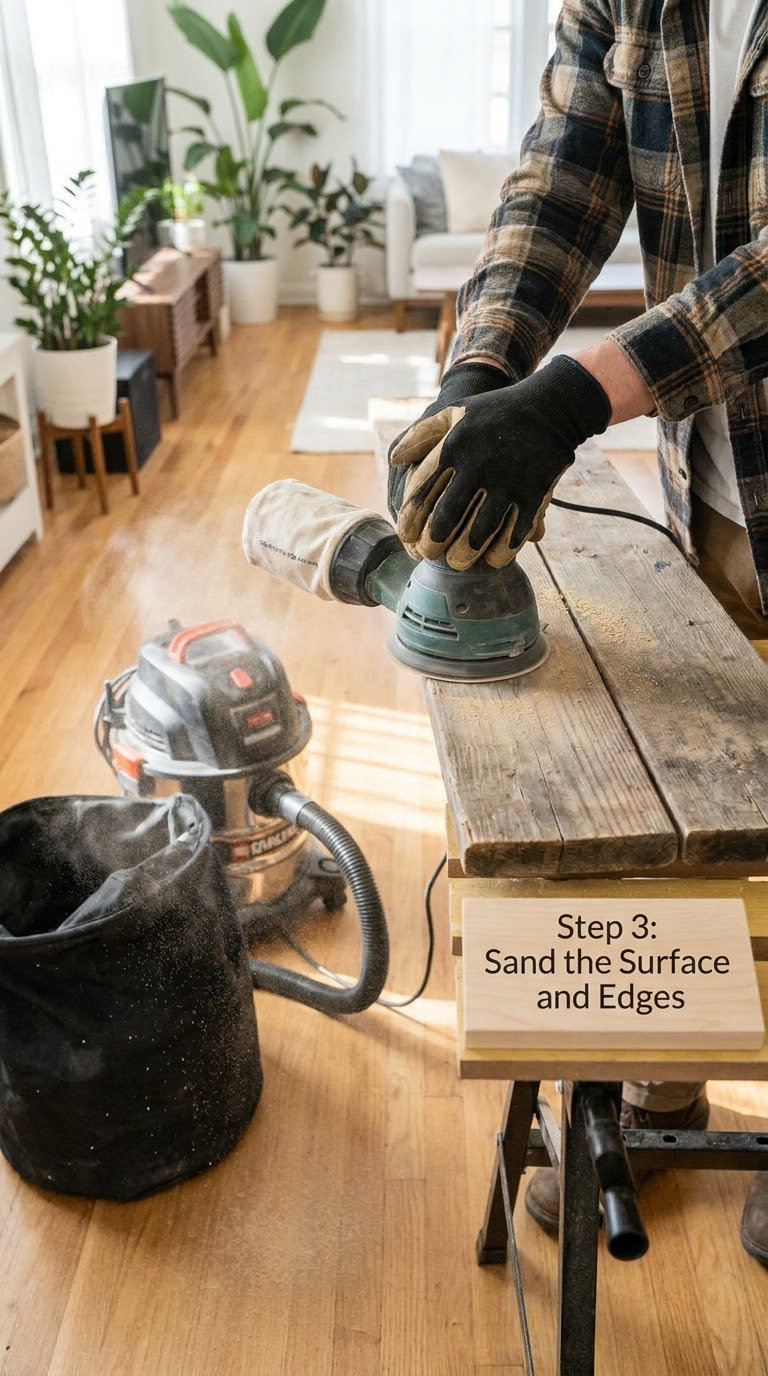
Use 60- to 80-grit paper for the first pass over weathered or previously coated boards. Follow with 100- to 120-grit where you want a smoother topcoat, especially on new cedar.
Sand the board edges, the gaps, and the underside of railings, which is where peeling paint hides. Vacuum thoroughly between passes and again at the end.
The goal is to knock down raised grain and feather old edges, not to remove sound wood. If a board takes more than a minute of sanding per pass, the pressure is too high.
Step 4: Mask Off Areas and Protect Plants
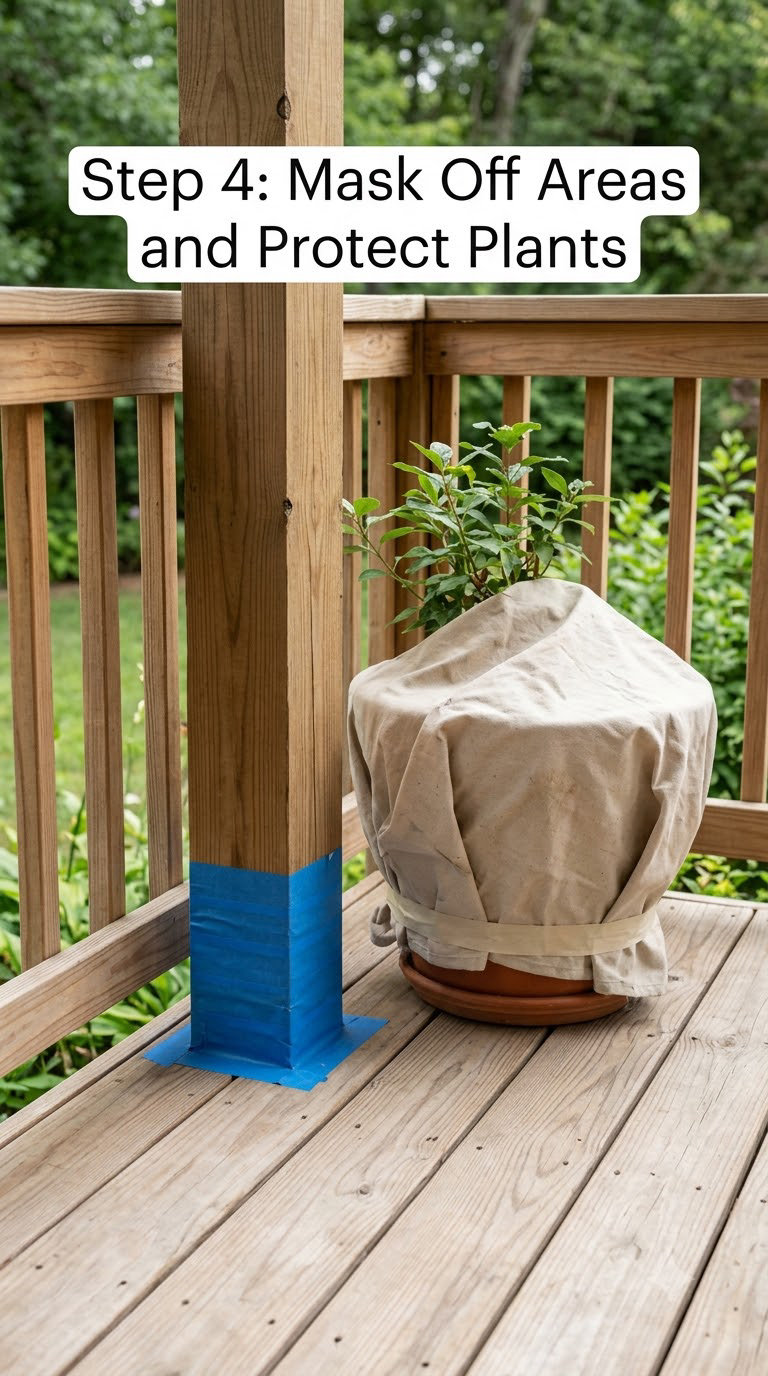
Tape only surfaces the manufacturer approves, and only where paint would otherwise land — posts, light bases, house siding, and hardware. Cover shrubs and planters with sheeting, and keep the wind from blowing dust or coating into them.
Pull tape while the coating is still workable. Leave it overnight and it can bond into the film, which means a hard line or a peeled edge when you remove it.
Step 5: Apply Exterior Primer or Deck Primer
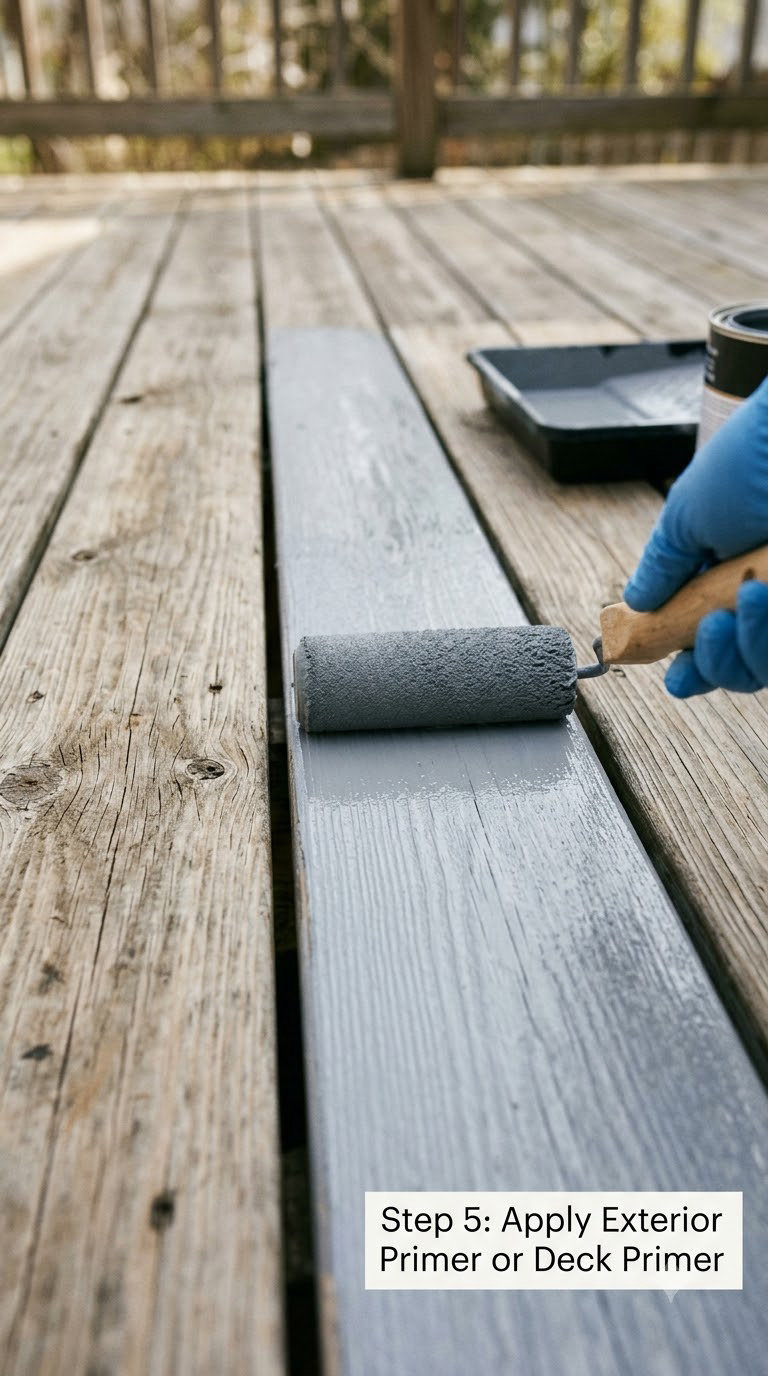
Prime when the wood is bare, previously stained, pressure-treated, or when the topcoat label asks for it. Stir the primer thoroughly without whipping in air, then roll a thin coat, working along the grain.
Typical spread is 300 to 400 square feet per gallon, with a 4 to 6 hour window before recoating in warm dry weather. Longer in cool or humid air.
Primer and topcoat must be compatible. An oil-based bonding primer under a water-based topcoat that was never tested as a system will peel, no matter how well you applied it.
Step 6: Paint the Deck Boards
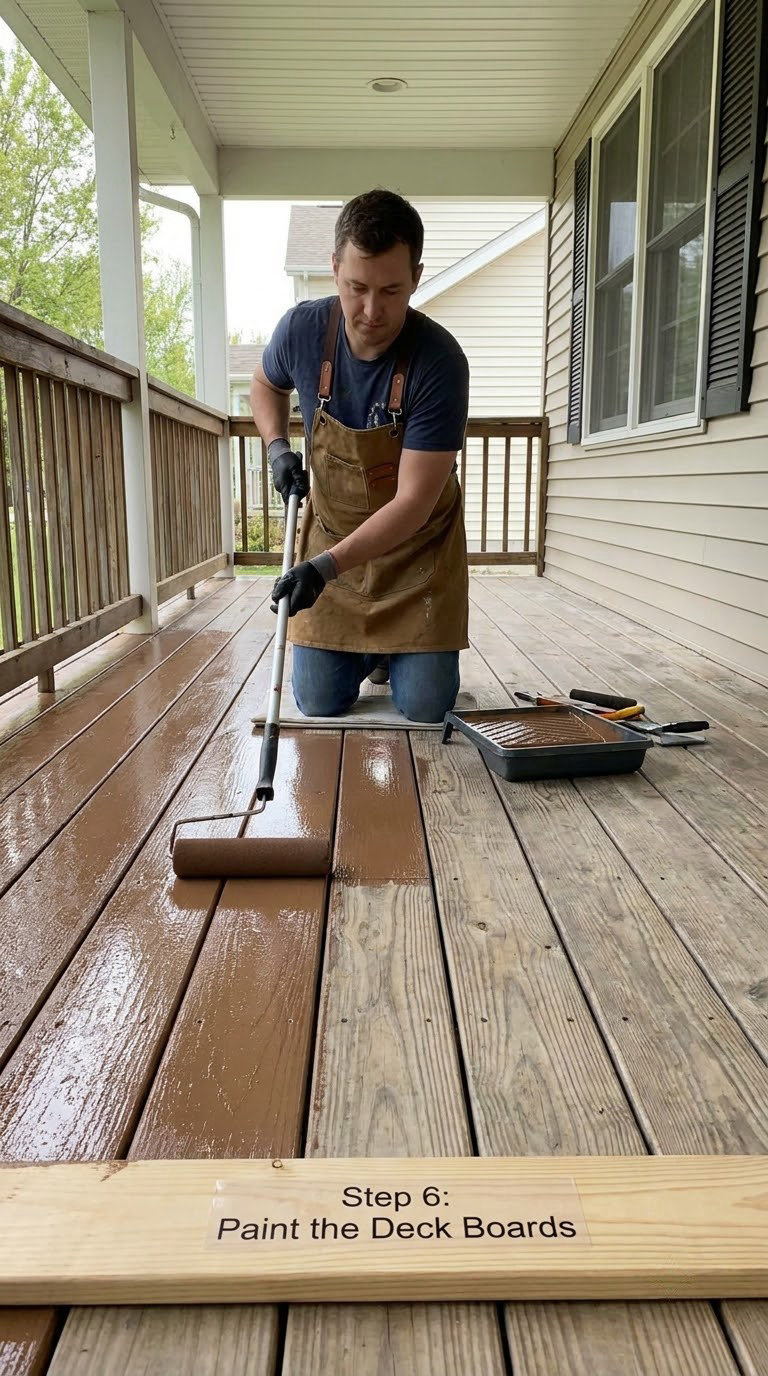
Cut in first along board edges, risers, and the base of railings with the angled brush. Then roll the field of each board with the 9 inch roller, keeping a wet edge and pushing forward slowly.
Load the roller evenly. A roller dripping paint leaves a puddle that beads and dries into a bubble.
Follow the label for coverage, temperature, humidity, and recoat windows. Most painters find a second coat necessary to hide lap marks and give the film its full thickness.
Step 7: Paint Railings, Posts, and Vertical Surfaces
Brush railings and spindles from the top down so drips run over dry paint instead of curing into beads. Work one spindle or one baluster section at a time and keep the coverage even.
Two lighter coats beat one heavy one on spindles. Drips around joints and the underside of the handrail are the most common defect, so check them with the deck dry to the touch.
Let railings cure 24 to 48 hours before anyone leans on them.
Step 8: Let the Paint Dry and Inspect the Finish
Surface dry, recoat-ready, and fully cured are three different things. The first is a couple of hours, the second is the label’s recoat window, and the third takes days.
Walk the deck sideways with your eyes low to the surface to catch missed boards, lap marks, and uneven sheen. A second coat over still-tacky paint will wrinkle, so wait for the full window even if the surface feels fine.
Keep people and pets off for 24 to 72 hours depending on the product, and check the final colour once the sun has warmed the boards.
Common Deck Painting Mistakes and How to Fix Them
- Painting over damp or dirty wood. Trapped moisture causes peeling and blistering. Rinse thoroughly and wait 48 hours minimum.
- Skipping the primer. Especially on bare, stained, or pressure-treated wood, the film has nothing to bond to. Prime, then topcoat with a compatible pair.
- Using wall paint. Interior or general exterior wall paint lacks the flexibility for a horizontal surface that flexes and gets walked on.
- Applying coats too thickly. Thick coats skin over while the underneath stays wet. Thin coats dry properly and last longer.
- Painting in poor weather. Skip rain, direct midday sun on hot boards, and anything below the label’s minimum temperature. Aim for a mild day with a light breeze.
- Leaving edges and board ends unsanded. Raised grain there lifts the film first. Feather every edge before you roll.
- Pulling the tape too late. Remove it while the coating is still soft enough to release cleanly.
When to Call a Pro Instead
Some decks are a paint job and some are a repair project wearing a paint job’s clothes. Book a contractor or structural inspector when boards are soft and spongy, when the framing or footings have moved, when a large share of the decking needs replacing, or when the deck sits high enough that the work needs proper scaffolding rather than a ladder.
On homes built before 1978, suspect lead in older coatings and test before disturbing them. Anything involving electrical fixtures, lighting, or guard rails needs care too.
Beyond painting itself, repairs to structure, guards, or wiring may require permits and an inspection in your area.
Maintenance After You Paint a Deck
A fresh finish lasts longest when it stays clean and dry. Sweep weekly, clear the gaps between boards so water drains, and wipe off standing water after rain.
Clean gently once or twice a season with a mild detergent and a soft brush. Skip abrasive cleaners and high-pressure washing, both of which chew up a cured film faster than dirt does.
Walk the deck each spring looking for peeling, bare wood, or a failed spot at the fasteners. Sand those areas, spot prime, and repaint long before a full redo is on the table.
Follow the manufacturer’s maintenance schedule for recoating. Many people plan the next coat after a few seasons, not a full decade. If you are furnishing the space afterwards, our guide to using zero gravity chairs outside is worth a read.
Frequently Asked Questions
Is it better to roll or brush paint on a deck?
Roll the field of each board and brush only the edges, risers, and tight spots. A roller covers a wide horizontal surface far faster and lays down a thicker, more even film than a brush. Use a brush where the roller cannot reach, such as spindles, post bases, and the underside of a handrail.
Can you just paint over an old deck?
Only when the old coating is firmly adhered. If it peels, flakes, or scrapes off with a fingernail, strip it back to sound wood first, sand, and prime. Painting over a failing film just locks the peeling into the new coat and you will be doing the same job next year.
What kind of paint to use on a wooden deck?
Use an acrylic exterior paint or solid deck paint labelled for horizontal surfaces and foot traffic. It flexes with seasonal wood movement, resists mildew, and holds colour better than a wall paint. Check the label for surface compatibility, coverage per gallon, and the temperature window before you buy.
Do I need to prime a wood deck before painting?
Prime whenever the wood is bare, stained, pressure-treated, or previously spot-treated. A compatible primer gives the topcoat something to bite into and blocks tannin or stain colour from coming through. Some solid deck paints are self-priming on clean bare wood, so the product label decides.
How long should I stay off a freshly painted deck?
Most exterior deck paints need 24 to 72 hours before heavy foot traffic, and full cure takes several days longer. Plan on keeping furniture and pets off until the label’s cure window passes. Walking on a surface-dry film leaves scuffs that no amount of careful cleaning will remove.
Can you paint a pressure-treated wood deck?
Yes, once the wood has dried and weathered, which usually means three to six months and a rain or two. Fresh treated lumber holds moisture and chemicals that stop paint adhering. Prime it with a product rated for treated wood, then apply two thin coats and expect earlier touch-ups.
Conclusion
Learning how to paint a wood deck step by step comes down to discipline, not technique. Inspect and repair the wood, clean it and let it dry fully, choose a primer and paint that are rated for horizontal surfaces and compatible with each other, then work in mild weather.
Your first job is a slow walk of the deck with a screwdriver, looking for soft boards and raised fasteners. Fix what you find, and everything after that step gets easier.