How to Repair a Hole in a Hollow Door: Easy DIY Guide 2026
A hole in a hollow-core door gets fixed in four moves: clean up the ragged edge, fit a backing piece inside the cavity, fill the void with low-expansion spray foam, then skim the surface with filler and sand it flush. Do it in that order and a puncture from a dog, a doorknob or a moving couch stops mattering within an afternoon. Doing how to repair a hole in a hollow door properly is mostly about what you put behind the filler, because there is no solid wood there to hold it up.
Here is the honest version: most hollow-core doors are fixable, but a repair will not reproduce a wood-grain embossed texture perfectly. If the door is a visible, frequently handled one in a rental, weigh the repair against replacing the slab before you start. If you are chasing noise instead of damage, how to soundproof a hollow door is the side that matters.
Contents
Time: 2 to 4 hours including drying and paint. Cost: a handful of dollars in materials, a fraction of a new slab. Difficulty: Easy to moderate. Skill level: confident with a utility knife and a putty knife is plenty.
Tools and Materials
Gather everything before the door comes off its hinges. A single missing item at the wrong stage usually means putting the repair aside for an hour while glue or filler cures.
Tools
- Utility knife with fresh blades — a dull blade crushes the veneer instead of cutting it
- Putty knife, 2 inch and 4 inch wide
- 120 grit sandpaper, plus 180 or 220 grit for the final skim
- Hammer, and a wooden dowel or skewer to drive a wood backing into place
- Drill with a bit smaller than the hole, for driving screws into a backing block
- Two padded sawhorses or a folded blanket, plus a drop cloth
- Safety glasses and gloves; a dust mask for the sanding
Patch, filler, finishing and safety supplies
- Low-expansion aerosol spray foam, one can is more than enough for a single door
- Auto body filler or epoxy spackle for holes larger than a screw hole — about 2 oz covers a 2 inch hole and its skim coat
- Wood filler for small holes and for gaps at the edges of a patch
- A scrap of 1/4 inch plywood or strong cardboard, roughly 2 inches square, for the backing
- Wood glue or construction adhesive, 4 to 6 oz
- Masking tape, a pencil, and a clean cloth for dust removal
- Stain-blocking primer, then paint in the door’s colour and sheen — satin or semi-gloss for most interior doors
- Touch-up paint, 2 oz, in case the repair takes a knock later
Before You Start
Look at the door and decide what you are dealing with. A hollow-core interior door is a thin stile and rail frame with a honeycomb or hollow cavity inside, covered in hardboard, MDF or composite veneer. Press firmly near the damage: a hollow door feels soft and hollow, a solid wood or solid-core door gives you resistance all the way through.
That distinction sets the whole method. Filler smeared over an empty cavity has nothing behind it, so it sags into the void, cracks as the door swings, or drops out entirely. That is the single most common reason a repair looks bad in a month.
Now match the method to the size of the damage.
| Hole size | Backing needed | Filler | Difficulty |
|---|---|---|---|
| Pinhole to 1/4 inch (screw hole, nail hole) | None — pack with paper towel | Wood filler or vinyl spackle | Easy |
| 1/2 inch to 2 inch (doorknob strike, dog paw, furniture leg) | Plywood block or cardboard inside the cavity | Auto body filler or epoxy spackle | Easy to moderate |
| Over 3 inch, or a split edge | Solid panel cut to fit, screwed and glued from the back | Auto body filler over a solid substrate | Moderate |
Protect the floor first, then decide whether the door needs to come down. Small holes on a door you can prop open on a folded blanket can be done in place. Anything larger, anything on the lower panel, and any door you plan to paint on the face is far easier flat on sawhorses. If you are only patching screw holes from removed hinges, leave the door hanging.
Step-by-Step Instructions
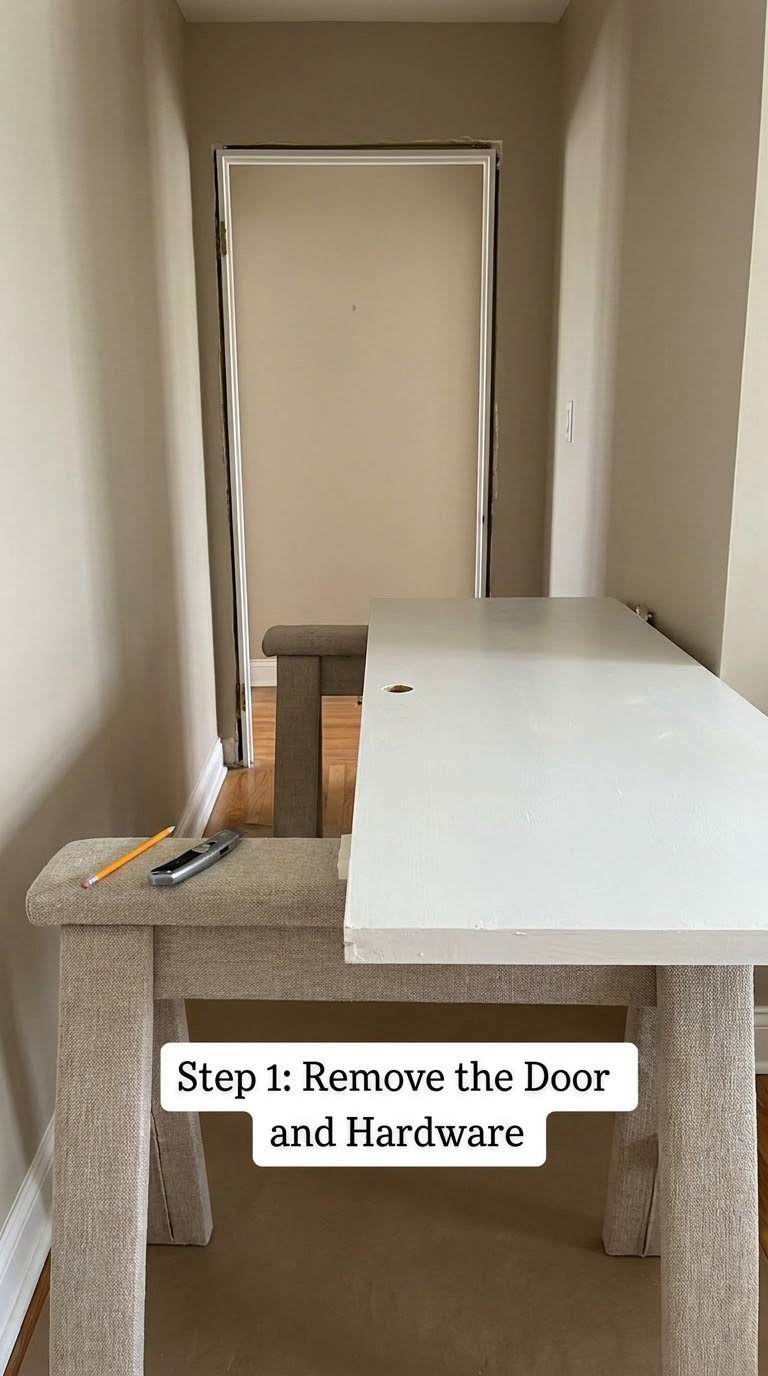
Step 1: Remove the Door and Hardware
Tap out the hinge pins with a punch and a hammer, working bottom to top, then lift the door off and lay it flat on two padded sawhorses. Removing the handle, lock plate or strike plate only matters if it crowds the damaged area — but pulling it anyway gives you a cleaner work area and a chance to check what caused the damage.
Read the “how to repair a hole in a hollow door” process from the end: photograph the damage, especially on a textured or painted door. That photo is your reference when matching the finish later.
Check the door while it is flat. If it flexes or feels soft over a wide area, the internal bracing is compromised and this is more than a patch job. Put a straightedge along the face and look for bow — a hollow door that already curves will not sand or paint flat.
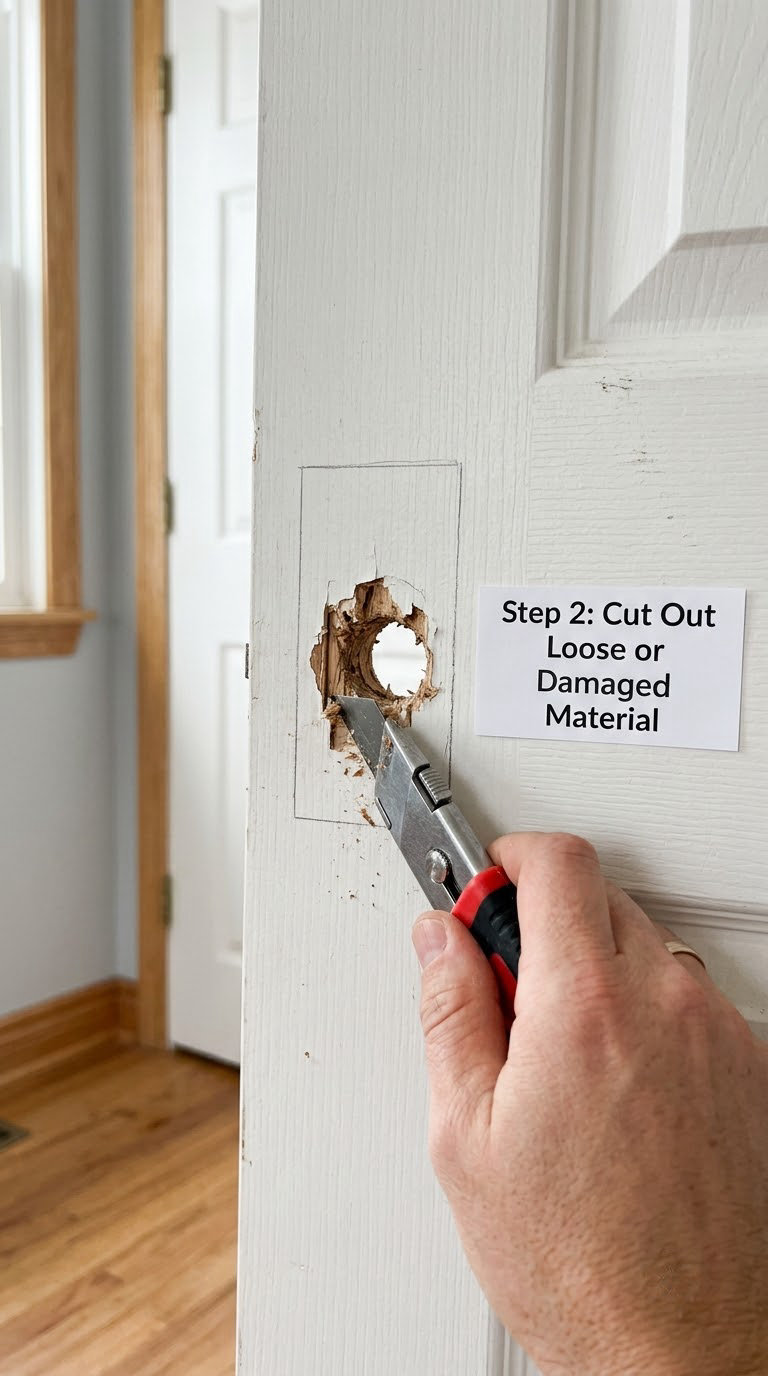
Step 2: Cut Out Loose or Damaged Material
With a fresh blade in your utility knife, trim away everything loose — flaking veneer, frayed fibre, vinyl skin or softened particleboard. Pull or snip rather than tear. Some DIYers enlarge a small ragged hole into a clean circle first, and that is genuinely easier to fill than a torn edge you have to guess at.
Cut on a shallow angle that bevels the edge inward, so the filler has a lip to sit on instead of a vertical cliff. Keep the opening tight to the damage; every extra fraction of an inch is another millimetre of filler to shrink and crack. Stop as soon as the surrounding skin feels firm and continuous all the way around.
Clean the dust off with a damp cloth and let the door dry fully if you cut into damp or swollen particleboard.
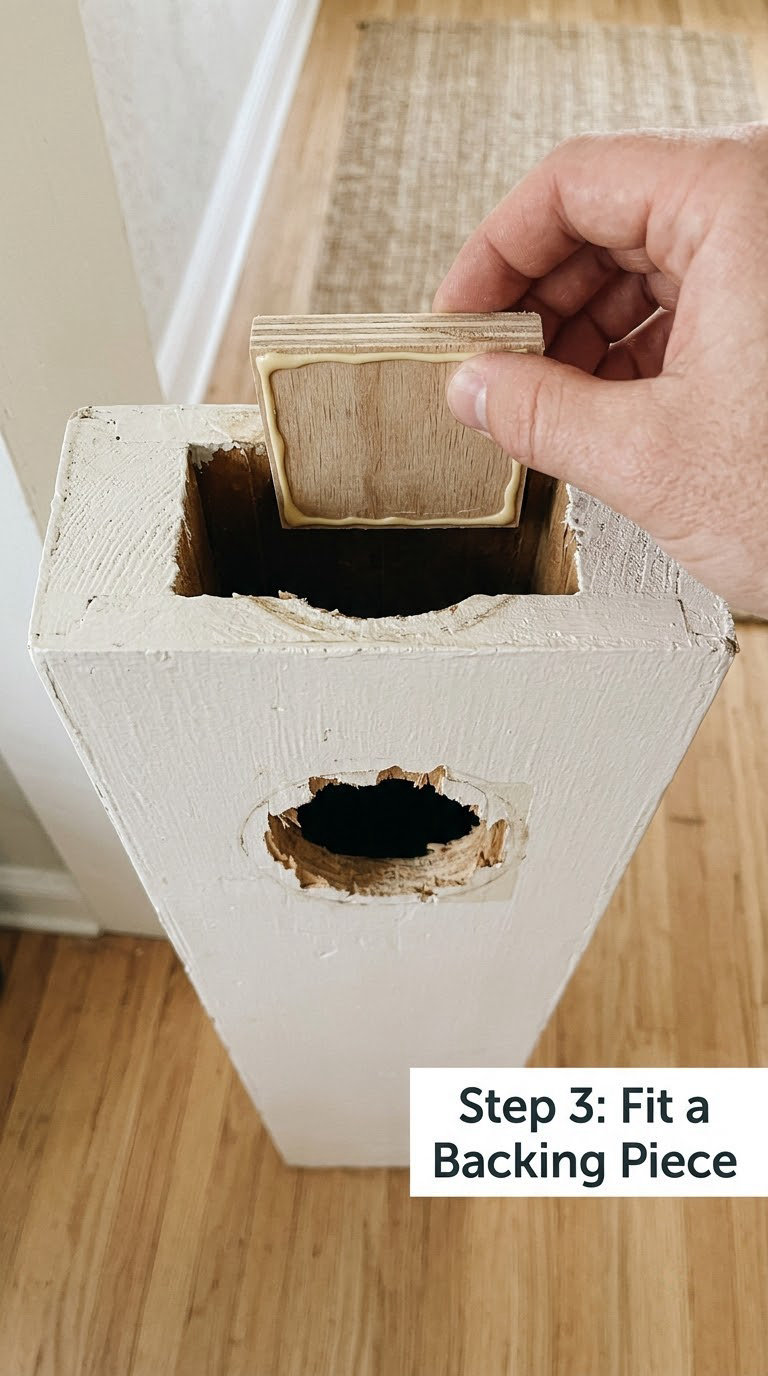
Step 3: Fit a Backing Piece
Cut a square of 1/4 inch plywood or strong cardboard about an inch larger than the hole on every side. Then get it inside. Push the block through the opening with the putty knife, or cut a slot in a larger offcut, slide the block on and withdraw the blade.
Attach a single screw to one face of the block so you have a grip — a common trick in DIY forums that saves an hour of fishing with fingers inside the cavity. Bring the block in, unscrew the screw from the outside, then swing the block flat against the inside of the door skin and drive it into position with a dab of wood glue.
Let the adhesive set for the time it states on the tube, usually 30 to 60 minutes. For a hollow cavity smaller than about an inch, crumpled newspaper packed around the hole works instead and needs no glue at all. For pinholes, a tightly rolled paper towel pushed through the opening is enough of a backing.
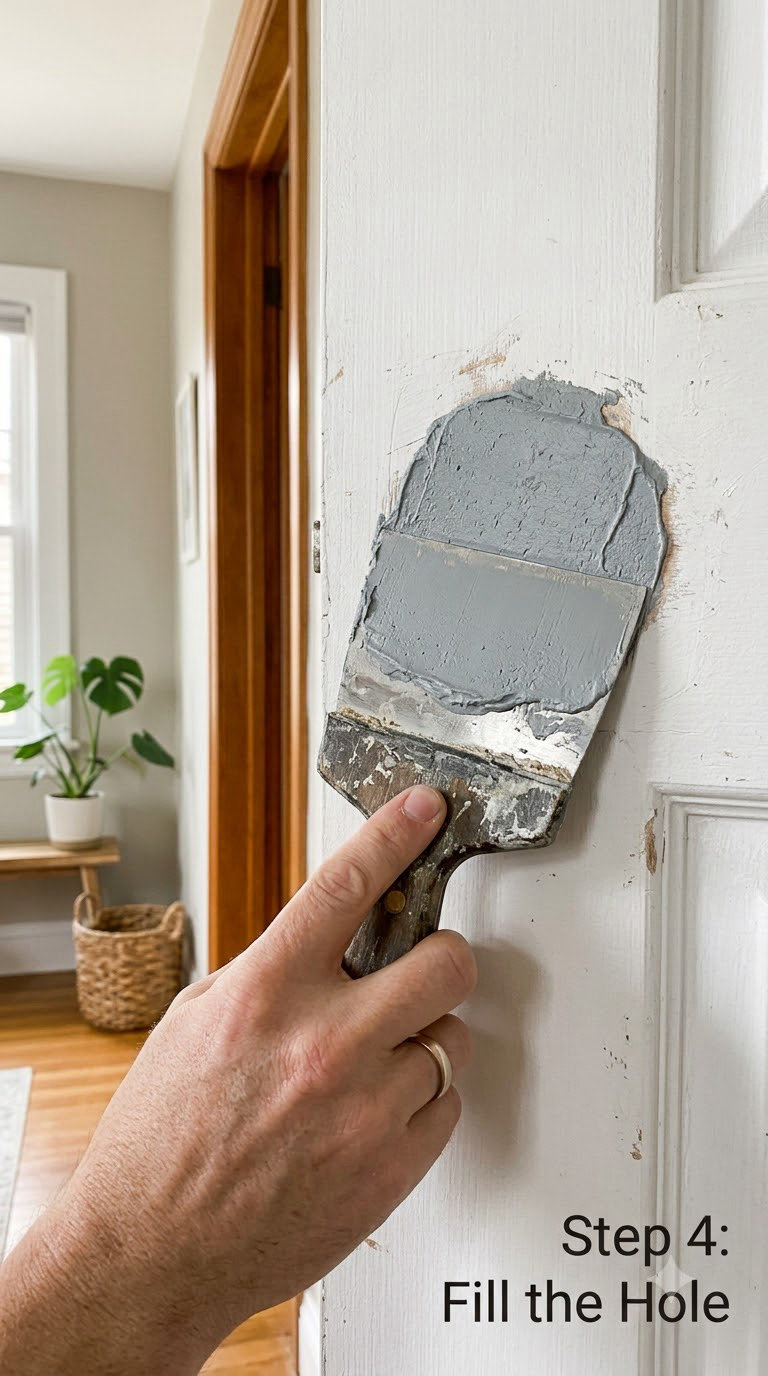
Step 4: Fill the Hole
This is where the hollow-core door is won or lost. Use low-expansion spray foam — the kind labelled for insulation and doors, which sets firm rather than swelling. Overfill the cavity by about half an inch, spray from the edge inward, and keep the can moving. High-expansion foam pushes outward hard enough to bow the door face permanently, and no amount of sanding fixes a curve.
Cure time runs 15 to 30 minutes until the foam stops feeling tacky, longer in cool or damp rooms. Follow the can rather than the clock. Cut the cured foam just proud of the surface with your utility knife, then sand or shave it back until it sits level with the surrounding skin. It should feel like the rest of the door under a light thumb, not like a raised lip.
For holes past the screw-hole size, spread auto body filler or epoxy spackle over the foam with the putty knife, pressing hard enough to force a little into the surface so the next layer has something to grab. Follow the manufacturer’s stated drying time — typically 20 to 30 minutes for a thin skim — and keep the coat slightly proud, about 1/16 inch, so sanding has something to level. A second thin coat fixes any low spots.
Do not use the garage-door or construction gap foam from the same aisle. That is the high-expansion kind, and it will bend your door face.
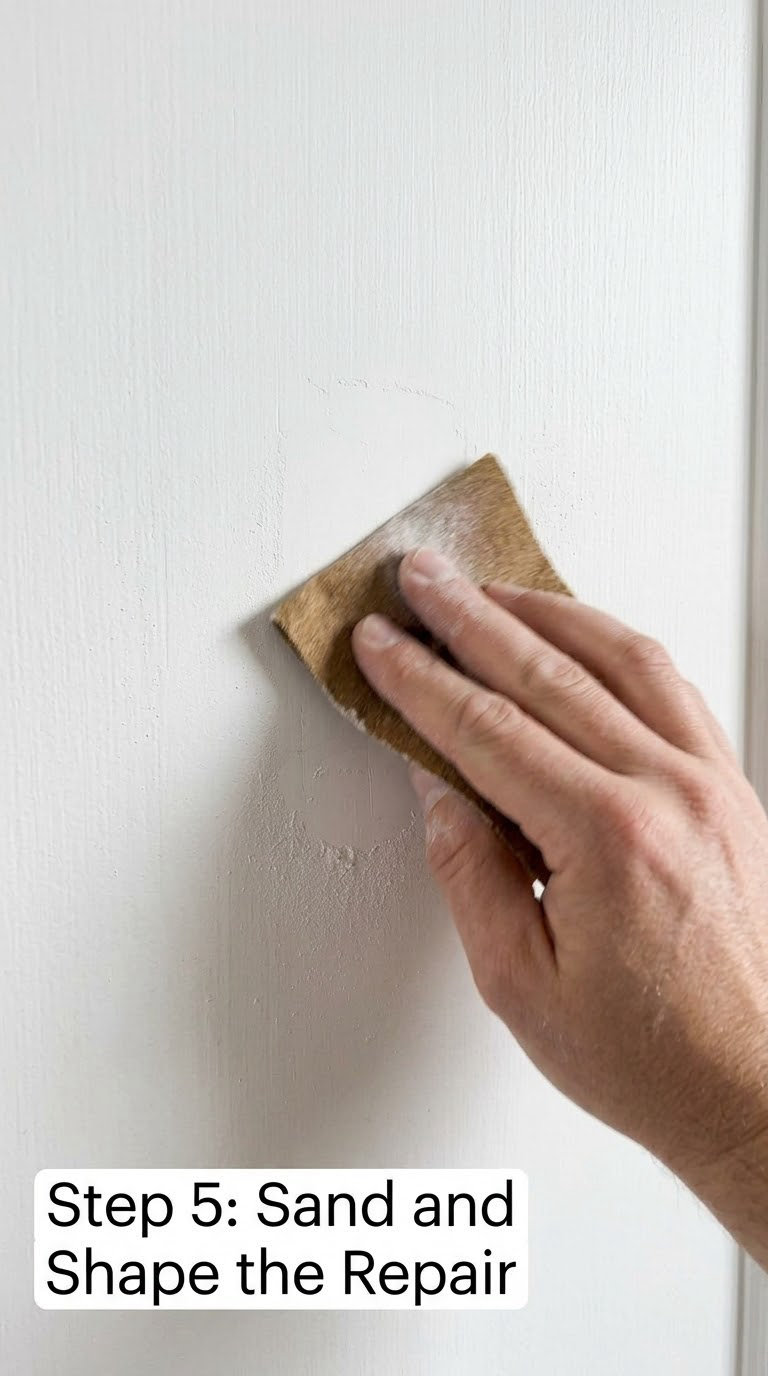
Step 5: Sand and Shape the Repair
Start at 120 grit and use light, even pressure — the face veneer on a hollow door is thin, and pushing hard gouges it. Sand in the direction of the grain and work from the filler out toward the sound surface so you never cut a valley at the edge.
Feather, do not just sand flat. Blend the patch by feathering the boundary out 2 to 3 inches so there is no hard lip for light to catch. Check your work with a straightedge across the door face, then look at the repair from a low angle with a lamp behind you. Raking light shows every dip that overhead light hides. Knock the low spots down with a second skim of filler, let it dry, and sand again at 180 or 220 grit.
Wipe the area with a damp cloth and let it dry before anything else goes on. Paint will not bond to sanding dust, and a dusty patch shows up as a blotch under the first coat.
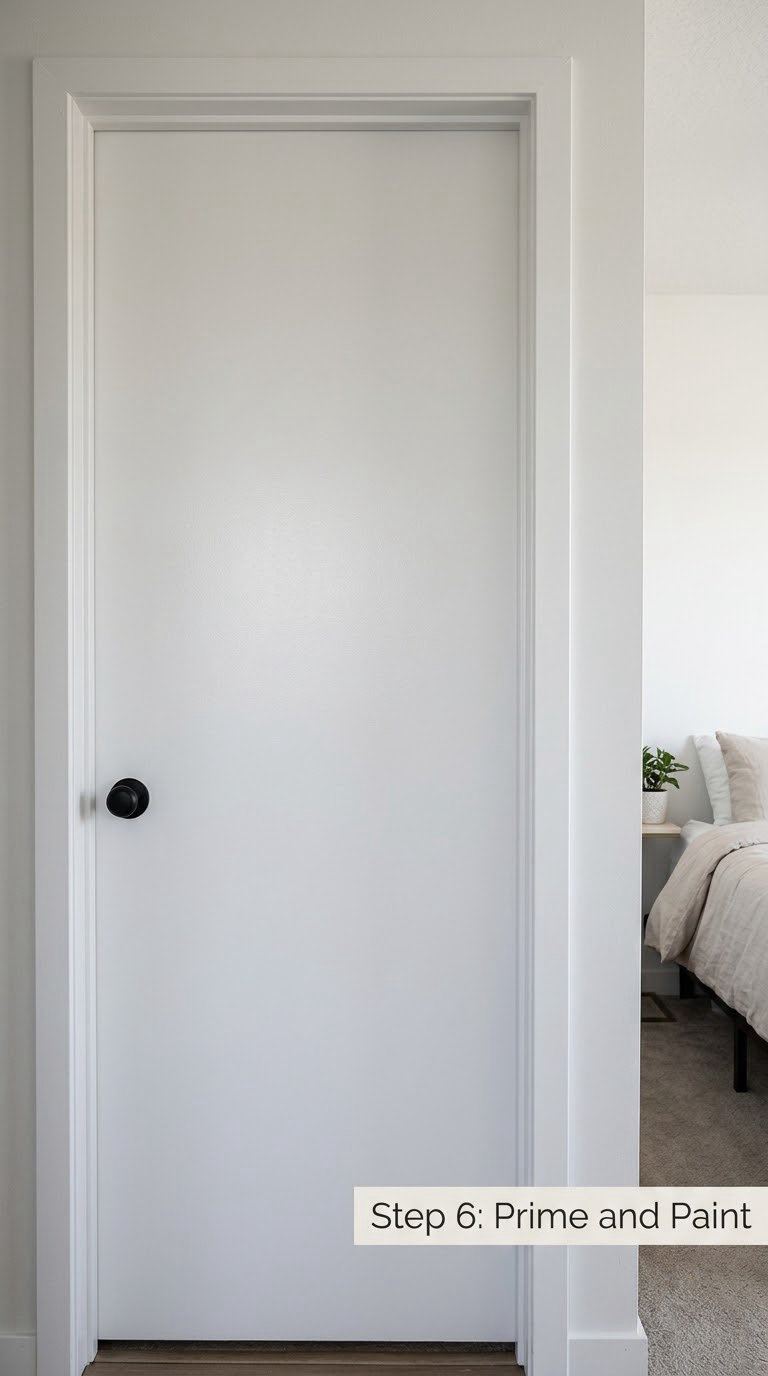
Step 6: Prime and Paint
Mask around the repair only if you are painting just the patch — and painting just the patch is usually the worst option, because a fresh coat next to an aged one reads as a lighter shape no matter how good your colour match. If the door is scuffed elsewhere or the patch is anywhere near eye level, paint the whole face. It is the only way the repair genuinely disappears.
Brush a thin coat of stain-blocking primer over the filler and let it dry fully, then scuff it lightly with 180 grit. Paint in the door’s original colour and sheen — interior doors are commonly satin, semi-gloss or gloss — and let each coat dry to the touch before the next. Two or three coats usually blend better than one heavy coat, which tends to show the texture of the sanded filler underneath.
Rehang the door only after the paint has cured enough to handle. A full cure takes longer than the surface dry to the touch, so avoid leaning the door hard against its stop for the first day. For an embossed wood-grain door, match the sheen before the colour — a glossier patch on a satin door is visible from across the room.
Common Mistakes to Avoid
Filling an unsupported cavity. Filler with nothing behind it sags, cracks and eventually falls out. Fix: pack the cavity with paper or cardboard, or fit a plywood block, before any filler goes on.
Using high-expansion foam. It bows the door face and the bow is permanent. Fix: buy low-expansion door and insulation foam, and overfill by about half an inch rather than filling the whole cavity.
Skim-coating too thick. A thick layer takes days to dry inside, then shrinks as it cures and cracks at the edges. Fix: two or three thin coats, each slightly proud, sanded level between.
Sanding before the filler cures. Soft filler gums the paper and pulls out of low spots. Fix: follow the stated drying time, and confirm the surface is hard and cool before you start.
Leaving a hard edge instead of feathering. A visible lip catches light and draws the eye straight to the repair. Fix: blend the boundary out 2 to 3 inches with light pressure.
Painting over dust or spot-painting the patch. Dust kills adhesion and shows as blotching, and a single fresh coat next to aged paint reads as a lighter shape. Fix: wipe with a damp cloth, prime, and paint the full face.
Forcing a large hole to fill. Anything wider than the door skin can be supported will eventually fail. Fix: cut the damaged section out cleanly and fit a solid panel rather than bridging a wide void with filler.
When to Call a Pro
Some damage is not a DIY job. Hand it to a repairer or a carpenter if any of these apply:
- Fire-rated or solid wood doors. A patched face on a rated door can compromise its rating, and refinishing solid wood needs a different approach entirely.
- Structural damage to the door or frame. A sagging head, a cracked stile or a frame that has shifted means the opening needs a carpenter.
- Severe water damage. Swollen, delaminated particleboard has no skin left to bond filler to, and it keeps moving as it dries.
- Holes at the edge of the door. A split edge or a broken lock stile usually means a solid insert or a new slab.
- Oversized pet damage. Once the chewed area reaches several inches across, filling it looks worse than a clean panel replacement.
- Anything electrical or code-related near the opening. Door closers, hinges on a fire-rated corridor and any wiring in the frame belong to a licensed trade where your local code requires it.
Maintenance
A sound repair needs very little. Wipe the area with a damp cloth twice a year, and touch up scratches while they are still just scratches in the top coat rather than down to the filler.
Watch the patch after any heavy impact from furniture or a moving dolly — that is how the hole happened in the first place, and the repaired edge is the weakest point around it. Add a soft bumper to any door corner within reach of a chair or a stroller.
Keep the filler dry. A bathroom or laundry door that gets splashed regularly will slowly swell the patch and soften the paint on top of it. In a rental, mention the repair in writing and take a photo for your deposit.
Frequently Asked Questions
Can you repair a hole in a hollow-core door without replacing the whole door?
Yes, in most cases. As long as the frame, edges and stiles are intact and the hole is smaller than about three inches across, a hollow-core door can be patched with a backing piece, low-expansion foam and filler, then primed and painted. The result will not match an embossed wood-grain texture perfectly, so paint the whole face rather than spot-painting the patch.
What is the best filler for a hole in a hollow interior door?
Auto body filler or epoxy spackle is the best choice for anything larger than a screw hole. Both are harder than traditional wood filler and shrink less as they dry, which matters on a hollow door. Wood filler is fine for pinholes and small gaps. Whichever you use, it goes over foam or a solid backing, never over an empty cavity.
Do I need to put a backing piece behind the hole before filling it?
Yes, for anything bigger than a pinhole. A backing piece gives the filler something to sit against so it cannot sag into the cavity or drop out later. Cardboard, newspaper or a scrap of plywood all work. For a pinhole, a tightly rolled paper towel pushed into the opening is enough, and a screw hole that needs to hold a screw again needs the backing most of all.
How long should wood filler or patching compound dry before sanding?
Most products state 20 to 30 minutes for a thin skim, and full cure takes a few hours. Auto body filler often handles light sanding in about 20 minutes at room temperature, but cooler or humid conditions slow it down. Test with a thumbnail edge on an inconspicuous spot. If it dents or gums the paper, give it longer rather than sanding early.
How do I match the paint and finish after repairing a hollow door?
Match the sheen before the colour — gloss on a satin door is visible from across the room. Take a colour chip to the store, and expect a perfect match only if the door was painted recently. Paint the entire door face rather than just the patch, since one fresh coat beside aged paint reads as a lighter shape. Two thin coats blend better than one heavy coat.
When is a large hole in a hollow door better handled by a professional?
Hand it over when the damage reaches several inches across, sits on the door edge or lock stile, or the door has swollen and delaminated from water. Fire-rated doors and any frame or hinge problems should go to a carpenter or licensed trade. A repairer can also cut out the damaged section and fit a solid panel, which usually looks better than a wide fill.
Start by pressing the door around the damage to confirm it is hollow, then match the method to the size of the hole: filler alone for a pinhole, and a backing block plus low-expansion foam plus filler for anything bigger. Take the photo before you touch anything, and paint the whole face at the end. That last step is what turns a repair into something nobody notices.