How to Clean Paint Brushes After Latex Paint (2026 Guide)
Latex paint is water-based, so cleaning it out of a brush takes nothing more than warm water and mild dish soap. Wipe the brush off, rinse it with the bristles pointing down, work soap through to the base, and keep combing and rinsing until the water runs completely clear.
That is the whole trick, and it only works on paint that is still soft. Latex that cures inside the ferrule — the crimped metal band that holds the bristles to the handle — turns into a solid mat that stiffens the brush and, in my experience, ends it. Two minutes of cleaning now saves the brush; a hardened mat usually means the bin.
Contents
Time: 10 to 15 minutes per brush, less if you are switching colors mid-project · Cost: almost nothing, a bottle of dish soap and warm water · Difficulty: Easy DIY · Skill level: first-time painter friendly
Spring is peak painting season and so is brush neglect. People leave a brush sitting in a tray of latex overnight, then wonder why it turned to cement by morning. If you are about to start a room this month, clean the brush the day you finish, not the day you get around to it.
Tools and Materials
You need very little, and most of it is already in the house under the sink.
- A bucket, tray or paint-keeper container at least 5 inches (13 cm) deep, so you can work the brush without touching the ferrule
- Warm water, comfortable enough to put your hands in
- Mild dish soap, the plain unscented kind
- A second bucket or a plastic dishpan for the dirty rinse water
- Nitrile or rubber gloves and safety glasses with side shields
- Newspaper or a plastic drop cloth to lay over the work surface
These are the extras that make the job faster and extend brush life. None of them are required to clean a brush.
- A paintbrush comb, or a fine-tooth comb you would not mind scratching
- A wire brush with very fine bristles, used lightly and only on stiff residue
- A brush spinner for flat-handled brushes, since round handles you can spin between your palms
- A roll of heavy brown paper or a plastic brush keeper to hold the bristle shape while drying
- A fan or hairdryer on cool, used to move air across the bristles
If you are unsure which soap behaves best in a given paint, we tested eight of them and ranked them in our guide to the best cleaners for acrylic paint brushes.
What each cleaner actually does to latex paint
Latex dissolves in water and soap. Solvents do nothing for it and can make a water-based job harder, so this table is worth reading before you open anything else.
| Cleaner | Wet latex | Dried latex | Effect on bristles | Verdict |
|---|---|---|---|---|
| Mild dish soap | Excellent | Weak | Neutral | The default for a wet brush |
| Dawn dish soap | Excellent | Weak | Rinses very clean | Works well, but it strips natural-bristle oils |
| Murphy’s Oil soap | Very good | Fair | Conditions as it cleans | Best all-round pick for a brush you want to keep |
| White vinegar | Good | Good when warm | Can dull natural bristles if left on | Useful as a warm soak on stiff brushes |
| Isopropyl alcohol | Fair | Good | Safe on synthetic, harsh on natural | Soften hardened latex, then follow with soap and water |
| WD-40 | Poor | Fair | Leaves an oily film | Not a cleaner, despite what forums suggest |
| Fabric softener | Fair | Weak | Adds slip, traps residue | A finish rinse at most |
| Mineral spirits | None | None for latex | Coats and hardens the paint film | Solvent paint only |
The last row is the one people get wrong most often. Paint thinner and mineral spirits are the default advice in the paint aisle, and on a water-based brush they can coat the fibers and make a soft latex film behave like a cured one.
Before You Start
Check the paint first. The label tells you whether it is water-based or solvent-based, and everything below changes if it is oil. Water-based includes latex, acrylic and eggshell, no matter the sheen.
Match the brush to the job. Synthetic nylon or polyester bristles are built for latex and acrylic and can take soap, warm water and repeated scrubbing. Natural bristle, the kind made from hog hair, is for oil paint; water swells the hair and it will never return to its original shape.
Set up somewhere ventilated with the door open or a fan running. Open a window if the room has one. Wear gloves and glasses, because dried latex flakes and any cleaner you try later can irritate skin and eyes.
Protect the surface. Newspaper or a drop cloth catches the paint you are about to wipe off, and it saves you scrubbing a splatter off the worktop later.
Think about where the rinse water goes. A small amount of diluted latex paint down a household sink is not the same as a gallon of turpentine water, but the solids can settle in your lines or harm a septic system. The three-bucket method is easy: three containers, each filled about two-thirds with water, and you move from the cleanest bucket to the dirtiest. You use more water, which is fine indoors, and almost nothing goes down the drain.
If you plan to spray instead of brush, our latex paint sprayer guide covers the equipment that does the cleanup for you.
Step-by-Step Instructions: How to Clean Paint Brushes After Latex Paint
Work through these five steps in order, and stay with the brush until the rinse water runs clear. Rushing the last rinse is how people end up with a brush that feels fine and turns out to have a hidden mat of paint in it.
Step 1: Remove Excess Paint
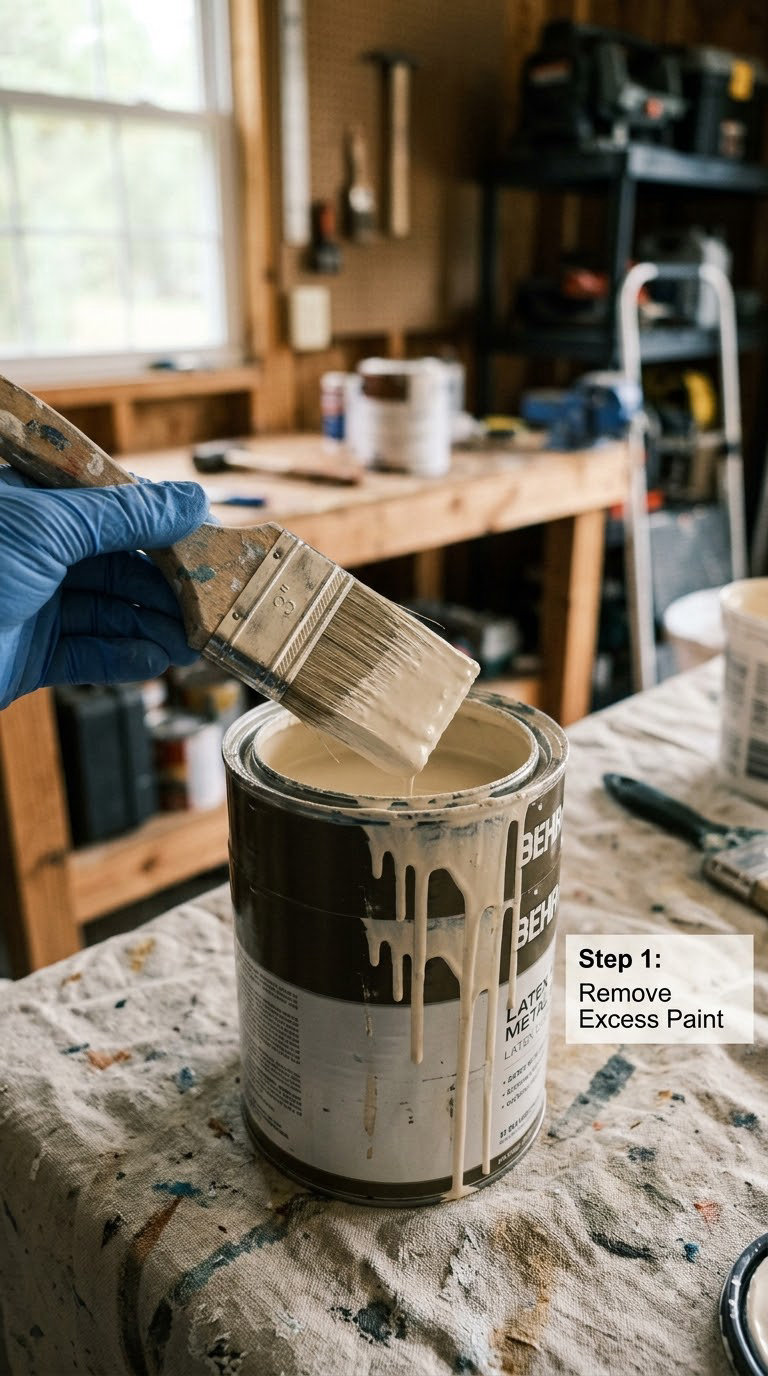
Wipe the brush on the rim of the can, then on newspaper, exactly as you would between coats. Get as much paint off as you can before any water touches it, because every bit you remove now is a bit you do not have to scrub later.
Pull gently from the ferrule toward the tip. Do not pinch the bristles near the base or scrape the brush against the can rim, which is a quick way to flare the tips outward.
You are done with this step when a wipe leaves no visible color on the paper. For a brush used for trim or a small accent, this alone gets you through a color change; for a full brush you keep moving to the next step.
Step 2: Rinse Out the Latex Paint
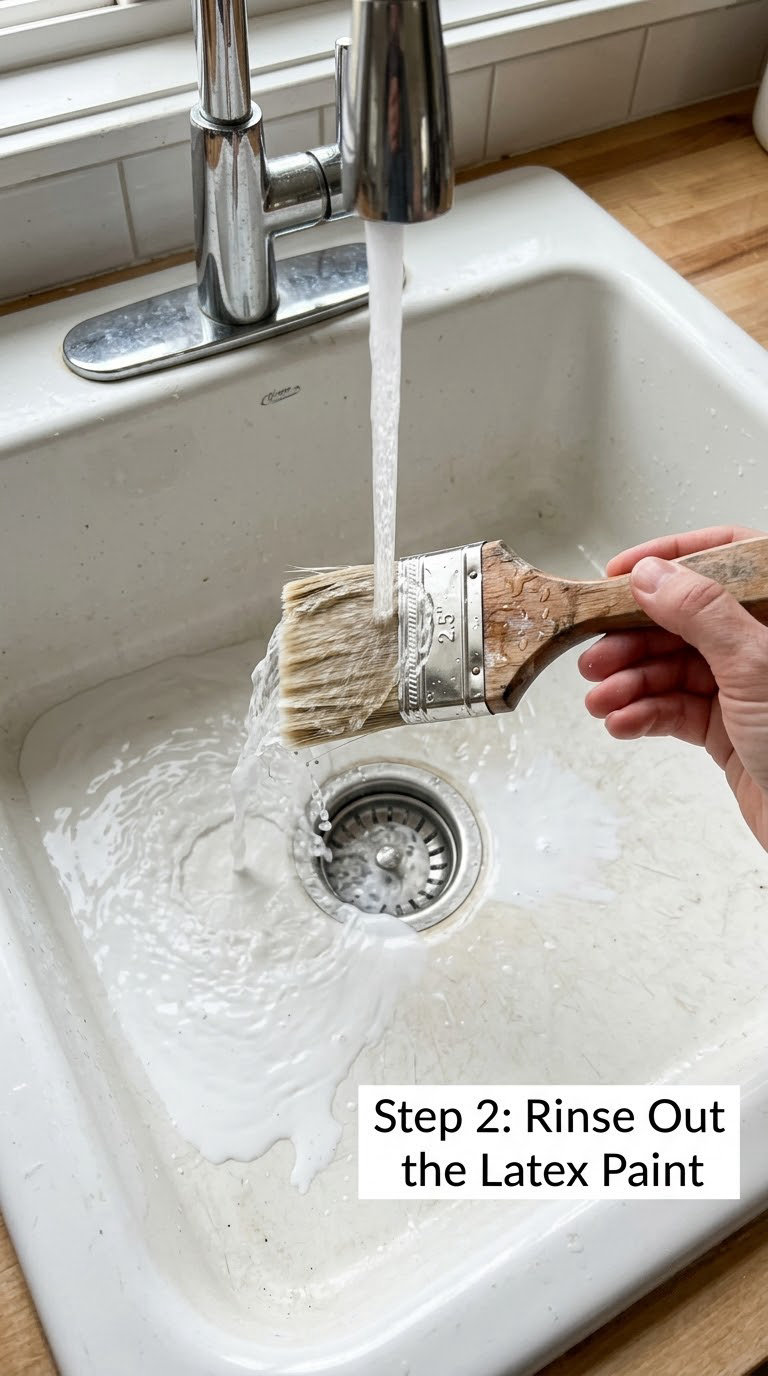
Hold the brush under warm running water with the bristles pointing down and the handle up above them. This lets the paint fall out with gravity instead of driving it further up into the ferrule.
Work the bristles gently with your fingers as the water runs. A pale, milky runoff in the first thirty seconds is normal and means the method is working.
Move to the next step when the water runs mostly clear. Keeping the ferrule above the water line matters, because water pooling inside the metal band can rust it and loosen the glue that holds the bristles in.
Step 3: Work in Mild Dish Soap
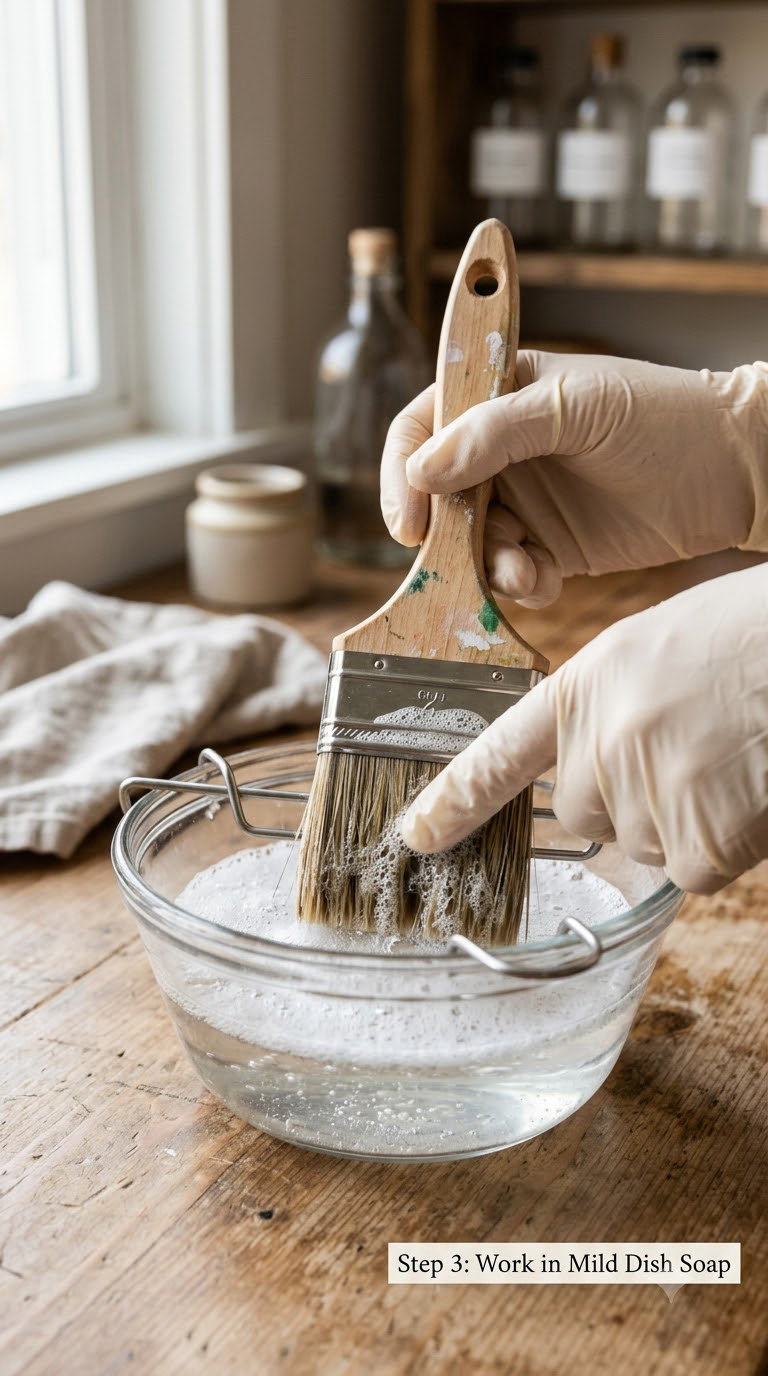
Put a squirt of mild dish soap into the bucket and add enough warm water to submerge the bristles. Dip the brush in and work the solution down to the base of the bristles with your fingers.
Then comb it. A paintbrush comb, or a fine-tooth comb, pulls paint mats out from between the filaments where washing alone will not reach. Run the comb from the ferrule to the tip, gently, several times.
Ten to fifteen seconds of combing per pass. A wire brush with fine bristles can help on stubborn buildup, but use it lightly and in the direction of the tips, because repeated hard wire-brushing is one of the fastest ways to splay a brush.
Step 4: Rinse and Check the Bristles
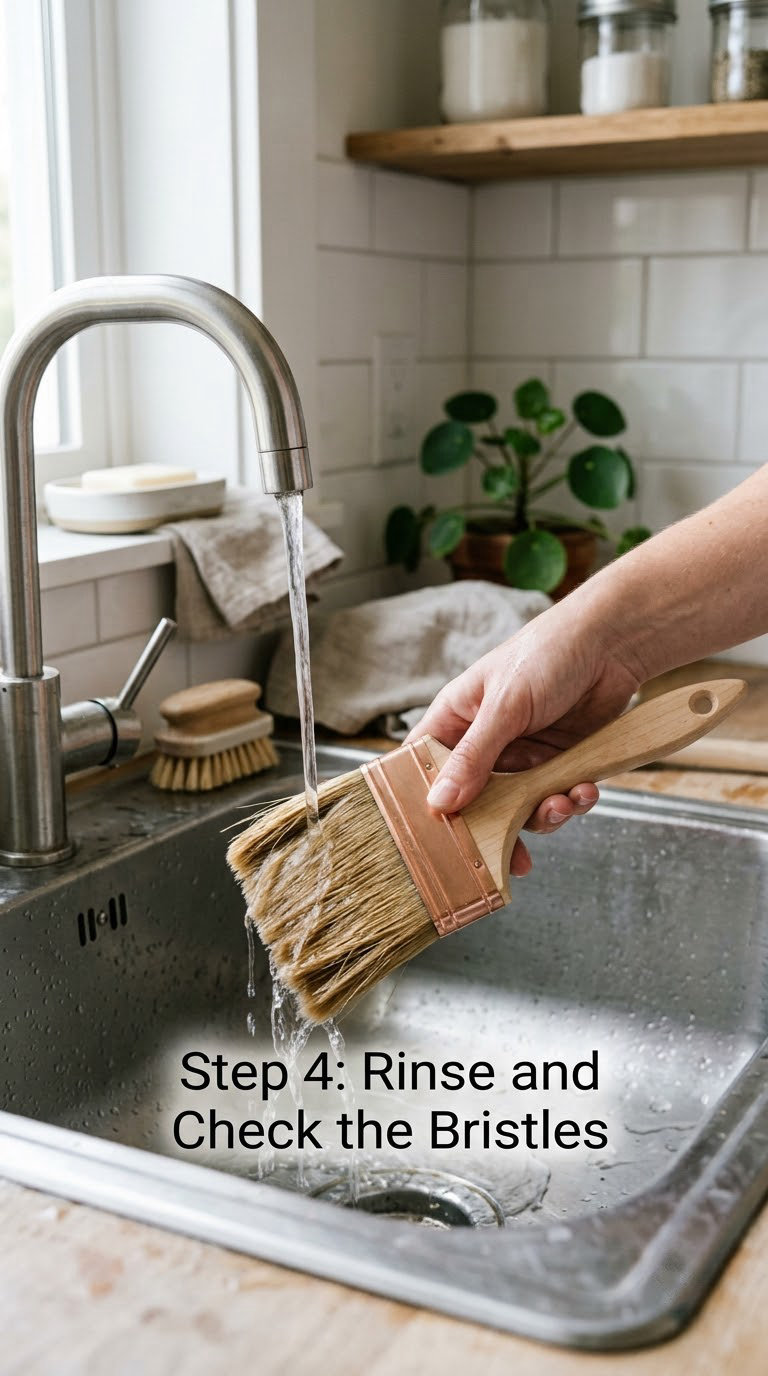
Rinse again with the bristles down and comb once more. Repeat the soap and water cycle until the water runs completely clear with no cloudiness and no flecks coming out of the brush.
Look at the ferrule edge. Paint almost always migrates up into that crimped band and hardens there first, which is why brushes stiffen and start shedding within weeks rather than months. If you can see a ring of old paint at the ferrule, work it out with the comb tip before you call it clean.
The real test is touch, not looks. Pinch the bristles between finger and thumb and slide. If they feel slick, waxy or stiff in patches, soap is still in there or paint is still caught, and another cycle is easier than living with it. Painters on the Paint Talk forum judge a cleaned brush the same way, by running a finger down the hair, not by looking at it.
Step 5: Reshape and Dry the Brush
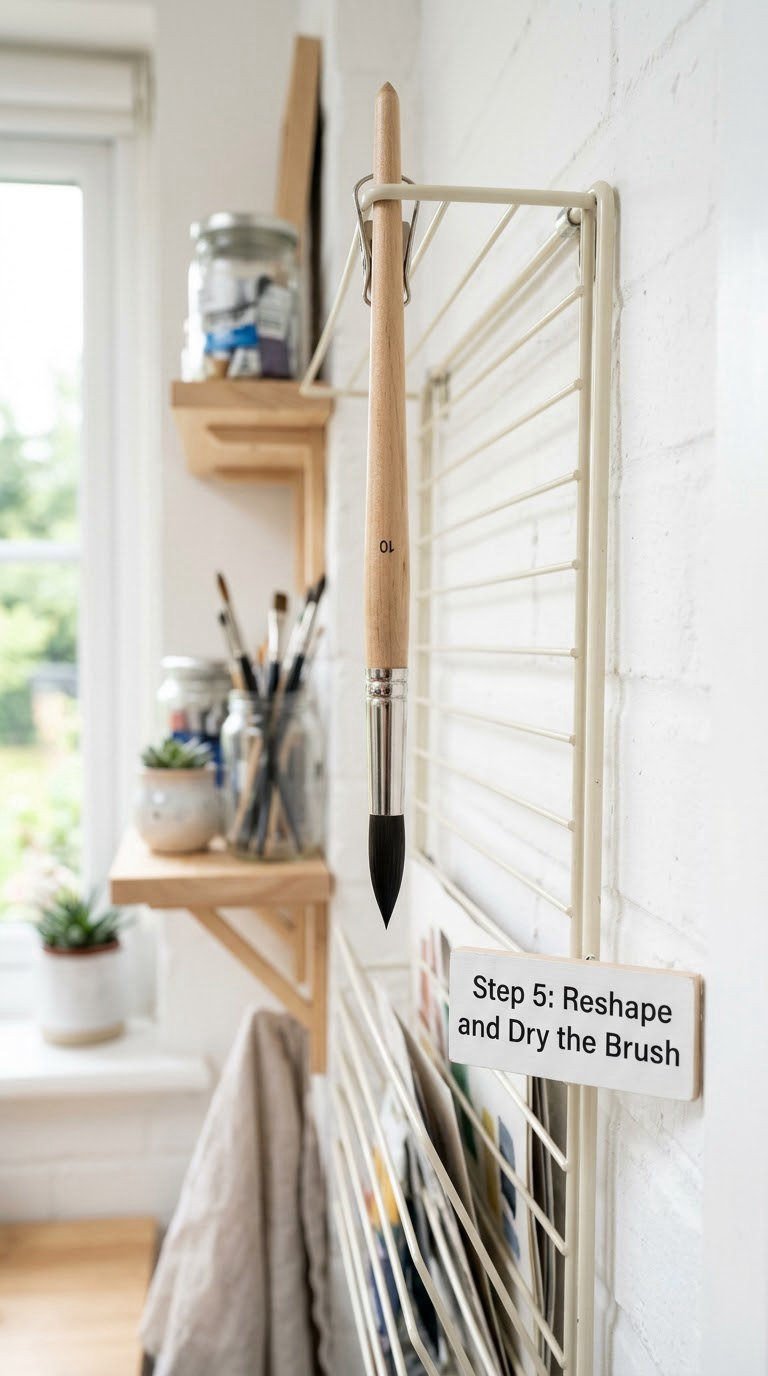
Get the water out first. Spin the brush between your palms, or use a brush spinner if it has a flat handle, and let it drip over a second container.
Then reshape. Pinch the damp bristles back into the profile of the brush, usually a pointed tip for a round brush and a flat edge for a wall brush. Slide the brush into its keeper, or wrap the bristles in heavy brown paper, and secure it with a rubber band.
Hang it bristles-down in a warm, dry room with air moving across it. A fan on cool is better than a hairdryer on hot, which can split synthetic filaments. Paper wrapping or a keeper keeps the shape while it dries and gets the ferrule off the wet surface.
Plan on several hours, overnight if you can. A brush used again in the same session only needs fifteen minutes out of the air, and dry enough means the bristles feel room-temperature, hold their shape when you pinch them, and do not clump when you fan them out.
Common Mistakes to Avoid
- Using hot water. Very hot water is fine for softening a dried mat, but it is wrong for a wet brush. It swells the ferrule, loosens the bristles and can set the shape. Use water you would be happy to put your hands in.
- Soaking the ferrule. Let the bristles stand in water, handle up, and water settles inside the crimped band. That is how metal rusts and bristle sets let go. Keep short soaks, under about an hour, and always bristles-down.
- Bending the bristles hard. A stiff brush needs coaxing, not force. Push the comb in gently, and if the hair will not move, soak before you comb. The hair that breaks off combing is gone for good.
- Leaving detergent in the bristles. Rinse until the water runs clear. Trapped soap leaves a slick film that makes the next coat drag and can hold onto dirt.
- Drying flat on a surface. Bristles pressed against a bench dry in a curve and will not sit flat against a wall later. Hang them, or rest them suspended in a keeper.
- Reaching for mineral spirits or paint thinner. On water-based paint these are useless at best, and at worst they seal the latex into a harder film. If you have used a solvent brush before, rinse it very thoroughly first.
- Leaving the brush sitting in a tray overnight. This is the number one way good brushes are lost. Wash it during the break or at the end of the day.
When to Call a Pro
Cleaning a brush is a safe job for anyone. There is no permit, no trade licence and nothing code-related about it.
Call a professional painter when the brush is a very expensive natural-bristle brush you use for oil finishes, since those need solvent handling and a different cleaning routine. The same goes for a wall you are about to paint where a stray fleck of cured paint would be visible from across the room, and cutting in is the skill that makes or breaks it — our guide to paint edging tools for clean lines covers the hand tools and the technique.
Disposal is where a pro or a household hazardous waste facility comes in. Do not pour concentrated paint, large volumes of rinse water, or any solvent rinse into a storm drain, onto soil, or into a sink that feeds a septic system. Many local waste departments run collection days for leftover paint, and a call to your city or county sanitation line takes two minutes and settles the question for your address.
If paint has gone into a drain or onto soil in any quantity, stop adding water and call your local environmental or water utility for guidance rather than trying to flush it through.
Maintenance
Store a clean, dry brush the way it came. Snap the bristles into shape, cover them with the original keeper or a paper wrap, and stand it upright or hang it in a dry cabinet away from floor-level damp and away from direct sun. A drawer in a conditioned room is better than a damp garage shelf.
Between coats and between days, wrap the brush in a plastic bag or seal it in the paint can, pressed down against the paint surface with the bristles bent over, and it will hold until you come back. Forum DIYers seal a wrapped brush in the paint can overnight, which slows the paint enough to make a break of a day or two workable, and a few freeze it to buy a week. In every case the less time paint sits exposed, the less you have to clean later. For protecting the edges you are about to cut in, our guide to the best painter’s tape for clean lines is worth a look before you start.
If you are mid-project rather than cleaning up, most painters I have talked to keep two sets. One set is cleaned at lunch and kept clean; the other takes the abuse and gets pitched at the end. The clean set does the trim, the abused set does the walls.
A properly cleaned synthetic latex brush should give you several projects over a year or more. Retire it when bristles shed when you comb, when the tip flares out sideways, when the ferrule is pitted with rust, or when the hair stays stiff no matter how many wash cycles it has been through. If you are comparing a wash-and-reuse brush against a new one, a good mid-priced brush that stays soft usually wins after two or three rooms.
Roller covers clean the same way — push the nap through warm soapy water, rinse until clear, and let them dry without pressing the nap against anything. Natural hair rollers should not be washed at all; the hair swells and the cover is finished.
Frequently Asked Questions
Can I use Dawn to clean my paint brushes?
Yes, for a synthetic brush loaded with latex, Dawn works about as well as plain dish soap and it rinses out especially thoroughly. Use a small amount in warm water and comb the bristles as you work. One caution: Dawn is very effective at stripping oils, so on a natural-bristle brush meant for oil paint it leaves the hair dry and stiff. Keep Dawn for water-based paint and synthetic bristles.
What is the best cleaner for latex paint?
Mild dish soap with warm water is the best everyday cleaner for latex paint, because latex is a water-based polymer that dissolves in soapy water and rinses away without leaving a film. Murphy’s Oil soap is the pick if you plan to keep the brush long-term, since it cleans and conditions the bristles in one pass. Vinegar is better saved for a warm soak on brushes that have already gone stiff.
Can Murphy’s Oil soap be used to clean paint brushes?
It can, and many people prefer it to plain dish soap for a brush they intend to reuse. The oil content leaves the bristles slippery and conditioned rather than dry, which is the difference people notice when they run a finger down the hair. Use it diluted in warm water with the same comb-and-rinse routine. It costs a little more than dish soap and the bottle lasts a long time.
How do professional painters clean their brushes?
Most pros clean on a schedule rather than at the end of the job: comb out excess paint, work soap into the bristles, wire-brush lightly across the ferrule, then rinse and shake, repeating three or four times before a final light rinse. They comb the ferrule edge specifically, because that is where latex migrates and hardens. Many keep two sets of brushes, one cleaned and reserved for trim, one used roughly and thrown away.
What is the best solvent for cleaning paint brushes?
For latex paint there is no solvent that helps, which surprises people who buy paint thinner out of habit. Soap and water is the correct answer for water-based paint. Solvent-based paint is the opposite: mineral spirits, paint thinner or a commercial brush cleaner is necessary, and those rinses must never go down a household drain. Using a solvent on a latex brush can actually seal the paint into a harder film.
Can I wash latex paint brushes in the sink?
A small amount of diluted rinse water from a single brush is generally fine with plenty of flushing, but paint solids can settle in drain lines and a septic field will not appreciate a steady diet of them. The tidier approach is a three-bucket rinse: three containers each about two-thirds full of water, used cleanest to dirtiest, with solids settling in the bottom bucket until they can be dried out and thrown in the trash. Never pour concentrated paint down any drain.
Start at the Ferrule, Not the Tips
The next brush you use does not need a deep clean. Wipe it on the can rim, rinse the bristles under warm water with the handle held high, work a little dish soap in with a comb, and rinse until the water is clear. Focus on that ferrule edge, reshape the bristles, and let it dry. Ten minutes now beats buying a new brush next month.