How to Remove Pet Stains from Hardwood Floors 2026
To remove pet stains from hardwood floors, work fast: blot the accident dry, treat the mark with a wood-safe enzyme cleaner, blot again with a damp cloth, then let the boards dry fully. Wood soaks up liquid in seconds, so what gets left behind after the mop goes away is usually the problem, not the mop itself.
It is possible to get most pet stains out of hardwood, including old black ones, as long as the stain has not eaten through the finish into the wood itself. You will know within a minute of starting whether you are dealing with a surface mark or a damaged board.
Contents
Time: 20 minutes for a fresh accident, several days of light treatment for a dried stain · Cost: pantry and hardware store run, usually under the cost of one refinishing product · Difficulty: Easy DIY · Skill level: Beginner
My rule is simple: less liquid, more blotting. Every pet stain I have dealt with got worse the more water I added, and the ones that came out clean were the ones I treated with the least product and the most patience. Flooring trends come and go, but the physics of a porous material do not change.
Tools and Materials
Most of what you need is already in the house. Gather it before you touch the stain, because every minute the accident sits is a minute the liquid keeps moving deeper into the grain.
For identifying and protecting:
- A small flashlight or phone light to see how the finish reflects
- Nitrile gloves, 2 pairs if you have a senior pet
- A clean white cloth for a spot test, roughly 4 inches square
- A plastic drop cloth or old sheet to protect baseboards and nearby furniture
For blotting and treating:
- White paper towels, a full roll, plus 6 to 8 microfiber cloths
- A wood-safe enzyme cleaner, a 32 oz bottle covers several accidents
- 3% hydrogen peroxide, one 16 oz bottle for repeat treatments
- Distilled white vinegar, 1 cup, for mild surface marks
- 2 spray bottles, one for cleaner and one for plain cool water
For drying:
- A small box fan, placed 3 to 4 feet back from the treated spot
- A dry towel to lay under the fan if the boards are still damp at the end
For more on protecting fabrics and rugs nearby while you work, our guide to removing stains from upholstery covers the same gentle-first approach.
Before You Start
Find out what your floor is finished with before you put anything wet on it. Unfinished and oiled wood behaves nothing like sealed oak, and a method that works on one will darken or dull the other.
Kneel at a closet corner or under a sofa and run your hand along the boards. Smooth and glassy means a film finish such as waterborne polyurethane. Cloudy or hazy means an oil or wax finish. Bare wood, dull with no sheen at all, is unfinished, and water will go straight into it.
Once you know, pick the gentlest thing that matches. Never mix bleach with vinegar or ammonia. The combination releases a toxic gas, and it is a genuinely common accident in kitchens that double as cleaning supply cupboards.
Next, move the pet. Closing a door is faster than arguing with a dog who thinks the towel rack is a toy. Open a window and a door to move air through the room, and put a towel at the base of the doorway if the accident was near a wall.
Step-by-Step Instructions
Six steps, and the order matters more than the products. Skipping the blot and going straight to spray is how people end up with a bigger, darker mark than they started with.
Step 1: Identify the Floor Finish and Protect the Area
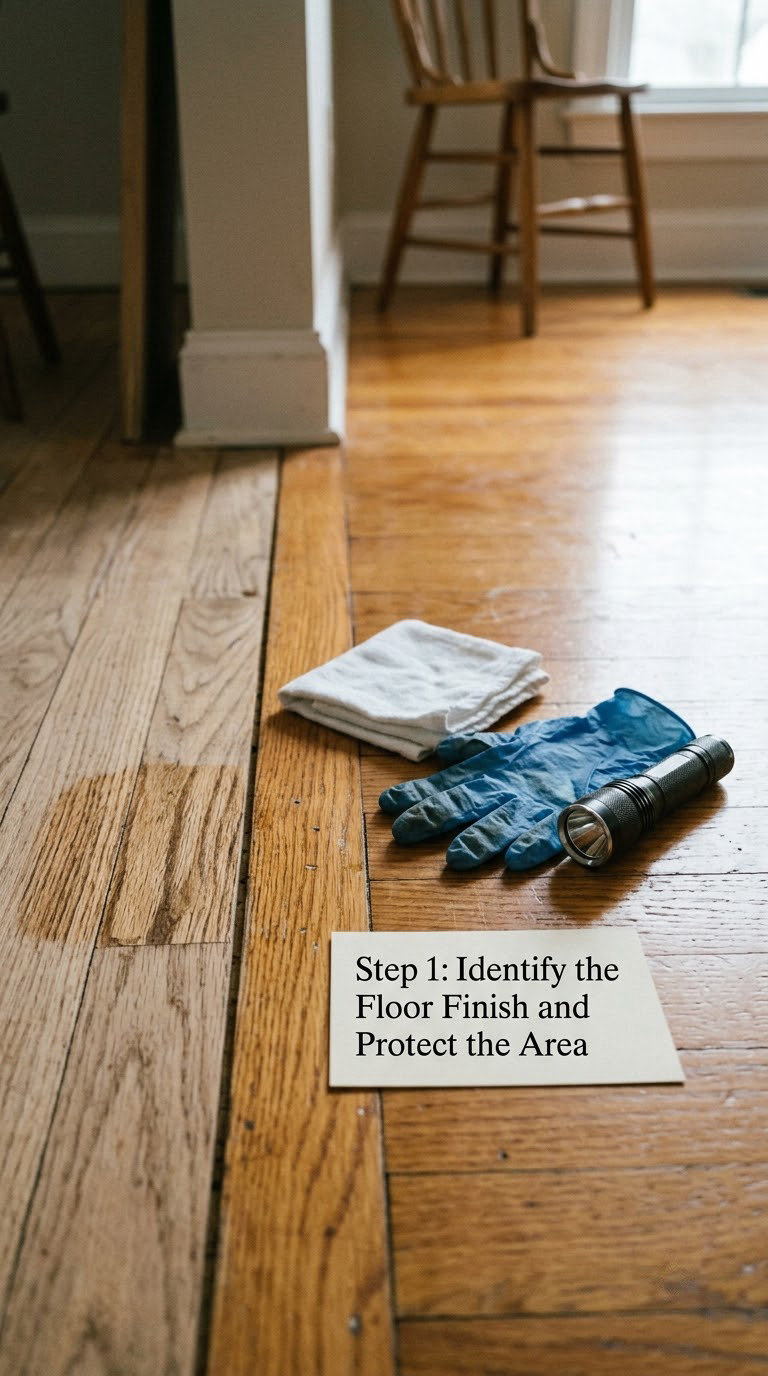
Finish identification takes 60 seconds and saves the floor. Check the closet, the area behind a door, or any board you have never had to look at closely.
Spread the drop cloth and clear anything within 3 feet of the stain. If you are dealing with urine, lay a dry towel over the spot immediately. That single layer catches most of what would otherwise soak into the seam.
Do the spot test now, before treatment, not later. Dampen your white cloth, wipe the inconspicuous test area, and wait 10 minutes. If the finish clouds or dulls, that method is too harsh for this floor.
Step 2: Remove Solids and Blot the Moisture
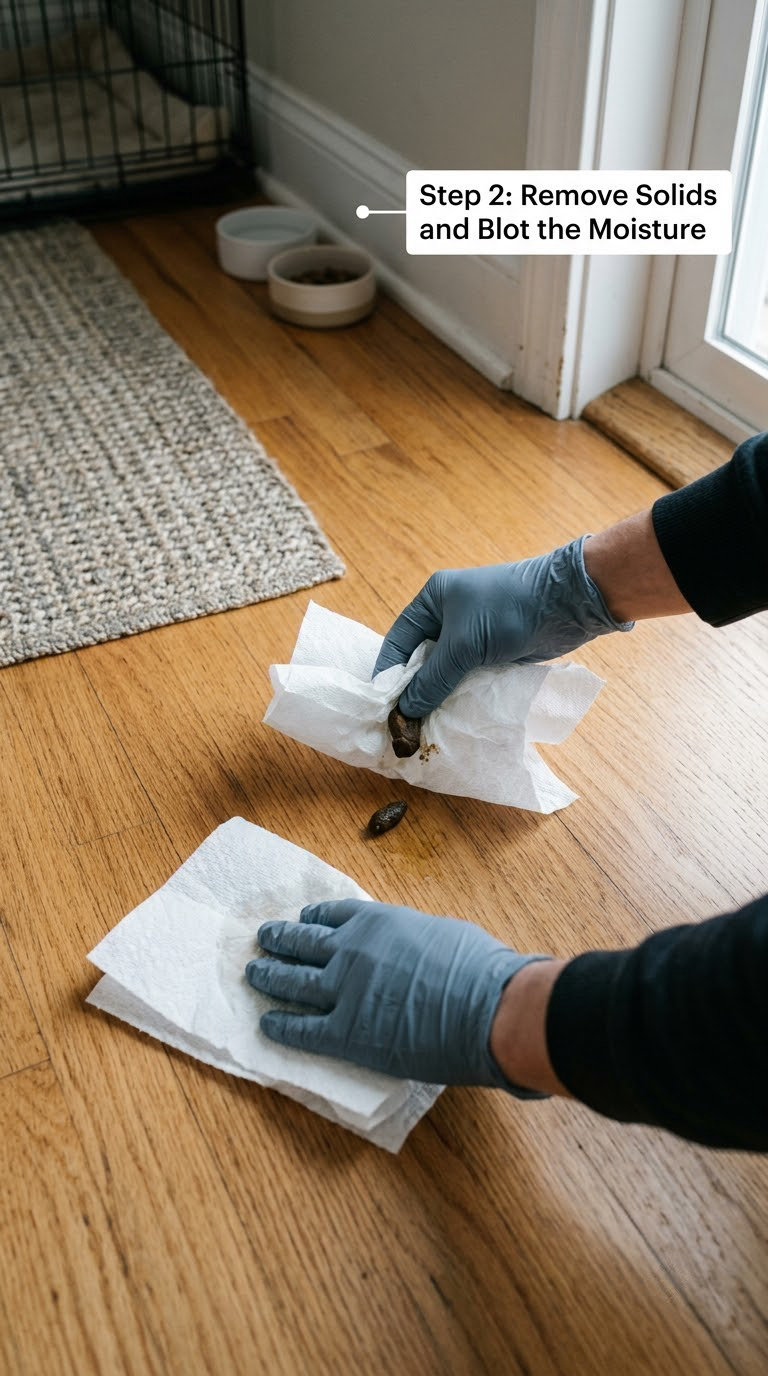
Put on gloves and lift solids with paper towels, from the outside edge inward. Scooping from the center drags the mess across the finish and leaves a smear you will be chasing later.
Blot the wet area with dry paper towels, pressing and lifting. Do not rub. Rubbing pushes moisture into the grain instead of pulling it up.
Repeat with fresh towels until the paper comes back dry to the touch. Usually three or four changes. A fresh accident found within the hour can often end right here.
Step 3: Flush a Fresh Urine Stain with Cool Water
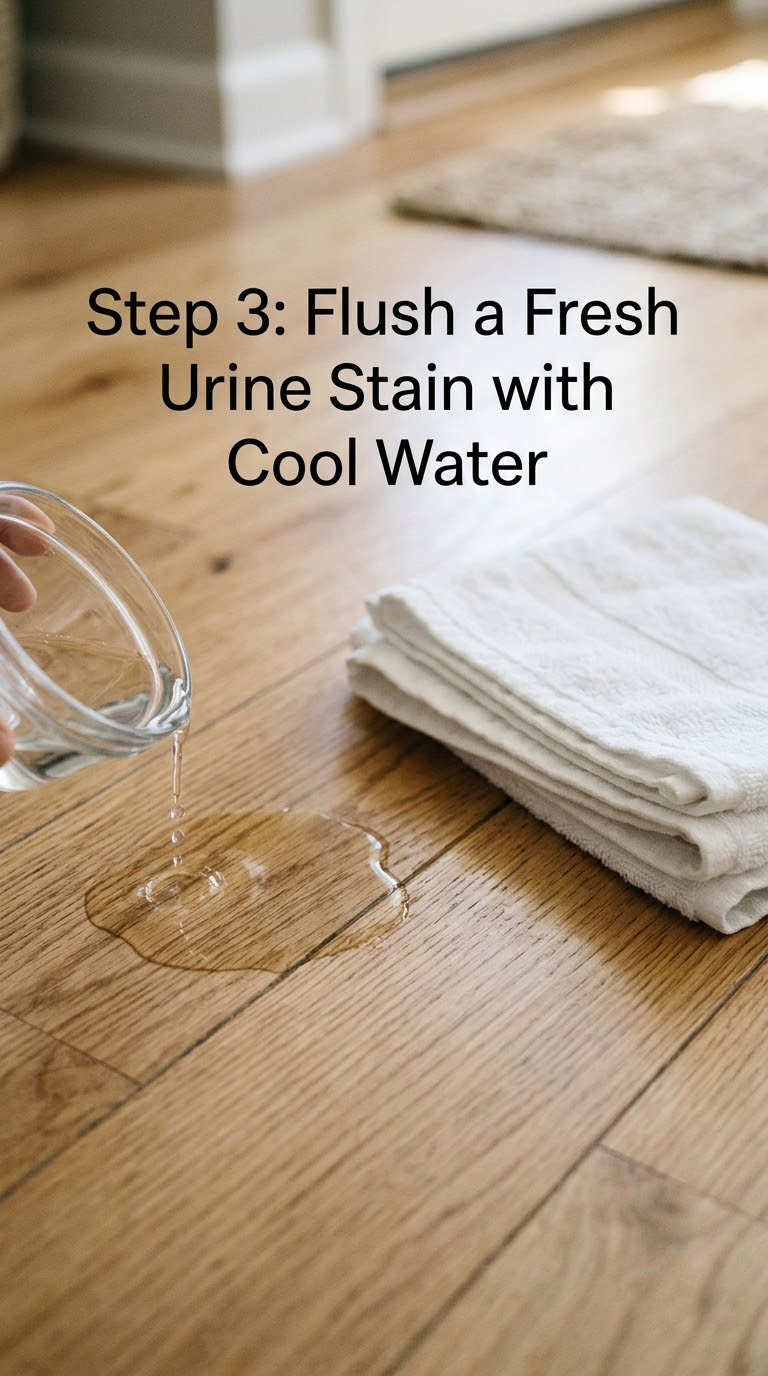
For a fresh, still-wet accident on sealed or unfinished wood, flush with a very small amount of cool water. Squeeze a damp cloth over the spot until it just glistens, or apply two or three drops from a spray bottle.
Absorb it immediately with a dry towel, then blot dry again with a clean one. Never flood the floor. Water that runs into the seam and down to the subfloor causes the cupping and swelling that ruin boards far faster than any stain.
Keep it to 30 seconds of moisture. If the mark remains after drying, that is a set-in stain, and Step 4 handles it better than more water.
Step 4: Remove Pet Stains from Hardwood Floors Gently
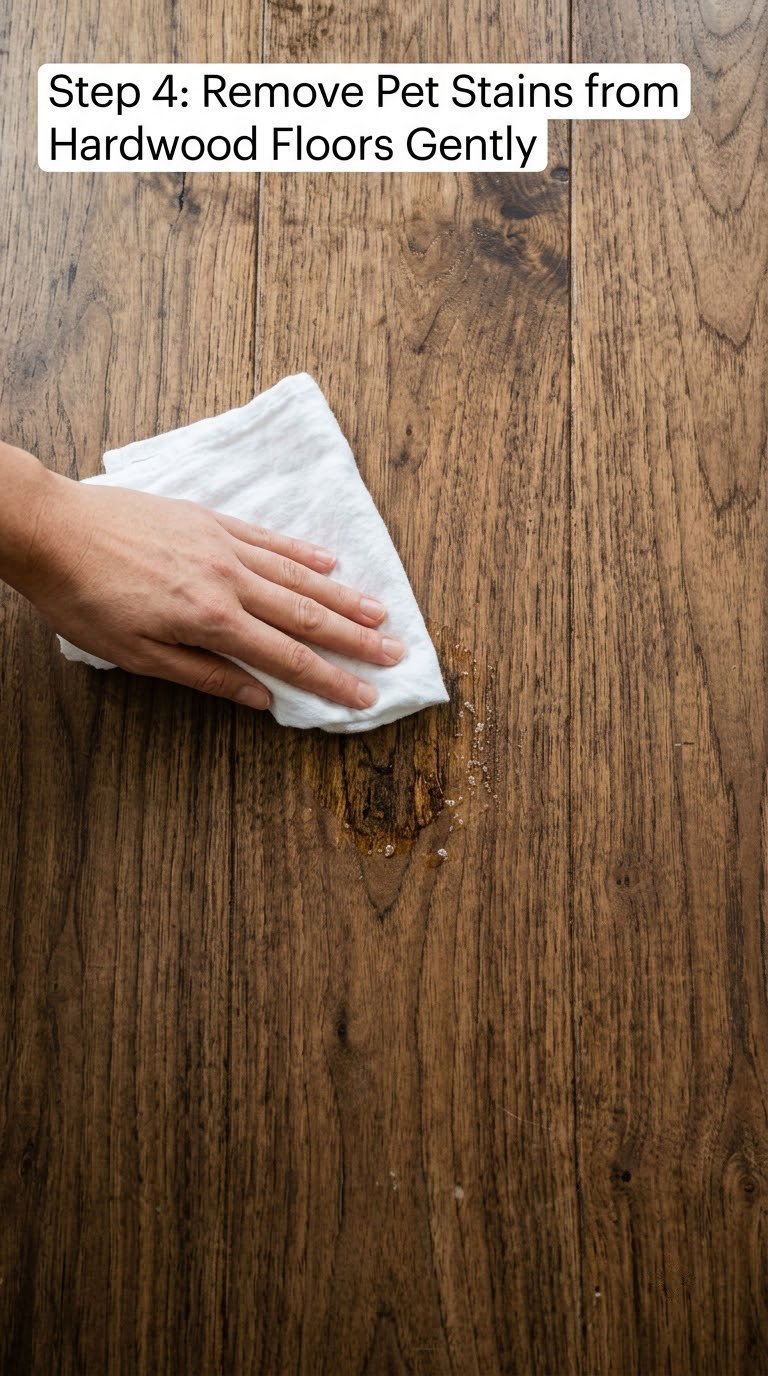
This is the step that does the real work. Enzyme cleaners break down the organic proteins in urine that cause both the dark mark and the smell, and they are safe on sealed and unfinished wood alike.
Saturate the area. Most people underdose here, and an underdosed enzyme cleaner just spreads the smell around. Lay a soaked cloth over the spot and leave it for 15 minutes, or follow the label dwell time if it is longer.
Blot, never scrub. Lift the cloth, replace it, and blot again. Keep the whole treated area inside the boundary of the original stain so you can see exactly where you have been.
For a faint surface mark on sealed wood, a 1:1 mix of distilled white vinegar and water works too. Spray, wait 5 to 10 minutes, then blot. Vinegar is acidic, so it can dull a film finish if you leave it too long or use it repeatedly.
Step 5: Treat Dried or Set-In Stains
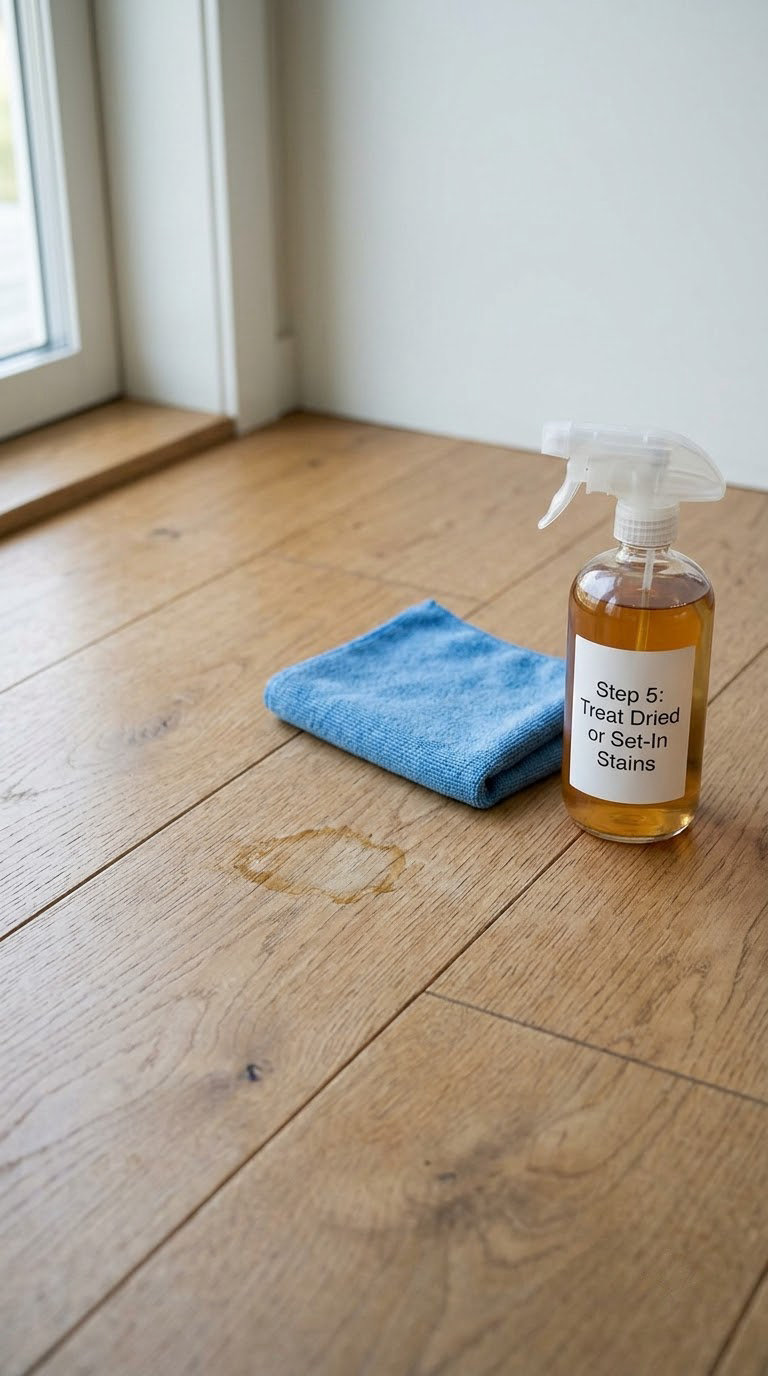
Dried marks need an oxidizer, not more soap. Straight 3% hydrogen peroxide works on black and brown set-in stains because it breaks down the compounds the urine left behind.
Apply it straight to the stain with a cloth or cotton swab. Do not flood the area, and keep the application inside the mark’s edges. Let it dry fully, usually 30 to 60 minutes, then wipe with a lightly damp cloth to check your progress.
For stubborn stains, wet a white towel with 3% peroxide, lay it flat over the mark, and cover it with a plastic bag or plastic wrap so it stays damp. Re-wet the towel every 12 to 24 hours and repeat over two to four days. Slow, but it works on stains that single applications will not touch.
Stop as soon as the mark lightens to where you are happy with it. On a previously treated or refinished floor, or on walnut and other dark woods, peroxide can bleach the whole board lighter and leave a pale halo. Black stains on engineered or laminate floors cannot be treated this way at all, because the veneer layer has no finish to spare.
Step 6: Dry the Floor and Check the Result
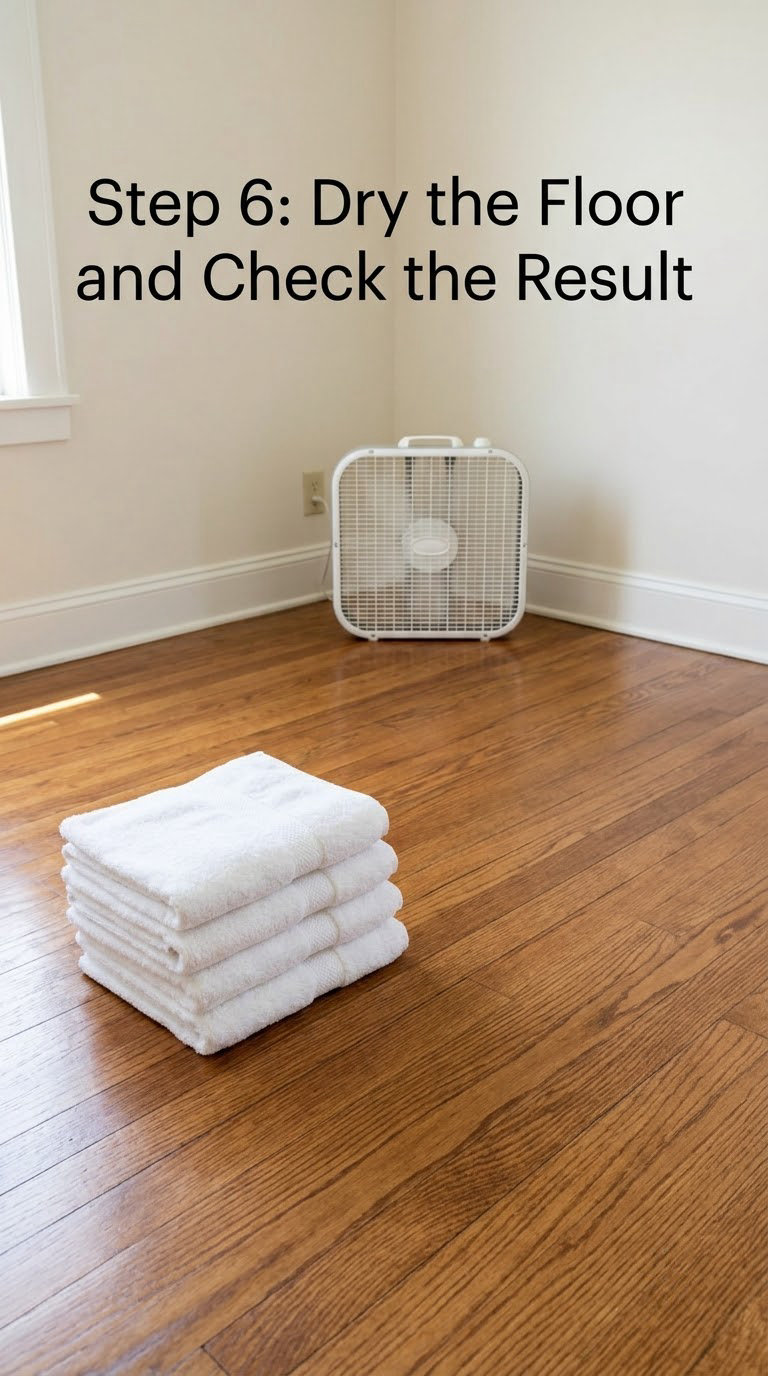
Drying is the step people skip, and it is the step that causes the damage. Pull wet towels off the floor rather than leaving them to soak in.
Point a fan at the area from 3 to 4 feet away and leave it running. Nothing excessive, no heat gun, no hairdryer on high. Direct heat dries the surface while the core stays wet, and that is exactly how boards cup.
Wait 12 to 24 hours for sealed floors and up to 48 hours if liquid reached the seams. Press the back of a clean dry towel firmly onto the board; if it feels cool or damp, keep the air moving.
Now check the result. A uniform color that blends with the surrounding boards means you are done. Black speckled residue that wipes off but leaves a ring means one more light blot. If the odor is gone but the mark remains, treat it as a cosmetic issue and decide whether to spot-stain, sand, or call a pro.
Common Mistakes to Avoid
Most damage I see comes from enthusiasm rather than from the wrong product. Here is what actually causes problems.
Scrubbing. A stiff brush or aggressive rubbing grinds the finish and pushes residue deeper. Blot and lift, always.
Hot water. Heat opens the grain and drives moisture in. Cool or lukewarm only.
Harsh chemicals. Bleach, ammonia, and straight dish soap strip a film finish and leave the wood open to the next accident. A drop of dish soap helps a peroxide mixture spread, but soap alone does almost nothing on a set stain.
Flooding the seams. Water running between boards reaches the subfloor and causes swelling. Small amounts, blotted dry, every time.
Skipping the spot test. Every floor and every finish behaves differently. Ten minutes of testing costs almost nothing compared with a bleached board.
Drying with too much heat. High heat is the fastest route to cupped and split boards. Airflow, patiently applied.
Mixing cleaners. Bleach plus vinegar, or bleach plus ammonia, produces toxic gas. If you keep only one bottle on hand for this job, keep the enzyme cleaner.
When to Call a Pro
Stop and get a flooring contractor, not a general cleaner, when you hit any of these.
Boards are lifted, cupped, or rattling under your foot. That is moisture in the subfloor, and no surface treatment fixes structure.
The finish feels soft, punky, or crumbly under your fingernail. Those degraded fibers mean the board itself is damaged.
Odor stays strong in a closed room days after the mark is gone. The smell is coming from the subfloor or joists, which means lifting boards, replacing underlayment, and sealing with an odor-blocking primer.
You have an oiled or waxed finish with a deep stain. These need re-oiling or re-waxing after treatment, and a pro can match the sheen. The same goes for black stains on engineered or laminate flooring, where bleaching is not an option.
Several boards are affected across a large area. Refinishing or buffing the whole floor is usually cheaper than fixing spots one at a time, and the result looks intentional rather than patched. Regional rates vary widely, so get two or three quotes and ask what the per-square-foot charge covers, including finish.
Maintenance
A pet stain you catch in ten minutes is an inconvenience. One you find the next morning is a project. A few habits cut down how often that happens.
Put down washable mats or rugs in the spots your pet returns to, favorite sleeping corners and the door mat line. A mat that sits under the water bowl and does not move is worth more than a thick one that slides. Our picks for the best trainer mats for hardwood floors cover the non-slip options that stay put on a finished floor.
Keep enzyme cleaner under the sink, not in the back of a closet. The best time to treat an accident is the moment you find it, and you cannot treat what you cannot reach quickly. Our picks for the best cordless vacuums for hardwood floors help with the hair that carries odor around on top of everything else.
Sweep or vacuum grit weekly. Grit underfoot is what turns a damp spot into a scratch, and scratches let moisture into the finish on the next accident.
Have a wood-safe mop in the rotation rather than a wet mop. Wood floors should never be soaked, and a damp microfiber pad is all the cleaning they need.
If a pet sleeps on hardwood regularly, keep a washable blanket or pad in that spot. Urine accidents under fabric are the hardest kind to remove, and the same chemistry applies when a mattress or upholstered sofa is soaked through.
Frequently Asked Questions
Can I use vinegar to remove pet stains from hardwood floors?
Yes, for light surface marks on sealed wood, and only if you dilute it. Mix equal parts distilled white vinegar and cool water, spray lightly, let it sit 5 to 10 minutes, then blot with a dry cloth. Vinegar is acidic, so repeated use or a longer dwell can dull a film finish and leave a streaky look. It will not touch a black, set-in stain because it has nothing to break down the discoloration. Spot test in a closet corner first, and never combine vinegar with bleach.
Why does a pet urine stain turn black on hardwood?
Wood is porous and full of tannins, the natural compounds that give it color. Urine soaks into the grain, and its urea and uric acid react chemically with those tannins, then oxidize into dark uric acid crystals. That reaction produces the black or blackish-green mark you see, and the longer it sits the deeper the color sets. Because the reaction happens inside the wood rather than on top of it, a dark stain usually needs an oxidizer like hydrogen peroxide rather than soap or vinegar.
What is the safest cleaner for pet stains on sealed hardwood?
An enzymatic urine cleaner is the safest choice for sealed hardwood, because it digests the organic proteins causing the stain and odor without stripping the finish. Apply it to a cloth, lay the cloth over the spot, and leave it for 15 minutes or longer, then blot rather than scrub. Always spot test in an inconspicuous area first and keep the finish fully dry afterward, since trapped moisture is what damages boards.
Should I use baking soda on a hardwood floor after a pet accident?
It is fine as an absorbent for a fresh accident, but it is not a cleaner. Baking soda pulls up surface moisture and helps with odor, and users commonly leave it on overnight before vacuuming. The drawback is that the fine powder gets into the grain of a textured floor and is difficult to remove completely, leaving a pale film. Vacuum it thoroughly while dry, never scrub it in, and follow up with an enzyme cleaner if a mark remains.
How do I remove the smell of pet urine from hardwood without damaging the finish?
Work from the wood outward. Blot the area dry, saturate it with an enzyme cleaner, leave it for 15 minutes or longer, then blot and let it dry with a fan for 12 to 24 hours. Baking soda laid over the dry spot for 15 minutes helps with lingering odor. If the smell survives that once the boards are fully dry, it has reached the subfloor, and no surface product will reach it. That case needs boards lifted and an odor-blocking primer applied underneath.
When should I replace hardwood floorboards after a pet accident?
Replace a board when the finish feels soft, punky, or crumbly, when the board cups or curls away from its neighbour, or when moisture has reached the subfloor. Dark staining on its own can often be spot-treated or spot-stained instead of replaced, though black stains on engineered or laminate floors cannot be bleached at all. If several boards are affected, refinishing or buffing the whole floor often costs less and looks far better than a patchwork of new planks.
Conclusion
Start by identifying the finish and absorbing the moisture. From there, use the gentlest thing that fits the stain: an enzyme cleaner for fresh and surface marks, a 3% peroxide soak for black set-in stains, vinegar diluted 1:1 for very light spots.
Then dry the boards completely before you walk away. If the boards cup, the fibers feel punky, or the odor survives a dry room, that is a contractor job, not a weekend one.