How to Paint Interior Doors Like a Pro: Easy Guide 2026
If you want to know how to paint interior doors like a pro, start here: remove the hardware, degrease and scuff-sand the surface, prime when the old finish calls for it, then apply a self-leveling enamel with a brush on the detail and a small high-density foam roller on the flat areas. Work in one order every time and keep a wet edge, and the finish reads like a factory door instead of a weekend project.
Most of the difference between a good door and a bad one is not the paint brand. It is the order you work in, how much paint you put on the brush, and whether you resist the urge to fix a stroke after it starts to set. Those three habits account for nearly every bad door I have walked into.
Contents
Time: about 3 to 4 hours per door across two sessions · Cost: roughly one quart of paint per door plus a basic supply list · Difficulty: Moderate DIY · Skill level: patient beginner
If your doors are going from dark to light, add a full extra coat and expect the job to stretch across three sessions. Old oil-based paint in a pre-1978 house changes the safety side of this conversation, and I cover that below.
Tools and Materials
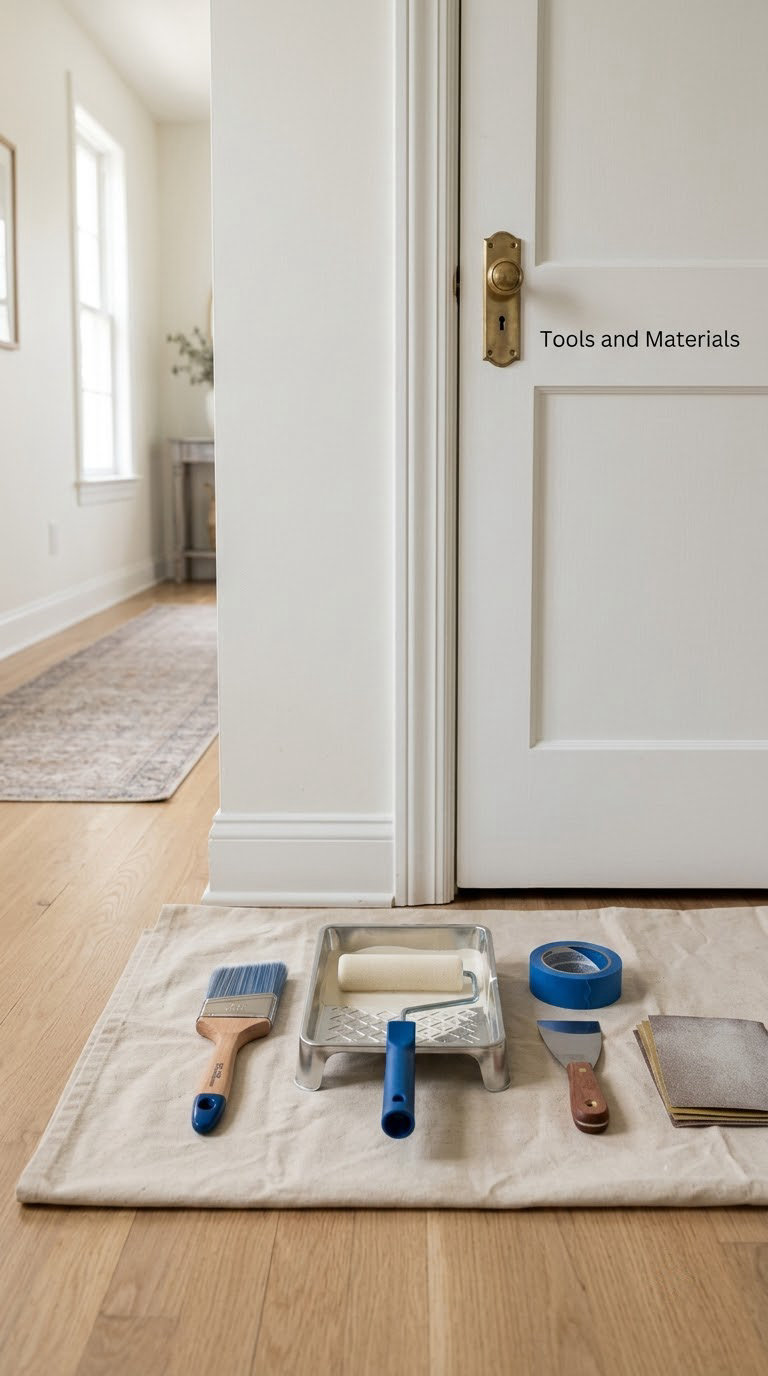
A short list covers the whole job, and most people already own half of it.
- 2.5-inch angled sash brush for cutting in edges, recessed panels and the tight corners beside hardware. A 3-inch sash also works; wider than that and bristles drag over the rail edges.
- 4-inch high-density foam roller with a short nap (about 1/4 inch) for the flat stiles and rails. Foam holds very little paint, which is exactly what you want on a door.
- Plastic paint tray and a second small tray for the roller. One tray gets reserved for the final coat so a dried ring never contaminates fresh paint.
- Drop cloth, 9×12 foot per door, plus a smaller canvas or old sheet to lay the removed slab on.
- Painter’s tape, 1.5-inch for hardware, glass and adjacent trim. A utility knife to trace the tape against hardware saves frayed edges.
- Wood filler or patching compound for hinge screw holes and dents, plus a flexible putty knife.
- Sandpaper assortment: 120, 150, 220 and 320 grit. 120 and 150 for old finish and filler, 220 between coats, 320 for the last scuff before the final coat.
- Tack cloth to lift dust after sanding. A damp rag works in a pinch but leaves fibers more often.
- Self-leveling interior enamel trim paint in satin or semi-gloss. Check the label for trim paint or self-leveling enamel rather than wall paint.
- Degreaser and a clean rag for kitchen and bathroom doors, which carry an invisible film of grease and hand oil.
- Safety glasses, nitrile gloves and a dust mask for the sanding and scraping.
- Optional: a paint flow additive such as Floetrol or Penetrol, mixed per the label, if your paint is prone to stipple.
If you are weighing a sprayer instead, my notes on HVLP paint sprayers cover the setup and overspray control. Rolling and brushing still beat spraying for a single door.
Before You Start
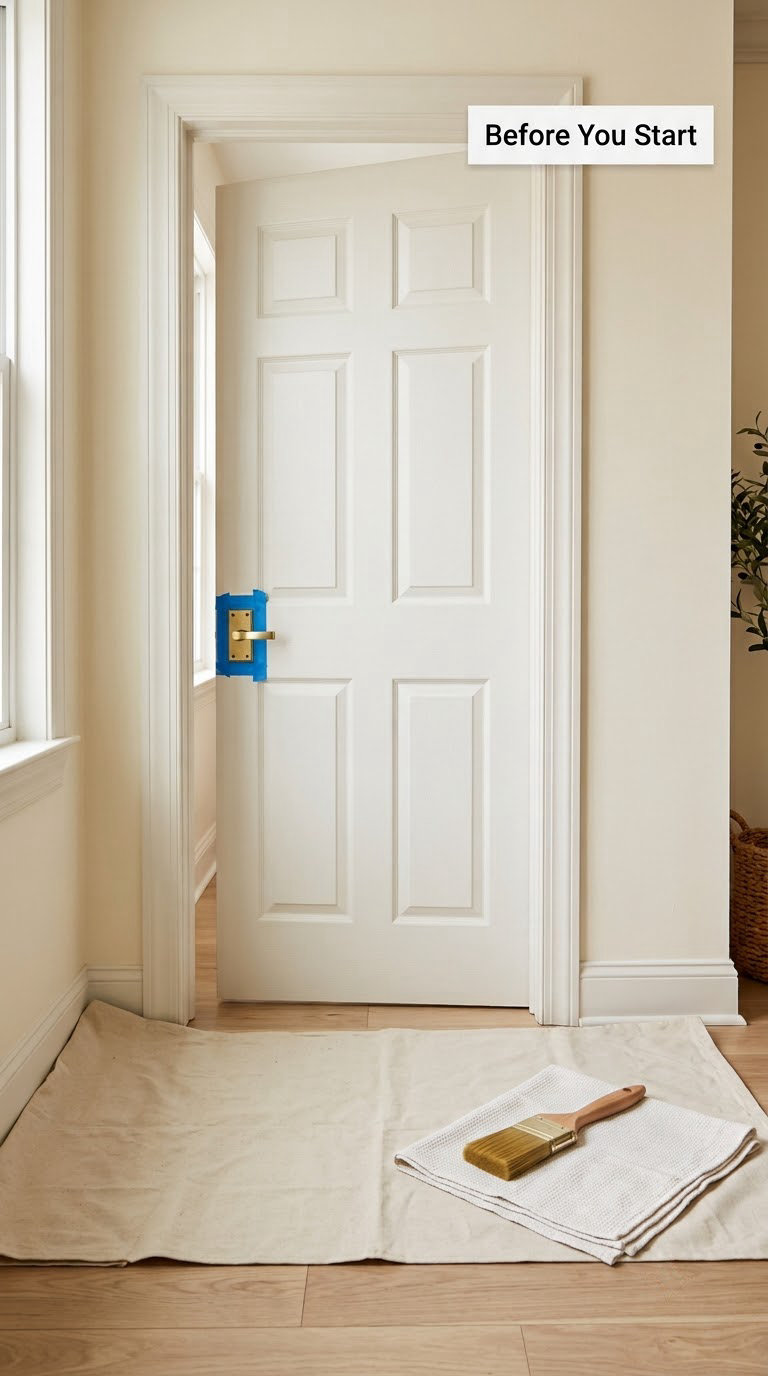
Check the door material and the existing paint
Hollow core doors are the standard interior slab and paint like MDF. Solid core doors are noticeably heavier and take paint beautifully. Either way, the prep sequence is identical, so you do not need to identify yours to get a good result.
Find out what is already on there, because latex will not bond to a cured oil-based finish without help. Rub a cotton swab soaked in rubbing alcohol firmly across a hidden spot. If the finish softens, feels greasy or the swab comes back colored, it is oil-based and needs a bonding primer or deglosser. If nothing moves, you are working over latex.
Homes built before 1978 are the one hard stop for a DIYer. Paint from that era may contain lead, and sanding or scraping it puts dust in the air. Test the surface with an EPA-approved lead test kit before you touch it, and if it comes back positive, get a certified renovation firm rather than opening a sander.
Decide whether to remove the door
Lifting the slab off its hinges gives you a flat work surface, room to paint all four edges and both faces without drips on the floor. It also means you handle the door twice more than you would otherwise.
Painting in place works fine on a pre-hung door if you wedge wood shims under the bottom to hold it still, mask the casing, and keep an eye on the hinge side. Painting a door in place saves maybe 20 minutes a door and risks drips on the casing, which is where most of the frustration comes from.
Plan the conditions and the protection
Open windows before you mix anything, and paint when the room sits between about 50 and 85 degrees with humidity low. Cold and damp paint dries slowly and stays soft, which is exactly how a door ends up sticking to its frame weeks later.
Lay the drop cloth before you remove a single screw, not after. Move the hardware to a labeled container so the handle for the second bedroom does not end up on the first bedroom door.
Choose a satin or semi-gloss enamel for the door itself. Satin hides brush marks well and still wipes clean; semi-gloss takes a beating better and is what most designers ask for on a hinged door. Flat and eggshell show every mark and stain a door collects.
If you are picking a palette for the room beyond the door, I put together spa-like paint colors for bathrooms that work well with soft satin trim.
Step-by-Step Instructions
Read the whole sequence once before you start, then follow it in order on every door. The order is not arbitrary; it is what keeps the finish consistent.
Step 1: Remove the Door and Hardware
Tap a flathead screwdriver under the hinge pin and tap the screwdriver handle upward, or drive the pin out from the bottom with a nail and hammer. Keep the hinge leaves screwed to the frame and lift the slab free.
Label the hinges with tape so they go back to the same jamb, and bag the hinges, the handle set and all screws in a container or a doubled zip bag. Photograph the wiring of any smart lock or latch before you disconnect it.
Stand the slab on padded sawhorses or on a folded blanket on the floor. Face the side you painted last into the light, so you can see what you are doing. Fill the old hinge screw holes with wood filler once the slab is down.
Step 2: Clean, Sand, and Patch the Door
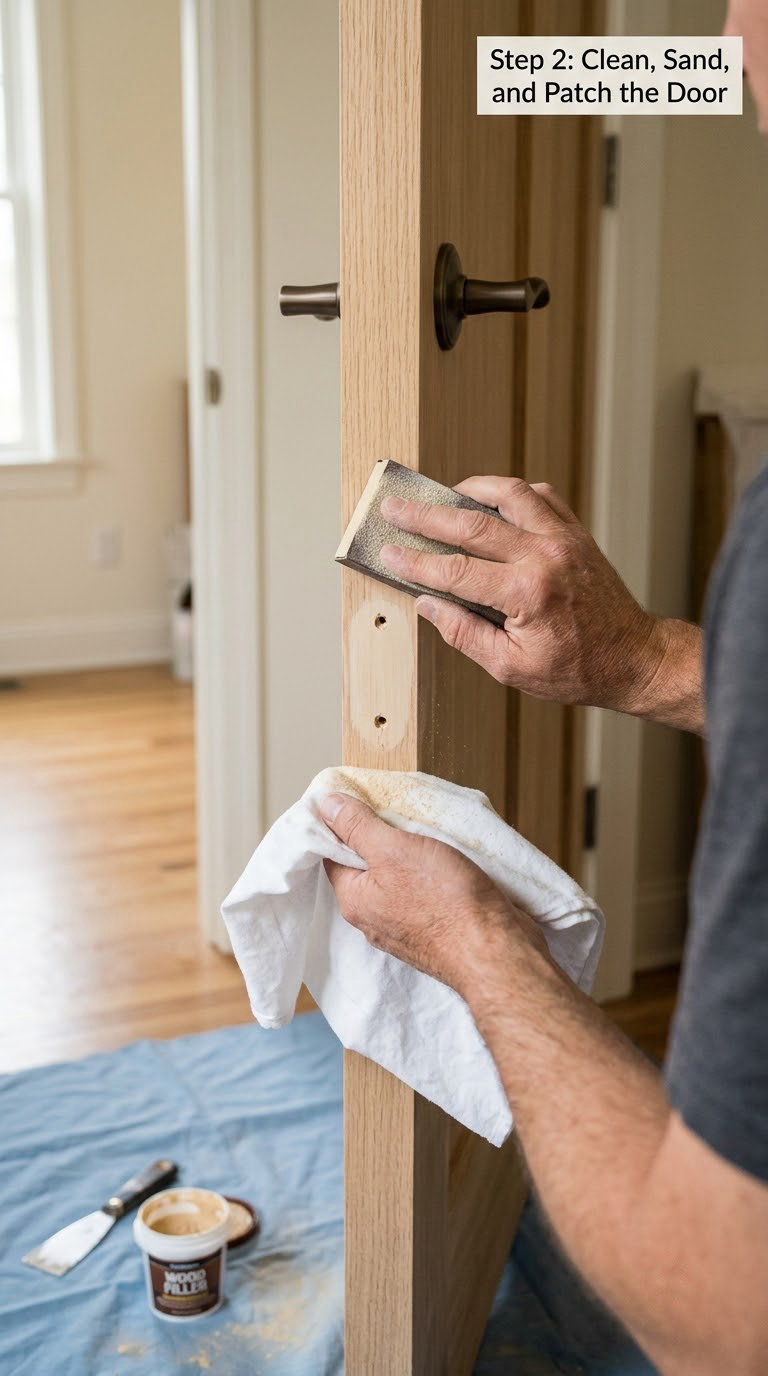
Start with a degreaser on a clean rag and wipe the whole slab, including the edges. Kitchen and bathroom doors hold an oily film that will make the new paint peel off in sheets within a year, and no amount of extra coats fixes it.
Fill nail holes, dents and gouges with a flexible filler, and let it dry fully. Sand the filled spots with 120 grit until they are flush, then scuff the entire surface with 150 grit. You are not trying to remove the old paint; you are removing the gloss so the new finish has something to grip.
On an old oil-based door, wipe the whole slab with a deglosser after sanding and give it the label’s drying time. On bare wood or MDF with no existing finish, move straight on to primer.
Vacuum or wipe the dust, then go over the slab with a tack cloth. Change your sanding pad often; a loaded pad scratches, and scratches are visible under satin.
Step 3: Mask and Apply the First Coat
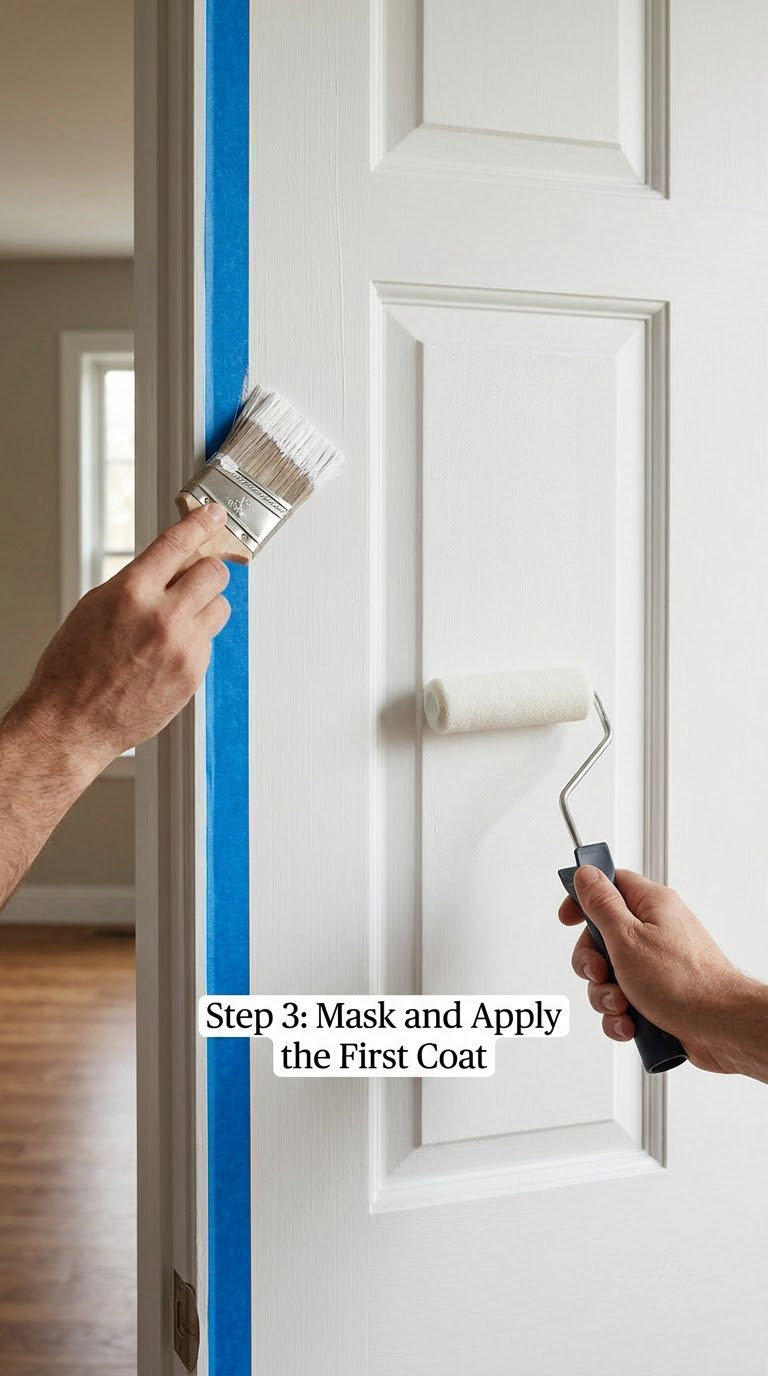
Mask anything you are not painting: glass lites, mirror inserts, the casing if you are painting the slab off-frame, and any weatherstripping you plan to leave on. Press tape down firmly with a utility knife along hardware edges.
Stir the paint thoroughly for two full minutes with a paint stick, then box it. Start and finish on the top and bottom rails so the roller starts and ends on a flat surface, not on an edge.
Load the brush about a third of the way to the ferrule and tap out the excess. Cut in the edges first, and let each stroke run off the door onto a folded rag rather than stopping dead at the boundary. The paint that lands in the panel corners is the paint you will not have to touch up later.
Work a 6-panel door in this order: recessed panels, then the center stiles top to bottom, then the top rail, lock rail, bottom rail and muntins, then the two side stiles, then the edges last. The clockwise rail order means you always run paint off the edge of the door rather than back onto a dry face.
Roll the flat areas with the foam roller, keeping a wet edge and moving at a steady pace. Once the paint starts to set, leave it alone. Going back over a stroke after two or three minutes is what creates lap marks and the ridged texture people call brush marks.
Finish each section by tipping off: a light pass with the brush tip at a shallow angle, no pressure, pulling excess paint into a thin film. Paint left sitting in a corner beads and dries as a visible lump, so wipe any heavy overflow from the rails and stiles with a clean rag while it is still wet.
For most people this is how to paint interior doors like a pro without buying anything unusual: a self-leveling enamel, a foam roller on the flats and a nearly dry brush at the end.
Step 4: Sand and Apply the Final Coat
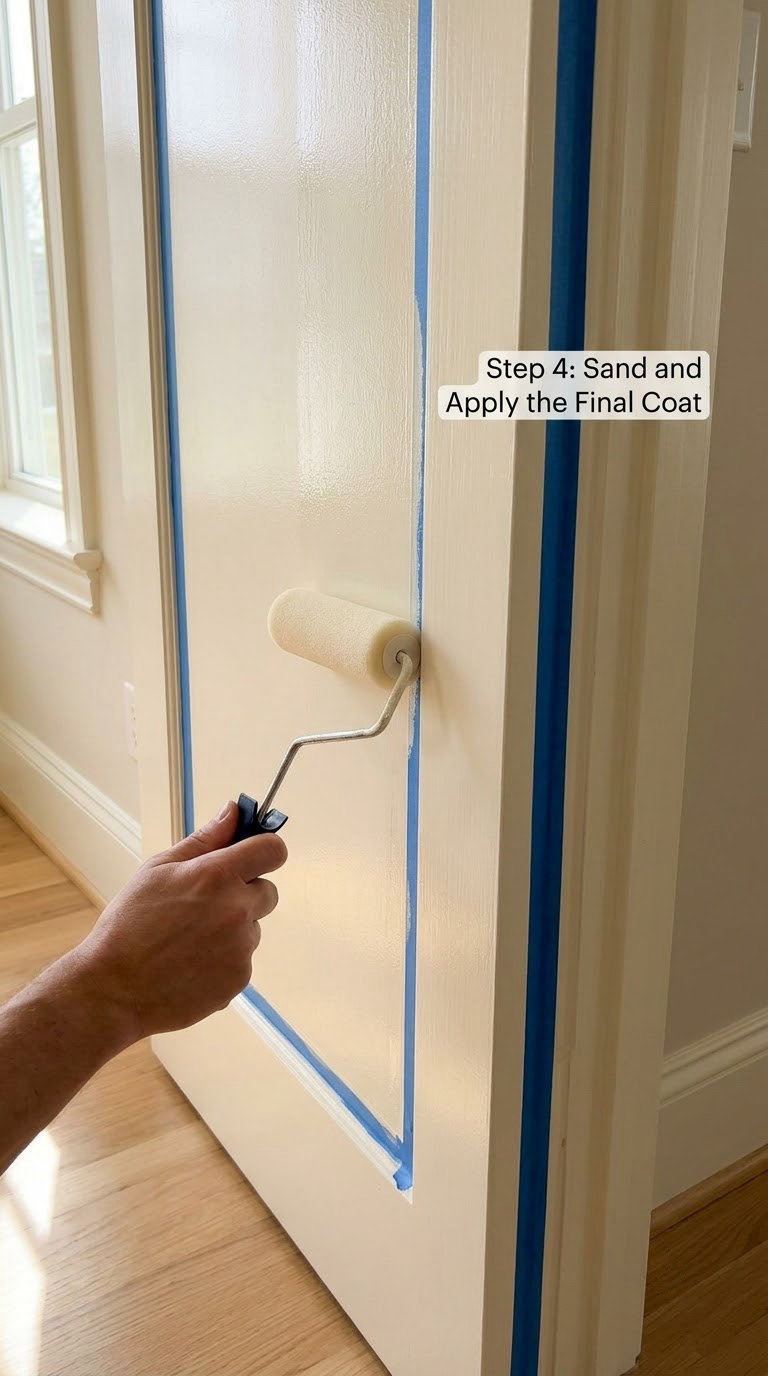
Let the first coat dry until it is dry to the touch, usually 2 to 4 hours for latex enamel, and longer if the room is cool or the door is a solid core slab with thick edges.
Scuff the whole door again with 320 grit, lightly, then tack cloth it. That scuff is what gives the second coat its tooth, and it is the step that separates a smooth finish from a coat that peels off in strips later.
Inspect under raking light before you load the roller. Look for missed corners, thin spots over the filler and any light drips. A dry toothbrush makes short work of stipple; a folded paper towel wrapped in 320 grit knocks down a dried drip without gouging.
Load the roller lighter than you did on the first coat and reload it more often. A second coat should be a thin leveling film, not a second coat of paint. Pull tape while the paint is still slightly damp, at a 45-degree angle, and burnish the edge with your fingertip so you do not peel a lip.
Two light coats beat one heavy coat every time. If you are going dark to light, plan for three and do not be discouraged by how patchy the first coat looks.
Step 5: Let the Paint Dry and Reinstall the Door
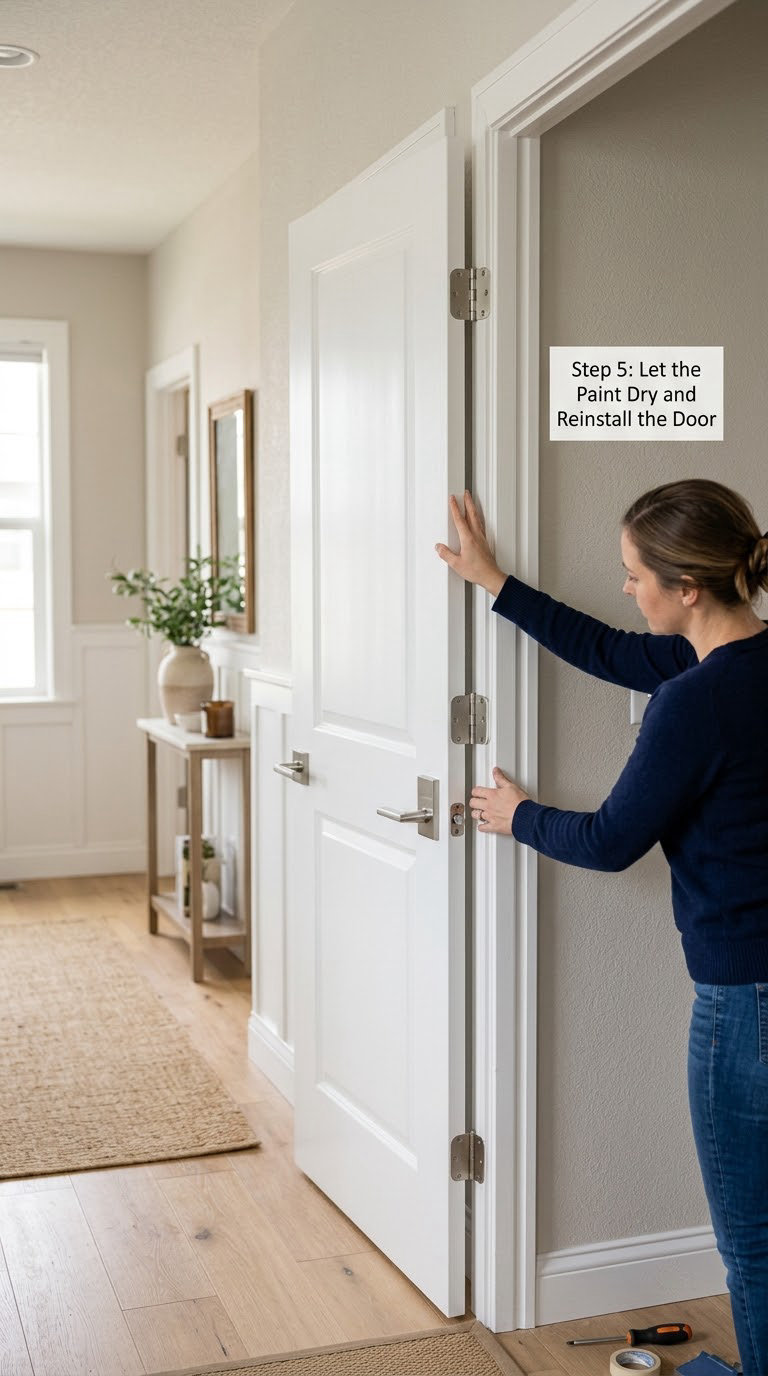
Give the door the label’s full cure time before the weatherstripping presses against it, typically 24 to 48 hours before hanging. Curing is slower than drying and takes a few weeks to finish fully, so avoid leaning the door hard against its stops during the first month.
Rehang the slab on the same hinge leaves and check that it swings and latches without touching the frame. If it binds, sand the hinge edge or the strike side lightly rather than forcing the hinges in a different position.
Refit the handle set and do one last wipe-down with a clean cloth. If a fingerprint or nick appears in the first few days, touch it up with the same paint and a fine brush rather than starting over.
A related job is often worth doing in the same weekend, since the paint is already out: mixing and matching bedroom furniture to go with the finished room.
Common Mistakes to Avoid
- Skipping the scuff sand. The new finish peels off in sheets later. Correct: 150 grit over the old finish, 320 grit between coats.
- Painting over a greasy film. Kitchen and bathroom doors need a degreaser before sanding, or nothing will stick. Correct: degrease first, rinse with a damp rag, dry fully.
- Overloading the brush or roller. A heavy coat sags, dries with drips and shows brush marks. Correct: thin films, more passes, lighter loads.
- Going back over paint that has started to set. This is where lap marks and that sponge texture come from. Correct: keep a wet edge and walk away once a section is laid off.
- Painting a damp door. Damp wood and humid air trap moisture and the paint blisters. Correct: full dry-to-the-touch before recoating, dry room, open windows.
- Ignoring the edges. The latch edge is the most visible surface in the room and the one that shows brush marks. Correct: cut in all four edges last, feather to a clean line, paint them while the door is off the hinges if you can.
- Forgetting a primer on bare wood or going dark to light. The first coat streaks and the old color bleeds through. Correct: stain-blocking or bonding primer first, two finish coats over it.
When to Call a Pro
Some doors are not a weekend project, and calling out is cheaper than a failed job.
- Positive lead paint test in a pre-1978 home. Sanding and scraping lead paint creates dust that stays in the house for months. A certified renovation firm has the containment and disposal setup.
- Fire-rated doors. They carry a label and a specific thickness of fire-stopping core. Repainting usually means keeping that label legible and the core intact, and some jurisdictions restrict even this work.
- Severe water damage, rot or a warped slab. A door that is no longer flat will never dry to a uniform sheen. The door needs repair or replacement first.
- Doors with wired glass, mirrors, or unusual finishes. Beveled or wired glass and faux-woodgrain laminate need masking techniques and products that will not cloud or melt the surface.
- Exposed or unfamiliar wiring on a smart lock or keypad. Turn the breaker off first, and if you are not certain which circuit it is on, have it identified before you touch the wiring.
- Whole-house jobs in a rental or a home you plan to sell. Dry-to-the-touch is not cured, and a landlord or a buyer will test the finish with a key ring. Budget for enough dry days between coats to protect the work.
Permits are not usually required to paint a door, but lead-safe renovation practices and fire-rated assemblies are regulated in many places. When in doubt, ask your local building department before disturbing a labeled door.
Maintenance
Wipe painted doors with a soft damp cloth and a little mild dish soap, and dry them right away. Skip ammonia-based cleaners, abrasive pads and anything with a solvent in it; those are what take the sheen off a satin door and leave it looking chalky.
Touch up chips and scuffs as soon as you notice them, using the same paint and a fine angled brush. Keep the rest of the paint in a sealed can with a lid pressed down tight, and write the date on the side.
Let the finish cure fully before leaning carts, moving furniture against the door or letting kids slam it. Most latex enamels take about 30 days to reach a full cure, which is when the surface stops showing fingerprints.
Frequently Asked Questions
What type of paint is best for interior doors?
A self-leveling interior enamel trim paint in satin or semi-gloss is the standard choice for interior doors. Satin hides brush marks and still wipes clean, while semi-gloss resists scuffs and fingerprints slightly better. Avoid flat and eggshell, which show every mark a door picks up. Buy trim enamel rather than wall paint, since wall paint lacks the flow and leveling that hides brush marks.
Should I sand an interior door before painting it?
Always scuff-sand before painting, even if the door looks fine. Old paint loses its tooth over years, and fresh paint will peel off that slick surface in sheets. Use 150 grit to scuff the existing finish, then 220 or 320 grit lightly between coats. If you are painting bare wood, sand more thoroughly to smooth it and to knock down raised grain, then fill nail holes before priming.
How long should an interior door dry before I use it?
Water-based latex enamel is dry to the touch in 2 to 4 hours and can be rehung after 24 to 48 hours. Full cure takes about 30 days, and until then avoid leaning anything against the door or letting weatherstripping press hard against the finish. A door that is handled too early often sticks to its frame. Oil-based paint needs longer, typically 24 hours before you can even close it.
Can I paint an interior door without removing it from the hinges?
Yes, wedge wood shims under the bottom of the door so it cannot swing, mask the casing and hardware carefully, and paint the top edge last. Painting a door in place saves about 20 minutes per door but makes the hinge edge awkward and risks drips on the casing. Removing the slab gives you a flat surface and lets you paint all four edges, which is why many DIYers take it off anyway.
How many coats of paint do interior doors need?
Two coats of a self-leveling enamel over a primed surface is the standard. Three coats are needed when you are going from a dark color to light, since the old color bleeds through thin paint for the first two passes. Two coats over bare wood or over bare filler is usually too few; add a primer and one more coat, because filler soaks up the first coat and leaves a flat spot.
Do I need to prime an interior door before painting?
Prime bare wood, MDF, patched areas, or any door where an alcohol test shows the existing paint is oil-based. For oil-based paint use a bonding primer or deglosser so the new latex finish has something to grip. Skip primer on a clean latex door that you have scuff-sanded and cleaned well, since a good self-leveling enamel will cover it in two coats. Going dark to light also calls for a stain-blocking primer.
Start With the Prep
If you do one thing differently from most people, scuff-sand and degrease properly before the first coat. Everything after that is habit: panels first, flats rolled thin, edges cut in last, and no second pass over paint that has started to set.
That is how to paint interior doors like a pro in an afternoon, and the finish stays smooth through years of hands on the handle.