How to Paint a Garage Floor With Epoxy: Easy DIY Guide (2026)
Learning how to paint a garage floor with epoxy comes down to one unglamorous truth: preparation is 70-80% of the job. Epoxy is a two-part resin that bonds chemically to bare concrete, so it will not rescue a slab that is damp, oily, sealed, or powdery. Get the prep right and the coating lays down like paint. Skip it and you will be scraping flakes off with a putty knife next spring.
A finished floor takes a full weekend and about three dry days after that before a car goes back on it. The work itself is not hard. The waiting, the measuring, and the prep discipline are what trip people up.
Contents
Time: 2-3 days plus 3-7 days of curing · Cost: Materials land in the low hundreds for a two-car garage; professional installs are quoted in the thousands · Difficulty: Moderate DIY · Skill level: Comfortable with a shop vac, a drill, and patience.
If you are still shopping, our 8 best garage floor epoxy kits tested and reviewed walks through the one-part and two-part systems before you commit to a bucket.
Tools and Materials
For a typical two-car garage of roughly 440-550 square feet, this is the working list. Buy for the floor you have, not the floor you wish you had, and add 10% to any coverage estimate.
Tools
- Pressure washer or garden hose with a stiff-bristle brush, plus a stiff nylon scrub brush for corners
- Wet/dry vacuum with a HEPA-style filter (dust is a coating killer)
- Diamond floor grinder or angle grinder with a 60-80 grit metal cup, or a shot blaster if you rent one
- Drill with a paddle mixer rated for the pot size you are mixing
- Notched floor squeegee, 24-36 inch wide
- 3/8-inch nap roller, extension pole, and a 9-inch roller for edges
- Paint trays or mixing buckets, measuring containers, and a timer
- Floor scraper, putty knives, and a chip brush
- Tape measure, chalk line, straightedge, and a scraper blade for the curl test
- Safety gear: chemical-resistant gloves, splash goggles, a N95 or P100 respirator for grinding and etching, knee pads
Materials
- Concrete degreaser or oil-and-grease emulsifier
- Concrete patch compound, plus epoxy crack filler for joints and hairline cracks
- Epoxy kit: a base coat with a matching topcoat, or a one-part epoxy floor paint if you want the simpler route
- Concrete etch or preparation solution, roughly 12 oz per gallon of water
- Primer or moisture-tolerant sealer, only if your system requires one
- Decorative vinyl flakes and/or anti-slip aggregate, optional
- Plastic sheeting and duct tape for the moisture test
- Drop cloth, cardboard to protect the door tracks, and a box fan with a box door for airflow
Coverage maths: divide square footage by the coverage rate printed on the can, which for most epoxy base coats sits between 250 and 400 square feet per gallon. At 500 square feet you are looking at roughly two gallons of base coat and one to two of topcoat, so buy kits that total three to four gallons.
Before You Start: Prepare the Garage Safely
Empty the garage completely. Shelving, bicycles, and the trash bin all have to go, because you cannot reach the slab behind them and you do not want to drag anything across a wet floor.
Plug or cover the floor drain, tape the door tracks and any baseboard, and open the garage door about 18 inches. Epoxy fumes and grinding dust both need somewhere to go.
Check the concrete’s age. New slabs want 30 days minimum before coating, and fresh-poured slabs often need 60. Tap the surface with a knuckle: a solid ring means dense concrete, a dull thud means it is still soft underneath and will outgas later.
Run a moisture test before you buy anything. Tape a square of plastic sheeting to the floor with duct tape, leave it 24 hours, then peel it up. Condensation underneath means water is moving through the slab and no coating will stick. Dry means you can proceed.
Wear gloves and goggles for every chemical step, a respirator for grinding and acid etching, and switch off and clear the area before any wet work near a receptacle. Read the label on your kit before mixing; pot life and ventilation requirements differ between products.
Step 1: Inspect and Repair the Concrete Floor
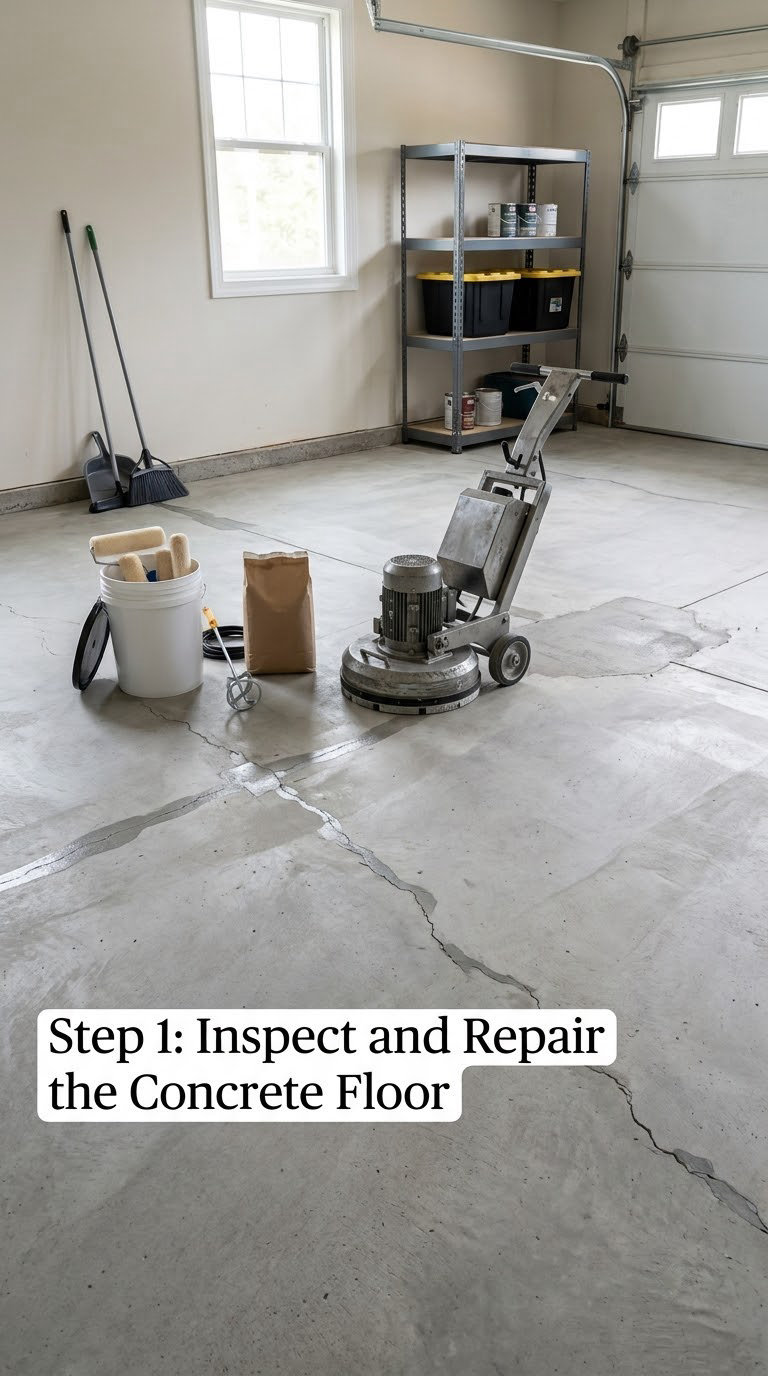
Start by figuring out what is actually on the slab. Sound bare concrete is grey, porous, and scuffs to dust. If you see a glossy sealer, leftover paint, or a previous epoxy coating, that has to come off before anything else happens.
Grind or shot-blast the surface. Diamond grinding is the standard a professional holds, and it removes contamination while opening the pores at the same time. Etching with acid is the workable DIY compromise, faster and cheaper but less thorough. You are aiming for an 80-100 grit surface profile, which you can check by dragging a gloved thumb across it: it should feel like fine sandpaper, not glass.
Fill cracks, spalls, and popouts. Chisel out loose material first, then work epoxy crack filler into joints and hairline cracks with a putty knife, and use a rigid cementitious patch for holes. Feather the edges so you are not rolling over a step. Let repairs cure fully, typically 24-72 hours depending on depth, and grind any proud spots back down.
Step 2: Clean and Etch the Concrete
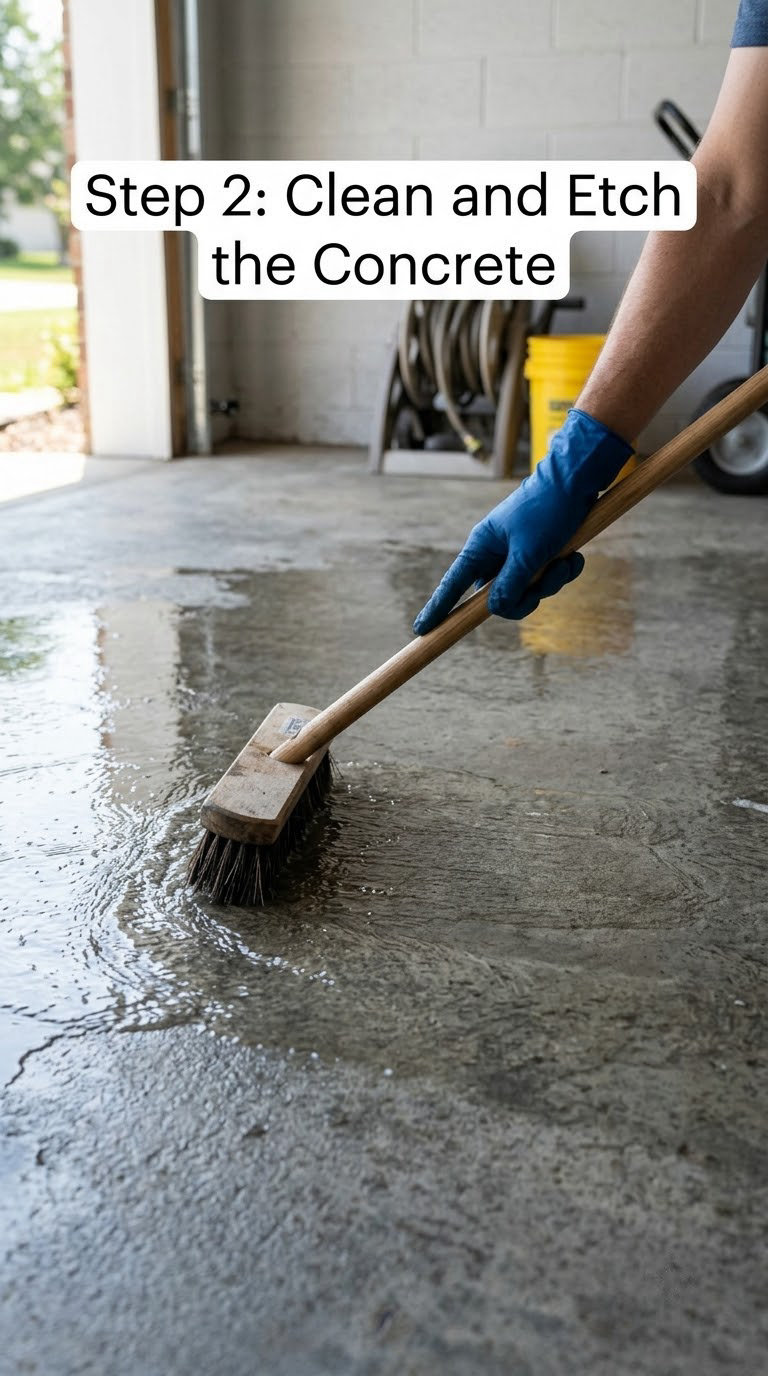
Clean and etch the concrete in that order. Degrease first, because etching a greasy slab just drives the oil deeper into the open pores.
Spread the degreaser over the floor, let it sit for the time on its label, and scrub the edges and corners with a stiff brush. Rinse or pressure wash. Keep pressure at or below 1750 psi with a 40-degree tip; anything more will etch the surface itself and leave a soft, dusty slab that will not hold epoxy.
Now etch. Mix roughly 12 oz of concrete etch per gallon of warm water, spread it, scrub with a stiff brush, and let it sit for the dwell time on the label, usually 5-10 minutes. It should turn the surface a uniform light grey and give off a mild fizz in spots. Rinse thoroughly and vacuum the floor wet.
Let the slab dry until no water or damp patches remain, then vacuum it one more time. Run your hand across the surface: if it feels slick or leaves dampness on your palm, it is not ready. Blowing dust off with a fan speeds this along.
Step 3: Mix the Epoxy Primer or Base Coat
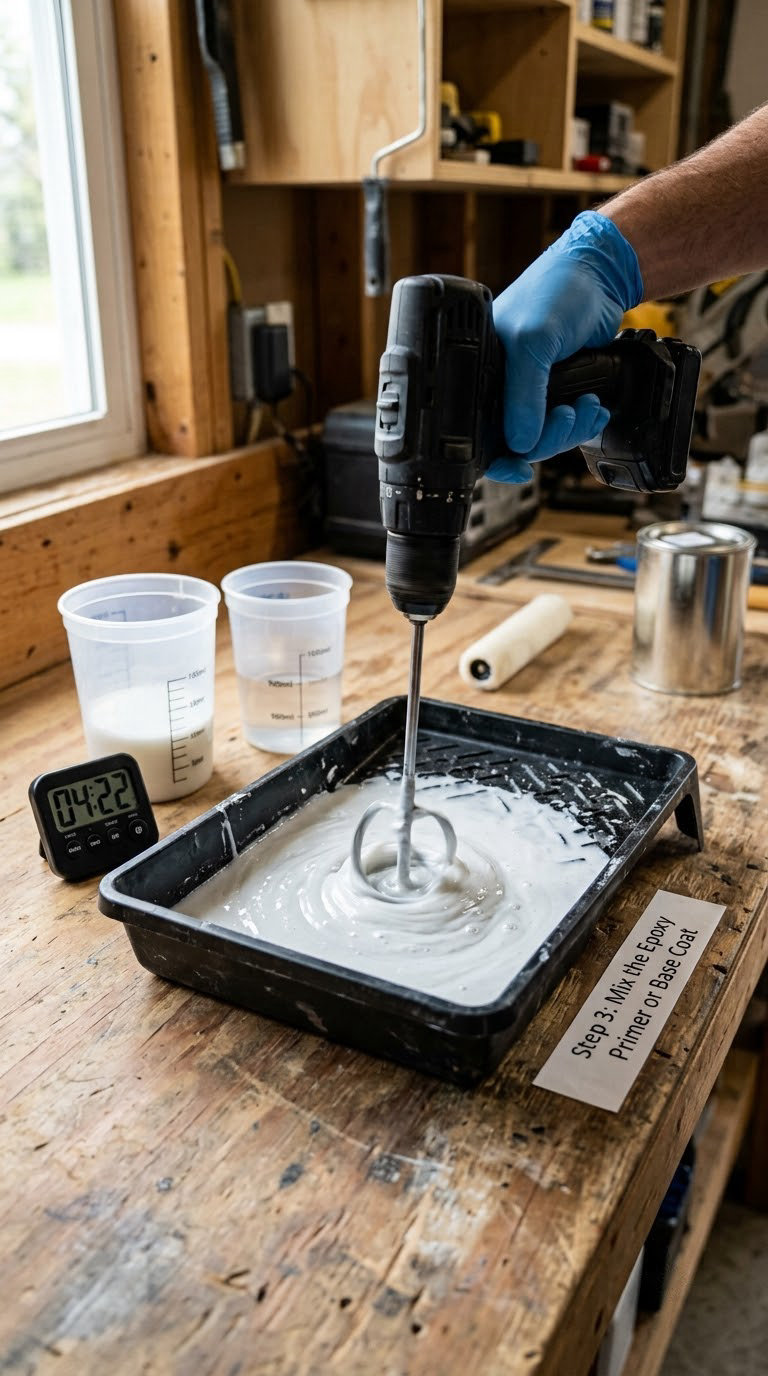
Stir each component separately, then combine them at the ratio on the kit, usually two parts resin to one part hardener by volume. Pouring component B into component A and stirring slowly from the bottom avoids introducing the foam that causes bubbles later.
Double-pot it if you can: mix in the original bucket, then pour into a second clean bucket and stir again. It costs you two minutes and evens out the mix.
Two-part epoxy starts a clock the moment you mix. Pot life runs from about 30 to 90 minutes depending on temperature and the hardener, and once the batch starts to gel you cannot thin it back. On a 500 square foot floor you will likely want two kits open at once rather than one kit and a race.
Work inside the product’s window. The floor and the air both need to be at or above 50F, and relative humidity under 70%. Cold nights and damp days slow the reaction and leave you with a tacky floor that never hardens.
Step 4: Apply the First Epoxy Coat
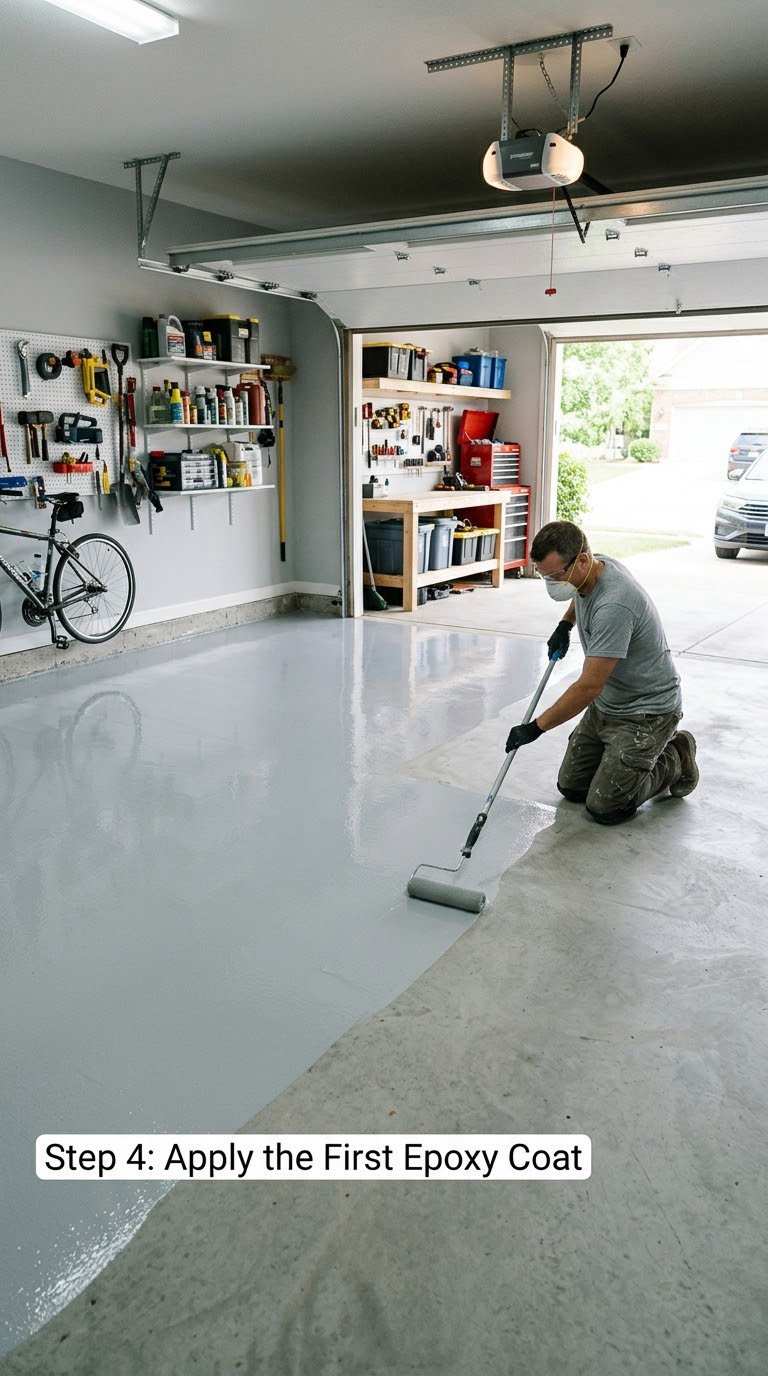
Cut in the edges first with the 9-inch roller, then pull a ribbon of material with the notched squeegee and back-roll it with the 3/8-inch nap roller. Work in ribbons about 4 feet wide and always roll from the back corner toward the door, so you are never trapped in a wet corner with your exit behind you.
Keep a wet edge and close off each section before the previous one skins over. The tell for even distribution is a uniform wet sheen with no dull patches; the notches in the roller should leave consistent ridges that close as they level out.
Roll in two directions on the final pass to knock down lap marks, and do not go back over a section once it has started to set. Respect the recoat window on the label, which for most base coats runs from 4 to 24 hours. Going too early mixes two coats into one thick, poorly cured film.
Step 5: Add Decorative Flakes or a Topcoat
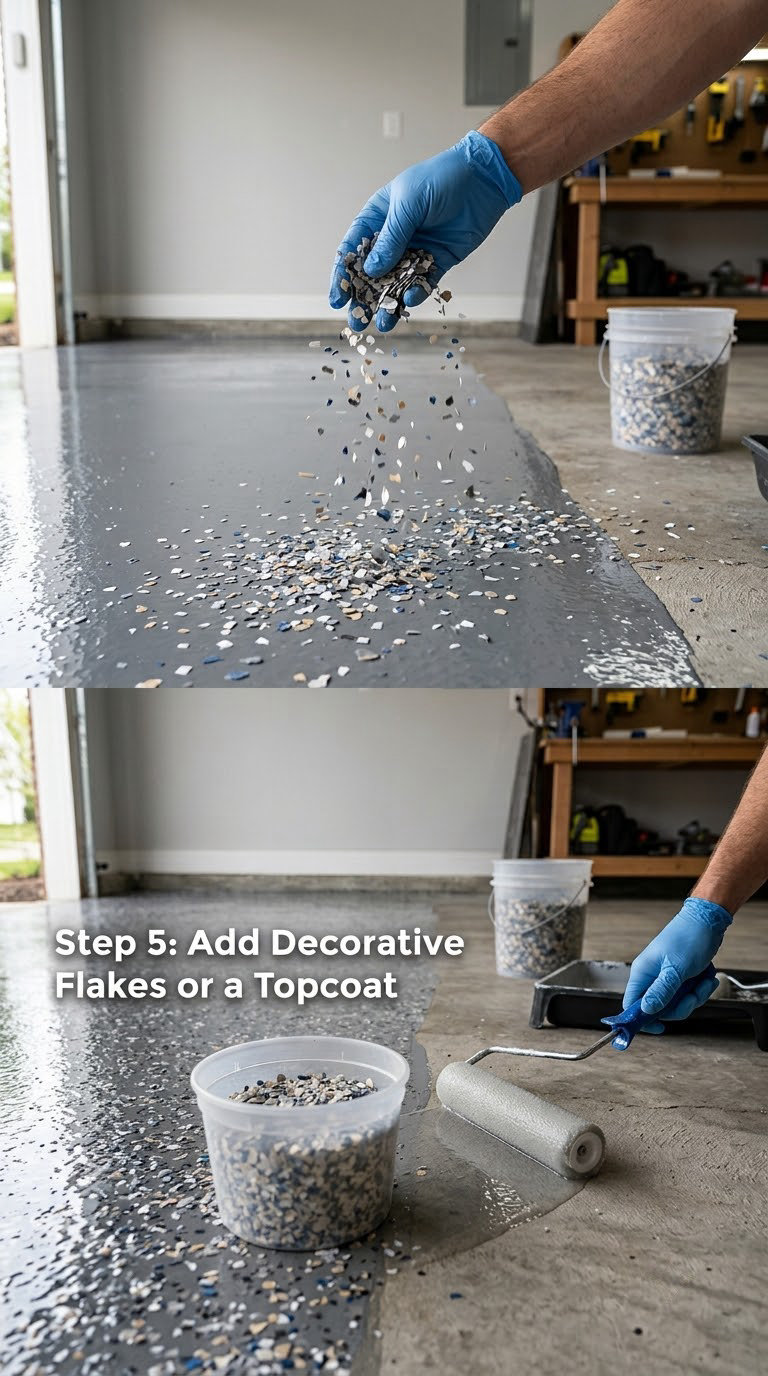
Optional, but this is where the floor gets its character. Broadcast the flakes while the base coat is still wet enough to grab them, usually within a couple of hours of rolling.
Scatter by hand or with a plastic broadcaster, thin enough to let the base coat colour read through. Overloading causes a surface that stays soft and peels in sheets. Work in 10-foot sections so you are ahead of the set edge.
Let the flakes cure with the base coat, typically 24 hours. Scrape them level with a wide plastic or metal scraper, then vacuum thoroughly. Not every flake bonds, so expect loose excess to come up and sweep away.
Then roll the clear topcoat, which takes the tire scuffs and UV yellowing that attack a bare base coat. Work toward the exit again, and give it a semi-gloss sheen rather than full gloss if grip matters to you. For a faster cure, a polyaspartic topcoat handles foot traffic in hours instead of a day; our 10 best polyaspartic garage floor coating kits covers that option.
Step 6: Let the Epoxy Cure Before Parking the Car
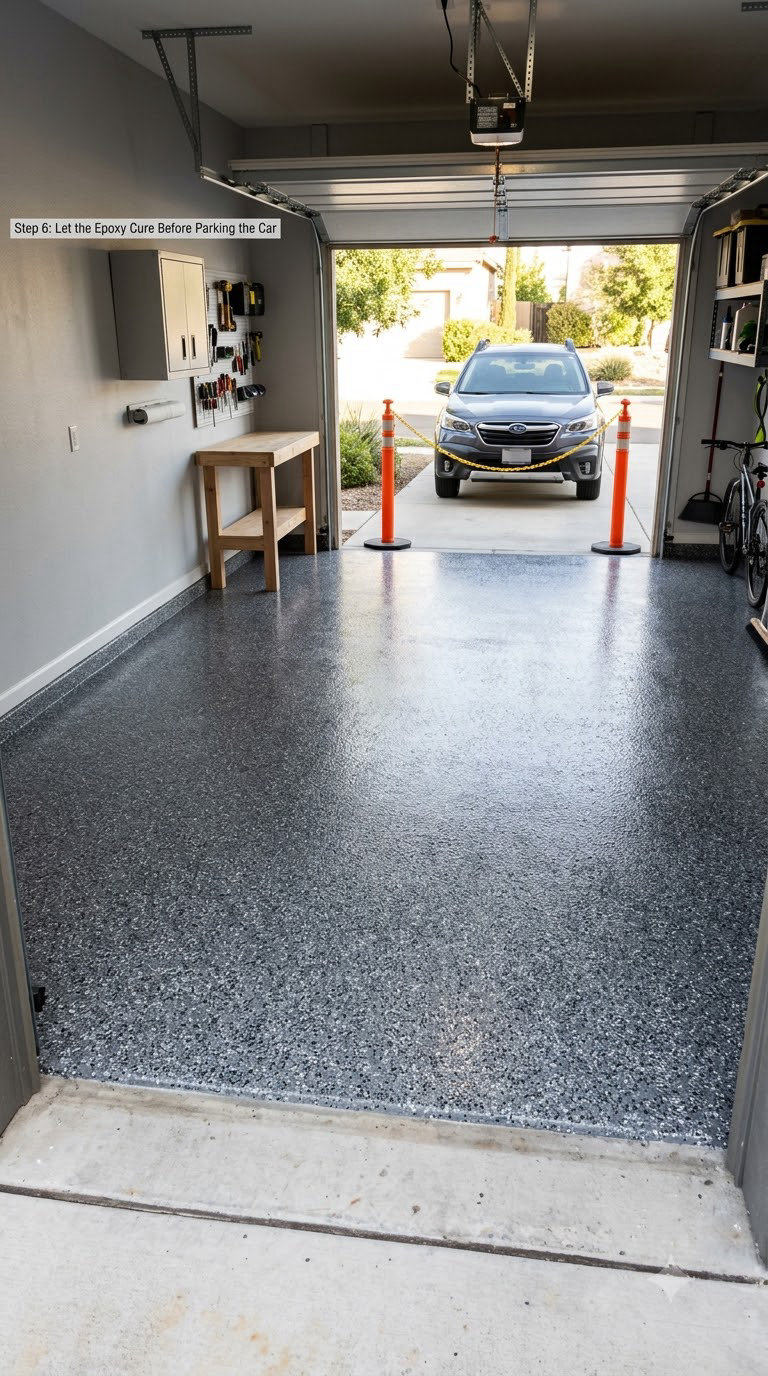
Treating epoxy like paint that dries is how people ruin a good weekend. It chemically cures, and the schedule runs longer than you expect.
Walking is fine after 24 to 48 hours. Hand trucks and dollies wait 3 days. Vehicles wait 3 to 7 days, and longer in cool or humid conditions. Park outside the garage door until the floor passes a fingernail test: press a coin hard into an inconspicuous spot. Any indentation means it is not cured.
Keep the bay ventilated and drop cloths on the floor while you move shelving back, or you will drag scratches across a cured surface. A floor finished this way typically looks good for five years of normal use before it needs attention at the tire positions.
Common Mistakes to Avoid
- Coating over oil or a sealer. Epoxy cannot bond to either. Degrease with emulsifier and, if the slab is glossy, grind it back to 80-100 grit.
- Painting a damp slab. Trapped moisture off-gasses into the coating and leaves hot spots and bubbles. Use the plastic-sheen test and wait for it to read dry.
- Wrong mix ratio. Measuring by eye is how you get a floor that stays tacky. Use separate measuring containers and follow the kit exactly.
- Exceeding pot life. A batch that starts to gel cannot be saved. Mix smaller amounts and do two passes instead of one heroic one.
- Working in cold or humid air. Below 50F or above 70% humidity, cure stalls. Reschedule rather than gamble.
- Mixing incompatible products. A primer or patch from a different chemistry can stop the epoxy from hardening. Use the kit’s own system end to end.
- Lap marks and over-rolling. Going back over a setting section leaves texture you cannot sand out. Keep a wet edge and move on.
- Parking on it too soon. Tires hold heat and carry rubber plasticizers that soak into a cured topcoat and soften it. This is the single most common cause of peeling exactly in the tire positions. Wait the full cure window, and consider driveway mats under the wheels once the car is back inside.
- Skipping the topcoat. The base coat takes UV and turns amber. A clear topcoat is what keeps a light floor light.
When to Call a Pro
Some floors are not a weekend project. Bring in a contractor if the slab has structural cracks wider than about an eighth of an inch, or if it is heaving, sinking, or spalling over a large area; that is a slab problem, and coating it hides the symptom rather than fixing it.
Walk away from the job if a moisture meter reads high or the plastic test shows condensation, if the concrete is soaked with oil or hydraulic fluid, or if you are dealing with a bare slab in a commercial building where a slip rating has to be certified.
Anything touching electrical, gas, drainage, or structural load is licensed-trade work and may need a permit where you live. If the previous coating is already peeling badly, grinding it back to sound concrete is a bigger job than most people expect.
If you want a tiled alternative that does not need curing time at all, our 12 best garage floor tiles for garages compares the interlocking and snap-together systems.
Maintenance
Sweep grit weekly. Sand and road salt grind the finish down under a car, and it takes weeks to do damage.
Clean with warm water, a plain neutral pH cleaner, and a soft mop or nylon scrub pad. Skip steel wool, abrasive pads, and strong acids, which dull the sheen and let dirt in.
Watch for chips and bubbles as early warning signs. Small damaged spots get abraded back to sound coating, cleaned, and recoated with the same system rather than painted over with a different product, which is what causes a patch that never quite matches.
Frequently Asked Questions
Do I need to prime a garage floor before applying epoxy?
Only if your system says so. Many two-part epoxy kits are designed to be applied directly onto a properly prepared and etched slab, and the manufacturer will state that on the label. Other kits, and any floor that is porous enough to soak up the first coat, do better with an epoxy primer or moisture-tolerant sealer. Never substitute a household primer or a sealer from another product line; a mismatched chemistry can stop the epoxy curing.
How long does an epoxy garage floor take to dry and cure?
Touch dry in 6 to 12 hours, walkable after 24 to 48 hours, safe for hand trucks around day three, and ready for a vehicle in 3 to 7 days. Full chemical cure takes longer still. Cool temperatures and humidity above 70% stretch every one of those numbers. Press a coin into a hidden corner as your test; any dent means keep the car outside.
Can I paint an epoxy garage floor over old paint or sealer?
No. Epoxy will not bond to an existing coating, and it will lift off in sheets when you park on it. Grind or shot-blast the old paint and sealer off until you reach bare, sound concrete with an 80-100 grit feel, then clean, etch, and start fresh. Painting a floor that is already peeling is the same mistake twice.
What is the best type of epoxy coating for a residential garage?
A two-part epoxy base coat with a clear topcoat gives the most chemical resistance and the best wear, and it bonds harder than paint. One-part epoxy floor paint is easier because there is no mixing ratio to get wrong, but it scuffs sooner and peels faster under tires. A polyaspartic topcoat on top of epoxy cures faster and holds up better to UV than epoxy alone.
Why is my epoxy garage floor peeling or bubbling?
Peeling in the tire positions means hot rubber and its plasticizers softened the topcoat, usually because the car came back too early or the floor was never topcoated. Bubbles and craters mean moisture or oil off-gassing from the slab. Flaking over large areas usually points back to prep: sealer, dust, gloss, or a cold slab. A tacky floor that never hardens means it was mixed, applied, or cured below the temperature and humidity limits.
Can I park my car on a freshly painted epoxy garage floor?
Not for at least 3 to 7 days, and longer in cool or humid weather. Tires carry heat and rubber that both mark and chemically soften a cured topcoat. Once the car is back, driveway mats under the two front wheels cut most of the long-term damage in the spots where failures almost always start.
Start with the plastic-sheen test and a knuckle tap on the concrete. Those two checks cost nothing and they tell you whether this floor is worth your weekend. If it is, empty the garage, run the degreaser, and do not rush the grinding step.