How to Install a Shower Curtain Rod Without Drilling 2026
A shower curtain rod is the cheapest bathroom upgrade there is, and the easiest one to take back down when you move out. Learning how to install a shower curtain rod without drilling comes down to three methods: a spring-loaded tension rod wedged between the walls, adhesive brackets stuck to the tile, or a no-drill rail that clips over the tub edge. For most renters, the tension rod wins on time and on how cleanly it reverses.
I have redone this job in three different bathrooms, and the version that survives a year of daily use is almost always the boring one. Measure twice, clean the wall with rubbing alcohol, and let the adhesive cure for the full time printed on the pack. Everything else is detail.
Contents
Time: 20 to 40 minutes of work, plus up to 24 to 72 hours of cure time if you use adhesive. · Cost: A handful of dollars for a rod or two brackets, versus a handyman visit. · Difficulty: Easy for a tension rod, moderate for adhesive mounts. · Skill level: Beginner, as long as you can read a tape measure.
Tools and Materials
Gather everything before you pull the old curtain down. Half of a botched install is a rod measured in the wrong place, and half of that is because the tape measure was in the other room.
For a Tension Rod Install
- Tape measure, ideally 25 feet (7.6 m) if the opening is far from the tub
- Spring-loaded or twist-locking tension rod, 1 to 2 inches longer than the opening at the top
- Notepad and pencil for the top and bottom measurements
- Step stool, so you are not working with one hand on a wobbly tub rim
- Rubber or silicone grip caps if your rod does not come with them
- Level, a small torpedo level is plenty
For Adhesive or No-Drill Mounted Installs
- Adhesive shower curtain rod brackets rated for bathroom use, sold as a pair
- Rubbing alcohol and clean paper towels for surface prep
- Painter’s tape to mark the mounting height on the tile
- Hair dryer on a cool setting, for warming a stubborn removal later
- Wall spacers, small rubber bumpers that stop rings slapping the tile
- Curtain rings or hooks plus a matching liner
Before you buy, it is worth reading how the 10 best shower curtain rods we picked over line up on shape and finish, because a white chrome-finish rod on warm white tile looks like a mistake.
Before You Start
Measure the opening twice, once near the top and once near the tub rim. Walls that are straight in the sketch are rarely straight in real life, especially on older tile work, and a rod that fits at the top but not at the bottom will walk down the wall the first time someone closes the curtain.
A standard rod sits 72 to 74 inches (183 to 188 cm) above the floor. If your curtain is one of the extra-long 84 or 96 inch styles, you are mounting higher, which is fine on a tall opening but means the walls need to be that much straighter. Buy a curtain a few inches wider than the opening so it hangs properly, not stretched flat.
Next, check what you are sticking to. Adhesive needs smooth, clean, non-porous tile. It will not grab grout, textured or matte tile, or a painted wall that is flaking. If your tile runs to the ceiling in small squares, a tension rod is your method.
Weigh the curtain too. A lightweight fabric curtain or a plastic liner works on almost anything. A heavy fabric curtain, a double layer, or a curtain with a weighted hem wants a heavy-duty spring rod with a wide grip plate rather than a short twist rod.
Put a towel down over the tub and drape a cloth over any hardware. Screws and a dropped bracket will scratch porcelain, and porcelain does not buff out. Wear eye protection when handling spring rods, because the caps can fly off under tension.
If you rent, check the lease before you start. Most rental agreements ban holes in tile but say nothing about removable hardware, and a no-drill install stays inside those rules. Photograph the wall before and after if you want the deposit back without an argument.
For a bigger look at damage-free hardware, our no-drill hanging hacks cover the renter cases.
Step-by-Step Instructions
Step 1: Measure the Shower Opening and Choose a No-Drill Method
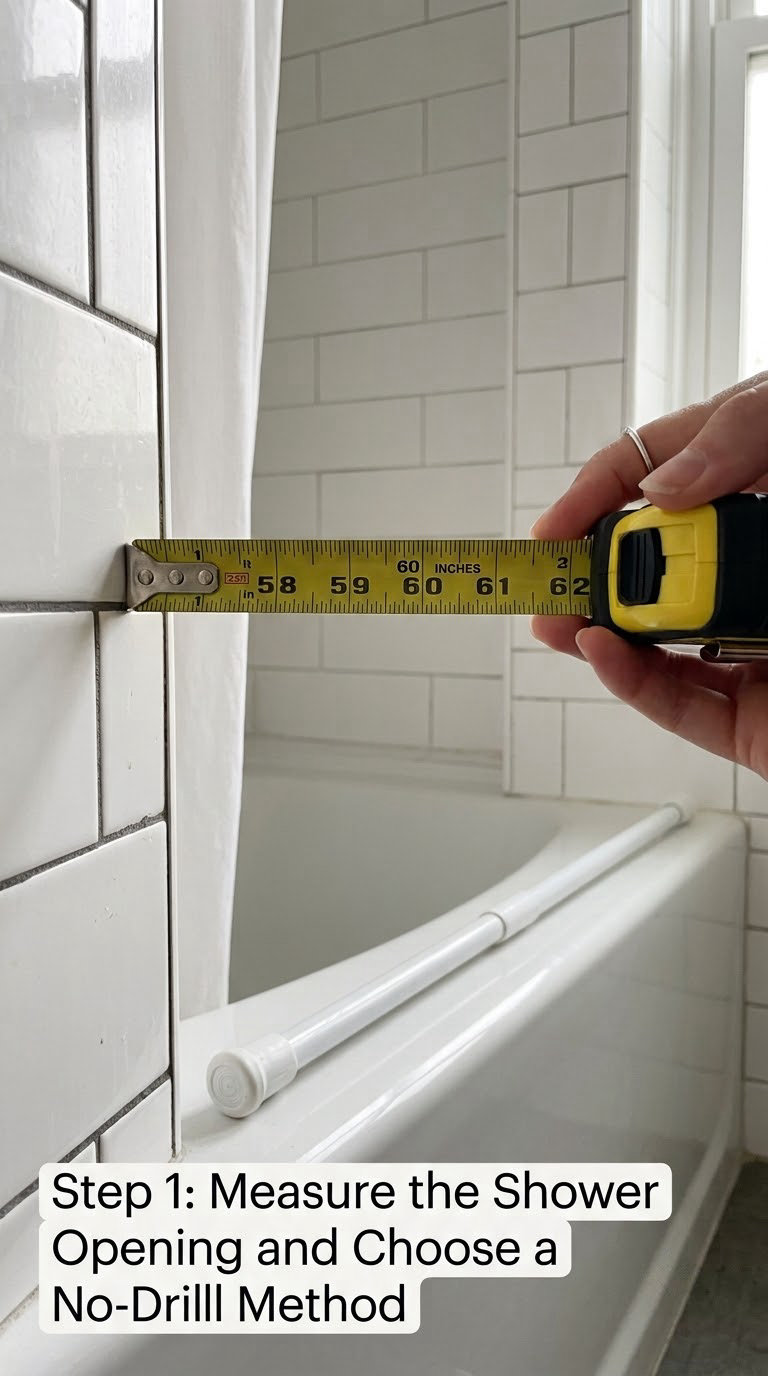
Run the tape from finished wall to finished wall at the height you intend to mount, about 74 inches (188 cm) up. Then drop the tape to 6 inches (15 cm) above the tub and measure again. Write both numbers down.
Compare the two. If the top measurement is larger, you can use a straight tension rod. If the bottom is larger, a fixed-length rod will not seat evenly, so switch to an extendable or telescopic model that has a little slack in the middle.
Now pick the method using the difference:
- Walls within a quarter inch top to bottom, tile or drywall: tension rod.
- Smooth glossy tile, opening within the adhesive bracket’s stated reach: adhesive brackets.
- Freestanding tub with no wall above it, or a wall you cannot reach inside: a clip-on no-drill rail that grips the tub rim.
Step 2: Install a Tension Rod Between the Shower Walls
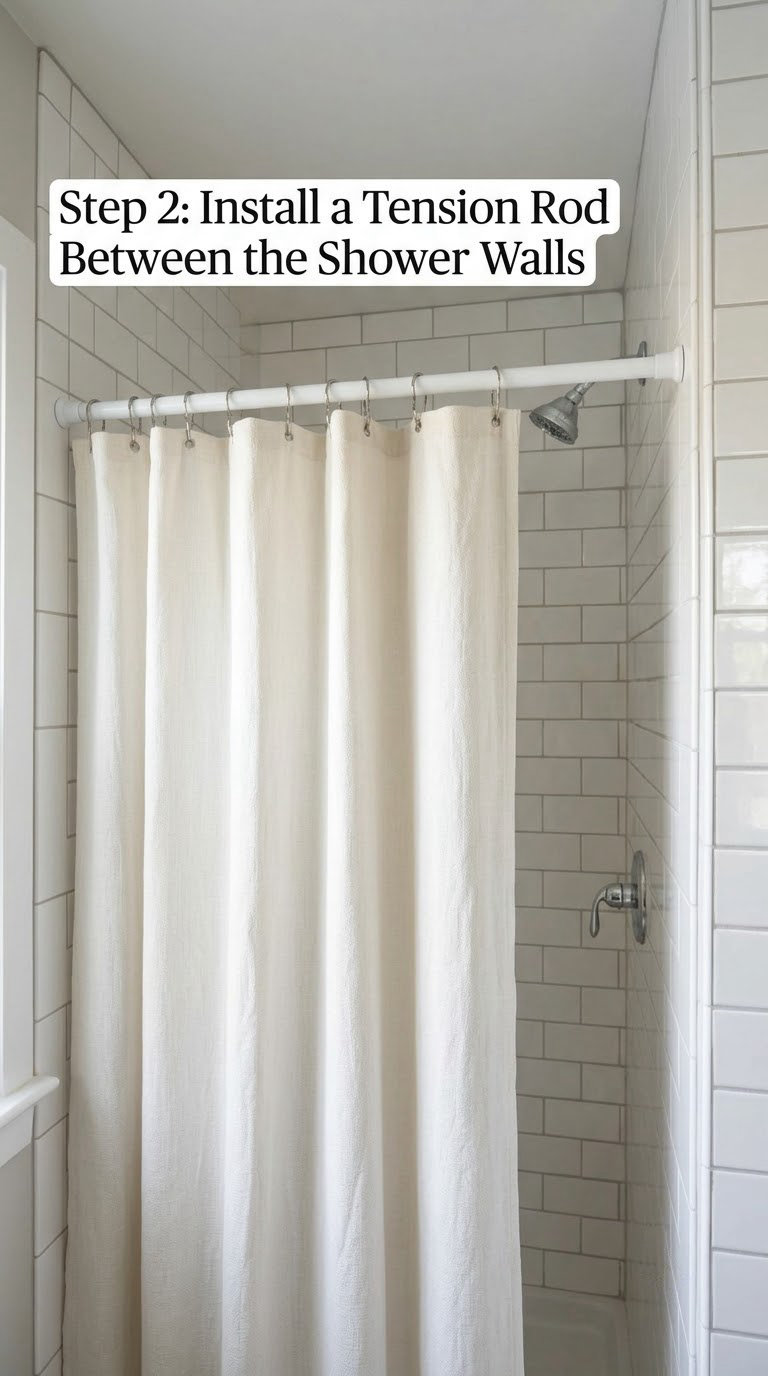
Wipe both contact points with rubbing alcohol and let them dry fully. Soap film and lotion are the two things that turn a snug rod into a sliding one.
Fit the rod. On a spring rod, compress the spring slightly and rotate the tube into position, then release and twist a quarter turn to increase pressure. On a twist-locking rod, turn clockwise until the overlapping section seats, then stop. You want firm resistance, not a struggle.
Push both ends toward the wall and hold the curtain weight by hand for fifteen seconds. Any end that creeps outward is against grout or a textured face. Move the contact point onto the flat of a tile and try again.
There is one fix DIYers use when a spring rod keeps rotating and creeping: a single small screw through both sections of the tube where they overlap. It holds for months and still leaves the rod removable.
Step 3: Mount Adhesive Hooks or Brackets Without Drilling
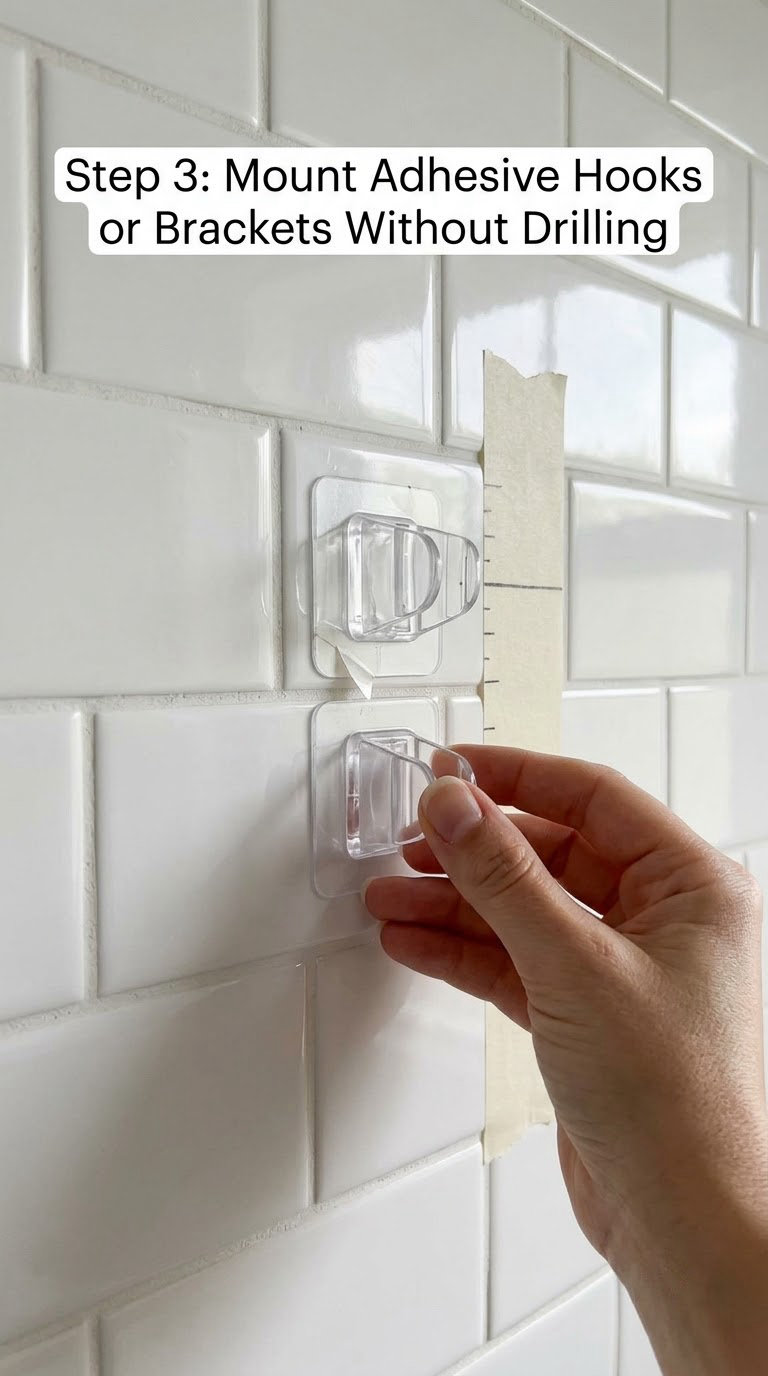
Mark your mounting height on the wall with painter’s tape and check it with a level across both brackets. Adhesive mounts are unforgiving about height because there is no shim to hide a mistake.
Clean each mounting patch with rubbing alcohol, wipe dry with a paper towel, then wait fifteen minutes for the surface to fully dry. Press each bracket into place and hold it down for the full thirty seconds the packaging asks for. Skipping the hold is the most common reason these let go later.
Follow the cure time on the pack, usually 24 hours, sometimes 48 or 72 in a cold or damp bathroom. Set the rod on the brackets lightly to check level, but hang nothing until the timer runs out.
Step 4: Fit a No-Drill Wall-Mounted Shower Curtain Rod
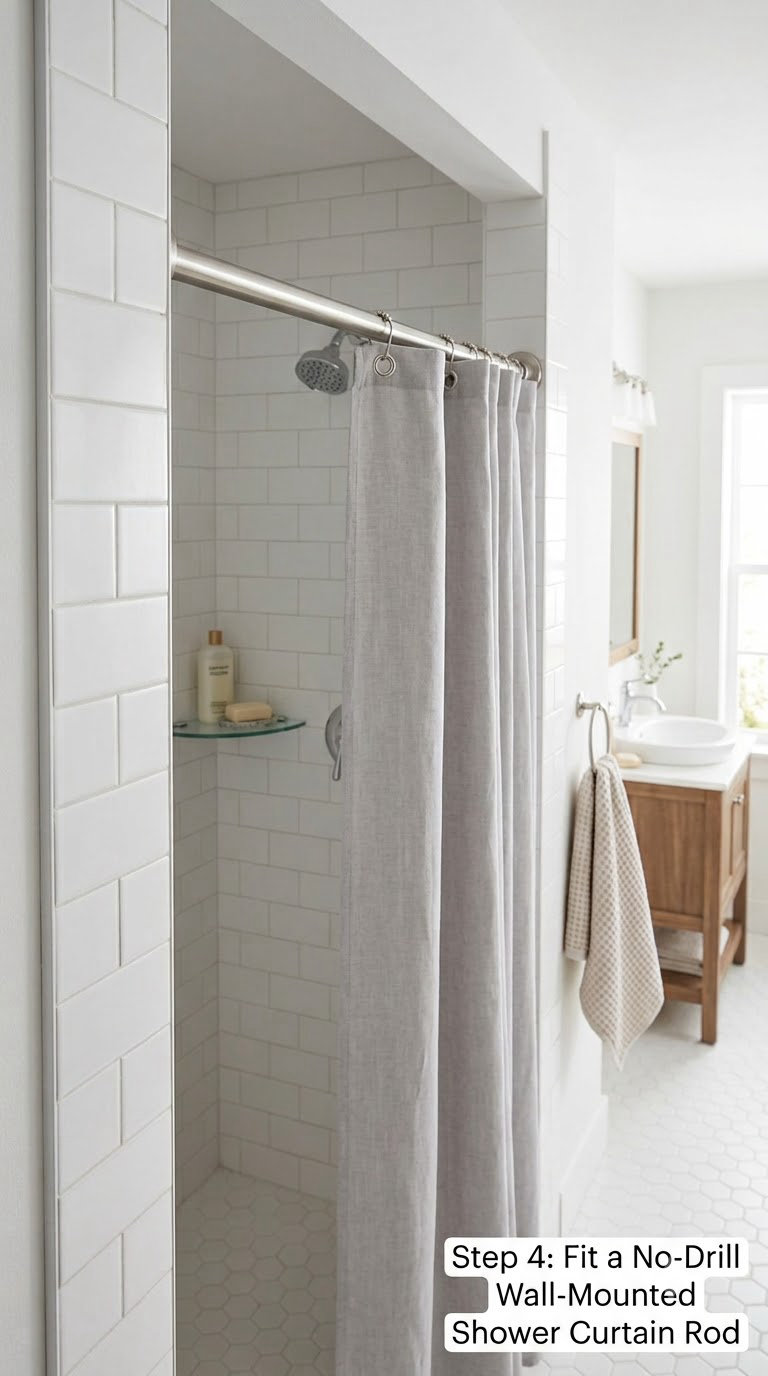
Some no-drill rods mount to a single bracket plate and rely on the rod’s own spring to push against the opposite wall. Others clip over the tub rim and stand on their own feet. Follow the instructions for the type you have; the order of operations is what matters.
For rim-clipped rails, set the base on a dry tub edge, seat the rubber pad flat, and lower the rail into the channel until it stops. Fill the tub with a few inches of water first if the tub is noticeably flexy, so the rim is carrying its normal load.
For single-bracket rods, mark the height with tape, mount the plate on the flat of a tile rather than a grout line, then push the rod home until the tension cap is seated. The rod should sit level without you forcing it.
Step 5: Hang the Curtain and Check the Installation
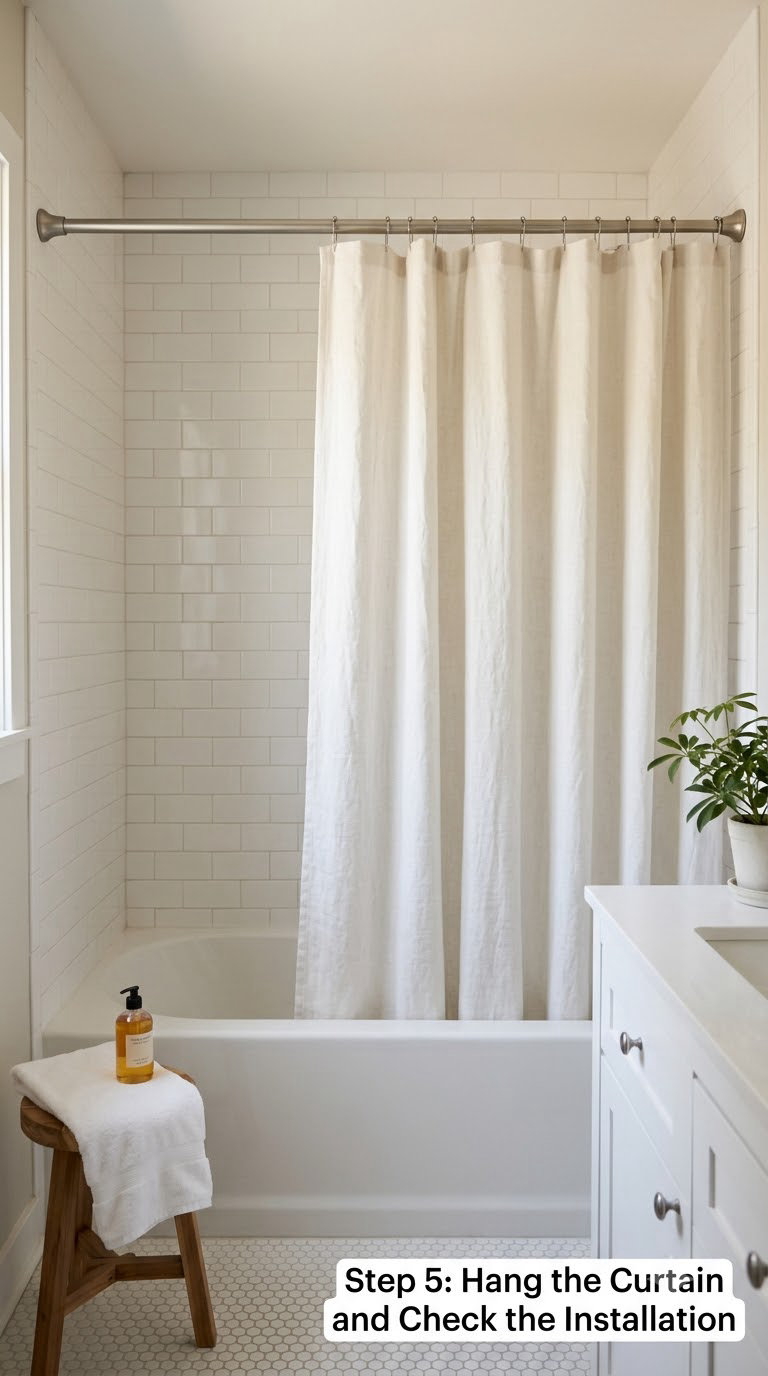
Thread every ring before the curtain goes on, then hang them from the same side and walk the fabric along so the pleats line up. Rings catching on the rod hardware snag and tear, so keep the hooks clear of any bracket that sticks proud of the tube.
Add the liner on rings half an inch inside the curtain, and leave the bottom hem a quarter inch above the tub lip so the fabric dries instead of sitting in water.
Give it a real test. Pull the curtain closed hard and push it open again, then lay your forearm on the rod and lean on it the way an impatient kid would. Nothing should shift, creep, or come loose. If anything moves, unload the rod and start again rather than tightening harder.
For keeping the fabric itself in good shape, plastic shower curtain cleaning is its own small routine.
Common Mistakes to Avoid
Measuring at one height only. The top and bottom of an opening can differ by an inch, which is exactly the amount a tension rod needs to stay seated. Measure twice.
Hanging a heavy curtain on a light rod. Weight is what walks tension rods down the wall. A weighted fabric curtain on a plastic twist rod will sag by lunchtime; a heavy-duty spring rod with wide grip plates will not.
Mounting on grout or textured tile. Adhesive needs a flat, glazed face the size of the pad. On a mosaic, the edges of every square act like a pry bar. A tension rod grips grout just fine, which is one more reason it is the default.
Skipping the cure time or the thirty-second press. This is where adhesive mounts fail, and they usually fail weeks later, in the middle of a shower, without warning. Give the bond the full time on the pack.
Turning a tension rod until it creaks. Excess pressure on glass tile, marble, or a hairline-cracked surface is how you turn a rental into a repair bill. Firm and hand-tight is enough.
Forgetting the liner. A fabric curtain next to bare tile wicks water into the wall behind it, and no-drill or not, that moisture shows up as a stain later.
When to Call a Pro
Call a handyman or a tile setter if the opening is so out of square that no adjustable hardware will sit level, or if the walls are already cracked, spalled, or hollow-sounding when you knock on them. Damaged substrate will not carry a fixed rod, no matter what you hang on it.
A pro is also the right call for a custom curved rod, glass block, a stone surround, or any tile you have been told is natural stone rather than ceramic. Natural stone cracks differently from ceramic and nobody wants to find out the difference with a drill in hand.
If the fix involves anything behind the wall, such as moving plumbing to reach an existing flange, or running power for a heated rail, that is licensed work with permits in most jurisdictions. Keep the no-drill project to what sits on the surface of the wall.
Fixed rods screwed into studs in drywall are well within DIY territory if you own the place. The moment you need a hole cut into tile, or a permit, you have crossed the line from renter project to contractor job.
Maintenance
Once a month, put a hand on the rod while the curtain is closed and check for movement. A tension rod that has crept a quarter inch needs a quarter turn back, and catching that early takes ten seconds instead of a fresh install.
Wipe the rod and the grip caps with a damp cloth monthly so soap residue does not harden into a slippery film. Check the rubber caps while you are there, because hardened or cracked caps are the real reason a good rod starts to slip.
For adhesive mounts, check them every couple of months by pressing gently along the edges. A pad that is lifting should come down now, on an easy afternoon, rather than halfway through a shower. Peel it slowly, and warm the tile with a hair dryer on cool if adhesive is left behind.
Do not reuse a used adhesive pad. Buy a fresh one and follow the prep again. And let the curtain dry fully between showers, spread out rather than bunched, so the fabric does not sit damp against a wet tile wall.
Frequently Asked Questions
What is the best way to install a shower curtain rod without drilling?
A spring-loaded tension rod is the best starting point for most people. It takes about five minutes, needs no adhesive and no holes, and comes off at moving day with a light twist. It works best when the opening measures the same at the top and the bottom, and it grips tile far better than any adhesive pad. Choose an adhesive bracket instead when the opening is wider than your rod or sits over a freestanding tub.
Can Command strips or adhesive hooks hold up a shower curtain rod?
They can, with conditions. Use bathroom-rated adhesive shower curtain rod brackets rather than general-purpose strips, and stay under the weight listed on the pack, which is usually well under what a fabric curtain weighs. Adhesive works on smooth glossy tile and fails on grout, textured tile, and flaking paint. Given the humidity, adhesive mounts are a temporary fix, and tension is more reliable.
Will a tension rod damage tile or grout?
Not if you install it correctly. Firm, hand-tight pressure across the face of a tile leaves no mark, because the load spreads across the glazed surface. The damage happens when you force the rod far past firm, when an end lands on a grout line and the rod is driven sideways, or when the tile is already cracked. Seal exposed grout with a penetrating sealer first if you are fussy about it.
How long should I wait after mounting adhesive brackets?
Follow the cure time printed on the package, which is usually at least 24 hours and sometimes 48 to 72 in a cool or damp bathroom. Hold each bracket against the wall for the full press time the instructions specify, then leave it alone. Hanging a curtain early is the number one reason adhesive mounts let go weeks later, and it always lets go mid-shower.
How do I keep a tension rod from sliding down?
Start with more pressure, not less, by turning a quarter rotation past snug. Confirm both ends land on the flat of a tile rather than on grout or a textured face, and replace worn rubber grip caps, which harden after a year or so. If a spring rod keeps rotating as it tightens, a single small screw through both sections of the tube where they overlap locks the length. A quarter turn of maintenance once a month stops most creep.
Will a no-drill rod work in a rental or a tiled apartment bathroom?
Usually yes, since nothing is drilled and nothing is glued permanently. A tension rod leaves no trace at all. Adhesive mounts can leave a faint patch or a sticky residue, so photograph the wall first and warm the tile with a hair dryer on cool when you peel them off. Check your lease, because many rental agreements ban holes in tile but say nothing about removable hardware.
Start Here
Measure your opening at the top and again near the tub before you buy anything. If the two numbers match and the rod lands on flat tile, pick up a spring-loaded tension rod with wide grip caps, clean both contact points with rubbing alcohol, and you are done in under ten minutes.
If they do not match, or you have a freestanding tub, the next step is a telescopic or rim-clipping no-drill rail rather than adhesive. Adhesive brackets are the last option, not the first, and only on smooth glossy tile with a full cure time before anything hangs on them.