
How to Build a Workbench for a Garage: Simple DIY Project 2026
Learning how to build a workbench for a garage is a two-day project with a circular saw and a drill. The classic version is a rectangular 2×4 frame on four legs, squared on the garage floor, topped with a 3/4-inch plywood surface and sealed with polyurethane.
That is honestly all it takes. Most of the work is measuring carefully and squaring the frame twice, and almost every beginner mistake happens before the first cut.
Contents
After years of watching people build these in garages just like this one, I will say the boring version is the right one. Skip the ornamental dog holes and the twin vises. Build one solid bench, get it level, and add storage once you know what you actually reach for.
Below is the build I would do again, with the cut list, the order of operations and the timing that trips people up.
Time: 8 to 12 hours over two days, plus 3 to 7 days of finish curing time · Cost: roughly $250 to $450 in lumber and hardware, more in high regions · Difficulty: Moderate DIY · Skill level: Comfortable with a circular saw and a drill driver
Material cost varies by region and lumber prices, so check your local home center before you buy. The cut list below tells you exactly how much lumber to price.
Tools and Materials
You do not need a table saw or a planer for this build. Everything here is a homeowner tool, and the list is short.
Tools
- Circular saw with a fine-finish blade, plus a straightedge and a scrap of plywood for cutting straight
- Drill driver with a 1/4-inch drill bit, a 3/8-inch drill bit and a #2 Phillips bit
- Tape measure, pencil, chalk line and a 4-foot level
- Speed square and a combination square for marking 90-degree cuts
- Clamps: at least four quick clamps, more if you like
- Random orbital sander, 120 to 180 grit, plus sanding blocks
- Safety glasses and ear protection, worn from the first cut to the last coat of finish
- Dust mask or respirator when sanding, and a shop vacuum or broom for cleanup
Materials
For the standard 60 by 24 inch bench, this is the shopping list. It is ten 2x4s, which is the number most people are surprised by, because they assume seven or eight.
- Ten 8-foot 2x4s for the legs, aprons and blocking
- One sheet of 3/4-inch plywood, ideally AC or BC grade, cut down for the top and the lower shelf
- One sheet of 1/2-inch plywood, or the offcuts from the 3/4-inch sheet, for the lower shelf and back panel
- About 40 structural self-tapping screws, 2-1/2 inch, for the frame
- About 30 self-tapping screws, 1-5/8 inch, for attaching the top and shelf
- Construction-grade wood glue
- Optional: 4 swivel casters with a total load rating of at least 300 pounds, if you want a mobile bench
- Optional: two 2x3s for a rear cross brace, a sheet of pegboard, or a small hardware rack
- Finish: sand, wood filler, stain if you want color, and two coats of water-based polyurethane
On lumber choice, buy the straightest 2x4s you can find and skip the species debate. Fir, pine and poplar are all fine for a frame. Spend the extra money on a good sheet of plywood instead, because that is the surface you will feel every day.
Before You Start
Put on your glasses before the saw is unpacked, not after the first cut. Keep hearing protection in your pocket during the assembly phase too, because the drill driver is louder than people expect.
Clear a bay of the garage roughly 8 by 8 feet and sweep it. A workbench takes up floor space permanently, and you want to build it flat and level rather than trying to assemble it in a corner.
If your garage is unheated, sweep and vacuum the slab and check it for damp patches. Bare concrete wicks moisture into unfinished leg ends, which is how a bench gets a swollen foot and a wobble two winters later. Painting the bottom of each leg or setting them on small plastic pads solves it.
Decide what the bench has to hold before you buy lumber. Household projects are fine on a standard frame. If you plan to clamp a door, work on an engine block or press a stack of sheet goods flat, you want 4×4 legs, a doubled apron and a rear cross brace rather than plain 2x4s.
Clear the overhead. If a garage door track, a ceiling joist or a wall outlet is in the way, deal with it before you start, not after the top is on.
Permits rarely apply to a free-standing workbench on a garage slab. They do come up when you are bolting into a load-bearing wall, adding a dedicated 120 or 240 volt circuit, or converting the space into an approved workshop. A framed bench that sits on its own feet and touches no wiring is a Saturday project.
Step-by-Step Instructions
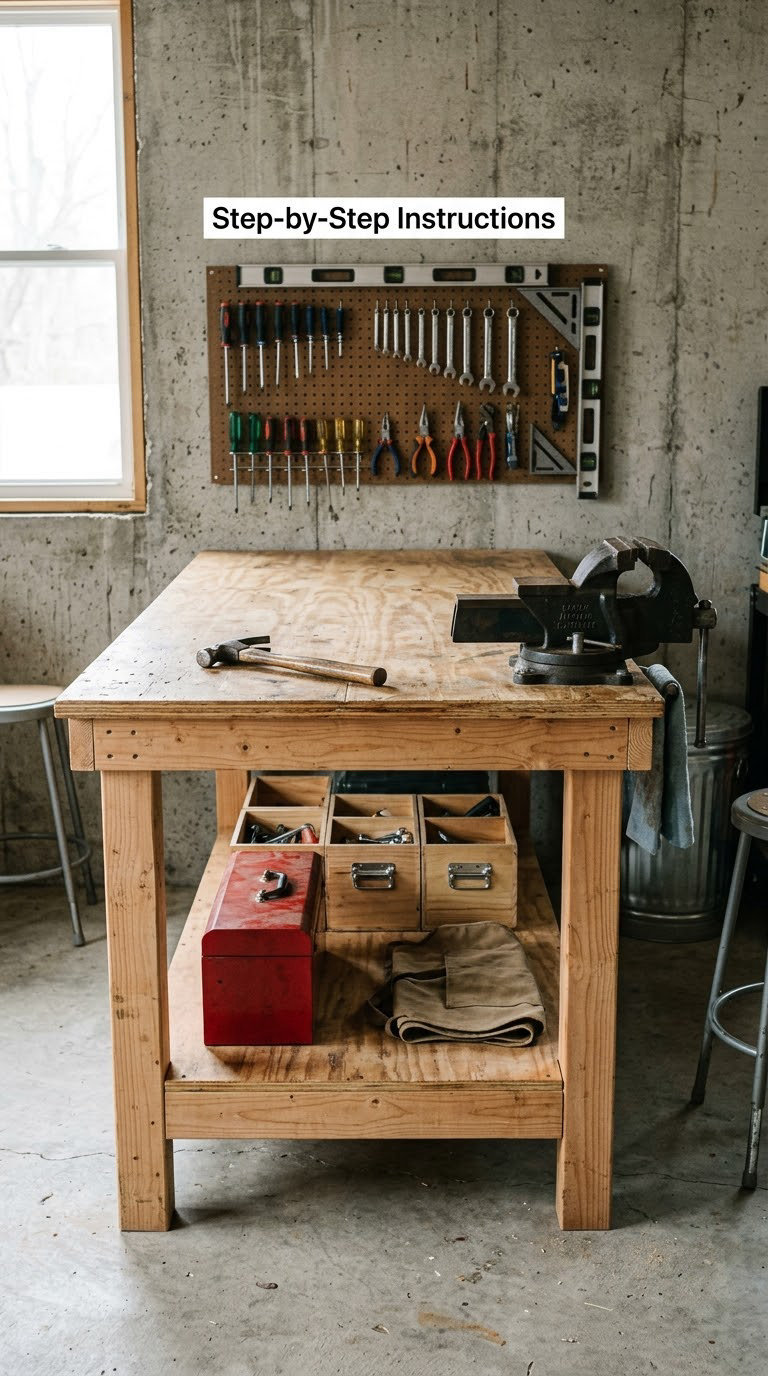
The sequence below assumes the standard 60 by 24 inch bench with a 34-1/2 inch finished height. The numbers are all in the cut list, so you are not measuring off the diagram as you go.
Step 1: Measure the Garage and Plan the Workbench
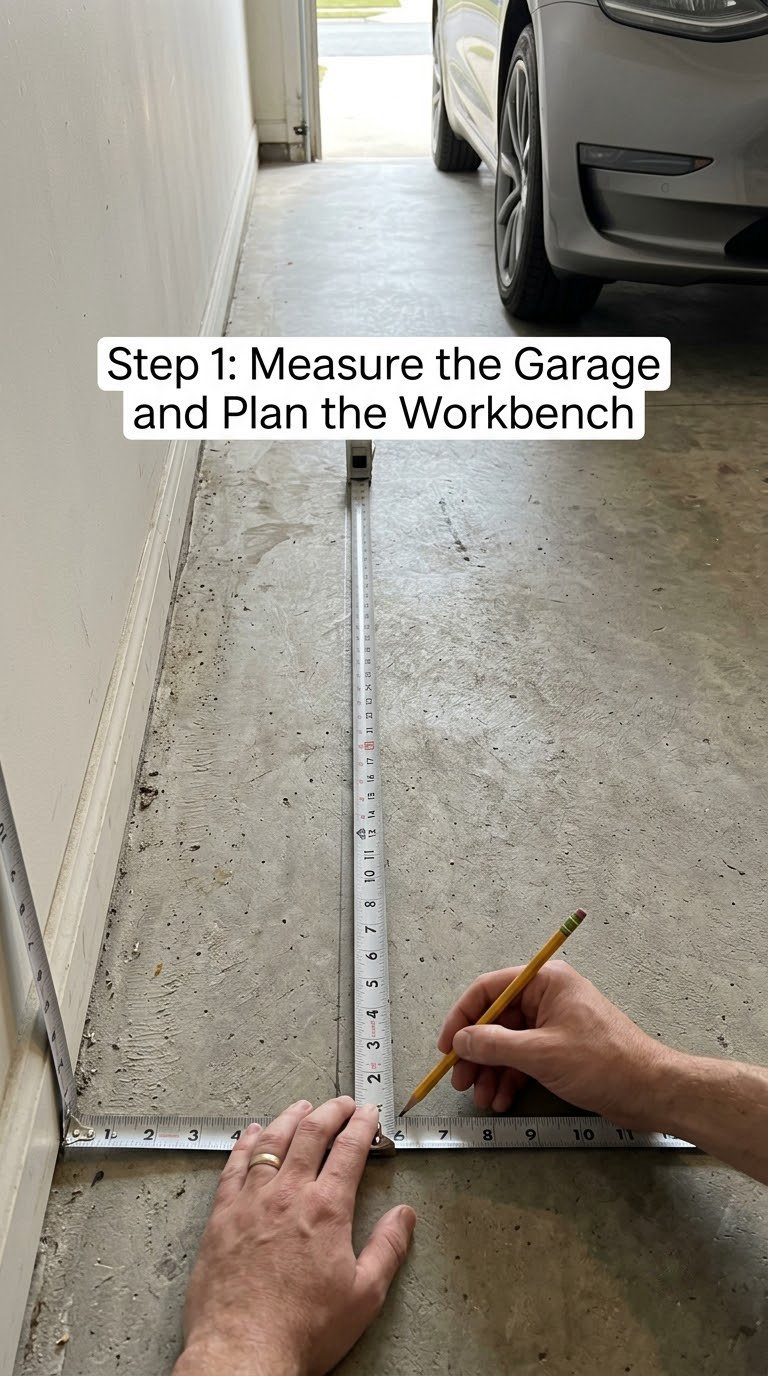
Measure the wall run you are planning to use, then measure the floor space you actually have once the car is parked where you park it. Leave at least 36 inches of walkway behind a single-car garage bench if you still want to open the door and walk around.
Set the height before you cut a single leg. Standard countertop height of 34-1/2 inches is the right default for most garage work, and it is the height of most existing counters you already use as a surface.
| Use | Height to top surface | Built for |
|---|---|---|
| Seated assembly work | 30 to 32 inches | Anyone working with a stool, including kids’ projects |
| General garage use | 34 to 36 inches | The default, and matches standard countertop height |
| Standing woodworking | 40 to 42 inches | Taller builders and anyone doing hand-tool work |
| Miter saw station | 32 to 34 inches | Lining up a saw at a comfortable cutting height |
Also check the depth. A 24 inch deep top holds hand tools and small projects. Once you go past about 28 inches, sheet goods and casework stop lying flat across the whole surface, which is the complaint builders most often raise a year later.
Step 2: Cut the Lumber and Organize Parts
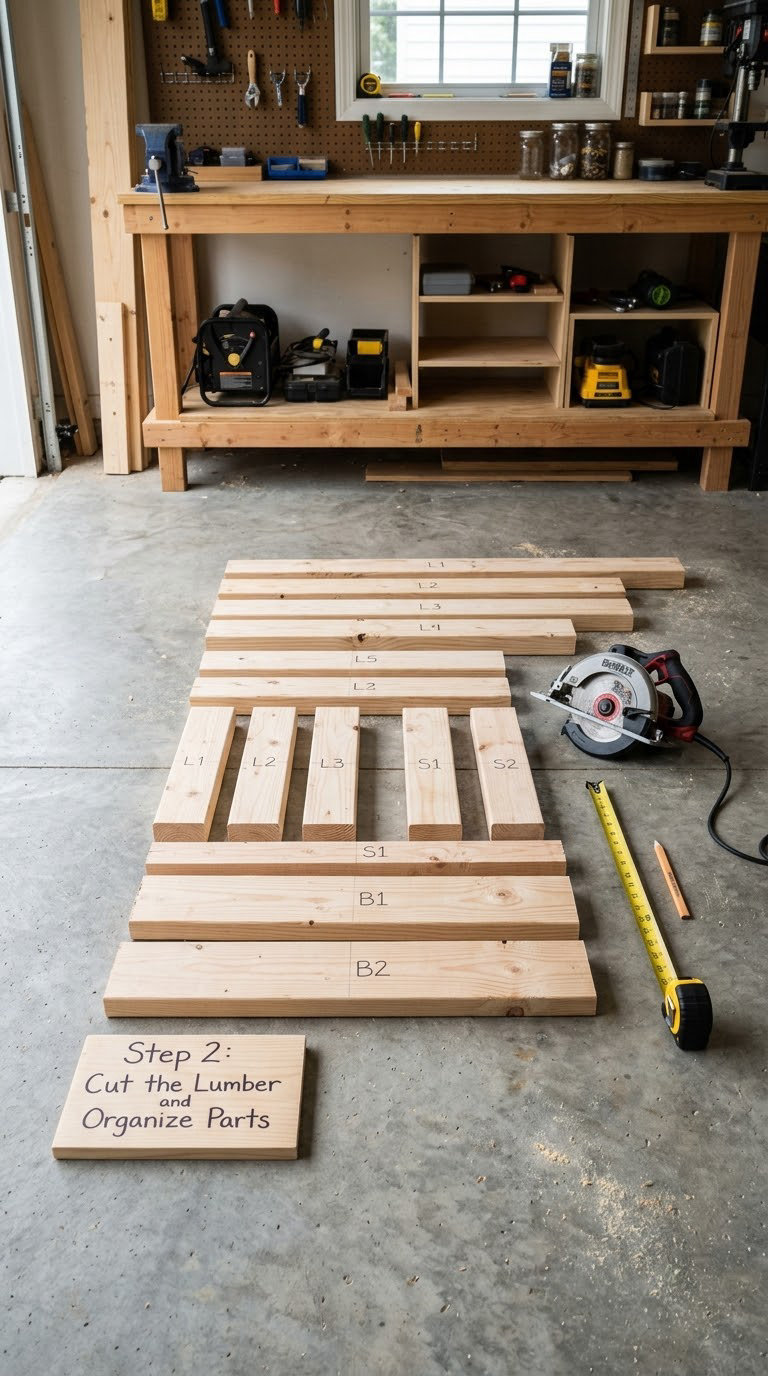
Cut every part before you start driving screws. This table is the whole build.
| Part | Quantity | Finished length | Job |
|---|---|---|---|
| Leg | 4 | 33-1/2 inches | Corner uprights, plus 1 inch of top thickness to reach 34-1/2 |
| Long apron | 2 | 57 inches | Front and back rails under the top |
| End apron | 2 | 21 inches | Side rails between the legs |
| Upper blocking | 2 | 21 inches | Stiffens the frame under the top |
| Lower blocking | 2 | 21 inches | Turns the legs into rigid frames, stops racking |
| Shelf cleat | 2 | 21 inches | Supports the lower shelf between the legs |
| Rear brace | 2 | 60 inches | Optional cross brace that kills wobble |
| Top panel | 1 | 60 by 24 inches | 3/4-inch plywood |
| Shelf panel | 1 | 53 by 21 inches | 1/2-inch plywood |
The ten 2x4s work out to about 38 board feet of framing, so ten 8-foot sticks cover it with a small surplus. Buy eleven if you want a spare for a mistake, and pick up extra 1-5/8 inch screws at the same time.
Label matching pairs with the same mark. Four identical legs and four identical aprons make the frame go together without guessing, and swapping two that are off by a quarter inch is the fastest way to fight a build.
Measure twice on each part after the cut, before it goes in the pile. A saw kerf is about 1/8 inch, and four of those add up to half an inch of error by the time the frame is closed.
Step 3: Build the Base Frame and Legs
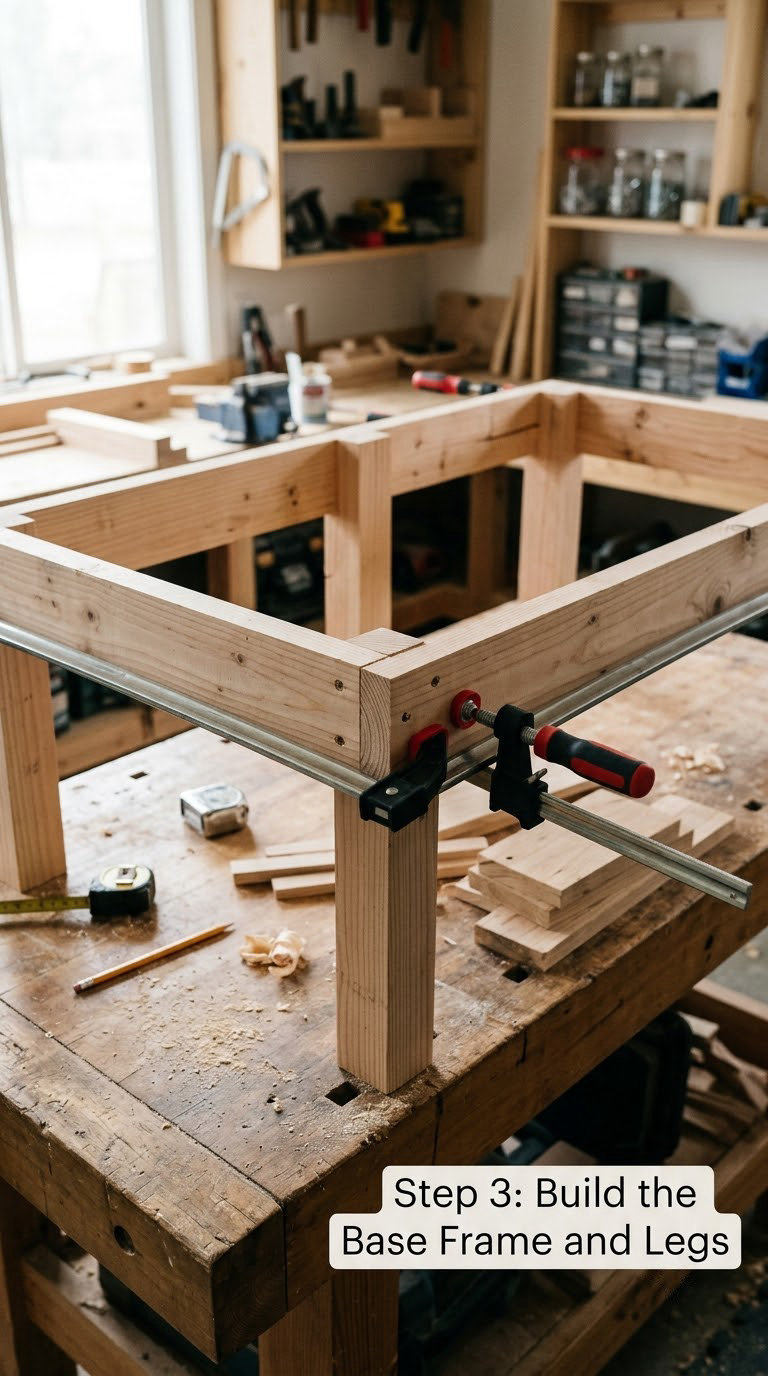
Lay out the frame on the floor in the shape you want it and work from that. If you assemble it standing up on the apron, it is much harder to keep square.
Stand the four legs on edge with their long edges running in the same direction. Screw one long apron between the two legs at the front, one between the two at the back, and the two end aprons between them. Two screws per joint is enough with structural screws.
Add the upper and lower blocking between each pair of legs. This is the step people skip because it looks like extra work, and it is the step that stops the whole frame from turning into a parallelogram under load. A diagonal measurement from one outside corner to the opposite one tells you if you are square; both diagonals should match within a quarter inch.
Re-check square after the blocking goes on, then clamp the corners and let the frame settle overnight on the garage floor. Wood moves as it takes on moisture in a new spot, and an overnight rest means you are squaring it once instead of twice.
Step 4: Install the Lower Shelf
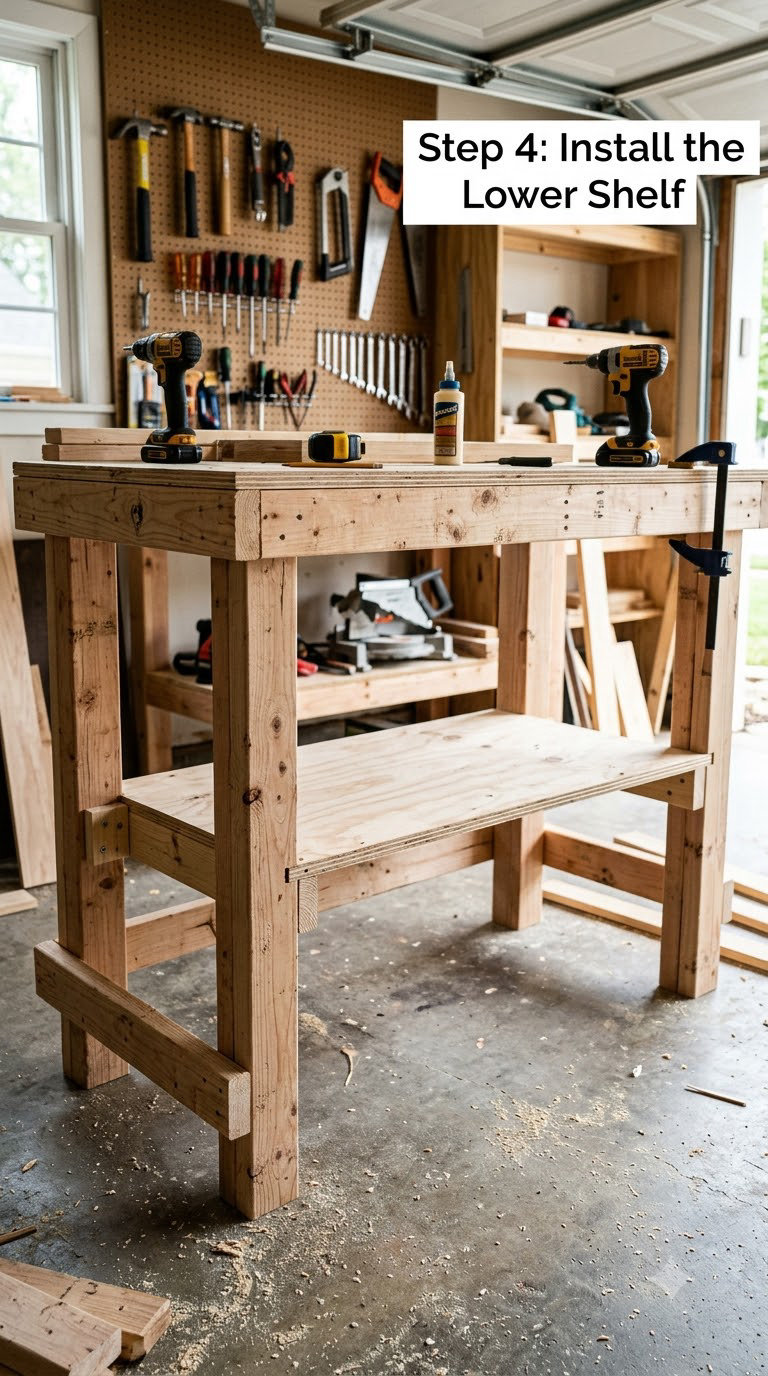
Screw the shelf cleats to the inside faces of the legs, set 10 or 11 inches above the floor. Run a bead of glue along each cleat, lower the 1/2-inch plywood shelf on, and drive screws from underneath into the cleats.
Keep the shelf in two pieces rather than one wide panel. Two 26-1/2 inch halves are easier to get into a car, easier to replace later, and they will not sag across a 53 inch span.
Do not notch the legs to accept the shelf. Notching cuts into the leg section at exactly the point where load transfers into the floor, and a cleat on the face does the same job without weakening anything.
Load the shelf lightly with paint cans and lumber stacks for the first few weeks. Heavy point loads in the middle of a span are what make an otherwise flat shelf bow.
Step 5: Attach the Workbench Top
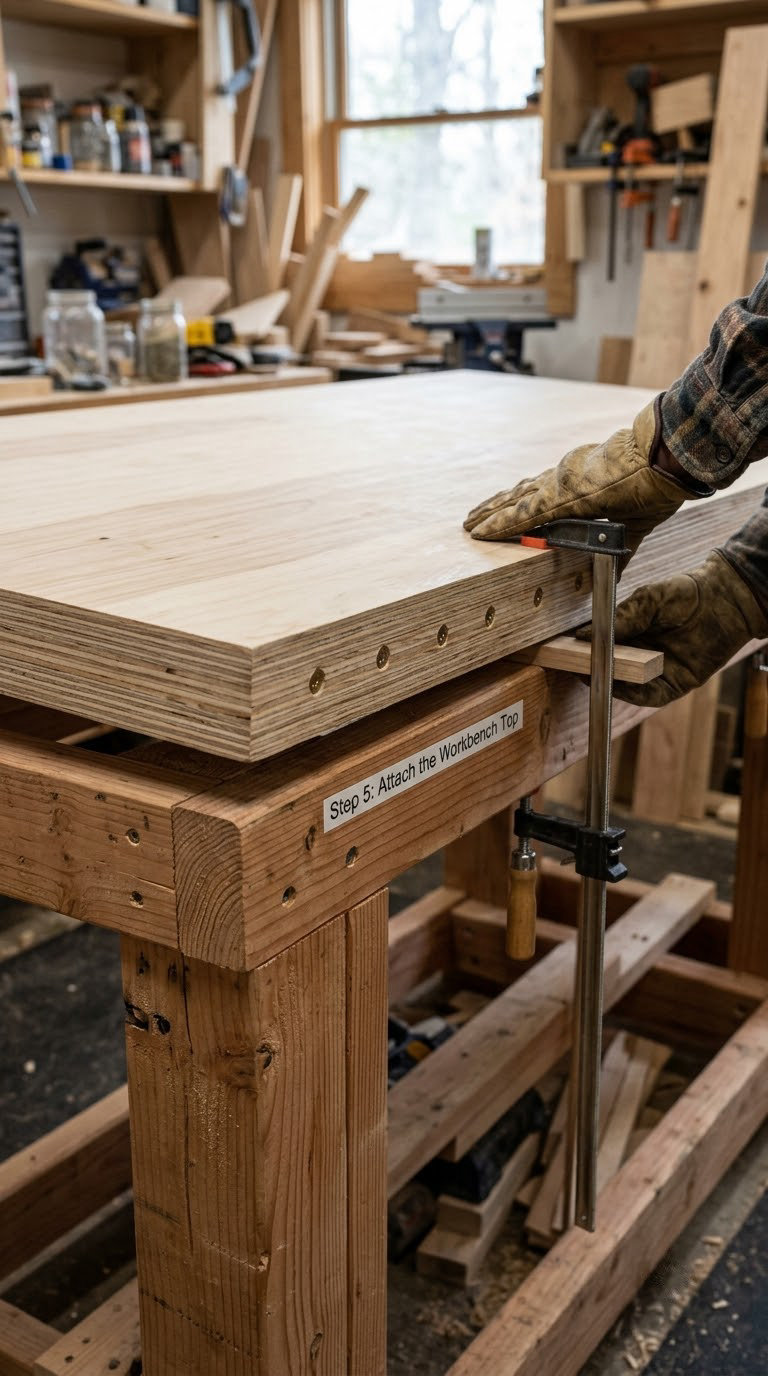
Set the 3/4-inch plywood top on the frame dry first and walk around it. If the overhang is even on all sides, you are good. Aim for a 1 inch overhang past the front and back aprons.
Drive 1-5/8 inch screws from underneath, up into the aprons and the upper blocking, roughly every 8 inches and always within 2 inches of each leg. Add a thin bead of glue between the top and the aprons if the fit is snug.
Stiffen the middle of the 60 inch span with a couple of extra cleats screwed to the underside of the plywood and to the top of the apron. That single addition removes most of the sag people notice when loading the center of the bench.
Check for level across both diagonals and from front to back before the screws are fully tightened. Trimming a leg is a five-minute job; trimming a glued and screwed plywood top is not.
Step 6: Add Supports, Storage, and a Finish
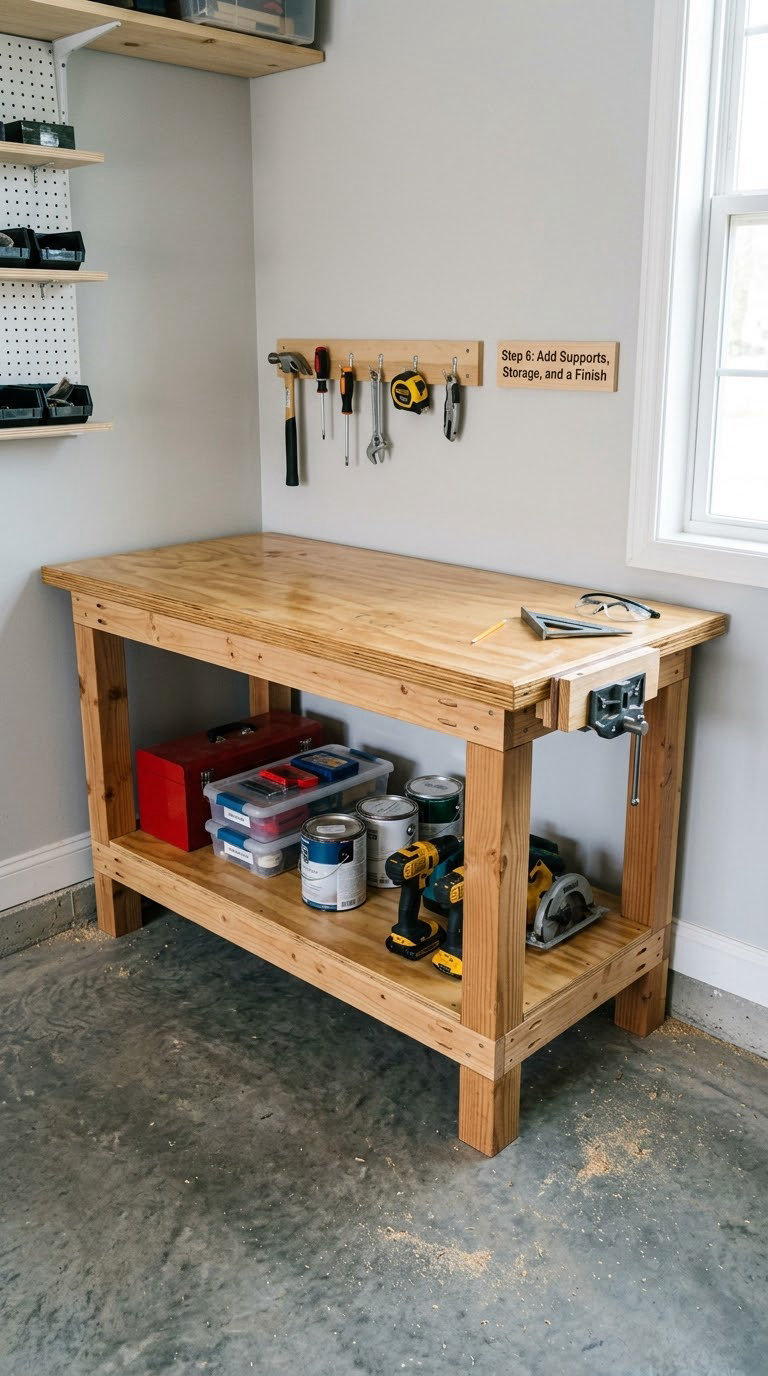
Wobble is a bracing problem. Screw a pair of 60 inch boards across the back of the legs at about 20 degrees off vertical, and the racking disappears. Do this before the bench has a hundred pounds on it, not after.
If you want the bench to roll, bolt four swivel casters to the bottom of the legs with blocking between the leg and the caster plate. Skip locking casters unless you need the bench parked in one spot constantly, since they add cost and nothing else.
Storage goes under and behind, not on the top. A pegboard panel or a rail of screw hooks on the wall above the bench keeps hand tools off the surface. For detailed bench lighting, our review of the best workbench lights for task and shop lighting covers the shadow problems that overhead fluorescents create.
Skip the vise on your first build unless you already know you want one. Mounting hardware in a plywood top is a lot easier than most guides admit, and a bench with one 6 inch face vise handles far more than builders expect.
Sand the top with 120 grit, working with the grain, then knock the edges down with 180 to remove the splinters that will show up later. Fill any screw holes and gaps with wood filler and sand them flush.
Apply one coat of stain if you want the grain to show, and let it dry for 4 to 6 hours. Then two coats of water-based polyurethane, each one allowed to dry for 4 to 6 hours. Keep the garage dry and ventilated, and avoid heavy use for a day after the final coat.
Oil-based polyurethane takes longer, around 24 hours between coats, but it stands up to solvents and heat better. Pick whichever you can live with in your schedule.
If you also want a surface inside for hobby and desk work, we compared the best hobby workbench desks for smaller setups, and ring lights for hobby workbench setups cover detailed close-up lighting.
Common Mistakes to Avoid
Almost every regret I have seen on a garage workbench traces back to one of these nine.
- Going too deep on the top. Anything past about 28 inches stops you working a sheet of plywood or a cabinet across the full surface. Fix: measure the largest thing you plan to work on, then add 4 inches.
- Skipping leg blocking. A frame with single aprons twists into a rhombus the first time you lean on it. Fix: upper and lower blocking between every pair of legs, two screws per joint.
- Using drywall screws. They snap in a loaded frame. Fix: structural self-tapping screws, 2-1/2 inch, driven with a drill at full speed and no impact setting.
- Forgetting to leave clamp room. Aprons and blocking on all four sides mean nothing can be clamped to the top. Fix: leave one end open if you clamp a lot.
- Choosing MDF or particleboard for the top. Both swell at the sink and under a wet can. Fix: exterior or AC-grade plywood, and seal the edges.
- Over-sizing the height. A bench built at 42 inches feels heroic on day one and tiring by month three. Fix: 34 to 36 inches unless you are standing at it all day.
- No rear brace. A 60 inch top with four legs is a wobble waiting to happen. Fix: one diagonal back brace in under five minutes.
- Finishing too early. Paint or seal on damp lumber peels within a year. Fix: seal the legs and bottom of the shelf before the bench goes in a damp garage.
- Building features you do not need yet. Multiple vises, dog holes and built-in bins add hours and no value. Fix: build the frame and top, live with it a month, then decide.
When to Call a Pro
Some parts of a garage are not a weekend job, and it is worth being clear about where the line sits.
Hire a licensed electrician whenever the bench needs a dedicated circuit, a 240 volt outlet, or any new wiring. Garage receptacles on their own breaker are the standard, and that is code work.
Get a structural engineer or a qualified remodeler before cutting into a load-bearing wall, removing a stud, or adding an anchor into a beam or a ceiling joist. A wall-mounted bench holding a few hundred pounds puts real load into framing that was never designed for it.
Welded steel frames, welding tables and any modification to the garage door itself belong to a pro. Garage door torsion springs are under stored energy even when the door is closed, and they are the single most dangerous thing in a typical garage to work on yourself.
You also want a pro if the garage is being converted into an approved living space or workshop with a change of use, if the slab is being cut for drainage or a new foundation, or if the existing floor is soft and the bench is going to carry an engine or a machine.
Maintenance
A bench this simple needs very little, but a few habits keep it flat and steady.
Sweep the top weekly and wipe up glue, sawdust and oil as they land. Glue residue is what dulls a surface finish and catches sanding grit later.
Check the frame screws twice a year, especially if you clamped something hard. A quarter turn with the driver is usually all it takes.
Watch the legs in winter. If a foot grows or lifts because of moisture in the slab, shave or shim it and paint the bottom of all four legs in the same sitting.
Renew the top finish when water stops beading on it. Light sanding with 180 grit and one fresh coat of polyurethane takes about two hours and buys you several more years.
Keep the lower shelf centered rather than piling weight at the ends, and leave the corners of the garage floor clear so you can see a leak or a crack forming.
Frequently Asked Questions
What is the best height for a garage workbench?
For most garage work, 34 to 36 inches is right, and 34-1/2 inches matches standard countertop height you already know. Go lower, 30 to 32 inches, if you work seated on a stool or if kids use the bench. Go higher, 40 to 42 inches, only if you are tall and stand at the bench for hours. Measure before you cut the legs, because trimming them later means rebuilding the aprons.
How thick should a workbench top be?
Three-quarter-inch plywood is the standard and covers nearly every home project. Add a second layer of 3/4-inch plywood if you plan to clamp heavy work or run a stationary machine on it. Half-inch is fine for light assembly work and for a rolling cart, not for a bench that takes a load. Whichever thickness you choose, exterior or AC-grade sheets resist swelling far better than MDF.
How much weight can a DIY garage workbench hold?
A well-built 2×4 frame with upper and lower leg blocking and a 3/4-inch plywood top comfortably holds 300 to 400 pounds spread across the surface. Concentration matters far more than the total. Resting an engine block in the middle of a 60 inch span will bow the top and eventually the apron. For point loads over about 150 pounds, double the aprons or step up to 4×4 legs.
Should I build a freestanding or wall-mounted workbench?
Freestanding is the better choice in most garages because you can move it, add casters and leave floor space for a vehicle. Wall-mounted is better if you are short on floor area or need the full wall height for a miter saw station. A wall-mounted bench needs proper framing and lag screws into studs or blocking, which means a professional if you are not comfortable finding structure.
What is the best finish for a workbench in a garage?
Two coats of water-based polyurethane over stain or bare wood is the practical answer for a heated garage. It dries fast, cleans up with water and stands up to glue, sawdust and daily use. In an unheated garage that sees moisture, seal every face including the bottom of the legs, and add a coat of exterior paint to the frame. Reapply the top coat every two or three years.
Do I need a permit to build a workbench in my garage?
A free-standing bench that sits on the slab and contains no wiring normally needs no permit anywhere in the US. Permits come up when you add an electrical circuit, anchor into a load-bearing wall, modify the garage door, or convert the space into an approved workshop or living area. If you are unsure which category applies, your local building department will tell you in a phone call.
Get Started With the Frame
If you are building this week, start with the height decision and the cut list, then buy everything in one trip. Measure the space, square the frame on the floor before it ever stands up, and add the rear brace before you load the shelf.
Everything else on this bench can be added later.
