How to Repair a Chipped Kitchen Countertop Edge (October 2026)
A chip on a countertop edge is the most fixable kind of counter damage there is, and most small ones never need a fabricator. How to repair a chipped kitchen countertop edge comes down to method rather than skill: clean and degrease the broken face, build a matching repair compound up in thin layers slightly proud of the surface, let it cure, then sand and polish it flush with the original edge profile.
Edges chip more often than flat surfaces because of the shape, not the stone. A square 90-degree edge concentrates the force from a dropped pot or a cast iron pan into a spot the size of a fingernail, and that is where the material gives way first. The same chip on the flat of the counter would scatter the force and leave nothing but a scuff.
Contents
Most small edge chips also let water and grease into the body of the material, which is what turns a cosmetic nick into peeling, staining or a deeper fracture a year later. Worth closing properly rather than filling and forgetting. If you are refreshing the whole room at the same time, start with our kitchen countertop decor ideas so the repair and the styling work happen in one pass.
Time: 2 to 4 hours of active work plus cure time, usually overnight. Cost: a compound kit and a few hand tools, a fraction of a fabricator call-out. Difficulty: Moderate DIY. Skill level: careful, patient beginner.
Tools and Materials
The tools are ordinary hand tools. You are not cutting stone, and a chip repair does not need a saw or a router.
- Putty knife or plastic spreader, 1.5 inch wide, flexible enough to work a vertical face
- Utility knife with fresh blades, for trimming cured filler flush
- Safety glasses and nitrile gloves
- Isopropyl alcohol, a degreaser or stone soap, and lint-free cloths or paper towels
- Sandpaper assortment: 120, 220, 400, 600 and 1000 grit, plus a sanding block for flat faces
- Diamond polishing pads in 1500 and 3000 grit for stone and engineered stone edges
- Masking tape, a small dust sheet or folded towel, and a household fan for air movement
- Fine paper or a folded shop towel to catch dust at the edge
- Optional: a razor blade scraper, a small silicone brush, and a colour-matched pigment powder set
On the material side, buy for the surface you actually have, not the one you wish you had.
- Two-part epoxy or polyester repair resin with hardener, enough for two or three mixes, since a thin first layer always wastes some
- Matching pigment powder if the base compound is clear, or a pre-coloured compound matched to your slab
- Isopropyl alcohol for cleaning the repair between sanding and finishing
- Fine sandpaper and diamond pads in the grits listed above
- A penetrating sealer if the countertop is unsealed natural stone or a material that was sealed before
- For laminate: matching laminate repair filler, contact adhesive, and a clamp or weight
- For solid surface: an acrylic or epoxy repair filler that sands back like the parent material
Match the compound to the substrate, not to the colour alone. A filler that sands smoothly and holds a bond on engineered quartz behaves very differently from one built for soft wood, and the wrong chemistry is the reason so many of these repairs pop out within weeks.
Before You Start
Work out what the countertop is before anything else. Look at an area hidden under a toaster or a bowl: a faint speckled grain that sparkles under a light usually means quartz or engineered stone, a coarse irregular crystal pattern with visible mineral flecks is granite, and soft grey veining points to marble. A matte plastic surface with a brown or beige core visible at a chip is laminate, and a uniform matte finish with a sandy feel is solid surface.
Retail labels blur the lines constantly, and words like sintered stone get used loosely on the sales sheet. If you cannot tell, take a close photo of the chip and ask a fabricator before you buy a compound. Guessing wrong costs you a slab that looks worse than the chip did.
Then set the workspace up properly:
- Clear everything off the counter and out of the sink cabinet area below
- Close the shut-off valve under the sink and turn off the breaker for any outlet or appliance within reach of the work area
- Open a window and set a fan at the counter, since resin and solvent fumes are the main health concern here
- Mask the countertop face, backsplash and cabinets with tape and paper, leaving only the damaged edge exposed
- Put a folded towel beneath the edge to catch drips and dust
- Wear eye protection. Resin dust and fine sandpaper grit are both irritants
Do not open a sink or cooktop connection unless you can shut it off properly and put it back together soundly. If the chip runs into an undermount sink cutout or a cooktop cutout, if the edge feels soft or flexes, or if you can see through to the substrate or a crack that continues into the slab, stop and call a fabricator. Those are structural conversations, not filler jobs.
Step-by-Step Instructions: How to Repair a Chipped Kitchen Countertop Edge
The sequence below works whether you are filling a chip in laminate or in a quartz edge. The material changes what you use, not the order you use it in.
Step 1: Identify the Countertop and Inspect the Chip
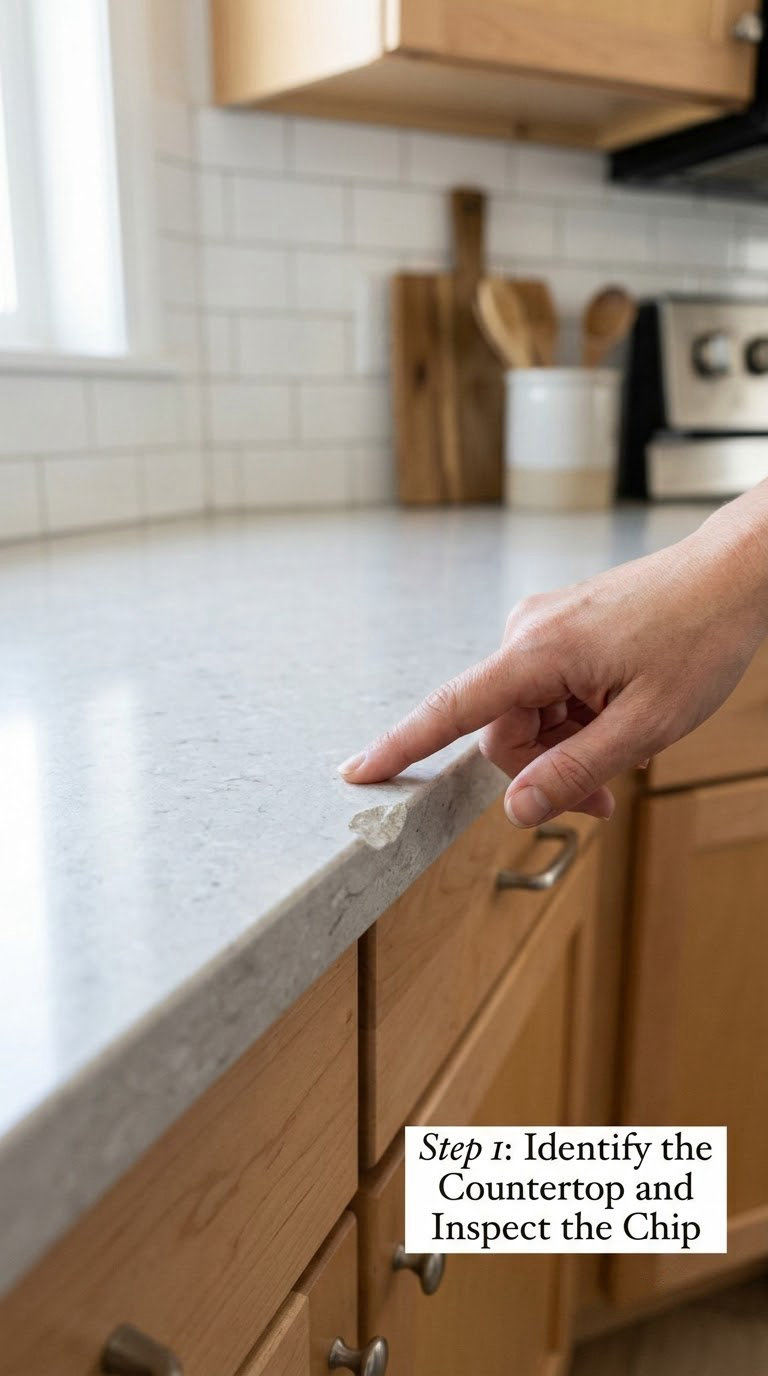
Start by measuring the damage in millimetres rather than eyeballing it. A chip up to about 15 mm across on the edge is a straightforward filler job. Between 15 and 25 mm you can still attempt it, but expect to build the profile up over several layers. Beyond 25 mm, or anything that has gone through the full thickness of the edge, belongs to a fabricator with a grinder and polishers.
Look at the shape of the break too. A rounded-out scoop where a pot landed can be filled and reshaped. A chip that starts as a crack running back into the counter is a different problem, and filling it hides the symptom rather than the cause.
This is where most attempts go wrong, so this first check is the most important one: knowing how to repair a chipped kitchen countertop edge starts with confirming that you are looking at a filler job and not a fracture.
Step 2: Clean and Protect the Repair Area
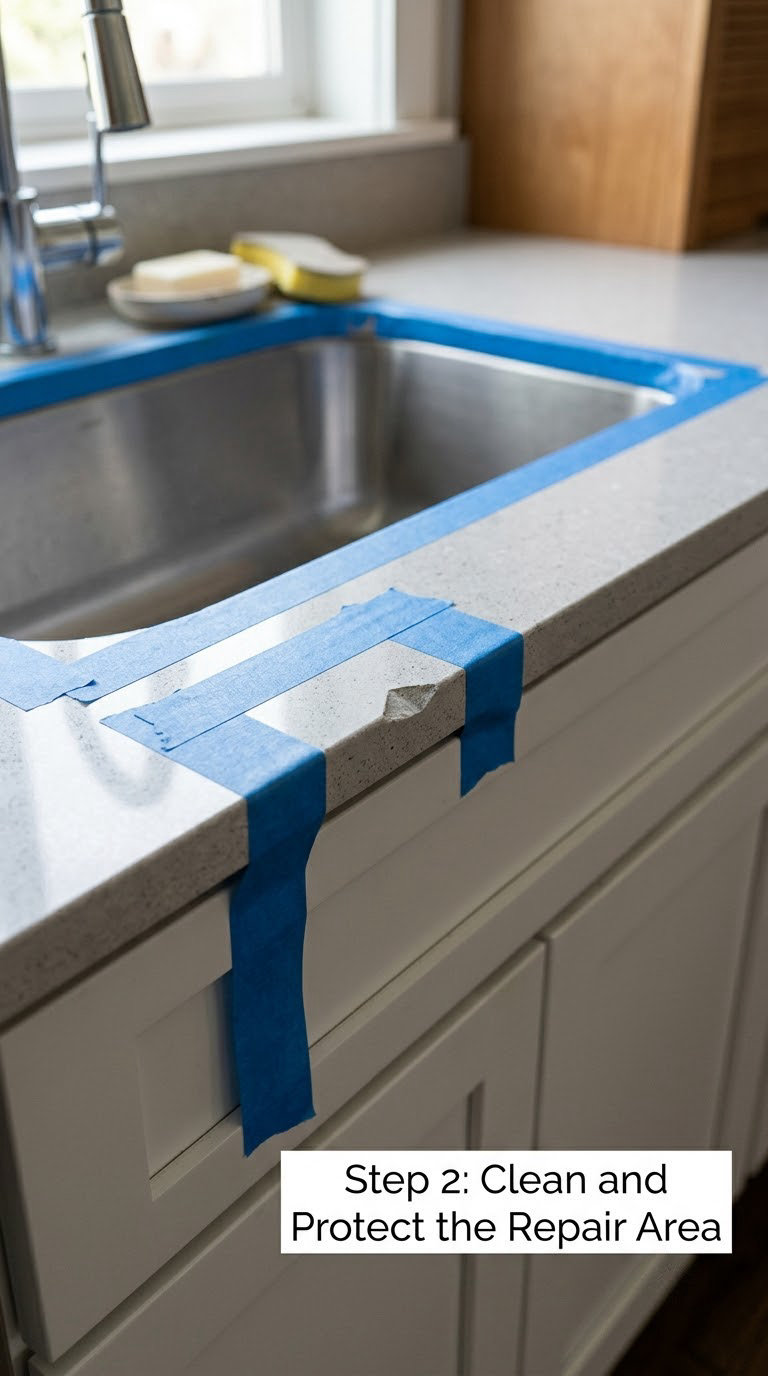
Remove every loose crumb with the utility knife held at a shallow angle, then vacuum or wipe the dust away. Any grit left behind ends up embedded in the filler and shows up later as a rough spot that never sands out.
Clean next. Wipe the broken face and about an inch of sound material around it with isopropyl alcohol or a stone-safe degreaser, and work in a small circle rather than scrubbing straight across, so you do not scratch the surrounding surface. Repeat until the cloth comes away clean and let the area dry completely. Filler applied over moisture or a wax sealer will sit loose.
Apply your masking tape after the solvent has evaporated, not before. Tape applied to a damp or greasy surface lifts on its own within the hour.
Step 3: Choose and Apply the Matching Repair Compound
Pick the approach that suits the material you identified in Step 1:
- Engineered quartz or quartzite: two-part epoxy or polyester repair resin, colour matched, or UV-cure resin for edge work where you want the compound to stay workable until you switch the lamp on
- Granite and marble: two-part epoxy with pigment powder blended to match the stone, then finished wet with diamond pads
- Solid surface: an acrylic or epoxy repair filler that sands back to the same density as the parent material
- Laminate: matching laminate repair filler for a small nick, contact adhesive to re-bond a lifted edge, or replace the whole edge with a new iron-on trim strip
- Butcher block: wood filler or epoxy, sealed with food-safe oil once cured
Test your colour mix on a hidden corner or an offcut before it touches the counter. Light stones usually need less pigment than you think, because a dark spot is far more noticeable than a pale one. Dark stone is the opposite, and mica flakes help match the sparkle.
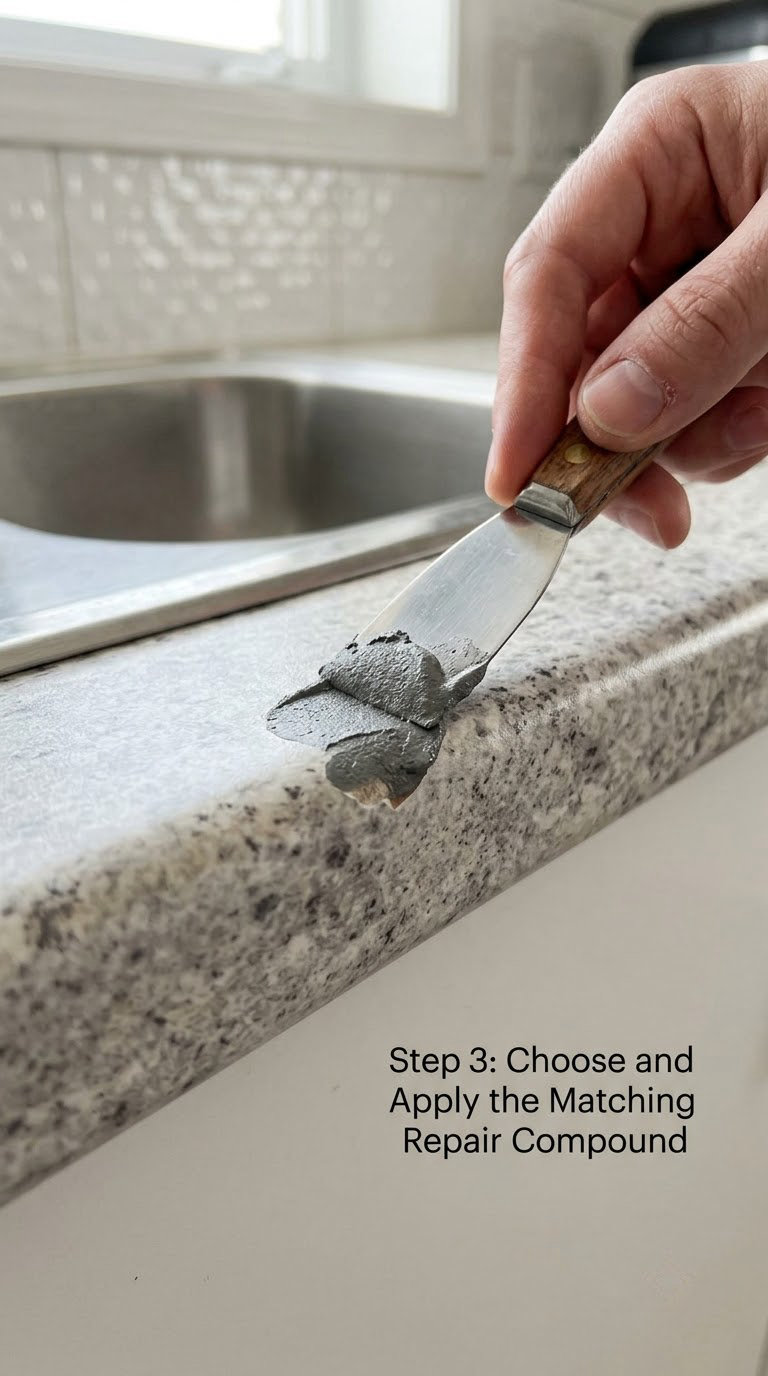
Now the part that matters on an edge: build the repair up in thin layers instead of filling the whole void at once. Gravity pulls heavy filler down a vertical face before it sets, which leaves a sagging patch you have to sand back or re-do. Each thin layer sets in the position you put it.
Spread the compound with the putty knife held almost flat against the counter, pressing it into the broken face and slightly proud of the original profile. Overfilling by about a millimetre is deliberate, because resin shrinks as it cures and a flush patch ends up recessed. Wait for the manufacturer stated cure time before adding the next layer, and stop when the repair stands just above the surrounding edge. Typical full cures run from about 30 minutes for a fast-curing polyester to 24 hours for a two-part epoxy.
Step 4: Sand the Repair Smooth
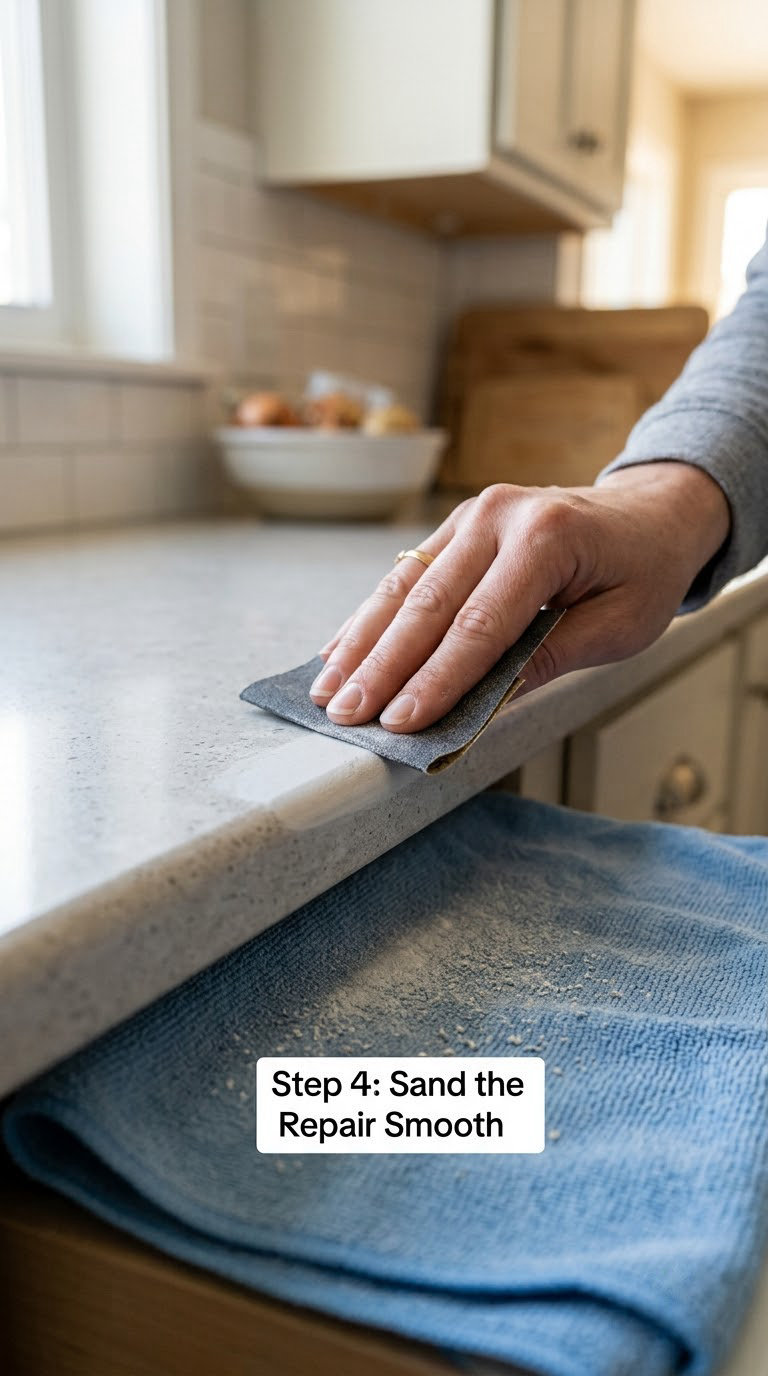
Start at 120 or 220 grit to knock the patch back to the original profile, then move to 400, 600 and 1000. On stone and engineered stone, finish with 1500 and 3000 grit diamond pads, ideally wet-polished with a water mist, to bring the sheen back. On laminate and solid surface, stop at 1000 grit and follow with the material’s own finishing step.
Work with the curve of the edge rather than across it. Sand across a rounded or eased profile and you cut the high spots off the surrounding material, which turns a small repair into a long flat one.
Take your towel and dust the surface frequently, and check your work under angled light. A hairdryer held low and off to the side rakes across the repair and shows every dip and ridge far better than overhead light does.
On natural stone, be restrained. Diamond grit cuts quickly, and it has no way of telling the repair from the slab. Two or three light passes is usually plenty.
Step 5: Clean and Prime the Repaired Area
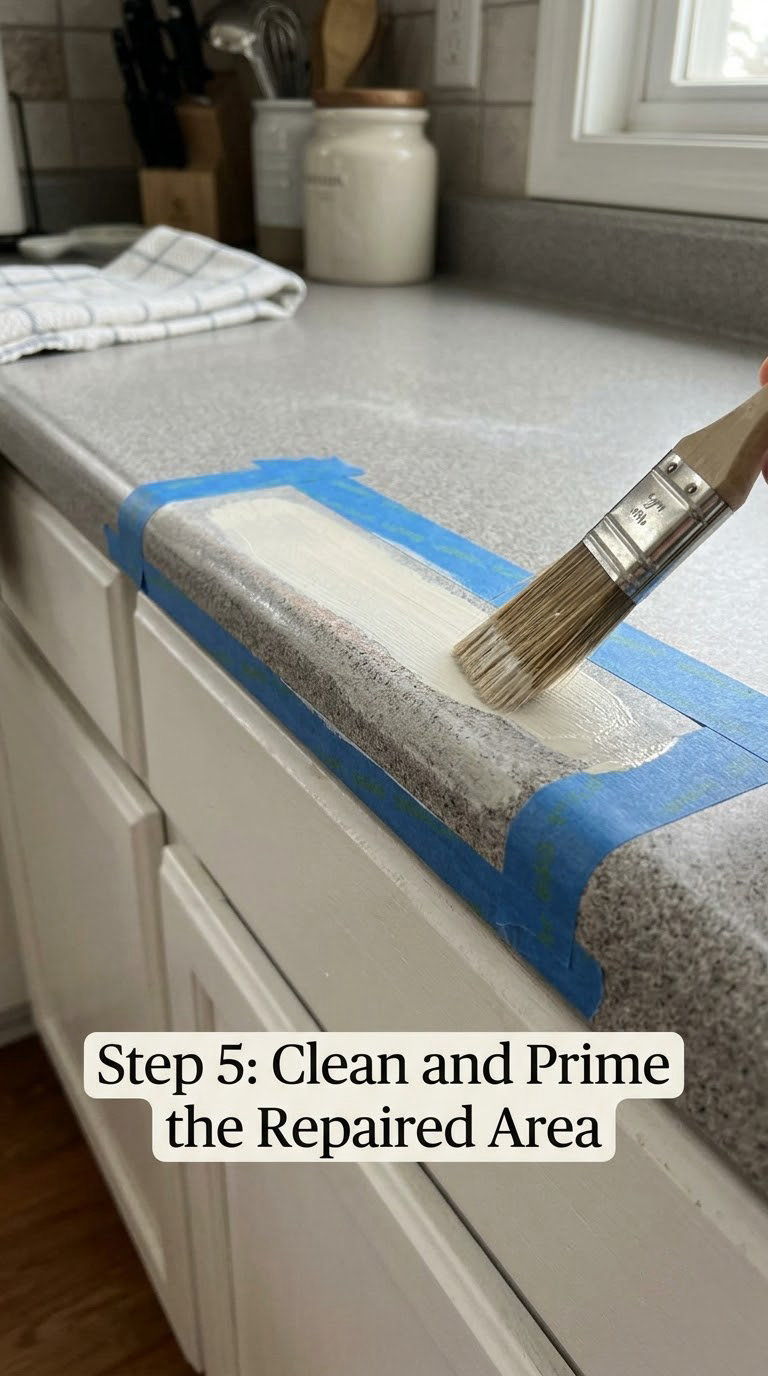
Wipe the sanded repair and its surroundings with a damp cloth, follow with isopropyl alcohol, and let it dry fully. Dust left in the surface will show up under a finish as a haze you cannot sand out without going back through the grit sequence.
Primer is only needed on certain routes. If you are filling a laminate or solid-surface chip and plan to paint the repair, an adhesion primer rated for that surface makes the difference between a finish that lasts and one that peels off in a month. If you filled with a stone-grade epoxy or resin and are polishing rather than painting, skip the primer: an extra layer between the repair and the finish can prevent them bonding to each other, and you have just added another cure time for no benefit.
Step 6: Apply the Final Finish and Let It Cure
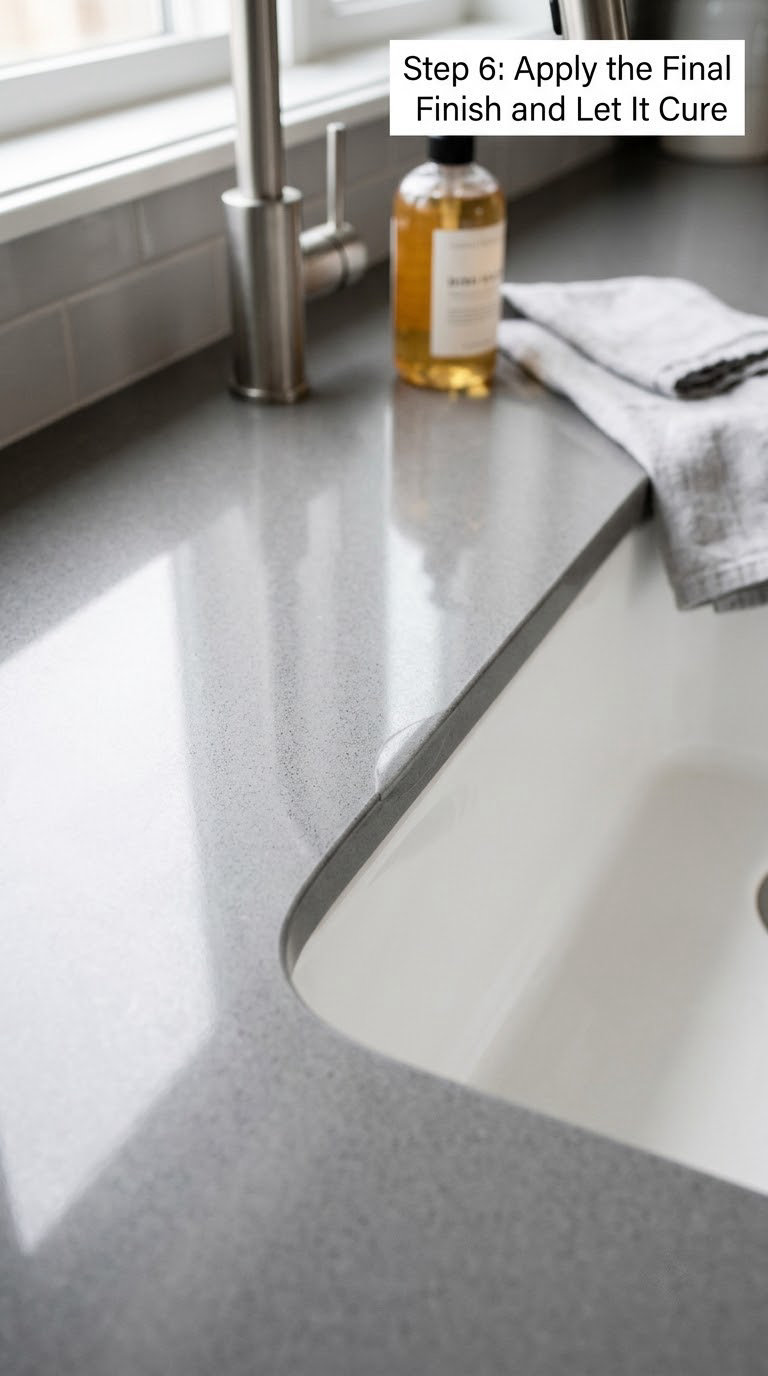
Apply thin finish coats with a small brush or foam applicator, staying inside the repaired area. Feather the outer edge of each coat into the surrounding surface with light pressure, but do not paint over the whole counter. A repair that stops at a visible outline looks worse than the chip did.
On natural stone, if the counter was sealed, finish with a penetrating sealer compatible with the original, following the same thin coat and back-wipe method. One or two coats is normal. Let each coat lose its tack before the next.
Pull the masking tape at the time the product instructions specify, pulling away from the wet edge rather than across it. Then leave the repair alone for the full cure stated by the manufacturer, typically 24 hours before light use and longer before heavy loads.
Inspect the cured edge in daylight and under angled light. Run your fingers along it gently and look for a colour shift, a glossier patch than the rest of the counter, or a ridge where the repair meets the original surface. If the sheen is off, a second polishing pass at 3000 grit fixes it. If the colour is off and the stone is strongly veined, the honest answer is that some marble repairs stay slightly visible.
Common Mistakes to Avoid
- Guessing the material. Wrong compound on the wrong substrate will not bond. Identify it first, and ask a fabricator if you are unsure.
- Filling the whole void in one go. The filler sags on a vertical edge before it sets. Build it in thin layers with a cure between each.
- Sanding before the cure is complete. A half-set repair gums up the paper and rolls out of the edge. Follow the stated cure time.
- Filling flush instead of slightly proud. Polymerisation shrinkage then leaves the patch recessed. Overfill a millimetre and sand back.
- Over-sanding. You cannot add material back. Stop as soon as the profile matches, check under angled light, and change grits gradually.
- Skipping the clean and dry step. Wax, sealer, moisture and dust are the four things that stop a repair bonding.
- Using super glue. Cyanoacrylate cannot be pigmented to match stone, polishes to a glossy dot rather than a sheen, and turns brittle against a slab that flexes slightly with temperature. It fills a hole and leaves a mark.
- Using the repair too soon. A repair that looks dry can still be soft underneath. Give it the full cure before setting a heavy appliance on it.
When to Call a Pro
Stop the DIY work and bring in a countertop installer or stone repair specialist when the chip is deeper than about 25 mm or goes through the edge, when the surrounding edge feels soft or moves, when there is a crack running back from the chip into the slab, or when the damage sits inside a sink or cooktop cutout. A cutout edge has no material left behind it for the filler to grab, so the repair is a fabrication job rather than a filling job.
The same applies if you can see the substrate, if the slab rocks or the cabinet under it has moved, or if the countertop is still under warranty. If the chip appeared within weeks of installation, photograph it before touching it and contact the installer or the builder first, because damage during or shortly after handover is normally their responsibility to make good.
Permit and inspection rules usually apply when the work touches a cooktop, a sink connection, any electrical supply or a structural cabinet component. A filler job on an existing edge needs none of that, which is another good reason not to start dismantling anything around the chip.
For larger or deeper damage, get more than one quote. Owners report a wide spread in what fabricators charge for an edge repair, and a call-out fee is common, so ask whether the trip is billed separately and whether the quote covers the polishing as well as the fill.
Maintenance
Look after the repair the way you look after the rest of the counter. Wipe the repaired edge with warm water and a mild dish soap, or a stone-safe cleaner for granite, marble and quartzite, and rinse and dry it rather than letting water sit.
Skip acidic cleaners on marble and limestone, and skip abrasive pads on any finish you just polished. Laminate edges dislike standing water around the sink, and butcher block wants an oil or wax refresh on roughly the schedule the finish maker recommends.
Keep impact off the edge where you can. Use a cutting board rather than the counter for chopping, and slide heavy appliances rather than carrying them over the front edge, which is how most of these chips happen in the first place. If the counter was unsealed stone, keep up the sealer on the rest of the surface so the repair is not the weakest link in the whole slab.
Check the patch every few months under the same angled light you used during the repair. Early separation shows as a fine dark line around the edge of the fill, and early discoloration shows as the patch picking up colour where the surrounding surface wipes clean. Either is easier to fix while the patch is still small and still bonded.
Frequently Asked Questions
Can I repair a chipped countertop edge myself?
Yes, for most small edge chips. If the damage measures up to about 15 mm across and has not gone through the full thickness of the edge, a clean, degreased surface and a material-matched repair compound will usually handle it well. Chips over 25 mm, cracks running back into the slab, damage inside a sink or cooktop cutout, or an edge that feels soft all belong to a fabricator.
What is the best filler for a chipped kitchen countertop?
It depends on the material. Two-part epoxy or polyester repair resin suits engineered quartz, granite and marble. Solid surface takes an acrylic or epoxy filler made to sand back to the same density. Laminate takes a matching laminate filler or a fresh iron-on edging strip, and butcher block takes wood filler or epoxy. Colour match matters less than bonding to the substrate underneath.
How do I match the color of a countertop repair?
Start with a pre-coloured compound matched to your slab, or a clear resin you tint with pigment powder yourself. Test the mix on a hidden corner and let it cure fully before judging it, because resin darkens slightly as it sets. Light stone usually needs less pigment than you expect, dark stone often needs a few flakes of mica for the sparkle, and strongly veined marble is the hardest to hide.
What grit sandpaper should I use on a repaired countertop edge?
Work from 120 or 220 grit to level the patch back to the original profile, then move through 400, 600 and 1000 grit. On granite, marble and engineered stone, finish with 1500 and 3000 grit diamond pads, wet-polished where the pads are rated for it, to restore the sheen. On laminate and solid surface, stop at 1000 grit and follow with the material’s own finishing step.
How long should a countertop edge repair cure before use?
Follow the cure time printed on the compound rather than a general rule. Between thin layers, a fast polyester sets in around 30 minutes and a two-part epoxy needs several hours. Before sanding, most repairs want at least the full stated cure, commonly overnight. Before setting a heavy appliance on the edge, give it the full 24 hours the manufacturer calls for and longer if the room is cool or damp.
In Short
How to repair a chipped kitchen countertop edge well comes down to three habits, and the first one decides everything after it: identify the material. Then clean and degrease the broken face, build a matching compound up in thin layers just proud of the original profile, respect the stated cure time at every stage, and sand through the grits to bring the sheen back.
Once it has cured fully, look at the edge under angled light and run a finger along it. A small difference you can catch now is a two-minute fix, while a chip that has reached a cutout, a crack or a full-thickness break is a fabricator job from the start.