How to Seal a Concrete Patio: Step-by-Step Guide (2026)
Sealing a concrete patio means putting a water-repellent barrier over bare or worn concrete so it stops absorbing rain, oil and winter salt. Most homeowners can do it in a weekend: clean it, patch the cracks, roll on two thin coats, then leave it alone for 24 to 48 hours.
The part that trips people up is not the rolling, it is the prep. Sealer locks in whatever is on the surface, so a damp patio or a dusty one ends up blotchy for years. Ten extra minutes of cleaning saves you from redoing a 200 square foot slab.
Contents
Time: one weekend, plus 48 to 72 hours of curing before you put furniture back · Cost: one to two gallons of sealer for a 200 sq ft patio, plus cleaner and patching compound · Difficulty: moderate DIY · Skill level: patient, careful, no special tools.
Before you buy anything, decide whether you want the concrete to keep its natural gray look or gain color and gloss. A concrete stain for patios goes on before sealer if you want a different color, and a sealer goes on last to lock it in.
Tools and Materials
You can get through a typical residential patio with gear from any home center. Budget for the cleaner and patching compound too, since that is usually where people under-buy.
- Cleaning and repair: stiff-bristle push broom, garden hose with a spray nozzle, pressure washer if the patio is bigger than about 150 sq ft, concrete-safe cleaner or degreaser, 4 to 5 gallon bucket, stiff nylon scrub brush, 5 gallon pail for rinse water, concrete patching compound for cracks, chisel and hammer for loose edges, gloves, and a chip brush.
- Sealing: your sealer of choice, a 9 inch or 18 inch nap roller to match the finish, a roller frame, a paint tray or pump sprayer, painter’s tape and plastic sheeting, a clean mixing stick, and a fan for ventilation.
- Safety: chemical splash goggles, nitrile gloves, long sleeves and closed-toe shoes. A particulate respirator if you are grinding, etching or removing an old film with a grinder.
Quantity rule of thumb: most penetrating sealers cover 100 to 200 sq ft per gallon, and water-based acrylics cover 150 to 250 sq ft. Measure your patio, then add 10 percent for the edges you will go back over. On stamped or heavily textured concrete, expect to use more because the roller skips the low spots.
Before You Start
Seal in spring or early fall, when you have a stretch of dry days ahead and daytime temperatures sit between 50°F and 90°F (10°C to 32°C). Most products need at least 24 hours with no rain after application, and application below 45°F (7°C) or in high humidity is what causes the white hazy patches people blame on the sealer.
If the patio is new concrete, wait a minimum of 28 days from the pour before sealing. If it is an older patio, run the water bead test: pour a few cups of water on the surface. If it beads up and rolls off, the concrete is already sealed or dense enough not to need it. If it soaks straight in, sealing will help.
For a second moisture check, tape a 16 inch square of heavy plastic sheeting to the patio with duct tape and leave it for 24 hours. If the plastic fogs over or beads water underneath, there is moisture rising through the slab and sealing now will trap it. Go find the drainage problem first.
Clear the patio of furniture, planters and grills. Cover anything hard against the house or sitting on the slab, because sealer overspray on siding or a door is a real headache to fix. Keep the family and pets off the patio until it is fully ready for foot traffic.
Step-by-Step Instructions
Step 1: Inspect and Repair the Concrete
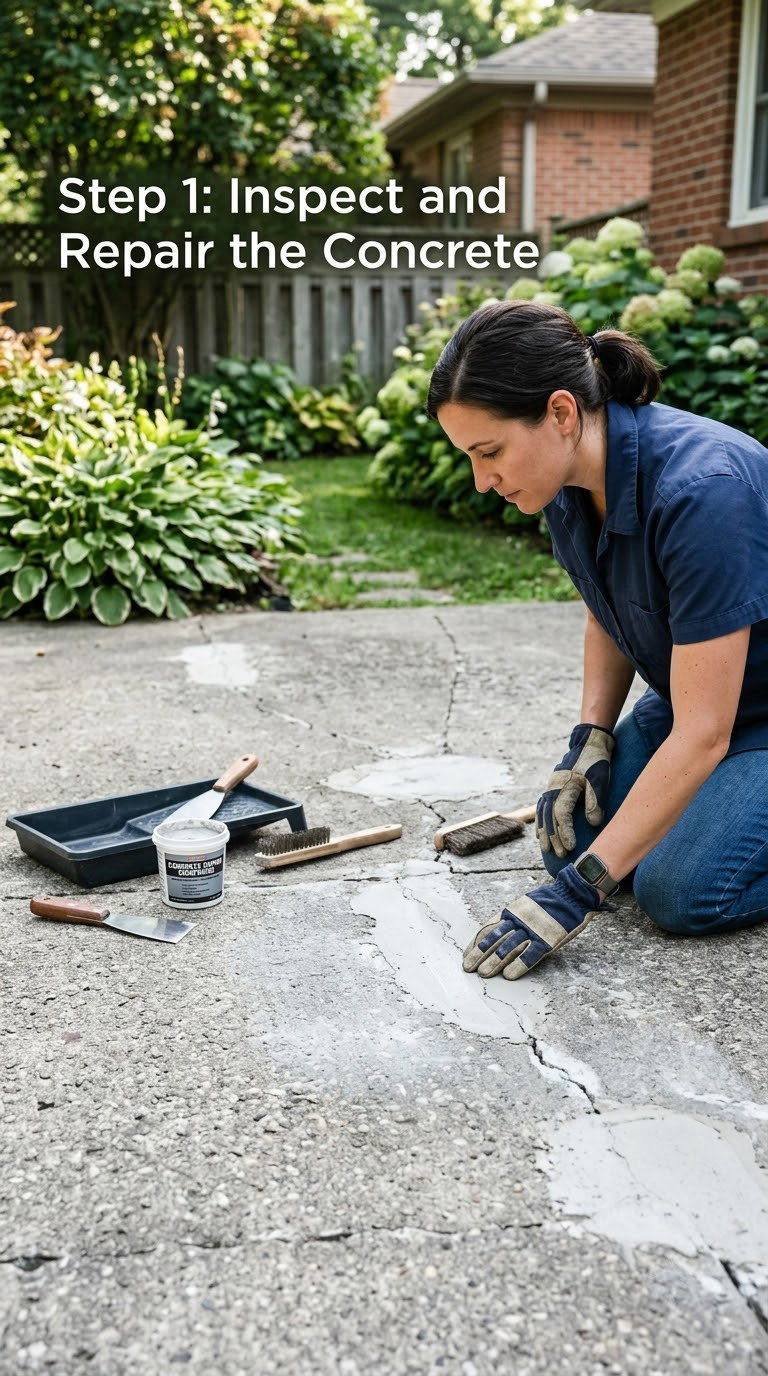
Walk the slab and mark every crack, chip and spalled spot. Hairline cracks under about 1/8 inch wide are fine to seal over. Wider cracks, deep spalling where the surface is flaking off in layers, and cracks that radiate from a corner or run the full length of the patio are structural, and they need a concrete pro before any sealer goes on.
Chisel out loose and crumbling material, brush the dust out with a chip brush, then fill with a concrete patching compound. Feather the edges so the repair doesn’t leave a lip you can catch your shoe on. Let patches cure per the label, usually 24 to 72 hours.
Then run the water bead test again on the repaired spots. Sealer will not bridge a hollow or a repair that is still soft.
Step 2: Clean the Patio Surface
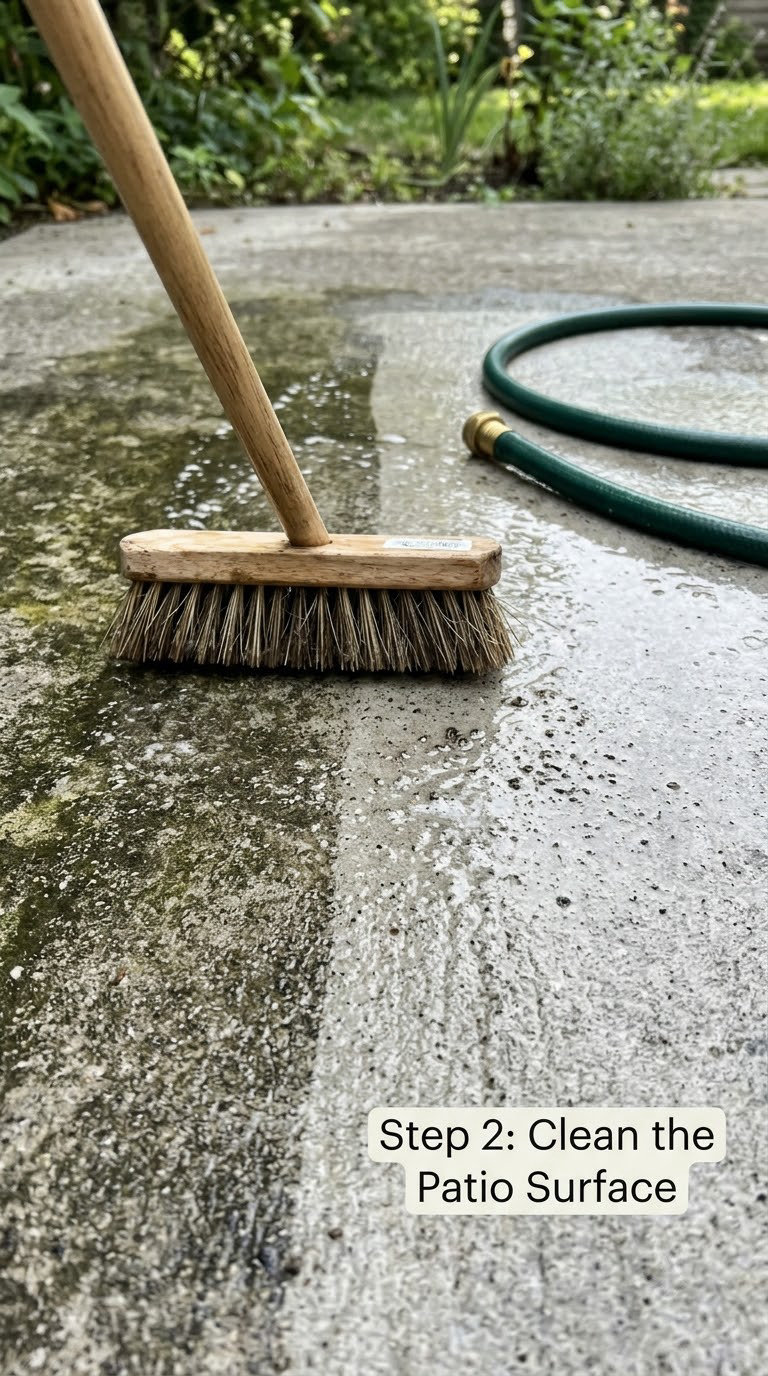
Sweep the patio dry first, then apply a concrete-safe cleaner or degreaser at the dilution on its label. Let it sit for the recommended dwell time and scrub with a stiff nylon brush. Pay attention to traffic lanes and the drip line under furniture, where oil and algae build up.
Rinse thoroughly with a hose and, if you own one, a pressure washer on a medium setting. Too much pressure can etch the surface, and etching leaves a rougher texture that eats more sealer, so start low and work up.
Now wait. Most people who seal too early are sealing a patio that still holds water. Let it dry 24 to 48 hours, and re-run the plastic sheet test to be sure. Cover the patio if rain is forecast.
Step 3: Etch or Prepare the Surface
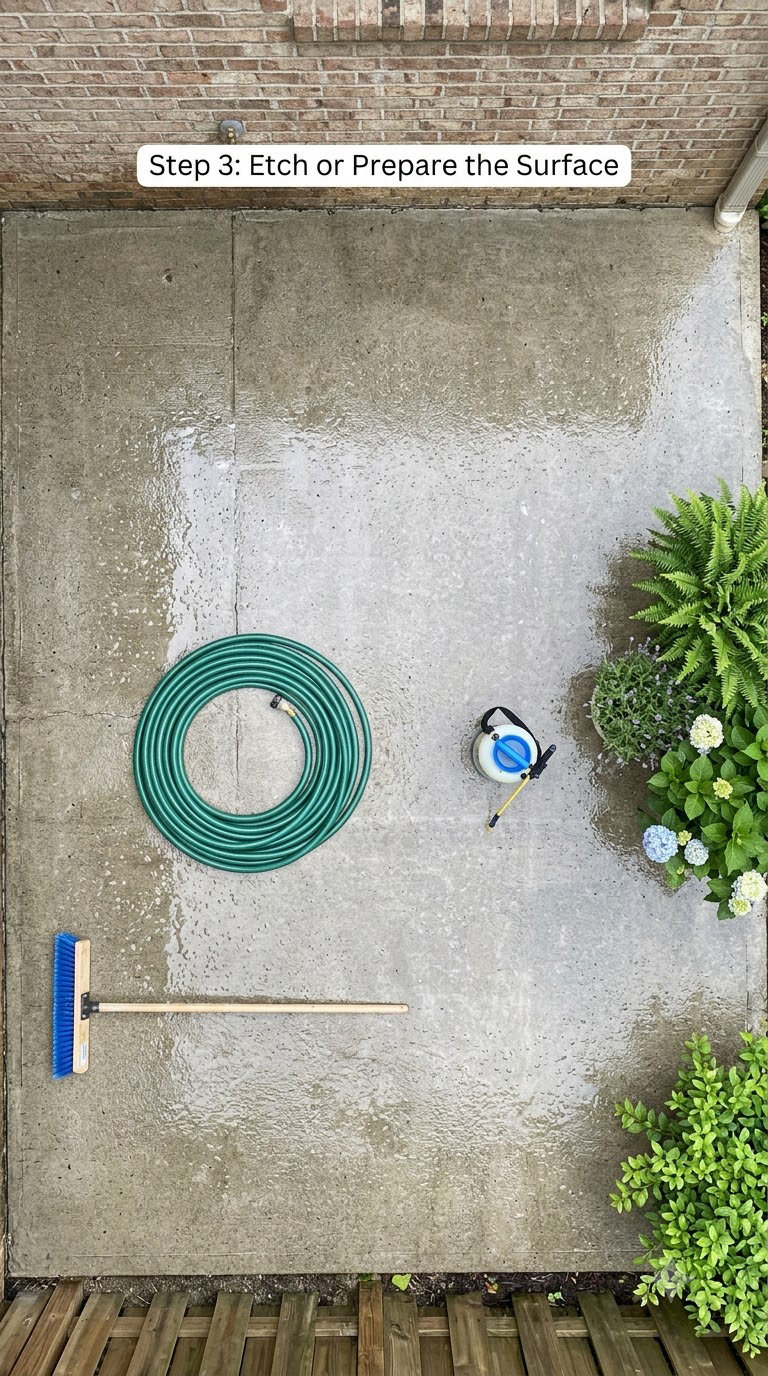
Acrylic film-forming sealers need a porous, rough surface to grip. If you are using one, etch the clean patio with a concrete etcher or an acid-based preparation solution, or grind the surface lightly. A splash of water should bead up slightly on a properly etched surface instead of vanishing.
Apply the etcher evenly with a sprayer or soft brush, let it work for the time listed on the label, then scrub and rinse until the runoff runs clear. Wear gloves and goggles for this step and keep everyone off the patio while it works.
Penetrating silane or siloxane sealers do not need etching. They soak into the pores of cured concrete, so a sound, clean, dry surface is enough. Skip etching there or you will seal a rougher patio than you have.
Step 4: Choose and Mix the Sealer
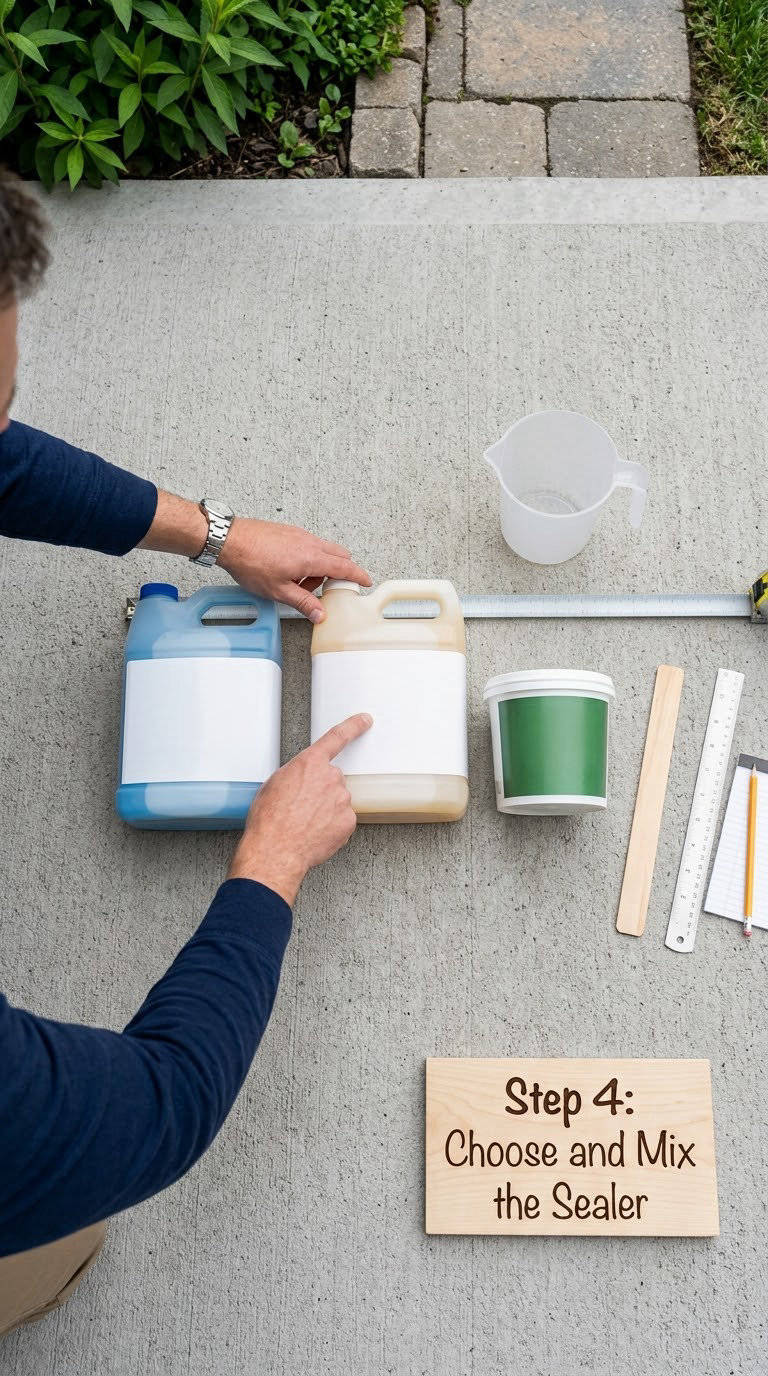
Two families cover almost every residential job. Penetrating sealers such as silane or siloxane soak into the concrete and react chemically, leaving a natural matte finish that will not peel or turn slippery. Film-forming sealers such as acrylic, epoxy or polyurethane sit on top, add color and gloss, and can be touched up in small areas, but they need good prep and they can peel.
Use a penetrating sealer for plain gray concrete, for freeze-thaw climates and anywhere you walk barefoot. Use an acrylic if you want a wet look or enhanced color on a stamped or decorative concrete patio, but stay away from high gloss around a pool or a step down to grass.
Water-based sealers are low odor, clean up with water and dry fast. Solvent-based sealers penetrate deeper and cure harder, but they are flammable, need good ventilation and smell strong. Read the technical data sheet on the can, not just the front label, and confirm the coverage rate before you open it.
Stir slowly with a mixing stick for about two minutes. Do not shake and do not leave bubbles in it. If you are switching types, only put a film-forming sealer over an old penetrating sealer. The reverse traps the old sealer and peels.
Step 5: Apply the First Coat
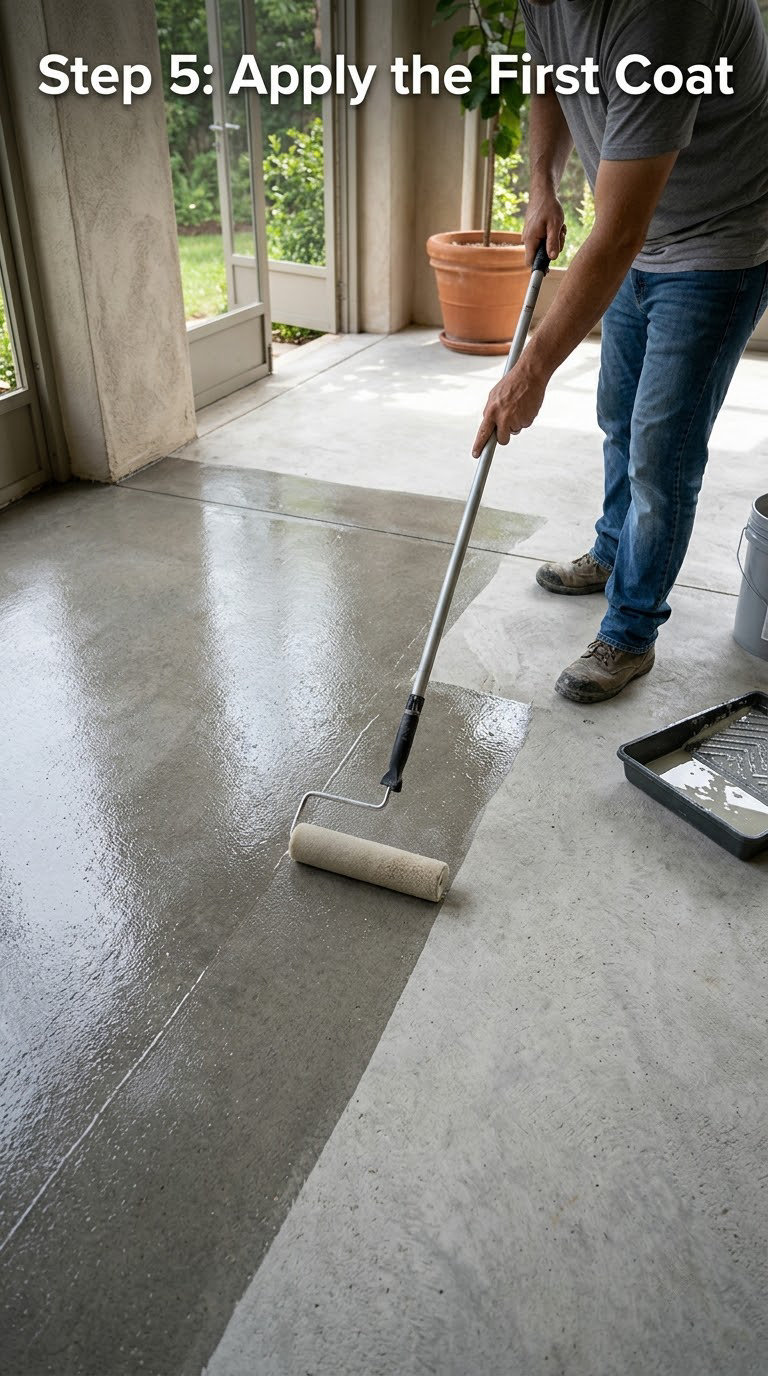
Work in the shade or late evening, never in direct midday sun. Heat makes the sealer flash off too fast and leaves bubbles and lap marks.
Tape off anything you do not want coated. Then roll in one direction across a 6 to 8 ft section, keeping a wet edge and overlapping each pass by about half the roller width. With a sprayer, go north to south, then east to west to get an even crosshatch.
Keep coats thin. Pooled sealer is the number one cause of peeling later on. If the surface looks like standing water, spread it out with the roller before it dries. Follow the product’s coverage rate, and never exceed it.
Step 6: Apply Additional Coats and Let It Cure
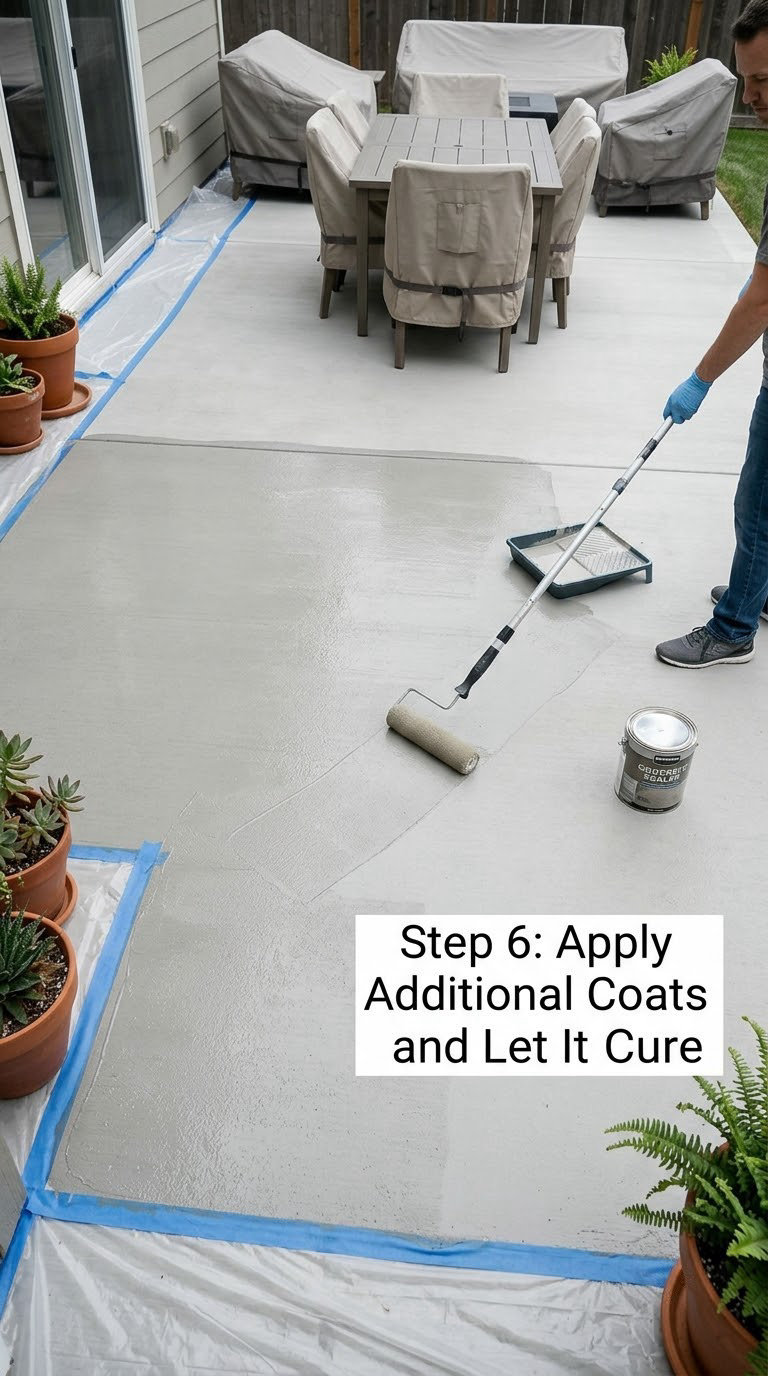
Give the first coat 4 to 24 hours before recoating, following the label. It should feel dry to the touch and look evenly matte rather than wet. If rain is coming within that window, stop and wait for a better stretch of weather rather than gambling.
Second coat goes on at right angles to the first, the same thin application. Cross-coating catches any missed corners and low spots. On stamped concrete, a second coat usually makes the color more even.
Stay off the patio for 24 to 48 hours, keep furniture and grills off for 72 hours, and keep vehicles off any sealed driveway area for at least 48 hours. Full cure takes longer, usually 3 to 7 days. Look for a uniform color and gloss across the whole slab, then patch any bare or shiny patches with one more thin coat.
Common Mistakes to Avoid
Almost every failed patio sealer job comes down to one of these.
- Sealing damp concrete. Moisture under a film sealer causes delamination and white haze. Use the plastic sheet test the day before you plan to start.
- Sealing over dirt, algae or old loose sealer. Sealer bonds to the dirt and then peels off with it in one sheet. Clean first, every time.
- Applying before 28 days on new concrete. Early sealing traps the moisture still leaving the slab.
- Going too heavy. One thick coat shrinks, blisters and peels. Two thin coats always beat one fat one.
- Working in the heat. Sealer flashed off in direct sun leaves bubbles and uneven coverage that no amount of extra product will fix.
- Walking on it too soon. Early foot traffic leaves prints and scuffs that stay visible.
- Expecting an instant cure. Dry to the touch is not cured. Full cure takes days.
- Using the wrong type for the surface. A high-gloss film-forming sealer on a plain patio you walk barefoot on is a slip risk, and a penetrating sealer will not give you color.
When to Call a Pro
Hire a concrete contractor before sealing if any of the following show up. Sealing over a structural problem makes it worse and costs you the sealer money too.
- Cracks wider than 1/8 inch, or cracks that run across the whole patio or radiate from a corner.
- Settling, where the patio no longer sits level with the house or steps drop.
- Spalling across a large area, with the surface flaking off in layers.
- Water pooling in the same spots every rain, which means the grade or drainage is wrong.
- Patios over 800 sq ft, commercial surfaces, or anything tied to a permit or code requirement.
A pro can also handle grinding and mechanical profiling on a rough slab, and the coating work on pool decks where slip resistance has to meet a tighter standard.
Maintenance
Once cured, sweep the sealed patio every few weeks and wash it with water and a mild concrete cleaner once or twice a season. Avoid acidic cleaners and anything with citrus in it, and skip the pressure washer on the sealer unless you keep it on a low setting.
Run the water bead test each spring. When water stops beading and soaks in, resealing is due. Penetrating sealers usually hold 3 to 5 years before a refresh. Acrylic films wear out faster, often in the 1 to 3 year range in full sun, and need the old film stripped before recoating.
Put felt pads or rubber feet under every furniture leg so metal legs and planters do not etch or scratch the finish. Salt, ice melt and standing water are harder on a patio than everyday use, so sweep salt off in winter rather than letting it sit. Clear leaves and pine needles out of the joints, since they hold moisture against the surface.
Frequently Asked Questions
What is the best sealer for a concrete patio?
A penetrating silane or siloxane sealer is the best all-around choice for most patios. It keeps the natural gray look, will not peel, and stays safe under bare feet. Choose a water-based acrylic if you want a wet look and more color on stamped concrete, but plan on recoating it more often.
How long does a sealed concrete patio last?
Most penetrating sealers last 3 to 5 years before they need refreshing, sometimes longer in shade. Acrylic film-forming sealers wear faster, usually 1 to 3 years in full sun, and they have to be stripped before recoating. Water, sunlight, snow and how much foot traffic the patio gets all change the number.
Can you seal concrete that already has an old sealer on it?
Yes, if the old sealer is penetrating. You can put an acrylic film-forming sealer over silane or siloxane without stripping. You cannot put a penetrating sealer over a film-forming one, and an old film that is already peeling needs to be ground or stripped first or the new coat will peel with it.
How long should a concrete patio stay untouched after sealing?
Stay off it for 24 to 48 hours, keep furniture and grills off for 72 hours, and keep vehicles off for at least 48 hours. Full cure takes 3 to 7 days depending on the product, humidity and temperature. Check the label on your sealer, because cure times vary a lot between water-based and solvent-based products.
How many coats of concrete sealer should I apply?
Two thin coats. The first soaks in and the second evens out the color and covers any missed spots. A single thick coat is far more likely to bubble, blister and peel within a year. Always apply the second coat at right angles to the first, and only within the recoat window listed on the label.
Does sealing concrete make a patio slippery?
A penetrating sealer does not change texture, so it will not add slip risk. A glossy film-forming sealer can, especially when wet, which is why pool decks and steps need a slip-resistant additive or a textured sealer. Matte and satin acrylics hold their grip better than high gloss.
Start at the start: sweep the patio, pour water on it, and find out whether you are dealing with bare concrete, old penetrating sealer or a peeling film. Once you know that, pick the sealer to match, give the prep a full two days, and roll two thin coats. That sequence is what makes the difference between a patio that looks good for one summer and one that still looks good five years from now.