How to Repair a Torn Window Screen Without Replacing It 2026
A torn window screen does not mean a new one. If the hole is under about two inches, you can learn how to repair a torn window screen without replacing it in well under fifteen minutes using a patch of matching mesh, waterproof adhesive, or a few stitches of waxed thread. Bigger rips call for new mesh in the old frame, which takes under half an hour.
That matters more than it sounds. A ragged screen edge is an open door for mosquitoes, wasps, spiders and pollen, and it is the number one thing landlords notice on a move-out inspection. Repairing it costs very little and takes one short afternoon once a year.
Contents
Time: 15-45 minutes · Cost: A few dollars for a patch kit, more if you buy replacement mesh · Difficulty: Easy to moderate DIY · Skill level: Beginner, patience more than experience
Tools and Materials for Each Repair Method
Most of this job is done with things you already own. Only two items are specific to screens.
For an in-frame patch or a small tear:
- Screen patch kit or a 12 inch by 12 inch piece of matching mesh
- Screen repair tape, the kind sold for insect screen
- Scissors and a straightedge or small ruler
- Waterproof clear adhesive, or a two-part epoxy if the frame is metal
- Waxed thread and a needle for stitching
- A soft brush, dish soap and a clean rag
For replacing the mesh and keeping the frame:
- Replacement screen mesh, cut 2 to 3 inches larger than the frame on every side
- Rubber spline to match your groove diameter, most common sizes are 0.125 inch and 0.160 inch
- Spline roller tool, plus an old clean wheel if you don’t want to buy one yet
- Flathead screwdriver or a plastic pry tool for lifting the old spline
- Utility knife with a fresh blade for trimming
- Measuring tape, work gloves and safety glasses
Buy the smallest quantity you need. A single roll of mesh usually covers several windows, so measure before you commit. If you work on a printing frame or a screen door with vinyl mesh, the same spline roller technique applies to keeping mesh stretched in the frame.
Before You Start: Know Your Mesh and Your Tear
Look at the screen closely before you buy anything. What you find decides the method.
Screen types and how they behave:
- Fiberglass mesh is the common grey or black weave. It is soft, cheap and easy to sew or glue. It frays at the edges, so trim damage away rather than leaving loose threads.
- Polyester and pet-resistant mesh has a tighter weave and heavier strands. Generic patch kits often fail here because the adhesive has too little surface to grab. Sewing or a mesh-on-mesh overlap works far better.
- No-see-um mesh is even tighter. Patches read as a bright square against it and bond poorly. Cut the replacement mesh from the same roll so the weave matches.
- Aluminum mesh is rigid and will not sew or glue. Patch a small run of wires with a stiff wire patch and crimp it, but expect to replace the mesh in any real tear.
Judge the tear by size and position. A slit under 2 inches, a clean hole, or a frayed edge along a seam are all patch jobs. A tear running along the spline line, damage in a corner, or anything bigger than about 4 inches wants new mesh in the same frame. Rips from squirrels and dogs usually start small and reach that point within a season, so patch them early.
Prep the area. Vacuum or brush off dust, wipe with soapy water, and let the mesh dry fully. Adhesive will not stick to a dusty or damp surface, and this is the single most common reason patches peel off in a month.
Work outside or in a ventilated room if you use spray adhesive or solvent-based glue, and keep pets away until it cures. Wear gloves and glasses when working with an old spline, since brittle spline shatters into shards. A small screen repair needs no permit anywhere in the US.
Step-by-Step Instructions for Repairing a Torn Window Screen Without Replacing It
Step 1: Remove the Window Screen and Assess the Tear
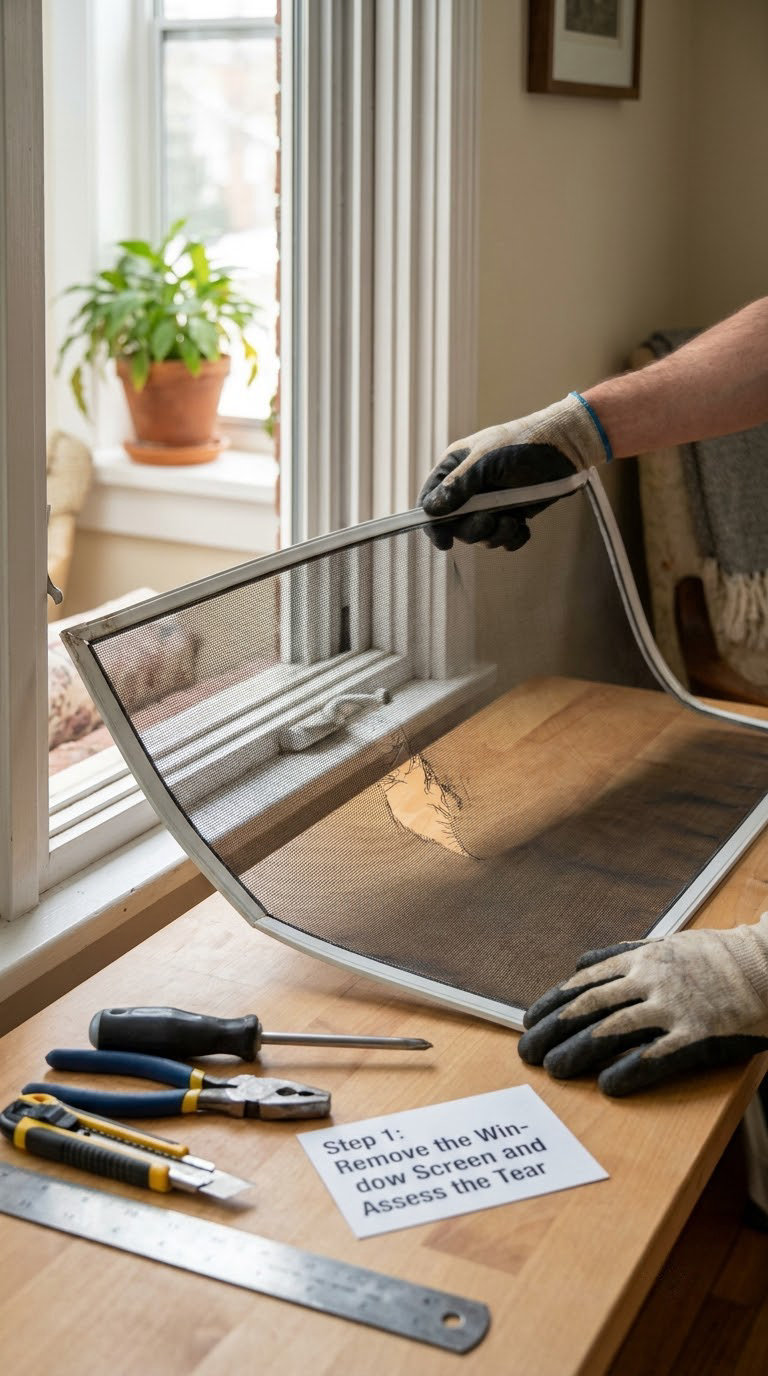
Most interior screens lift out by pulling one side inward and sliding the frame free of the channel. Some are held by turn buttons or clips on the outside; back those out with a flathead screwdriver first. Work the frame loose along its whole edge rather than levering from one corner, or you will bow the aluminium.
If the tear sits in a place you can comfortably reach, you can skip removal and patch in place. That is the fastest route, and plenty of people never take the screen out at all.
Lay the screen flat on a towel and measure the damaged area. Note the length, the width, and whether the damage touches the frame edge or a corner. Write it down; it stops you cutting a patch too small.
Step 2: Choose How to Repair a Torn Window Screen Without Replacing It
Match the method to the tear, and you will finish in minutes instead of redoing the job in August.
| Tear size and location | Best method | Time | Cost |
|---|---|---|---|
| Slit or hole under 2 inches, screen in the frame | Adhesive patch or screen tape, in place | 10-15 min | Lowest |
| Hole under 2 inches, screen removed | Mesh patch with adhesive, or stitched with waxed thread | 15-25 min | Low |
| Tear 2 to 4 inches, or frayed edges | Cut out the damage and sew in new mesh | 30-45 min | Low |
| Tear along the spline line or in a corner | Replace mesh, keep the frame | Under 30 min | Moderate |
| Rip wider than 4 inches, multiple holes, rigid aluminium mesh | Replace the mesh or buy a pre-framed screen | 30-45 min | Moderate |
A temporary fix is reasonable when you are between seasons and the tear is not growing. A stitched or welded repair is worth it on pet-resistant mesh, on a screen door, or anywhere a dog might push against the hole again. Replacing only the damaged mesh makes sense when the frame itself is still square and the spline groove is intact.
Step 3: Patch a Small Tear with Screen Tape or a Mesh Patch
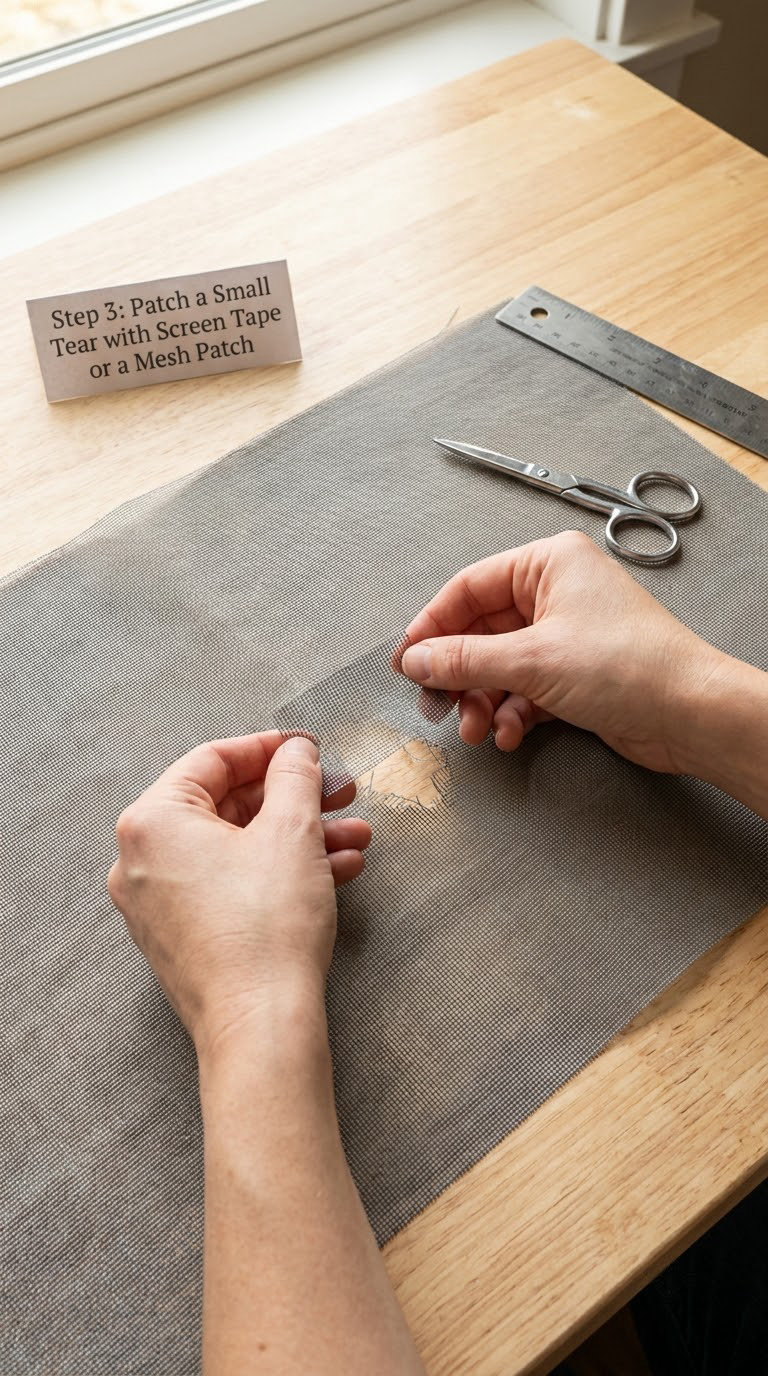
Cut your patch piece at least 1 inch larger than the tear on every side, so two inches of overlap for a two inch hole. Round off the corners. Square corners lift first, which is why tape patches curl away at the edges.
Trim away frayed strands with scissors rather than tearing them, then press the patch on with clean dry fingers. Start at the centre and work outward so air pushes out instead of trapping underneath.
For screen repair tape, leave it in place and press firmly for 30 seconds. Most tapes need 24 hours before full bond, and some need longer in cold or damp weather. Sprayed or liquid waterproof adhesive usually grabs in 15 to 30 minutes. Hold the mesh flat and undisturbed while it cures.
Check the repair by looking through it from the sun side. You should see a faint outline of the patch, no lifted corners, and no daylight gaps bigger than a pinhead. Wait the full cure time before the screen goes back in the window, because a breeze through a curing patch will lift the edge.
Step 4: Stitch or Fuse a More Durable Repair
Stitching is the strongest patch and it works on the mesh types that defeat glue. Cut a patch of the same mesh, make it 1 inch larger on all sides, and match the weave direction so light still reads evenly through it.
Use a needle and waxed thread or heavy polyester thread. Work from the centre outward with a whip stitch or a simple running stitch about 1/4 inch apart, pulling the thread taut but not deforming the weave. Double back over the thread at the start and finish it on a seam where the screen is already under tension.
Skip stitching on any mesh that melts or is meant to be ultrasonically welded, and check the manufacturer’s guidance first. Fiberglass and standard polyester sew cleanly. A heat-fusible repair tape works on polyester mesh and needs a warm iron or hair dryer for 20 to 40 seconds, but it will not fuse a wire screen.
Keep the whole patch flat while it cools, then hang it for an hour before installing.
Step 5: Replace the Damaged Mesh Section
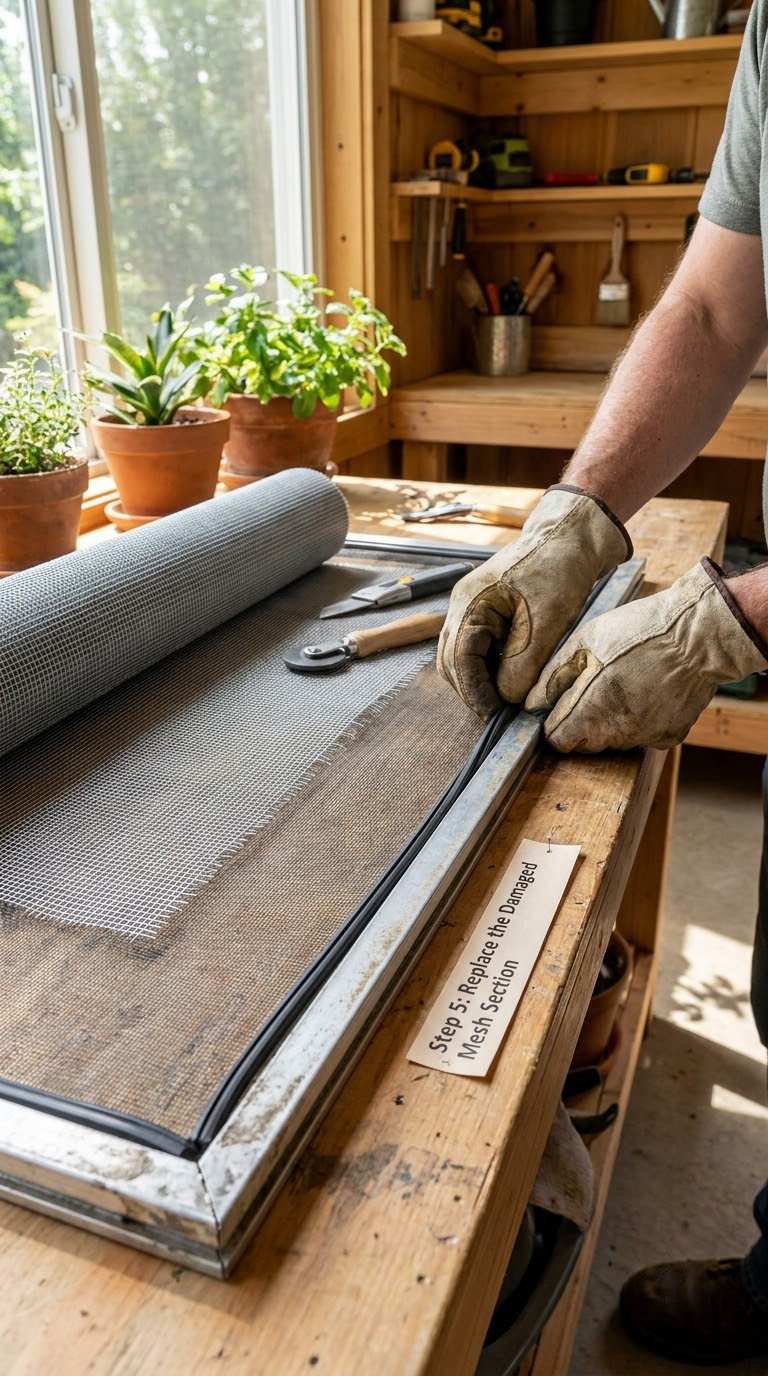
This is the method that keeps the frame. Lay the frame face down on a flat surface, lift the spline out of the groove with a flathead screwdriver or a plastic pry tool, and pull the old mesh free. Brittle spline comes out in fragments; work in short sections and let the shards fall onto a towel rather than into the grass.
Cut the damaged mesh in a neat rectangle, then cut your new mesh 2 to 3 inches larger than the frame on every side. Lay it over the frame so the weave runs parallel with the old, matching colour and opacity where you can see the original.
Re-roll the spline in each side, leaving one side open so you can stretch the mesh. Work around two opposite sides first, then pull the remaining two tight and roll them in. Keep the mesh taut the whole way. Finish with two short L-shaped runs in the corners, where the spline otherwise pops back out.
Trim the excess with a utility knife, blade angled away from your fingers, and cut along the frame so no raw edge stands proud.
Step 6: Reinstall and Test the Repaired Screen
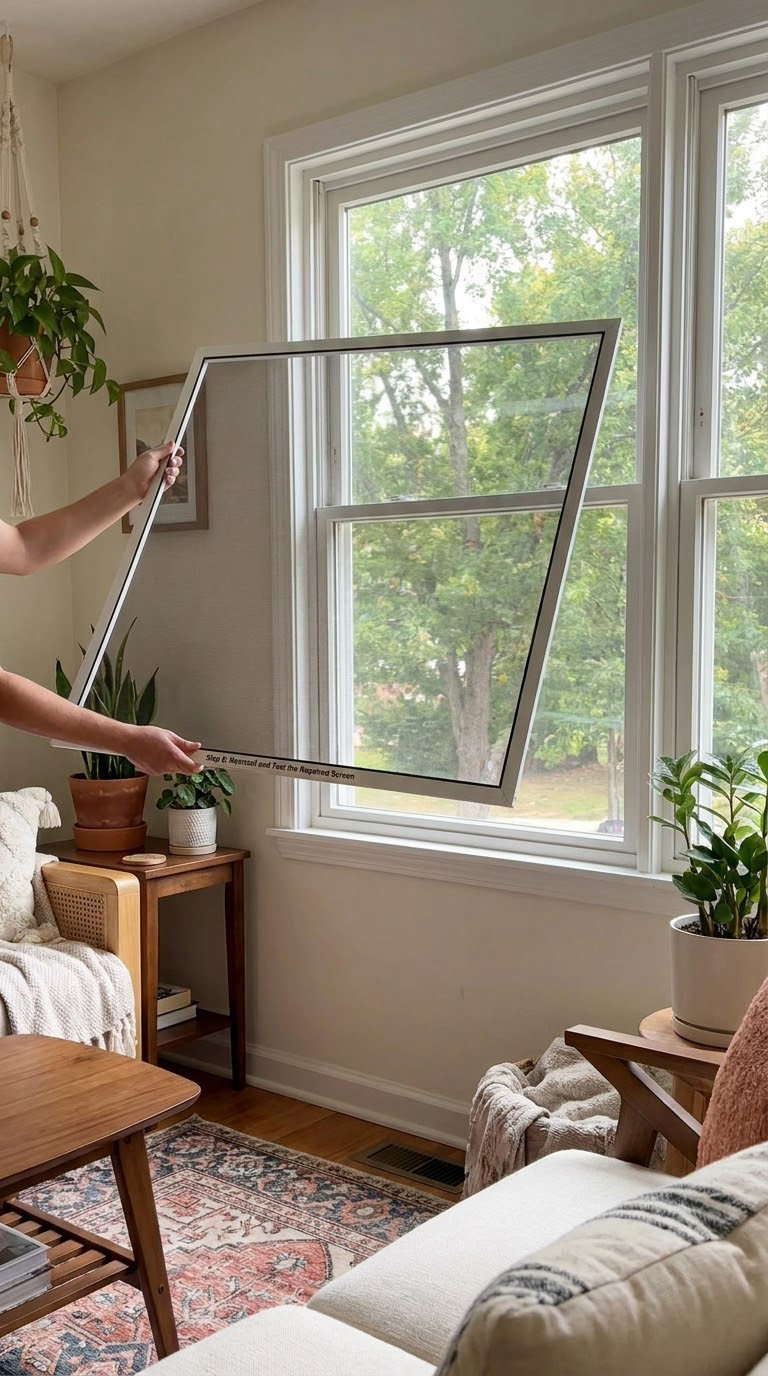
Slide the frame back into the sash channel and push it until it sits behind the interior stop. Lock the turn buttons or clips, then open and close the window twice.
Look for daylight gaps around the patch or mesh edges, and for a patch that flutters when the window moves. Walk outside and check that nothing is sticking out past the frame. The screen should sit square with no wrinkles and no tension lines, and the sash should glide without resistance.
If you are still learning how to repair a torn window screen without replacing it, the first repair is the one to watch. If it lifts within a few weeks, the cause is usually a patch that was too small, applied over dust, or placed while the mesh was stretched tight. Peel it back, clean properly and either enlarge the patch or sew it instead.
Common Mistakes to Avoid
Patching over dust or damp mesh. The bond never forms and the corner peels in a week. Clean with soapy water, rinse, and dry for at least an hour. Patching is the same idea as fixing a scuffed wall, and the same prep rules apply as with wall repair patch kits.
Cutting the patch too small. One inch of overlap on every side is the minimum. Bigger tears need more, because the stress sits on the edge of the patch.
Leaving square corners. Round them. Adhesive always loses first at a sharp point.
Using the wrong adhesive. Household glue and general purpose craft glue yellow and go brittle in sun heat. Use a waterproof screen adhesive, and a two part epoxy on metal frames. Never put solvent based glue on vinyl or aluminium mesh.
Sewing mesh that melts or is ultrasonically welded. A needle or a hot iron can destroy it. Check the mesh type first.
Pulling the mesh out of square. Roll two opposite sides, then tension the last two. Skipping this is why corners wrinkle and blow out in the first wind.
Forcing out old spline with a knife. Pry gently. Bent frames cost more than the tear you were fixing.
When to Call a Pro
Screen patching is well within beginner DIY range, and no permit is required for a routine repair. A few situations are not:
- The window frame or sash is bent, cracked, or no longer closes squarely.
- The track or channel is damaged, so the screen will not seat.
- The window cannot be reached safely, such as a third floor exterior with no ladder and no balcony.
- The screen is custom, retractable, solar shade, or a very large fixed panel.
- Damage is severe enough to affect insect control, such as a porch or door screen in a mosquito-heavy area.
- A code, HOA rule or landlord policy requires a licensed trade to touch the window opening.
For any of those, a licensed window or screen professional is the right call, and frame work can require a permit depending on how the opening is altered. If you are doing surrounding repairs later, our guide to the best wrench sets for home repair covers the tools that earn their place in a small kit.
Maintenance
A repaired screen lasts longer if you treat it gently.
- Vacuum or brush off dust every few months, more often near dusty roads or pets.
- Wash with warm soapy water and a soft brush once or twice a season, then let it dry fully in the shade.
- Skip abrasive pads, pressure washers and harsh solvents. They stretch the weave and dull the coating.
- Check seams and fasteners each spring before open window season, and touch small nicks while they are still pinhead sized.
- Keep the screen dry and stretched. Persistent sag means the spline has relaxed and the mesh is loose.
- Trim loose threads instead of pulling them, and keep dogs and squirrels from using the screen as a door.
Frequently Asked Questions
Can you fix a torn window screen?
Yes. If the hole is under about two inches, cut a patch of matching mesh one inch larger on every side, centre it over the tear on clean dry mesh, and secure it with waterproof screen adhesive or a few stitches of waxed thread. Larger rips need the mesh replaced while the frame is kept.
Does window screen repair tape work?
It works well for tears under two inches on standard fiberglass mesh. Clean and dry the area, round the patch corners, press from the centre outwards, then leave it undisturbed for 24 hours. On pet-resistant or no-see-um mesh the bond is weak because there is too little surface for the adhesive to grab, so sew the patch instead.
What glue should I use for window screen repair?
Use a waterproof adhesive sold for insect screen, or a two part epoxy if the frame is metal. Household craft glue and general purpose glue turn brittle and yellow in sun heat. Never use solvent based glue on vinyl or aluminium mesh, and avoid stitching any screen meant to be ultrasonically welded.
Do I need to remove the screen to repair it?
Not always. If the tear is within comfortable reach and the frame is still, you can patch it in place, which is faster and avoids the risk of bowing the frame. Remove it when the damage is near an edge or corner, when you are replacing mesh, or when you need both hands and a flat work surface.
How do I put a window screen back in place?
Slide the frame into the sash channel along the bottom edge, push it toward the outside stop, then work it up and around so the whole frame sits behind the interior stop. Lock any turn buttons or clips, and open and close the sash twice to check that the screen sits square and the window still glides.
Is it worth repairing a screen or should I replace it?
Patch anything under two inches, especially pet or squirrel damage you want to stop before it grows. Replace the mesh, keeping the frame, when the tear runs along the spline, sits in a corner, or passes four inches. Buy a whole new screen only when the frame is bent or the mesh is rigid aluminium.
Conclusion
Start by cleaning the mesh, measuring the tear, and identifying the screen material. Under two inches, a patch of matching mesh one inch larger on every side, pressed or stitched onto clean dry mesh, will hold. Larger damage along a spline or corner calls for new mesh rolled into the same frame. Knowing how to repair a torn window screen without replacing it comes down to judging size and material, and none of it asks you to throw away a frame that still sits square.