
How to Seal Grout After Tiling: Simple Steps 2026
Yes, most grout should be sealed, and the job takes about two hours of actual work plus drying time. Cement-based grout between your tiles is porous, so it drinks up water, soap and grease, darkens, stains, grows mildew in the pores and slowly crumbles away. Sealing grout after tiling fills those pores from the inside so the grout still breathes but stops soaking things up.
The exception matters too. Epoxy grout does not need sealing at all, and glazed porcelain or ceramic in a dry room may not be worth the effort. Cement-based grout, sanded or unsanded, in a shower, bathroom floor, kitchen floor, backsplash or entryway is the case you should care about. This guide covers how to seal grout after tiling the right way, room by room, including what to buy, how long to wait, and how to tell whether the seal actually worked.
Contents
Time: 2 to 4 hours of work across two days · Cost: one quart of sealer covers most of a small bathroom floor · Difficulty: Easy to Moderate DIY · Skill level: patient beginner
Tools and Materials
Grout sealing needs less than people expect. If you have already grouted the area and cleaned up after yourself, the shopping list is short.
Preparation supplies
- pH-neutral tile and grout cleaner, or a mild dish soap and warm water solution
- Small handheld vacuum or a stiff nylon grout brush for dust in the joints
- Microfiber cloths and a soft-bristle toothbrush for corners and edges
- Painter’s tape for masking off trim, counters, cabinets and fixtures
- Drop cloth or a plastic sheet to protect counters and the floor below a backsplash
- Rubber gloves and safety glasses
Sealing supplies
- One quart of penetrating grout sealer per 40 to 80 square feet of tile, depending on joint width and how porous the grout is
- A grout applicator brush with stiff bristles, a foam sponge brush, or a small foam roller
- Clean, dry microfiber cloths or white cotton rags for wiping excess off the tile face
- A box fan and open windows for ventilation
- A timer, because the wipe window is short
Sponge-applied sealer is the gentler option if you are sensitive to fumes. A stiff-bristle applicator brush lays down more sealer per pass and wastes less product on porous ceramic tile than a sponge does. Our picks for cleaners for shower tile and grout are worth a look before you start scrubbing.
Before You Start
Find out whether the grout needs sealing. Most cement-based grout does, whether it was laid last week or twelve years ago. Epoxy grout is a different material entirely and does not absorb water, so sealing it is wasted effort. Premixed grout behaves like a cement-based product, so treat it the same way. If you are unsure what you have, tap a joint with a key: epoxy feels hard and glassy, cement-based grout is chalky and slightly soft.
Confirm the tile can take a sealer too. Natural stone such as marble, travertine and slate has its own sealer, and grout sealer is not a substitute for it. If your floor is stone, seal the stone and the grout in the same pass with a product approved for both, or seal the stone first, let it cure, then do the grout. Glazed ceramic and porcelain tile are non-porous and will not absorb the sealer, so all you are doing is protecting the joints. Unglazed porcelain and quarry tile do absorb, so seal them before grouting next time to keep grout color out of the pores.
Let new grout cure before you seal it. Wait at least 48 hours after grouting, and 72 hours if the room is cool or the air is humid. Premixed and rapid-set grout can be sealed sooner, sometimes within 24 hours, but follow the bag. Sealing damp grout traps the moisture inside and you end up with a patchy, hazy finish that never fully hardens.
Protect the room. Seal the joints before you put furniture, towels or a shower curtain back, not after. Mask anything you are not prepared to clean, and keep the tub or shower out of use until the sealer has cured.
Ventilate and wear protection. Open every window, run a box fan, and use rubber gloves and eye protection. Fumes are strongest with spray and solvent-based sealers, which is why sponge-applied penetrating sealers cause fewer complaints about headaches and breathing. Work for an hour or two, then get out of the room and air it out.
How to Seal Grout After Tiling: Step-by-Step Instructions
Step 1: Check Whether the Grout Needs Sealing
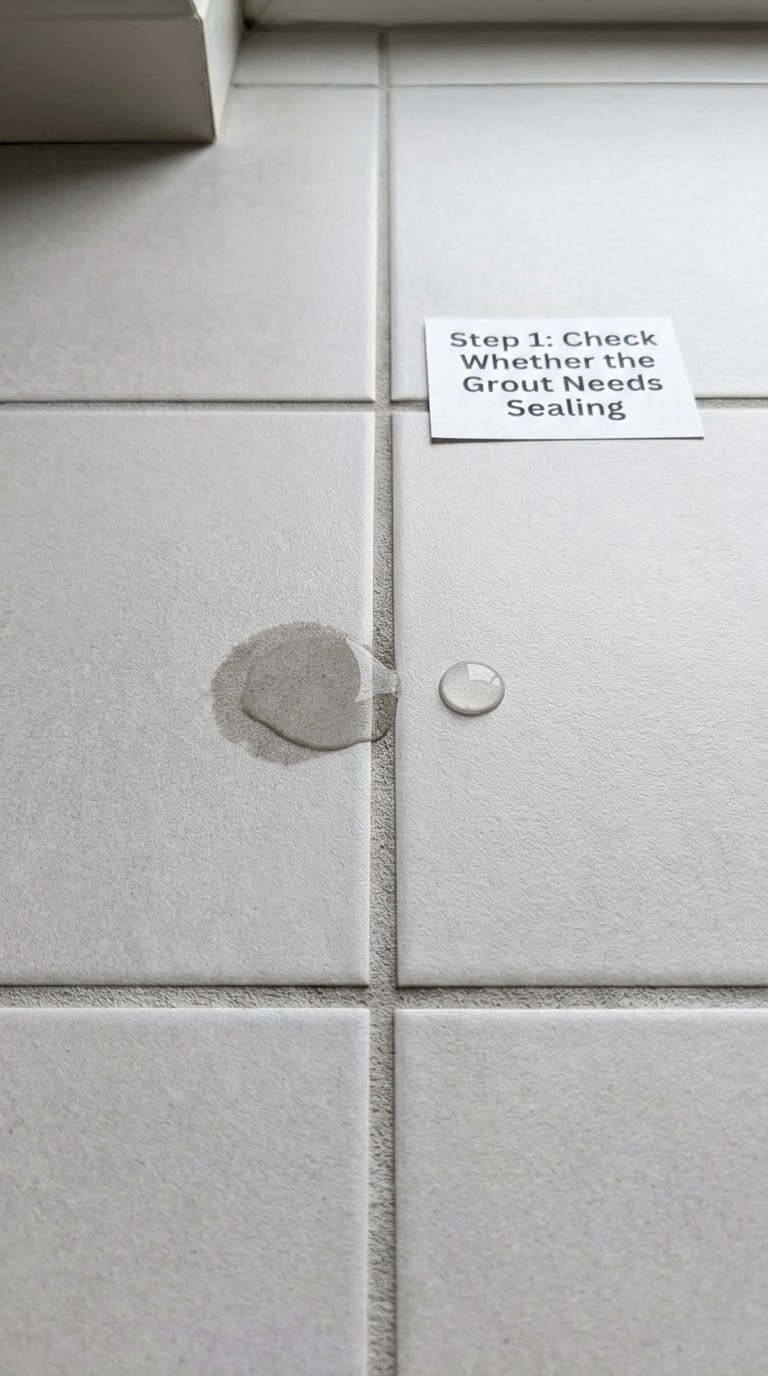
Do the water-drop test first. Put a few drops of water on a grout joint and wait a minute. Unsealed grout takes the water straight in and the joint darkens almost immediately. Sealed grout holds a bead on the surface that you can wipe away.
If the water sits on top, that joint is already sealed, so either skip it or apply a maintenance coat once. If the water disappears, you have work to do. Test in two or three spots, including one near the shower or the sink, because grout ages unevenly and the busiest area is often the most worn.
Step 2: Clean and Dry the Grout Joints
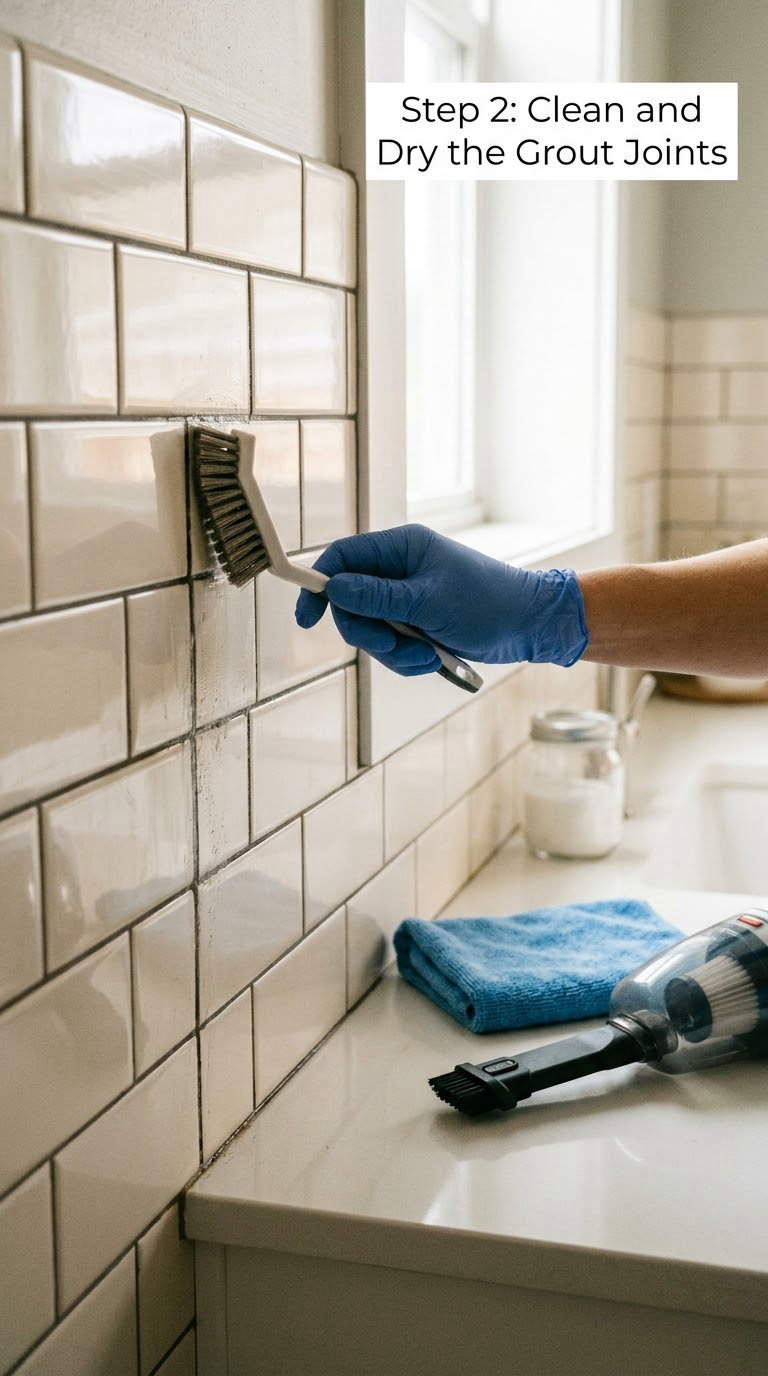
Dirt, soap film, wax and old sealer all sit in the pores and block a new coat from soaking in. Vacuum the joints first, then scrub them with a pH-neutral grout cleaner and a toothbrush, keeping the brush inside the joint so you do not scratch the tile edge.
Wipe the haze off the tile face with a clean damp cloth and let everything dry completely. Squeeze a joint hard with a dry finger: if it feels cool or damp, wait another day. Some people speed this up with a fan and a dehumidifier, and if you have a steam cleaner for grout, use it on the tile a day before sealing so the joints have overnight to dry out.
Step 3: Choose the Right Sealer and Test It
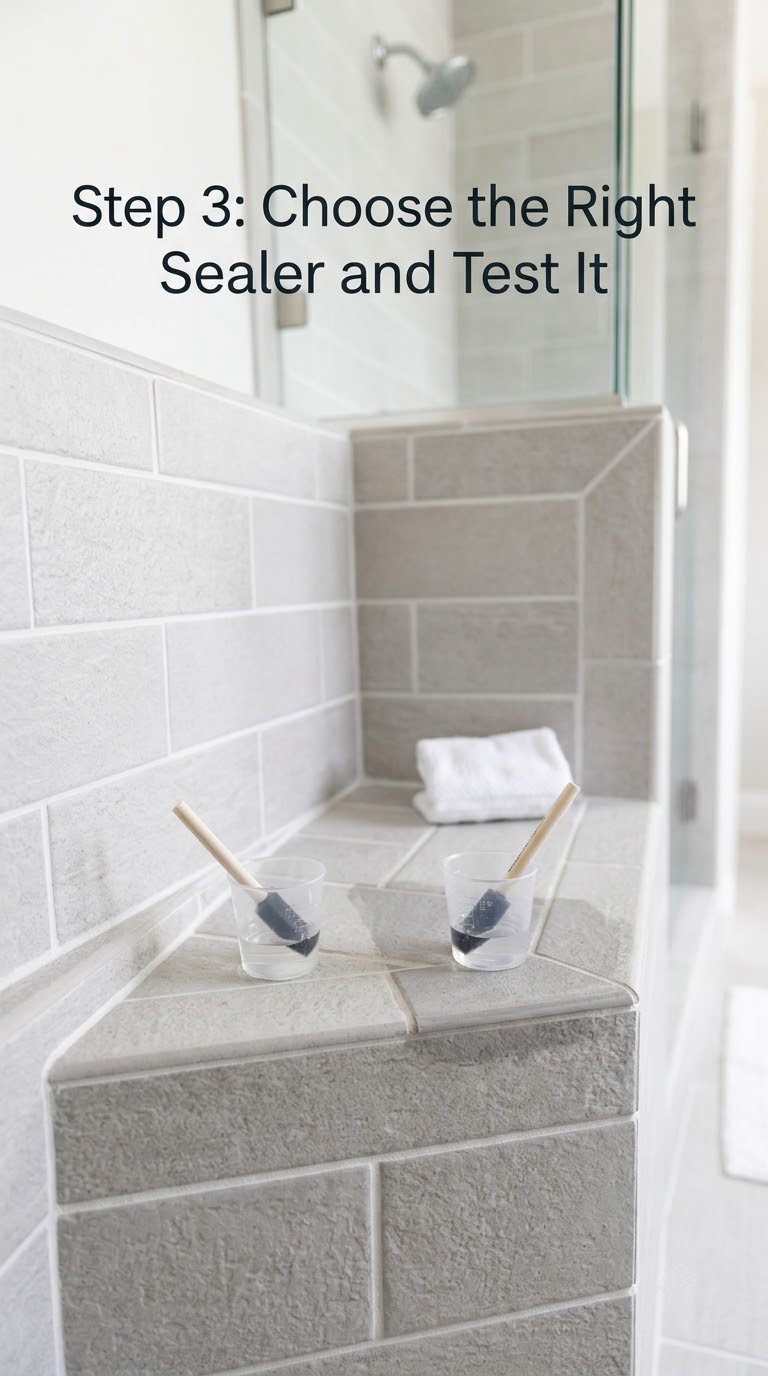
Penetrating sealers soak into the pores from the inside and leave the grout breathable. They are the right choice for showers, tub surrounds, floors and backsplashes. Membrane-forming sealers, sometimes called surface or film sealers, sit on top as a coating. They are fine for a dry backsplash but should not go in a shower, because a film with one small opening in it can push moisture sideways through the grout instead of letting it evaporate.
Color-enhancing sealers darken and unify the grout while they seal it. They work well on white or gray cement grout that has faded, but they will not rescue grout that is permanently stained from years of water. For that, a grout colorant or regrouting is the real fix.
Always test first in a hidden corner, ideally behind the toilet or under a cabinet. Check the look in daylight, not under warm bulbs, since some sealers leave a faint sheen that shows up badly under a recessed light.
Step 4: Apply the Sealer Evenly Across the Joints
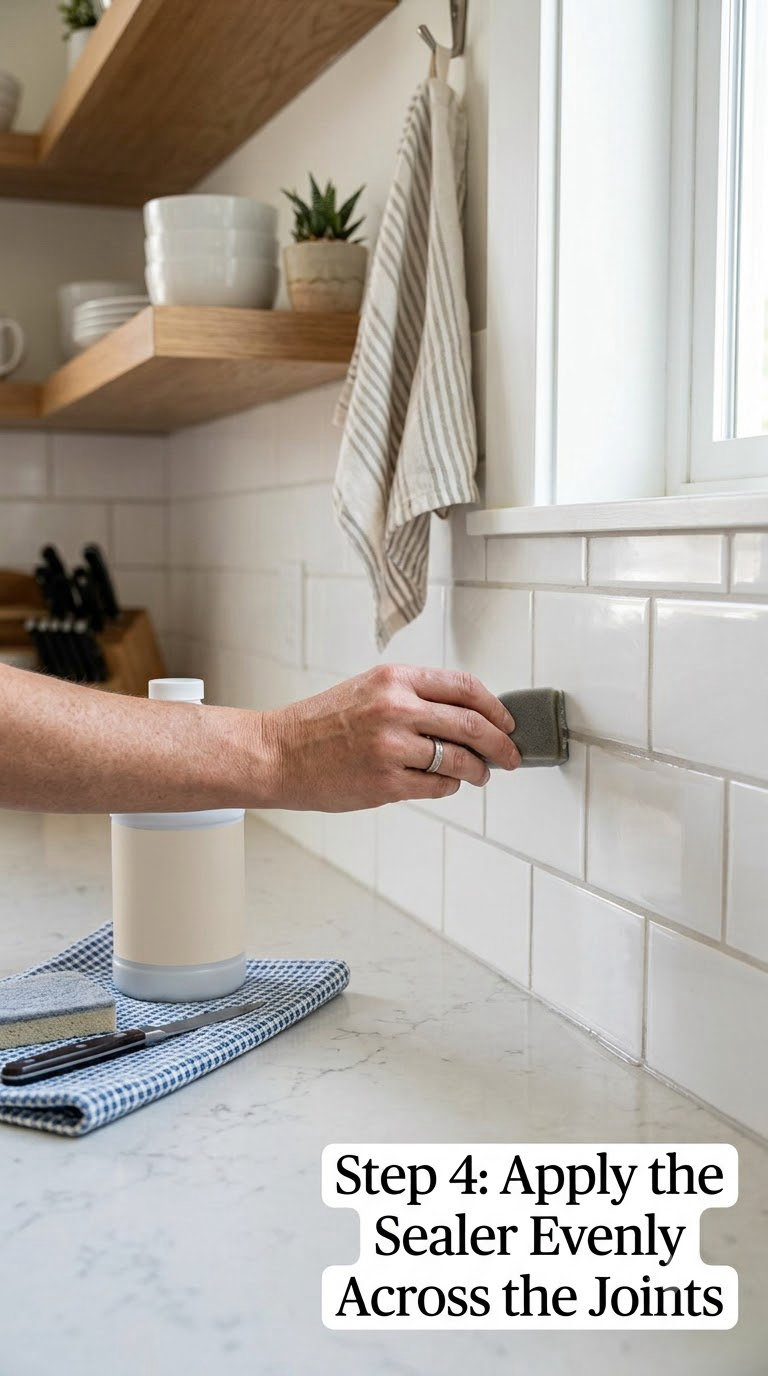
Pour a small amount into a shallow tray rather than straight onto the floor, and work in sections small enough that you can finish and wipe each one before moving on. A 3-by-3-foot patch is comfortable for most people.
Load the brush lightly and run it along the joint with the grain of the grout. Keep the sealer in the joint, not on the tile, and pay attention to the edges where the grout meets the tile and to the corners where two joints meet, because those are the spots that get skipped. Let the sealer sit on the surface for the dwell time on the label, usually 5 to 10 minutes, then wipe the tile face with a clean damp cloth.
Too much sealer leaves a glossy, hazy film on the tile that is painful to remove once it cures. If you see puddles, blot them with a dry cloth right away rather than trying to scrub them later.
Step 5: Let the Sealer Dry and Check the Finish
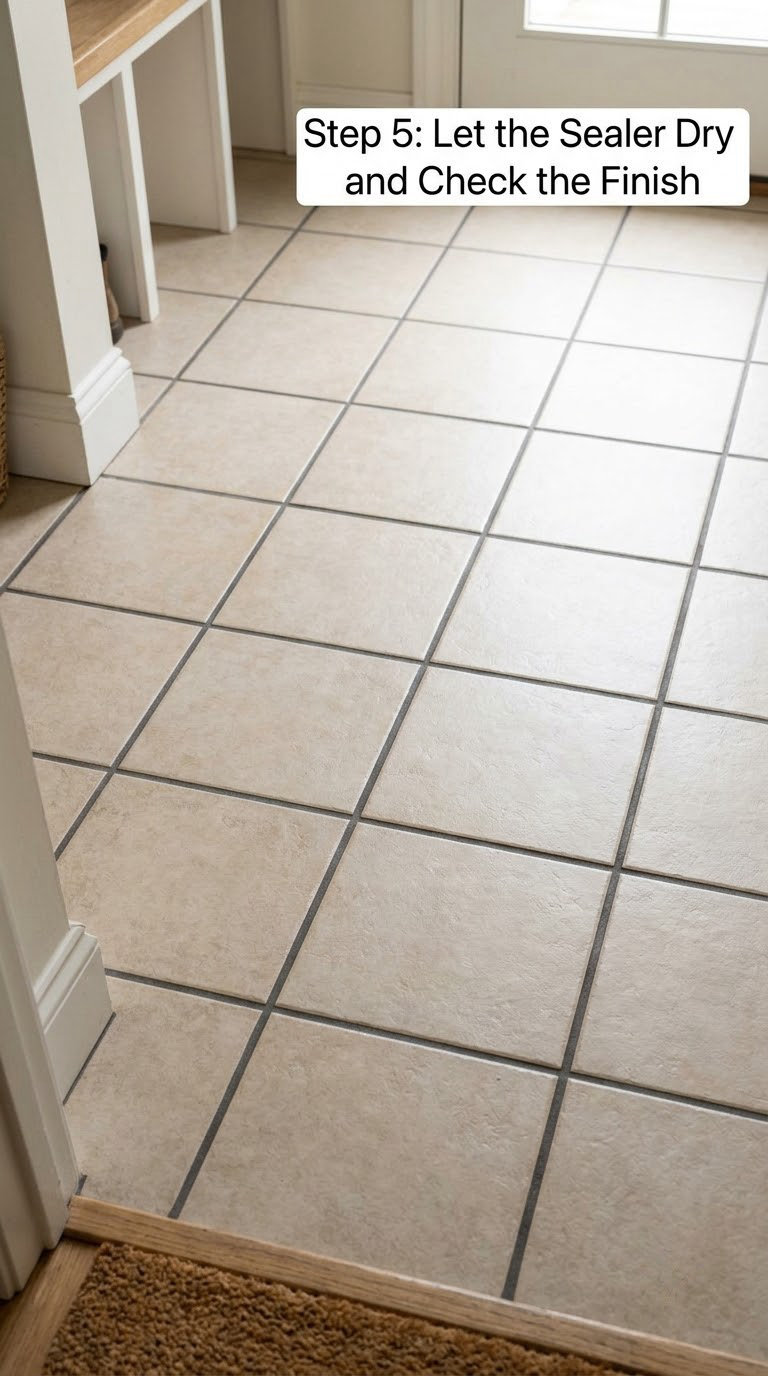
Dry and cure are not the same thing. Sealer feels dry to the touch in 30 minutes to a few hours, but it is not hardened. Keep foot traffic off for at least 2 hours, avoid water for 24 to 48 hours, and allow 24 to 72 hours before heavy use, always following the label on your specific product.
Look across the dried joints at a shallow angle in daylight. Sealed grout reads darker and more even than it did before, and any joint that is noticeably lighter than its neighbors is a section you missed or a joint that was wetter than the rest. Leave the second coat for another day so the first one is fully set, then apply it the same way.
Step 6: Reapply Sealer as Needed
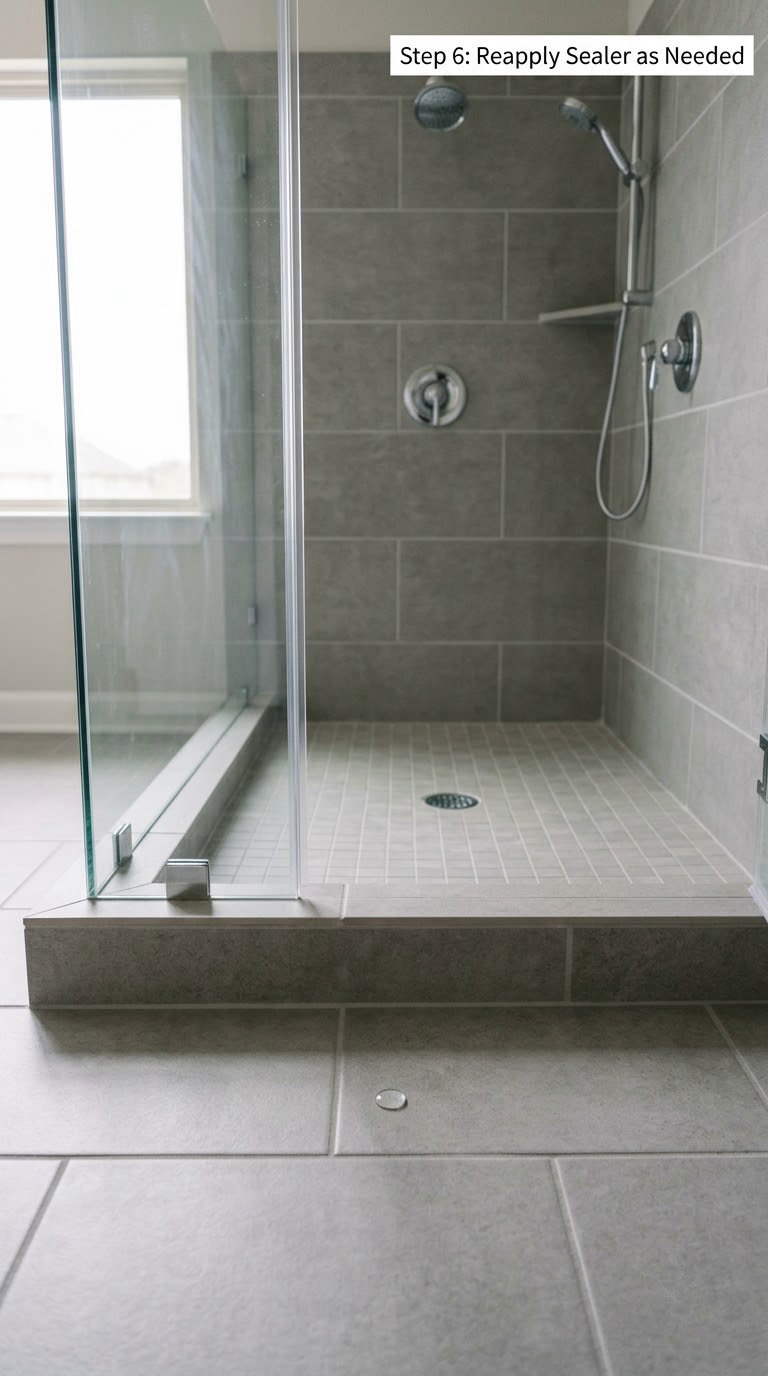
Do the water-drop test again in areas that get soaked, walked on, or scrubbed hardest: the shower floor, the first row of backsplash tiles behind the faucet, and the kitchen floor in front of the sink. A joint that drinks the water has lost its seal and needs another coat.
Check every six months in a wet area and once a year elsewhere. Resealing on a schedule when the grout is still holding a bead just wastes product and time, and the Tile Council of North America guidance points the same direction: inspect first, reseal when the water test fails, and treat two years as an outer limit rather than a guarantee.
Common Mistakes to Avoid
Sealing damp grout. Water inside the joint keeps the sealer from penetrating and leaves a blotchy finish that may never harden. The fix is to stop, let the grout dry for another 24 to 48 hours, and do not cover it again until it feels dry and room temperature under your palm.
Using a membrane sealer in a shower. This is the single most expensive DIY sealing mistake, and it is exactly why some contractors refuse to seal wet areas at all. The fix is to strip it, clean thoroughly with a grout cleaner, dry for a week if needed, and start over with a penetrating sealer.
Applying far too much. Thick coats dry cloudy, never soak in properly, and leave residue on the tile. The fix is a lighter hand on the second pass and a proper tray instead of pouring straight from the bottle.
Missing corners and edges. The joints along a wall, behind the toilet, or inside a niche are the first to fail later. The fix is to run the brush with the edge first, then fill the joint, and to walk the perimeter at the end of every section.
Treating dry time as cure time. Putting the shower back into service after two hours is the fastest route to a seal that peels. Follow the label’s cure window, and if two days is hard to arrange, start on a Friday so the room is out of use over the weekend.
Leaving sealer on the tile face. A haze on the tile is not dangerous, it is just ugly. The fix is to wipe sooner next time. If residue has already cured, work a soft cloth with a small amount of the manufacturer’s recommended residue remover and buff it off; a razor scraper on a glazed surface is the last resort, and never on natural stone.
There is one more mistake worth naming. Using an acidic or bleach-based cleaner on sealed grout. It strips the seal and dulls the color, so switch to a pH-neutral product for routine cleaning and save the strong stuff for deep grout restoration before sealing.
When to Call a Pro
Sealing grout is well within reach of a careful beginner, but some situations belong to a tile professional. Call one if the substrate is moving or the grout is cracking, because a sealer on top of a shifting floor just locks in a problem that will fail again within a season.
Leaks need a plumber before anyone opens a can of sealer. If water is coming through the grout from the shower pan, the membrane behind the tile, or a grout line that stays damp in dry weather, sealing the surface is a temporary cover on a bigger repair.
Hire a pro for permanently stained grout that has to be cut out and replaced, for large floor installations of natural stone such as marble or travertine, and for anything outdoors or in a commercial kitchen where the product has to meet specific slip and code requirements. Sealant labels and their warranty terms are what a commercial buyer needs on file anyway.
Large format and natural stone jobs also benefit from professional advice before you start, since cutting and fitting those materials is its own skill. Our tile cutters for small tiling projects guide covers what is reasonable for a small DIY area.
Maintenance
The seal only lasts as long as the cleaning habits around it. Once sealed, treat the grout as a finished surface rather than as a sponge you can scrub hard.
Weekly: wipe counters and the shower walls, and keep splashed product off the joints. Most staining starts as a splash that nobody wipes up.
Monthly: mop or wipe floors with a pH-neutral cleaner. If you have colored grout, avoid anything acidic, and pick a product matched to your grout type, like a grout cleaner for colored grout in the shower.
Every six months: run the water-drop test in the shower and the busiest floor area. A clean grout line that takes the water down needs another coat before it starts to look dirty, which is far easier than restoring gray, stained joints.
Start with gentle products and work up. Neutral-pH cleaners preserve the seal; bleach, vinegar and scouring powders take it off and dull the grout color each time.
Frequently Asked Questions
Do you need to seal grout after tiling?
For cement-based grout, yes. Sanded and unsanded cement grout is porous and absorbs water, stains and mildew unless the pores are filled with a penetrating sealer. Epoxy grout is non-porous and needs no sealer. In dry, low-traffic rooms sealing is optional, but in showers, tub surrounds, kitchen floors and entryways it is worth the couple of hours.
How long after tiling can you seal grout?
Wait at least 48 hours after grouting, and closer to 72 hours in cool or humid rooms. Premixed and rapid-set grout can sometimes be sealed at 24 hours, so check the bag for the manufacturer’s window. The surface must be bone dry to the touch, not just dry-looking, because sealer applied over damp grout cures blotchy and weak.
What kind of grout sealer should I use in a shower?
A penetrating, water-based impregnating sealer. It soaks into the grout pores and lets moisture evaporate from underneath. Membrane-forming sealers create a film on the surface, which belongs on a dry backsplash but not in a shower where it can trap moisture. Apply two thin coats with a brush or foam applicator, not a sponge-loaded dumper.
Can I put grout sealer on old grout?
Yes, as long as you clean it, repair any cracked joints, let it dry, and run a water-drop test first. Old grout usually needs a scrub with a grout cleaner and a day or two of drying. If the grout is permanently darkened, sealing will not restore the color; a grout colorant or fresh grout is the fix, since sealer only works on clean, open pores.
Why do contractors not seal grout?
Two reasons show up most. First, a bad membrane sealer in a wet area traps moisture inside the grout, which is a genuine failure mode pros try to avoid. Second, sealer is extra labor and material that many builders simply do not specify. None of that makes unsealed grout wrong in a dry room, but in a shower or kitchen floor a penetrating sealer is cheap insurance.
Is it okay to get grout sealer on the tile?
It is fine physically, but it leaves a haze that is annoying to remove once it cures. Wipe the tile face with a clean damp cloth after 5 to 10 minutes while the sealer is still wet. If residue has already dried, use a soft cloth with the manufacturer’s recommended remover and buff it. Never scrape natural stone or unglazed tile to lift it.
Start With the Water-Drop Test
The fastest way to learn whether your grout needs sealing is to put a few drops of water on a joint and watch. If it beads up, you are done. If it disappears into the joint in a few seconds, you have a sponge sitting between your tiles, and that is worth fixing.
When you do seal, clean and dry the joints thoroughly, use a penetrating sealer rather than a surface film, work in sections you can finish in ten minutes, and wipe the tile before the sealer sets. Give it 48 hours before the shower sees water again, then check it twice a year with the same drop of water.
