How Long Does Drywall Mud Take to Dry? Easy Guide 2026
How long does drywall mud take to dry? Anywhere from 20 minutes to 24 hours for a single coat, and the deciding factors are the type of compound, how thick you laid it on, and the temperature and humidity of the room. That is the honest range, and the gap between the two ends is enormous.
A thin skim over a screw head with a fan in the room can be sandable before dinner. The same compound over a deep cut in an unheated basement in February can still be soft three days later. If somebody tells you mud always dries in 24 hours, they are describing a warm, dry, thin coat and nothing else.
Contents
Last updated: October 2026.
Fall is a busy season for interior work, and it is a good one to get scheduling right. This guide covers the numbers first, then the tests you can trust more than any clock on the bucket. If you are also planning the rest of the job, our drywall tool kit picks cover the blades and sanders you will want on hand.
How Long Does Drywall Mud Take to Dry at a Glance?
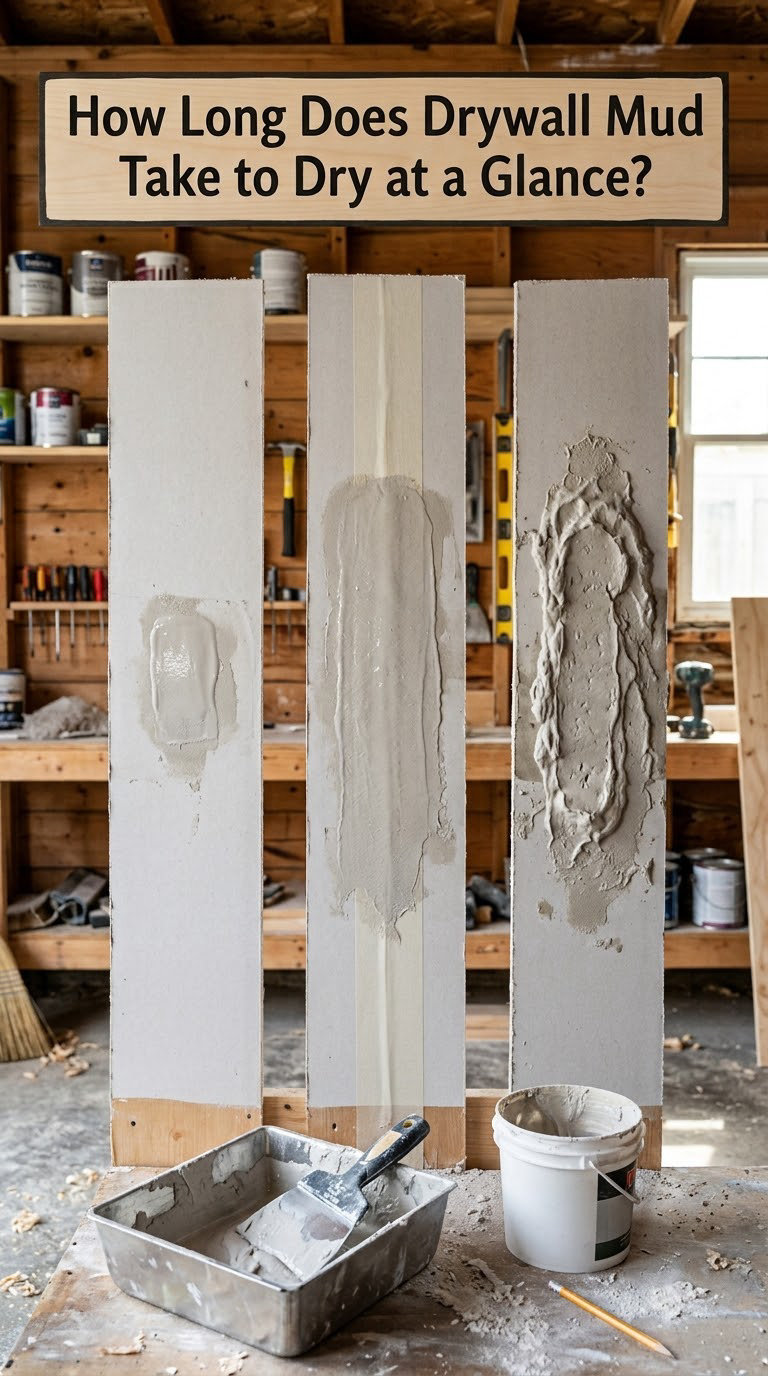
The table below uses pre-mixed or all-purpose joint compound dried by evaporation, because that is what most DIY projects use. Setting-type compound is much faster and is broken out further down.
| Coat thickness | Time to dry | Ready to sand | What the number means |
|---|---|---|---|
| Paper-thin skim over screw heads and nail pops | 30 minutes to 2 hours | 1 to 2 hours | Almost all water leaves the coat in the first few hours |
| Standard coat over tape or a butt joint, about 1/8 inch (3 mm) | 12 to 18 hours | 18 to 24 hours | The standard case, and the one the 24 hour rule comes from |
| Fill coat over a deeper gap or a cut repair | 24 to 48 hours | 48 hours or more | Core moisture is still moving outward long after the face looks pale |
| Heavy fill at 1/2 inch (13 mm) or thicker | 2 to 3 days | 3 days or more | Forced drying here causes cracking, not speed |
USG, one of the larger compound manufacturers, publishes a baseline of about 24 hours at 70 degrees F and 70 percent relative humidity. Notice that even the manufacturer quote assumes a warm, damp, ordinary room. Change the temperature and that number moves a lot.
One more distinction worth learning early: dry to the touch, sandable, and fully cured are three different milestones. Sandable is the one that matters for your schedule.
How Long Does Drywall Mud Take to Dry by Type?
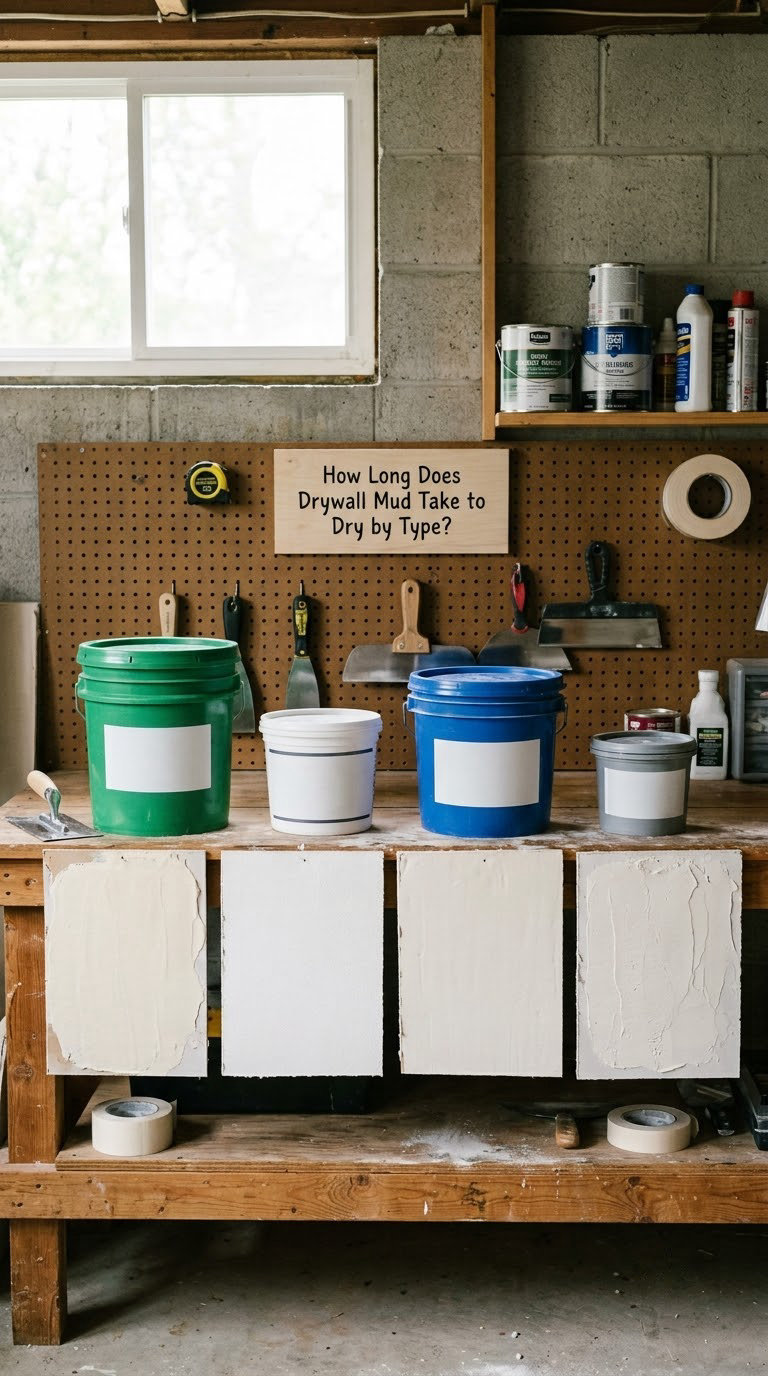
Two families of compound exist, and they dry by completely different mechanisms. Drying-type compound loses water to the air, so temperature, humidity and thickness dominate the clock. Setting-type compound hardens by chemical reaction, so the clock barely moves with humidity at all.
| Mud type | How it dries | Typical dry time per coat |
|---|---|---|
| Pre-mixed all-purpose joint compound | Evaporation | 12 to 24 hours |
| Lightweight all-purpose compound | Evaporation, less water to lose | 12 to 24 hours |
| Quick-dry pre-mixed (Plus 3 style) | Faster evaporation, hot-water activated | 1 to 4 hours |
| Topping or skim compound | Evaporation, shrunk to sand easily | 12 to 24 hours |
| All-in-one water-activated pre-mix | Evaporation, with a setting component | 24 to 48 hours |
| Setting-type 20 minute (hot mud) | Chemical reaction | Hard in about 20 minutes, usable within the hour for normal fills |
| Setting-type 45 minute | Chemical reaction | Hard in about 45 minutes, dry within 1 to 2 hours |
| Setting-type 90 minute | Chemical reaction | Hard in about 90 minutes, dry within 2 to 4 hours |
| Spackle or patch compound | Evaporation in a very small volume | 1 to 2 hours |
How long does drywall mud take to dry? What the 20/45/90 labels really mean
Those numbers are working time, not dry time. They tell you how long you have to spread the mud before it sets in the pan, and how long you have to get it on the wall and shaped before it becomes unworkable.
Once it is on the wall and hardening, the label stops being a clock. A 20 minute compound applied in a deep fill can hold moisture for a day or more, though it will be rock hard to the touch long before that. Homeowners on r/drywall describe this the same way: fast-set mud and fast-drying mud are not the same thing, and mixing them up is the single most common mistake on this topic.
Setting-type compound also needs water to complete its reaction. Over-ventilating a room to force it dry can leave you with a crumbly, chalky repair instead of a hard one. Air movement helps; blasting air across a setting compound does not.
Beginners often ask whether 20 minute mud is worth it. For a handful of screw holes, spackle or a quick-dry pre-mix finishes the job in one sitting. For taping a whole room, it hardens faster than you can work and tends to shrink and crack, so a normal drying compound is the calmer choice.
What Changes the Drying Time?
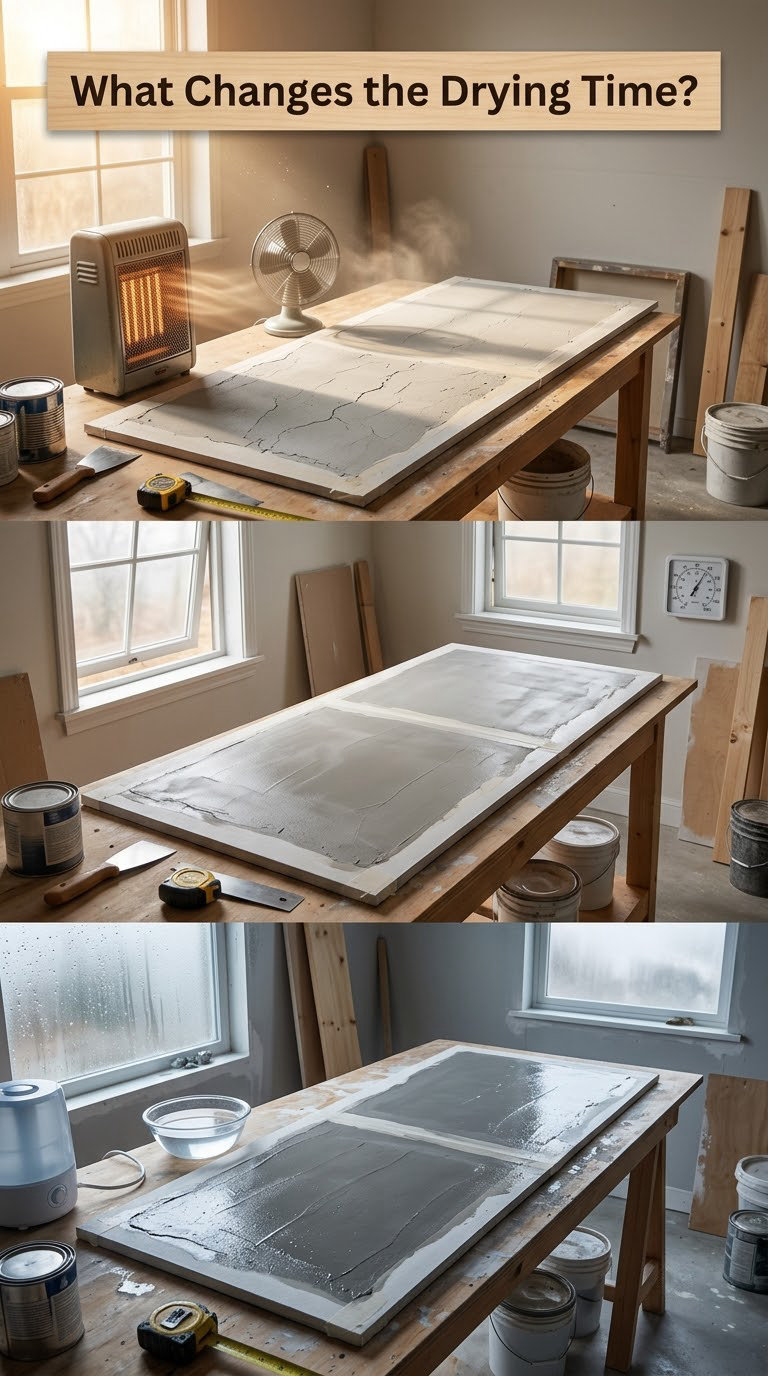
Thickness is the biggest lever and the one people misjudge. Water has to travel out of the coat, and it travels in from the wet face inward. A ridge that is three times as thick does not dry three times as fast, it dries dramatically slower, and the outside will look and feel dry while the middle is still holding water.
Temperature matters just as much. Below about 55 degrees F, drying-type compound slows sharply and can effectively stall in an unheated garage or basement. Between 60 and 80 degrees F with moderate air movement, you get the conditions most published times assume. Heat applied directly to the surface makes the top skin dry fast while the core stays wet, which is exactly how you end up with cracks.
Humidity works against you. Coastal summers, spring rains and houses that have just dried out after water damage all push times out, and a hygrometer in the room is worth the ten dollars it costs. Aim for roughly 40 to 50 percent relative humidity rather than the 70 percent baseline on the spec sheet.
Substrate and location both add time. Moist board takes longer than dry board, and ceilings consistently dry slower than walls because cool air collects at the ceiling and nothing rises to move it. If you are working overhead, plan on the slow end of every number here and read about drywall stilts before you start.
Airflow is the free lever. Cross-ventilation from two sides of a room beats a single fan pointed at the wall, and it beats a fan pointed hard at one spot, which dries a patch unevenly.
The number of coats stacks everything. A full room finish is typically three to four coats: embed, fill or widen, then a feathered skim. Multiply the per-coat time and add your own sanding and priming time, and a modest patch becomes a two-day project while a full room becomes most of a week of elapsed time.
How to Tell When Drywall Mud Is Ready
Judge the surface, not the calendar. These four checks in order will tell you more than any number printed on the bucket.
- Colour. Wet mud is noticeably darker and warmer in tone. It goes uniformly pale, and eventually chalky white across the whole coat, with no darker patches remaining. A dark spot in a field of white means water is still in there.
- Feel. Dry coat is chalky and slightly powdery under a gloved hand, never cool or tacky.
- Temperature. Put the back of your hand flat against the coat. Evaporating water pulls heat out of the surface, so a cool spot is a wet spot. This catches the damp core that colour alone misses.
- Knife-indent test. Press the edge of a taping knife into an inconspicuous spot, like behind a light switch plate. If it dents or gums the surface, wait. If it leaves a clean line with no residue on the blade, you are good to sand.
Sand that test in a hidden corner, not the middle of the wall you are about to finish. Testing costs a scuff; finding out you were wrong costs a coat. Once the surface passes, the next clock is paint, and our bathroom paint drying guide covers that side of the schedule.
Is the mud still wet after 24 hours? Here is how to diagnose it
Almost always one of four things. Work through them in order.
- Check the thickness. Probe the centre of the repair with a screwdriver. If the mud is more than about 1/4 inch (6 mm) deep, 24 hours was never a realistic estimate and more airflow will not fix it.
- Check the room. Read a hygrometer on the wall. Above 60 percent, a dehumidifier changes the outcome more than anything else you can do.
- Check the temperature. Below 55 degrees, nothing you apply to the surface will fix it. Warm the room and stop trying.
- Check the product. If you used setting-type compound in a very deep fill, the core can stay damp far longer than the label suggests, and the face may need a skim coat once it is truly dry.
Cracks, bubbling and sandpaper that clogs on the second pass all trace back to sanding or coating a damp surface. The fix is the same every time: stop, let it dry, and repair the area.
Drywall Mud Drying Methods and Safety
You can shorten the wait safely, and the sequence matters.
- Raise airflow across the whole room. Two fans on opposite walls do more than one fan aimed at the patch. Keep them moving the air, not blasting the mud.
- Run a dehumidifier. This is the single biggest change in a humid room, and it works on the moisture already in the air rather than just the surface.
- Warm the room to 60 degrees or above. Consistent warmth beats a blast of heat, and steady temperature through the day matters more than a high number at night.
- Apply thinner coats. You cannot fix a thick coat after the fact, but every future coat can be feathered thinner than the last.
- Open windows when the outdoor air is dry. If it is raining or the humidity outside is high, close them and rely on fans and a dehumidifier instead.
- Leave direct high heat alone. Heat guns and hair dryers on high can crack the surface while the core stays wet, and heaters run near fresh compound are a fire and scorch risk.
Wear a dust mask and eye protection when you do reach the sanding stage, and run a box fan out of the room rather than stirring the dust around in it. If your sanding grit is a question, our drywall sanding and tool guide breaks down the grits and what each is for.
Pros and Cons of Waiting for Drywall Mud
| Factor | If you wait for a full dry | If you rush it |
|---|---|---|
| Sanding | Clean dust, sharp edges, grit lasts | Clogged paper, torn face, a second pass to redo |
| Adhesion | Compound and primer bond properly | Weak bond that shows up months later |
| Cracking | Minimal, the coat shrinks evenly | Surface cracks as trapped moisture escapes |
| Appearance | Flat, uniform colour under paint | Bubbling or flashing, discovered after painting |
| Schedule | You lose a day or two | You lose a day or two anyway, plus the repair |
The tradeoff is really a choice between waiting and redoing. In every case I have seen, the redoing cost more time than the waiting would have.
What Changes the Cost of a Drywall Repair?
Drying time drives cost in one obvious way: every extra day a repair sits open is a day of scheduling. But scope matters far more than the compound you chose. US ranges below are rough and move with regional labour rates.
Small patches. A few nail pops, screw holes or a single cut repair. One or two thin coats, fast-drying product if you want it done in a day, minimal sanding, and you can paint the same room without hiring anyone. Materials run $20 to $60, and a handyman will usually quote $100 to $250 per patch including paint.
Standard joint repairs. Tape or mesh over a seam, two or three coats with a full dry between each, then sanding, priming and paint. This is the point where doing it yourself starts to compete with a quote, mostly because of the sanding hours and the ladder time. Materials land around $40 to $120, and professionals typically charge $150 to $400 for the same seam work.
Larger wall or ceiling areas. A full room finish or a ceiling patch needs three to four coats, corner bead work, longer sanding with a pole sander, and a real dust containment plan. Ceilings run longer again on drying time, so the labour spread is wider too. Shopped out, a room finish commonly lands between $400 and $1,200, or roughly $2 to $4 per square foot of wall surface when you are hiring.
What actually moves the number: how many square feet, how many coats, how high you are working, whether the area needs corner bead or texture matching, whether the room has to be vacated while dust settles, and your local labour rates. Access matters more than people expect, since a small repair over a stairwell costs more in setup than the same repair on a flat wall.
Buying a basic drywall tool kit and a cheap hygrometer is usually the sensible spend before a project, and it costs less than one hour of a professional’s time. Region matters here more than anywhere else in this guide, so get two or three written quotes before you decide a contractor’s number is unreasonable. If you are hiring out, ask each one how many coats they plan and how long they expect between them.
Frequently Asked Questions
Does drywall mud really take 24 hours to dry?
Sometimes, but only for a standard coat of pre-mixed joint compound in an ordinary heated room. Thin skim coats dry in one to two hours, quick-dry pre-mixed products manage a few hours, and setting-type compound hardens in 20 to 90 minutes. Thick fills over a half inch can take two to three days even at normal room temperature.
How soon can you paint after drywall mud?
Wait until every coat is uniformly pale and chalky, feels powdery rather than cool, and passes the knife-indent test with no residue on the blade. That is normally 24 to 48 hours for pre-mixed compound, less for setting-type or quick-dry products. Painting over damp mud traps moisture and the paint bubbles or flakes later.
Will a fan help drywall mud dry faster?
Yes, if the fan moves air across the whole room. Two fans on opposite walls set up gentle cross-ventilation that carries moisture away evenly. A single fan aimed straight at one patch dries that patch faster than the rest and can crack the surface. Fans help most in a humid room when paired with a dehumidifier.
Is drywall mud still wet after 24 hours?
It often is, and that is normal for a thick fill. Check the depth first, since more than a quarter inch of mud cannot dry in a day. Then check humidity and temperature, because above 60 percent humidity or below 55 degrees the clock stops mattering. Colour and the cool-spot test tell you whether the face is ready even when the core is not.
Is 20 minute mud good for beginners?
It is useful for small holes and nail pops, where you want the repair done in one sitting. It is a poor choice for taping a room, because it sets faster than most beginners can spread and shape, and it shrinks enough to crack. Remember the label is working time, not dry time, so a deep fill still holds moisture for a day or more.
What happens if I paint over wet drywall mud?
The paint or primer skins over while water is still inside, so moisture has nowhere to go. The usual result is bubbling or flashing that appears days later, along with a weak bond you may have to sand back and redo. Sanding damp mud is its own problem: the paper clogs the grit and tears. Dry it properly first before moving on to the next step.
Conclusion
So, how long does drywall mud take to dry? Read the label on your specific compound, measure how thick you actually laid it, get the room above 60 degrees and under about 50 percent humidity with air moving through it, and then trust the surface over the clock. Uniformly pale and chalky, no cool spot, and a clean knife line with no residue on the blade means you are clear to sand.
Start with those four checks and you will rarely be caught waiting on a coat that was never going to be ready.