How to Paint a Ceiling Without Roller Marks 2026
A smooth, even ceiling makes the whole room feel finished, and it’s the single biggest visual upgrade you can do in a weekend. If you’ve ever finished a coat only to see streaks, lap lines, and flashing once the paint dries, the problem is almost always the technique, not the paint. In this guide on how to paint a ceiling without roller marks, I’ll walk you through the exact tools, prep, and rolling method pros use to get a streak-free finish in one or two coats.
Time: 3 to 4 hours of work, with 2 to 4 hours of dry time between coats · Cost: around 80 to 150 dollars for a 12×12 room · Difficulty: Easy to Moderate DIY · Skill level: Beginner-friendly with a steady hand for cutting in
Contents
Tools and Materials
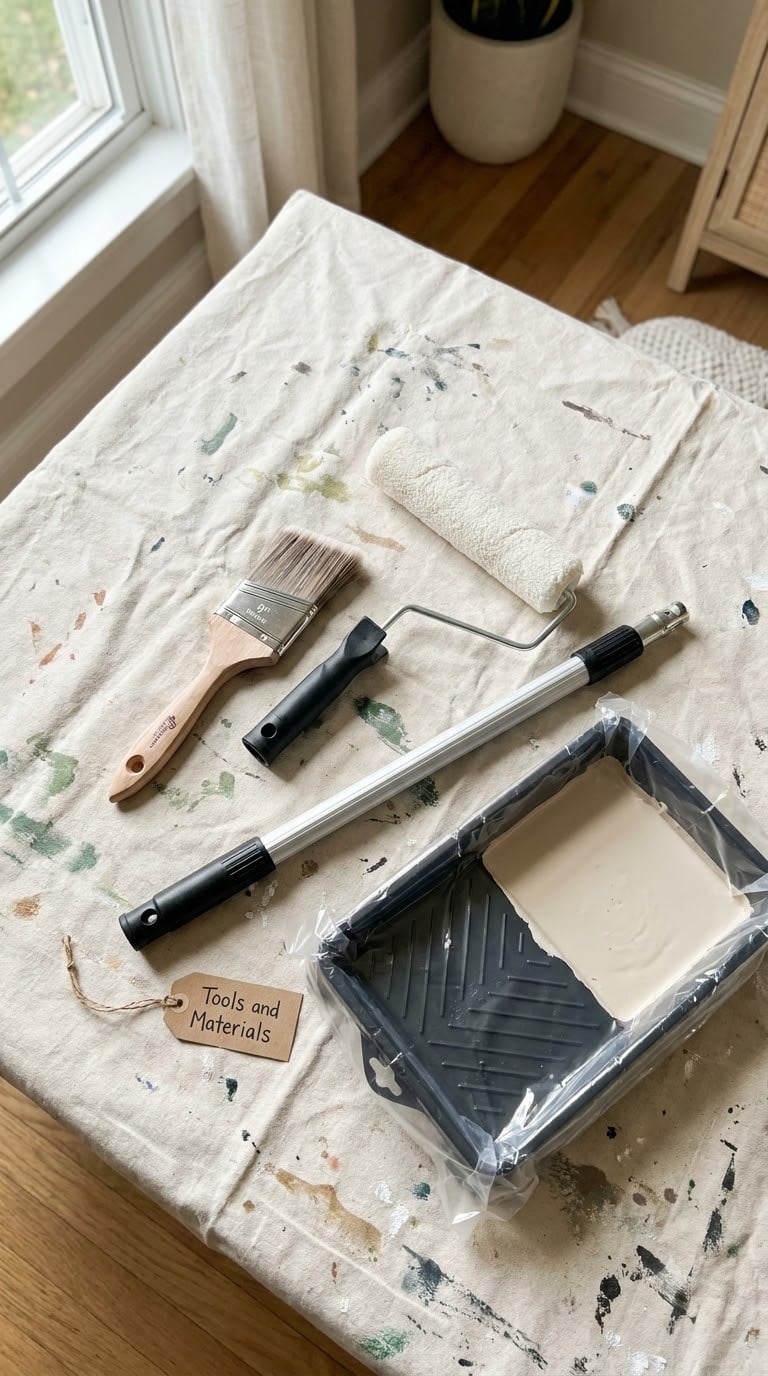
Pulling everything together before you start means you never stop mid-roll and risk a dry edge. For an average 12×12 room with a smooth ceiling, here’s what you need and how much of it.
Tools
- 9-inch roller frame (a smaller 9-inch roller is much easier overhead than an 18-inch)
- Roller cover with 3/8-inch nap for smooth ceilings, 1/2-inch for lightly textured, 3/4-inch for popcorn or heavy knockdown
- Extension pole, 4 to 8 feet long, so your arms don’t tire 10 minutes in
- 2 to 2.5-inch angled sash brush for cutting in edges
- 9-inch paint tray with a fresh liner and a sturdy metal ramp
- Step ladder, 6 or 8 feet, or use the extension pole to reach the center
- Bright work light or clip-on LED to inspect between coats
Materials
- One gallon of interior ceiling paint (flat or matte finish hides imperfections best)
- One quart of stain-blocking primer if you have water stains, patches, or bare drywall
- Painter’s tape, 1.5-inch wide
- 9-foot canvas or plastic drop cloths, two of them
- Lightweight spackling compound for nail pops or small dings
- Microfiber cloths and a bucket of warm water with a drop of dish soap for prep
Before You Start
Good prep is the difference between a ceiling that looks great at noon and a ceiling that looks streaky by evening. Start by moving furniture to the center of the room and covering it with a plastic sheet, then lay a canvas drop cloth across the whole floor. Canvas stays put underfoot, unlike thin plastic.
Remove or unscrew any ceiling light fixtures, fan blades, and vent covers. Wrap anything left in place with painter’s tape and a small plastic bag. Use painter’s tape along the top edge of the wall where it meets the ceiling only if you aren’t confident cutting in freehand; many pros skip the tape and just use a steady angled brush for a cleaner line.
Put on safety glasses and a hat. Gravity is unkind to ceilings, and paint in your eye will end your day. Wipe the ceiling with a microfiber cloth dampened in warm soapy water to remove dust, cobwebs, and any kitchen grease. Let it dry fully, then patch any nail pops or small cracks with spackle. Sand smooth, prime the patches, and you’re ready to open the paint can.
If you’re trying to decide on a color or finish, our guide on ceiling paint choices breaks down flat versus matte and what works in kitchens and baths.
Step-by-Step Instructions
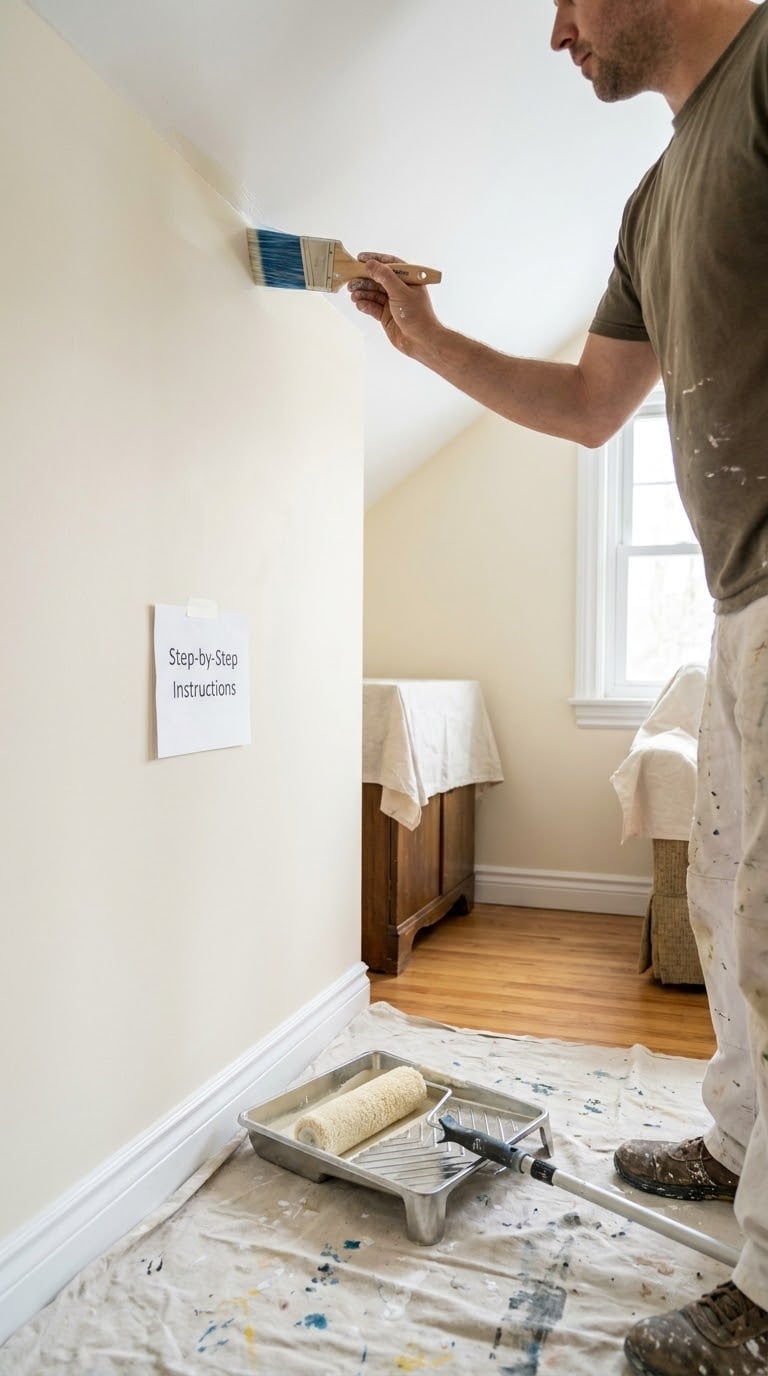
Once the prep is done, the rolling part moves fast. The key is keeping a wet edge the entire time and resisting the urge to overwork the paint. Here’s the exact sequence I use.
Step 1: Cut In the Edges First
Cutting in means painting the 2 to 3-inch band where the ceiling meets the wall, around light fixtures, and along any crown molding with a brush before you roll. The roller can’t reach these spots without leaving a thick ridge, and that ridge is what shows up as a stripe later.
Dip your 2.5-inch angled sash brush about an inch into the paint, tap (don’t wipe) the excess on the side of the can, and lay the brush flat so the angled bristles press into the corner. Work a single 4 to 6-foot section, then move on. Don’t try to cut in the whole room at once, just stay one section ahead of the roller so the brushed edge is still wet when the roller overlaps it.
Step 2: Load the Roller Evenly
An under-loaded roller leaves dry streaks. An over-loaded roller drips and leaves heavy texture. Aim for the middle: roll the cover slowly into the deep end of the tray, then up the ramp three or four times until the nap looks saturated but isn’t dripping when you lift it.
If you see dry patches on the cover as you start rolling, you haven’t loaded enough. If paint runs down the handle, you’ve loaded too much. Do one or two practice passes on the ceiling to set your pace and pressure before you commit to a wall-to-wall run.
Step 3: Roll in a W Pattern, Then Back-Roll
Starting about 2 feet from the wall, lay down paint in a lazy W pattern across a 3×3-foot area. The W distributes the paint roughly evenly so you don’t get thick stripes from a straight pass. Now go back over that same area with slow, straight, parallel strokes from the wet side toward the dry side to even the film out.
Roll toward your main light source or the largest window whenever you can. This is the secret most guides miss. Rolling parallel to the light rakes the texture across the beam and hides lap lines instead of highlighting them. The back-roll pass is what removes the lines; skip it and the marks will still be visible after the paint dries.
Step 4: Keep a Wet Edge Across the Ceiling
A wet edge is the unpainted area right next to the section you just rolled while that section is still wet. Every new pass has to overlap the last one by about a third of the roller’s width, so the new paint blends into the still-tacky edge instead of sitting on top of dried paint.
Work in 3 to 4-foot wide strips across the shortest dimension of the room. Roll the entire width of the ceiling in one strip, then come back and start the next strip right next to it, rolling back into the previous strip on every pass. This is why a 9-inch roller is friendlier than an 18-inch for most rooms: fewer square feet dry out before you can finish the strip.
Step 5: Let It Dry, Then Inspect With a Work Light
Most ceiling paints are touch-dry in 1 to 2 hours and ready for a second coat in 2 to 4 hours. Don’t rush it. Once the surface looks dry, hold a bright work light at a low angle against the ceiling, almost grazing the surface, and walk the whole room. The light rakes across any holidays, missed spots, or heavy roller texture so you can see exactly where to feather on coat two.
Feather those spots with a light roller pass that overlaps the surrounding area by a few inches. Don’t try to fix thick lines by pressing harder; that just pushes paint into the texture and makes it worse.
Common Mistakes to Avoid
The same five errors cause almost every streaky ceiling I’ve ever seen. Check yourself against this list before you start.
Using the wrong nap. A 1-inch nap on a smooth ceiling lays down too much paint and leaves heavy texture. A 1/4-inch nap on a textured ceiling leaves gaps. Match the nap to the surface: 3/8-inch for smooth, 1/2-inch for light texture, 3/4-inch for popcorn.
Pressing too hard on the roller. Pressing squeezes paint out unevenly and flattens the nap so it can’t release paint on the next pass. Let the roller do the work; gravity and the nap should do most of the loading.
Skipping the back-roll. The W pattern alone lays down too much paint in the curves. Without a straight back-roll pass, those curves dry as visible stripes. Always finish each 3×3 section with straight, parallel strokes toward the light.
Letting an edge dry mid-run. Stopping for a phone call, a break, or to reload too slowly creates a half-dried line that no second coat hides. Plan your work so you can roll the whole ceiling without a pause longer than 30 seconds.
Painting over patches without primer. Spackled spots and repaired cracks soak up paint at a different rate than the surrounding drywall, leaving dull blotches. Spot-prime any patched area first so the topcoat dries evenly.
When to Call a Pro
Most ceilings are well within a confident DIYer’s reach, but a few situations are worth handing off. If your home was built before 1980 and has a popcorn ceiling, have the texture tested for asbestos before you touch it. Asbestos-containing texture is not dangerous until it’s disturbed, so a quick test kit or a pro inspection protects everyone in the house.
Water stains that come back after a fresh coat of stain-blocking primer usually mean a leak above the ceiling, in the roof, or in an upstairs bathroom. A painter can hide the stain, but only fixing the leak stops it. Our guide on painting popcorn ceilings safely covers texture testing and re-coating without spraying asbestos into the air.
Vaulted ceilings or any ceiling over 10 feet tall usually need scaffolding or a rolling scaffold to reach the center safely. Standing on the top step of an extension ladder for an hour is how falls happen. A pro crew shows up with the right setup and finishes the job in an afternoon.
Maintenance
Most latex ceiling paint reaches full cure in 2 to 4 weeks, even though it feels dry in a few hours. During that window, avoid wiping the ceiling or moving tall furniture that could brush against it. Once cured, a soft microfiber cloth with a little warm water is all you need for the occasional scuff.
Skip harsh cleaners on a flat or matte finish; they polish the surface and leave shiny spots that show every other mark. In bathrooms and kitchens, plan to repaint the ceiling every 4 to 6 years, since steam and cooking oils break down the film faster than in living rooms. If you ever switch from a dark color back to white, two coats of primer will save you a third topcoat. For more on prepping tricky surfaces, our guide to painting over wallpaper walks through a similar priming-first approach that works on ceilings too.
Frequently Asked Questions
What roller nap is best to avoid marks on a ceiling?
A 3/8-inch nap is the sweet spot for most smooth drywall ceilings. It holds enough paint to lay down an even coat without leaving heavy texture. Step up to 1/2-inch for lightly textured ceilings and 3/4-inch only for true popcorn or heavy knockdown textures, where shorter naps leave gaps.
Can I paint a ceiling with just a roller or do I need to cut in?
You need to cut in. A roller cannot get a clean line where the ceiling meets the wall without leaving a heavy ridge of paint. Use a 2 to 2.5-inch angled sash brush to paint a 2 to 3-inch band along every edge, then roll the field and overlap that band while it is still wet.
Why does my ceiling look streaky after the paint dries?
Streaks after drying almost always come from paint drying too fast for the next pass to blend in, a dry roller edge, or skipping the back-roll step. A loaded roller, slow straight back-rolls toward the light, and a continuous wet edge will fix it. Touching up a dry streak with more paint just makes a thicker streak.
Do I need to prime the ceiling before painting to stop roller marks?
Primer helps with roller marks only when the issue is uneven absorption, such as over patched drywall, repaired water stains, or bare spots. For an already painted ceiling in good condition, a quality ceiling paint on its own is fine. Spot-prime patches first so the topcoat dries at the same rate everywhere.
How many coats of ceiling paint hide roller marks?
Two coats is the standard for most ceilings and will hide the texture of a 3/8-inch nap roller. One heavy coat almost always shows lap lines. If you are going from a dark color to white, plan on a coat of primer plus two topcoats to avoid seeing the old color through the new finish.
Is it better to roll or spray a ceiling for the smoothest finish?
Spraying gives the smoothest, most uniform finish because no roller texture touches the surface, but it requires masking off the whole room, renting an airless sprayer, and a steady hand to avoid orange peel. Rolling with a 3/8-inch nap and a slow back-roll gets 95% of that result with a tenth of the setup and is the right choice for most DIY rooms.
Start by clearing the room, getting your tools lined up, and cutting in a single 4 to 6-foot section so you feel the brush before you commit to a full run. From there, work in 3-foot strips with a 3/8-inch nap roller, slow back-rolls toward the light, and a continuous wet edge. Do a single raking-light inspection between coats, and you’ll have a ceiling that looks like a pro did it by the end of the weekend.