How to Install a Shower Pan: Easy DIY Guide 2026
A weekend, a helper, and the right pan is all it takes to learn how to install a shower pan that drains right and stays dry for years. Most homeowners can finish the job in a Saturday and Sunday, with the wall tile and door going on the following weekend. The trick is a flat subfloor, a full mortar bed, and a drain gasket that actually seats.
Time: 6 to 10 hours over a weekend, plus 24 to 48 hours of cure time before tiling · Cost: Varies by pan type and region; acrylic kits land on the lower end, tile-ready pans sit in the middle, and cast iron tops the range · Difficulty: Moderate DIY · Skill level: Comfortable with a drill, level, and basic plumbing connections
Contents
Tools and Materials
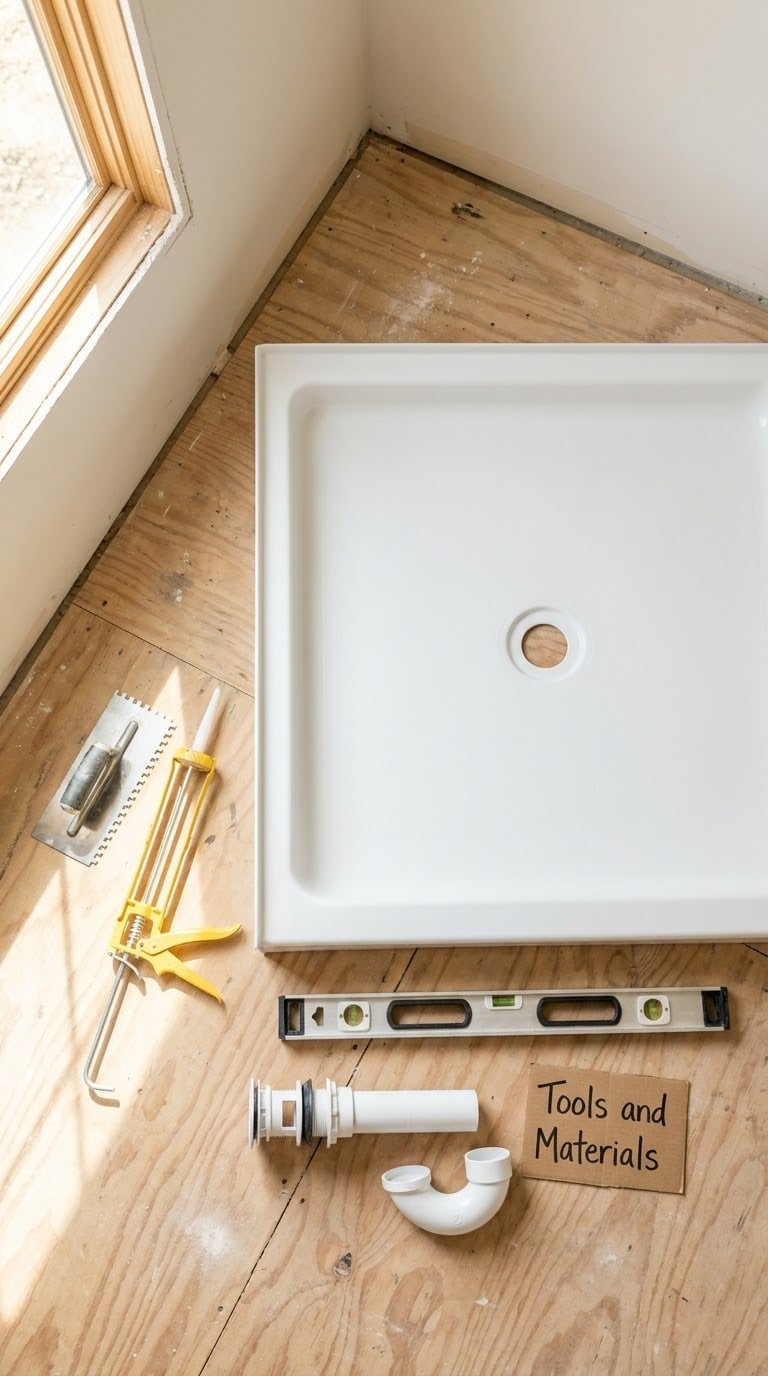
Start by gathering the tools. Lay them on a drop cloth in the bathroom so nothing walks off to the garage mid-project.
Tools:
- Tape measure (25-foot) and a 4-foot level
- Drill/driver with a 1/8 inch and 1/4 inch bit
- Hole saw sized to your drain flange (usually 4 inch)
- Caulk gun (a dripless one is worth the extra)
- Utility knife and a pencil
- Notched trowel (1/2 inch square notch for most pans)
- 5-gallon bucket and a mixing paddle
- Safety glasses, dust mask, and nitrile gloves
Materials:
- Shower pan sized to your alcove (acrylic, fiberglass, or tile-ready)
- Drain assembly that matches the pan (Oatey and Sioux Chief are common)
- PVC primer and cement (or ABS equivalents if your home uses ABS)
- Thinset mortar or a pre-sloped foam base, depending on pan type
- Waterproof membrane or PVC pan liner (for built-up tile-ready pans)
- 100 percent silicone sealant (kitchen and bath formula)
- Stainless or galvanized screws for the nailing flange
- Plastic shims and a roll of painter’s tape
Before You Start
Shut off the water at the main before any drain work. Open a faucet downstairs to drain the lines. Put on safety glasses and a dust mask when you cut the subfloor or drill the drain hole, because subfloor dust and PVC shavings are not good for lungs.
Check the subfloor. It needs to be flat within 1/8 inch over any 4-foot span and structurally sound. If you feel any give when you walk the floor, sister a new joist or add blocking before you go further. A pan set on a springy floor will crack within a year.
Dry-fit the pan in the alcove before mixing a single drop of mortar. Mark the drain center on the subfloor, then mark the pan outline with a pencil. Note any shim spots where the pan rocks. If the rough plumbing sits more than an inch off the pan’s drain hole, you need to move the trap before you set the pan, not after.
Permits are usually required when you relocate the drain, run new supply lines, or modify structural framing. A like-for-like pan swap in the same footprint often does not need a permit, but your county may still want one for any plumbing change. Call the local building department if you are unsure.
Step-by-Step Instructions
Step 1: Measure and Dry-Fit the Shower Pan
Measure the alcove width at the top, middle, and bottom, and the depth from the back wall to the front curb. A standard tub-replacement pan is 60 inches long and about 30 to 36 inches deep, but alcove sizes vary by an inch or two between manufacturers. Pick the pan that fits the smallest of your three width measurements.
Set the pan in the alcove dry. Check that it sits flat with no rocking. Mark the drain hole location on the subfloor by tracing the drain opening with a pencil. Pull the pan back out and set it aside. A clean dry-fit tells you the real dimensions before you commit to a mortar bed.
Step 2: Install or Modify the Drain Assembly
Set the drain flange into the pan’s drain hole and confirm the rubber gasket seats evenly under the pan. If the gasket is twisted, the pan will leak no matter how good the rest of the install is. Most pre-formed pans have a clamping ring that tightens the gasket from above; tighten the bolts evenly, a half turn at a time, until the ring is snug.
Prime and cement the PVC waste pipe to the drain body. Brush purple primer on both the pipe and the fitting, let it flash off for about 10 seconds, then apply PVC cement to both surfaces and push them together with a quarter turn. Hold for 10 seconds. If your home uses ABS plumbing, swap in the matching ABS cement and do not mix the two.
Step 3: Set the Pan in Mortar or on a Foam Base
For a traditional mortar bed, mix thinset or a deck mud to a stiff, almost-dry consistency. It should hold a ball in your hand without slumping. Spread a uniform 1 inch bed across the pan footprint with a notched trowel. Pre-formed foam bases skip the mixing: set the foam in a thin bed of thinset, check that it is level, and let it cure.
Press the pan into the mortar bed with a slight back-and-forth wiggle to bed it fully. Set your 4-foot level across the pan in both directions. A pan with a built-in slope toward the drain still needs to read level along its top edge, because the slope is already molded in. If the pan sits high on one corner, lift and re-bed rather than shimming after the fact.
Step 4: Secure the Pan and Connect the Drain
Fasten the pan’s nailing flange to the wall studs with screws or nails every 6 to 8 inches. Keep the fasteners level with the top of the flange so the wall backer board can lay flat over them. Pre-drill pilot holes through the flange to keep it from cracking, especially on acrylic pans.
Drop the drain strainer into the drain body. Place the rubber gasket and fiber washer over the threads, then hand-thread the strainer until it is just snug. Use a drain wrench or a piece of wood across the strainer bars to tighten a quarter turn more, just enough to compress the gasket evenly. Over-tightening warps the gasket and is one of the most common causes of corner leaks after install.
Step 5: Waterproof the Seams and Curb
Run a continuous bead of 100 percent silicone along every seam where the pan meets a stud, the curb, or a nearby surface. Tool the bead with a wet finger so it fills the joint without gaps. Skip the silicone anywhere wall substrate will be applied directly to the flange, because the backer board needs a mechanical bond there.
For a tile-ready pan with a separate membrane, fold pre-formed corners at the curb-to-wall transitions and seal them to the pan with the manufacturer’s recommended adhesive. Let the silicone and any membrane adhesive cure for the time listed on the tube (usually 12 to 24 hours) before any wall substrate goes up.
Step 6: Test for Leaks
Plug the drain with a test plug. Fill the pan with about 1 inch of water and mark the level on the pan with a piece of painter’s tape. Wait 15 to 20 minutes. If the water drops below the tape line, the drain is leaking and you need to reset the gasket before going further.
Unplug the drain and run water for 5 to 10 minutes while a helper watches the subfloor from below with a flashlight. Any drips at the trap or along the drain pipe mean a fitting needs to be re-cemented. A dry subfloor after this test is the green light to start hanging wall backer board.
Common Mistakes to Avoid
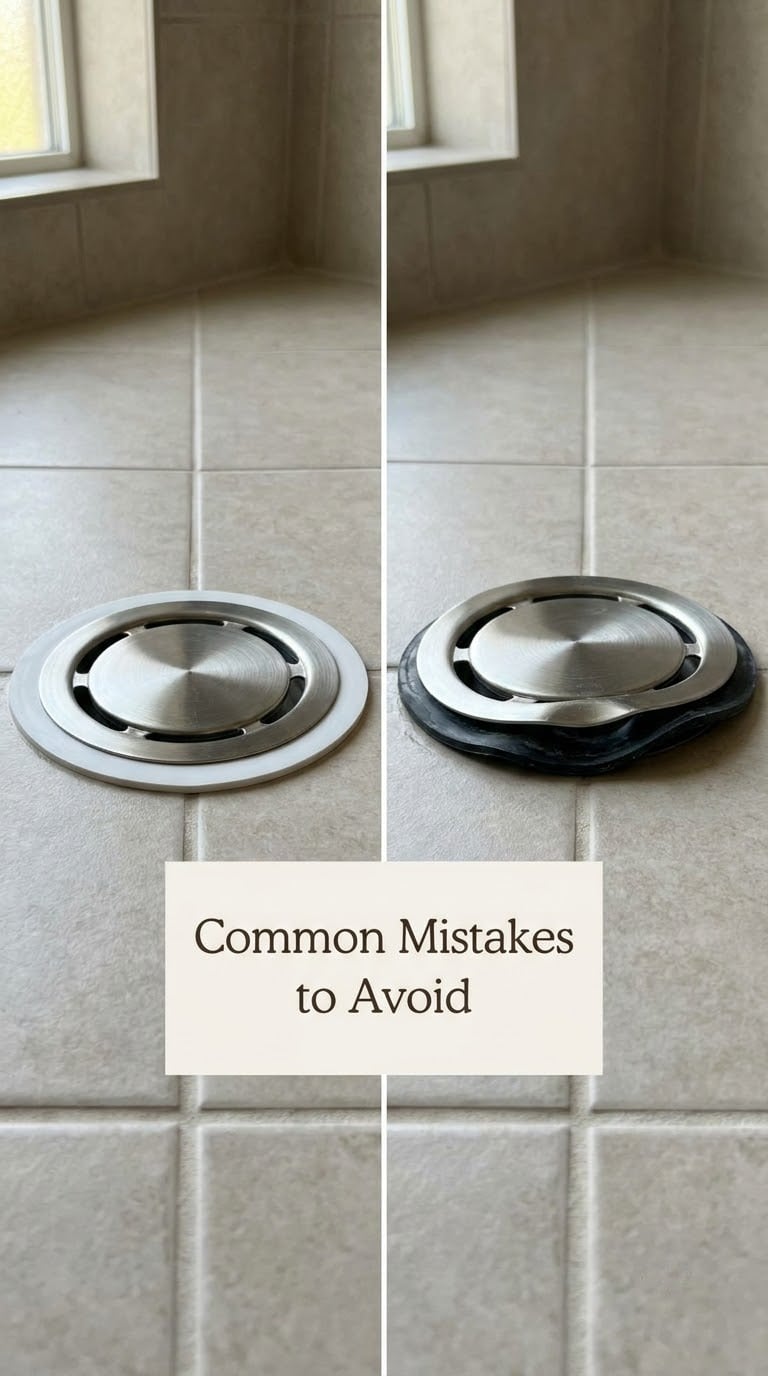
Skipping the mortar bed. A pan set directly on the subfloor flexes every time someone steps in, and that flex eventually cracks the drain gasket. Lay a full mortar bed or a foam base so the pan is supported edge to edge.
Forgetting the waterproof membrane at the curb. Water wicks up the curb through capillary action if the membrane stops at the floor. Fold membrane corners up and over the curb so the entire wet area is wrapped, not just the floor.
Over-tightening the strainer. The rubber gasket needs gentle, even compression. Tightening until the strainer will not turn anymore warps the gasket and creates a slow leak you will not see until the ceiling downstairs stains. Snug plus a quarter turn is enough.
Ignoring slope toward the drain. A pan that is “close to level” is not level. The pan should drain a marble in under five seconds. If water pools anywhere, pull the pan and re-bed the low spot rather than hoping the tile will fix it. Tile follows the pan, not the other way around.
Sealing before wall posts are set. If you silicone the pan-to-stud seam before the backer board goes up, you trap the wall framing in wet sealant and lose the mechanical bond the backer board needs. Seal only after the wall substrate is up, or seal only the curb and drain per the manufacturer’s sequence.
Using the wrong drain gasket. Drains are not universal. A pan sold as a compression-fit drain needs a compression gasket, and a solvent-weld drain needs the matching rubber boot. Cross-brand gaskets look similar but compress differently and will leak under load.
When to Call a Pro
Call a licensed plumber when the drain needs to move more than a couple of inches, when the existing trap is corroded, or when you find ABS transitioning to PVC without a shielded coupling. Drain relocation is a permit trigger in most jurisdictions, and an inspector will want to see the new trap and venting before you close up the wall.
Call a contractor when the subfloor sags after you remove the old pan, when the floor joists need sistering, or when a custom mud bed is part of the plan. Structural reinforcement and any change to load-bearing walls belong with someone who can pull a permit and stamp the work.
If you are tiling a custom shower from scratch, a tile setter is worth the visit. The pre-slope, liner, and final mud bed each need to be built in a specific order with specific dry-pack mixes, and a one-day learning curve is not where you want to find out yours is off by a quarter inch.
Maintenance
Inspect the silicone at the seams and curb every season. Hairline cracks or pulled corners let water travel behind the tile, and that water shows up as a stain on the ceiling below long before you see it in the shower. Reseal with 100 percent silicone at the first sign of pulling, usually every 3 to 5 years.
Keep the drain clear. Hair and soap scum slow the drain and let water sit in the pan longer than it should. A hair catcher that drops into the strainer costs little and prevents most clogs. Avoid chemical drain openers on a brand-new pan, because the heat from the reaction can warp an acrylic drain gasket.
Check the subfloor from below once a year. A flashlight and a quick look at the drain trap and the pan underside will catch a slow leak long before it becomes a repair. If you see any discoloration or feel damp wood, address it before the next shower.
Frequently Asked Questions
Do you have to put mortar under a shower pan?
Most pre-formed acrylic and fiberglass pans should sit in a mortar bed or on a pre-sloped foam base. The bed supports the pan across its full footprint, which keeps the drain gasket from flexing every time someone steps in. A few manufacturers now allow a dry install with shims only, but check the install guide before skipping the mortar.
Can you install a shower pan over existing tile?
You can in some cases, but the tile must be flat, level, and solidly bonded to the subfloor. Loose or cracked tile will telegraph through the new pan and crack the drain gasket. Most pros remove the old tile down to the subfloor and start fresh so the new pan sits on a flat, sound surface.
How long should a shower pan sit before tiling?
Let the mortar bed cure 24 to 48 hours before any weight or wall substrate goes on. For a pre-sloped foam base, follow the foam maker’s cure time, usually 12 to 24 hours. Rushing this step is the most common reason a brand-new pan shifts and the drain starts leaking within a few months.
What size shower pan replaces a standard bathtub?
A standard alcove tub is 60 inches long and about 30 inches wide, so a 60 by 30 inch pan drops into the same footprint. If your alcove is 32 or 36 inches deep, look for a 60 by 32 or 60 by 36 pan. Always measure the alcove at the top, middle, and bottom before you order, because walls are rarely perfectly parallel.
Why does my new shower pan leak at the corners?
Corner leaks almost always trace back to the drain gasket or the curb-to-wall seam. An over-tightened strainer warps the gasket, and a missing membrane at the curb lets water wick up the corner. Pull the strainer, reset the gasket, and re-fold the membrane corner before retesting with the standing-water check.
Do I need a permit to replace a shower pan?
It depends on your jurisdiction. A like-for-like pan swap in the same drain location often does not need a permit, but any drain relocation, new supply line, or framing change usually does. Call your local building department before you start; the answer is usually a five-minute phone call and can save a fine later.
Start with a flat subfloor and a full mortar bed, and the rest of the install falls into place. If a step feels unfamiliar, dry-fit twice before you commit to mortar, and run the standing-water test before you close up the wall. For a deeper look at catching a leak after the fact, our guide to repairing a leaking shower pan walks through the diagnosis. To budget the whole project end to end, the walk-in shower cost guide covers the line items beyond the pan. And once the pan is set, plan for moisture control above with a bathroom exhaust fan install on the same weekend.