How to Fix a Kitchen Drawer That Keeps Falling Out (2026)
A kitchen drawer that keeps falling out is usually not broken. The screws holding the slides to the cabinet and to the drawer box work loose over years of opening and closing, the slide loses its square position, and the box tips off the track the moment you pull. That is how to fix a kitchen drawer that keeps falling out in most cases: tighten every mounting screw, re-seat the drawer on its slides, and square it up.
Time: 20 to 45 minutes. Cost: a few replacement screws and shims for a basic repair, a pair of slides and wood filler for the harder cases. Difficulty: Easy DIY to Moderate DIY. Skill level: Beginner, as long as you can handle a screwdriver.
Contents
This guide was updated for 2026 and covers side-mount, center-mount and under-mount slides, plus older cabinets with plain wooden runners. I have pulled apart more of these than I care to admit, and the fix order barely changes: screws first, alignment second, hardware third.
Tools and Materials
Everything for the basic repair fits in one toolbox drawer:
- Phillips #2 screwdriver, the only tool you truly need
- Flat-head screwdriver for older cabinets with slotted screws
- 8 inch (20 cm) torpedo level or a 12 inch (30 cm) level
- Carpenter’s square for checking the slide is perpendicular to the cabinet side
- Tape measure, because two clearance specs matter here
- Flashlight or headlamp, since the inside of a base cabinet is dark
- Safety glasses and work gloves
- A clean towel or folded blanket to rest the drawer on
Parts you may need, depending on what the inspection turns up:
- 1-1/4 inch (32 mm) cabinet screws for missing or stripped fasteners
- Wood filler or two-part epoxy
- Toothpicks or wooden matchsticks for packing stripped holes
- Cardboard shim or a playing card, and a few flat washers
- Silicone spray lubricant for ball-bearing slides
- Beeswax for bare wooden runners
- A replacement pair of drawer slides matched to length, extension and mounting style
- A 1/2 x 3/4 x 2 inch (13 x 19 x 51 mm) hardwood block if you need to build a travel stop
Before You Start
Empty the drawer completely. Take out the cast iron and the crockpot, because a loaded drawer is heavy and unbalanced the second it tilts.
Support the drawer before you put a screwdriver to it. Pull it fully open, slide a folded blanket underneath, or rest the drawer on a stack of books or a chair. If the drawer is loaded, get a second pair of hands.
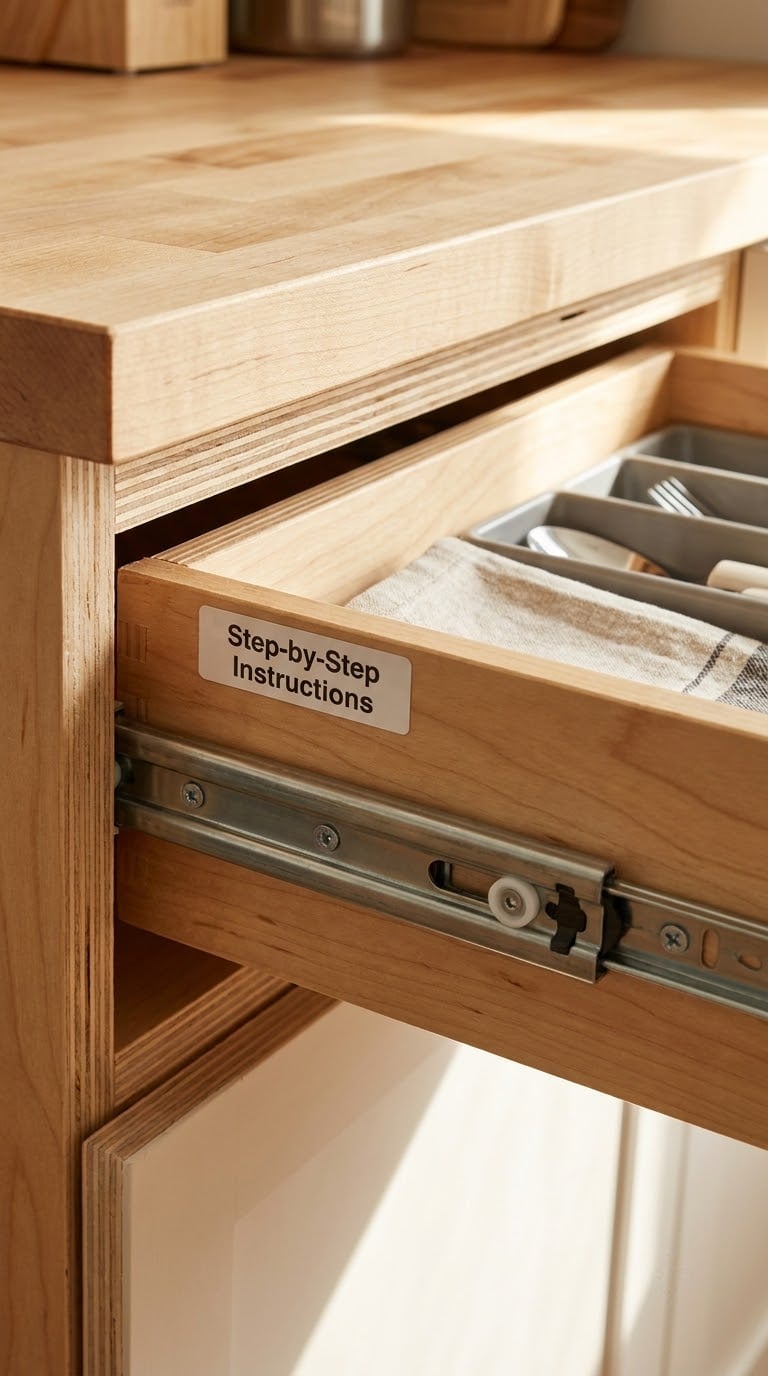
Look at the hardware and work out what you have. Side-mount slides have a rail fixed to each cabinet side and screwed through the side of the drawer box. Center-mount slides have one rail under the drawer centre, screwed up through the bottom of the box. Under-mount slides are fixed to the cabinet and the drawer hangs from them, with screws driven upward into the drawer bottom. Very old cabinets may have nothing but wooden runners screwed to the sides, with no travel stop at all.
Protect the drawer front. Rest it face down on the blanket whenever you can, and keep the front edge off the floor.
If you rent, the early steps in this guide are fully reversible. Tightening, shimming and adding a stop block leave no permanent modification, which matters if you ever need to hand the kitchen back. While you are working near plumbing, it is worth knowing the rest of the fit-out is not in bad shape, so our pull-out kitchen faucet guide covers the fittings that usually cause leaks underneath.
Step-by-Step Instructions
Step 1: Confirm What Is Causing the Drawer to Fall Out
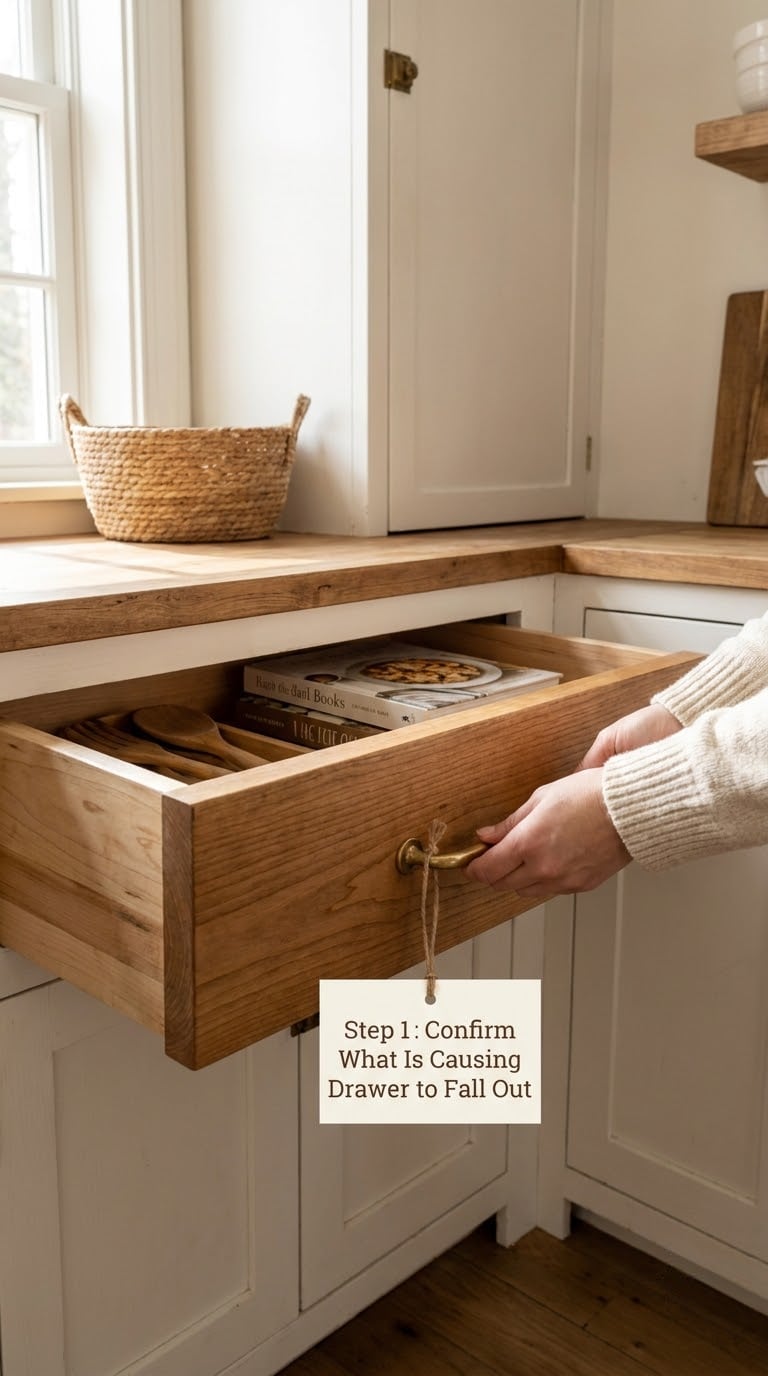
Push the drawer in and out slowly and watch what actually happens. Most failures show up as one of six symptoms, and each one points at a different part of the hardware.
| Symptom | Likely cause | Where to look first |
|---|---|---|
| Comes completely free when pulled | Slide not fully engaged, or no travel stop on a wooden runner | Release levers, and the end of the runner |
| Only falls off if it is not pushed in exactly right | Slide is loose or the drawer box is not square | Mounting screws on the cabinet side |
| Sits crooked or tilts when open | One side of the slide is loose or shimmed unevenly | Screws and shims on the low side |
| Sags on one side | Stripped screw hole or a bent rail | Holes at the front mounting point |
| Drops to the floor when opened | No stop, or the stop has broken off | Stop block, end of runner, release arms |
| Will not close flush | Drawer front off-square or the slide is over-tightened | Friction and wear marks along the rail |
That last row matters more than it looks. If the drawer was getting worse before you touched a single screw, look for shiny wear marks along the rail. Those marks mean the slides were pinched, and they point to screws that were tightened too hard years ago.
Step 2: Remove the Drawer and Inspect the Slides
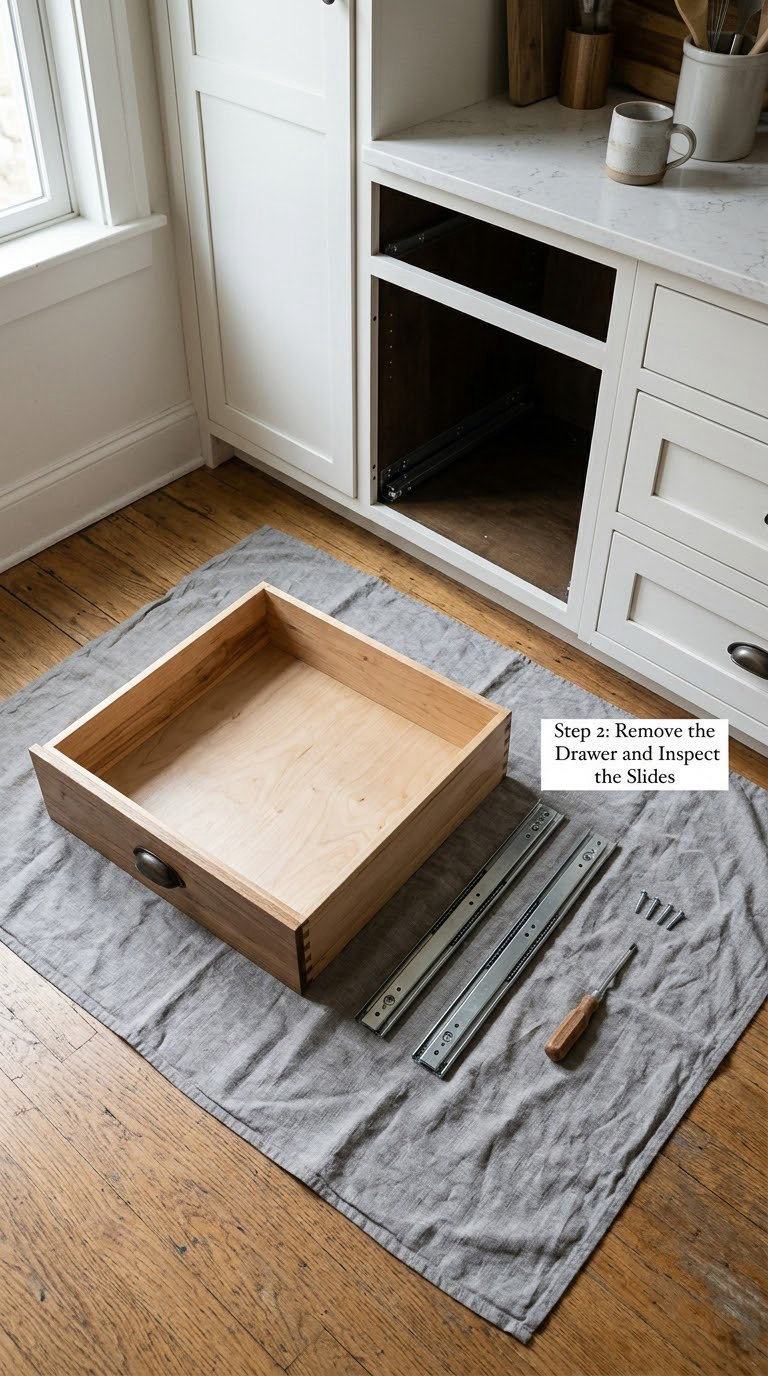
Pull the drawer out slowly to its full extension. On ball-bearing slides, keep pulling with even force on both sides until the drawer member clears the cabinet member, then lift the drawer member off while squeezing the release tabs or levers. That re-seating motion alone fixes a surprising share of drawers that only drop off now and then.
If the drawer stops short, press or lift the release levers on both sides as you pull. Center-mount slides usually lift straight up and off once the levers are depressed.
Before anything else, mark the original position. A strip of low-tack tape on the cabinet side showing where the front edge of the slide sat saves a lot of guessing when you put it back.
Look at the rails, screws, rollers, stops and mating pieces. You are hunting for looseness, elongated screw holes, rust, dents, flat rollers, and any stop that has sheared off.
Step 3: Tighten Loose Screws and Correct Alignment
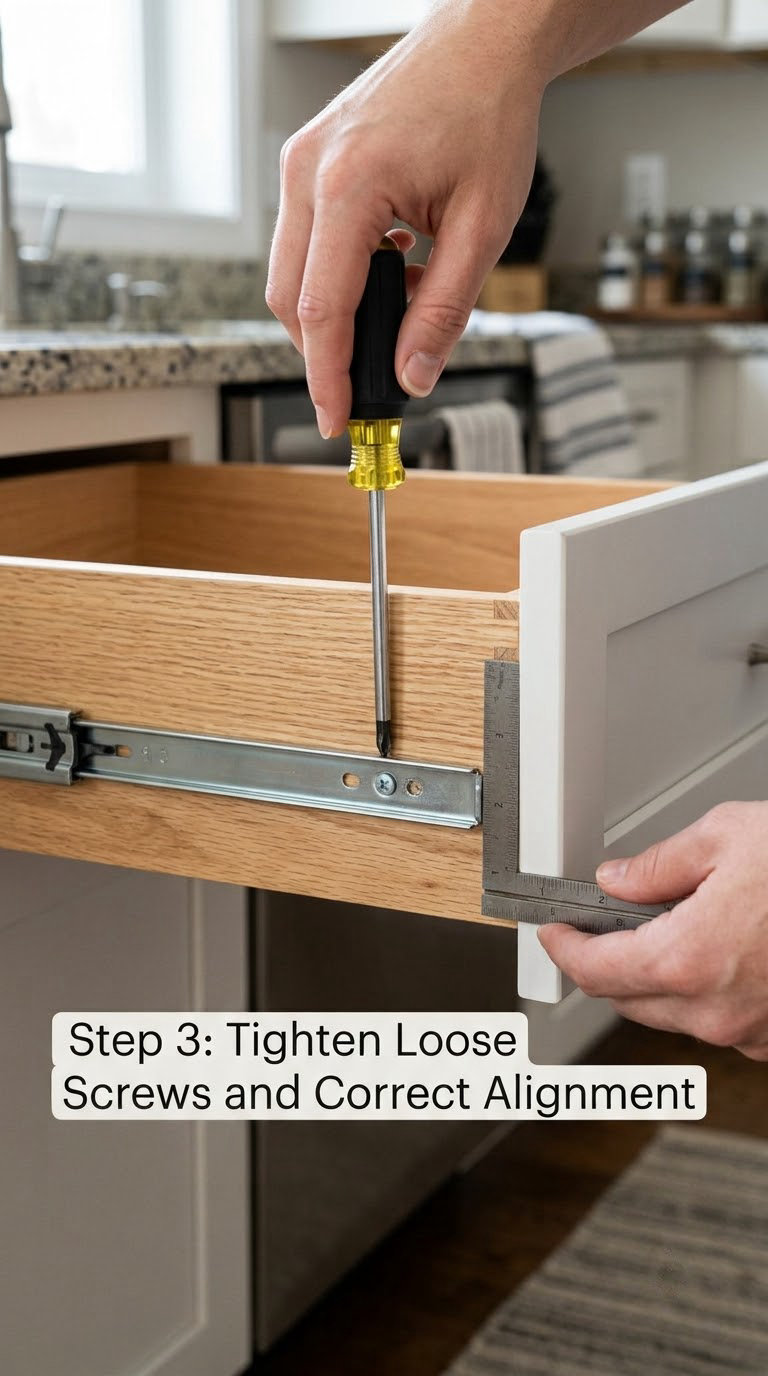
Tighten every mounting screw on both the cabinet side and the drawer side. Use the hand that steadies the slide rather than the hand turning the driver, so the rail cannot twist as you work.
Do not crank them. If the drawer binds as you close it, back the screw off a quarter turn. Over-tightened screws bow the rail, and the friction wear marks you can see on a used slide are usually the fingerprint of whoever did that years before you moved in.
Set the slide back from the cabinet face by 3/32 to 1/8 inch (2 to 3 mm). That small step keeps the drawer front proud of the face frame so the cabinet door can still clear it. Check it with the carpenter’s square held against the cabinet side and the slide.
If the slide rocks or the drawer box is a hair too narrow for it, shim it. Cardboard, a folded playing card or a couple of flat washers between the slide flange and the cabinet side take out the play. This is the most-recommended intermediate fix in the r/HomeImprovement threads on falling drawers, and it holds well for years on its own.
One number to measure if the drawer still wanders: on side-mount slides, the drawer box should measure 1-1/16 inch (2.7 cm) narrower than the cabinet opening. Pull the drawer, measure the opening and the box, and compare. If the box is wider, shimming is the fix. If it is dramatically narrower, the slide is the wrong hardware and you are in Step 4.
Step 4: Replace Worn Rollers, Slides, or Stops
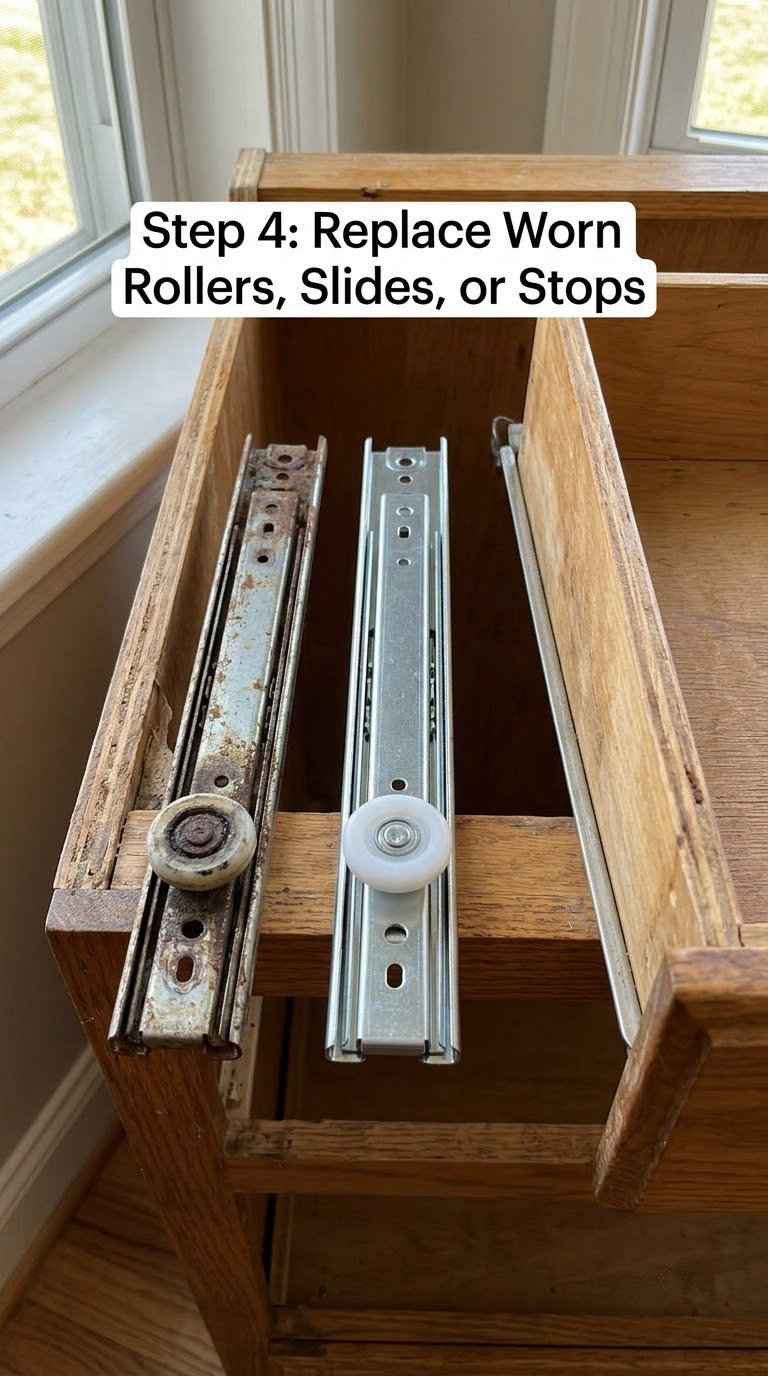
Replace the part when the rollers are flat or missing, the rail is dented or rusted through, a screw hole has gone oval, or the ball retainers are dry and pitted. Cosmetic scratches are not a reason to swap anything out.
Measuring for a replacement slide takes five minutes and saves a return trip. Check four things: the length along the cabinet side, partial or full extension, side-mount versus under-mount, and the drawer thickness the slide is rated for.
If the only complaint is that the drawer creeps open on its own, there is a low-tech fix worth trying first. Unscrew the back end of the cabinet-side slide and drop the rear edge by about a sixteenth of an inch, then refit. The small downward tilt adds friction and the drawer stays put. It is not pretty, and it will not survive a slide replacement, but it costs nothing.
For older cabinets with wooden runners and no stop at all, cut a hardwood block about 1/2 x 3/4 x 2 inch (13 x 19 x 51 mm) and drill a 3/4 inch (19 mm) hole through it, off centre. Screw it to the runner inside the cabinet. The drawer hits the solid part of the block and stops; turning the block 90 degrees swaps between stop and pass-through.
Step 5: Repair Damaged Cabinet Wood and Refit the Drawer
Stripped screw holes are the reason some drawers never hold a fix. Pack the hole with wood glue and toothpicks or matchsticks, let it dry, then flush-cut the filler level with the surface. Once that cures, fill the top with wood filler or epoxy and drill a fresh pilot hole slightly smaller than your screw. Let filler cure fully before refitting, usually a few hours for a small hole and overnight for a deep one.
Cracked rails get the same treatment, plus a check on what caused the crack. A split face frame or a cabinet member that moves when you lean on it is not a hardware problem, and it will break any slide you fit to it.
Slide the drawer back on, matching the tape mark you made earlier, and let the balls or rollers settle fully into the race before you push it home.
Step 6: Test the Drawer and Make Final Adjustments
Run at least five open-and-close cycles, then pull it out fast the way you normally would. If it holds, you are done.
Check clearance at the front and both sides with the drawer open, and confirm the stop actually catches it at full extension. If the front overlaps the cabinet face when open, loosen the drawer-side screws a quarter turn and re-seat the box slightly back.
Lubricate only the points the slide maker approves, usually the ball retainers on ball-bearing slides, spraying from 8 to 10 inches (20 to 25 cm) away and wiping off the excess. For wooden runners, a rub of beeswax on the contact face is enough. Avoid WD-40 and graphite here: WD-40 leaves a sticky film that pulls in dust and eventually makes the drawer stick worse than it did before, and graphite turns the rail into a black smear that gets into the finish.
Common Mistakes to Avoid
- Overtightening every screw. If the drawer binds or leaves wear marks, back the screws off a quarter turn instead of adding more tension.
- Forcing a stuck slide. Pull it out evenly and use the release levers. Sliding it back and forth against a binding rail grinds the race and the rollers.
- Lubricating finished wood or using WD-40. Sprayed oil soaks into a stained drawer side, and WD-40 gathers dust. Use beeswax on wood and silicone spray on the slide itself.
- Putting the stop in the wrong place. The stop needs to sit where the drawer front would contact it at full travel, not in the middle of the travel path. Test with the drawer empty first.
- Ignoring cabinet damage. A cracked rail or an oval screw hole will strip again within weeks no matter how good the new slide is.
- Ignoring the load. A drawer holding stacked pots and pans is well past what a tired slide was rated for. Spread the weight or take the heavy pots down a level.
When to Call a Pro
Call a cabinet or finish carpenter if the carcass itself is moving. That means a face frame that racks when you pull, a rail that is split through, a cabinet that has dropped off the wall stud, or a sink cabinet swollen from a past leak.
Built-in and custom cabinetry is a job for someone who works in it daily. Lipped drawer fronts, integrated soft-close mechanisms and face-frame cabinetry need a scribe cut to fit, and a well-meaning screw can chip a painted face frame that cannot be replaced.
Get an opinion first if the piece is antique, inherited or worth real money. A reversible fix such as shimming or a stop block is safer than an irreversible slide replacement, and that trade-off is worth a short visit from someone experienced.
One more threshold: if you have replaced or re-shimmed the slides properly and the drawer still comes off within a few weeks, something structural is going on that a screwdriver will not solve.
Maintenance
Give the drawer a two-minute check every month or so. Push it in and out, look for a tilt, and tighten anything that has started to move before it becomes a habit.
Vacuum the tracks and wipe them down about four times a year. Most sticky drawers are simply carrying a year of crumbs and pet hair in the race.
Lubricate twice a year, or any time you hear a squeak, and only on the points the slide maker approves.
Keep weight in check and keep debris away from the runners. Fix binding the first time you notice it, because a binding drawer is what bends the rail and turns a ten-minute job into a hardware replacement. If you are planning a paint job in the same kitchen, our kitchen paint colour ideas is a decent distraction while the filler cures.
Frequently Asked Questions
Why does my kitchen drawer keep falling out?
Loose mounting screws are the usual cause. Years of opening and closing work the screws holding the slides to the cabinet and to the drawer box free, the slide stops sitting square, and the box tips off the track. Worn rollers, a bent rail or a missing travel stop do the same thing. Open the drawer and check for movement at the mounting points first.
How can I stop a drawer from falling out temporarily?
Shim it. Slide a piece of cardboard, a folded playing card or a couple of flat washers between the slide flange and the cabinet side wherever you can see the rail move. For a drawer that creeps open on its own, drop the rear end of the cabinet-side slide about a sixteenth of an inch and refit it for added drag. Both fixes take minutes and are fully reversible.
Can I fix a drawer with wooden runners instead of metal slides?
Yes, and many older cabinets never had anything else. Tighten the runner screws, pack any stripped holes, and shim the runner where it has worn. Because wooden runners have no built-in travel stop, add a hardwood stop block about 1/2 x 3/4 x 2 inches with an off-centre 3/4 inch hole, screwed inside the cabinet where the drawer reaches full extension.
Do I need to replace drawer slides or can I fix them?
Repair them if the metal is sound. Tightening, re-seating the drawer on the balls and shimming solve most cases. Replace them if the rollers are flat or missing, the rail is rusted through or dented, a screw hole has gone oval, or the ball retainers are pitted. Replace both sides at once so the drawer stays square.
How do I remove a kitchen drawer that seems stuck?
Pull it straight out with even force on both sides rather than tipping one corner. On ball-bearing slides it should reach full extension, then lift the drawer member off the cabinet member while you squeeze the release tabs. On center-mount slides, press the levers underneath and lift. Never lever against the drawer front, because it chips the finish.
When should I call a cabinet professional instead of fixing it myself?
Call one when the cabinet itself is damaged: a face frame that racks when you pull, a split rail, or a carcass that has shifted or swollen from water. Built-in cabinetry, lipped or painted fronts, and integrated soft-close slides are also worth handing over. Get advice first on antique or inherited pieces, where a reversible shim beats a permanent slide replacement.
Conclusion
Start at the top of the order every time: check whether the mounting screws are loose, then whether the slide is square, then whether a stop is missing or the cabinet wood has failed. Nine times out of ten the drawer stops falling out after step one, and the rest need a shim or a new pair of slides.
Whatever you find, look at the wear marks before you reach for the screwdriver. If they are there, the fix is loosening, not tightening.