Staring at your dining chairs with legs that don't match your new decor? You're not alone. Many homeowners struggle with chair legs that clash with their updated style but can't justify replacing perfectly good furniture.
Changing chair leg color is the process of refinishing furniture legs using paint, stain, or specialized coatings to achieve a new appearance while maintaining the chair's structure and functionality. With the right technique, you can complete this transformation in a weekend with minimal tools.
Contents
I've spent 15 years refinishing furniture and have learned that proper preparation and the right products make all the difference between amateur results and professional-looking chairs that last for years.
This guide covers four proven methods for changing chair leg colors, from beginner-friendly options that require no sanding to professional techniques that give showroom results. We'll also cover which products work best for different situations, common mistakes to avoid, and how to maintain your newly finished legs for long-lasting beauty.
Quick Comparison: Choose gel stain for wood grain preservation (no sanding), spray paint for fastest results, traditional paint for complete color change, or limewash for rustic character.
| Method | Best For | Time | Cost | Difficulty | Durability |
|---|---|---|---|---|---|
| Gel Stain | Wood legs, preserving grain | 2-3 hours | $15-30 | Easy | High |
| Spray Paint | All materials, fastest method | 1-2 hours | $10-25 | Easy | Medium |
| Traditional Paint | Complete color change | 4-6 hours | $20-40 | Moderate | High |
| Limewash | Rustic, weathered look | 2-3 hours | $15-35 | Easy | Medium |
Proper preparation accounts for 80% of your success when refinishing chair legs. Skipping these steps is the most common reason projects fail, with paint peeling or chipping within weeks.
⏰ Time Saver: For upholstered chairs, wrap seats and backs in plastic wrap before taping edges. This creates a better seal than tape alone and saves 15-20 minutes.
Even clean-looking chairs have invisible oils from hands and cleaning products that prevent paint from adhering. Use a degreaser or solution of 1 tablespoon dish soap to 1 gallon warm water. Wipe all legs thoroughly, then dry completely.
Most fear the sanding step, but you have options:
For upholstered chairs, wrap fabric in plastic wrap first, then apply painter's tape along the edges. The plastic prevents paint wicking into fabric fibers, while tape creates a clean paint line. For wooden chairs, tape where legs meet seats for a professional finish.
Gel stain is the best option for wood chair legs when you want to keep the wood grain visible but change the color. It's thick like paint but allows natural wood patterns to show through, and it can often be applied without extensive sanding.
Spray paint is ideal for quick transformations, especially when changing from one color to another completely. Modern spray paints with built-in primers can cover most surfaces in just 2-3 thin coats.
✅ Pro Tip: For the smoothest finish, spray legs while they're attached to the chair. This prevents drips and ensures even coverage from all angles.
Traditional brush-on paint with proper primer provides the most durable, long-lasting finish. This method takes longer but offers the best protection against scratches and wear, especially for dining chairs that see daily use.
Limewash creates a beautiful, weathered look that partially reveals the underlying wood grain. It's perfect for creating farmhouse, coastal, or rustic styles and works exceptionally well for removing yellow/orange undertones from oak or pine.
The right products make all the difference in achieving professional results. After testing dozens of options, here are my top recommendations based on ease of use, durability, and value.
![How To Change Chair Leg Color ([nmf] [cy]) Complete Guide 1 DWIL Matte Finish Furniture Paint - 5 Oz Wood Paint for...](https://m.media-amazon.com/images/I/41hH2xBxdQL._SL160_.jpg)
Coverage: 8-10 sq.ft
Finish: Matte
Application: Brush included
Drying: 2 hours
Check PriceDWIL's furniture paint is specifically designed for beginners who want professional results without the hassle. The water-based formula means easy cleanup with just soap and water, while the included application tools ensure you have everything needed to start right away.
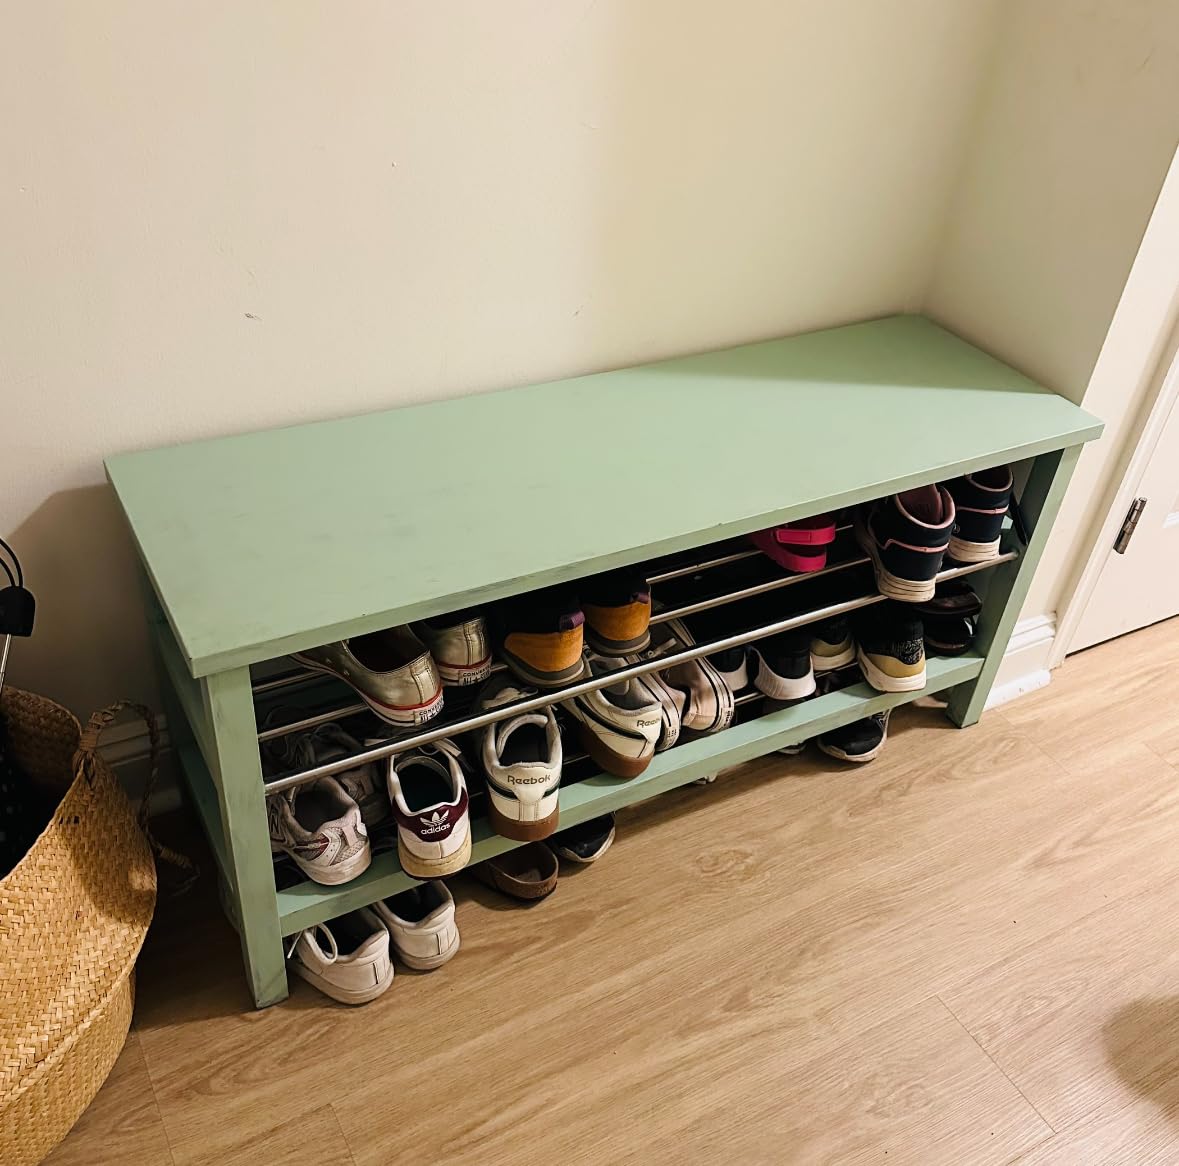
What impressed me most about this paint is its excellent adhesion - it truly sticks to furniture without primer, which saves significant preparation time. The matte finish provides a modern look that hides surface imperfections, making it perfect for chairs that have seen some wear.
Customer photos show impressive results on various furniture pieces, with users particularly praising how the 5-ounce trial size is perfect for testing colors before committing to larger projects. The coverage is rich and deep, with most users achieving good opacity in just two coats.
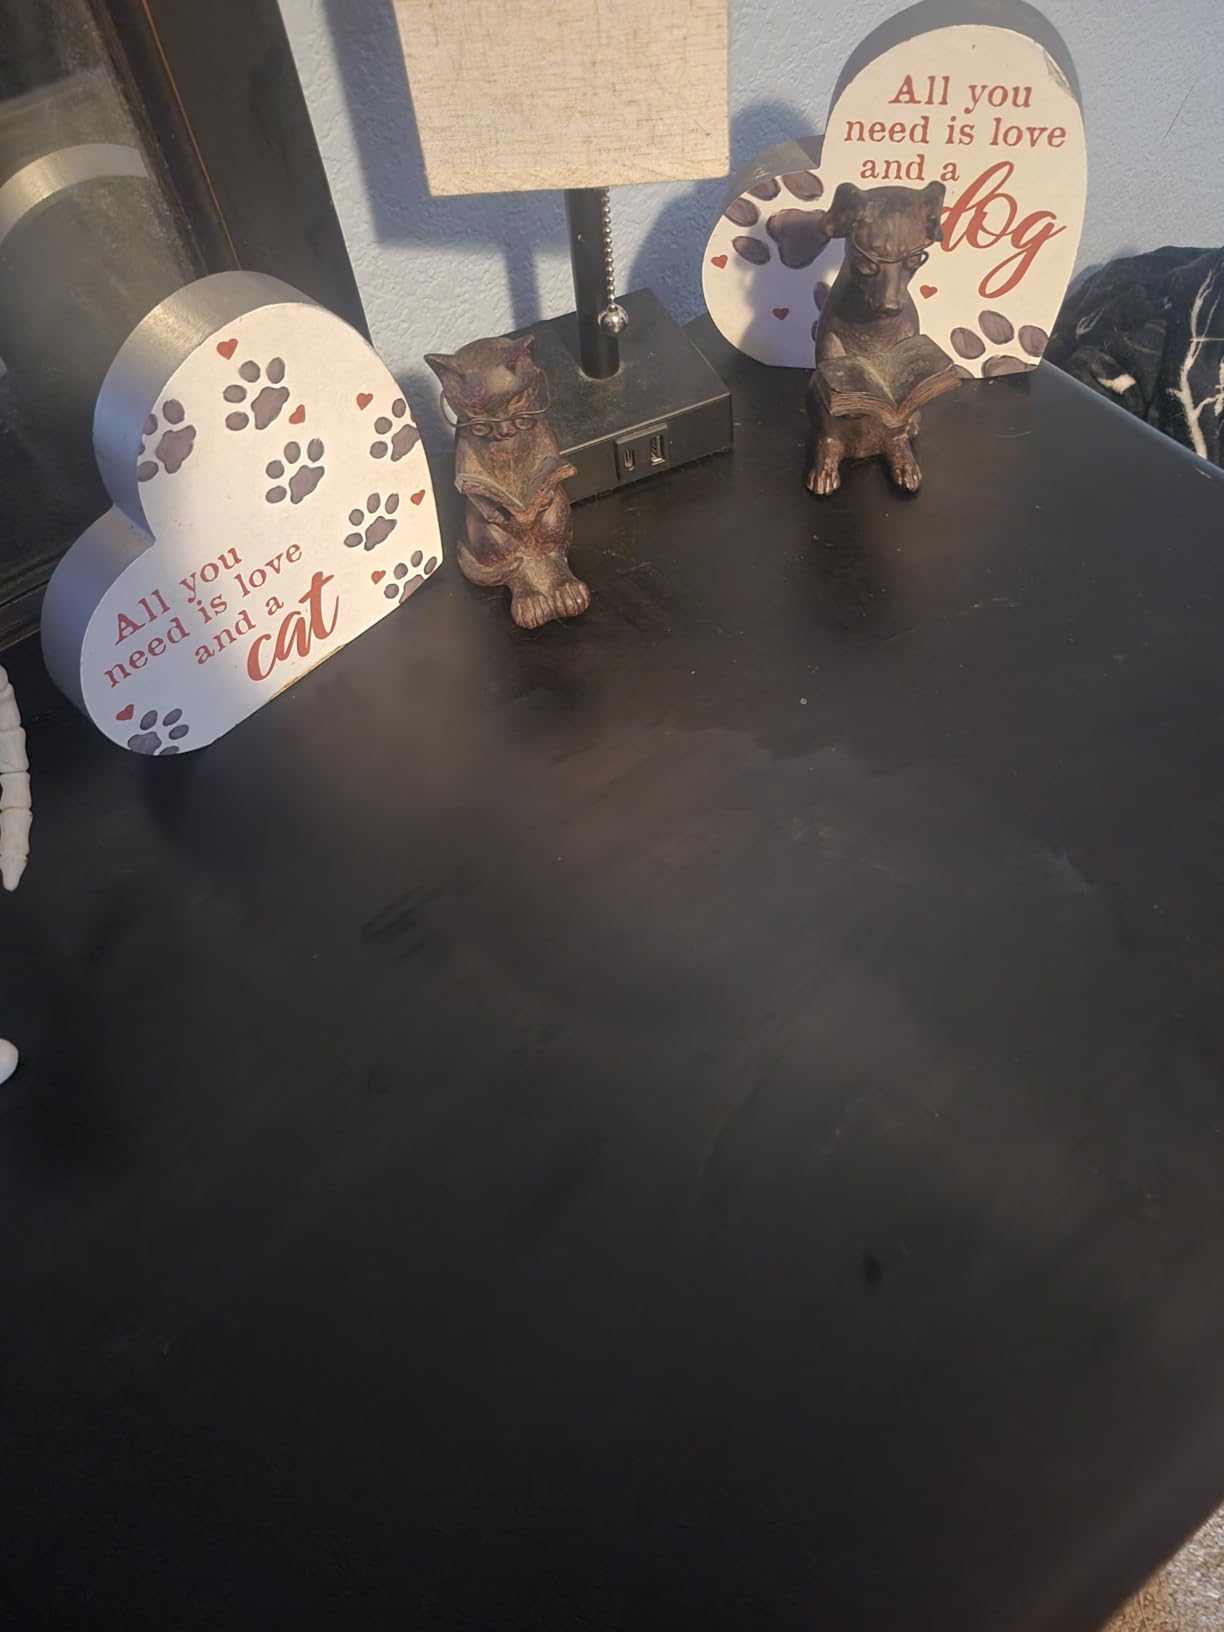
While the small size means you'll need multiple containers for a full dining set, it's actually perfect for chair leg projects where coverage needs are minimal. The non-toxic formula also makes it ideal for those working indoors or concerned about harsh chemical smells.
Complete tool set saves time and money, excellent adhesion without primer, water-based formula for easy cleanup
Small size only covers about 8-10 square feet, may need multiple containers for larger projects
![How To Change Chair Leg Color ([nmf] [cy]) Complete Guide 2 Varathane 349560 Premium Gel Stain, Half Pint, Dark Walnut](https://m.media-amazon.com/images/I/511lpwEFxFL._SL160_.jpg)
Coverage: 60 sq.ft
Finish: Semi-gloss
Application: Brush
Drying: 2 hours between coats
Check PriceVarathane's gel stain is my top recommendation for preserving natural wood beauty while changing the color. The thick, oil-based formula applies like paint but allows the beautiful wood grain to show through, creating depth and character that solid colors can't match.
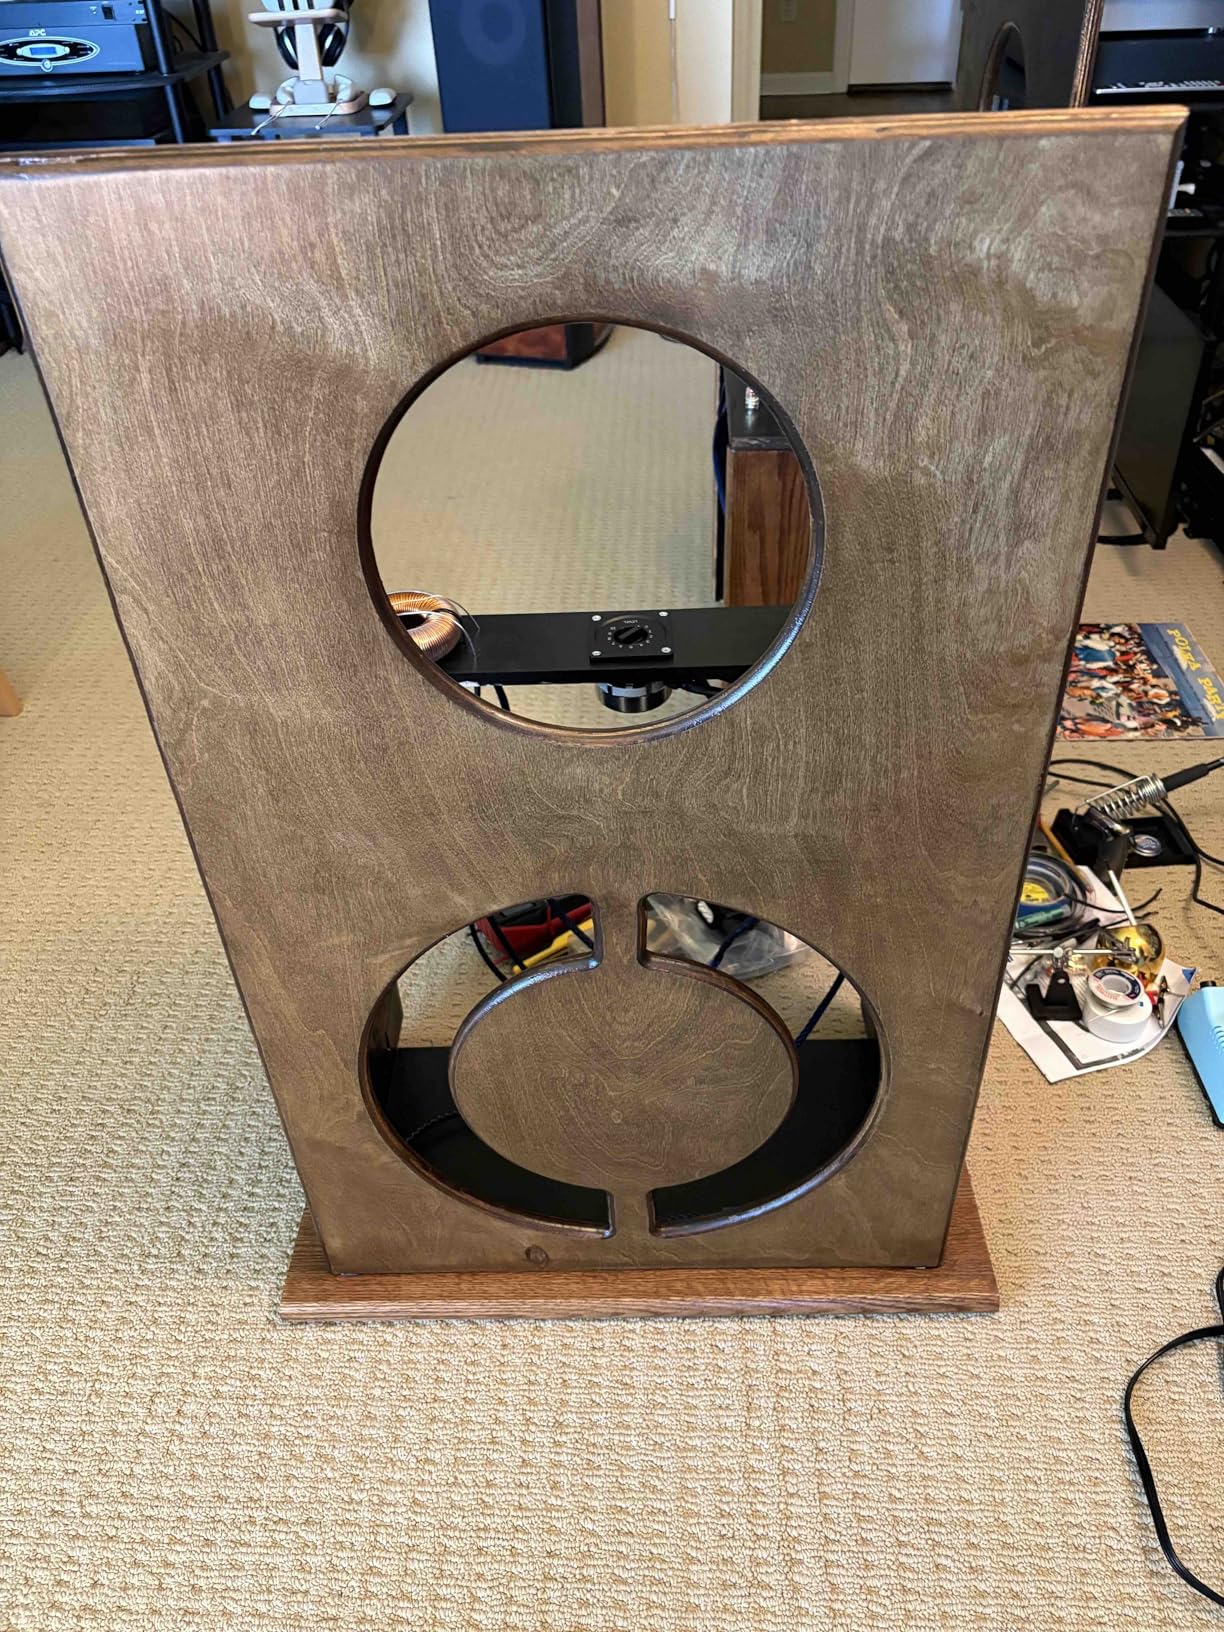
I've used this gel stain on countless furniture pieces, and its consistency is what sets it apart - it's thick enough to stay where you put it without dripping or running, which is crucial when working with vertical chair legs. This makes it much more forgiving than traditional liquid stains, especially for beginners.
The coverage is exceptional - one half-pint container can stain up to 60 square feet, which is enough for multiple dining chair sets. Customer images demonstrate the rich, professional finish achievable even by DIYers, with many users noting how it transformed outdated furniture into pieces that look brand new.
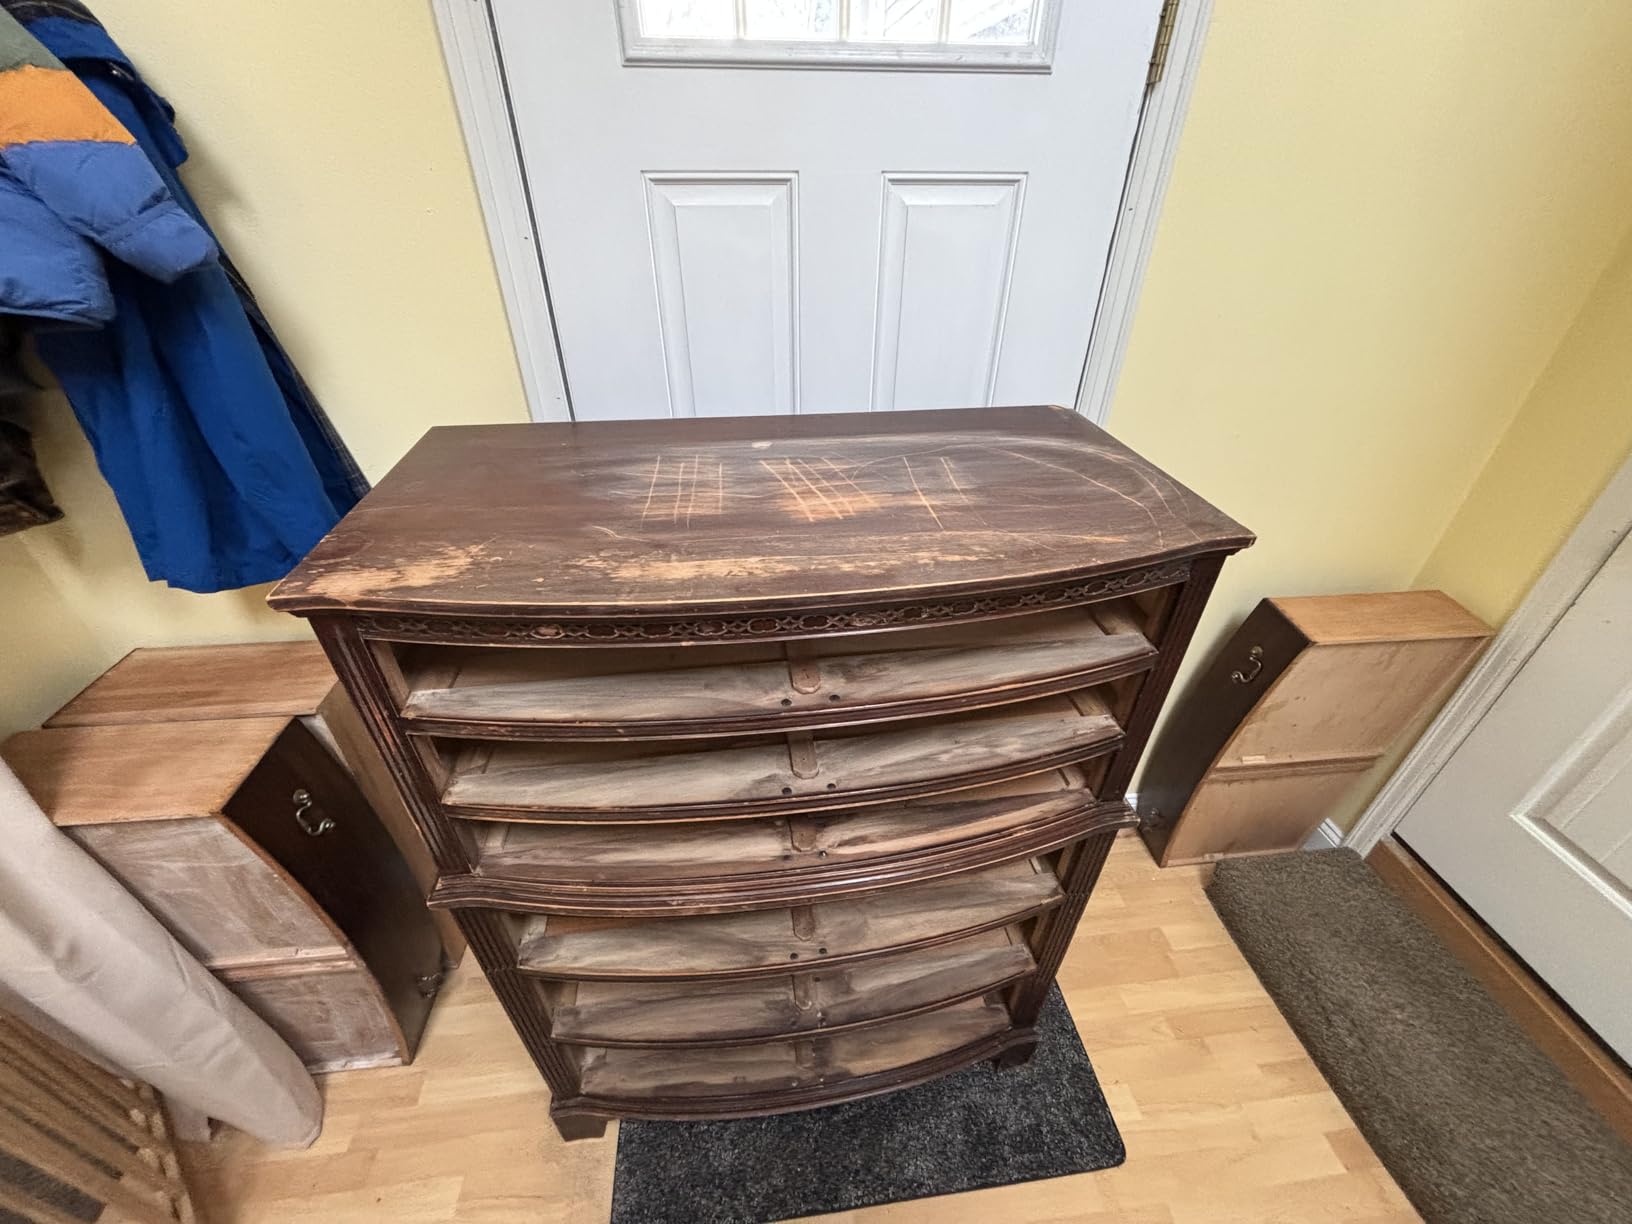
While the full cure time of 24 hours requires patience, the durability of the finish is outstanding. The Dark Walnut color provides deep, rich tones that work with virtually any decor style, from traditional to modern farmhouse.
Excellent wood grain enhancement, no-sanding application, prevents drips and runs, generous coverage area
Full 24-hour cure time before use, limited color palette compared to paint options
![How To Change Chair Leg Color ([nmf] [cy]) Complete Guide 3 Rust-Oleum 334021 Painter's Touch 2X Ultra Cover Spray...](https://m.media-amazon.com/images/I/31fZqC1AESL._SL160_.jpg)
Coverage: 12 sq.ft per can
Finish: Flat
Application: Spray
Drying: 20 minutes to touch
Check PriceRust-Oleum's Painter's Touch 2X is the go-to spray paint for quick furniture transformations. The built-in primer means you can skip a step while still achieving excellent adhesion, making it perfect for those who want fast results without sacrificing quality.
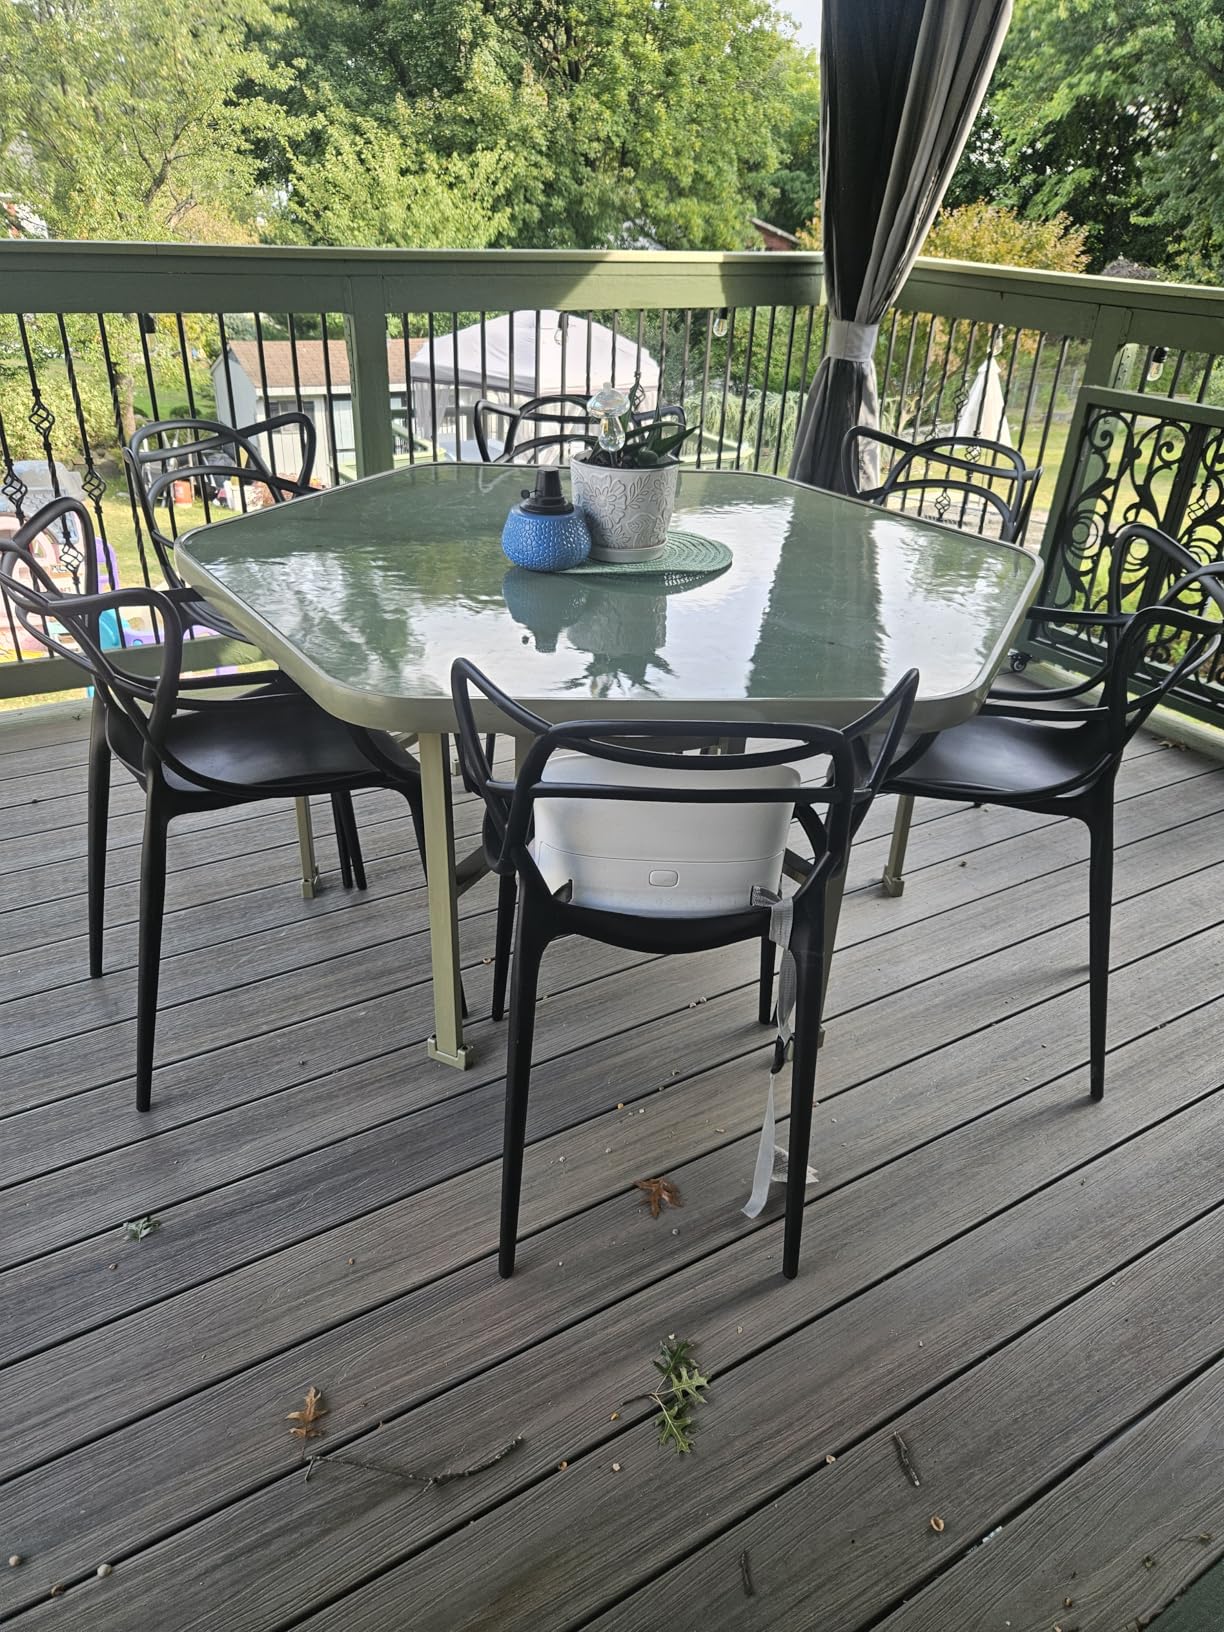
What makes this spray paint exceptional is its coverage - fewer passes are needed compared to other brands I've tested, which saves both time and product. The comfort spray tip with its wider finger pad reduces hand fatigue during longer projects, a feature you'll appreciate when tackling a full dining set.
The flat white finish is particularly versatile, working as a base color for various decorating styles from modern farmhouse to coastal chic. Customer photos show impressive transformations on various furniture types, with many users praising how this paint revived dated pieces with minimal effort.
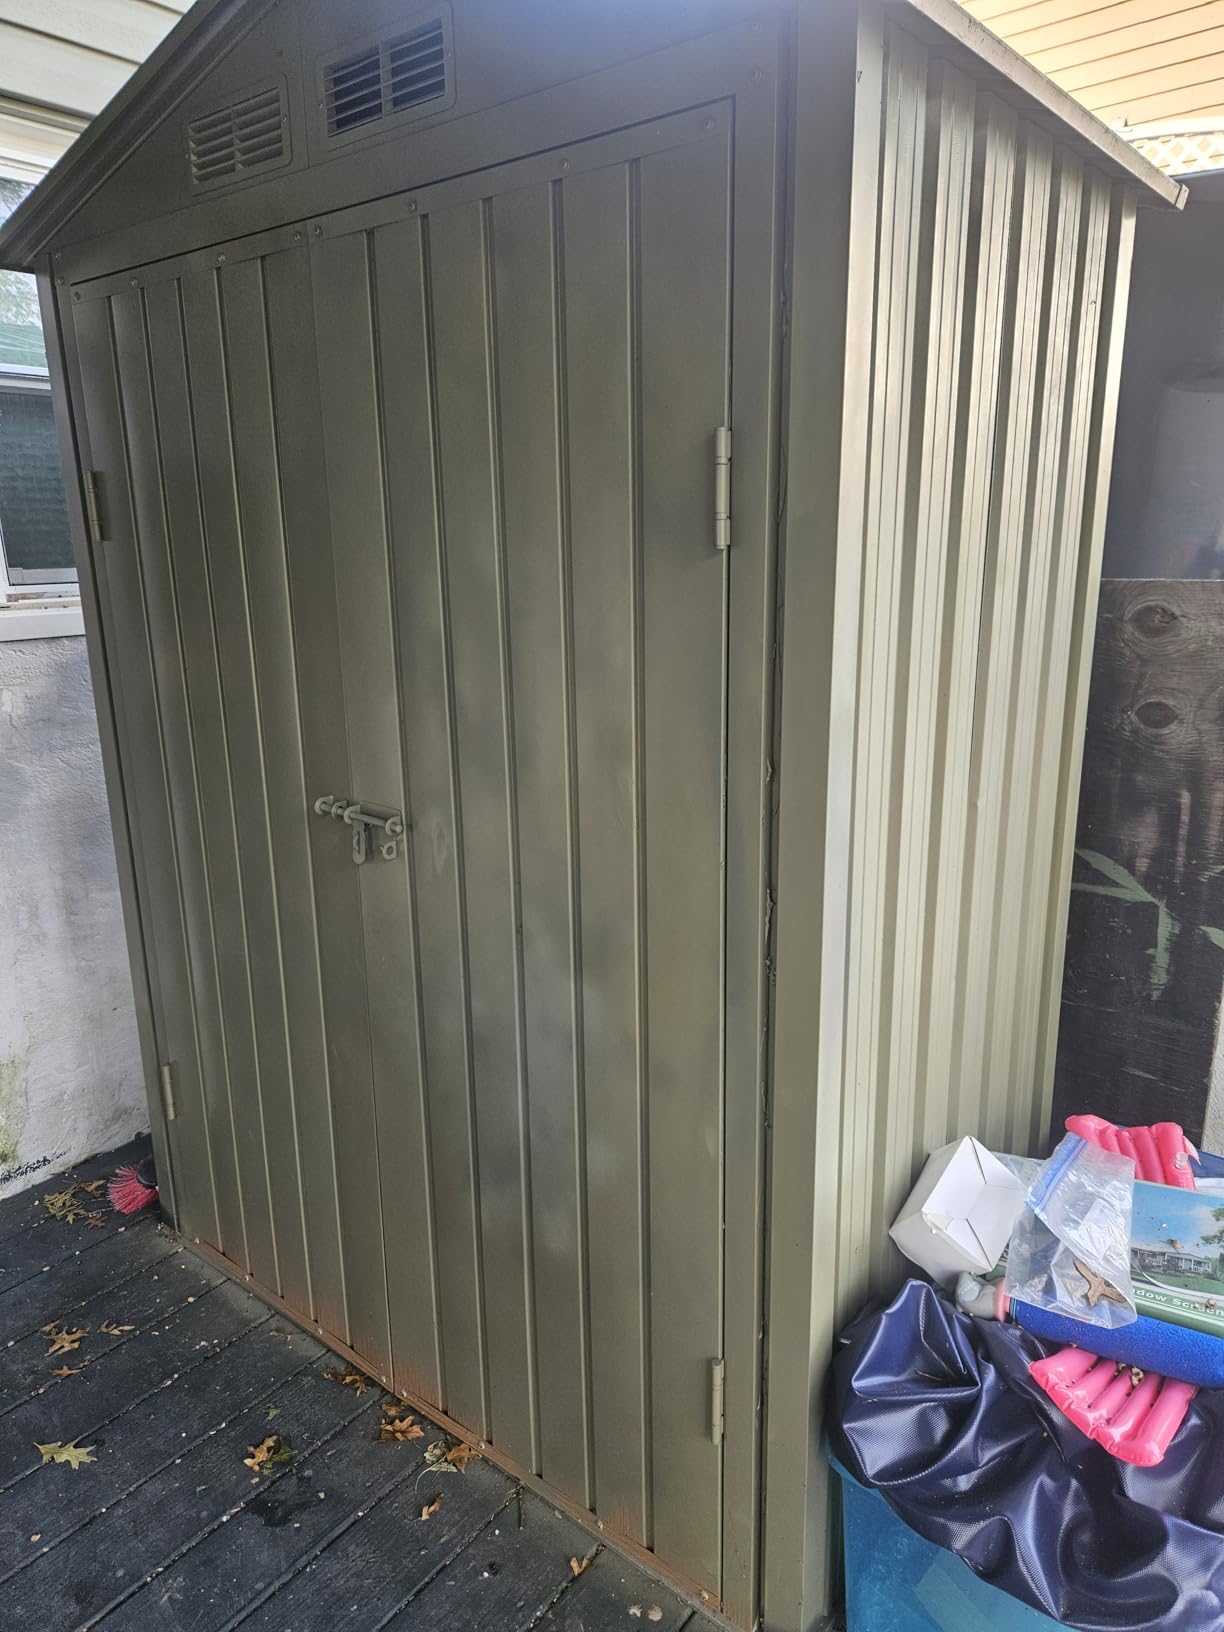
While the strong odor requires good ventilation during application, the quick 20-minute drying time means you can complete projects in a single afternoon. The any-angle spray capability is especially useful for getting into all the nooks and crannies of decorative chair legs.
Built-in primer saves time, excellent coverage with fewer coats, any-angle spray for difficult areas, quick drying time
Strong odor requires excellent ventilation, classified as hazardous material (non-returnable)
![How To Change Chair Leg Color ([nmf] [cy]) Complete Guide 4 Varathane Premium Fast Dry Wood Stain, Quart, Dark Walnut](https://m.media-amazon.com/images/I/51nBIF0k-nL._SL160_.jpg)
Coverage: 275 sq.ft per quart
Finish: Semi-gloss
Application: Brush
Drying: 1 hour to touch
Check PriceFor those who prefer the traditional staining route, Varathane's Premium Fast Dry Wood Stain offers professional results with significantly less waiting time than conventional stains. The nano pigment technology creates exceptional color quality that truly enhances the natural beauty of wood.
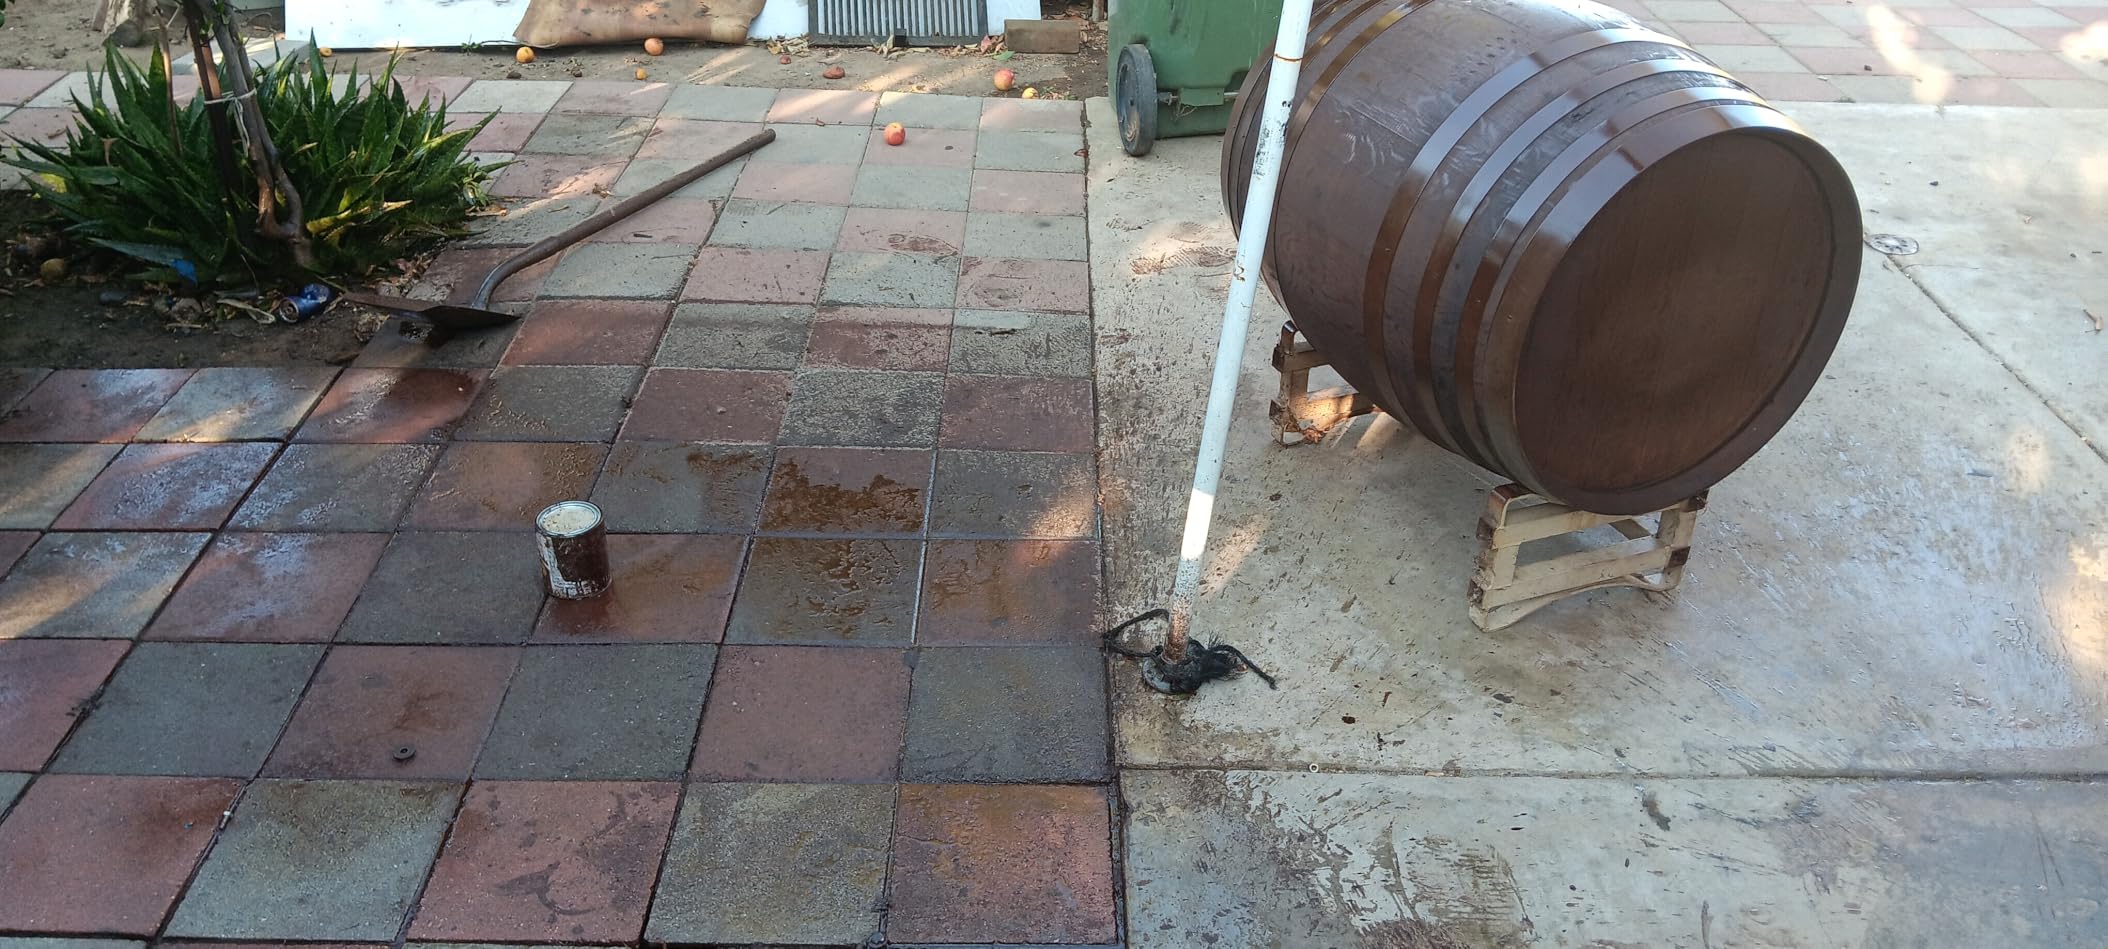
What impressed me most is the one-coat coverage capability - most projects achieve full color in a single application, which saves considerable time compared to traditional stains that require multiple coats. The fast-drying formula means you can complete projects in a single day rather than waiting days between coats.
The Dark Walnut color provides rich, deep tones that work beautifully on various wood species. Customer images show stunning transformations, with many users commenting on how the stain creates an antique look while still allowing the wood's character to shine through.
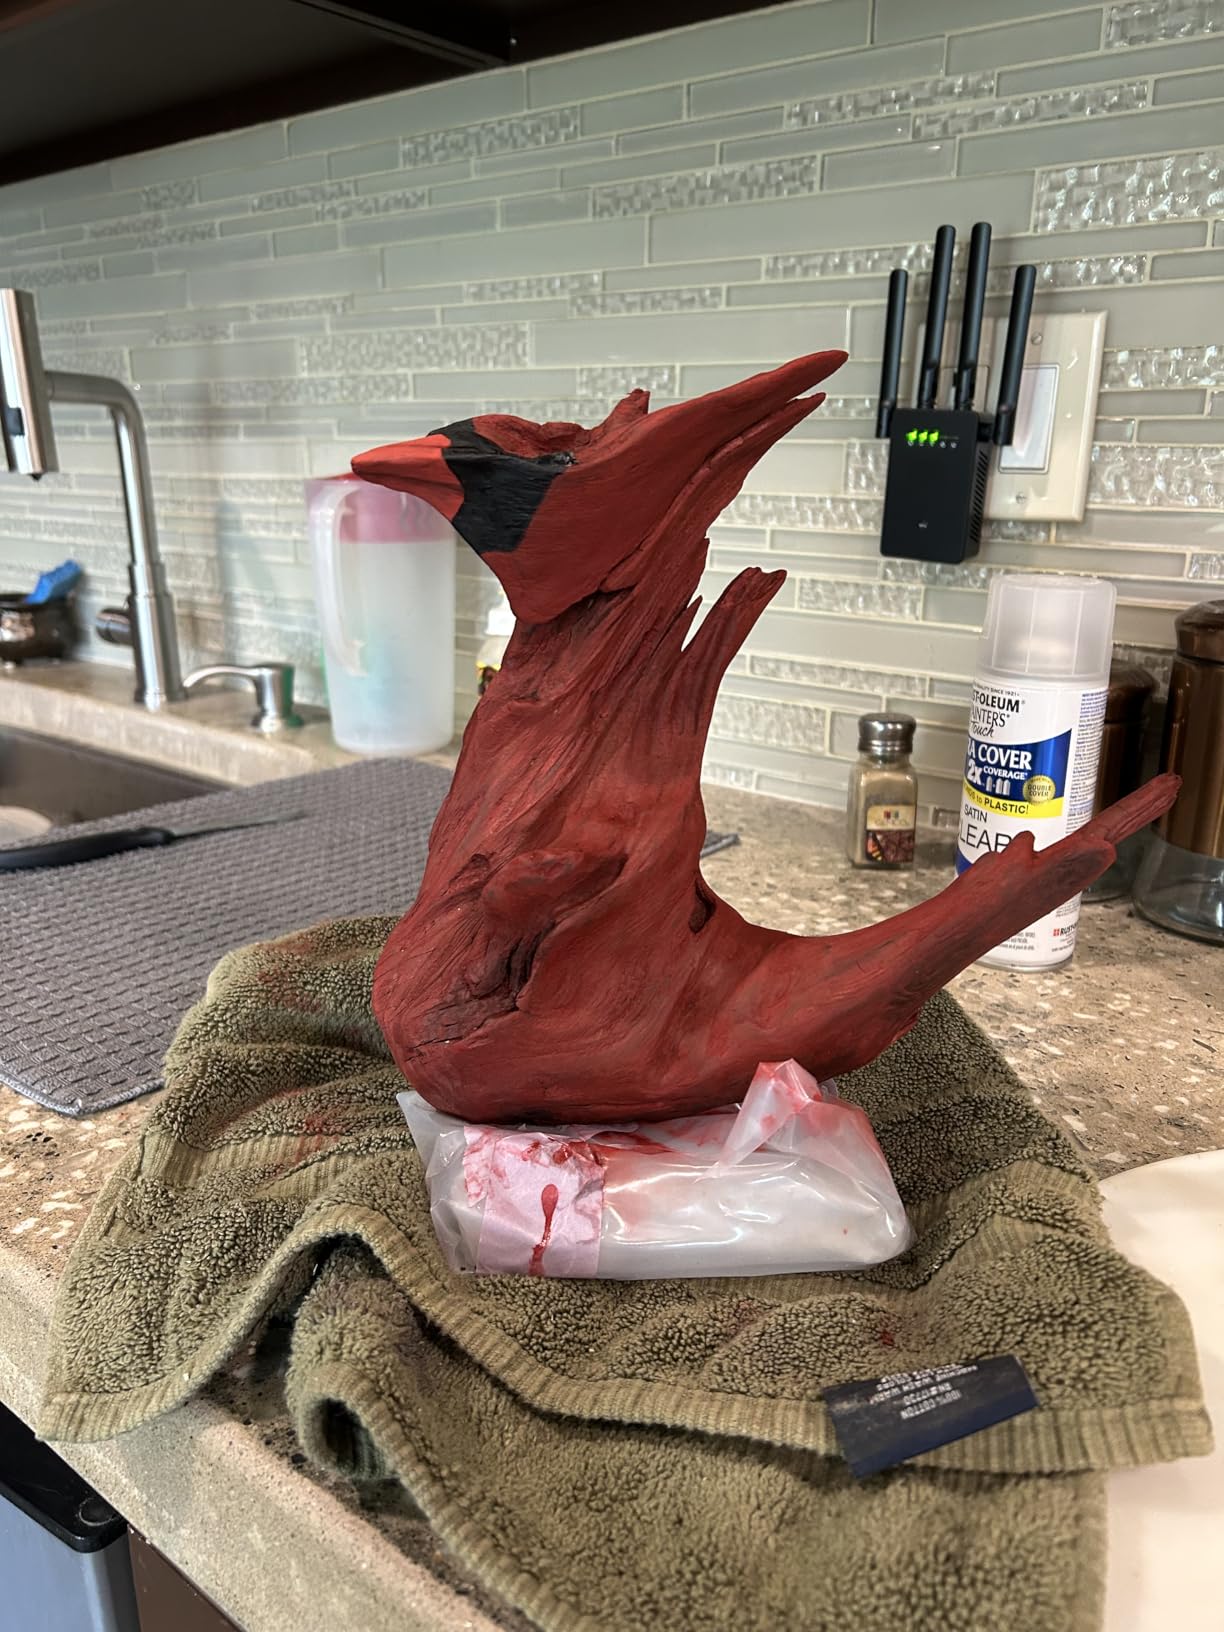
While the oil-based formula requires mineral spirits for cleanup and has a noticeable odor during application, the durability and beauty of the finish are worth the extra effort. One quart covers up to 275 square feet, making this an economical choice for larger projects or multiple furniture pieces.
One-coat coverage saves time, fast-drying formula for quick projects, exceptional color quality with nano pigments, large coverage area
Oil-based requires mineral spirits for cleanup, strong odor during application, non-returnable hazardous material
![How To Change Chair Leg Color ([nmf] [cy]) Complete Guide 5 Furniture Repair Kit Wood Markers - Set of 13 - Markers and...](https://m.media-amazon.com/images/I/51Q+Z+C7GIL._SL160_.jpg)
Colors: 6 wood tones
Application: Marker and wax
Includes: Sharpener
Size: 13 piece set
Check PriceFor minor touch-ups or small areas that need attention, this 13-piece furniture repair kit from DAIXISM is an essential tool. With six markers and six wax sticks in common wood tones, you can quickly fix scratches, nicks, and scuffs without breaking out the paint cans.
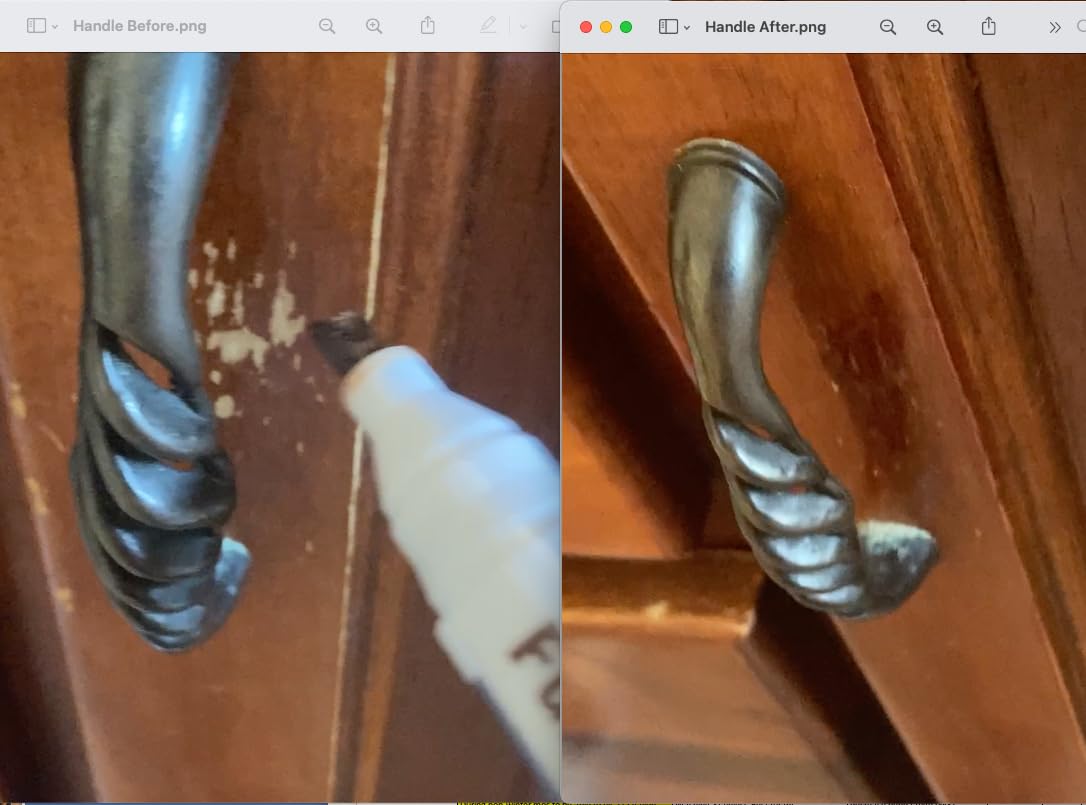
I keep this kit in my workshop for quick fixes on existing furniture, and it's invaluable for maintaining painted chair legs between major refinishings. The markers work perfectly for surface scratches, while the wax sticks fill deeper imperfections, creating a seamless repair that's barely noticeable.
The kit includes Maple, Oak, Cherry, Walnut, Mahogany, and Black colors, covering the most common furniture tones. Customer photos show effective repairs on various furniture pieces, with users particularly appreciating how the wax crayons can fill deep scratches that markers alone can't address.
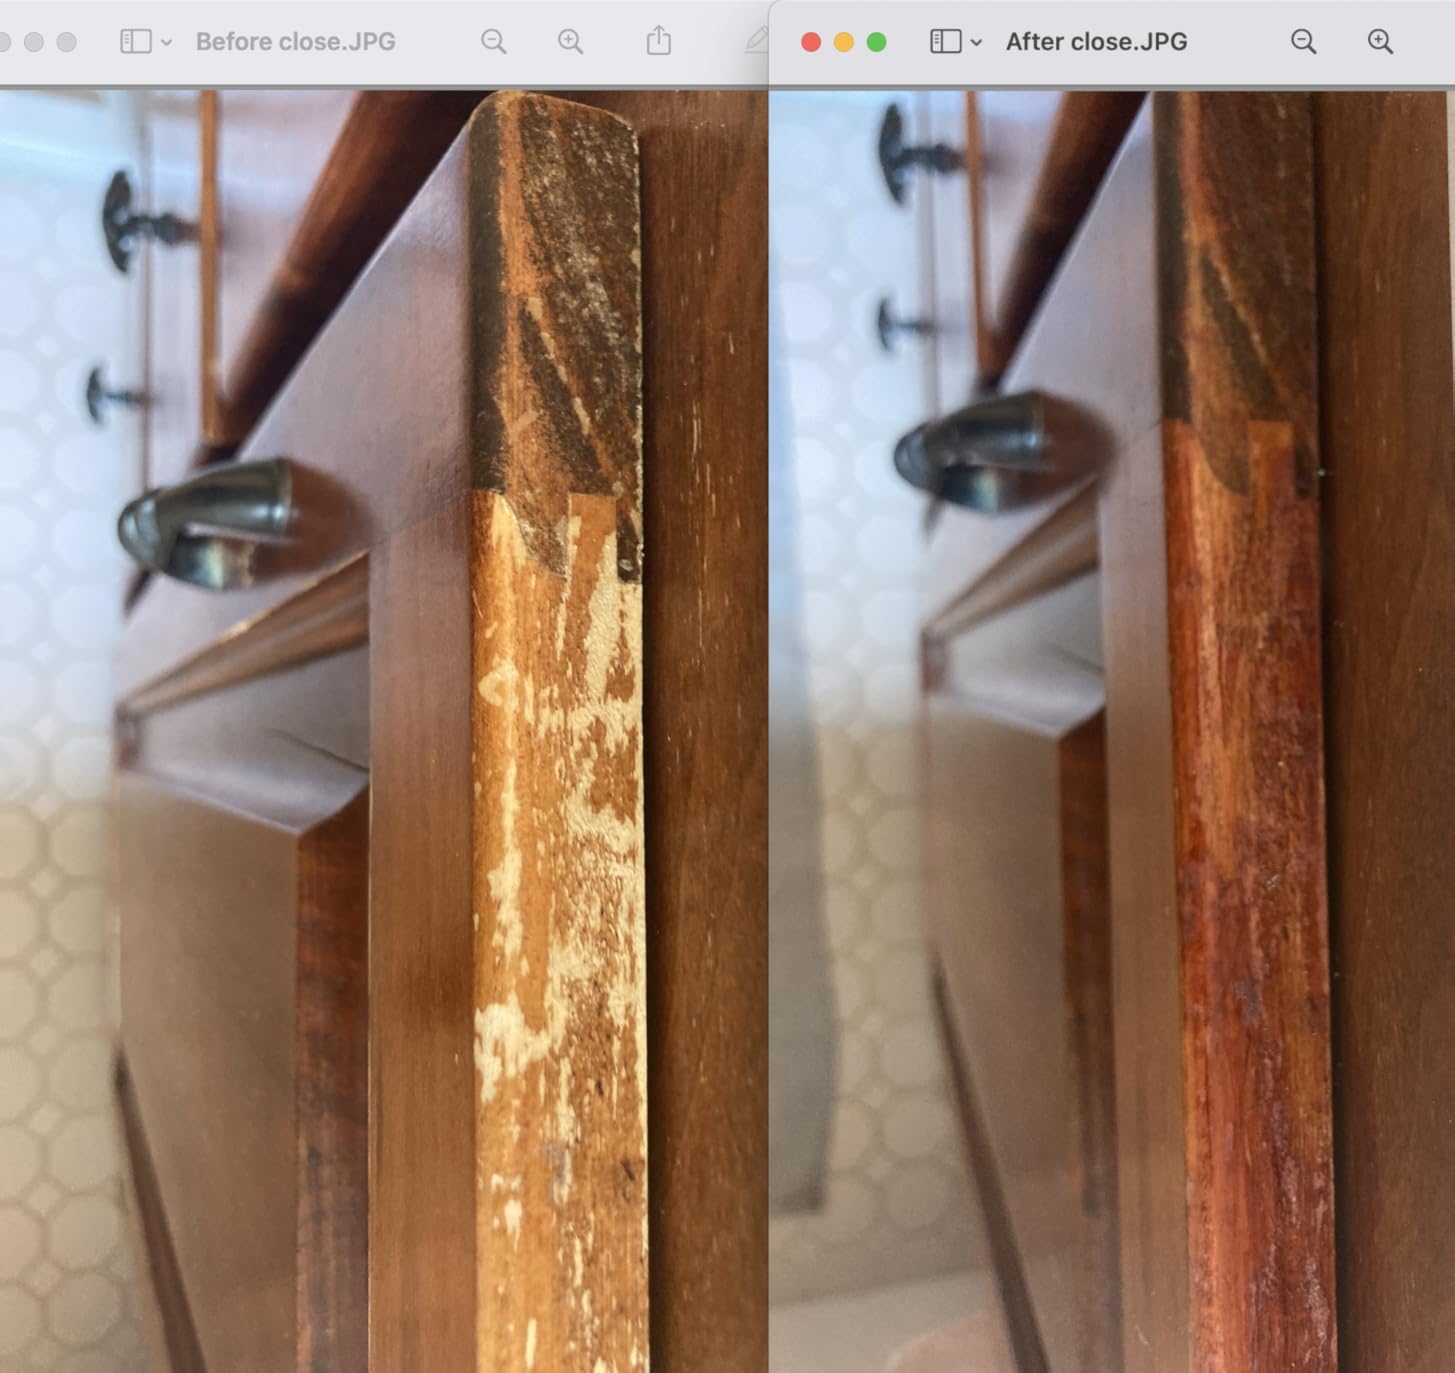
While some users note that the colors tend to be darker than the cap indicators suggest, the variety of tones included usually provides a suitable match for most furniture. At under $10, this budget-friendly kit is a must-have for maintaining your newly finished chair legs between major updates.
Multiple wood colors in one kit, fills both surface scratches and deeper damage, budget-friendly maintenance solution, easy application
Colors darker than cap indicators suggest, wax can be difficult to apply evenly, may not match all wood tones perfectly
Even with careful preparation, issues can arise during chair leg refinishing. Based on thousands of forum discussions and my own experience, here are the most common problems and their solutions:
Cause: Insufficient surface preparation or contamination with oils
Solution: Remove all loose paint, clean thoroughly with degreaser, sand to create texture, and apply appropriate primer before repainting
Cause: Applying too thickly, working in wrong temperature/humidity, or inadequate mixing
Solution: Apply thin, even coats; work in 60-80°F with low humidity; stir products thoroughly; maintain wet edge when brushing
Cause: Wood characteristics affect final color; stains often dry darker than wet
Solution: Always test on hidden area first; remember stains deepen as they dry; account for underlying wood tone when selecting color
Cause: Shaking cans (instead of stirring), brushing too vigorously, or applying in high heat
Solution: Stir rather than shake; use gentle brush strokes; avoid application in direct sun or high temperatures
Cause: Applying too heavily or holding spray can too close
Solution: Apply thinner coats; hold spray can 10-12 inches from surface; catch drips immediately with brush while wet
Tip: Always keep a small container of the original paint or stain color for future touch-ups. Label with the date and project name for easy identification.
Proper maintenance extends the life of your newly finished chair legs significantly. Here's how to keep them looking fresh:
✅ Pro Tip: For dining chairs, attach felt pads to the bottom of legs immediately after finishing. This protects both your floors and the new finish from daily wear.
After refinishing hundreds of chair legs over the years, I've learned that success comes down to three factors: proper preparation, choosing the right product for your situation, and patience during the drying process.
For most DIYers, I recommend starting with gel stain if you want to preserve wood grain, or spray paint if you need a complete color change quickly. Both offer forgiving application processes that yield professional-looking results even for beginners.
Remember that preparation is never the place to cut corners - the extra time spent cleaning and sanding properly will save you from having to redo the project in just a few months when paint starts peeling.
Finally, don't be afraid to experiment on a single chair first. This gives you confidence in both the technique and color before committing to a full dining set. With the right approach, you can transform your tired chair legs into pieces that look like they came from a high-end furniture store.
For more detailed furniture painting techniques, check out our complete dining table painting guide, which includes additional tips for larger furniture projects.