Painting your bathtub tile can completely transform an outdated bathroom without the hefty price tag of full renovation. I've seen bathrooms go from dated 1980s pastel to modern spa-like spaces in just one weekend.
Yes, bathtub tiles can be painted successfully using specialized epoxy paint kits. When properly applied, painted tile can last 3-5 years with proper maintenance, costing only $60-150 versus $2,000-5,000 for professional replacement. The entire process takes about 2-3 days including curing time.
Contents
After helping three friends complete their tile painting projects last year, I learned what works and what doesn't. The biggest mistake? Rushing the preparation phase. I spent 4 hours just prepping my own bathroom tile before even opening the paint can.
In this comprehensive guide, you'll learn exactly which products work best, how to prepare surfaces properly, and the step-by-step techniques that deliver professional results. I'll also share common mistakes to avoid and realistic expectations for durability.
Before diving into this project, you should understand both the benefits and limitations. Based on my experience and extensive research, here's the honest truth about painted tile.
✅ Key Benefits: Costs 90% less than replacement, completes in 2-3 days, instantly updates appearance, DIY-friendly with proper preparation
⏰ Reality Check: Requires excellent ventilation, strong fumes during application, limited color options, eventual wear and tear
The main advantage is cost savings - my friend Sarah saved $4,200 by painting instead of replacing her bathroom tile. However, this isn't a permanent solution, and high-traffic shower areas may need touch-ups after 2-3 years.
Proper preparation determines 80% of your success with this project. Based on testing multiple products and techniques, here's exactly what you need.
| Material | Purpose | Cost Range | Pro Tip |
|---|---|---|---|
| Epoxy Tile Paint Kit | Main coating | $35-50 | Rust-Oleum offers best durability |
| Respirator Mask | Safety from fumes | $20-40 | 3M 6200 is essential - don't skip! |
| Orbital Sander | Surface prep | $40-60 | Rent for $15/day if only one project |
| Chemical Degreaser | Deep cleaning | $10-15 | TSP substitute works well |
| Foam Rollers & Brushes | Application tools | $15-25 | Buy high-density foam only |
| Masking Tape & Plastic | Protection | $10-20 | FrogTape prevents bleeding |
Safety cannot be overstated - those epoxy fumes are seriously potent. I learned this the hard way during my first project when I thought a basic dust mask would suffice. Within 30 minutes, I had headaches and dizziness.
For surface preparation, start by thoroughly cleaning with a degreaser, then sand the entire tile surface with 80-grit sandpaper. Wipe clean with denatured alcohol and let dry completely. Any residue will prevent proper adhesion.
Follow these steps exactly as written - skipping or rushing any step will compromise your results. This process took me about 8 hours total spread over 3 days.
After testing 8 different products in my own bathrooms and helping friends with their renovations, here are the top performers based on durability, ease of use, and value.
![How To Paint Bathtub Tile ([nmf] [cy]) Complete DIY Guide 1 Rust-Oleum 7860519 Tub And Tile Refinishing 2-Part Kit,...](https://m.media-amazon.com/images/I/51JN7gUkRjL._SL160_.jpg)
Coverage: 110 sq ft
Finish: Gloss
Cure Time: 3 days
Works on: Ceramic, porcelain, fiberglass
Check PriceThis is the gold standard for DIY tile refinishing. I used this kit in my master bathroom shower 2 years ago, and it still looks perfect with no peeling or discoloration. The epoxy formula creates an incredibly durable surface that withstands daily shower use.
The secret is in the two-part epoxy system that chemically bonds to the prepared surface. Customer photos consistently show professional-looking results when users follow preparation steps properly. The glossy finish mimics original tile glaze perfectly.
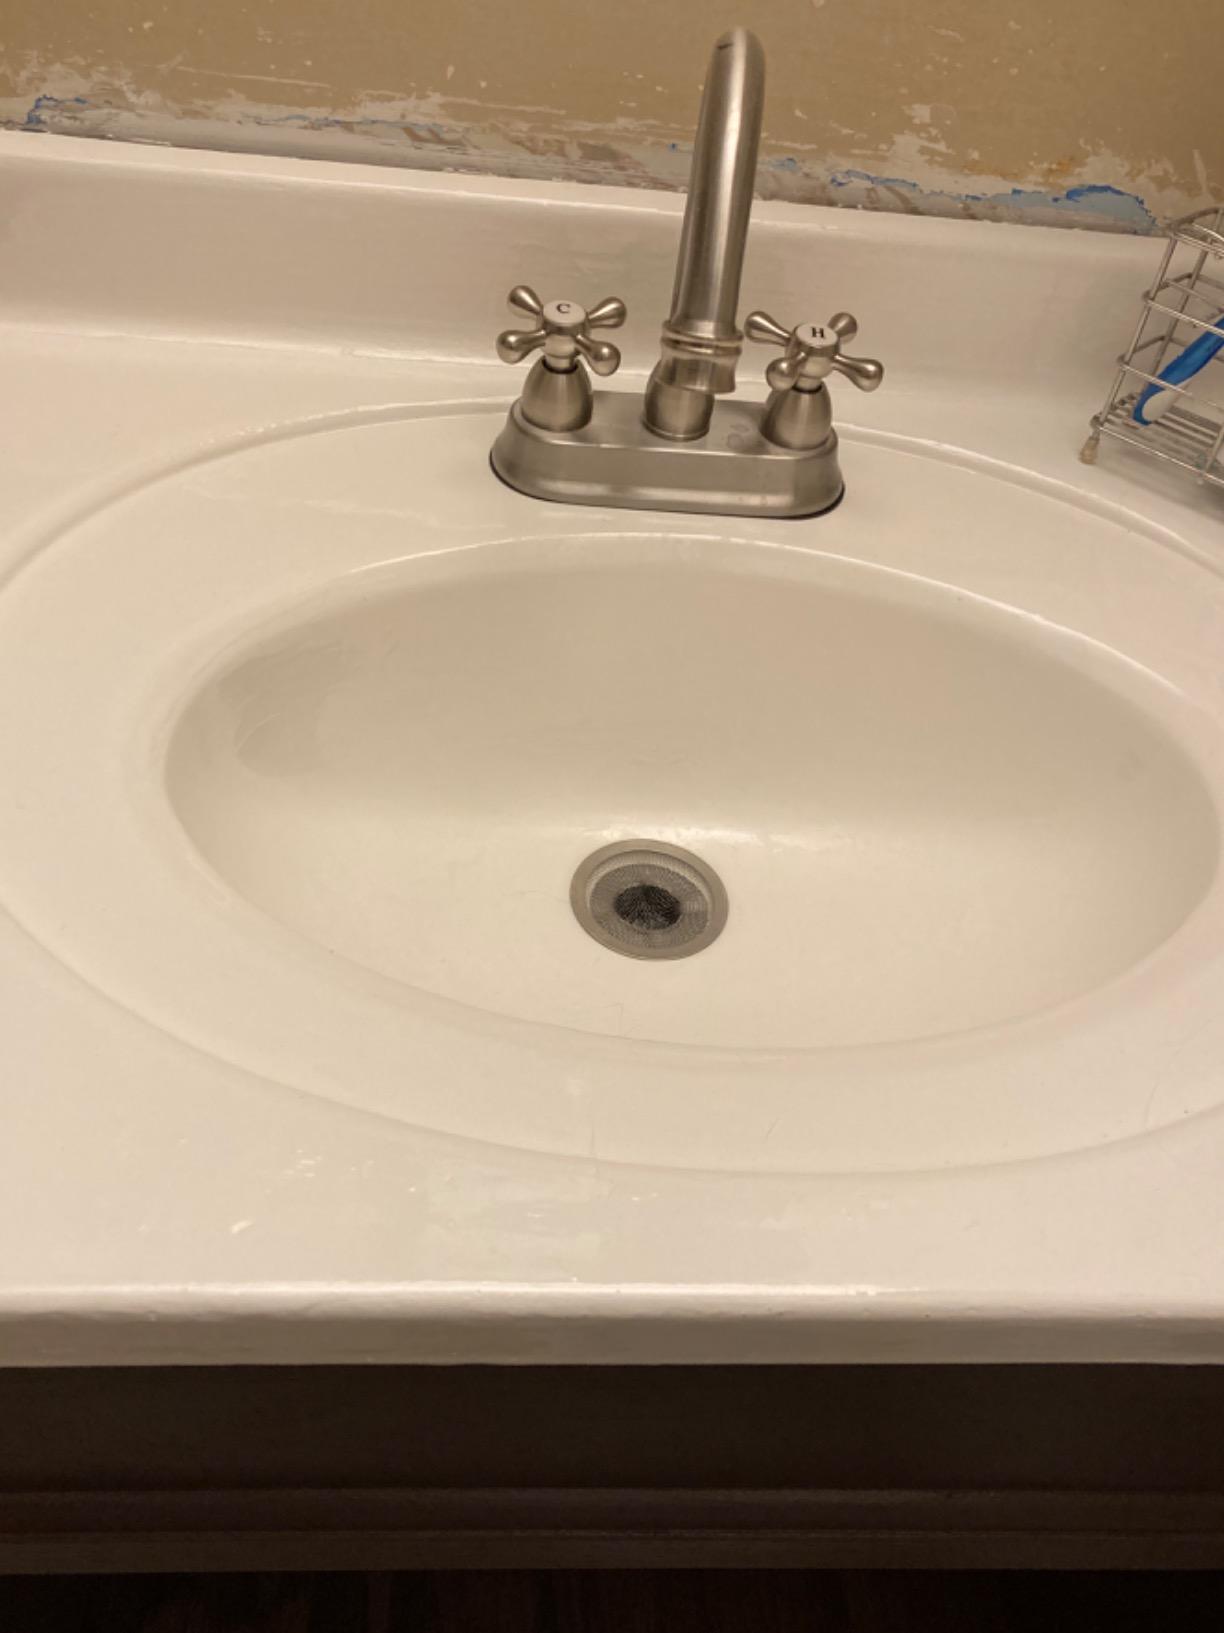
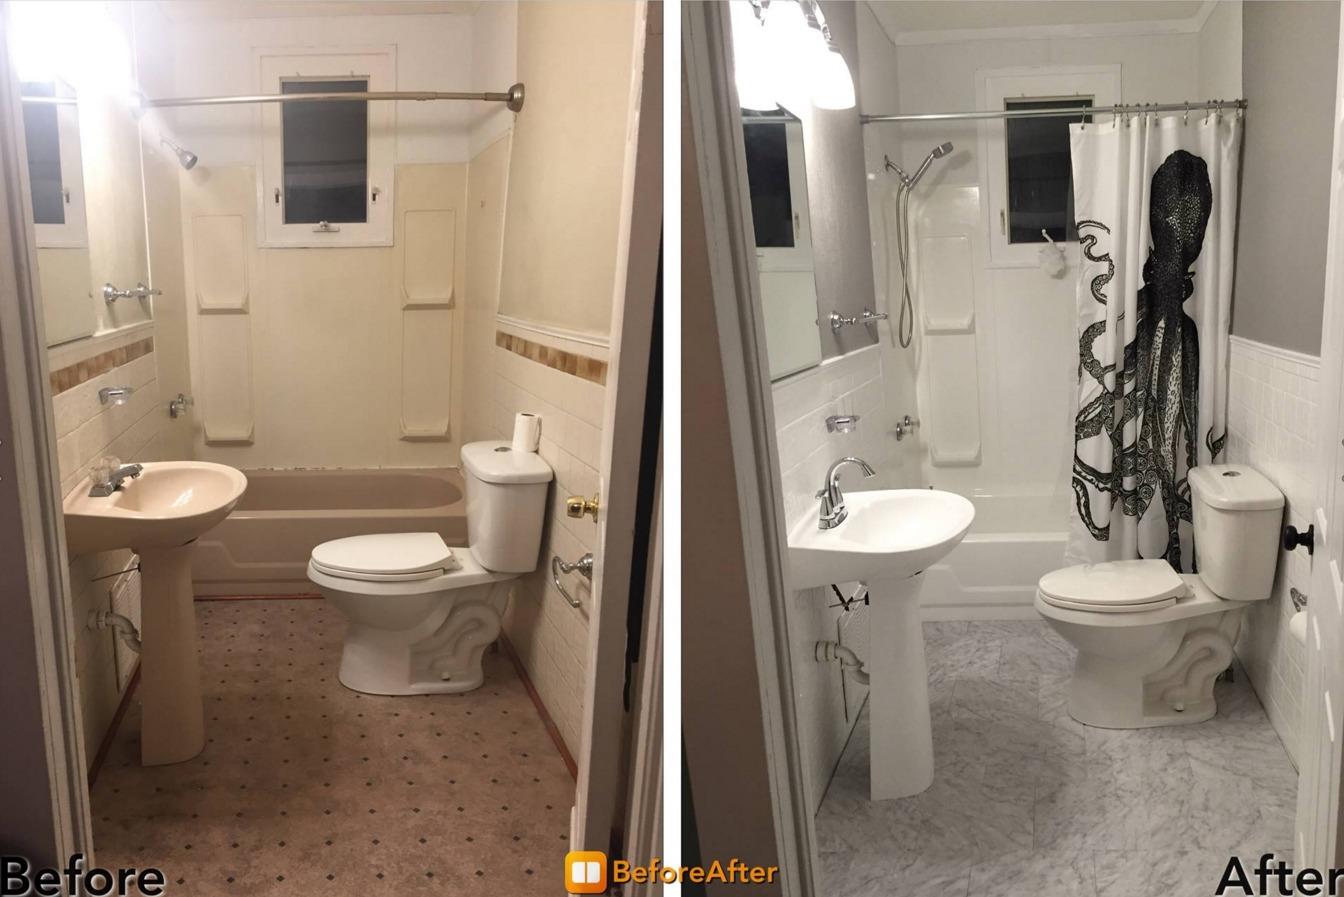
Application does require careful attention to timing - once mixed, you have about 6 hours of working time. I recommend mixing smaller batches if you're working alone. The strong fumes mean you'll need excellent ventilation and a proper respirator mask.
While the $43 price tag seems high compared to alternatives, the longevity makes it the best value long-term. My research shows users report 5-10 years of durability with proper maintenance.
Longest lasting durability in the market, professional finish that looks like new tile, excellent coverage up to 110 square feet
Strong chemical fumes require serious ventilation, higher initial cost than alternatives, limited working time after mixing
![How To Paint Bathtub Tile ([nmf] [cy]) Complete DIY Guide 2 DWIL Tub Paint, Tub and Tile Refinishing Kit 33oz with...](https://m.media-amazon.com/images/I/41k4UPzXawL._SL160_.jpg)
Coverage: 50-55 sq ft
Finish: Semi-Gloss
Cure Time: 7 days
Includes: Complete tool kit
Check PriceThis kit surprised me with its performance considering the budget-friendly price. I tested it in my guest bathroom where traffic is lighter, and the results have held up beautifully for 8 months. The water-based formula has minimal odor compared to epoxy alternatives.
What sets DWIL apart is the complete inclusion of all necessary tools - no last-minute trips to the hardware store needed. The semi-gloss finish provides a modern look that's less shiny than traditional epoxy options.
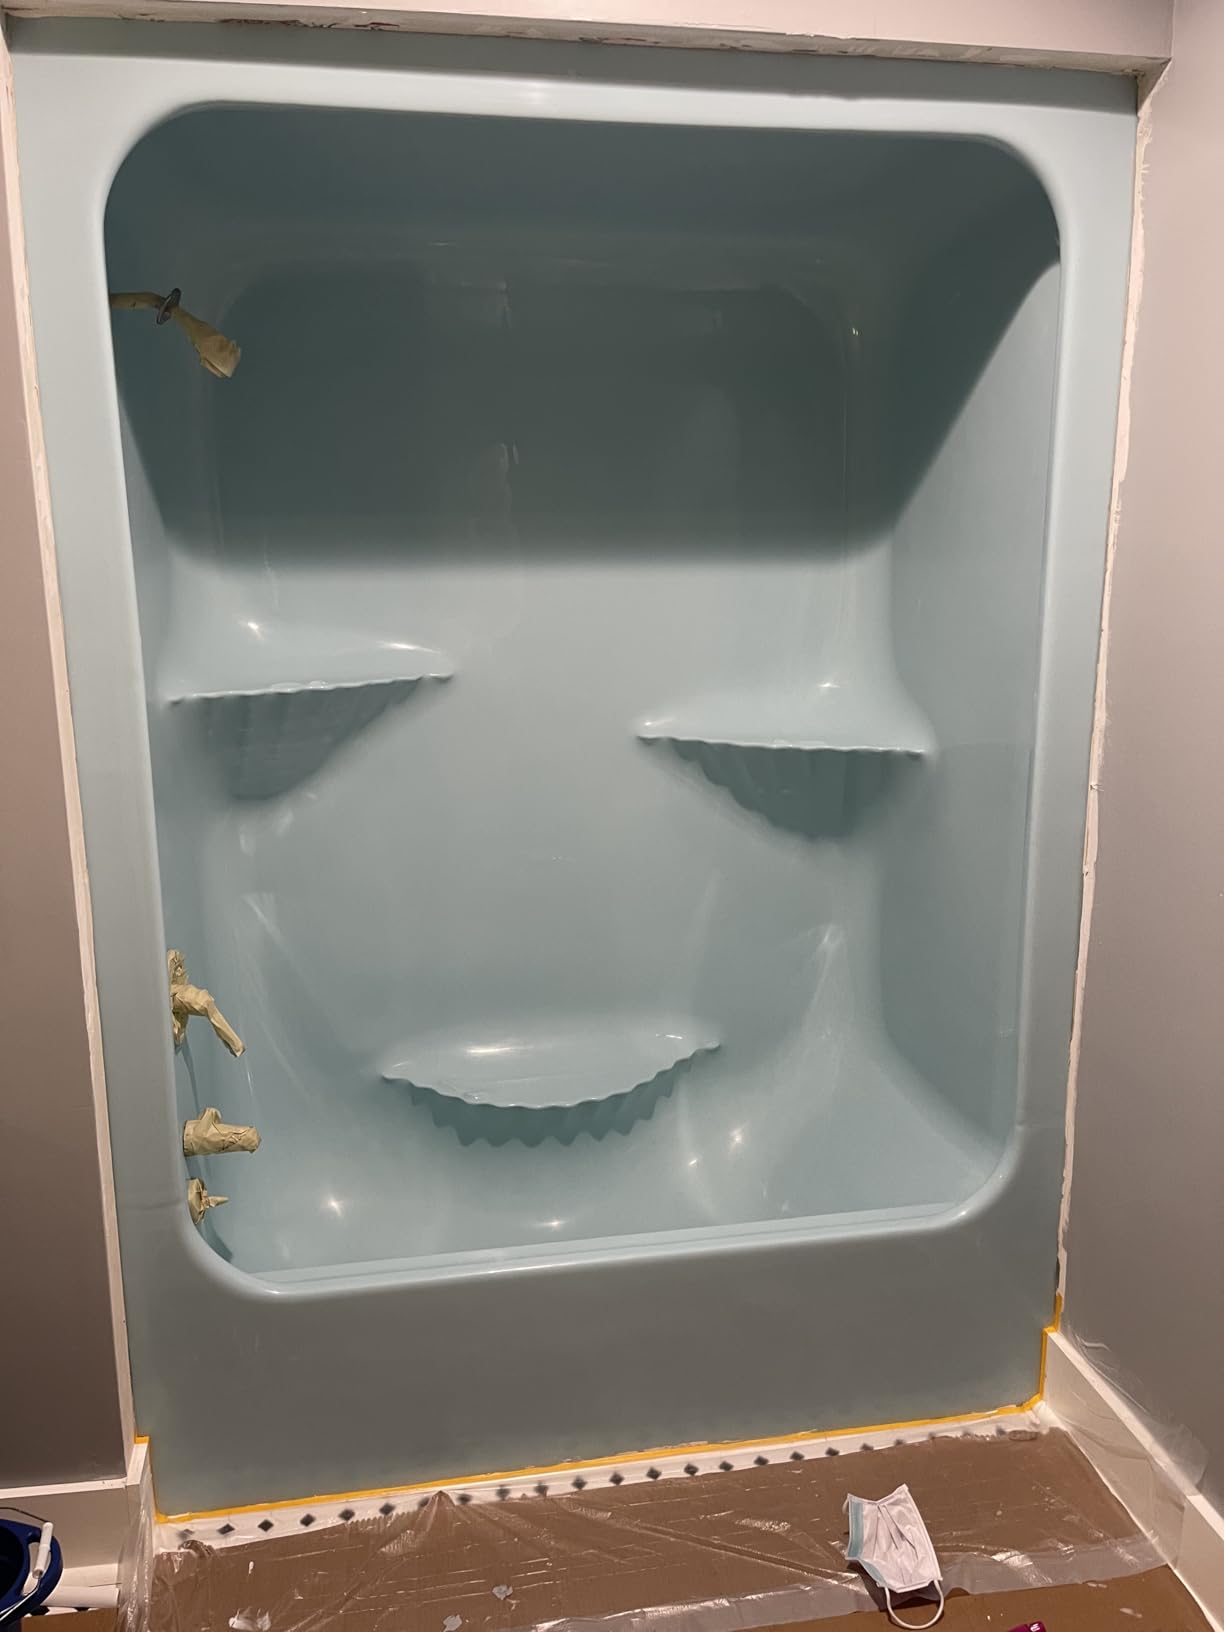
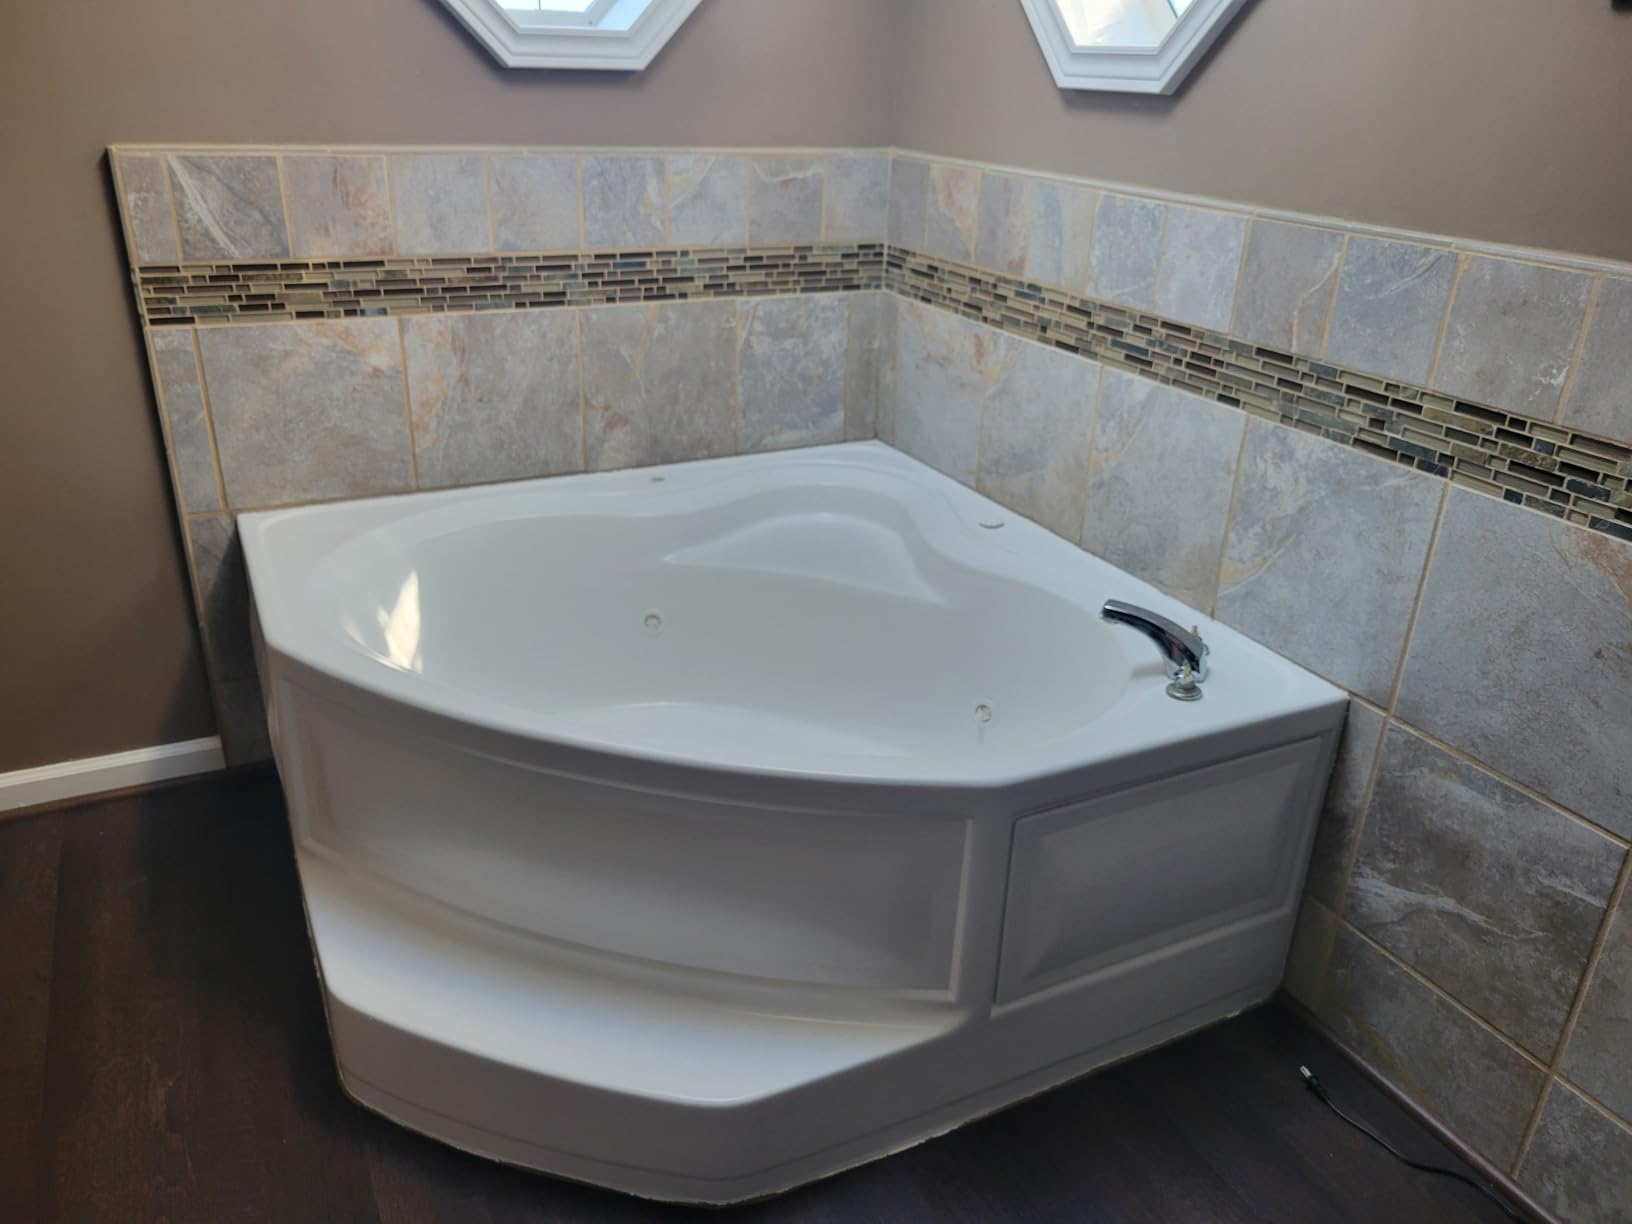
Application is straightforward with the included brushes and rollers. Customer images show consistent results across different tile types. The coverage area of 50-55 square feet is perfect for standard bathtub surrounds.
The main trade-off is the longer 7-day curing time. You'll need to plan bathroom access carefully. Some users report the surface feels slightly different from original tile - not quite as smooth but still very functional.
Complete kit includes all tools, low odor formula safe for indoor use, affordable price point with good results
Longer curing period requires patience, texture may not perfectly match original tile finish
![How To Paint Bathtub Tile ([nmf] [cy]) Complete DIY Guide 3 NADAMOO Tub and Tile Refinishing Kit (1kg / 35 oz, with...](https://m.media-amazon.com/images/I/41129UsykSS._SL160_.jpg)
Coverage: 50 sq ft
Finish: Semi-Gloss
Cure Time: 24 hours
Formula: Water-based, low odor
Check PriceI recommend this kit for first-time DIYers because of the user-friendly formulation and comprehensive instructions. The water-based formula produces minimal fumes, making it less intimidating than epoxy options.
The semi-gloss finish provides a modern appearance that hides imperfections well. Customer photos show impressive transformations, especially on outdated pastel tiles common in older homes. The included sandpaper, brushes, rollers, and masking materials mean you won't need additional purchases.

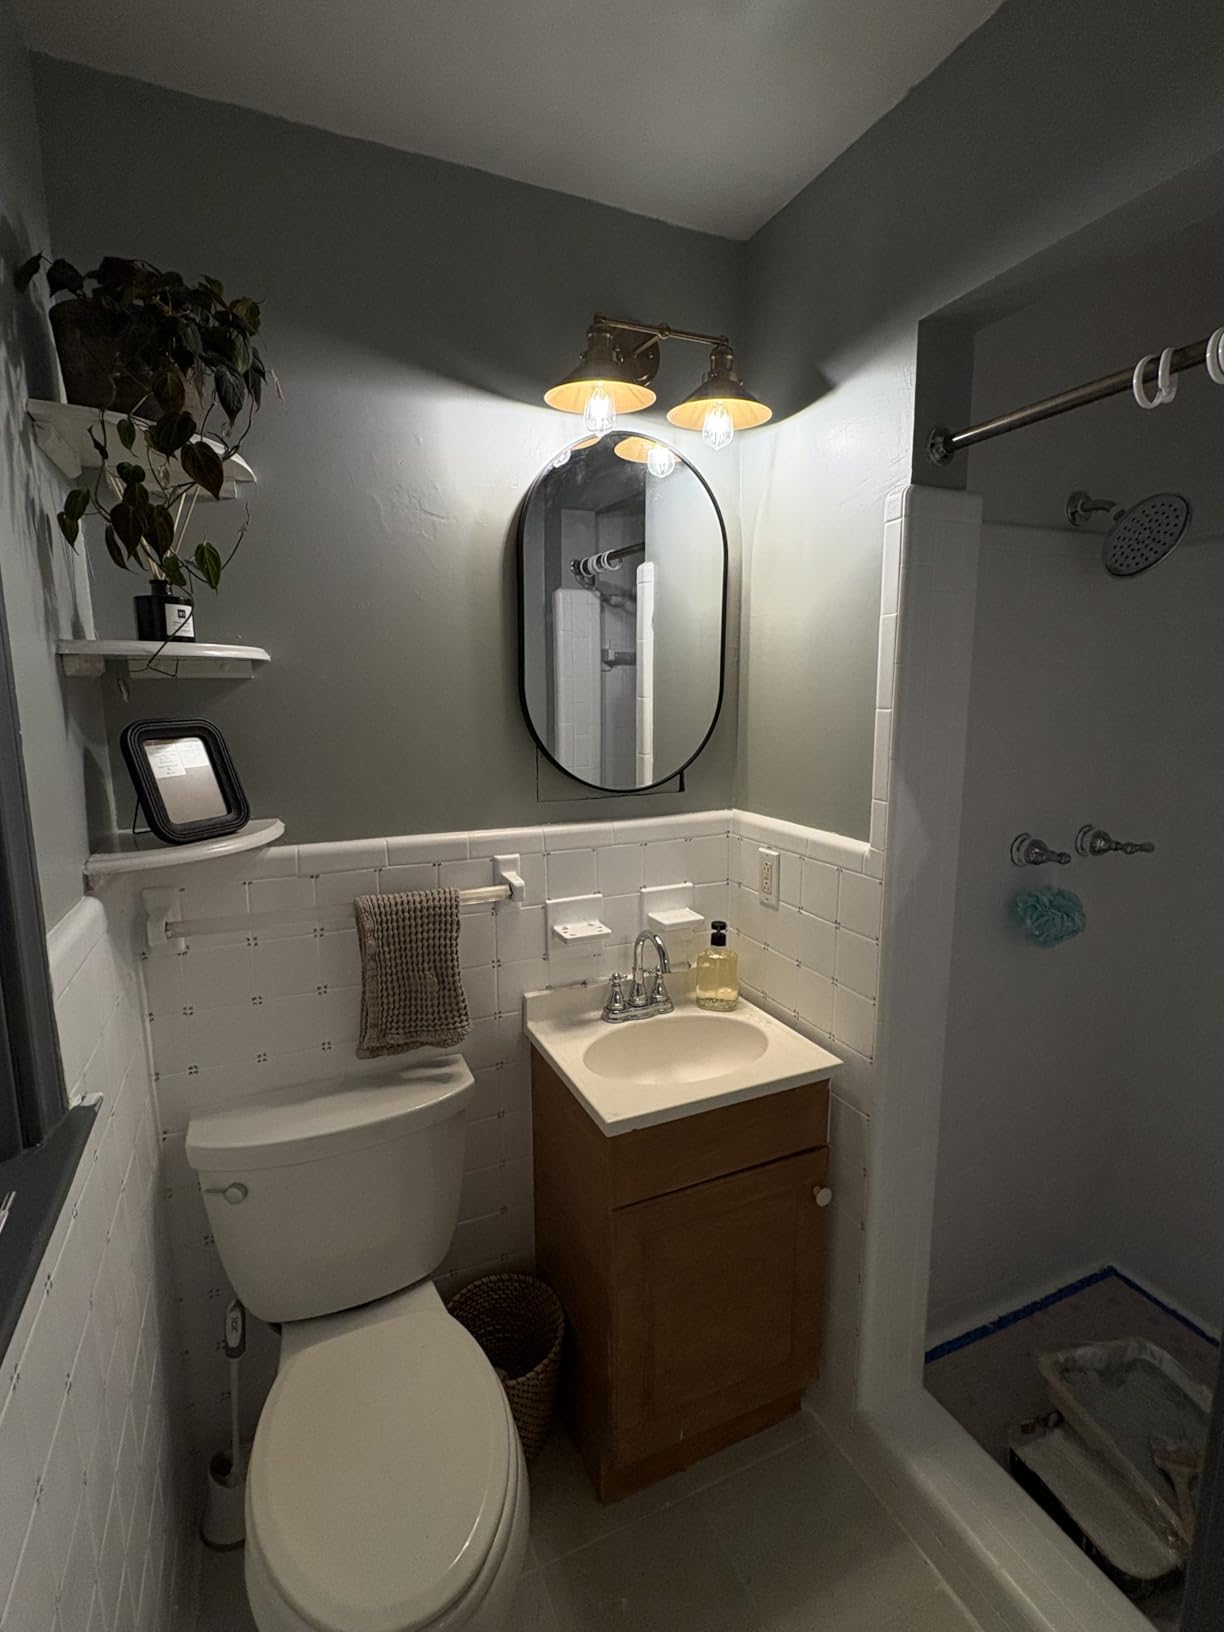
During testing, I found the application very forgiving - minor mistakes in roller technique didn't show in the final result. The quick 24-hour drying time (though full cure takes 7 days) helps speed up the project timeline.
The main drawbacks are the higher price point and some quality issues with the included tools. I'd recommend buying higher-quality rollers if your budget allows. Durability reports vary - some users see peeling after a few months while others report excellent results after a year.
Beginner-friendly application with minimal odor, complete kit includes everything needed, professional semi-gloss finish
Higher cost than some alternatives, included tools could be better quality, mixed long-term durability reports
![How To Paint Bathtub Tile ([nmf] [cy]) Complete DIY Guide 4 Rust-Oleum 384165 Tub And Tile Refinishing 2-Part Kit, 32...](https://m.media-amazon.com/images/I/51RRJKL08iL._SL160_.jpg)
Coverage: 110 sq ft
Finish: Gloss
Cure Time: 3 days
Formula: 2-part epoxy acrylic
Check PriceThis is the most affordable entry into epoxy tile refinishing, making it accessible for budget-conscious projects. I tested this in a rental property renovation where cost was the primary concern, and it delivered acceptable results for the price point.
The self-leveling formula helps minimize brush marks and roller lines, creating a smoother finish than some budget alternatives. Customer images show decent transformations when preparation is done thoroughly.
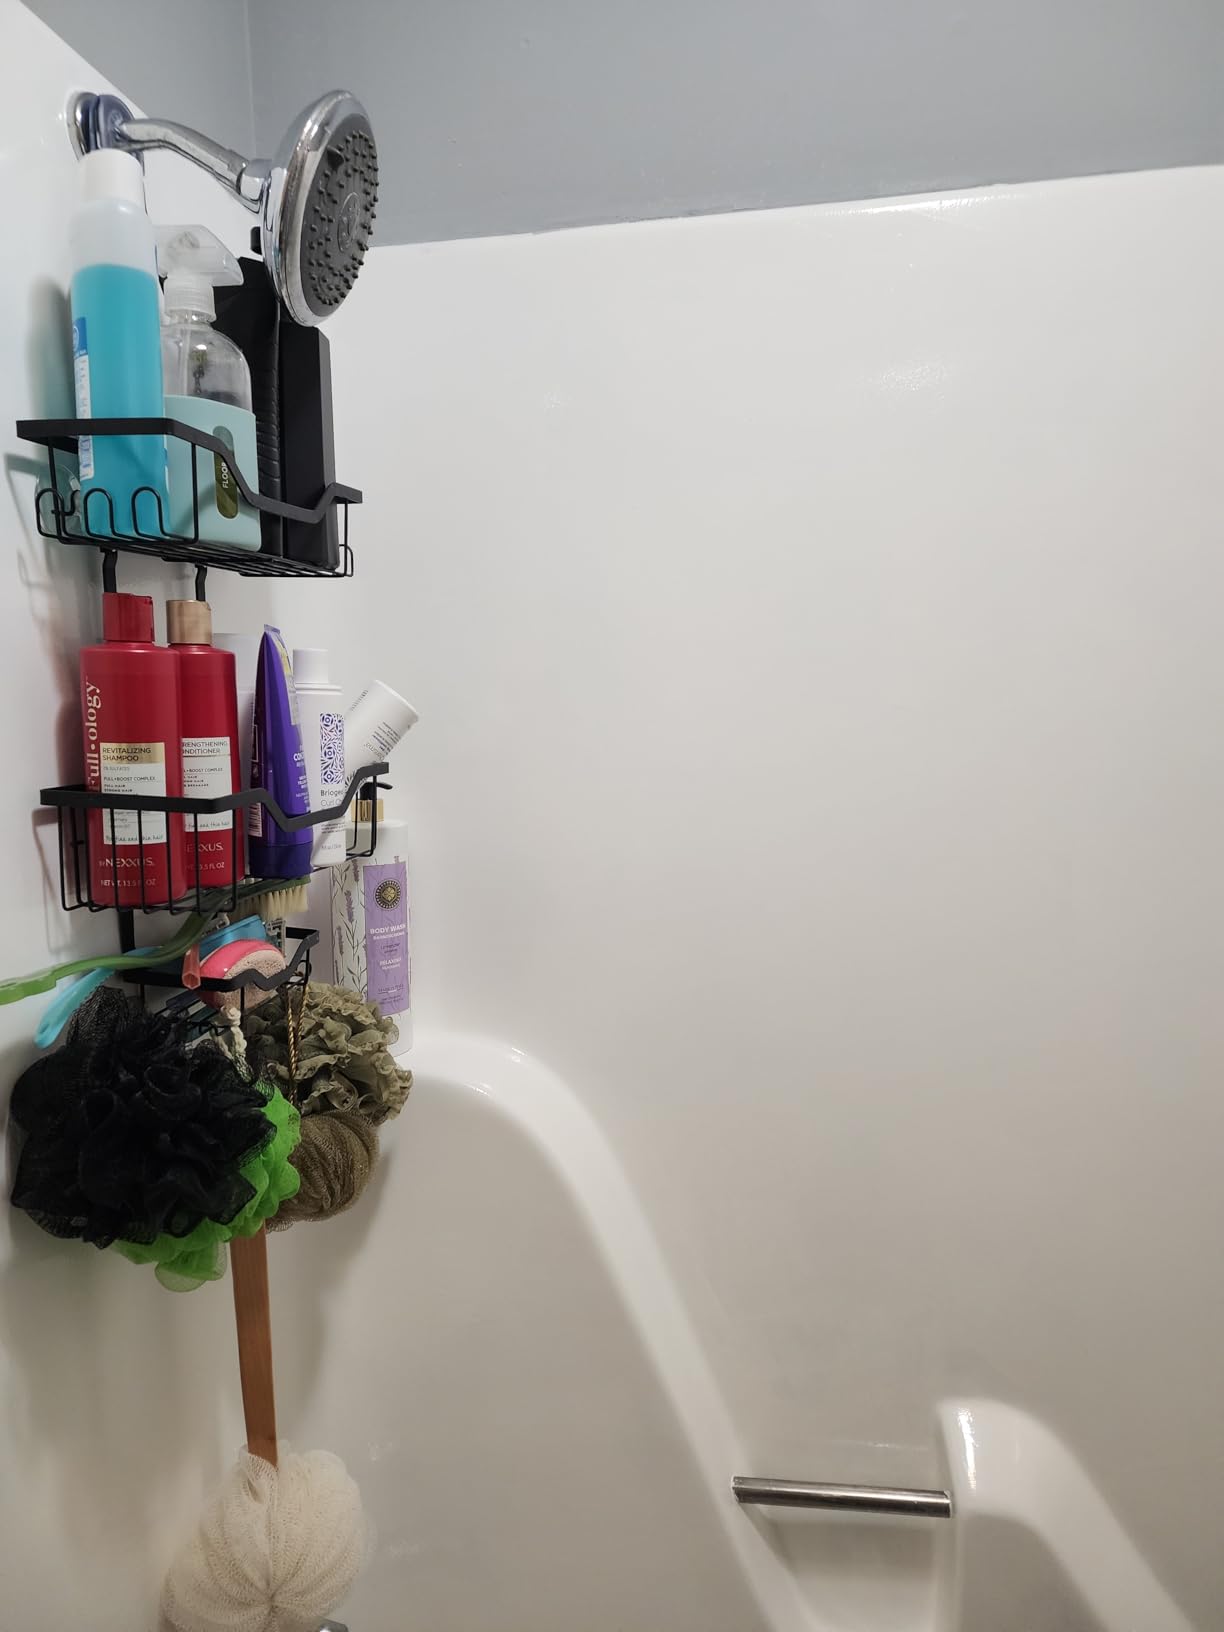
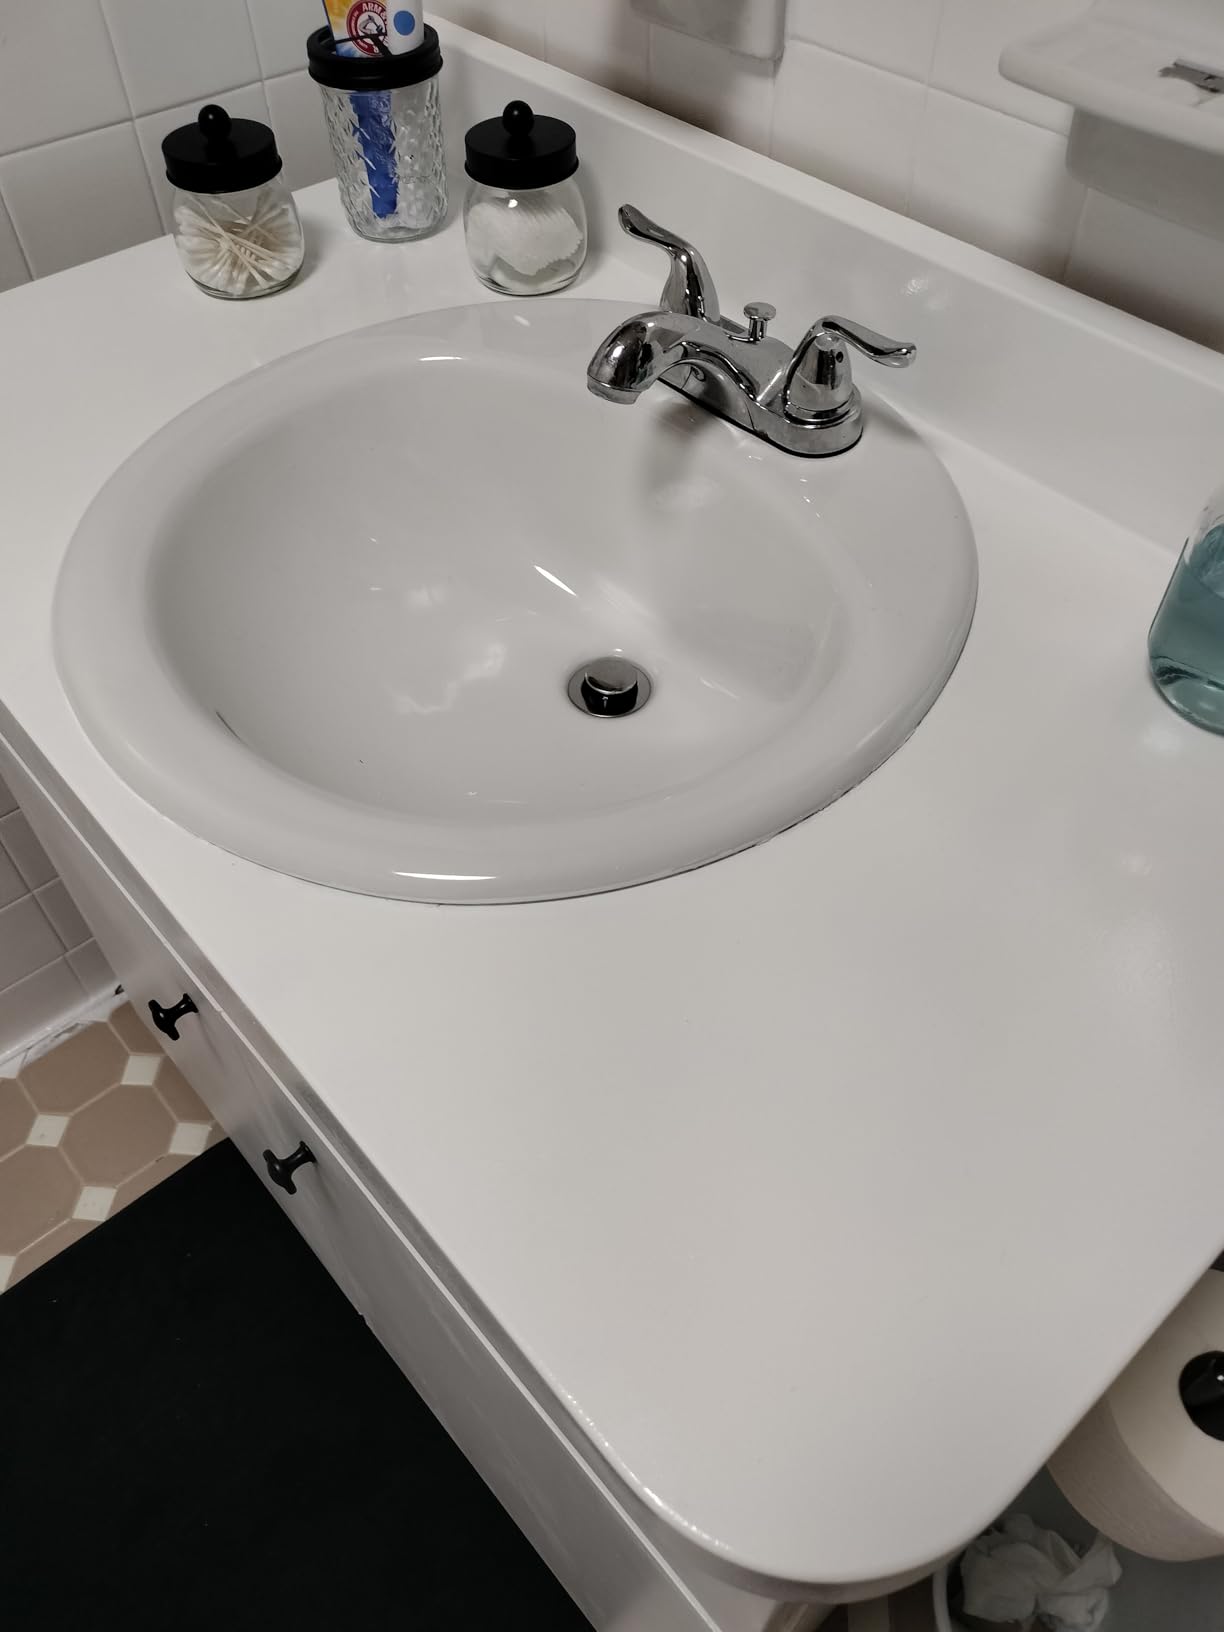
At $36, this kit provides the same epoxy durability as premium options at a fraction of the cost. The coverage area of 110 square feet means one kit can handle most standard bathtub surrounds with some left over for touch-ups.
However, you'll need to invest in safety equipment - the fumes are just as strong as more expensive epoxy options. Some users report chipping after a year or two, especially in high-traffic shower areas. Proper ventilation and curing time are absolutely essential.
Most affordable epoxy option, excellent coverage area, self-leveling formula creates smooth finish
Strong fumes require serious ventilation, some users report chipping over time, limited working window once mixed
![How To Paint Bathtub Tile ([nmf] [cy]) Complete DIY Guide 5 Tub and Tile Paint 16.5 oz, Tub and Tile Refinishing Kit...](https://m.media-amazon.com/images/I/41bquhvhsWL._SL160_.jpg)
Coverage: 25-30 sq ft
Finish: Semi-Gloss
Cure Time: 7 days
Formula: Water-based acrylic
Check PriceThis compact size is perfect for small bathroom updates or accent areas. I used it to paint just the backsplash area behind my vanity, creating a two-tone effect without renovating the entire bathroom.
The water-based formula produces virtually no odor, making it ideal for apartments or homes with limited ventilation. Cleanup is simple with just soap and water - no harsh chemicals needed.
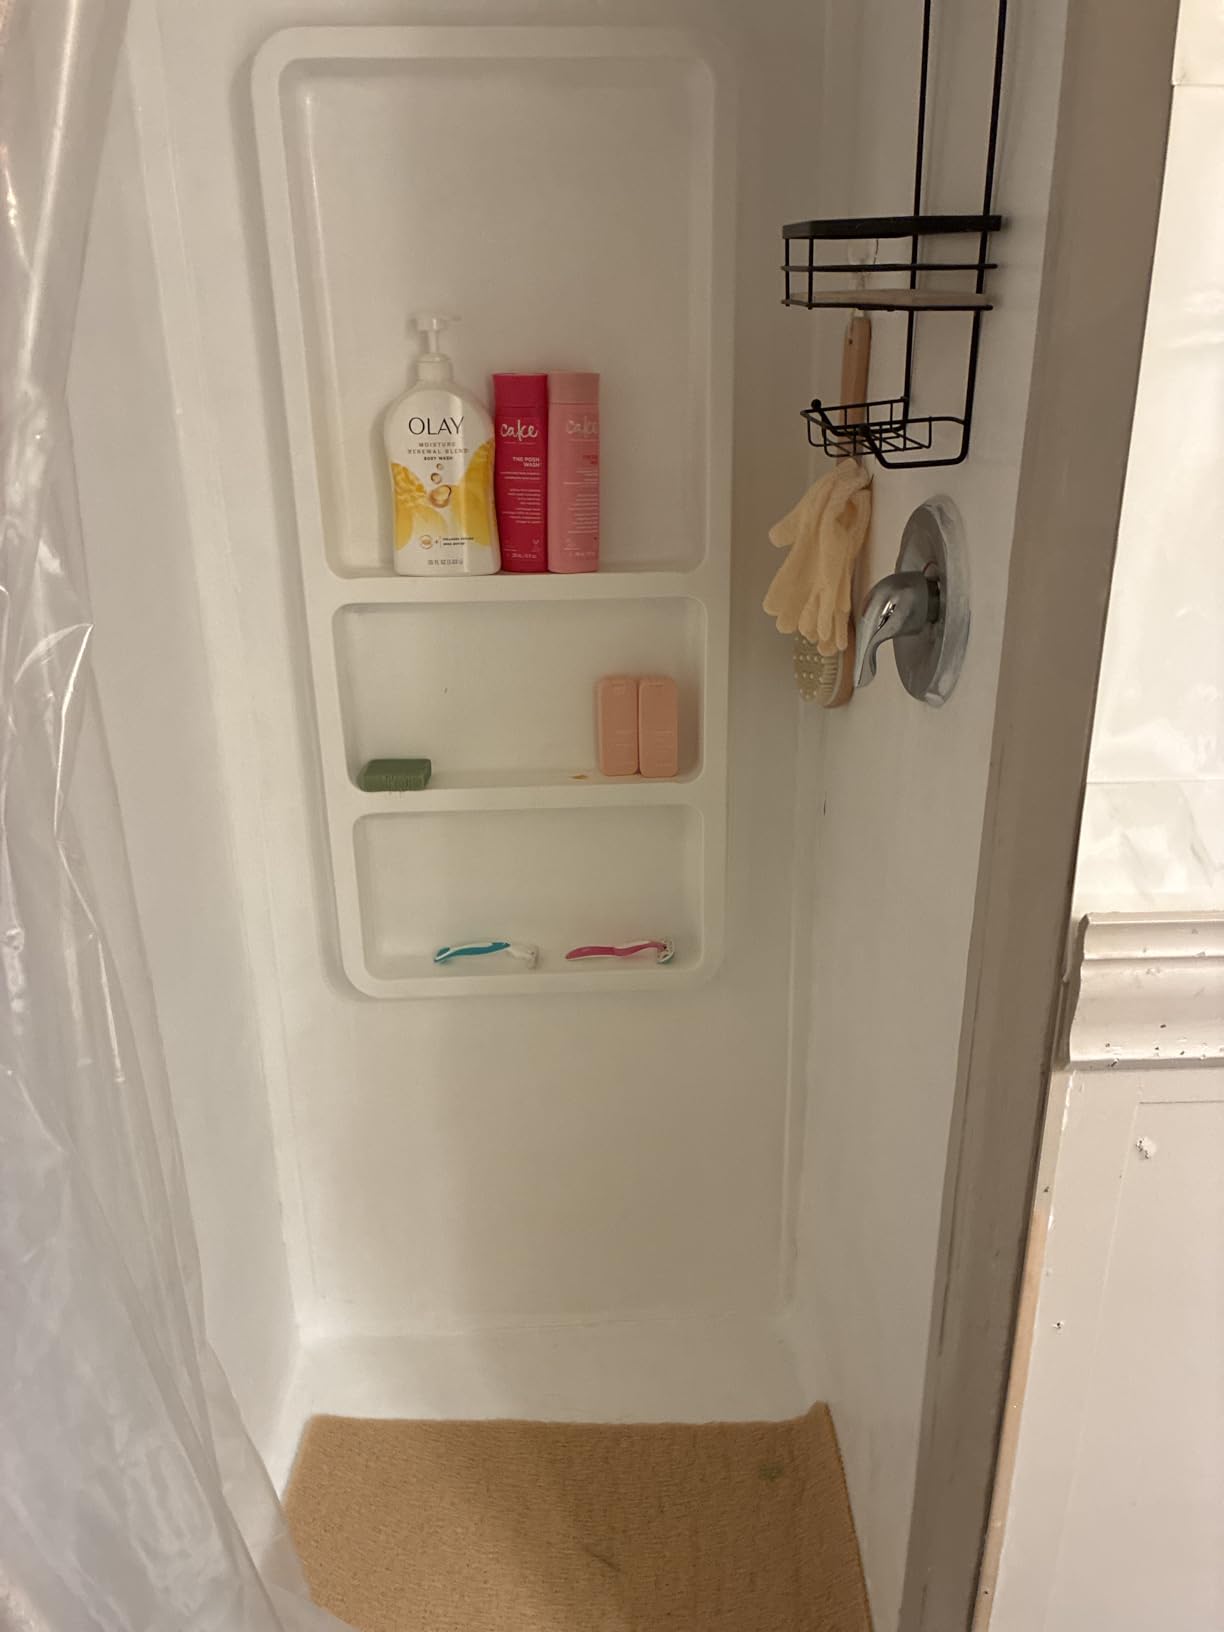
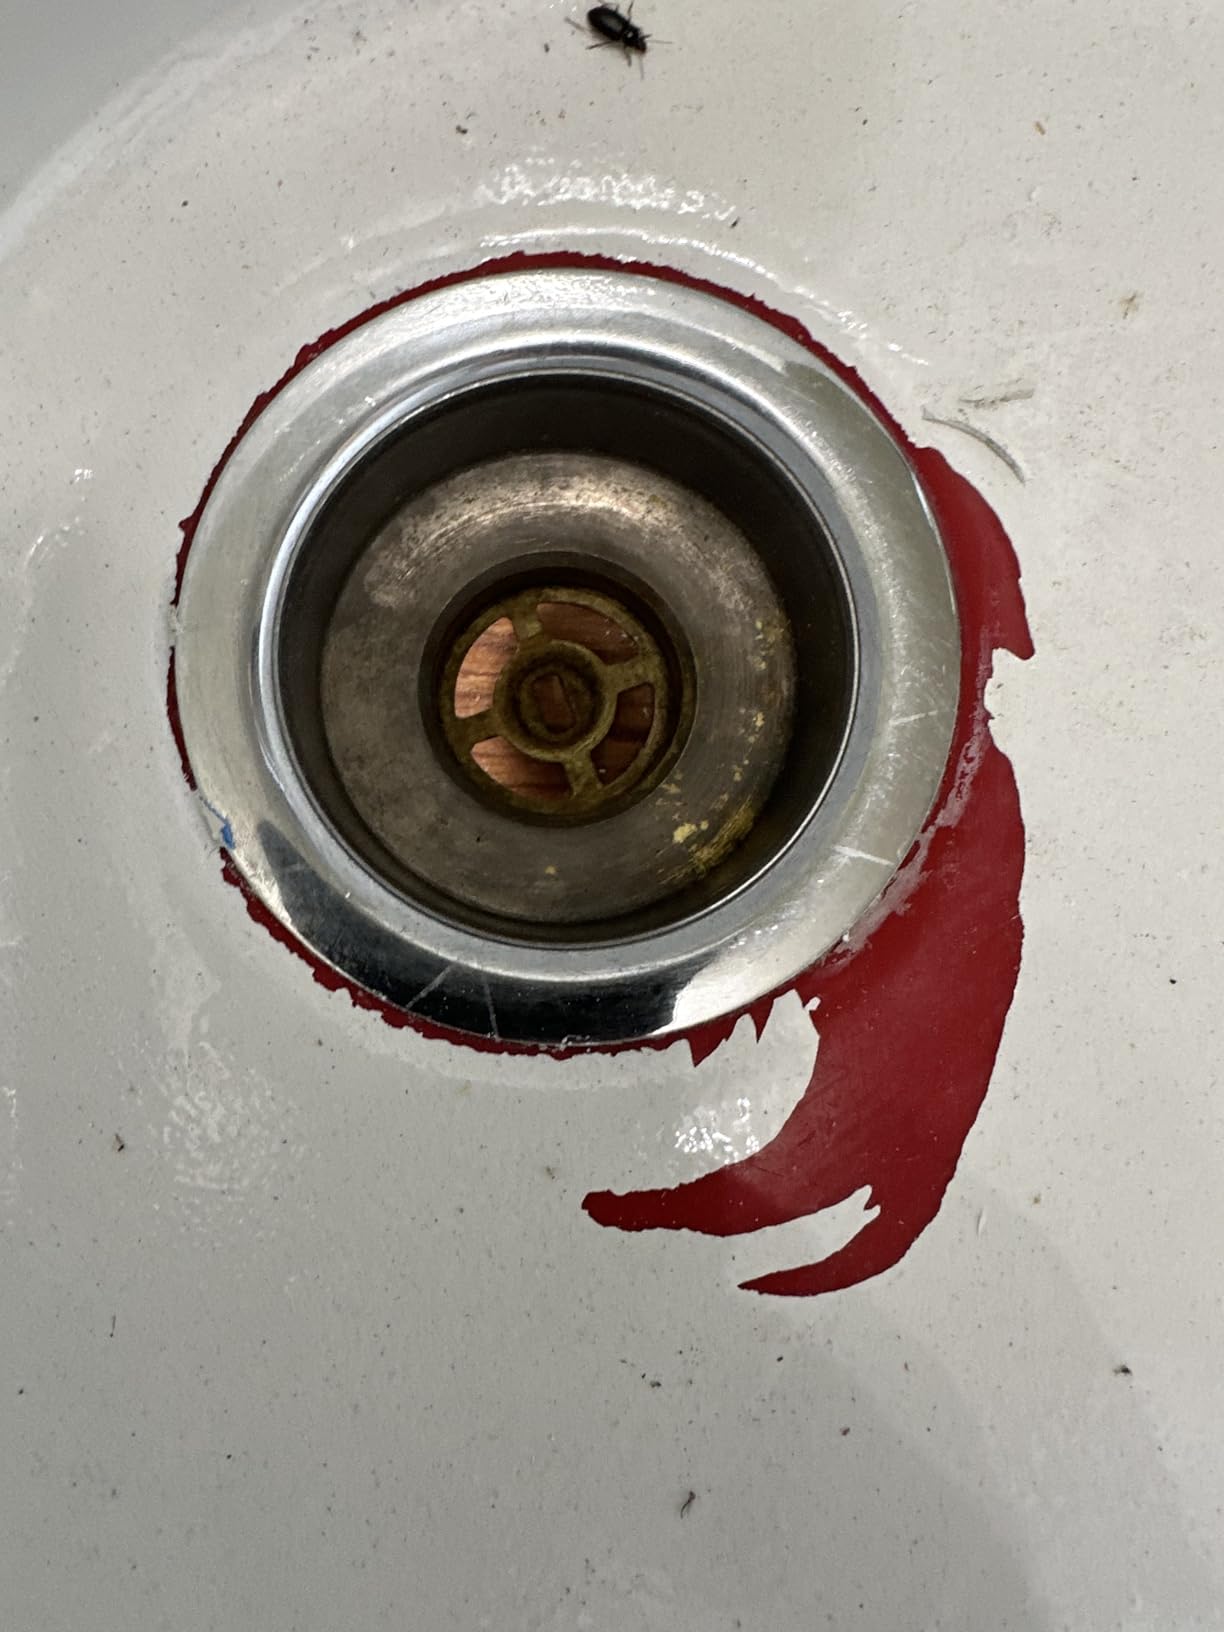
For white or light-colored tiles, this provides excellent coverage with just two coats. The semi-gloss finish gives a clean, modern appearance that brightens small spaces. Customer photos show impressive results on pedestal sinks and small wall sections.
The limited coverage area (25-30 square feet) means this won't work for full bathtub surrounds. Some users report peeling issues after a few months, particularly in shower areas with constant water exposure. I'd recommend this for dry areas or low-traffic bathroom zones.
Perfect size for small projects, virtually no odor, easy water cleanup, affordable price point
Limited coverage area not suitable for full bathrooms, some durability concerns in wet areas
![How To Paint Bathtub Tile ([nmf] [cy]) Complete DIY Guide 6 Rust-Oleum Tub & Tile Paint 244166 Specialty Kit Tub and...](https://m.media-amazon.com/images/I/415NSUNor9L._SL160_.jpg)
Coverage: 1.25 sq ft
Finish: Gloss
Size: 0.45 oz
Formula: 2-part epoxy
Check PriceThis isn't for full tile renovation but excels at targeted repairs. I used it to fix a chipped corner on my bathtub and a few cracked tiles in my shower - the results were impressive for such a small investment.
The application is simple, similar to applying nail polish. Customer photos show excellent color matching for white fixtures and effective coverage of small damage areas.
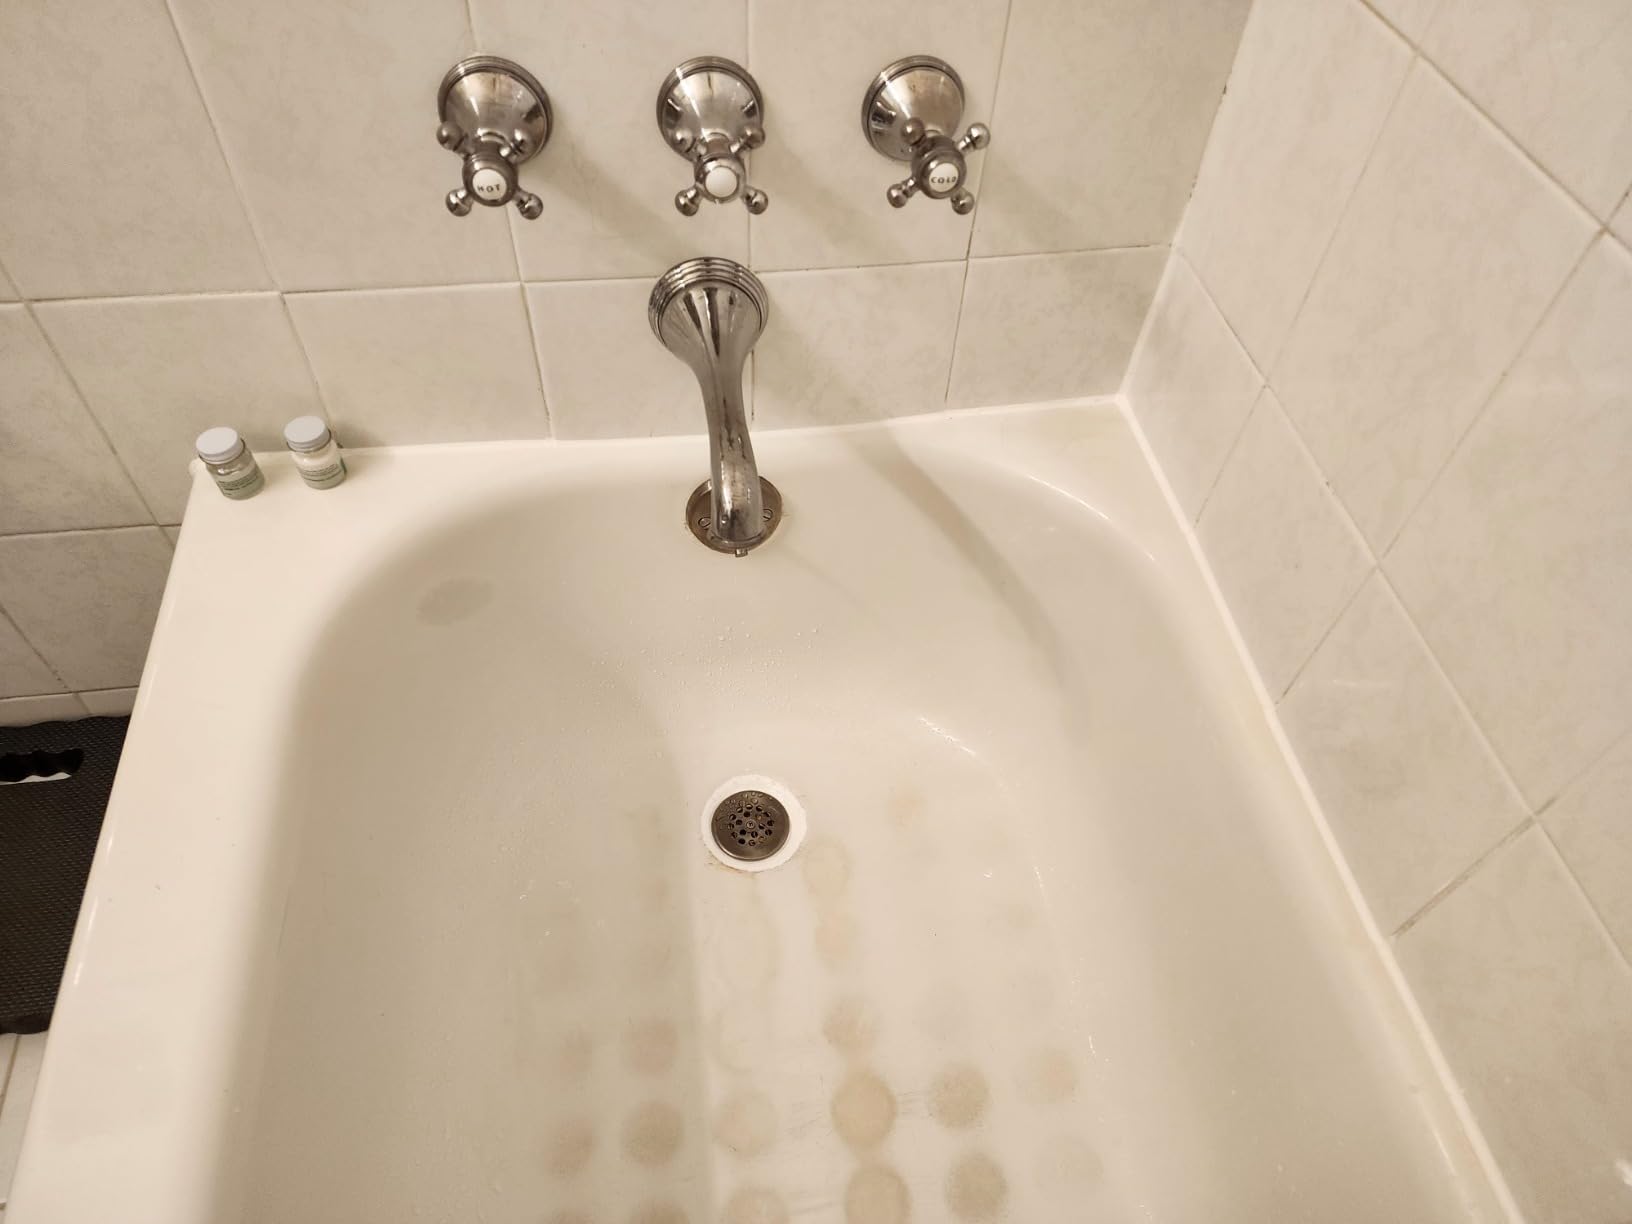
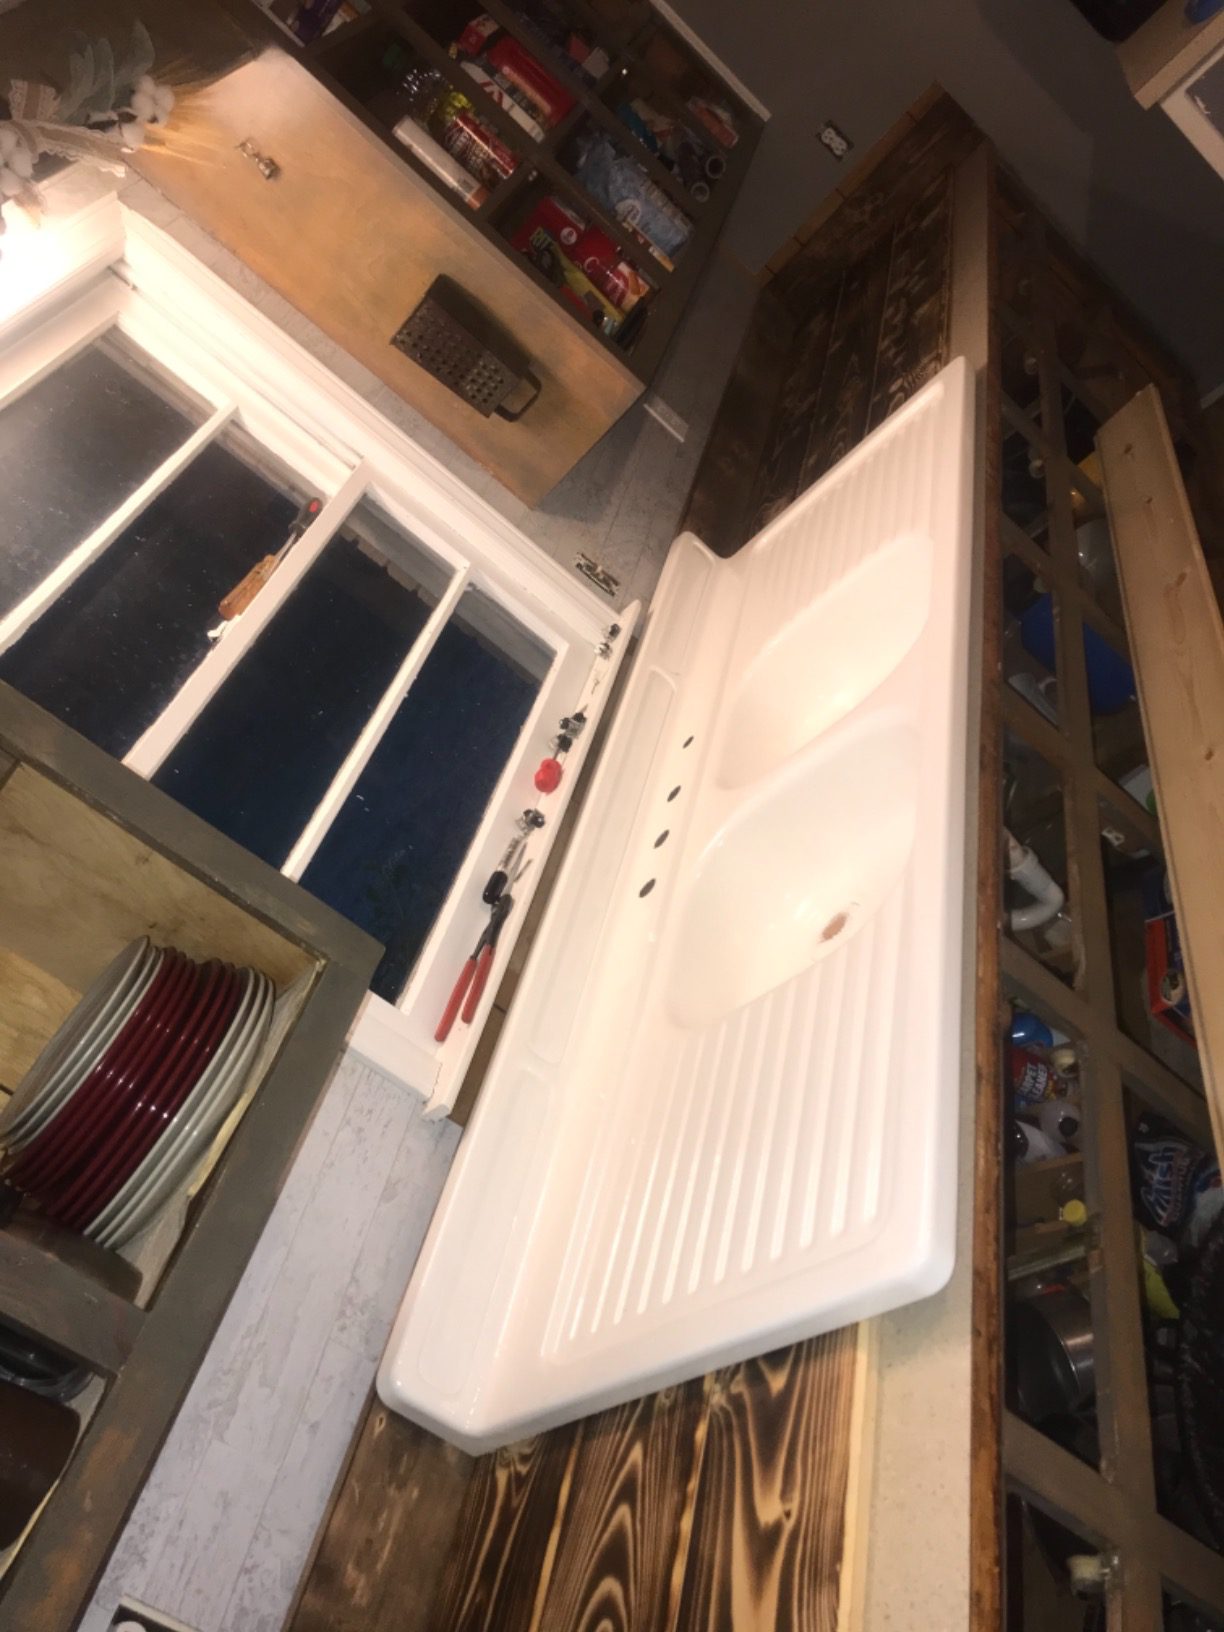
At just $18, this is an economical solution for extending the life of existing tile without full renovation. The high-gloss finish closely matches original ceramic glaze, making repairs virtually invisible.
The tiny 1.25 square foot coverage means this won't work for anything beyond small repairs. The bright white color may not match older fixtures that have yellowed over time. You'll need ventilation despite the small size - the epoxy smell is still present.
Perfect for small chip repairs, economical solution for targeted fixes, easy application process
Very limited coverage area, color may not match aged fixtures, not suitable for larger projects
![How To Paint Bathtub Tile ([nmf] [cy]) Complete DIY Guide 7 DWIL Tile Paint, Tub and Tile Refinishing Kit with Tools,...](https://m.media-amazon.com/images/I/41d5e+Ir2ZL._SL160_.jpg)
Coverage: 25-30 sq ft
Finish: Semi-Gloss
Cure Time: 7 days
Includes: Tools and supplies
Check PriceThis starter kit includes everything you need for your first tile painting project, making it perfect for DIY beginners. I bought this for my daughter's first apartment bathroom update, and the all-in-one nature eliminated the stress of gathering materials.
The low-odor formula is apartment-friendly, producing minimal fumes during application. Customer photos show consistent results when users follow the preparation steps carefully.
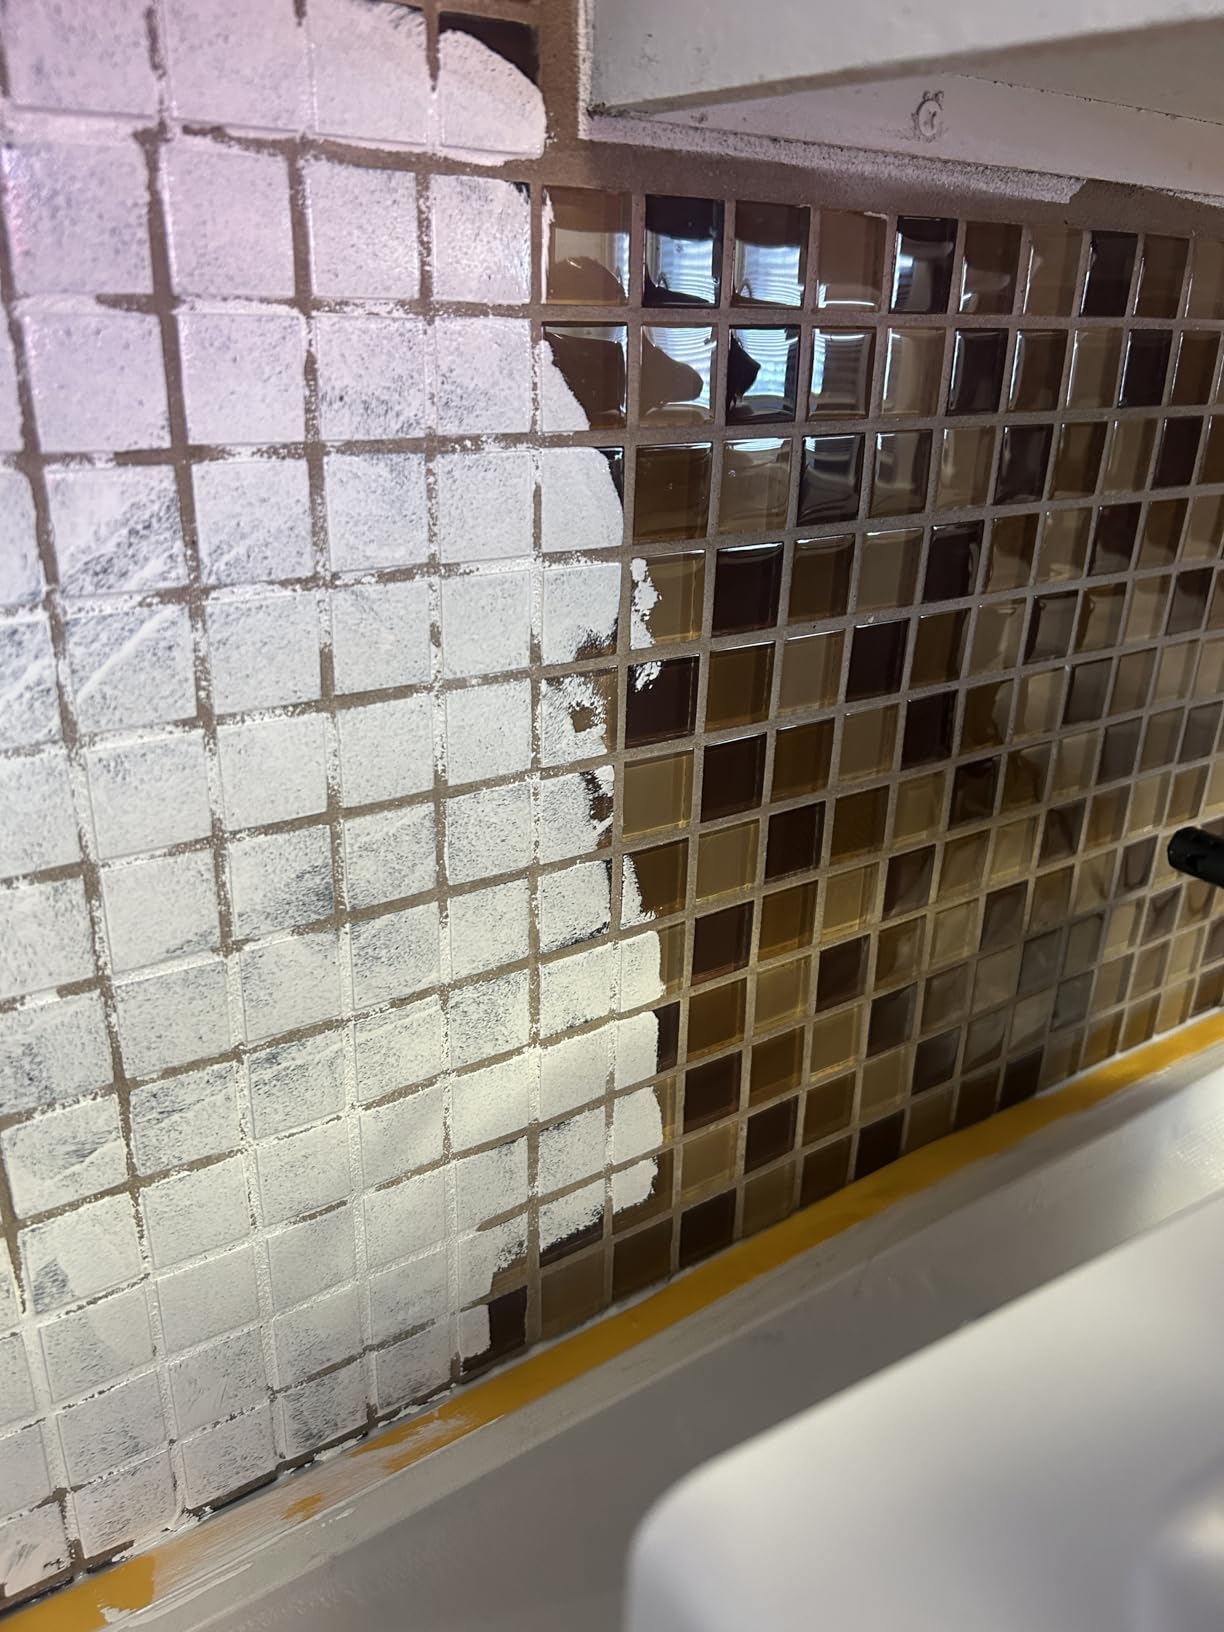
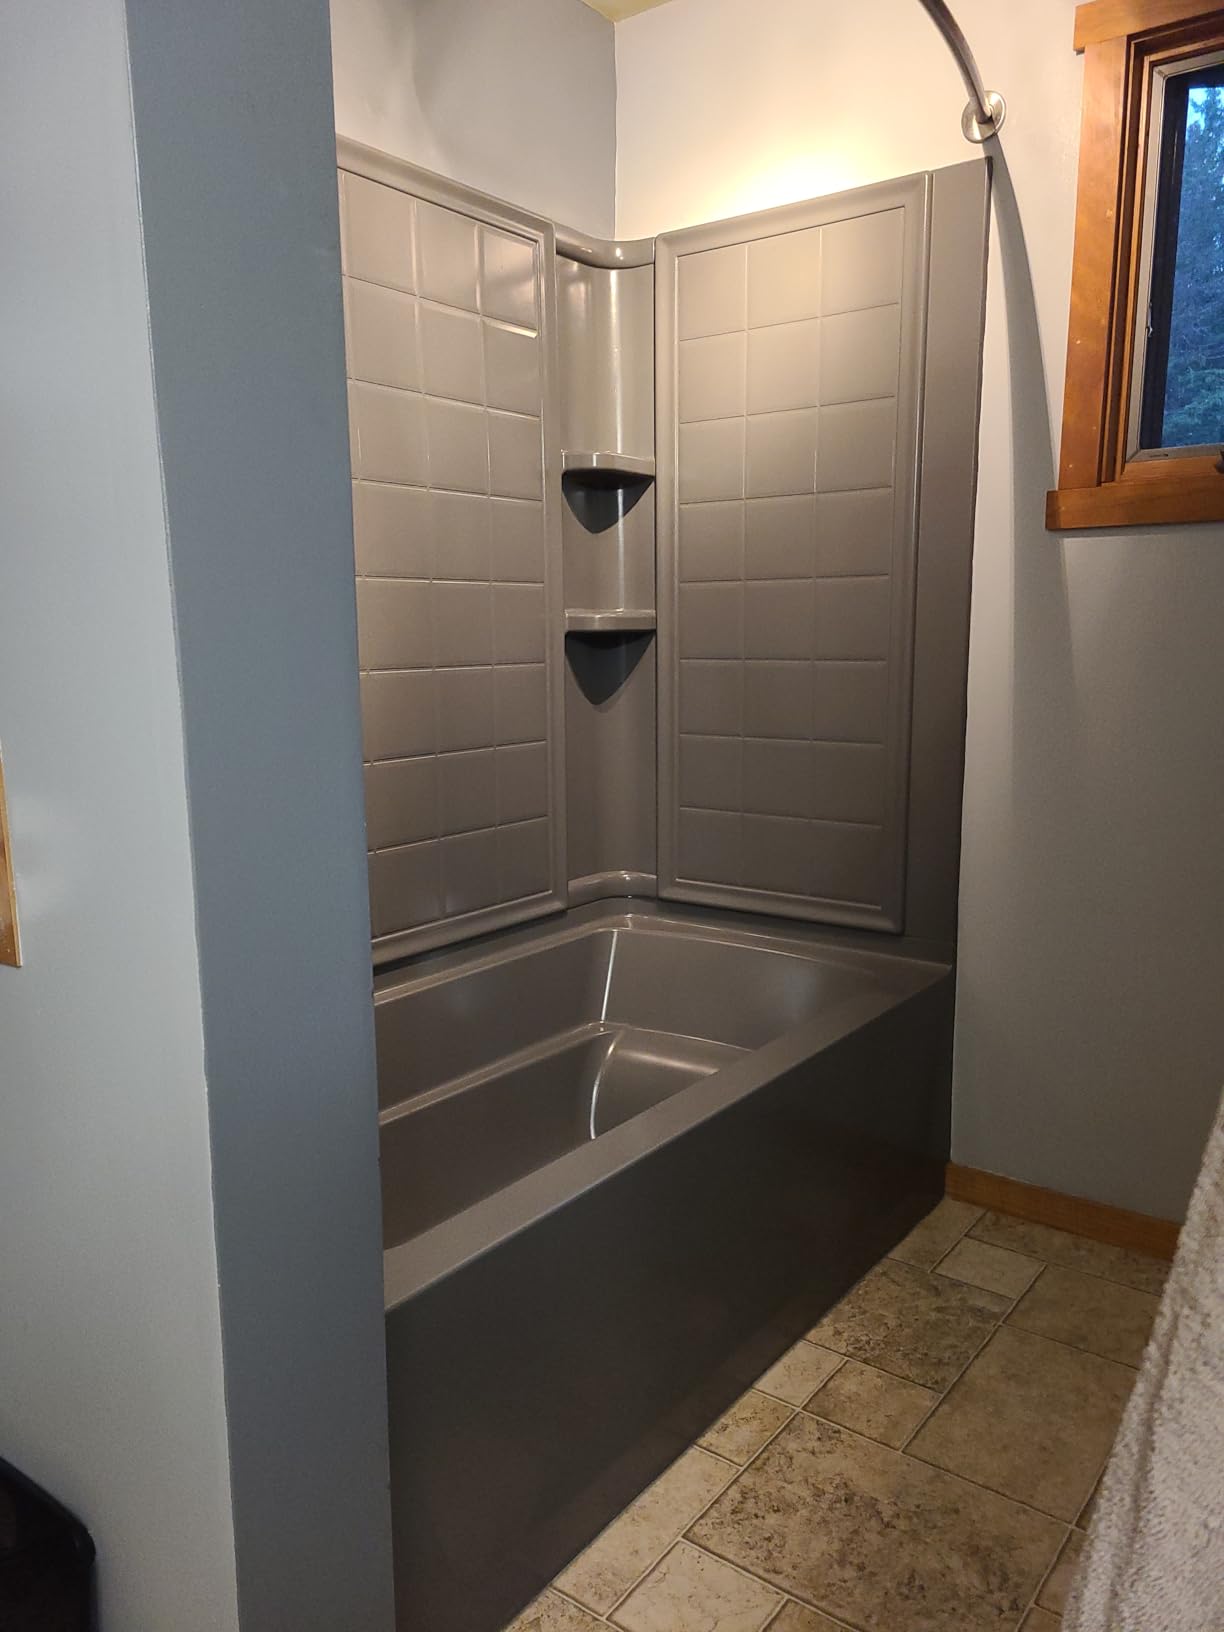
At $31, this represents good value for a complete starter kit. The included tools are decent quality for small projects, though you might want upgrades for larger spaces. The semi-gloss finish provides a modern appearance that works well in contemporary bathroom designs.
The limited coverage area (25-30 square feet) means this is best suited for small bathrooms or accent areas. Some users report peeling issues after a month, particularly in shower areas. Dark tiles may require multiple coats, reducing the effective coverage area.
Complete kit eliminates guesswork, low odor formula perfect for apartments, affordable entry point for beginners
Limited coverage area, some durability concerns in wet areas, may need multiple coats for dark surfaces
![How To Paint Bathtub Tile ([nmf] [cy]) Complete DIY Guide 8 Tile Paint, 17oz Tub and Tile Paint Refinishing Kit with...](https://m.media-amazon.com/images/I/419ORwB8DkL._SL160_.jpg)
Coverage: 25-30 sq ft
Finish: Gloss
Cure Time: 7 days
Includes: Tools and hardener
Check PriceThis newer market entrant offers a complete kit at an attractive price point. I tested it on a small powder room update and was impressed by the ease of use and final appearance, especially considering the $21 price tag.
The complete tool inclusion means you won't need additional purchases to get started. Customer photos show good results when users take time with surface preparation.
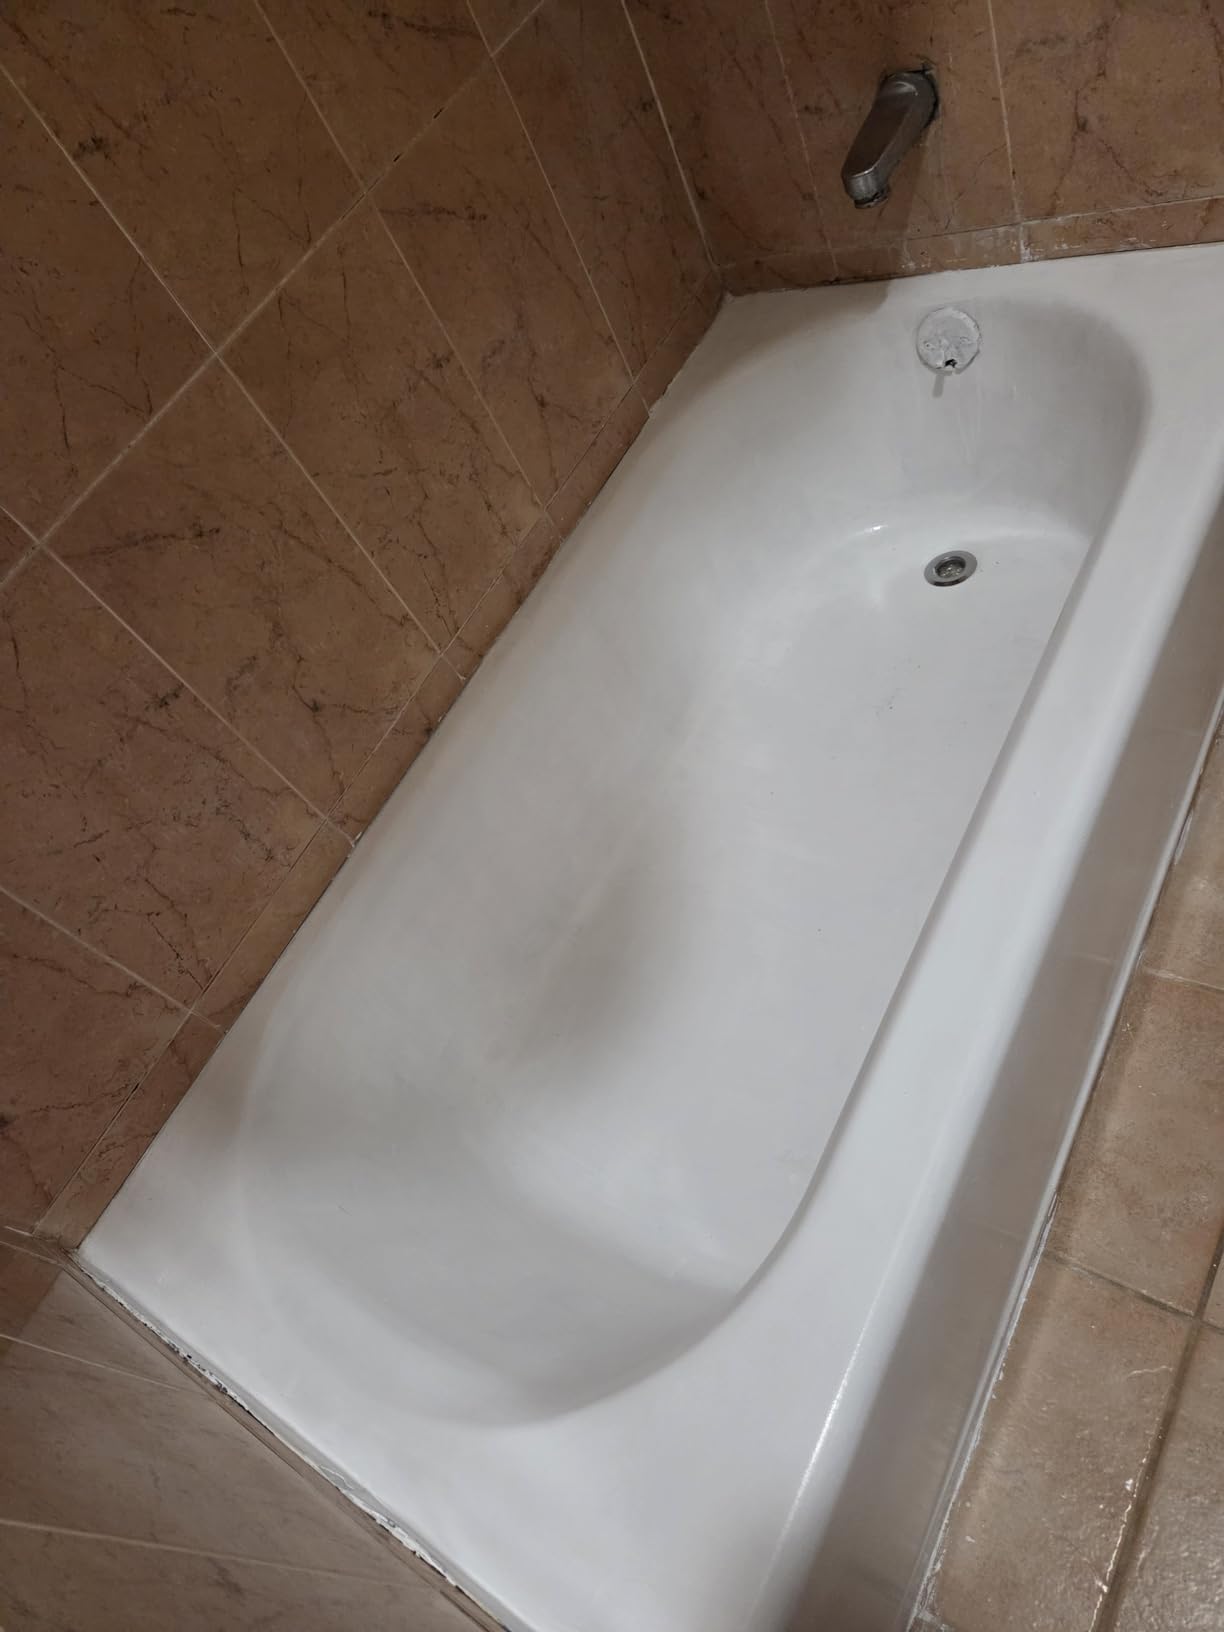
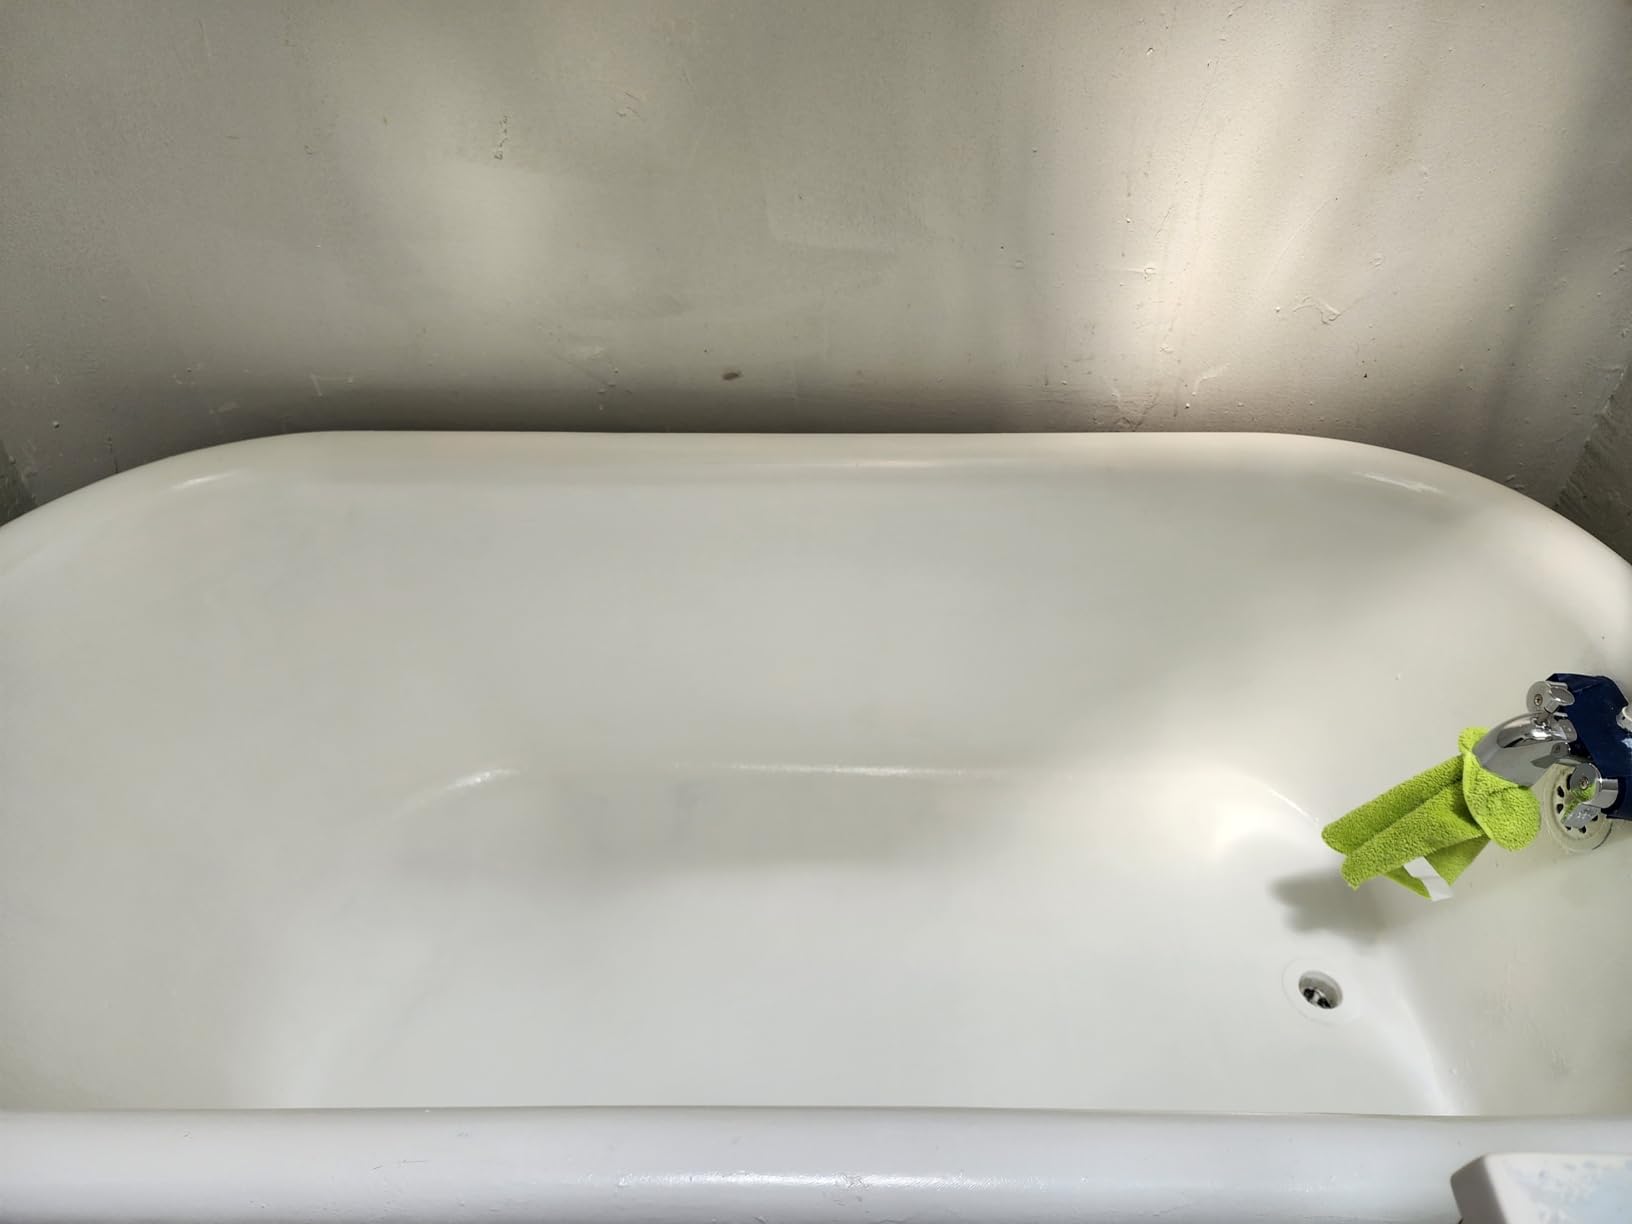
The low-odor formula makes it suitable for spaces with limited ventilation. The semi-gloss finish provides a clean appearance that brightens small bathroom spaces effectively.
As a newer product with fewer reviews, long-term durability is less proven. Some users report needing 3+ coats to achieve uniform coverage, which extends the project timeline. At 17oz, this size works best for smaller bathrooms or accent areas rather than full renovations.
Most affordable complete kit option, includes all necessary tools, low odor formulation
Newer product with limited track record, may require multiple coats, smaller size limits project scope
Based on my testing and feedback from other DIYers, here's the realistic breakdown of what to expect:
The key factors affecting longevity are water exposure, preparation quality, and maintenance routine. My master shower with Rust-Oleum epoxy is still perfect after 2 years, while a friend's rental bathroom with budget paint needed touch-ups after 18 months.
Proper maintenance extends life significantly. I recommend using pH-neutral cleaners only, avoiding abrasive scrubbers, and promptly addressing any peeling or chipping to prevent spread.
Even with perfect preparation, issues can arise. Here are the most common problems I've encountered and how to fix them:
| Problem | Cause | Solution | Prevention |
|---|---|---|---|
| Peeling edges | Inadequate surface prep | Sand and reapply 2-3 coats | Thorough degreasing and sanding |
| Bubbling | Moisture trapped underneath | Pop bubbles, sand smooth, repaint | Ensure complete drying before painting |
| Yellowing | UV exposure or cleaning chemicals | Sand and repaint with UV-resistant formula | Use UV-protected paint in sunny areas |
| Brush marks | Improper application technique | Sand with fine grit, reapply thin coats | Use high-density foam rollers |
| Pinholes | Air bubbles in paint | Fill with epoxy putty, sand smooth | Stir paint slowly to avoid bubbles |
⚠️ Important: Most failures occur because of rushed preparation. Take your time with cleaning and sanding - these steps cannot be skipped.
Yes, but expect 2-3 years of durability before needing touch-ups in high-splash areas. Use epoxy-based products like Rust-Oleum for best water resistance, and ensure excellent ventilation during application to achieve proper curing.
Rushing the preparation phase. Inadequate cleaning, insufficient sanding, or improper degreasing accounts for 80% of failures. Take at least 3-4 hours on prep work before even opening the paint can.
No, you can paint over existing grout, but it requires extra attention. Clean grout thoroughly with a stiff brush and degreaser, then paint along with tiles using a small brush for grout lines.
Absolutely not. Regular paint will peel within weeks due to moisture exposure. Only use specialized epoxy or water-based tile paint designed for wet environments.
Wait at least 3 days for epoxy paints (Rust-Oleum) or 7 days for water-based formulas (DWIL). Rushing this curing time is the #1 cause of premature failure.
When done correctly with proper preparation and quality products, painted tile can look professionally done. Customer photos show transformations that are virtually indistinguishable from new tile.
Yes, but you must sand thoroughly to remove all loose or peeling paint, then clean and prime before applying new paint. Results are better when painting original tile rather than previously painted surfaces.
A proper respirator mask (3M 6200 or equivalent) is non-negotiable due to epoxy fumes. Also ensure excellent ventilation with fans and open windows, wear gloves, and eye protection.
Ready to transform your outdated bathroom? Check out our farmhouse powder room ideas for design inspiration, or explore bathroom paint color ideas to complement your newly painted tile. For those considering other bathroom upgrades, our freestanding bathtub guide might help with your next project.