
How to Repair a Wood Deck Board: Easy Fix 2026
Learning how to repair a wood deck board is mostly a matter of removing the damaged plank, checking the joist underneath it, and fastening sound new lumber in its place. Most single-board repairs take two to three hours and need one board, two screws per joist, and an afternoon of dry weather. Rot itself cannot be glued or filled back together, so the damaged wood comes out and gets replaced.
That last part is the one people push back on. They want to fill the soft spot and move on. I get it, but filler holds a cosmetic repair at best, and a soft board is telling you water is getting into the framing somewhere.
Contents
Time: 2 to 3 hours for one board · Cost: one length of decking, a handful of exterior screws, and a small tin of stain or sealer · Difficulty: Moderate DIY · Skill level: Comfortable with a circular saw and a drill
Tools and Materials
A single-board repair needs a short list, and most of it is already in the garage or the truck bed. Buy the lumber and fasteners first, then check what tools you actually have to borrow.
Materials
- Replacement decking: one length of the same species and thickness as the boards around it. Common widths run 5/8 inch (16 mm) to 2 inch (51 mm) thick, and 5-1/2 inch (140 mm) or 6 inch (152 mm) wide. Buy 6 to 12 inches (150 to 300 mm) longer than the opening so you have overhang to trim.
- Pressure-treated lumber if the deck frame is treated and the surface boards are not, or cedar decking if the whole surface is cedar. Match what is already there before you swap species.
- Exterior structural deck screws: 2-1/2 to 3-1/4 inch (64 to 83 mm) for 5/8 inch (16 mm) boards, 3-1/2 inch (89 mm) for thicker boards. Coated or stainless, rated for pressure-treated lumber. Two per joist per board end is the usual minimum.
- 16d galvanized nails only if the deck was framed with nails and you want to match. Screws hold better, which is why most people convert as they go.
- Exterior wood filler for knots and small holes, and exterior-grade elastomeric caulk for cracks that flex. Filler is stainable, caulk moves with the wood.
- Deck stain or sealer matched to the existing finish, plus a paintbrush or a small foam roller.
- Joist tape or flashing tape if the joist tops are bare after inspection. It costs very little and buys years.
Tools
- Flathead and Phillips screwdrivers, plus a screw extractor bit in the size that matches your deck screws. Stripped or paint-filled screws will not come out any other way.
- Hammer and nail puller, a pry bar, a putty knife, and a claw hammer.
- Circular saw or miter saw for the cut, a speed square, a pencil, and a 25 foot (7.6 m) tape measure.
- Cordless drill/driver with a spare battery, plus a short extension bit or a nut driver for driving screws flush in tight spots.
- Reciprocating saw or oscillating multi-tool for cutting flush with a rim joist.
- Straight edge or level to check the new board sits flush with its neighbours.
- Safety glasses, work gloves, ear protection, and a dust mask or respirator for the cutting step. Long sleeves help if the deck has splintered boards.
Check that your driver can handle 2-1/2 inch (64 mm) screws before the day starts. A small impact driver with a spare battery is the one tool that turns a slow afternoon into a fast one. If your hand tool kit is thin, our picks for the best wrench sets for home repair cover the ratchet and socket side of a job like this.
Before You Start
The board is only the problem if the framing under it is sound. Spend ten minutes proving that before you unbolt anything, because discovering a soft joist halfway through a one-board job turns it into a much bigger afternoon.
Walk the deck and look for the board that moves, dips, or sounds hollow when you step on it. Then push a flathead screwdriver into the worst spot. If it goes in with no resistance, you have rot. If it stops at hard wood, what you are looking at is probably a loose screw or a cracked board, not decay.
Remove one fastener and look at the joist beneath. Healthy pressure-treated wood is firm and brownish or greenish. Soft, dark, crumbly wood means the joist has joined the party, and that is a different job described later in this guide.
A few more things to settle before you start:
- Permits: replacing a surface board usually needs none, but anything touching the ledger, posts, footings, or guard rails falls under permit rules in most jurisdictions. Check your local building department before you touch structure.
- Protection: glasses, gloves, and a mask for cutting. If your deck is older than 1978 and may be coated in lead paint, treat sanding and cutting as a lead-safe job.
- Power: if you are near a GFCI outlet or any wiring, unplug before you start and keep cords out of your walking path.
- Footing: work from a stable surface, not a stack of planters. Have someone hand you lumber if you are cutting on a ladder.
- Dust control: run a shop vacuum or cover nearby plants, and cut outdoors with a breeze at your back rather than into your face.
- Matching plan: decide now whether you are using the same species, same thickness, and the same finish. Mixing a cedar board into a grey pressure-treated deck is visible for years.
- Weather window: dry, mild weather. Wet wood does not seat well, and most stains and sealers will not adhere to damp lumber.
Step-by-Step Instructions
Follow these six steps in order and you will have a board that sits flush with its neighbours and holds under foot. The order matters more than speed here.
Step 1: Inspect the Damage and Mark the Replacement Board
Start by identifying what is actually wrong. Splitting along the grain, soft spongy rot, rust staining that runs down from a screw head, or a fastener that spins without biting are all common. Note the full extent of the damage rather than just the part that shows from above. Rot usually starts at an end or at a fastener hole and travels along the moisture path.
Check the joist under the worst spot and confirm the framing is still firm and fully supported where the new board will land. Only then mark your cut lines with a pencil and a speed square, on sound wood at both ends of the bad section.
Step 2: How to Repair a Wood Deck Board by Cutting the Replacement
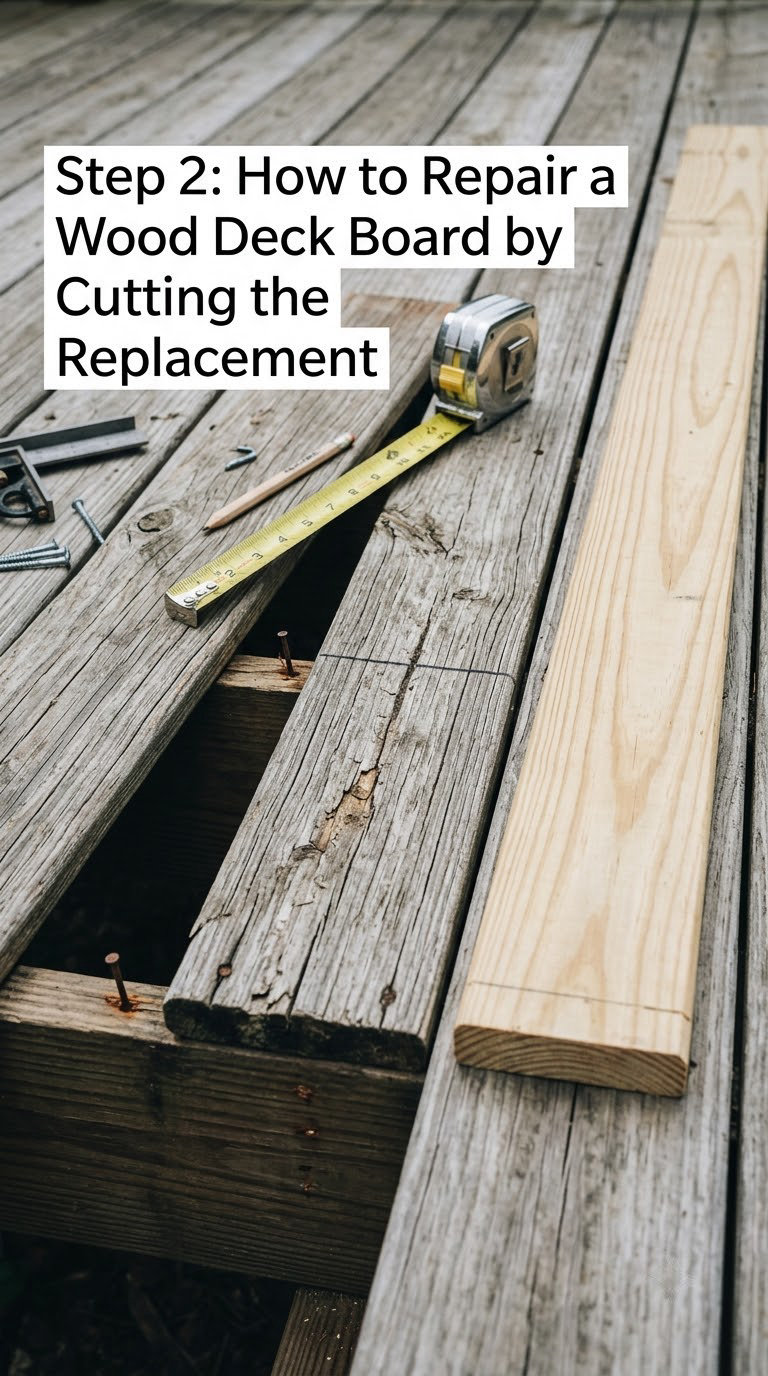
To remove the board, back out every fastener first rather than prying against the wood. Put the driver in reverse, run each screw or nail out until the head stands proud, then finish with the extractor bit or a nail puller. If a screw will not budge, widen the hole slightly with the extractor and let the bit chew it out.
Measure the opening at both ends before you cut anything. Decks are rarely square, so a single measurement at one end will leave you an inch short at the other. Measure, write both numbers down, and use the longer one.
Cut the replacement to that length, adding a 1/8 inch (3 mm) allowance where the board has to be squeezed into a gap, or trimming dead square if the opening is exact. Cut against the actual board thickness, not the nominal dimension printed on the label, and support the offcut so it does not pinch the saw blade as you finish the cut.
Step 3: Fit the Board and Check the Joist Condition
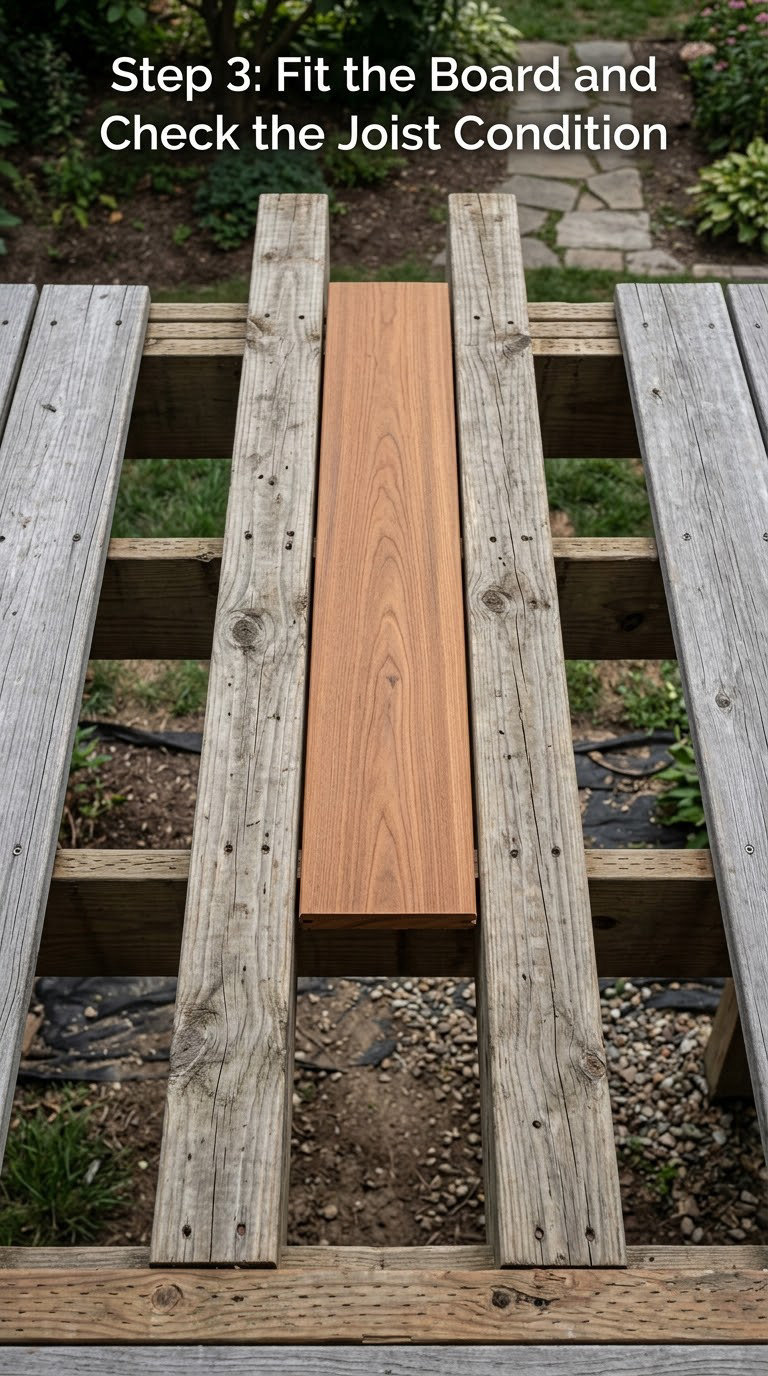
Drop the new board into place dry, with no fasteners, and check three things. It sits flush with the boards on either side, the gap above and below matches the rest of the deck, and it lands squarely on the joist rather than bridging past it.
Most decks use a 1/8 inch (3 mm) gap between boards for drainage and expansion. Match what is already there rather than tightening everything up, because a deck with no gaps moves and cups in heat.
If the joist is sound and the fit is simply a fraction off, a temporary adjustment is fine. If the joist is cupped, split, or the board would have to be forced hard into place, stop and address the framing instead of forcing lumber into an incorrect opening. Joist tops that are bare after inspection should get a strip of joist tape before the board goes down.
Step 4: Secure the Replacement with Exterior-Grade Fasteners
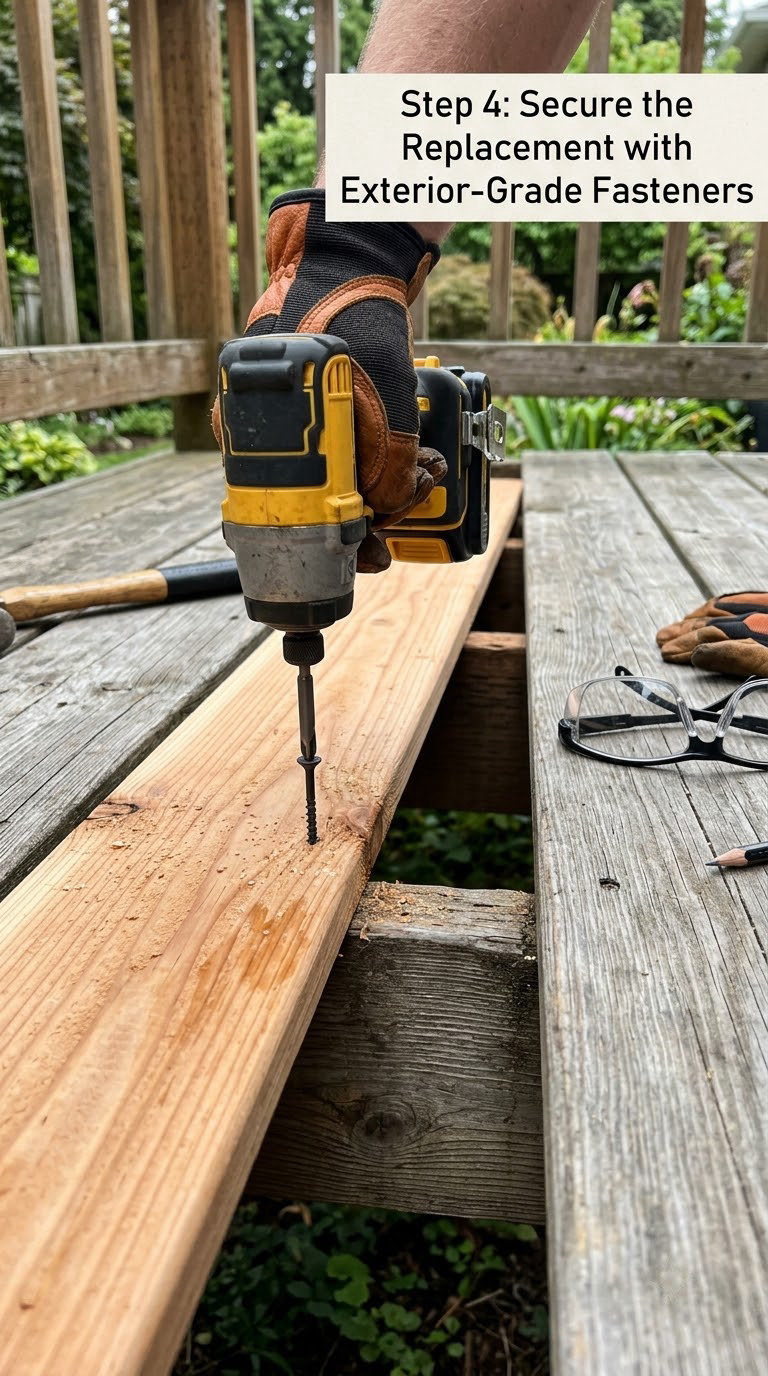
Drive two exterior-rated structural deck screws at each joist contact point, set about 1 inch (25 mm) in from each board edge. Pre-drill when you are working close to an end or with a dense cedar board, and keep the drill at a slight angle so the screw head sits below the walking surface instead of proud of it. Standing proud heads wear, catch footwear, and show up as trip hazards later.
Stay away from the likely split line. Screws driven near a board end or within about an inch of a cut edge are the ones that split the lumber a season later. For joist work, keep structural deck screws roughly every 2 feet (610 mm) where they will land.
Follow the fastening pattern required by your lumber, the framing, and local building requirements, and match the existing fastener where practical. If the rest of the deck was nailed, screws still work better; converting as you go is a durability upgrade rather than a mistake.
Step 5: Sand, Seal, and Finish the Repaired Board
Sand the rough edges and any pencil marks with 60 to 80 grit, then knock the dust off with a damp cloth and let the wood dry. Fill small holes and open knots with stainable exterior wood filler, and run exterior-grade caulk into cracks that flex when you press the board. Smooth the caulk with a damp finger or tool before it skins over, because it will not smooth once cured.
End grain is the weak spot. Cut ends drink water far faster than a face grain surface, which is exactly why spliced boards re-rot within a season if you skip this step. Seal every cut end first, let it dry, then apply your deck stain or sealer to match the surrounding surface. If the new wood is noticeably browner or yellower than the weathered grey around it, a baking soda and water solution on the new board will speed up the greying so it blends in.
Follow the drying directions on your finish. Typical ranges are a few hours to a day before the surface is walkable, and 24 to 48 hours before it takes full exposure, depending on temperature, humidity, and how heavy the coat is. Do not seal damp lumber, and stain within the window the manufacturer recommends after cleaning so the finish bonds rather than flakes.
Step 6: Inspect and Test the Completed Repair
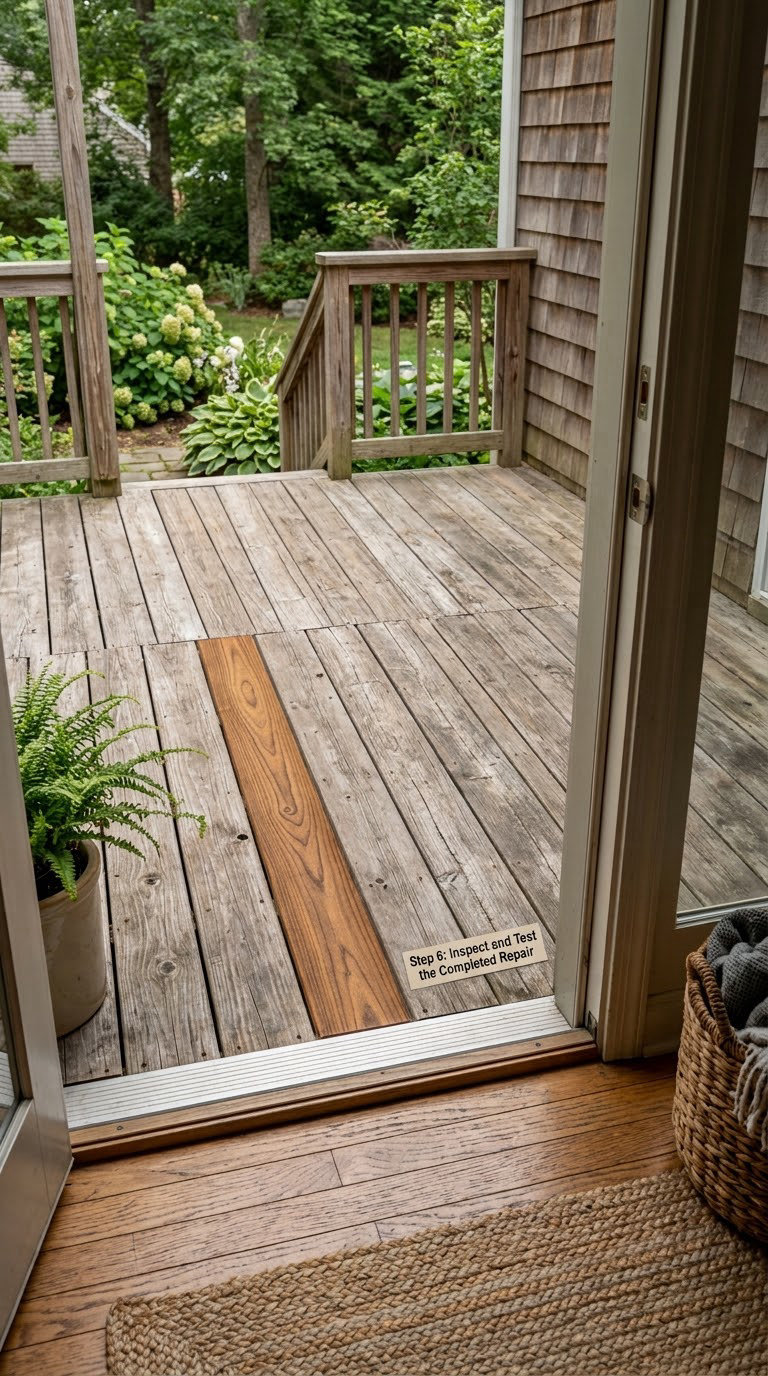
Stand back and compare the new board to the deck around it. It should be level with its neighbours, evenly spaced, and free of proud fastener heads. Walk it with your weight, not just your foot, and listen for movement. Any give means a fastener is loose or the board is not fully seated on the joist.
Look for the signs that a repair has not taken: cracks radiating from screw holes, a board that rocks under weight, or a fresh rust stain running down the face of the new board, which usually points to a screw biting into wet wood. Fix what you find while the tools are still out.
Take a photo of the finished repair and note the date. It gives you a baseline to compare against next spring, and it costs nothing.
Common Mistakes to Avoid
Almost every failed deck board repair traces back to one of a handful of mistakes. The fix for each is quick, and the repair itself is not.
- Cutting into rotted framing. If the joist under the board is soft, replacing the plank just hides the real problem and the new board rots next season.
- Using interior fasteners. Ordinary drywall screws and nails corrode inside pressure-treated lumber. They snap, and pulling them out damages the board around the hole.
- Forcing a board into an incorrect opening. Fighting the lumber splits the ends. Cut it to fit instead.
- Removing all the gaps. Decks need to move. Tight spacing leads to cupping and bowing in hot weather.
- Swapping thickness or species. A board that is thicker, thinner, or a different species will read as a patch from across the yard, and mismatched cedar and treated pine also weather at different rates.
- Sealing wet wood. Finish on damp lumber traps moisture and peels off within a year.
- Skipping the end grain seal. This is why so many spliced boards re-rot within a season.
- Treating the symptom only. If water is reaching the deck from a leaking planter, a failed gutter, poor drainage, or missing flashing, fix that first. Otherwise you will be back here with the same board next year.
- Power washing soft rotted wood. High pressure gouges and splits already compromised fibres. Use a stiff deck brush and a low-pressure rinse instead.
When to Call a Pro
Some repairs are genuinely outside a beginner weekend. Get a qualified deck contractor or structural engineer involved when the damage is not confined to surface boards.
Red flags include rot across several boards or on more than one joist, joists that sag or deflect visibly when you stand on them, deck movement or bouncing that has changed over time, and any sign of trouble at the posts, footings, or ledger board where the deck meets the house. A ledger board that has rotted away from the structure carries the whole deck and is not a homeowner job.
Permits, guard rail code questions, elevated decks, and load-bearing uncertainty are also pro territory. A contractor who works on decks regularly can tell you plainly whether a board is worth saving, and in most cases where only the surface boards have failed, the posts and joists underneath are still sound, which makes board-only replacement the economical path.
Maintenance
A repaired deck board tells you when it needs attention if you look. A short routine twice a year stops most repeat repairs.
- Sweep off leaves, pine needles, and soil from between boards and against the rim. Organic debris holds moisture against the wood.
- Clear drainage paths and keep planters, grills, and other stored items off the surface so air can move underneath.
- Clean with a stiff-bristled deck brush and a low-pressure rinse. High-pressure washing and aggressive scrubbing wear soft weathered fibres.
- Inspect annually in spring: probe suspect spots with a screwdriver, look at board ends near the rim, and check fastener heads for rust staining.
- Reapply sealer or stain on the schedule your finish specifies, typically every one to three years depending on product and sun exposure.
- Address soft wood early. A board you can fix with filler this season is a joist you avoid next.
Keeping planters and storage boxes set back from the surface goes a long way too. If you are working out what to put there, our deck box picks are sized to sit off the boards. The same gentle, low-agitation cleaning approach we use on sealed wood floors transfers well to a deck board, since sealed surfaces and finished decking both dislike aggressive scrubbing.
Frequently Asked Questions
Can you fix rotted wood without replacing it?
No. Rot destroys the wood fibre itself, so it cannot be glued or filled back into strength. Filler and wood hardener will firm up a soft surface for a while, but the only lasting fix is to cut out the damaged wood and fasten sound lumber in its place. Then seal the cut end grain so the new board does not re-rot.
Can you just replace your deck board?
Yes, replacing a single board is a standard, code-friendly job as long as the joists underneath are sound. One board costs a length of decking, a handful of exterior structural screws, and a couple of hours. If the joist under the bad board is soft, the job grows, and that is the moment to bring in a contractor.
How do I match new lumber to a grey weathered deck?
Start by matching species and actual thickness, not the nominal label. A baking soda and water solution brushed on new wood speeds up the greying so it blends with weathered boards faster than it would on its own. Seal the cut ends first, stain the new board separately, and expect a visible difference that fades over a season.
What do I do if the joist underneath is rotted too?
Stop before cutting the new board. Sistering the joist, meaning fastening a new length of pressure-treated lumber along the full length of the damaged joist, is the common DIY fix when the rot is limited. Fasteners must land in sound wood. If the post, ledger, or footing is involved, or the sag is visible, that is professional work.
Can I stain the new board right after I install it?
Not on damp wood. Finish will not adhere properly to wet lumber and tends to peel within a year. Let the board dry fully, sand and dust it, seal the end grain, then apply your stain or sealer and follow the product drying times. Most are walkable in a few hours and need 24 to 48 hours before full exposure.
What is the best wood filler for deck board repair?
Use stainable exterior wood filler for holes, open knots, and small splits, and exterior-grade elastomeric caulk for cracks that flex with the wood. Fillers sand and stain, caulks move, and neither one restores structural strength to rotten lumber. Neither belongs on a board that is soft enough to fail underfoot.
Conclusion
Start with the screwdriver. Push it into the soft spot and into the joist underneath, and you will know within a minute whether this is a one-board afternoon or a contractor conversation. If the framing is firm, measure at both ends, cut to the longer number, match your gap, and fasten two exterior screws at every joist.
Then seal the end grain, stain the new board to match, and find the water source that got you here. That last part is what keeps the repair from becoming an annual project. Updated for 2026.
