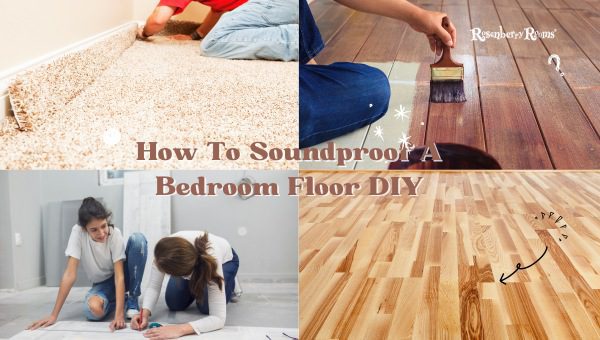
Are you tired of being woken up by your neighbor’s yappy dog, your partner’s snoring, or the creaky floors of your own home? Let’s be honest; we all love a good night’s sleep. But what happens when your noisy neighbor decides to throw a party, and your bedroom floor feels like it’s vibrating to the beat? That’s where soundproofing comes in.
Let’s find out a foolproof solution to the uninvited noises. My dear sleep-deprived friend, today we will talk about how to soundproof a bedroom floor like a pro on your own. No more earplugs or white noise machines are needed – it’s time to reclaim your right to silence, one DIY project at a time.
Contents
Bedroom floor soundproofing can be a game-changer for those struggling with external noise disruptions at night. Whether it’s loud neighbors, traffic noise, or your partner’s snoring, soundproofing can help you get the peaceful sleep you deserve. This article will provide an overview of the steps involved in soundproofing a bedroom floor DIY-style.
We will cover everything from finding the problem areas to finishing the floor, and we hope to guide you through the process quickly. With creativity and suitable materials, you’ll be on your way to a soundproof bedroom floor in no time.
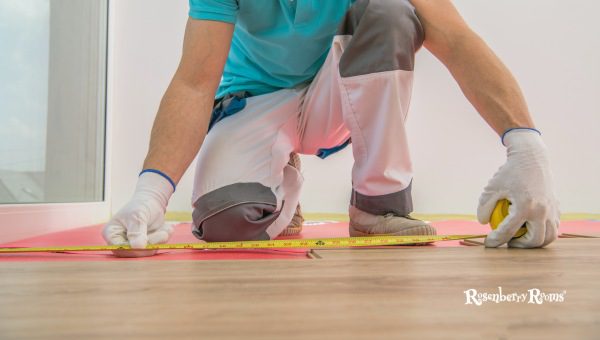
To soundproof a bedroom floor, you must first locate the areas where sound enters or escapes. Is it the sound of footsteps from the apartment above or traffic from the street outside? Or is it your partner’s snoring that’s keeping you up at night? Whatever the issue may be, specify it, and we will work on a solution.
There are several causes of noise in a bedroom that can affect the quality of your sleep. Here are some of the most common causes of noise in a bedroom:
Here are some of the areas of the floor that need soundproofing:
Knowing the areas causing the most disturbance will guide you in selecting the best materials and techniques.
Here are some tips and tricks to test and measure:

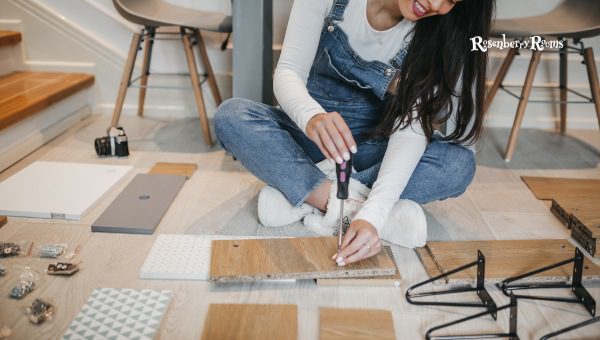
Now that you’ve identified the problem areas, planning and gathering materials is the next task. Think of it like preparing for a DIY project. You’ll need essential materials like underlayment, sound-deadening mats, and acoustic panels. Don’t forget the duct tape and earplugs, just in case.
Below are the specific materials it requires to reduce noise levels:
The cost of materials can vary depending on the specific materials chosen and the room size. Here are some estimates of the cost for a 200-square-foot bedroom:
Overall, the cost of materials can range from a few hundred dollars to several thousand dollars, depending on the materials chosen and the room size. It’s vital to consider the cost of materials when planning to soundproof a bedroom floor.
Clear out your bedroom and prepare the floor for the soundproofing materials. Take a break from Netflix binges and remove all furniture and items from the room. Vacuum and clean the floor. And don’t forget to fill gaps or cracks with some good old-fashioned caulk.
Preparing the bedroom is the first step in soundproofing your bedroom floor. Here are the details of the steps mentioned above. Following these steps, you’ll have a clean and prepped bedroom floor ready for soundproofing materials.
Remove all the furniture and items from your bedroom floor. This includes your bed, dressers, nightstands, lamps, etc. This will give you enough space to work with and ensure you don’t accidentally damage any of your belongings while soundproofing.
Once the furniture is removed, clean the floor. Start by sweeping up any debris, dust, or dirt. You can then use a vacuum cleaner to remove any remaining dirt or dust. Pay attention to the corners and edges of the room, as dirt and dust can accumulate in these areas. Cleaning the floor will ensure that the soundproofing materials stick correctly to the floor.
Before laying down the soundproofing materials, filling any gaps or cracks in the floor is crucial. Use a good-quality caulk to seal any gaps or cracks. Pay special attention to the areas where the floor meets the wall, as these are common areas where gaps and cracks occur. Filling in these gaps and cracks will prevent any sound from leaking.
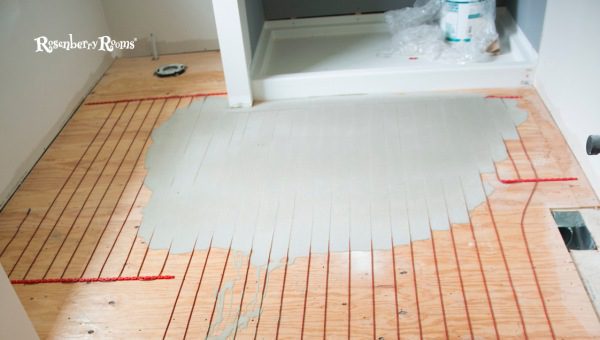
Now comes the fun part, installing the soundproofing material. We’re talking about laying down the underlayment, installing the sound-deadening mats or acoustic panels, and sealing the gaps between the floor and walls. If you’re feeling adventurous, throw some tunes and dance through this step.
The first step in soundproofing your bedroom floor is to lay down the underlayment. This material acts as a barrier between the subfloor and the flooring material. It helps decrease the noise’s impact and prevent sound from traveling through the floor.
You can use materials like cork, rubber, or foam as underlayment. Before installing the underlayment, ensure that the floor is clean and dry. Cut the underlayment to match the dimensions of your room and lay it out, making sure it is straight and taut.
Once you have laid the underlayment, installing the sound-deadening mats or acoustic panels is next. Sound-deadening mats are made of materials like mass-loaded vinyl or rubber and can help to facilitate the transmission of impact noise.
Acoustic panels, however, are designed to absorb sound waves and prevent them from reflecting off hard surfaces. You can install sound-deadening mats or acoustic panels directly onto the underlayment. Cut them according to the size of your room and lay them down. You can also use an adhesive to ensure that they stay in place.
After you have installed the soundproofing materials, seal the gaps between the floor and walls. Sound can readily travel through even the tiniest gaps and cracks, so sealing them up is essential. You can use materials like acoustical caulk or weatherstripping to seal the gaps.
Apply the caulk or weatherstripping along the edges of the walls and the baseboard. This will help to prevent sound from escaping through the gaps and traveling to other parts of the house.
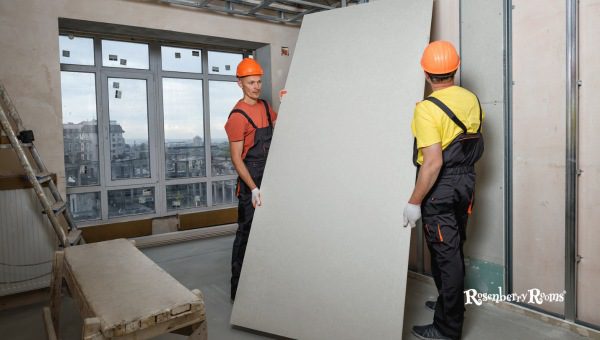
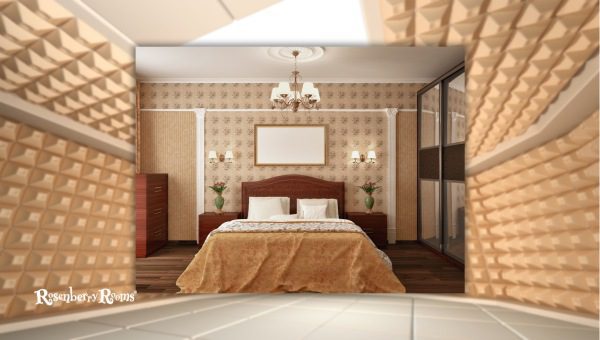
With the soundproofing material in place, finish the floor. You can opt for a new subfloor, cozy carpet, or hardwood flooring. The choice is yours! But don’t forget to put back your furniture and other items. Say goodbye to those sleepless nights.
Enjoy your newly soundproofed and cozy bedroom!
Explore More: How To Soundproof A Hollow Door? [Do Everything At Home]
Here are some additional tips to help you reduce noise in your bedroom. Invest in some heavy curtains or blinds to block out street noise. Keep the doors and windows closed during the night. And if all else fails, try a white noise machine or some soothing music.
While soundproofing your bedroom floor is a great start, other ways exist to reduce noise in your sleeping quarters. One option is to install a door sweep to seal the gap between the door and the floor. You can also add weatherstripping to windows and doors to prevent sound from entering the room.
Another strategy is to place bookshelves or other large objects against the walls, as this can absorb sound waves and prevent them from bouncing around the room. Hanging heavy curtains or drapes can help significantly, especially if lined with soundproofing materials.
Proper maintenance and care of your soundproofing materials are essential to ensure they remain efficient in noise deduction over time. Vacuum or sweep your carpet regularly to prevent dirt and debris from accumulating and affecting its sound-dampening properties. If you have hardwood flooring, regularly sweep or mop to keep it clean and debris-free.
If you installed acoustic panels, check them periodically to ensure they are firmly attached to the wall and have not become damaged or dislodged. If you notice any issues, address them promptly to ensure the continued persuasion of your soundproofing efforts.
While It can be a DIY project, more complex soundproofing projects may require the assistance of a professional. For example, if you live in a noisy apartment building, you may need to address noise issues in your walls or ceiling, which can be more challenging to tackle independently.
A professional soundproofing contractor can assess your space, point out the origin of the noise, and recommend and install the appropriate materials to soundproof your bedroom. While this option may be more expensive than a DIY project, it can provide a more comprehensive and long-lasting solution to noise issues in your home.
Let’s know what the importance of soundproofing a bedroom floor is. Below are some benefits::
Bedroom floor soundproofing can have numerous benefits, ranging from improved sleep quality to increased property value. It is a worthwhile investment that can significantly impact your life.
Don’t suffer in silence if you’re struggling with noise pollution in your bedroom! Soundproofing your bedroom floor is a DIY project that can be completed on the weekend with suitable materials and tools. So take action, get some peace, and enjoy a better night’s sleep.
Yes, installing a carpet or other flooring material over the soundproofing layer is recommended to help further reduce noise transmission and provide a comfortable surface to walk on.
DIY soundproofing techniques can significantly reduce noise transmission but may not eliminate it. The effectiveness will depend on the materials used, the extent of the soundproofing, and the specific noise source.
Wear appropriate protective gear when handling soundproofing materials, such as gloves and a mask. Also, follow manufacturer instructions carefully and ventilate the room during and after installation.
It will depend on the room size, the materials used, and whether you hire a professional or do it yourself. DIY soundproofing can cost anywhere from a few hundred dollars to over a thousand dollars, depending on the materials and extent of the project.
The time it takes to soundproof a bedroom floor will depend on the extent of the project and the materials used. DIY soundproofing can take a few hours to a few days, depending on the room’s size and the installation’s complexity.
Yes, using DIY techniques, you can soundproof a bedroom floor in a rented apartment or house. You must check with your landlord or property management company first to ensure you are not violating lease agreements or building codes.
Yes, soundproofing materials can help reduce vibrations as well as noise transmission. This can be especially useful if you live in an area with heavy foot traffic or noisy neighbors.
Soundproofing for a bedroom floor may appear challenging, but you can get desired results with the right stuff and a few creative nerves! I hope this guide on how to soundproof a bedroom floor DIY will help you.
Next time your noisy neighbor decides to throw a party, you’ll be ready to sleep right through it. And who knows, with a soundproof bedroom, you may even discover a newfound appreciation for your partner’s snoring. Happy DIY-ing!