Learning to free motion quilt on your regular sewing machine opens up endless creative possibilities for your quilting projects. After helping dozens of quilters master this technique in my workshops, I can tell you that while it seems intimidating at first, anyone can learn with the right setup and practice.
Free motion quilting is a technique where you lower the feed dogs on your sewing machine and move the fabric freely to create decorative stitching designs through all layers of your quilt. By disengaging the feed dogs and using a special quilting foot, you control both the direction and speed of stitching by moving the quilt sandwich with your hands.
Contents
This guide will walk you through everything from machine setup to your first stitches, including essential tools that make the process easier. You don't need an expensive longarm machine - I've successfully taught students to free motion quilt on basic machines with drop feed capabilities.
Proper machine setup is crucial for successful free motion quilting. I recommend starting with a clean, well-maintained machine and gathering your supplies before you begin.
Your workspace needs to support free movement of your quilt. If you don't have sewing machines with extension tables, create a smooth, level surface around your machine using tables or boards to support the quilt weight.
⚠️ Important: Always test your setup on practice sandwiches before working on actual projects. This saves frustration and prevents damage to your quilts.
While you can start free motion quilting with just a darning foot, these tools make the process significantly easier and more enjoyable. After testing dozens of options with my students, here are the three essentials I recommend for beginners.
![How To Free Motion Quilt On A Sewing Machine ([cy]) Complete Guide 1 Large Metal Free Motion Quilting Darning Sewing Machine...](https://m.media-amazon.com/images/I/31LokqjLSAL._SL160_.jpg)
Fits: Low-shank machines
Price: $3.49
Rating: 4.4/5
Features: Open toe design, Spring action
Check PriceThis open-toe darning foot is perfect for beginners starting their free motion quilting journey. I recommend it because the open front gives you excellent visibility of your stitching area - crucial when learning to follow designs.
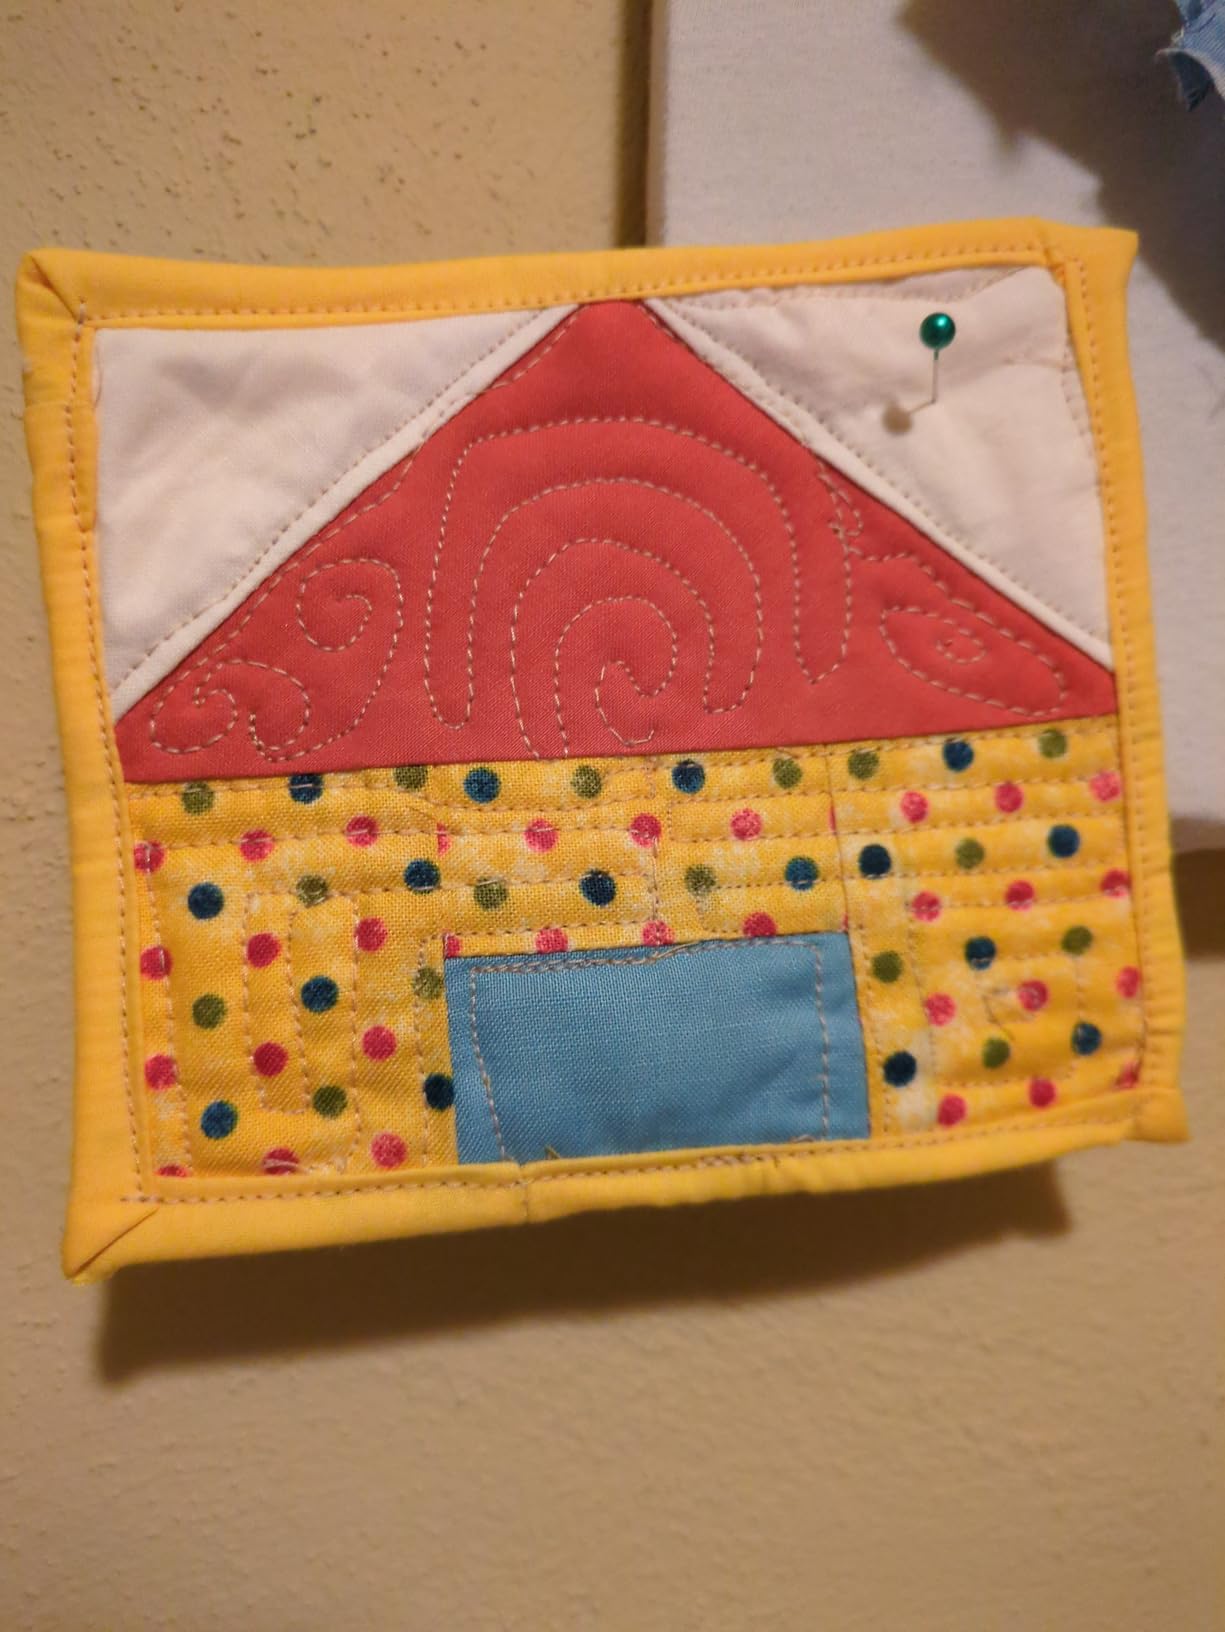
The spring action keeps fabric from lifting with the needle, which helps prevent thread breakage - a common frustration for new quilters. At just $3.49, it's an affordable way to try free motion quilting without investing in expensive equipment.
Customer photos show this foot working well on various machine brands including Singer, Brother, and Janome. The clear visibility allows beginners to see exactly where they're stitching, making it easier to learn basic patterns and maintain consistent spacing.
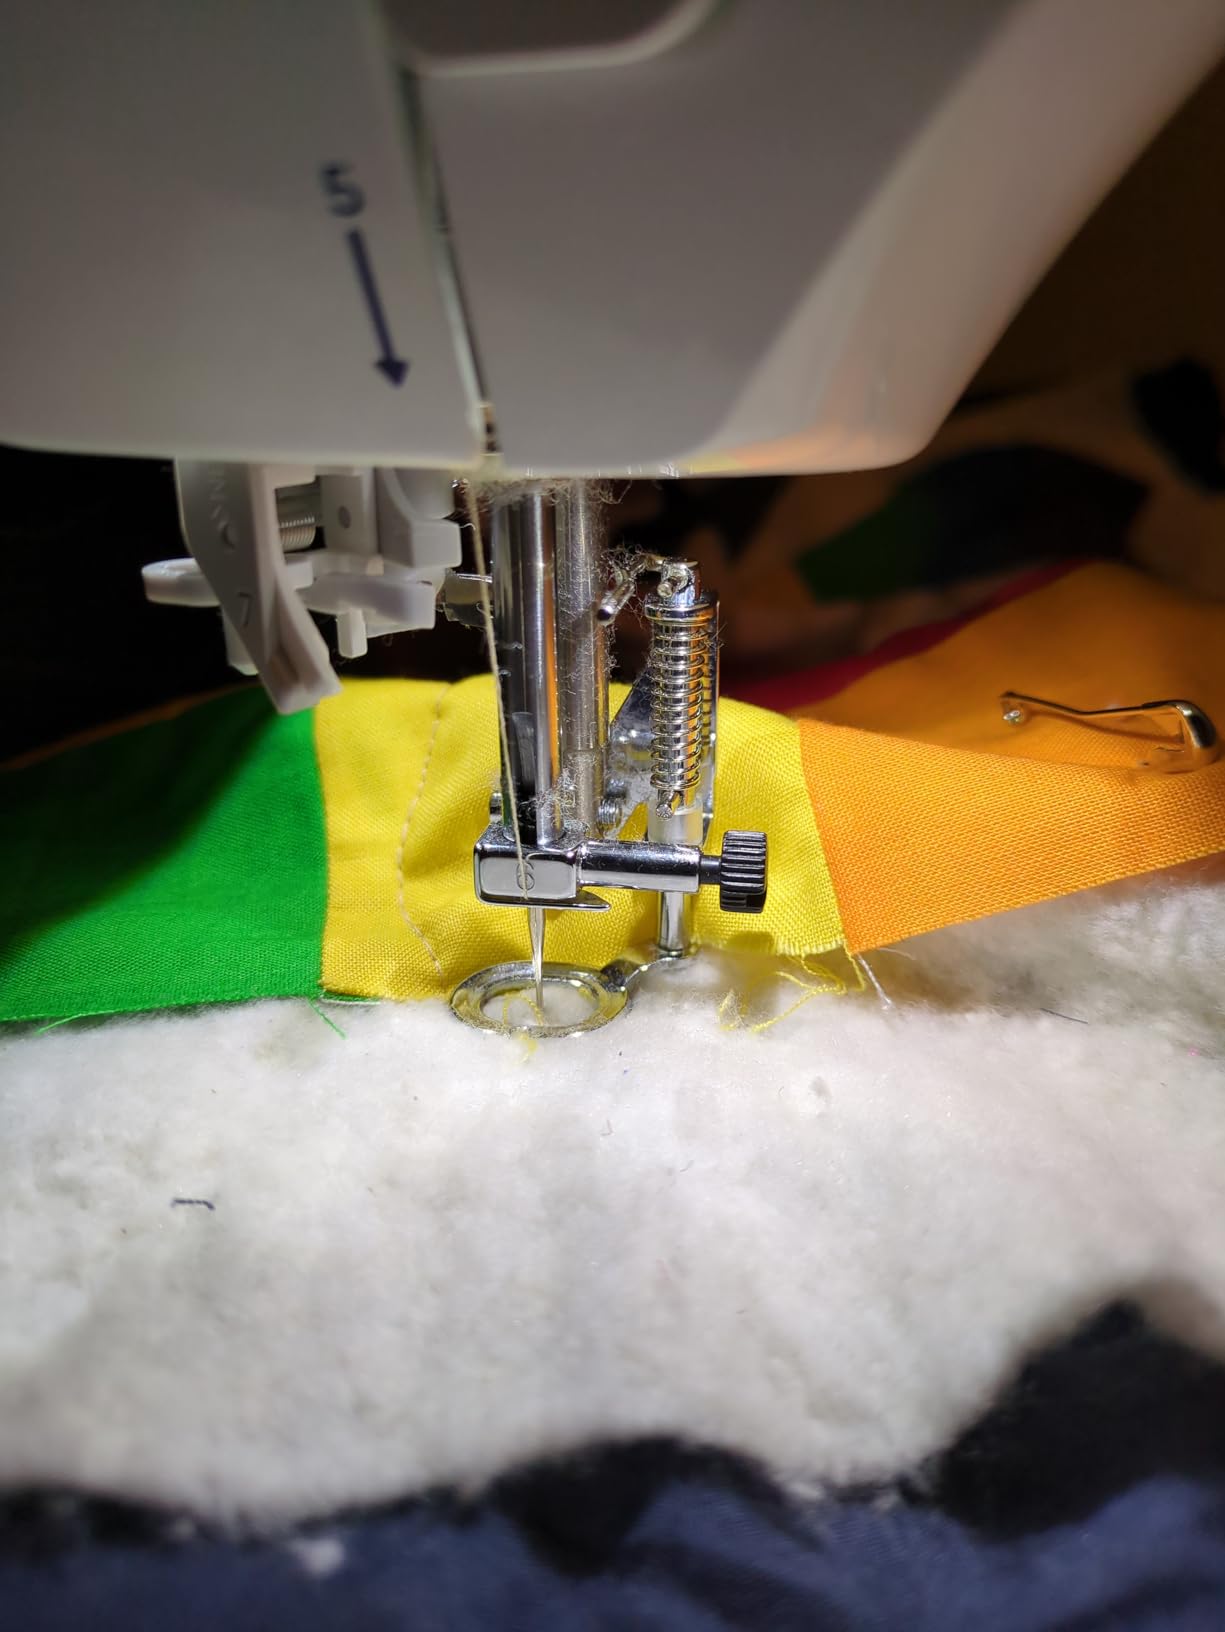
While it may take some practice to coordinate your hand movement with the machine speed, this foot provides the control needed for successful free motion quilting. Most users report good results within 2-3 practice sessions.
Perfect visibility for beginners, excellent value for money, fits most low-shank machines including popular sewing machines with free-motion features, and spring action prevents common thread issues.
May have slight gap with very thin fabrics, doesn't fit Singer Heavy Duty models, and requires practice to master coordination between hand movement and machine speed.
![How To Free Motion Quilt On A Sewing Machine ([cy]) Complete Guide 2 Machingers Quilting Support Gloves for Free-Motion Sewing,...](https://m.media-amazon.com/images/I/41hGyhRpDdL._SL160_.jpg)
Material: Flexible fabric
Price: $8.64
Rating: 4.8/5
Features: Fingertip grips, Multiple sizes
Check PriceThese quilting gloves transformed my free motion quilting experience and they're my top recommendation for students. The flexible PVC-coated fingertips give you perfect control over the quilt sandwich without strain.
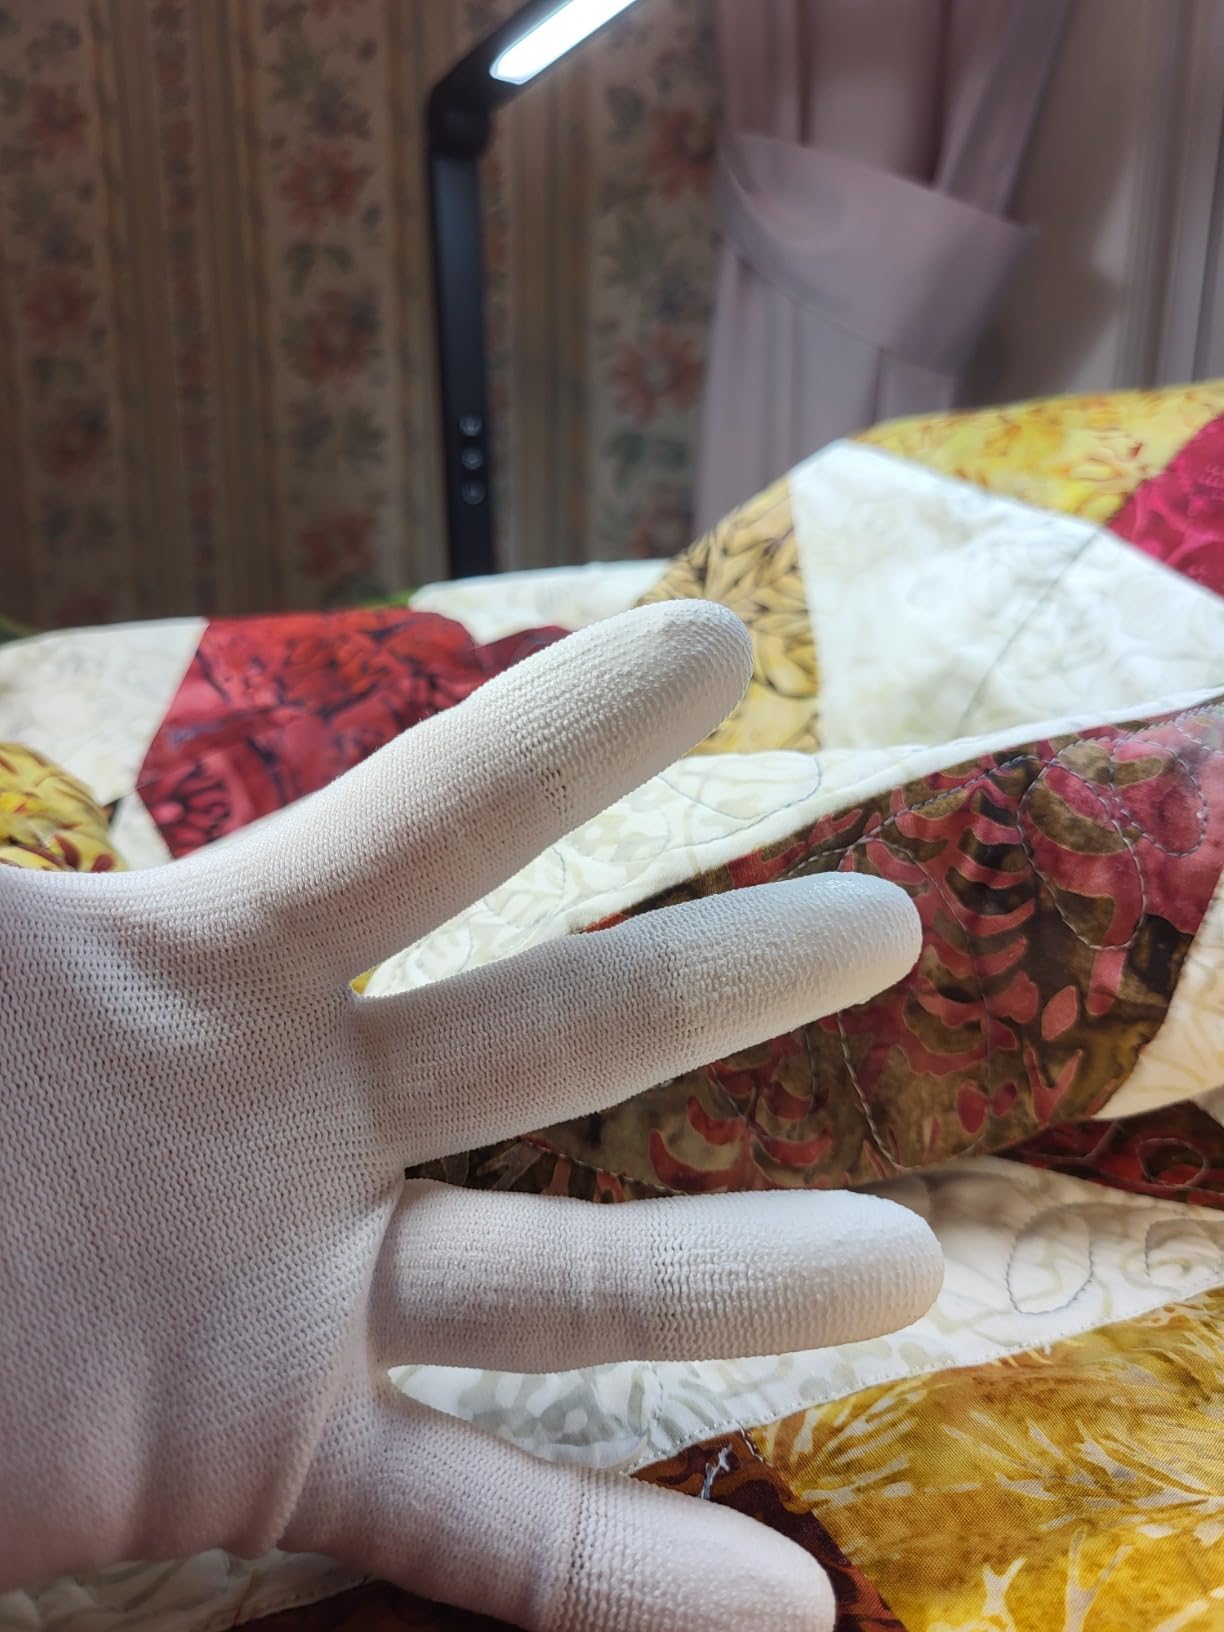
Available in four sizes (X-Small to X-Large), these gloves accommodate different hand sizes for a comfortable fit. The enhanced wrist support reduces tension in your hands and arms during longer quilting sessions - something I wish I'd had when starting out.
The gloves work by giving you traction to grip and move the quilt smoothly. Customer images show how the fingertip design allows for detailed work while maintaining full control. They're particularly helpful for larger quilts that require more strength to maneuver.
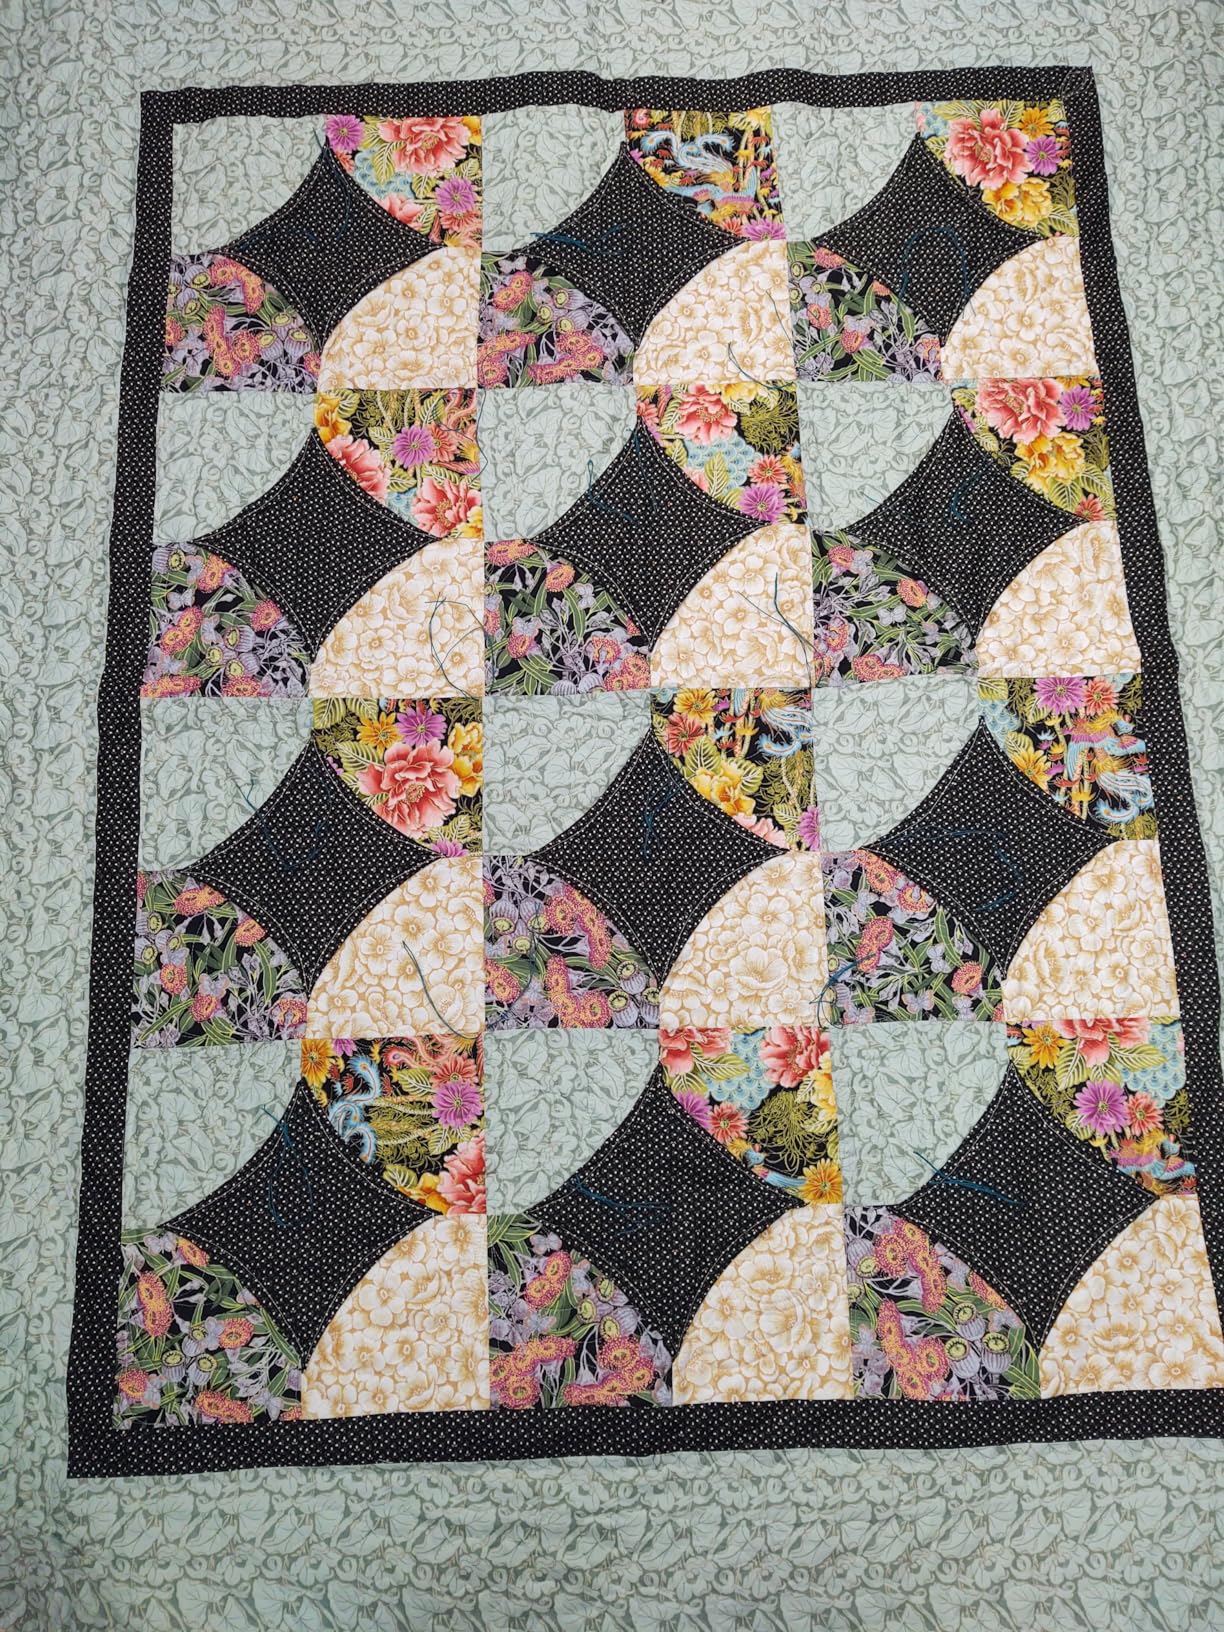
After testing various alternatives, from cheap garden gloves to specialized quilting options, Machingers offer the best balance of grip, comfort, and durability. Most quilters report immediate improvement in their control when using these gloves.
Revolutionary grip control for moving quilts, comfortable for extended wear, available in multiple sizes for perfect fit, reduces strain on hands and arms during quilting sessions.
Grip only on fingertips (some prefer full-hand grip), X-Small size costs more than larger sizes, and may require adjustment period if you're not used to wearing gloves while sewing.
![How To Free Motion Quilt On A Sewing Machine ([cy]) Complete Guide 3 Sew Steady Free Motion Quilting Slider Mat Grid Marked 12 x...](https://m.media-amazon.com/images/I/51MPYOLrY-L._SL160_.jpg)
Size: 12 x 20 inches
Price: $25.51
Rating: 4.2/5
Features: Grid markings, Tacky backing
Check PriceThis slider mat creates a smooth surface that helps your quilt glide effortlessly while free motion quilting. The marked grid with 1-inch squares and angle guides helps maintain consistent spacing and straight lines - perfect for beginners learning control.
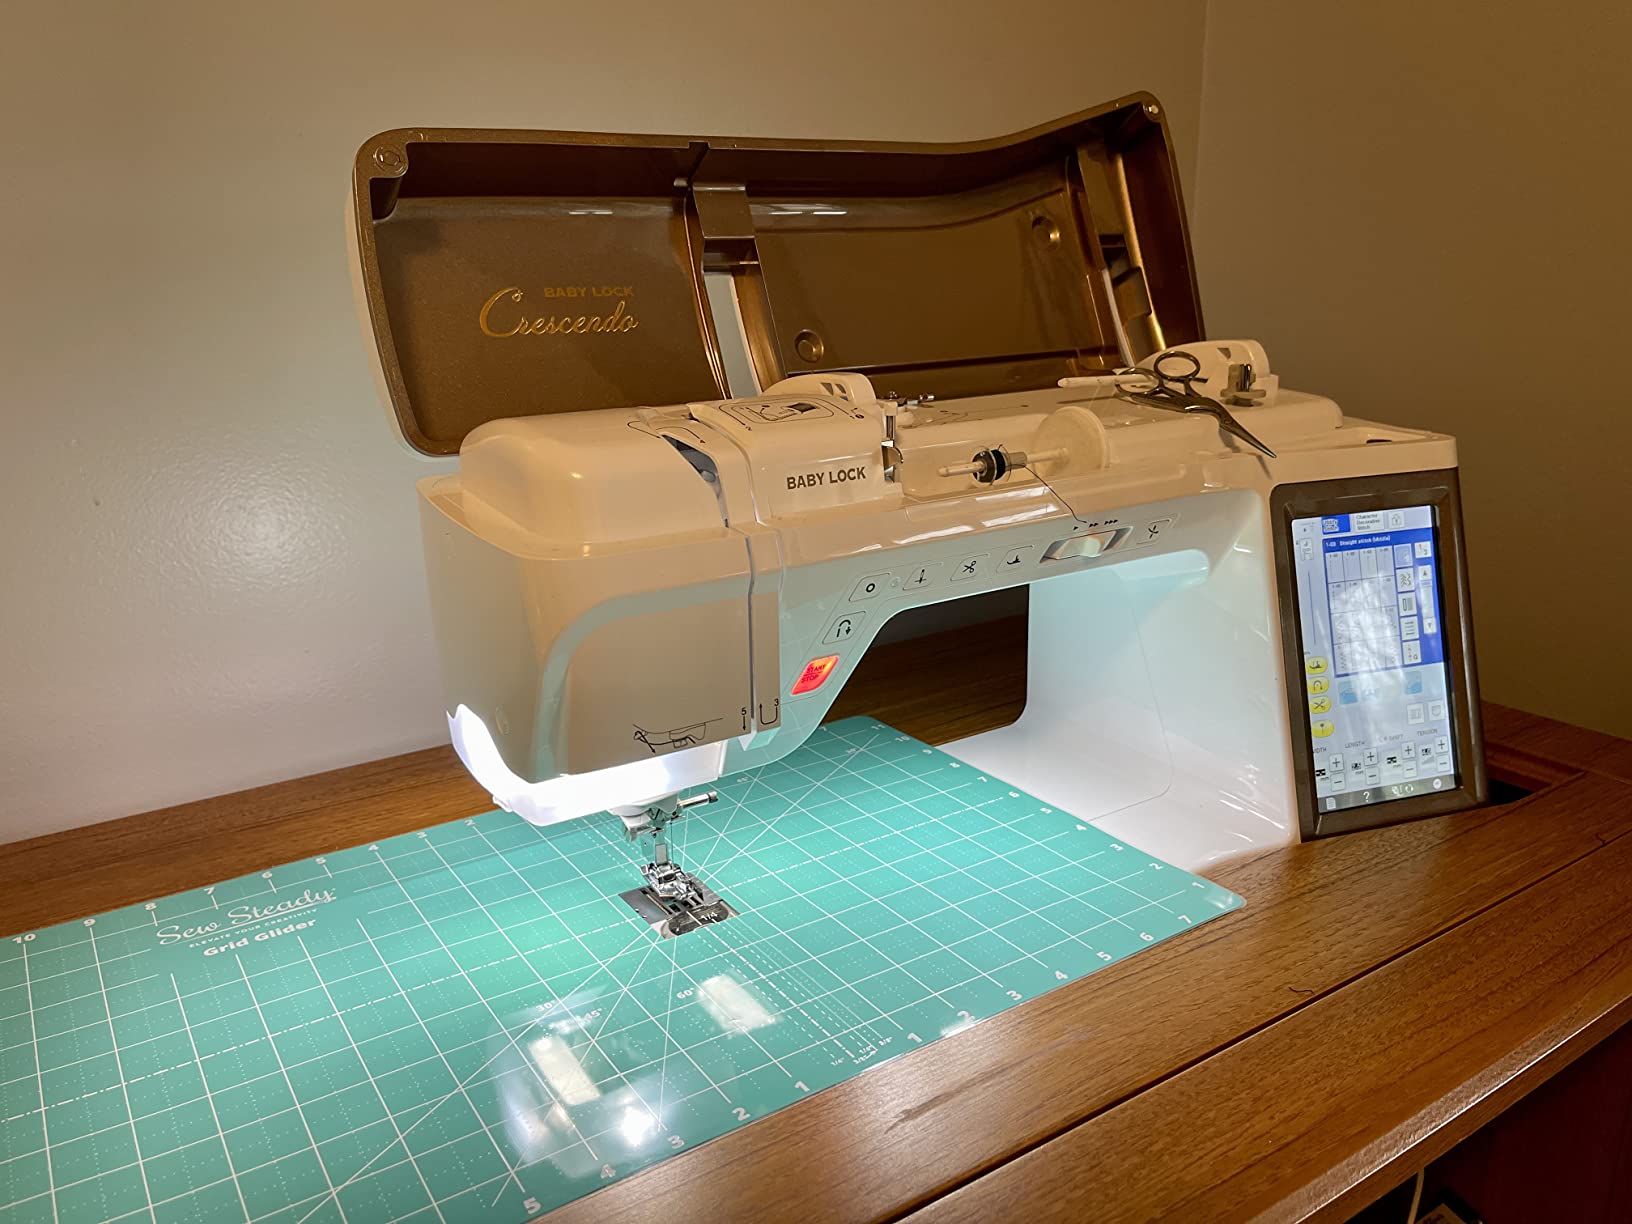
The 12 x 20-inch size provides ample working area for most projects, and the tacky back adheres securely to your machine table without leaving residue. I've found this particularly helpful for students struggling with moving larger quilts smoothly.
Customer photos demonstrate how the grid markings help with spacing and alignment, especially when practicing geometric patterns. The reduced friction means less physical strain when maneuvering quilt sandwiches, making longer practice sessions more comfortable.
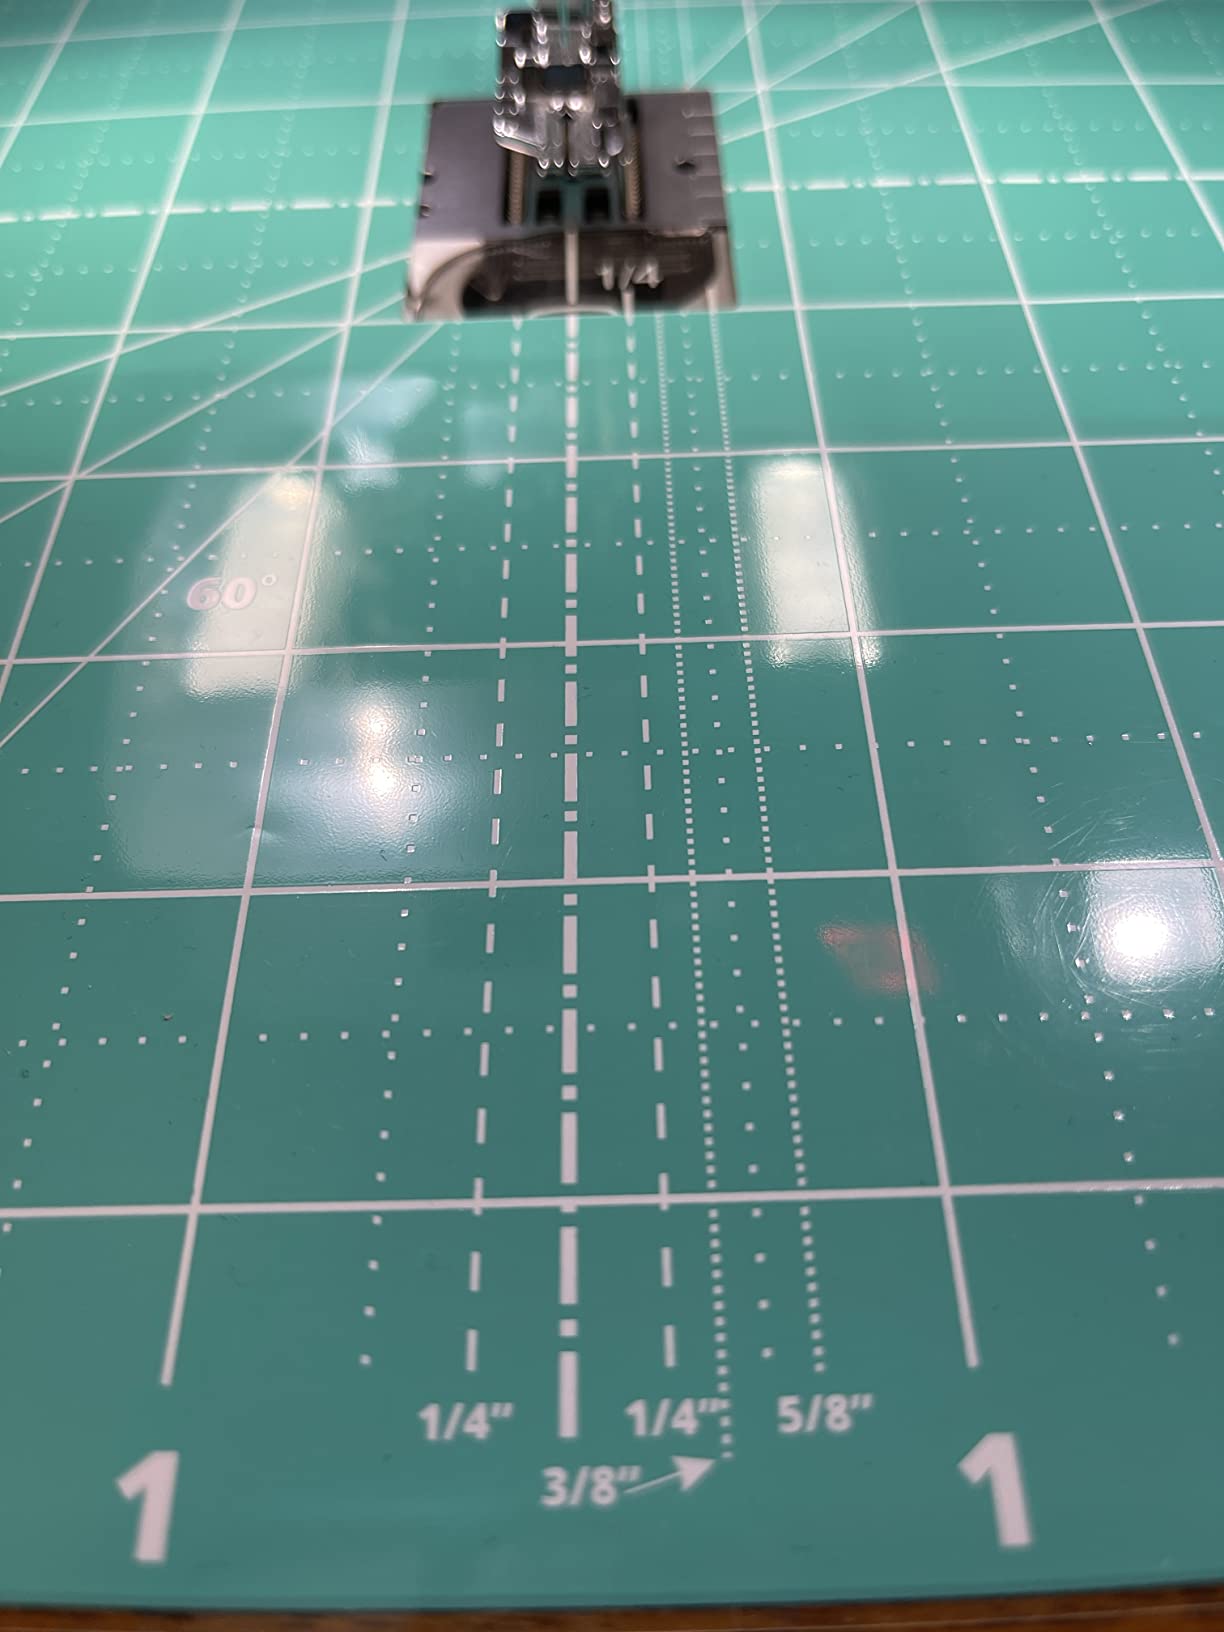
While it does have a noticeable plastic smell initially (which dissipates), the functionality benefits outweigh this temporary issue. The mat works best on flat machine tables and may need trimming if it obstructs your bobbin access.
Makes quilt movement significantly easier, helpful grid guides for consistent spacing, large surface area for most projects, reduces physical strain during quilting.
Strong plastic smell when first opened, may not fit all machine tables perfectly, can obstruct bobbin access on some machines, and some users find it overpriced for a plastic sheet.
Proper preparation prevents the frustration of fabric shifting and puckering during quilting. I learned this the hard way after ruining my first quilt - always prepare properly!
Create your quilt sandwich with top fabric, batting, and backing fabric. Baste thoroughly using one of these methods:
✅ Pro Tip: Start with small practice sandwiches (18-20 inches square) before moving to larger projects. This builds confidence and control.
Use solid or tone-on-tone fabrics for your first projects. Busy prints hide your stitches, making it difficult to see what you're doing and evaluate your progress. Save those fancy prints for after you've mastered basic movements.
Now for the exciting part - actually quilting! Follow these steps carefully and don't rush. I recommend practicing each step before moving to the next.
The biggest challenge beginners face is coordinating hand movement with machine speed. I tell my students to imagine they're drawing with the needle - smooth, deliberate movements work best than frantic, fast motions.
Practice for 15-20 minutes daily rather than marathon sessions. Muscle memory develops with consistent practice, not exhaustion. Most students see significant improvement after 2-3 weeks of regular practice.
Start with simple designs that build confidence and control. Master each before moving to the next.
Stippling is the classic free motion design - flowing, curvy lines that never cross. This is the best design for learning basic coordination.
Loops are forgiving and create beautiful texture. They're perfect for hiding uneven spacing.
Despite the name, "free motion" straight lines help develop control. Use the grid markings on your slider mat as guides.
⏰ Time Saver: Practice drawing designs on paper first. This builds muscle memory without the pressure of machine operation.
Everyone experiences issues when starting free motion quilting. Here are the most common problems and their solutions, based on helping hundreds of students overcome these challenges.
Problem: Loops on top or bottom of fabric, thread nests, uneven stitches.
Solutions:
Problem: Machine skips stitches every few inches, creating gaps in your design.
Solutions:
Problem: Fabric bunches, won't move smoothly, or feels "stuck."
Solutions:
Problem: Bobbin thread shows on top, breaks frequently, or creates "bird's nests."
Solutions:
Yes! You can free motion quilt on any regular sewing machine that allows you to lower or cover the feed dogs. You don't need an expensive longarm machine - basic models work perfectly well for learning and smaller projects.
Set your stitch length to zero, lower or cover feed dogs, attach a darning/free motion foot, use a new 90/14 needle, and start with your normal tension setting. Always test on scrap fabric first and adjust tension as needed.
Most quilters see significant improvement after 2-3 weeks of consistent 15-20 minute daily practice sessions. Don't expect perfection immediately - everyone struggles at first. Focus on progress, not perfection.
Start with your machine's normal tension setting (usually 4.0-5.0) and adjust from there. Most quilters end up using a slightly lower tension (3.0-4.0) but this varies by machine and thread. Always test on scraps first.
Skipping stitches is usually caused by a dull or incorrectly inserted needle. Install a fresh 90/14 quilting needle, ensure it's fully inserted with the flat side facing the back, and that your free motion foot is attached correctly.
Use a size 90/14 topstitch or quilting needle for most projects. These needles have a larger eye and stronger shaft that handles the stress of free motion quilting better than universal needles. Change needles every 8-10 hours of sewing.
Free motion quilting opens up a world of creative possibilities for your quilting projects. While it takes practice to master, the satisfaction of creating custom designs on your own quilts is worth the effort.
Start with the essential tools we've reviewed - a good darning foot, quilting gloves, and a slider mat. These three items made the biggest difference in my students' success rates. Practice consistently on small sandwiches before tackling larger projects.
Remember that every quilter struggles at first - even experienced professionals had to start somewhere. Be patient with yourself, celebrate small improvements, and don't compare your beginning to someone else's middle.
With the right setup, quality tools, and consistent practice, you'll be creating beautiful free motion quilting designs on your regular sewing machine in no time. Happy quilting!